Introduction
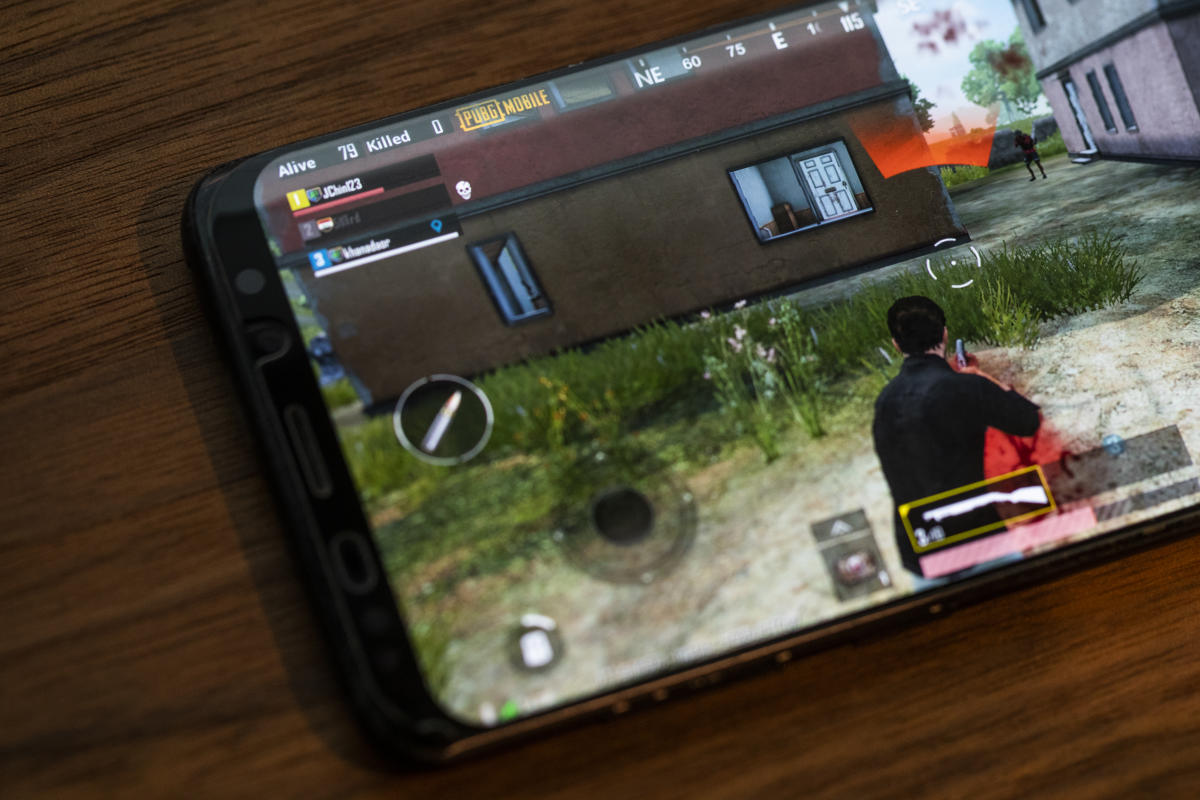
PlayerUnknown’s Battlegrounds (PUBG) is an immensely popular online multiplayer battle royale game that has taken the gaming world by storm. It offers intense action, tactical gameplay, and a competitive environment that keeps players hooked for hours on end. However, to fully experience the game’s immersive graphics and smooth performance, it is important to ensure that your computer has sufficient RAM.
RAM, or Random Access Memory, plays a crucial role in the performance of any computer. It acts as a temporary storage space for data that is actively being used by programs and applications. When your computer is running resource-intensive tasks, such as playing PUBG, it requires a significant amount of RAM to store and process the game’s data in real-time. Insufficient RAM can lead to lag, stuttering, and a subpar gaming experience.
In this article, we will explore various methods to increase the RAM usage for PUBG, allowing you to optimize your gaming experience and enjoy smoother gameplay. Whether you want to take advantage of your existing RAM resources or consider upgrading your computer’s hardware, we’ve got you covered.
Before diving into the different ways to increase RAM usage for PUBG, it’s essential to assess your computer’s current RAM capacity and usage. This will help you determine the best course of action to optimize your gaming experience.
So, let’s get started and explore the methods to make PUBG use more RAM, ensuring you can play the game at its best performance.
Why increase RAM usage for PUBG?
When it comes to playing PUBG, increasing RAM usage is crucial for a smooth and immersive gaming experience. Here are the main reasons why you should consider boosting your computer’s RAM capacity for PUBG:
1. Enhanced Performance: PUBG is a graphically demanding game that requires a significant amount of RAM to process and render its detailed environments, character models, and special effects. By increasing the RAM usage, you can ensure that the game has adequate resources to run smoothly, minimizing lag and frame drops.
2. Reduced Load Times: Loading PUBG and transitioning between different in-game areas can be time-consuming if your computer’s RAM is limited. Increasing RAM usage can significantly decrease load times, allowing you to jump into the action more quickly and seamlessly.
3. Multi-tasking Abilities: PUBG enthusiasts often like to stream their gameplay or run other applications simultaneously, such as voice chat software or video recording tools. Insufficient RAM can hinder multitasking capabilities, causing performance issues and affecting the quality of your streaming or recording. By increasing RAM usage, you can ensure smoother multitasking without sacrificing game performance.
4. Future-Proofing: As game developers continue to push the boundaries of graphics and gameplay, system requirements for newer games will only increase. By increasing your computer’s RAM capacity for PUBG now, you can future-proof your gaming setup and be prepared for upcoming games that will demand even more resources.
5. Overall Gaming Experience: RAM plays a vital role in providing an overall enjoyable gaming experience. Insufficient RAM can lead to frustrating gameplay with constant stuttering, freezing, and lag. By increasing RAM usage for PUBG, you can ensure smooth performance, allowing you to focus on the game without distractions or disruptions.
With these compelling reasons in mind, it’s clear that increasing RAM usage for PUBG is a worthwhile investment. By optimizing your computer’s memory capacity, you can enhance performance, reduce load times, improve multitasking abilities, future-proof your gaming setup, and enjoy a seamless gaming experience. So, let’s explore the different methods of increasing RAM usage for PUBG and choose the one that best suits your needs.
Checking your computer’s RAM
Before you can take steps to increase RAM usage for PUBG, it’s important to determine your computer’s current RAM capacity. This will help you assess whether you have enough RAM to comfortably run the game or if any upgrades are needed. Here’s how you can check your computer’s RAM:
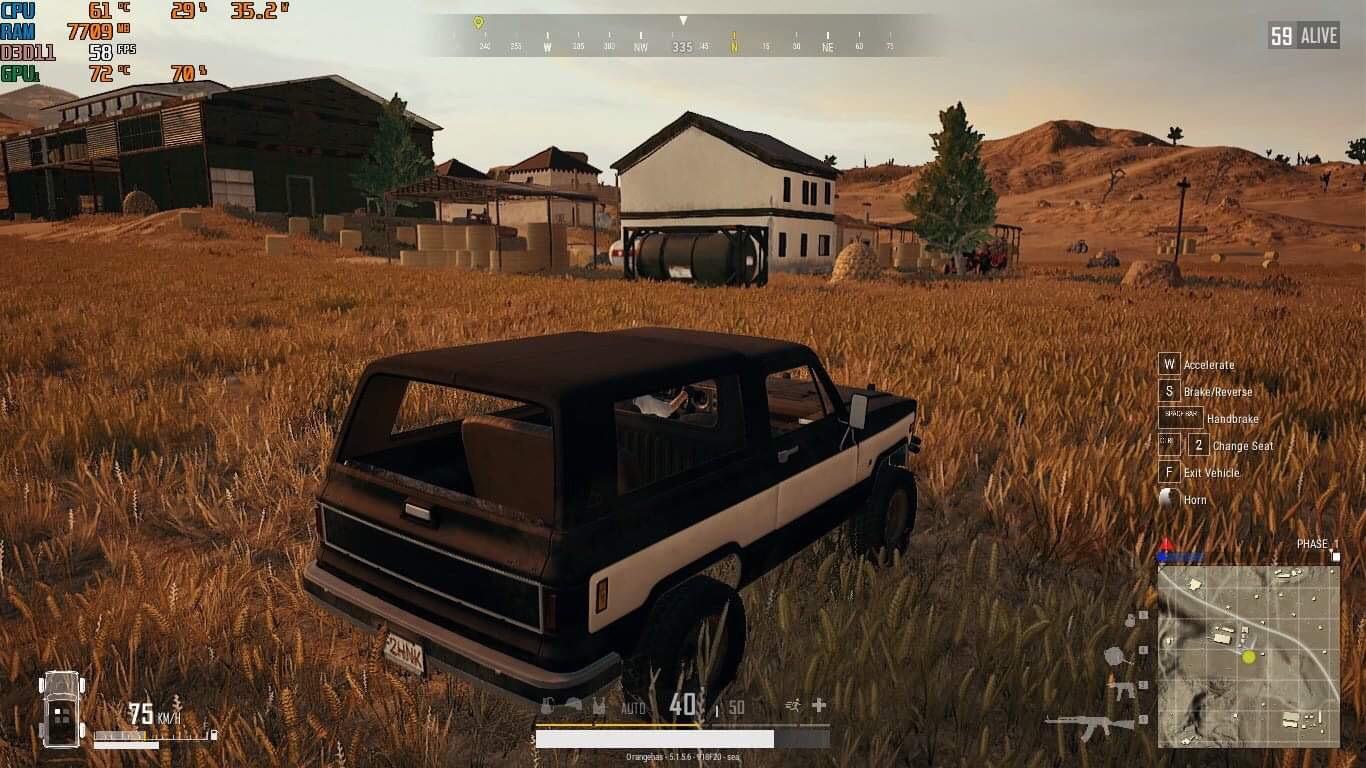
1. Task Manager: The easiest way to check your computer’s RAM is by using the built-in Task Manager. On Windows, you can access it by pressing Ctrl + Shift + Esc or Ctrl + Alt + Delete and selecting Task Manager from the menu. In the Task Manager window, go to the Performance tab and click on Memory. Here, you’ll find information about your computer’s total RAM capacity and current usage.
2. System Information: Another way to check your computer’s RAM is through the System Information utility. On Windows, you can access it by pressing the Windows key + R, typing “msinfo32” in the Run dialog box, and hitting Enter. In the System Information window, navigate to the Summary tab, where you’ll find information about your computer’s total physical memory (RAM).
3. Third-Party Software: Alternatively, you can use third-party software to check your computer’s RAM. There are various free tools available, such as CPU-Z and Speccy, that provide detailed information about your computer’s hardware, including RAM capacity.
Once you’ve determined your computer’s RAM capacity, compare it to the recommended system requirements for PUBG. If your current RAM capacity meets or exceeds the recommended specifications, you may not need to take any further steps. However, if your RAM is below the recommended threshold, it’s worthwhile to explore different methods of increasing RAM usage for PUBG.
Now that you have an understanding of your computer’s RAM capacity, it’s time to dive into the methods of optimizing RAM usage for PUBG. By following these steps, you can ensure that your computer is utilizing its RAM resources efficiently, maximizing performance, and delivering a seamless gaming experience.
Adjusting PUBG’s graphical settings
One effective way to increase RAM usage for PUBG is to optimize the game’s graphical settings. By reducing the strain on your computer’s resources, you can free up more RAM for the game to utilize. Here are some steps to adjust PUBG’s graphical settings:
1. Launch PUBG: Start by launching the game and navigating to the settings menu. In PUBG, you can access the settings by clicking on the gear icon in the top right corner of the main menu.
2. Display Settings: In the settings menu, select the “Graphics” tab or a similar option that relates to display settings. Here, you’ll find various options to adjust the quality and performance of the game’s graphics.
3. Resolution: Consider lowering the game’s resolution by selecting a lower value from the available options. Lower resolution requires less GPU power and RAM, allowing your computer to allocate more resources to other aspects of the game.
4. Quality Settings: Adjust the various quality settings, such as textures, effects, shadows, and view distance. Experiment with lowering these settings gradually to find a balance between visual quality and performance. Lowering these settings reduces the amount of RAM needed for rendering and improves overall responsiveness.
5. Anti-aliasing and Post-processing: Anti-aliasing and post-processing effects can greatly impact graphical performance. Consider disabling or lowering these settings to reduce the load on your computer’s resources.
6. Disable V-Sync: Vertical Sync (V-Sync) is a feature that synchronizes the game’s frame rate with the refresh rate of your monitor. While it can help reduce screen tearing, it can also impact performance. Disabling V-Sync can free up resources and potentially increase RAM usage.
7. Apply and Test: Once you’ve made the desired adjustments, apply the changes, and test the game. Monitor the performance and assess if the changes have improved RAM usage and overall gameplay experience.
By optimizing PUBG’s graphical settings, you can reduce the strain on your computer’s resources and allocate more RAM for the game. This can result in improved performance, reduced lag, and a smoother gaming experience. However, keep in mind that lowering graphical settings may affect visual quality, so find the right balance that suits your preferences.
Now that you have adjusted PUBG’s graphical settings, let’s explore other methods to further increase RAM usage for the game.
Closing unnecessary background applications
When playing PUBG, closing unnecessary background applications can significantly increase RAM usage and improve game performance. By closing or disabling programs that are running in the background, you free up valuable system resources, including RAM, for PUBG to utilize. Here’s how you can close unnecessary background applications:
1. Task Manager: Open the Task Manager by pressing Ctrl + Shift + Esc or Ctrl + Alt + Delete and selecting Task Manager. In the Processes or Details tab, look for any applications that are using a significant amount of RAM or CPU resources. Right-click on these applications and select “End Task” to close them.
2. System Tray: Check the system tray area, located in the bottom-right corner of the taskbar, for any unnecessary applications that may be running. Right-click on their icons and choose “Exit” or “Close” to shut them down completely.
3. Startup Programs: Some applications automatically start with your computer, consuming system resources in the background. To disable unnecessary startup programs, open the Task Manager and go to the “Startup” tab. Here, you can disable programs that aren’t essential by right-clicking on them and selecting “Disable.”
4. Resource-hungry Programs: Identify any resource-intensive programs or processes that are running simultaneously with PUBG. These could include media players, web browsers with multiple tabs, or heavy system utilities. Close or minimize these applications to free up RAM and ensure that PUBG has maximum resources at its disposal.
5. Background Services: Apart from applications, various background services can consume RAM and affect game performance. To manage these services, open the Task Manager and go to the “Services” tab. Here, you can stop or disable services that are unnecessary for gameplay, but exercise caution and research any unfamiliar services before making changes.
6. Optimize Startup: Consider optimizing your computer’s startup process to reduce the number of background applications that launch automatically. You can do this by using built-in system tools like Task Manager or third-party programs that help manage startup processes, such as CCleaner or Autoruns.
By closing unnecessary background applications, you can free up RAM and other system resources to enhance PUBG’s performance. This optimizes your gaming experience, reduces the risk of lag or stuttering, and ensures that PUBG can utilize RAM efficiently.
Now that you’ve closed unnecessary background applications, let’s explore additional methods to further increase RAM usage for PUBG.
Overclocking your RAM
If you’re looking to push your computer’s performance even further and increase RAM usage for PUBG, you can consider overclocking your RAM. Overclocking involves running your RAM at a higher speed than its default settings, effectively increasing its performance. Here’s how you can overclock your RAM:
1. Research: Before proceeding with overclocking, it’s essential to research and understand the potential risks and limitations involved. Not all RAM modules or computer systems are capable of overclocking, and improper overclocking can result in instability or damage to your hardware.
2. BIOS Settings: Overclocking is done through your computer’s BIOS (Basic Input/Output System). Restart your computer and enter the BIOS by pressing the designated key during startup (typically Del, F2, or F10). Navigate to the section that offers RAM or memory settings.
3. Enable XMP/DOCP: Look for options like “XMP” (Intel) or “DOCP” (AMD) in the BIOS. These are memory profiles that automatically configure your RAM to run at its rated speed. Choose the appropriate XMP/DOCP profile to enable overclocking for your RAM.
4. Manual Overclocking: If XMP/DOCP profiles are not available or if you want to push your RAM further, you can manually overclock your RAM. Adjust the frequency and timings of your RAM in small increments, testing stability after each change. Keep in mind that manual overclocking requires careful tweaking to find the sweet spot for your specific RAM module.
5. Stress Testing: After applying the overclocking settings, stress test your system to ensure stability. Various stress testing tools, such as Prime95 or Memtest86, can help you check if your RAM overclock is stable and reliable. If instability or errors occur during the stress test, revert to the previous settings to avoid system issues.
6. Cooling Considerations: Overclocking generates more heat, so it’s essential to ensure that your computer’s cooling system is adequate. Monitor your RAM temperatures during overclocking and consider investing in additional cooling solutions, such as fans or liquid cooling, if necessary.
7. Caution: Overclocking can void warranties and may have detrimental effects on your hardware if done improperly. Proceed with caution, and make sure to follow expert advice or seek assistance from knowledgeable individuals if you’re unsure.
Overclocking your RAM can provide a noticeable boost in performance, increasing RAM usage for PUBG and other demanding applications. However, it’s crucial to approach overclocking with caution, thoroughly research your specific hardware, and understand the risks involved.
Now that you’ve explored overclocking as a method to increase RAM usage for PUBG, let’s move on to other techniques that can further optimize your gaming experience.
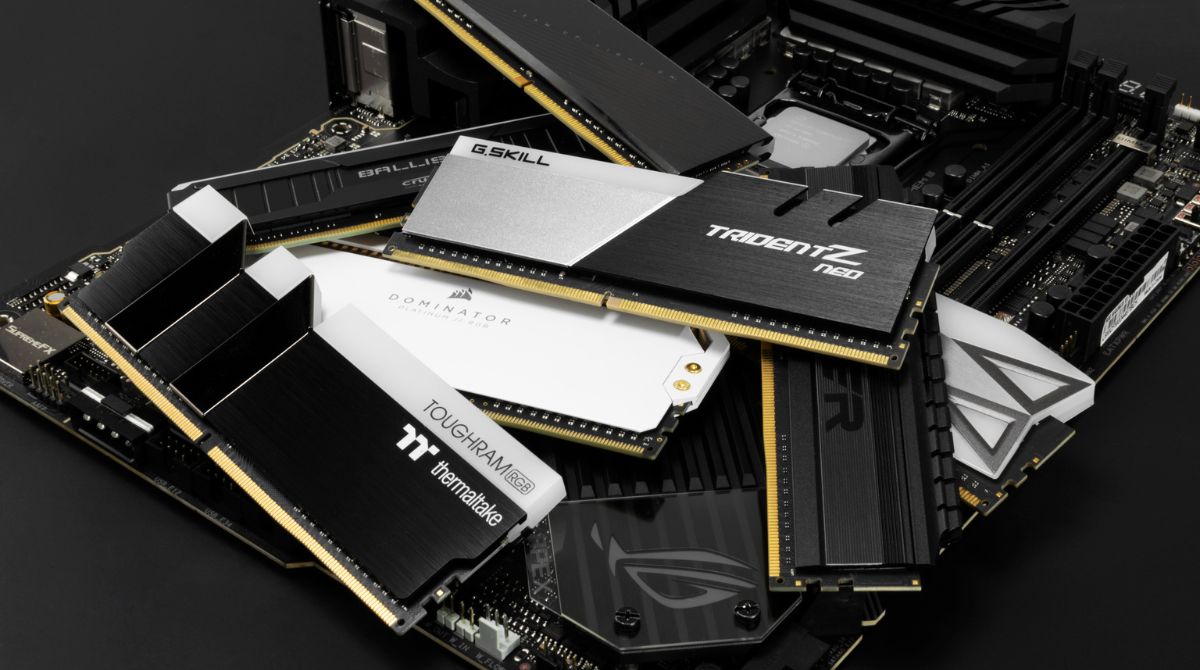
Adding more RAM to your computer
If your computer’s current RAM capacity is insufficient to meet the demands of PUBG, one of the most effective solutions is to add more RAM modules. Increasing the amount of RAM in your computer provides more space for PUBG to store and process data, resulting in improved performance and smoother gameplay. Here’s how you can add more RAM to your computer:
1. Determine compatibility: Before purchasing additional RAM, you need to determine the type, speed, and capacity supported by your computer. Check your computer’s documentation or manufacturer’s website to find the compatible RAM specifications.
2. Choose the right RAM: RAM modules come in different sizes and speeds. Select RAM modules that match the specifications of your computer and consider factors such as capacity, speed, and latency. It’s advisable to purchase RAM modules from reputable manufacturers to ensure quality and compatibility.
3. Shut down your computer: Turn off your computer and unplug it from the power source. This ensures safety and prevents any damage to your computer or RAM modules.
4. Open the computer case: Open your computer case by removing the side panel. Most cases have screws or latches that hold the panel in place. Consult your computer’s manual if you’re unsure how to open it.
5. Locate RAM slots: Identify the RAM slots on your computer’s motherboard. These slots are usually adjacent to each other and have plastic clips on either side to hold the RAM modules in place.
6. Insert the new RAM module: Gently push the RAM module into an empty RAM slot at a slight angle. The slot and module have notches that ensure proper alignment. Apply even pressure until the module clicks into place. Make sure the plastic clips on the sides lock into the module to secure it.
7. Repeat with more modules (if applicable): If you’re adding multiple RAM modules, repeat the process for each one, ensuring they are correctly seated and secured in the RAM slots.
8. Close the computer case: Once you’ve installed all the new RAM modules, carefully put the computer case’s side panel back on and secure it with screws or latches. Ensure that it is properly aligned and closed to avoid any loose connections.
9. Power on your computer: Plug your computer back into the power source and turn it on. Check the system information or Task Manager to confirm that the new RAM modules are detected and functioning correctly.
By adding more RAM to your computer, you provide PUBG with the necessary resources to run smoothly and efficiently. More RAM allows better multitasking capabilities, reduced load times, and overall improved performance.
Now that you’ve learned how to add more RAM to your computer, let’s explore the concluding section where we’ll recap the different methods to increase RAM usage for PUBG and their potential benefits.
Conclusion
Increasing RAM usage for PUBG can greatly enhance your gaming experience, providing smoother gameplay, reduced lag, and improved performance. In this article, we explored various methods to optimize RAM usage for PUBG, ensuring that your computer has sufficient resources to handle the game’s demands.
By checking your computer’s RAM capacity, you can assess whether any upgrades are needed. Adjusting PUBG’s graphical settings can reduce the strain on your computer’s resources and free up more RAM. Closing unnecessary background applications helps allocate maximum resources to PUBG. Overclocking your RAM can provide a significant boost in performance, but it should be approached with caution and proper research. Finally, adding more RAM to your computer increases its overall capacity and allows for better multitasking during gameplay.
Implementing these methods, either individually or in combination, can optimize RAM usage for PUBG and ultimately enhance your gaming experience. However, it’s essential to consider the specifications of your computer and the potential risks involved in certain methods, such as overclocking.
Remember, each computer setup is unique, and the effectiveness of these methods may vary. It’s recommended to experiment, monitor performance, and find the optimal settings that suit your specific hardware and preferences.
Now that you have a comprehensive understanding of how to increase RAM usage for PUBG, go ahead and apply these techniques to enjoy smoother gameplay, reduced lag, and an overall improved gaming experience.