Introduction
Welcome to our comprehensive guide on how to increase your RAM. If you’ve noticed that your computer is running slower than usual or struggling to handle multiple tasks, it may be time to consider upgrading your RAM. RAM, or Random Access Memory, plays a crucial role in the performance and speed of your computer.
RAM is essentially the short-term memory of your computer. It stores data that your CPU (Central Processing Unit) needs to access quickly. The more RAM your computer has, the more data it can store for immediate use, resulting in faster and smoother performance.
Upgrading your RAM can provide several benefits, including faster program execution, improved multitasking capabilities, and enhanced overall system responsiveness. Whether you’re a casual user who wants to streamline everyday tasks or an avid gamer or multimedia enthusiast looking for a performance boost, increasing your RAM can help meet your computing needs.
In this guide, we’ll walk you through the process of checking your current RAM, exploring various options to increase RAM, and optimizing your system to maximize its performance. Whether you’re a tech-savvy individual or a newcomer to computer hardware, we’ll provide step-by-step instructions and useful tips to make the process as easy as possible.
Before we dive into the details, it’s important to note that while increasing RAM can significantly improve your computer’s performance, it may not solve all performance issues. Factors such as older hardware, a lack of storage space, or a slow processor may also contribute to overall system sluggishness. However, upgrading your RAM is often a cost-effective and straightforward solution that can provide noticeable improvements.
Now that we have a general understanding of RAM and its benefits, let’s begin by checking your current RAM configuration to determine whether an upgrade is necessary.
Understanding RAM
RAM, or Random Access Memory, is a crucial component of your computer’s hardware. It serves as temporary storage for data that your computer needs to access quickly. Think of it as your computer’s short-term memory.
When you open a program or perform a task on your computer, the necessary data is loaded into RAM for quick access by the CPU. The more RAM your computer has, the more data it can store, which leads to faster and smoother performance.
RAM is different from long-term storage devices like hard drives or solid-state drives. While those storage devices retain information even when the computer is powered off, RAM is volatile memory, meaning it gets erased when the computer is shut down or restarted.
RAM operates at a much faster speed than hard drives or SSDs. This is because RAM modules are designed to allow for faster data retrieval, making it ideal for storing frequently accessed or actively used data. For example, when you have multiple programs running simultaneously, the data required for each program is stored in RAM, allowing your computer to quickly switch between them.
The size of RAM is typically measured in gigabytes (GB). Common configurations for consumer-grade computers range from 4GB to 32GB or more, with some high-end systems even offering 64GB or 128GB of RAM.
It’s important to note that increasing your RAM doesn’t directly affect the size of your storage capacity. If you need more space to store files and documents, you’ll need to consider upgrading your hard drive or SSD separately.
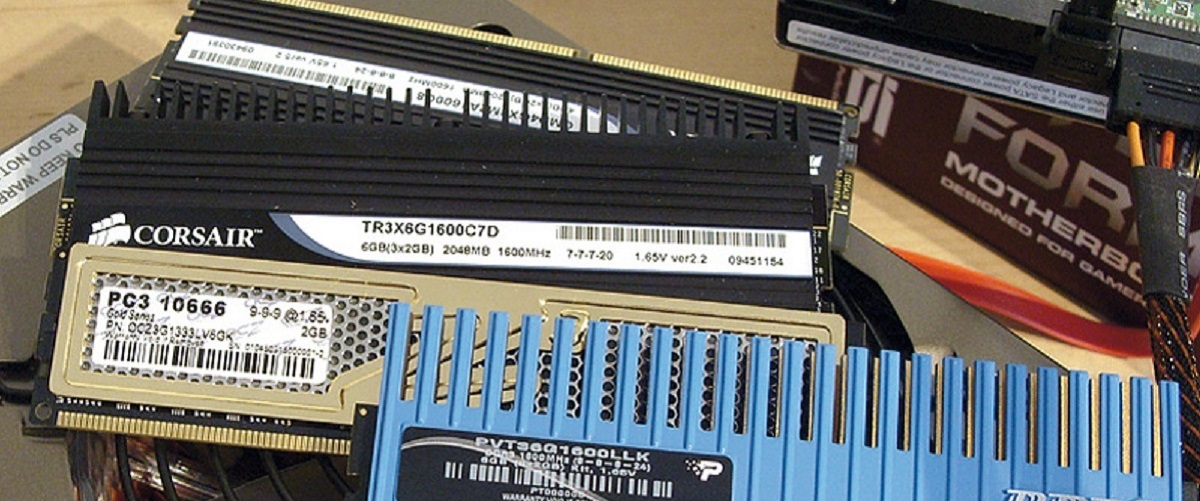
Additionally, it’s worth mentioning that the type and speed of your RAM also impact performance. Different generations of RAM, such as DDR3 or DDR4, offer varying data transfer speeds. It’s essential to check your computer’s compatibility and choose the right type and speed of RAM when upgrading.
By understanding the role and function of RAM in your computer, you can make informed decisions about upgrading to improve overall system performance. In the next section, we’ll discuss the benefits of increasing your RAM and how it can enhance your computing experience.
Benefits of Increasing RAM
Increasing your computer’s RAM can provide various benefits that can significantly improve its overall performance. Let’s explore some of the key advantages of upgrading your RAM:
1. Improved Multitasking: With more RAM, your computer can handle multiple tasks simultaneously without experiencing a significant decrease in performance. This means you can have multiple applications open at the same time, switch between them seamlessly, and work more efficiently.
2. Faster Program Execution: A larger amount of RAM allows your computer to store and access more data quickly, resulting in faster program execution. This is especially beneficial for resource-intensive applications like video editing software, graphic design programs, and gaming applications.
3. Enhanced System Responsiveness: When your computer has sufficient RAM, it can keep more data readily available for quick retrieval. This results in a more responsive system, with faster loading times for applications, websites, and files.
4. Smoother Gaming Experience: Gamers can benefit greatly from increased RAM. Games often require significant amounts of memory to store game assets and perform complex calculations. By upgrading your RAM, you can experience smoother gameplay, reduced lag, and quicker loading times.
5. Efficient Virtual Machines: If you frequently use virtual machine software to run multiple operating systems or test software, more RAM will improve their performance. Virtual machines require a dedicated amount of memory to operate smoothly, and increasing your RAM will allow for a more efficient and seamless virtualization experience.
6. Future-Proofing Your System: Software requirements are constantly evolving, and newer applications often demand more RAM to run optimally. By upgrading your RAM, you ensure that your computer can meet the demands of future software updates and releases without the need for immediate upgrades.
7. Reduced Hard Drive Activity: When your computer has sufficient RAM, it can store more data in memory, reducing the need to constantly access information from the hard drive. This can result in less hard drive activity, which can extend its lifespan and contribute to a quieter computing experience.
8. Improved Browsing Experience: Web browsing can be resource-intensive, especially when you have multiple tabs open or are working with content-rich websites. Increasing your RAM allows your computer to cache more website data, resulting in faster page loading times and a smoother browsing experience.
By upgrading your RAM, you can unlock the potential of your computer and enjoy improved performance across various tasks and applications. In the next section, we’ll guide you through the process of checking your current RAM configuration to determine if an upgrade is necessary.
Checking Your Current RAM
Before you proceed with upgrading your RAM, it’s essential to determine the current configuration of your computer’s memory. This will help you understand the type and amount of RAM you currently have and whether an upgrade is necessary. Here’s how you can check your current RAM:
1. Task Manager (Windows): On Windows, you can use the Task Manager to view information about your RAM. Right-click on the taskbar and select “Task Manager.” Navigate to the “Performance” tab and click on “Memory” in the sidebar. Here, you’ll find details such as the total installed memory, the amount of memory in use, and other useful information.
2. About This Mac (MacOS): On a Mac, you can find information about your RAM by clicking on the Apple menu in the top left corner and selecting “About This Mac.” In the window that appears, click on the “Overview” tab and then select “Memory.” Here, you’ll find details about your installed RAM, including the type and amount.
3. System Information (Linux): On Linux systems, you can use the System Information utility to check your RAM configuration. The path and name of the utility may vary depending on the Linux distribution you’re using. Typically, you can find it by searching for “System Information” in your application menu. Once opened, look for the “Memory” or “RAM” section to view details about your current RAM.
In addition to these built-in system tools, there are also third-party software applications available that provide more detailed information about your computer’s hardware, including RAM. Some popular options include CPU-Z, Speccy, and HWiNFO.
When checking your current RAM, take note of the total installed memory, the number of RAM slots being used, and the available capacity for adding more RAM. This information will guide you in choosing the appropriate RAM upgrade options.
If you find that your current RAM capacity is insufficient for your needs or that you have unused RAM slots available, it may be time to consider upgrading your RAM. In the next section, we’ll discuss various options you can explore to increase your computer’s RAM capacity.
Options to Increase RAM
When it comes to increasing your computer’s RAM, there are several options to consider. Whether you’re looking for a simple and cost-effective upgrade or require a more advanced solution, here are some options to increase your RAM capacity:
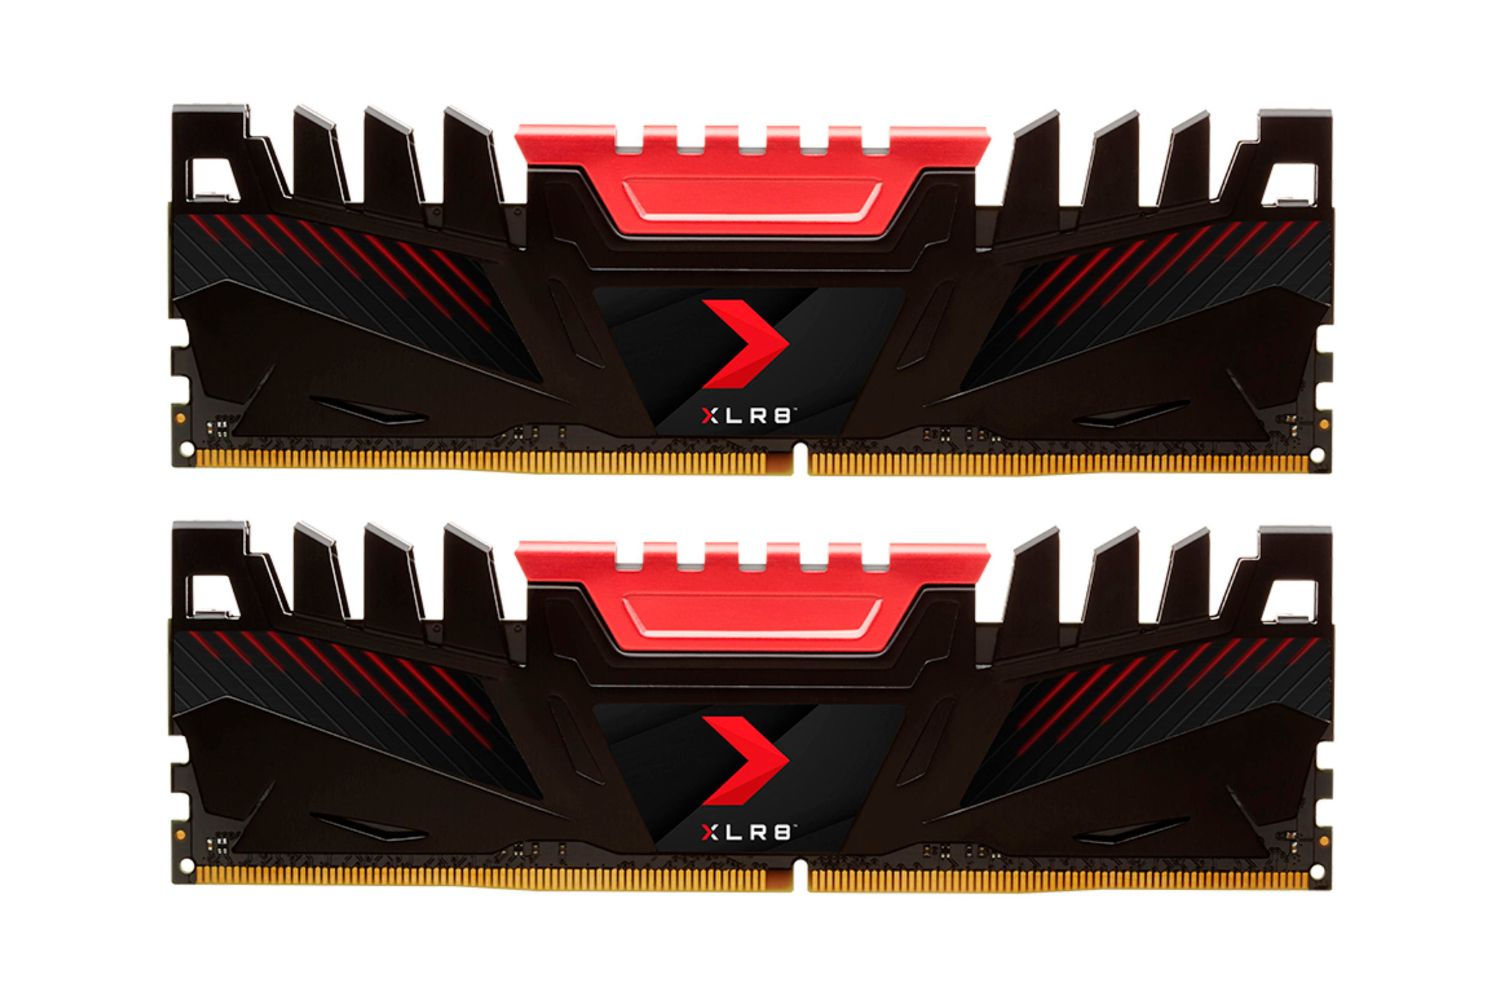
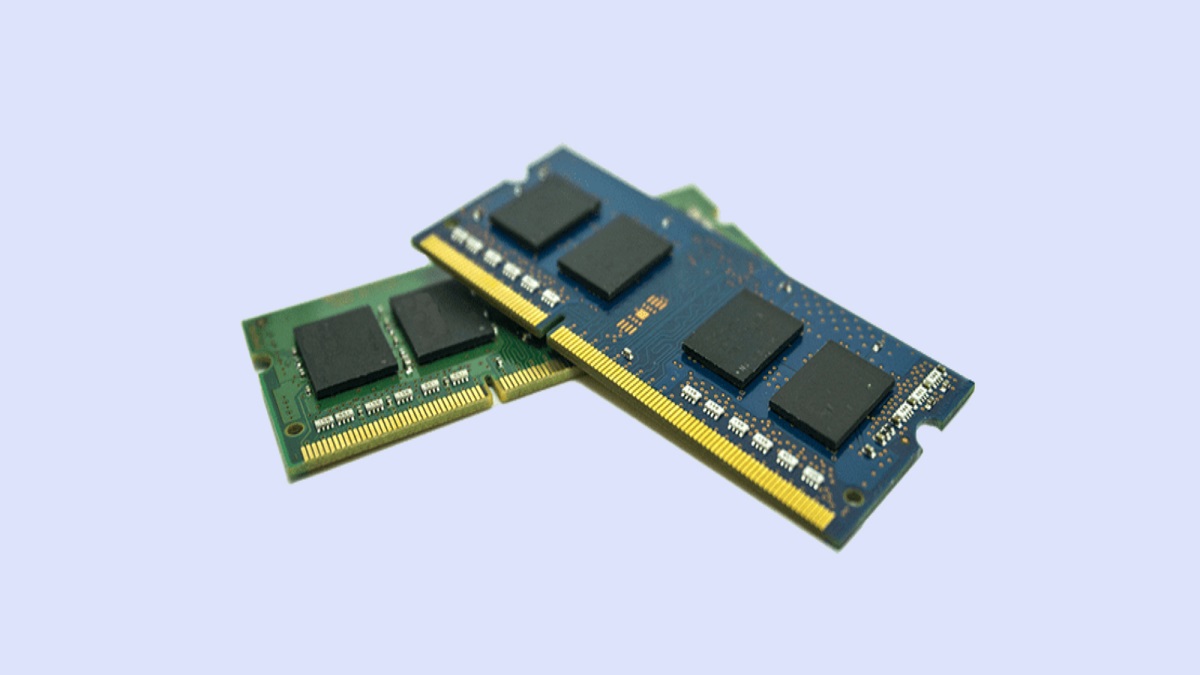
1. Installing Additional RAM Modules: The most common and straightforward method to increase RAM is by installing additional RAM modules. If your computer has unused RAM slots, you can simply purchase compatible RAM modules and insert them into the vacant slots. It’s essential to ensure that the new RAM modules are compatible with your system and match the specifications of your existing RAM.
2. Upgrading Your Operating System: In some cases, upgrading your operating system may allow you to take advantage of higher RAM capacities. Older versions of operating systems may have limitations on the maximum RAM they can support. By upgrading to a newer version, you may gain access to higher RAM capacities and improved performance.
3. Optimizing Your Current RAM Usage: Before deciding to upgrade your RAM, it’s worth assessing how efficiently your current RAM is being used. You can optimize its usage by clearing temporary files, removing unnecessary startup programs, and minimizing the number of active applications running in the background. By freeing up memory resources, you may be able to improve overall system performance without the need for additional RAM.
4. Using Virtual Memory: Virtual memory is a feature that allows your computer to use part of your hard drive as additional RAM. It can help compensate for limited physical RAM by temporarily storing data that doesn’t fit in RAM. While virtual memory can be slower than physical RAM, it can provide a temporary solution when you need to run memory-intensive applications or tasks.
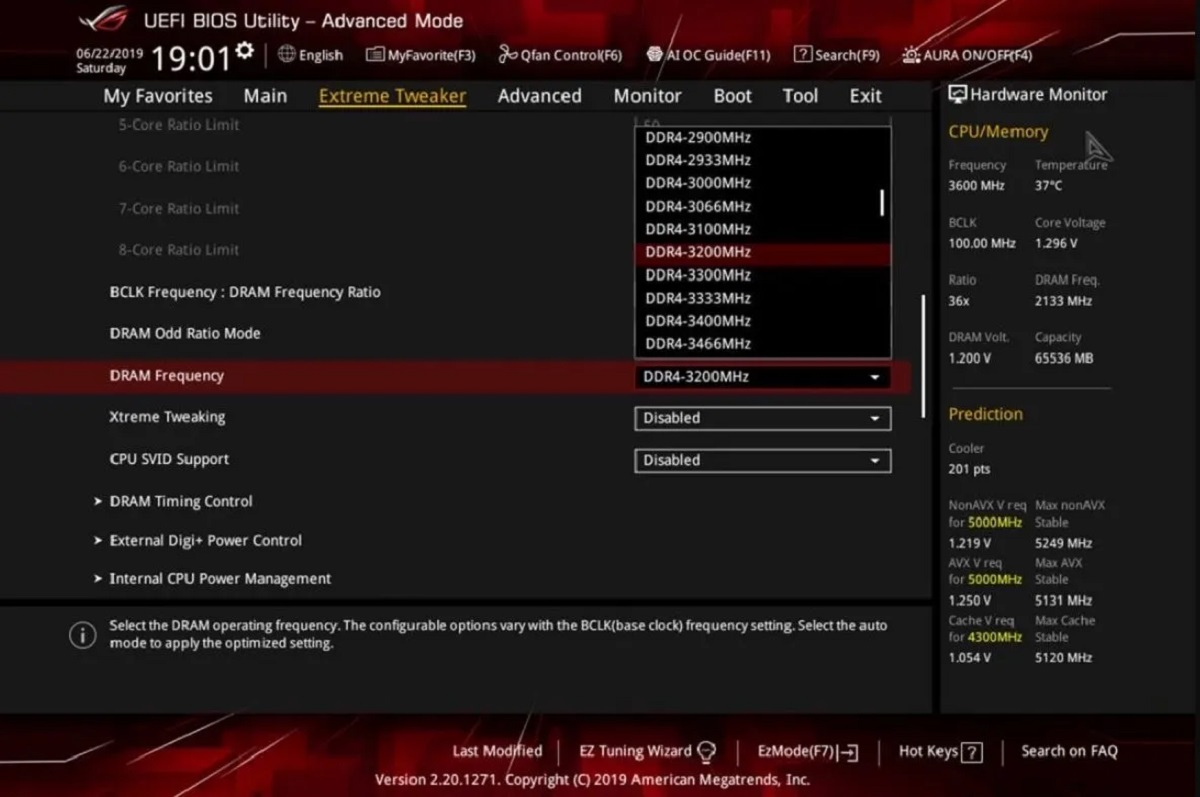
5. Upgrading to High-Performance RAM: If you already have sufficient RAM capacity but still experience slow performance, consider upgrading to high-performance RAM modules. These modules offer faster data transfer speeds, which can lead to improved overall system responsiveness. However, it’s important to ensure that your computer’s motherboard supports the higher-speed RAM before making the upgrade.
Before proceeding with any RAM upgrade, it’s advisable to consult your computer’s user manual or contact the manufacturer for specific instructions and compatibility information. Additionally, it’s recommended to purchase RAM modules from reputable manufacturers to ensure compatibility and reliability.
Now that you’re familiar with the options available to increase your RAM, the next sections will provide detailed instructions on how to implement some of these options. We’ll guide you through the process of installing additional RAM modules, upgrading your operating system, and optimizing your current RAM usage.
Installing Additional RAM Modules
If you have available RAM slots in your computer, installing additional RAM modules is a straightforward way to increase your RAM capacity. Here’s a step-by-step guide on how to install extra RAM:
1. Check your computer’s compatibility: Before purchasing new RAM modules, determine the type of RAM compatible with your computer. Check your computer’s manual or manufacturer’s website to find the supported RAM type, such as DDR3 or DDR4.
2. Purchase the appropriate RAM modules: Once you know the compatible RAM type, choose the desired capacity based on your needs and budget. Common sizes include 4GB, 8GB, and 16GB, but higher capacities are available for high-demand applications.
3. Power off your computer: Ensure your computer is turned off and disconnected from any power source to prevent any electrical damage during the installation process.
4. Open your computer case: Depending on your computer’s model, you may need to remove a side panel or unscrew a specific panel to access the internal components. Consult your computer’s manual or refer to online tutorials for guidance on properly opening your specific computer case.
5. Locate the RAM slots: Look for the existing RAM slots on your computer’s motherboard. Typically, you’ll find them near the CPU. The number of slots can vary, with most desktop computers having two to four slots.
6. Insert the RAM modules: Take the new RAM modules out of their packaging and hold them by the edges to avoid touching the gold connectors. Align the notch on the module with the slot on the motherboard and gently insert the module into the slot at a 45-degree angle. Apply even pressure on both ends until it clicks into place. Repeat the process for any additional modules.
7. Secure the RAM: After inserting the RAM modules, push them down firmly until the clips or latches on the sides of the slots snap into place. This ensures that the modules are securely installed and will function properly.
8. Close the computer case: Carefully put the side panel back on or reattach the panel you removed to access the internal components. Make sure it is properly aligned and securely fastened to prevent any dust or debris from entering the system.
9. Power on your computer: Once you’re confident everything is securely in place, reconnect your computer to the power source and power it on. The system should detect the new RAM modules automatically, and you can verify the installation by checking your system properties or using system information tools.
Installing additional RAM modules is a cost-effective way to boost your computer’s performance and improve multitasking capabilities. If you’re not comfortable performing the installation yourself, it’s recommended to seek assistance from a professional technician.
In the next section, we’ll discuss upgrading your operating system as another option to increase your RAM capacity.
Upgrading Your Operating System
Another option to consider when looking to increase your RAM capacity is upgrading your operating system. Upgrading to a newer version may provide access to higher RAM limits and improved performance. Here’s how you can upgrade your operating system:
1. Check system requirements: Before proceeding with an operating system upgrade, ensure that your computer meets the minimum system requirements for the new version. Visit the official website of your operating system or consult the documentation to confirm compatibility.
2. Backup your data: Before performing any system upgrades, it is crucial to backup all of your important data. This ensures that you have a copy of your files in case of any issues or data loss during the upgrade process.
3. Check for updates: Start by checking for any available updates for your current operating system. This ensures that your system is up to date before proceeding with the upgrade. Look for software updates in the system settings, control panel, or software update utility specific to your operating system.
4. Obtain the new operating system: Determine the version or edition of the operating system you want to upgrade to. You can usually purchase the latest version from official software vendors or download it online if it is freely available. Make sure to obtain a legitimate copy from a trusted source.
5. Follow the installation instructions: Each operating system has its own installation process, so refer to the documentation or setup wizard provided with the upgrade. In most cases, you will need to run an installation file or boot from an installation disk or USB drive. Follow the on-screen prompts and carefully read and accept the licensing terms.
6. Upgrade process: The upgrade process may involve several steps, such as configuring settings, selecting installation options, and transferring files. Be prepared for the installation to take some time, as it may involve multiple restarts and configuration updates.
7. Verify the new operating system: Once the upgrade is complete, verify that the new operating system is installed successfully. Check the system properties or use the “About” section in the operating system settings to confirm the version and details of the newly installed operating system.
Upgrading your operating system can bring not only higher RAM limits but also new features, improved security, and enhanced performance. However, it’s important to note that upgrading the operating system alone may not provide a significant increase in RAM capacity if the hardware limitations of your computer prevent it.
If your computer’s hardware is not compatible with a newer operating system, or if the RAM limitations are still too low for your needs, consider exploring other options, such as installing additional RAM modules.
In the next section, we’ll discuss optimizing your current RAM usage to maximize its performance.
Optimizing Your Current RAM Usage
If you’re experiencing sluggish performance or running out of RAM, optimizing your current RAM usage can help maximize its performance. By clearing temporary files, removing unnecessary startup programs, and utilizing virtual memory, you can make the most of the available RAM. Here are some ways to optimize your current RAM usage:
1. Clear Temporary Files: Temporary files accumulate over time and can take up valuable space in your RAM. Use the Disk Cleanup utility on Windows or the “Empty Trash” feature on macOS to remove unnecessary temporary files, caches, and junk files.
2. Remove Unnecessary Startup Programs: Many applications automatically launch during startup, consuming valuable RAM resources. Review the list of startup programs and disable any that you don’t need to run at startup. On Windows, use the Task Manager or System Configuration utility, while on macOS, go to System Preferences > Users & Groups > Login Items to manage startup applications.
3. Minimize Active Applications: Running multiple resource-intensive applications simultaneously can strain your RAM. Close any unused applications to free up RAM for the tasks you are currently working on.
4. Use Virtual Memory: Virtual memory can help compensate for limited RAM by using a portion of your hard drive as additional memory. On Windows, you can adjust the virtual memory settings by going to System Properties > Advanced System Settings > Performance Settings > Advanced > Change. On macOS, virtual memory is managed automatically and typically does not require manual adjustment.
5. Update System and Applications: Keeping your operating system and applications up to date ensures that they are optimized for the latest performance improvements. Check for updates regularly and apply them to benefit from bug fixes and optimizations that can indirectly improve RAM utilization.
6. Reduce Visual Effects: Visual effects, such as animations and transparency, can consume system resources, including RAM. Adjust the visual effects settings on your operating system to optimize performance and reduce RAM usage. On Windows, you can access these settings through the System Control Panel under Performance Options. On macOS, go to System Preferences > Dock and uncheck “Animate opening applications” and “Automatically hide and show the Dock” to minimize visual effects.
7. Close Browser Tabs and Extensions: Web browsers can be memory-intensive, especially with multiple open tabs and extensions. Limit the number of open tabs and disable or remove unnecessary browser extensions to free up RAM resources.
8. Restart Your Computer Regularly: Restarting your computer periodically clears the RAM and allows your system to start fresh. This helps prevent memory leaks and ensures optimal RAM usage.
By optimizing your current RAM usage, you can make the most of the available resources and improve the performance of your computer. However, keep in mind that optimizing RAM usage may only provide incremental improvements, and if you require more RAM capacity, upgrading your RAM by installing additional modules is the recommended solution.
In the next section, we’ll conclude the guide and provide some final thoughts on increasing your RAM capacity and maximizing your computer’s performance.
Clearing Temporary Files
Clearing temporary files is an effective way to free up valuable space in your computer’s RAM. Temporary files are created by various programs and applications during regular usage, and over time, they can accumulate and consume a significant amount of memory. By removing these unnecessary files, you can optimize your RAM usage and improve overall system performance. Here’s how to clear temporary files on different operating systems:
Windows:
Windows provides a built-in utility called Disk Cleanup that allows you to remove temporary files. Follow these steps to clear temporary files on a Windows PC:
- Press the Windows key + R to open the Run dialog box.
- Type “cleanmgr” and press Enter to open the Disk Cleanup utility.
- Select the drive where your operating system is installed (usually C:).
- Click on “OK” and wait for the utility to calculate the amount of space that can be freed.
- Check the box next to “Temporary files” and any other file types you want to remove.
- Click on “OK” and then “Delete Files” to confirm the deletion.
macOS:
On macOS, temporary files can be cleared manually by emptying the Trash or using third-party cleaning utilities. To manually clear temporary files:
- Click on the “Finder” icon in the Dock.
- In the menu bar, click on “Finder” and select “Empty Trash” or press Command + Shift + Delete.
- A confirmation dialog will appear. Click on “Empty Trash” to permanently remove the files.
Linux:
The process of clearing temporary files on Linux may vary depending on the distribution you are using. In most cases, you can use the following commands in the terminal:
sudo apt-get autoclean
sudo apt-get clean
sudo apt-get autoremove
These commands will remove temporary files, clean the package cache, and remove unnecessary dependencies from your system.
Regularly clearing temporary files is a good practice to prevent their accumulation and ensure optimal usage of your computer’s resources. Consider automating the process by using third-party cleaning tools that can schedule automatic cleanup tasks. Just ensure you choose a reputable tool from a trusted source.
By incorporating regular temporary file cleanups into your computer maintenance routine, you can optimize your RAM usage, improve system performance, and create a smoother computing experience.
In the next section, we’ll discuss removing unnecessary startup programs as another way to optimize your RAM usage and boost your computer’s performance.
Removing Unnecessary Startup Programs
Removing unnecessary startup programs is a simple yet effective way to optimize your computer’s RAM usage and improve its overall performance. Many applications automatically launch during startup, consuming valuable memory resources that could be better utilized for your immediate tasks. By disabling or removing these unnecessary startup programs, you can free up RAM and reduce the strain on your system. Here’s how to remove unnecessary startup programs on different operating systems:
Windows:
On Windows, you can manage startup programs using the built-in System Configuration utility. Follow these steps to remove unnecessary startup programs:
- Press the Windows key + R to open the Run dialog box.
- Type “msconfig” and press Enter to open the System Configuration utility.
- Navigate to the “Startup” tab.
- You will see a list of programs that start automatically with Windows.
- Deselect the checkboxes next to programs that you want to disable from starting up.
- Click on “Apply” and then “OK” to save the changes.
- A system restart may be required for the changes to take effect.
macOS:
On macOS, you can manage startup programs through the “Users & Groups” settings. Follow these steps to remove unnecessary startup programs:
- Click on the Apple menu and select “System Preferences.”
- Choose “Users & Groups.”
- Select your user account.
- Navigate to the “Login Items” tab.
- You will see a list of programs that start automatically during login.
- Select the program you want to remove and click on the “-” button below the list.
- Repeat this process for each program you want to remove.
Linux:
The process of removing startup programs on Linux may vary depending on the desktop environment you are using. In general, you can follow these steps:
- Open your system’s “Settings” or “Preferences.”
- Look for the “Startup Applications” or similar option.
- You will see a list of programs that start automatically during login.
- Select the program you want to remove and disable it or remove it from the list.
- Repeat this process for each program you want to remove.
By removing unnecessary startup programs, you can prevent them from consuming memory resources and potentially slowing down your computer. However, exercise caution when disabling startup programs, as some may be necessary for the proper functioning of certain applications or services.
Regularly reviewing and optimizing the programs that launch alongside your operating system can significantly improve RAM usage and overall system performance. It’s a good practice to periodically reassess the relevance and necessity of the startup programs to ensure optimal system efficiency.
In the next section, we’ll discuss using virtual memory as an option to expand your computer’s RAM capacity.
Using Virtual Memory
If you’re looking to expand your computer’s RAM capacity without physically adding more memory modules, using virtual memory can be a helpful solution. Virtual memory allows your computer to use a portion of your hard drive as additional memory, effectively increasing the available memory space. Although virtual memory is slower than physical RAM, it can provide temporary relief for memory-intensive tasks. Here’s how to use virtual memory on different operating systems:
Windows:
On Windows, virtual memory settings can be adjusted through the System Properties. Follow these steps to configure virtual memory:
- Right-click on the “This PC” or “My Computer” icon on your desktop and select “Properties.”
- In the left sidebar, click on “Advanced system settings.”
- In the System Properties window, navigate to the “Advanced” tab.
- Click on “Settings” under the “Performance” section.
- In the Performance Options window, go to the “Advanced” tab.
- Under the “Virtual memory” section, click on “Change.”
- Uncheck the box that says “Automatically manage paging file size for all drives.”
- Select the drive where you want to configure the virtual memory.
- Select the option “Custom size” and enter the initial and maximum size for the virtual memory.
- Click on “Set” and then “OK” to save the changes.
- Restart your computer for the changes to take effect.
macOS:
On macOS, virtual memory is managed automatically, and manual adjustment is typically not required. However, you can still check the virtual memory settings through the System Preferences. Follow these steps:
- Click on the Apple menu and select “System Preferences.”
- Choose “Memory” or “Energy Saver” depending on your macOS version.
- In the window that appears, you’ll see information about memory usage and virtual memory.
Linux:
On Linux, the management of virtual memory is also typically automatic. However, you can modify the swappiness value to influence how aggressively the system uses virtual memory. The swappiness value can be adjusted through the terminal using the following command:
sudo sysctl vm.swappiness=value
Replace value with a number indicating the desired swappiness value. Higher values (e.g., 70) make the system more likely to use virtual memory, while lower values (e.g., 10) prioritize physical RAM over virtual memory.
Using virtual memory can help compensate for limited physical RAM, especially in memory-intensive tasks or when running multiple applications simultaneously. However, it’s important to note that relying heavily on virtual memory can result in performance degradation, as the hard drive is slower than physical RAM. Ultimately, adding more physical RAM is the preferred solution to achieve optimal system performance.
In the next section, we’ll conclude the guide and provide some final thoughts on increasing your RAM capacity and maximizing your computer’s performance.
Conclusion
Increasing your computer’s RAM capacity can significantly improve its performance and responsiveness, allowing you to handle more demanding tasks and applications smoothly. Throughout this guide, we’ve explored various options to increase your RAM, optimize its usage, and enhance your overall computing experience.
We started by understanding the role of RAM and its benefits in the performance of your computer. By having a solid grasp of how RAM works, you can make informed decisions when it comes to upgrading or optimizing its usage.
We then discussed the different options available to increase your RAM capacity. Installing additional RAM modules is a common and straightforward method, providing a direct boost to your computer’s memory. Upgrading your operating system may also allow access to higher RAM limits, depending on the version you’re currently using.
Optimizing your current RAM usage is another crucial step to maximize its potential. By clearing temporary files, removing unnecessary startup programs, and utilizing virtual memory, you can free up memory resources and enhance overall system performance.
Remember that while optimizing your RAM usage can provide incremental improvements, it may not entirely replace the need for physical RAM upgrades. Adding more RAM through installation allows your system to handle more data simultaneously and significantly improve multitasking capabilities.
Before making any changes to your computer’s RAM configuration or operating system, always ensure that you’re following compatibility guidelines, backing up your data, and seeking professional help when needed.
By implementing the strategies outlined in this guide, you can make the most of your computer’s RAM, unlock its full potential, and enjoy a more efficient and responsive computing experience.
Thank you for joining us on this journey to increase your RAM capacity and optimize your computer’s performance. We hope this guide has provided you with the knowledge and tools to make informed decisions about upgrading and maximizing your RAM.