Introduction
Welcome to our guide on how to dedicate more RAM to your graphics card. If you’re an avid gamer, a graphic designer, or someone who works with resource-intensive applications, you may have experienced the need for increased graphics card performance. One way to enhance your graphics card’s capabilities is by allocating more RAM to it.
RAM, or Random Access Memory, is a crucial component in any computer system. It serves as temporary storage for data that the CPU needs to access quickly. This includes software applications, operating system processes, and data files. When it comes to graphics-intensive tasks, having an ample amount of RAM is essential for smooth gameplay, faster rendering, and a more responsive computer overall.
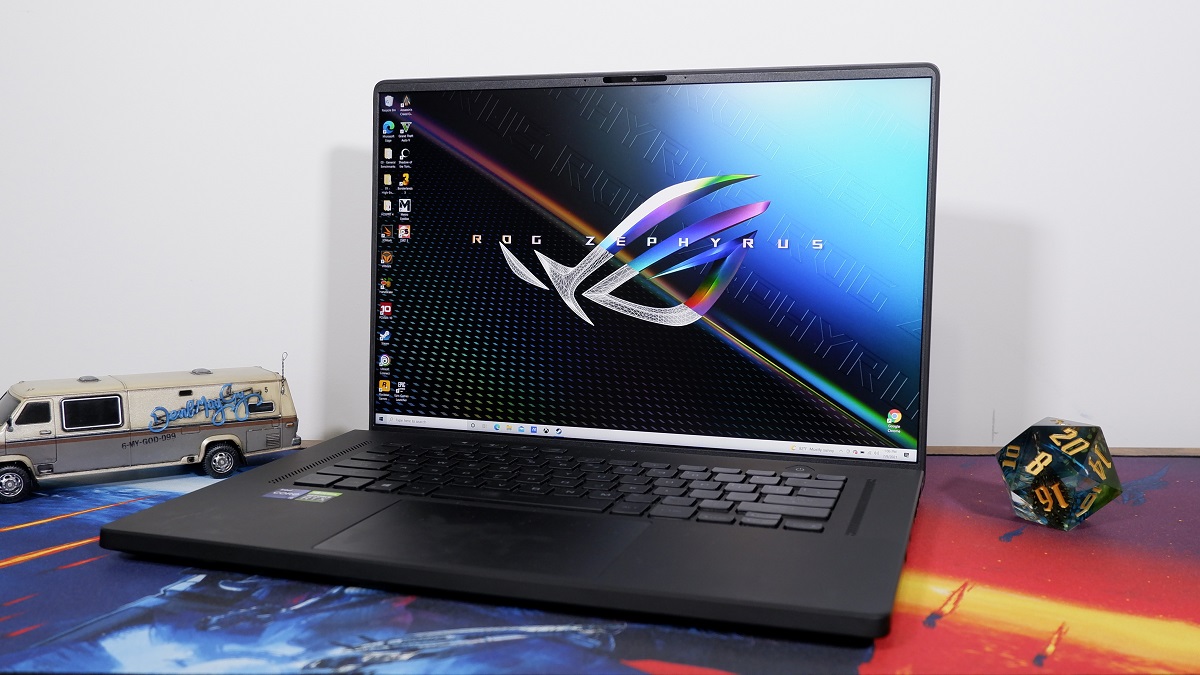
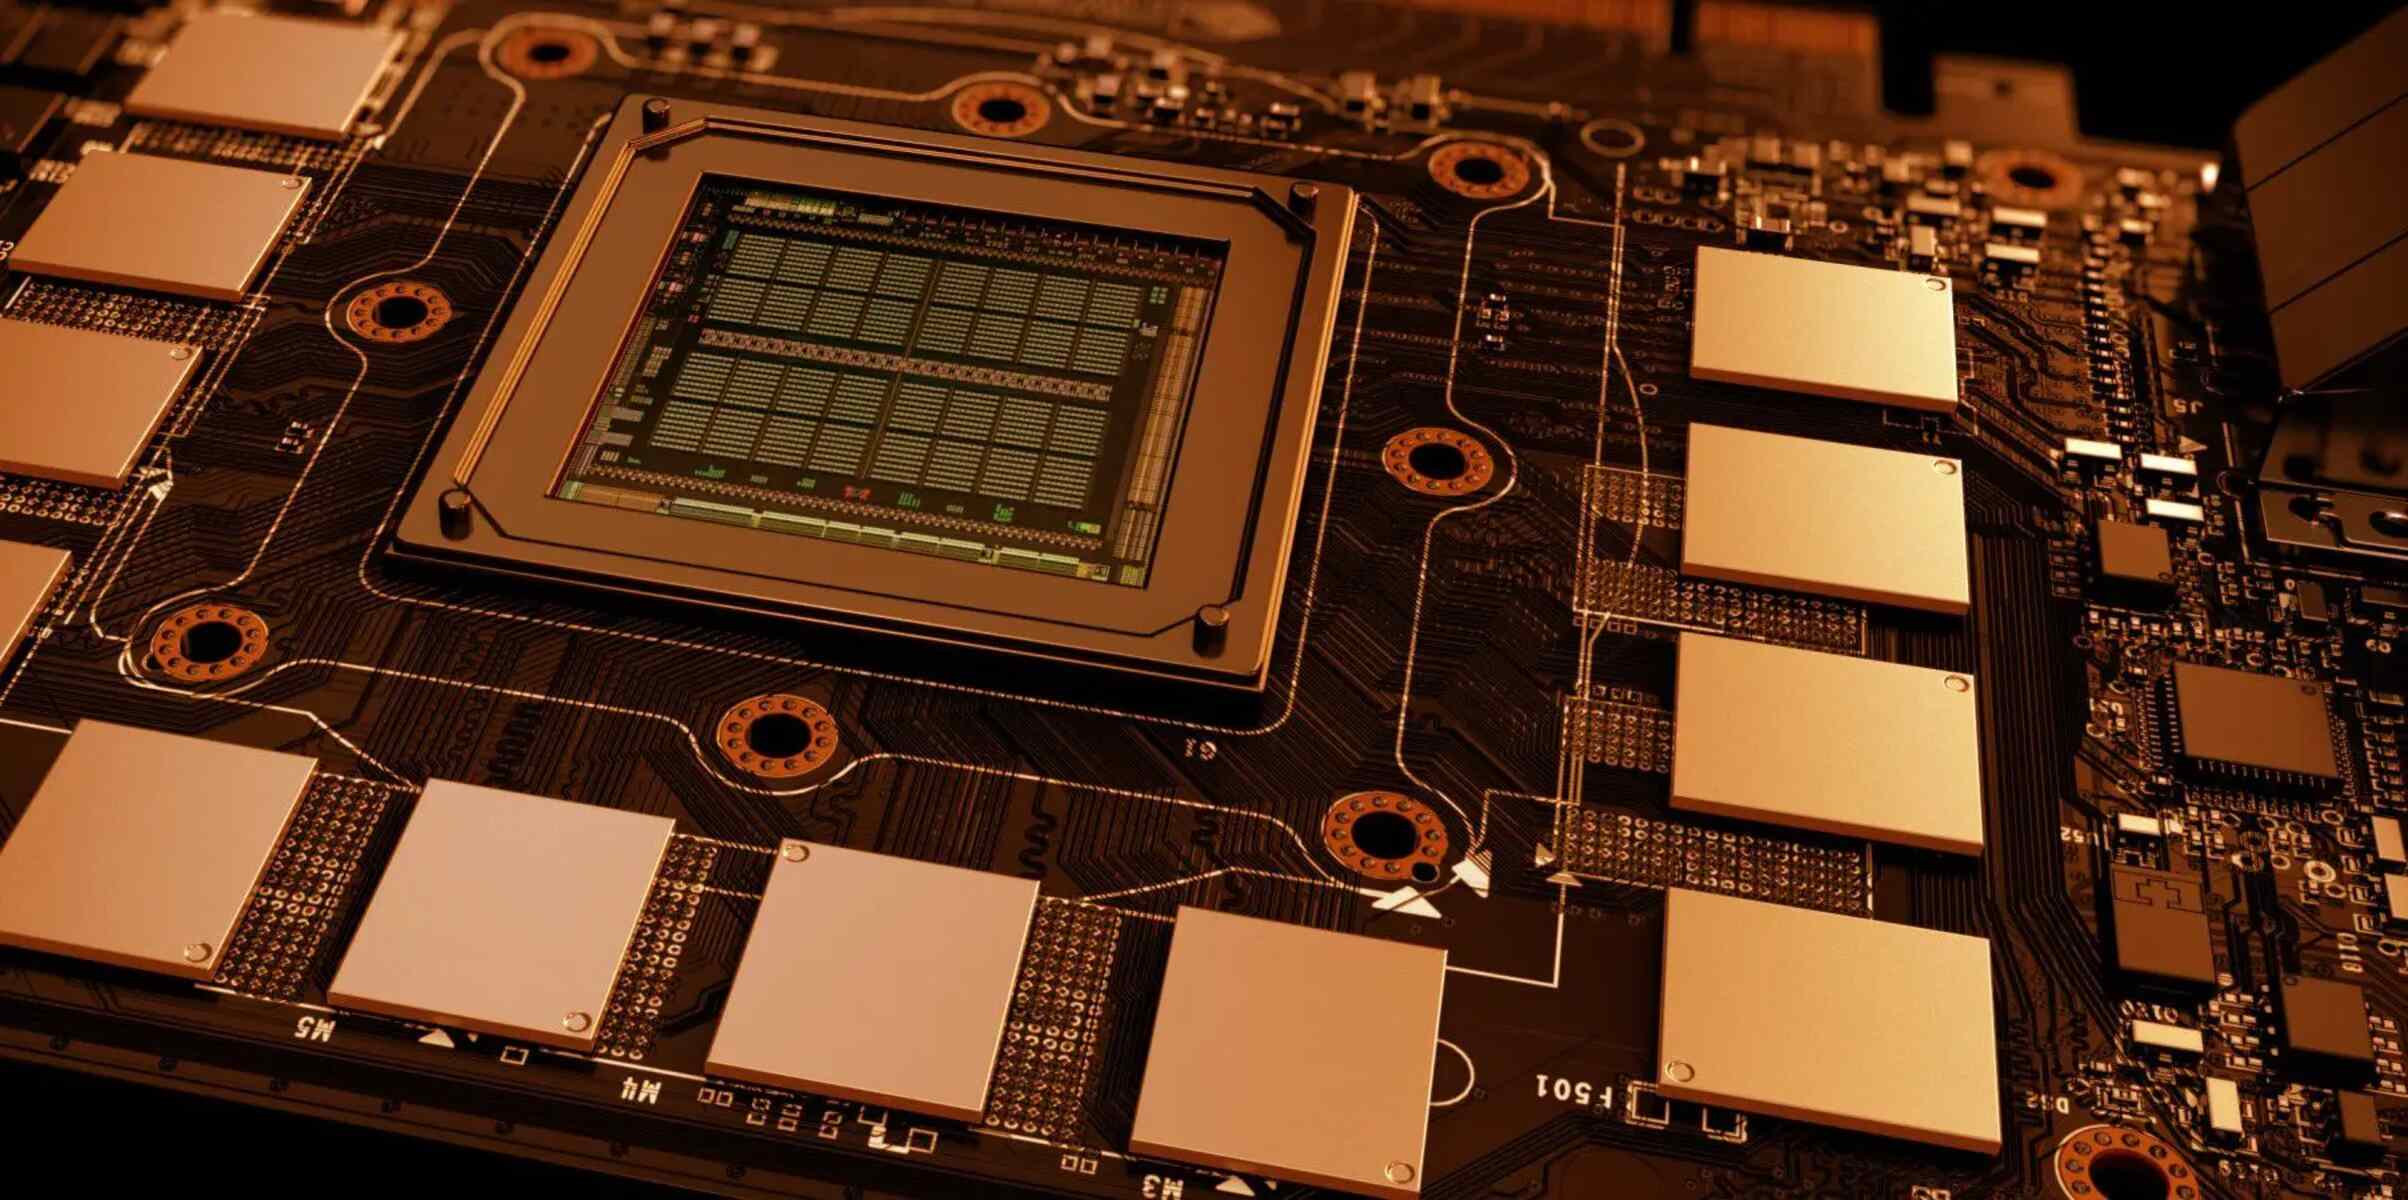
A graphics card, also known as a video card or GPU (Graphics Processing Unit), is responsible for rendering and displaying images on your computer’s monitor. It works in conjunction with the CPU to handle complex graphical calculations and provide high-quality visuals. Depending on your specific graphics card model, it may come equipped with its own dedicated RAM for handling graphic-related tasks.
Increasing the dedicated RAM for your graphics card can result in several benefits. Firstly, it allows the graphics card to handle larger and more complex textures, resulting in improved graphics quality and rendering speed. It also reduces the strain on the system RAM, ensuring that there is enough memory available for other tasks. Additionally, increasing the dedicated RAM can enhance the performance of resource-intensive applications and provide a smoother gaming experience.
Before diving into the methods of increasing the dedicated RAM for your graphics card, it’s important to check your current GPU RAM allocation. This will help you determine if there is a need for adjustment and how much additional RAM you should allocate. Next, we will discuss various methods you can use to modify the dedicated RAM settings, including adjusting BIOS/UEFI settings, modifying registry settings, or using third-party software.
However, it’s crucial to consider a few factors before dedicating more RAM to your graphics card. Depending on the specifications of your computer and the available RAM, dedicating too much RAM to your graphics card may cause instability issues, impacting overall system performance. It’s essential to find the right balance to achieve optimal performance without compromising the stability and functionality of your computer.
In the following sections, we will explain each method in detail and provide step-by-step instructions on how to increase the dedicated RAM for your graphics card. Let’s get started!
What is RAM?
RAM, short for Random Access Memory, is a fundamental component in any computer system. It plays a crucial role in the overall performance and functionality of your computer. RAM serves as temporary storage for data that the CPU (Central Processing Unit) can access quickly, allowing for faster and more efficient operations.
When you open an application or run a program, it gets loaded into the RAM, enabling the CPU to access the necessary data swiftly. Think of RAM as a workspace that the CPU uses to temporarily store and manipulate data while performing tasks. The more RAM your computer has, the more data it can hold in its workspace, resulting in improved performance and multitasking capabilities.
RAM is different from storage devices such as hard disk drives (HDD) or solid-state drives (SSD). While storage devices provide long-term storage for files and data even when the computer is powered off, RAM loses its contents once the power is turned off or the computer is restarted. This is why it’s referred to as “volatile memory.”
The size of RAM is measured in gigabytes (GB) or megabytes (MB). Modern computers generally come with several gigabytes of RAM to meet the demands of contemporary software applications and operating systems. However, the amount of RAM required varies depending on the specific tasks you perform on your computer.
RAM plays a vital role in gaming, as many games have high memory requirements due to complex graphics, audio, and AI calculations. When playing a game, having sufficient RAM allows for smoother gameplay, faster loading times, and reduced lag. It enables the game to load more textures and assets into memory, enhancing the overall visual experience.
In addition to gaming, RAM is equally important for other resource-intensive applications such as video editing, graphic design, 3D modeling, and virtualization. These applications often require a significant amount of memory to operate smoothly, handle large files, and perform complex calculations.
In summary, RAM is a vital component of your computer system. It provides temporary storage for data that the CPU needs to access quickly. Having an ample amount of RAM is essential for improved performance, multitasking capabilities, and seamless operation of resource-intensive applications. Understanding the role of RAM is crucial when it comes to increasing its allocation to specific components such as the graphics card.
What is a Graphics Card?
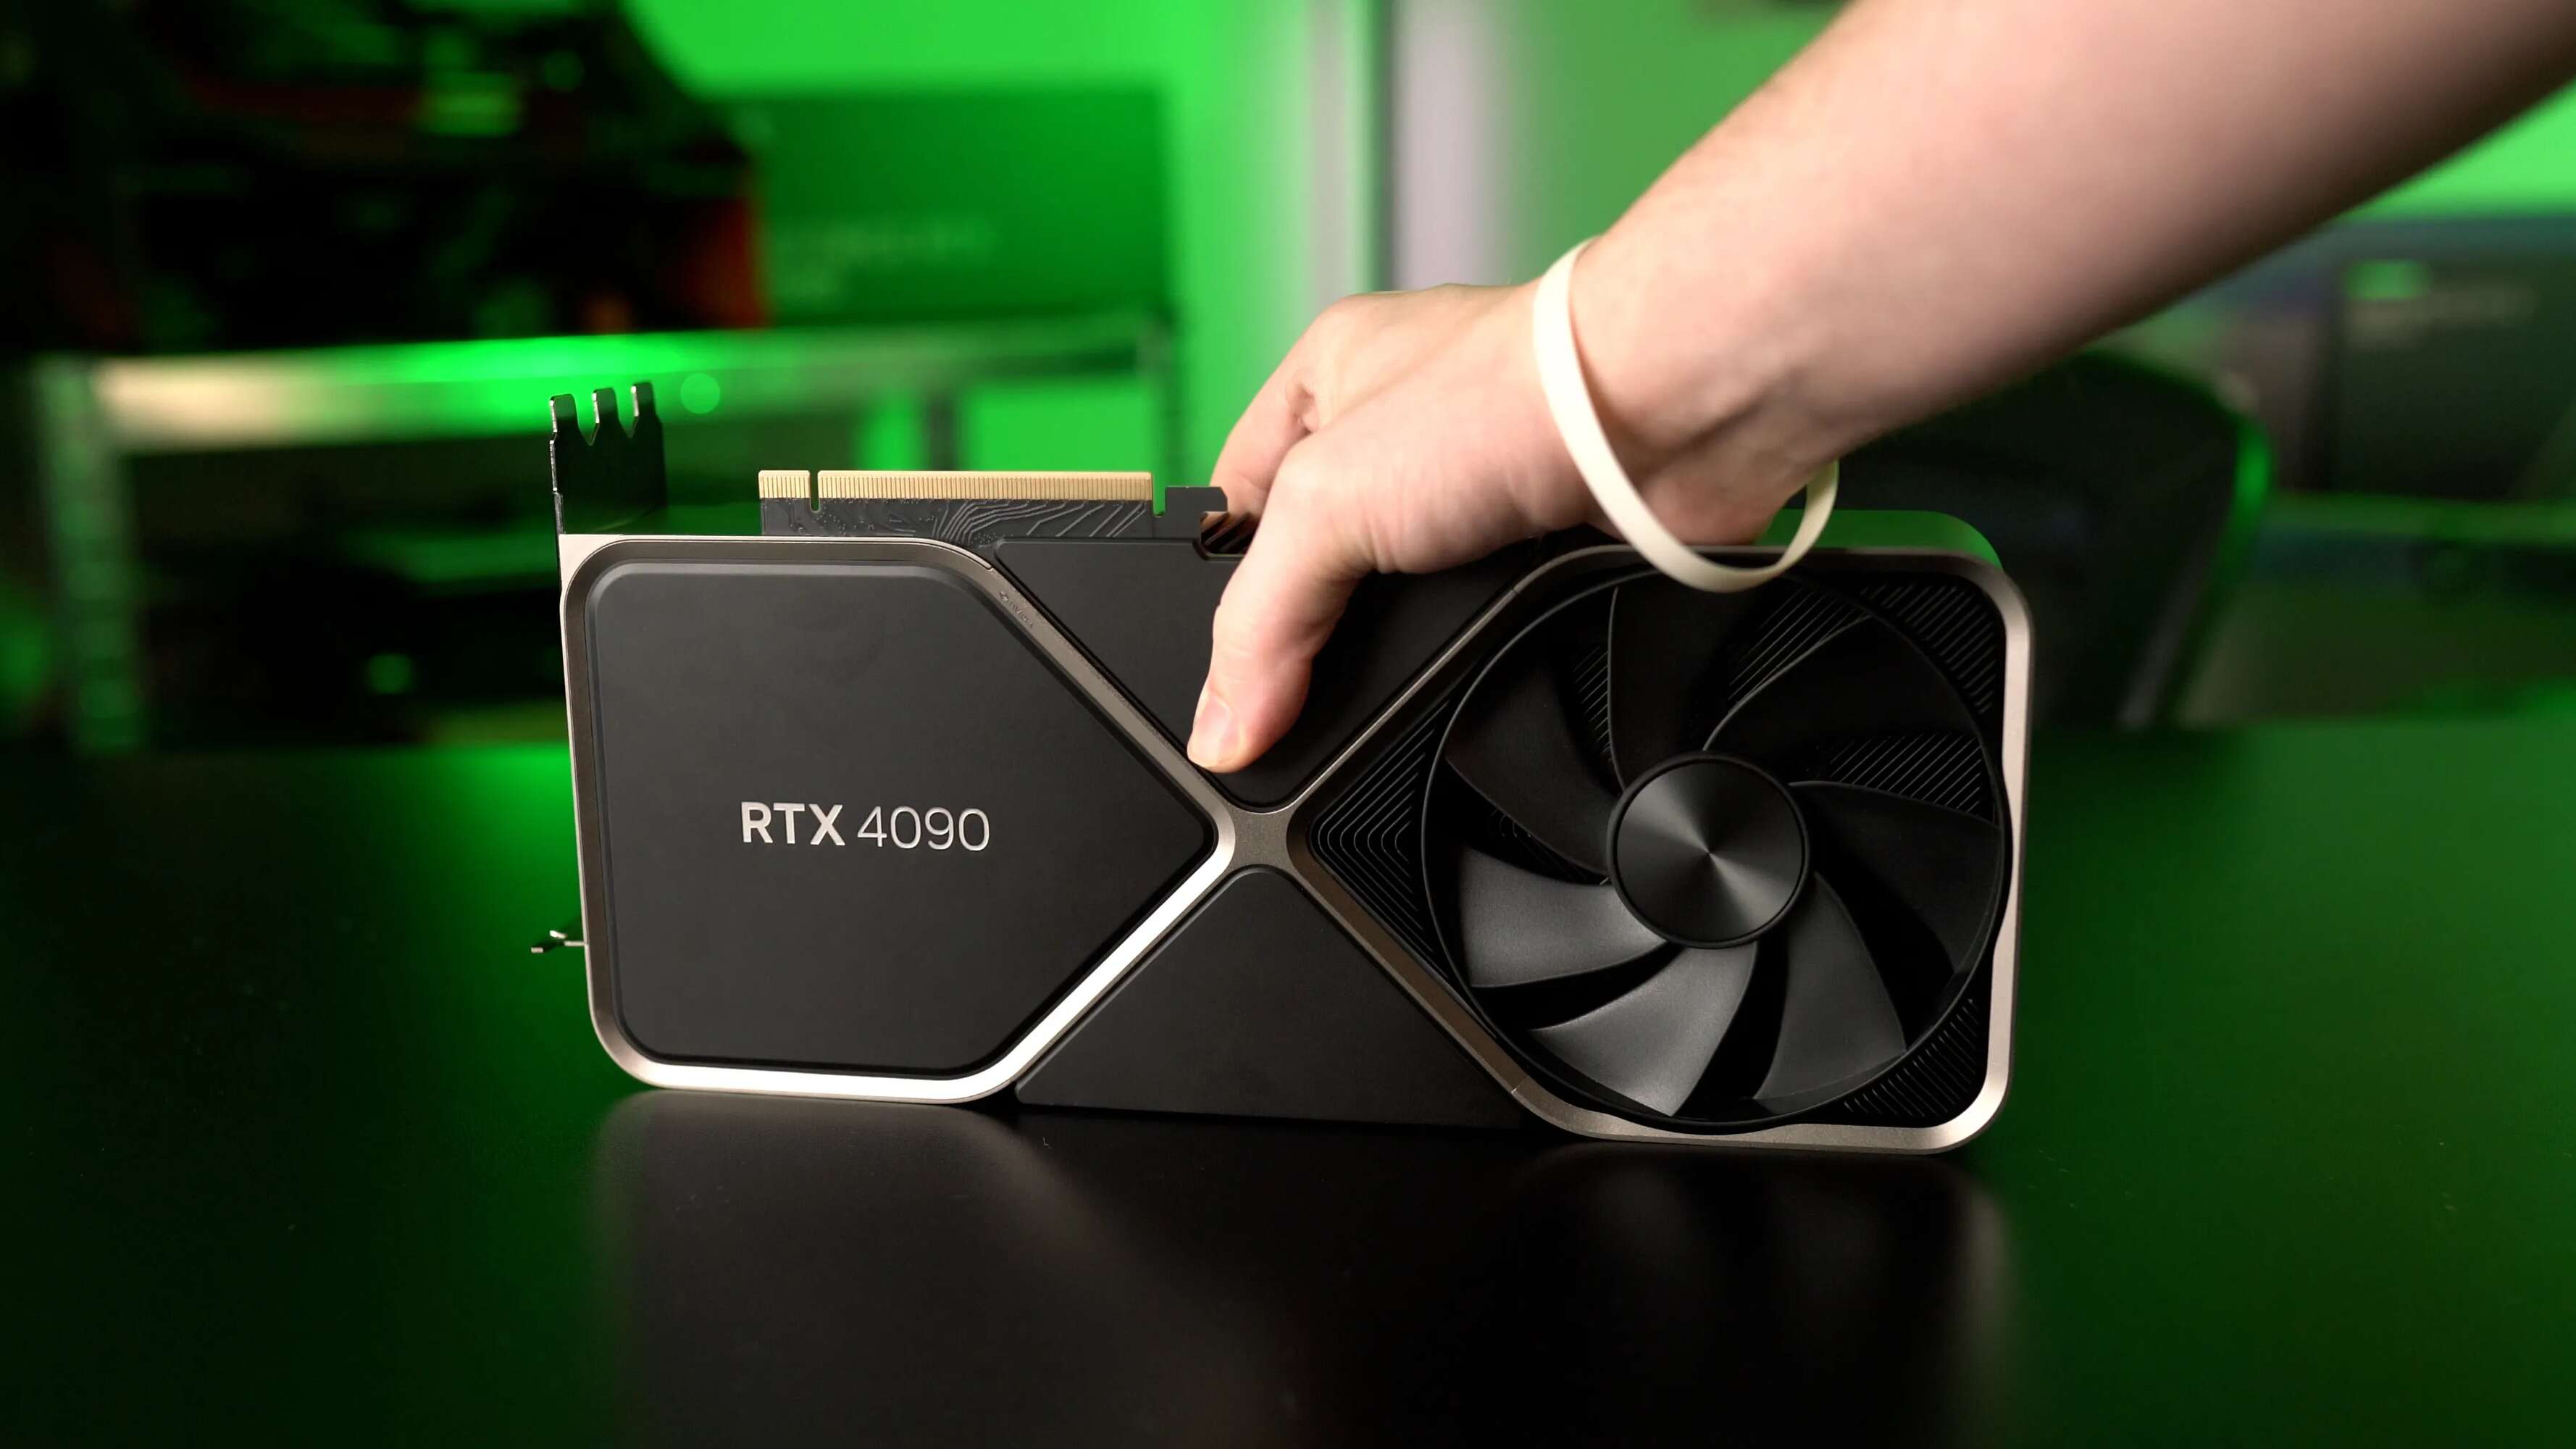
A graphics card, also known as a video card or GPU (Graphics Processing Unit), is a specialized hardware component that is responsible for rendering and displaying visuals on your computer’s monitor. It works in conjunction with the CPU (Central Processing Unit) to handle complex graphical calculations and transform them into images that you can see on your screen.
At its core, a graphics card is designed to process and manipulate graphical data quickly and efficiently. It contains a dedicated processor, memory, and other components specifically optimized for graphic-related tasks. The main purpose of a graphics card is to create and display high-quality images, videos, and animations in real-time.
With the advancements in technology, modern graphics cards are capable of handling demanding graphics-intensive tasks. These tasks include running graphic-intensive applications, playing video games, editing videos and photos, 3D modeling, and rendering complex visual effects.
Graphics cards consist of several key components that work together to deliver high-performance graphics. The most important component is the GPU, which is responsible for performing the complex calculations needed to render graphics. It operates at a much higher speed than the CPU and is designed specifically for parallel processing, making it ideal for graphics-related tasks.
In addition to the GPU, a graphics card contains its own memory known as VRAM (Video RAM) or GDDR (Graphics Double Data Rate) memory. This dedicated memory is used to store and process data related to graphics, textures, shaders, and other visual elements. Having dedicated VRAM allows the graphics card to quickly access and manipulate data, resulting in smoother and more realistic graphics.
Graphics cards come in various forms, from entry-level models designed for basic graphical tasks to high-end gaming and professional-grade cards. Different models offer different levels of performance, features, and compatibility with specific software applications.
When it comes to gaming, a powerful graphics card is essential. It directly impacts the visual quality, frame rates, and overall performance of games. A powerful graphics card enables you to play games at higher resolutions, with more details, and smoother frame rates, providing an immersive gaming experience.
Graphics cards are also crucial for tasks that require real-time rendering and visualization, such as 3D modeling and video editing. These applications heavily rely on the processing power and memory of the graphics card to handle the complex calculations and render high-resolution images and videos.
In summary, a graphics card is a specialized hardware component responsible for creating and displaying visuals on your computer’s monitor. It works in conjunction with the CPU to handle complex graphical calculations in various applications and games. A powerful graphics card can enhance your gaming experience, improve visual quality, and accelerate graphics-intensive tasks in other applications.
Why would you want to dedicate more RAM to your graphics card?
Allocating more RAM to your graphics card can bring several benefits, especially if you engage in activities that require intensive graphical performance. Here are a few reasons why you might want to dedicate more RAM to your graphics card:
1. Enhanced Graphics Performance: By increasing the dedicated RAM for your graphics card, you allow it to store and access more graphical data. This allows for smoother rendering of complex textures, improved image quality, and enhanced visual effects in games and graphic-intensive applications.
2. Faster Loading Times: Increasing the dedicated RAM for your graphics card can result in faster loading times for games and other graphic-intensive applications. With more RAM dedicated to storing and accessing graphical data, the graphics card can quickly load assets, textures, and animations, resulting in a more seamless and immersive experience.
3. Improved Game Performance: Games, especially modern AAA titles, often require a considerable amount of graphical processing power. Allocating more RAM to your graphics card can help meet these demands, allowing for higher resolutions, smoother frame rates, and more detailed graphics. This can significantly improve the overall gaming experience and make games more visually appealing.
4. Better Multitasking Abilities: Increasing the dedicated RAM for your graphics card can reduce the strain on the system RAM when performing graphic-intensive tasks. This frees up system resources and allows for smoother multitasking. You can run multiple applications simultaneously, such as video editing software or 3D modeling tools, without experiencing significant slowdowns or performance issues.
5. Future-Proofing Your System: As technology progresses, software applications and games continue to demand more resources. By dedicating more RAM to your graphics card, you ensure that your system can handle future graphical demands. This can extend the lifespan of your computer and delay the need for expensive hardware upgrades.
It’s worth noting that dedicating more RAM to your graphics card is not always the ultimate solution. It depends on the specific hardware configuration, the requirements of the applications or games you use, and the overall performance goals you have for your system. It’s essential to find the right balance and allocate enough RAM to your graphics card without compromising the stability and functionality of your computer.
In the next sections, we will discuss different methods you can use to check your current GPU RAM allocation and adjust the dedicated RAM for your graphics card. We will provide step-by-step instructions, enabling you to optimize your system’s graphical performance according to your needs and preferences.
How to check your current GPU RAM allocation
Before making any adjustments to the dedicated RAM for your graphics card, it’s important to check your current GPU RAM allocation. This will give you a better understanding of how much RAM your graphics card is currently using and help you determine if there is a need for adjustment.
Here are a few methods you can use to check your current GPU RAM allocation:
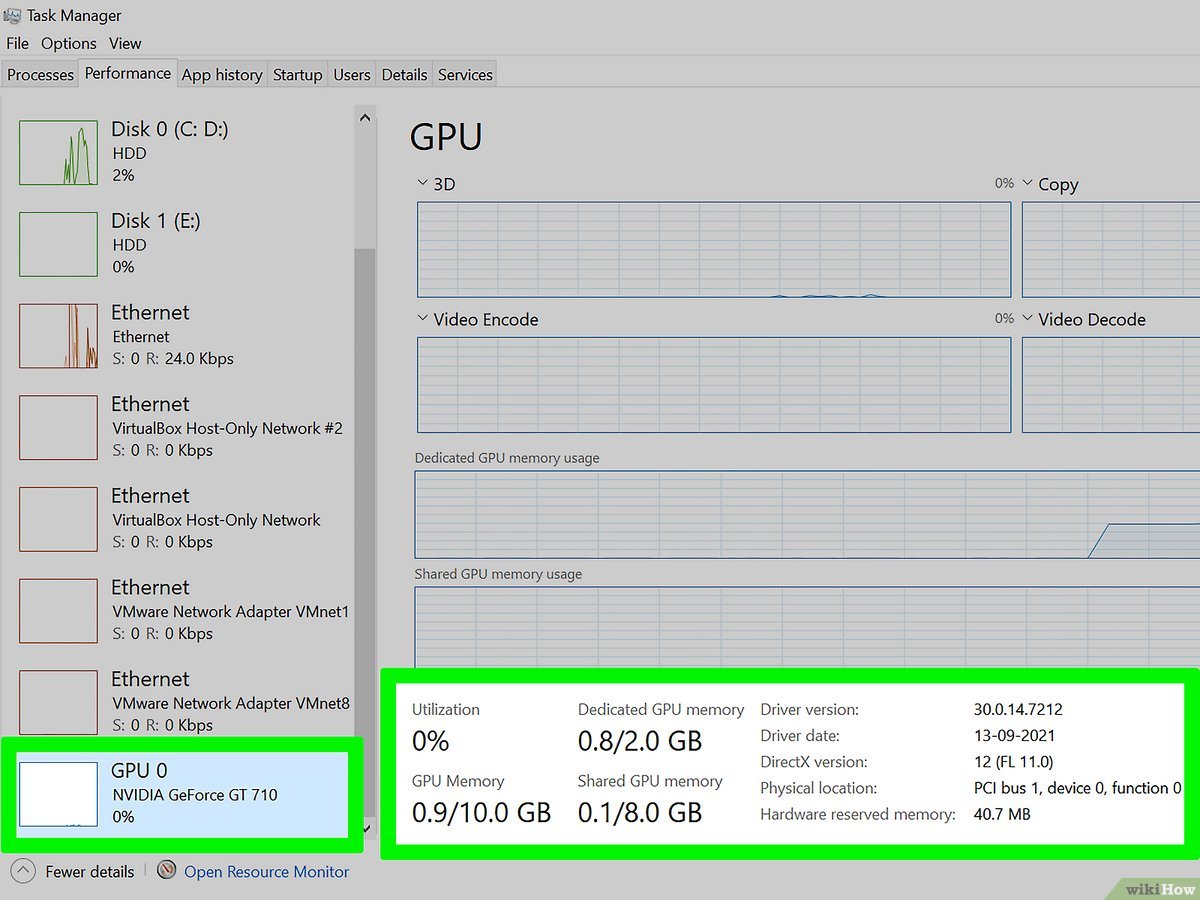
1. Task Manager (Windows): On Windows systems, you can use the Task Manager to check your GPU RAM usage. Right-click on the taskbar and select “Task Manager” from the menu. Once the Task Manager window opens, click on the “Performance” tab, then select “GPU 0” or “GPU 1” (depending on the number of GPUs you have) on the sidebar. Here, you will find information about your GPU usage, including the dedicated GPU memory (VRAM) usage and total memory available.
2. System Information (Windows): Another method to check your GPU RAM allocation on Windows is to use the System Information tool. Press the Windows key + R to open the Run dialog box, then type “msinfo32” and hit Enter. In the System Information window, expand the “Components” section and select “Display.” You will find information about your GPU, including the “Adapter RAM” or “Dedicated Video Memory” that represents the allocated VRAM.
3. Activity Monitor (Mac): If you’re using a Mac, you can check your GPU RAM allocation using the Activity Monitor. Go to the Applications folder, open the Utilities folder, and launch the Activity Monitor. In the Activity Monitor window, click on the “System Memory” tab. Here, you will find information about your system memory, including the “VRAM” or “Memory Used” section that displays the current GPU RAM allocation.
4. GPU-Z (Third-Party Tool): For more detailed information about your GPU, you can use third-party tools like GPU-Z. GPU-Z provides comprehensive information about your GPU, including the allocated VRAM, GPU clock speeds, and temperature. Simply download and install GPU-Z, launch the program, and navigate to the “Graphics Card” tab to find the VRAM information.
By using these methods, you can easily check your current GPU RAM allocation and determine how much RAM is currently dedicated to your graphics card. Understanding your GPU’s memory usage will provide valuable insights into whether you need to adjust the dedicated RAM and optimize your system’s graphics performance.
How to increase the dedicated RAM for your graphics card
If you have determined that increasing the dedicated RAM for your graphics card would benefit your system’s performance, there are several methods you can use to make the necessary adjustments. Here are three common methods to increase the dedicated RAM for your graphics card:
Method 1: Adjusting the dedicated RAM in BIOS/UEFI: This method involves accessing the BIOS/UEFI settings of your computer to modify the dedicated RAM allocation for your graphics card. The steps may vary depending on your motherboard manufacturer and BIOS/UEFI version, but generally, you need to restart your computer and press a specific key (usually Del, F2, or F12) to access the BIOS/UEFI settings during the boot-up process. Once in the settings, navigate to the “Advanced” or “Integrated Peripherals” section, look for an option related to the graphics card or video settings, and adjust the dedicated RAM allocation value. Save the changes and exit the BIOS/UEFI settings to apply the new settings. Restart your computer for the changes to take effect.
Method 2: Modifying the registry settings: This method involves modifying the registry settings in Windows to increase the dedicated RAM for your graphics card. However, please note that modifying the registry can be risky if not done correctly, so it’s important to proceed with caution and create a backup of your registry before making any changes. To modify the registry settings, open the Registry Editor by pressing the Windows key + R, typing “regedit,” and hitting Enter. Navigate to “HKEY_LOCAL_MACHINE\Software\Intel\GMM” (for Intel graphics) or “HKEY_LOCAL_MACHINE\Software\NVIDIA Corporation\Global” (for NVIDIA graphics). Look for the “DedicatedSegmentSize” or “DedicatedSegmentMemory” value and modify it to increase the dedicated RAM allocation for your graphics card. Save the changes and restart your computer for the modifications to take effect.
Method 3: Using third-party software: There are also third-party software tools available that can help you increase the dedicated RAM for your graphics card. These tools provide a user-friendly interface and automate the process, making it easier for users who may not be comfortable modifying BIOS settings or registry values. Some popular software options include NVIDIA Inspector, AMD Radeon Software, and GPU Tweak. Install the software applicable to your graphics card, open the tool, and navigate to the settings related to dedicated RAM or memory allocation. Adjust the values according to your requirements and save the changes. Restart your computer for the new settings to take effect.
Remember to exercise caution when making any changes to your system settings or modifying the registry. Incorrect modifications can result in system instability or other issues. Before proceeding with any method to increase the dedicated RAM for your graphics card, it’s advisable to research and understand the specific instructions related to your hardware and consult any relevant documentation or support resources provided by the manufacturer.
By utilizing one of these methods, you can increase the dedicated RAM for your graphics card and improve its performance. However, it’s important to consider the limitations of your hardware and allocate an amount of RAM that is appropriate for your system’s capabilities. Finding the right balance of dedicated RAM will help optimize your system’s graphical performance without compromising stability and functionality.
Method 1: Adjusting the dedicated RAM in BIOS/UEFI
One way to increase the dedicated RAM for your graphics card is by adjusting the settings in the BIOS/UEFI of your computer. This method allows you to allocate a specific amount of RAM to your graphics card, optimizing its performance. Here’s a step-by-step guide on how to adjust the dedicated RAM in the BIOS/UEFI:
1. Restart your computer: Start by restarting your computer. During the boot-up process, you will need to access the BIOS/UEFI settings. This is usually done by pressing a specific key, such as Del, F2, or F12. The specific key may vary depending on your motherboard manufacturer. Consult your computer’s manual or look for on-screen prompts to find the correct key to access the BIOS/UEFI settings.
2. Access the BIOS/UEFI settings: Once you’ve entered the BIOS/UEFI settings, you’ll see a menu interface. This interface may vary depending on your motherboard manufacturer and BIOS/UEFI version. Look for a section related to the graphics card settings or video settings. It may be labeled as “Advanced,” “Integrated Peripherals,” or something similar. Navigate to this section using the arrow keys on your keyboard.
3. Adjust the dedicated RAM allocation: Within the graphics card or video settings section, you should find an option related to the dedicated RAM allocation. This option may be labeled as “Graphics Settings,” “Video Memory,” or “Memory Allocation.” The exact wording can differ depending on your BIOS/UEFI version. Select this option and choose a higher value to increase the dedicated RAM for your graphics card. The values available may be in megabytes (MB) or gigabytes (GB).
4. Save and exit: Once you have adjusted the dedicated RAM allocation, save the changes by selecting the option to save and exit the BIOS/UEFI settings. This is typically done by pressing the F10 key or selecting the appropriate option from the menu. Confirm your choice and exit the BIOS/UEFI settings.
5. Restart your computer: After saving the changes, your computer will restart. The new settings will be applied, and the dedicated RAM allocation for your graphics card will be increased.
Please note that the BIOS/UEFI interface and options can vary depending on your motherboard manufacturer and BIOS/UEFI version. The steps provided are a general guide, but there may be slight differences in the actual process. If you are unsure about making changes in the BIOS/UEFI settings, it’s recommended to refer to your computer’s manual or consult the manufacturer’s support resources for specific instructions.
Adjusting the dedicated RAM in the BIOS/UEFI settings can be an effective method to increase the performance of your graphics card. It allows you to allocate a specific amount of RAM, optimizing its capabilities for graphical tasks. However, it’s important to choose an appropriate amount of dedicated RAM based on the capabilities of your system to ensure stability and avoid any potential issues.
Method 2: Modifying the registry settings
Another method to increase the dedicated RAM for your graphics card involves modifying the registry settings in Windows. This method allows you to adjust the registry values specifically related to graphics memory allocation. Here’s a step-by-step guide on how to modify the registry settings to increase the dedicated RAM for your graphics card:
1. Create a registry backup: Before making any changes to the registry, it’s essential to create a backup to ensure that you can revert back to the original settings if needed. To create a backup, press the Windows key + R to open the Run dialog box, type “regedit,” and hit Enter to open the Registry Editor. In the Registry Editor, go to File > Export and choose a location to save the backup file. Give it a descriptive name and click Save.
2. Navigate to the graphics-related registry entry: In the Registry Editor, navigate to the specific registry entry that controls the dedicated RAM allocation for your graphics card. Depending on your graphics card manufacturer, the registry location may vary. For Intel graphics, go to “HKEY_LOCAL_MACHINE\Software\Intel\GMM.” For NVIDIA graphics, go to “HKEY_LOCAL_MACHINE\Software\NVIDIA Corporation\Global.”
3. Modify the dedicated RAM value: Inside the graphics-related registry entry, look for the “DedicatedSegmentSize” or “DedicatedSegmentMemory” value. Right-click on it and choose Modify. Adjust the value to allocate more RAM to your graphics card. The value represents the amount of dedicated RAM in megabytes (MB). Increase the value to allocate a higher amount of RAM. Click OK to save the changes.
4. Restart your computer: After modifying the registry value, it’s recommended to restart your computer for the changes to take effect. This allows the system to recognize the new dedicated RAM allocation for your graphics card.
Note: Modifying the registry can be risky if not done correctly. It’s crucial to be cautious and follow the steps precisely. Incorrect modifications in the registry can lead to system instability or other issues. It’s highly recommended to create a registry backup and consult any relevant documentation or support resources provided by your graphics card manufacturer.
By modifying the registry settings, you can increase the dedicated RAM for your graphics card. This method provides more control over the memory allocation and allows you to fine-tune the performance according to your specific needs. However, it’s important to consider the limitations of your hardware and allocate an appropriate amount of RAM to avoid potential stability issues.
Method 3: Using third-party software
If you prefer a user-friendly approach to increase the dedicated RAM for your graphics card, you can utilize third-party software tools. These tools provide a simplified interface and automate the process of adjusting the dedicated RAM settings. Here’s a step-by-step guide on how to use third-party software to increase the dedicated RAM for your graphics card:
1. Research and select a suitable third-party software: There are various third-party software tools available that can help you adjust the dedicated RAM for your graphics card. Some popular options include NVIDIA Inspector, AMD Radeon Software, and GPU Tweak. Research these tools or explore other options to find one that is compatible with your graphics card model and meets your specific requirements.
2. Download and install the selected software: After selecting the appropriate software, visit the official website or trusted software download sources to download the installation file. Once downloaded, run the installation file and follow the on-screen instructions to install the software on your computer.
3. Launch the software: After installation, locate the software in your computer’s program list or desktop and launch it. The interface may vary depending on the software you have chosen.
4. Navigate to the dedicated RAM settings: Within the software interface, look for settings related to dedicated RAM or memory allocation. The exact location of these settings may differ depending on the software. However, they are typically found in sections related to the graphics card, video settings, or performance settings. Explore the software interface and look for options that allow you to adjust the dedicated RAM allocation for your graphics card.
5. Adjust the dedicated RAM allocation: Once you have located the dedicated RAM settings, modify the value to increase the allocation for your graphics card. The software may provide either a slider or input fields where you can specify the desired amount of RAM. Increase the value to allocate more RAM to your graphics card. Click the apply or save button to save the changes.
6. Restart your computer: After adjusting the dedicated RAM allocation, it’s important to restart your computer to apply the new settings. This will ensure that the changes take effect and the graphics card utilizes the increased amount of dedicated RAM.
Note: It’s recommended to refer to the documentation or support resources provided by the software developer for specific instructions related to adjusting the dedicated RAM settings. Each software may have its own features, interface, and methods of adjustment.
By using third-party software, you can simplify the process of increasing the dedicated RAM for your graphics card. These tools provide an intuitive interface and automate the adjustment process, making it more accessible for users who may not be familiar with BIOS settings or registry modifications. However, it’s important to choose a reputable software and ensure compatibility with your graphics card model for optimal results.
Factors to consider before dedicating more RAM to your graphics card
Before increasing the dedicated RAM for your graphics card, it’s important to consider several factors to ensure that it is a suitable and beneficial adjustment for your system. Here are some key factors to consider:
1. Hardware limitations: Assess the specifications and capabilities of your hardware components, including your graphics card and system RAM. Determine the maximum supported RAM capacity of your graphics card, as exceeding this limit can lead to stability issues or cause the system to become unresponsive. Additionally, consider the overall capacity and performance of your system RAM to ensure that sufficient memory is available for other tasks in conjunction with the increased dedicated RAM for the graphics card.
2. Software and games requirements: Take into account the minimum and recommended system requirements of the software applications and games you use. Some applications and games may benefit more from other hardware upgrades, such as a faster CPU or more powerful graphics card, rather than simply increasing the dedicated RAM. Assess the specific needs of the software you use to make informed decisions about the distribution of resources and performance optimizations.
3. Power supply and cooling: Increasing the dedicated RAM for your graphics card can result in higher power consumption and increased heat generation. Ensure that your power supply unit (PSU) can handle the extra power requirements. Additionally, consider the cooling capabilities of your system, including adequate airflow and proper cooling solutions. Overheating can lead to performance issues and potential hardware damage.
4. Graphics card architecture: Different graphics card architectures may have varying levels of dependence on dedicated RAM. Older graphics card models tend to rely more on dedicated RAM, while newer models may utilize shared memory or prioritize faster system RAM. Research the architecture of your graphics card to understand how it handles memory allocation and whether dedicating more RAM will truly benefit its performance.
5. Performance testing and monitoring: Before and after increasing the dedicated RAM for your graphics card, conduct thorough performance testing and monitoring. This will help gauge the impact of the adjustment and assess any improvements in terms of frame rates, loading times, and overall graphical performance. Utilize benchmarking tools and monitor GPU usage, temperature, and other relevant metrics to ensure that the changes are delivering the desired results.
6. Stability and compatibility: Modifying the dedicated RAM settings for your graphics card carries a certain level of risk. Ensure that you are comfortable with the potential consequences and understand the process of reverting the changes if needed. As with any modifications, create backups, document your settings, and proceed with caution. Additionally, consider the compatibility of your hardware with any required third-party software or firmware updates that may be necessary for adjusting the dedicated RAM.
7. Long-term goals and system longevity: Consider your long-term goals for your system and how increasing the dedicated RAM for your graphics card aligns with those goals. Balance the potential benefits with the cost and effort required for the adjustment. Additionally, evaluate the lifespan of your system components and their compatibility with future software and game advancements to ensure that the increase in dedicated RAM contributes to the longevity and usability of your system.
By taking into account these factors, you can make informed decisions about increasing the dedicated RAM for your graphics card. Remember, it’s crucial to strike a balance between resource allocation and system stability to achieve optimal performance without compromising the functionality and overall experience of your computer.
Conclusion
Increasing the dedicated RAM for your graphics card can provide significant benefits in terms of enhanced graphics performance, faster loading times, and improved multitasking abilities. By allocating more memory to your graphics card, you allow it to handle larger and more complex textures, resulting in smoother gameplay, better image quality, and improved visual effects in games and graphic-intensive applications.
Before making any adjustments to the dedicated RAM, it’s important to consider various factors such as hardware limitations, software requirements, power supply and cooling, graphics card architecture, and stability and compatibility issues. Understand the capabilities of your hardware components, evaluate the specific needs of the software you use, and ensure that your power supply and cooling solutions can support the increased demand.
There are various methods to increase the dedicated RAM for your graphics card, including adjusting BIOS/UEFI settings, modifying registry values, or utilizing third-party software tools. Each method requires careful consideration and proper execution, and it’s recommended to consult the documentation and support resources provided by your hardware manufacturer or software developer for specific instructions.
Remember to conduct performance testing and monitoring before and after making any adjustments to evaluate the impact on graphical performance. Benchmarking and monitoring tools can help you assess improvements in frame rates, loading times, and overall system stability.
Finally, it’s important to strike a balance between resource allocation, system stability, and the longevity of your computer. Allocating too much RAM to your graphics card can lead to instability issues, while dedicating too little may limit its performance. Find the optimal balance that suits both your current and future needs to ensure a seamless and enjoyable computing experience.
By considering these factors and making informed decisions, you can successfully increase the dedicated RAM for your graphics card and optimize its performance. Enjoy smoother gameplay, improved graphics quality, and a more immersive experience in your favorite games and graphic-intensive applications.