Introduction
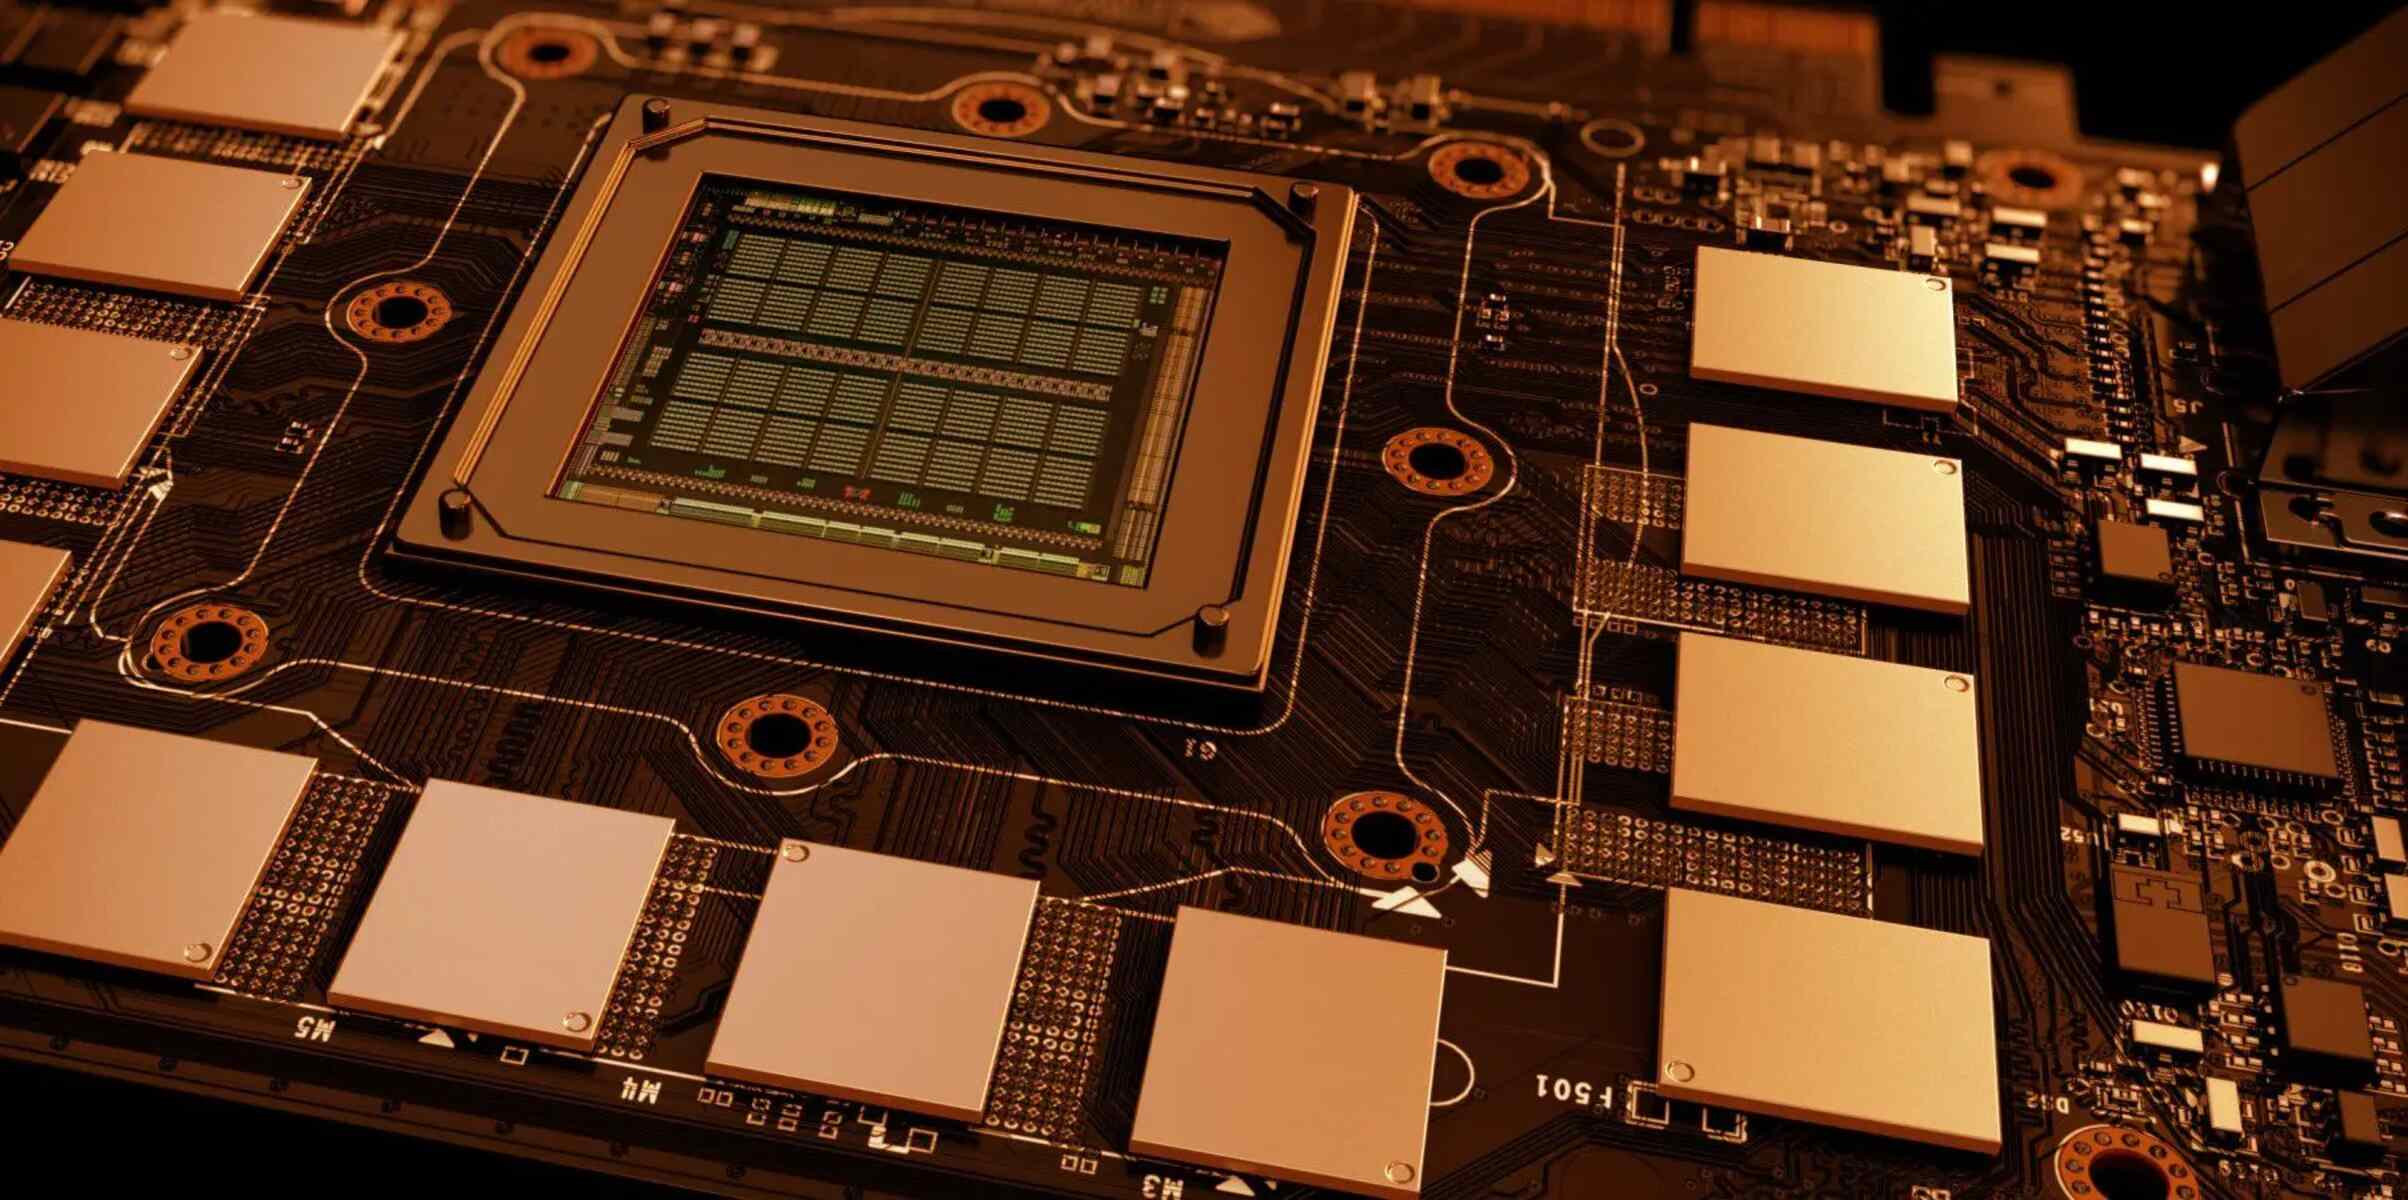
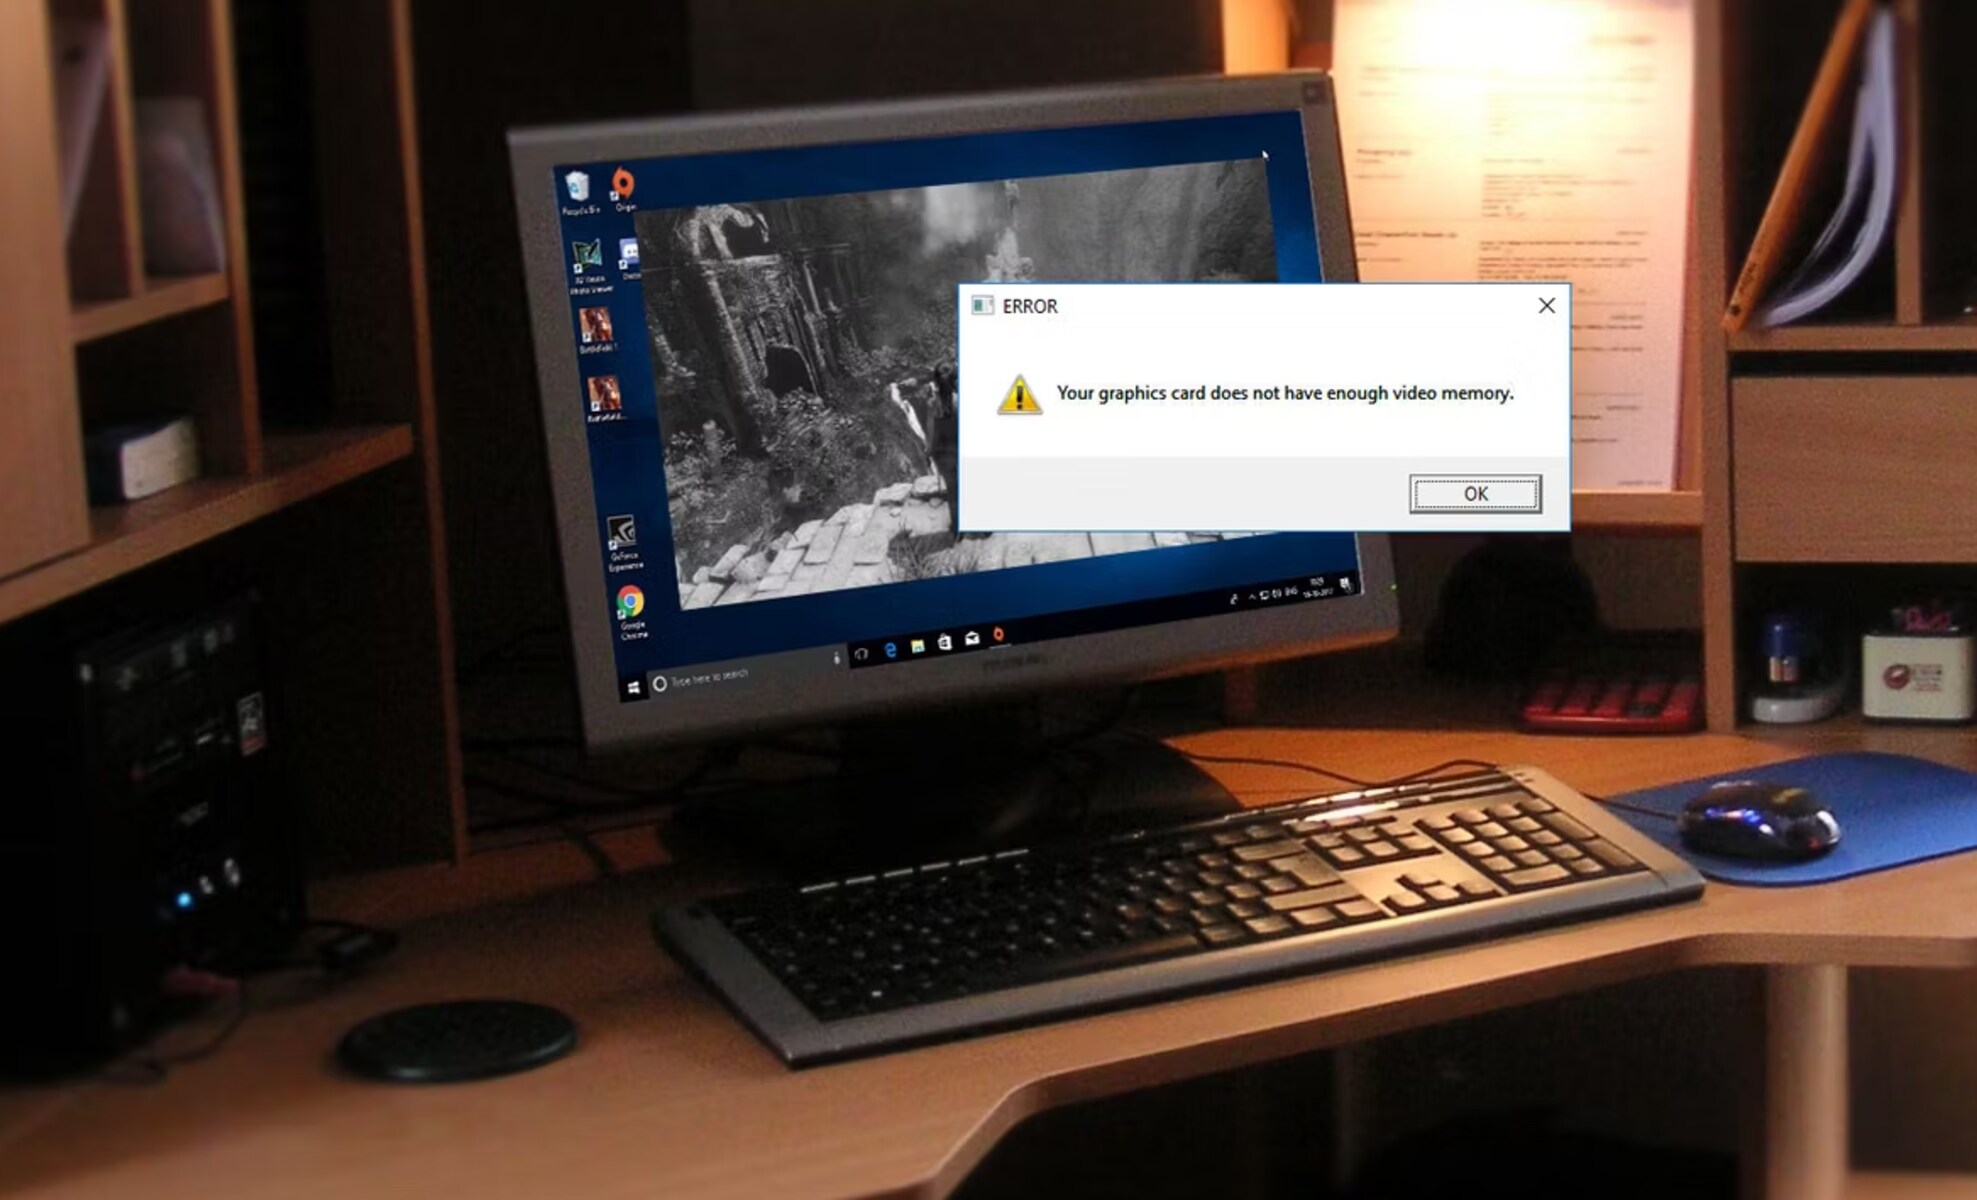
Video RAM, also known as VRAM, is a crucial component of any computer system that is responsible for rendering graphics and videos. It is a dedicated type of memory that stores and quickly accesses data required by the graphics card. The amount of VRAM available directly affects the performance and quality of visuals in games, videos, and other graphic-intensive applications. Unfortunately, many computers come with a limited amount of VRAM, which can lead to lagging, stuttering, and overall subpar graphical experiences.
Luckily, there are methods available that can help you dedicate more VRAM to your graphics card, which can significantly improve the overall performance and visual quality of your system. By increasing the allocation of VRAM, you provide your graphics card with more memory to handle complex textures, high-resolution displays, and intensive graphical tasks. This can result in smoother gameplay, faster video editing, and a more immersive visual experience.
In this article, we will explore the benefits of dedicating more VRAM, explain how to check your current VRAM allocation, and provide step-by-step instructions on various methods to increase it. Whether you are a gamer, video editor, or graphic designer, dedicating more VRAM can greatly enhance your overall computing experience.
Understanding Video RAM
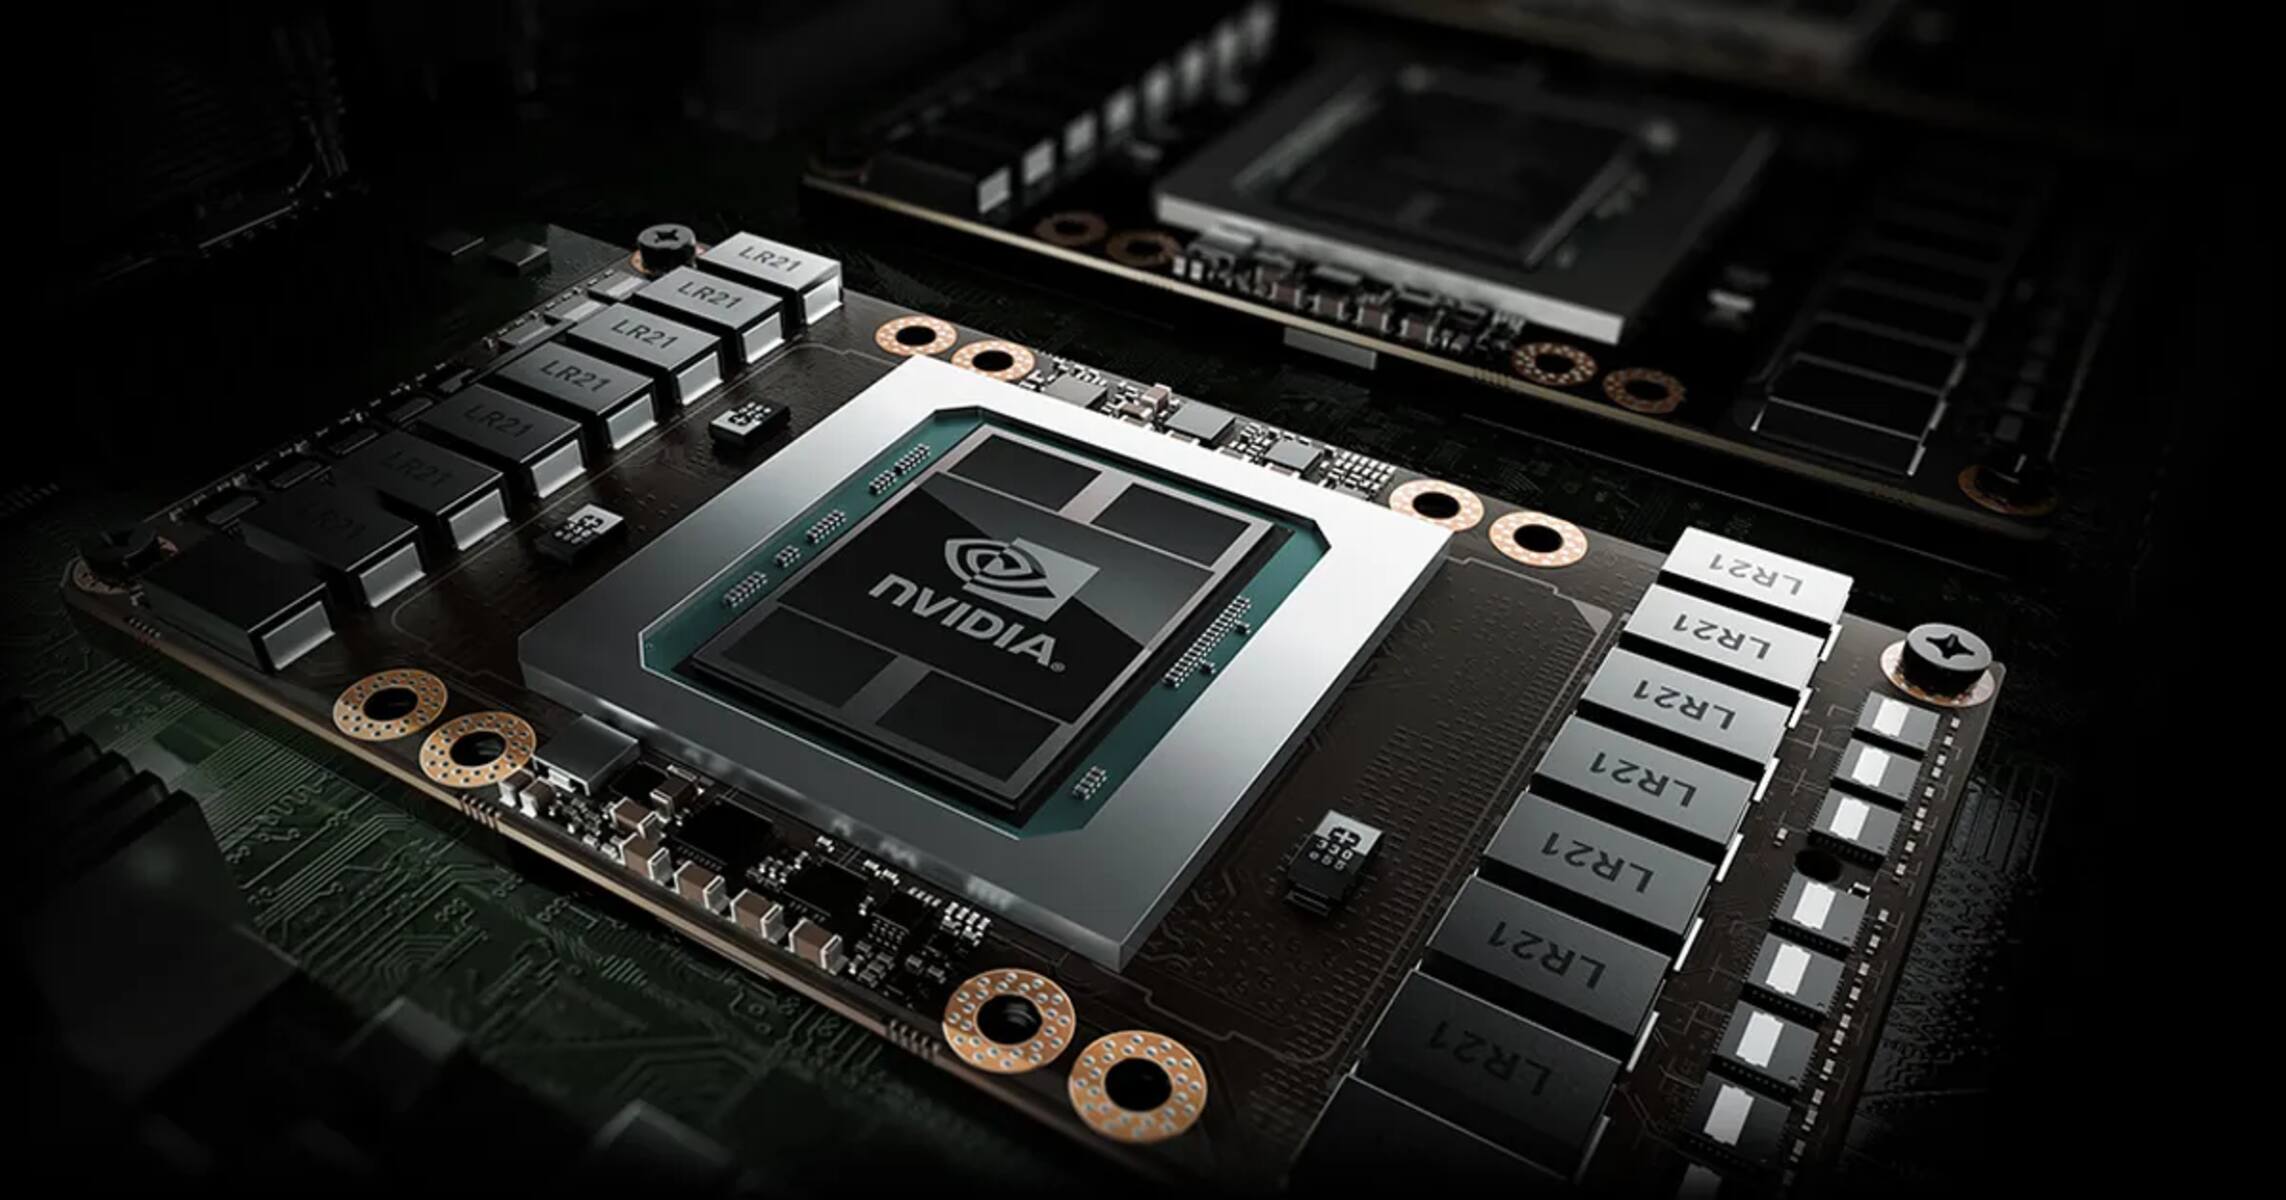
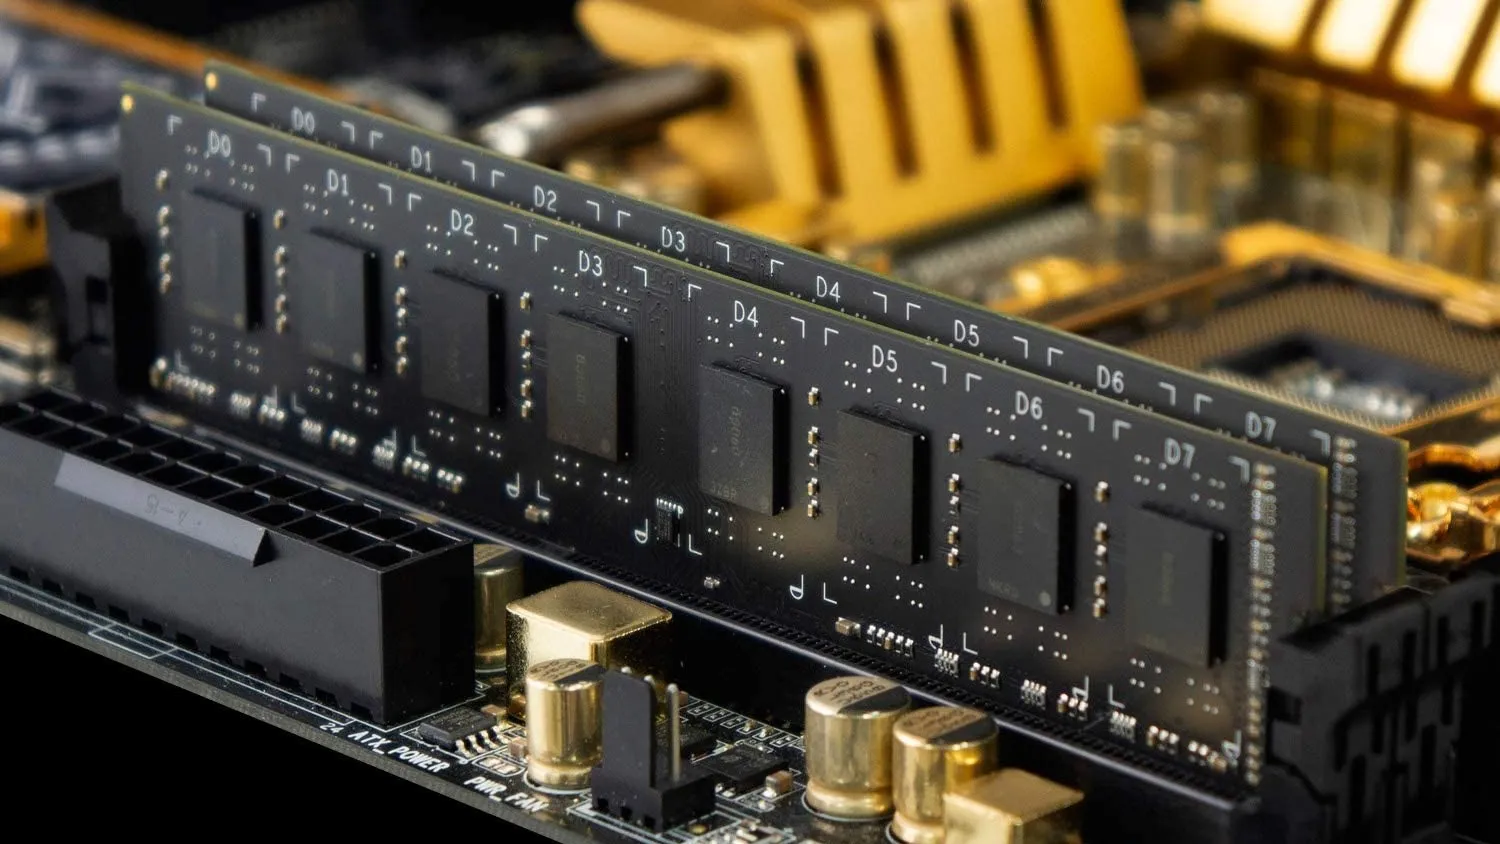
Video RAM, or VRAM, is a specific type of memory that is dedicated to handling and storing graphical data. It is built into the graphics card and plays a crucial role in rendering and displaying images, videos, and other visual content on your computer’s screen. Unlike the system RAM (Random Access Memory) which is used for general computational tasks, VRAM is optimized for handling the complex computations required by graphics processing units (GPUs).
One key characteristic of VRAM is its high-speed access, which allows for quick retrieval and processing of graphical data. This is essential for smooth and responsive visuals, especially in demanding applications such as video games, 3D modeling, and video editing software. The dedicated nature of VRAM ensures that it is not shared with other processes, optimizing its performance for graphics-related tasks.
Another important aspect of VRAM is its capacity. The amount of VRAM available in your system determines how much graphical data your graphics card can handle simultaneously. Higher VRAM capacity allows for more detailed textures, larger resolutions, and increased stability during graphic-intensive tasks. It helps prevent lag, stuttering, and other performance issues by ensuring that the graphics card has enough memory to store and process all the necessary data.
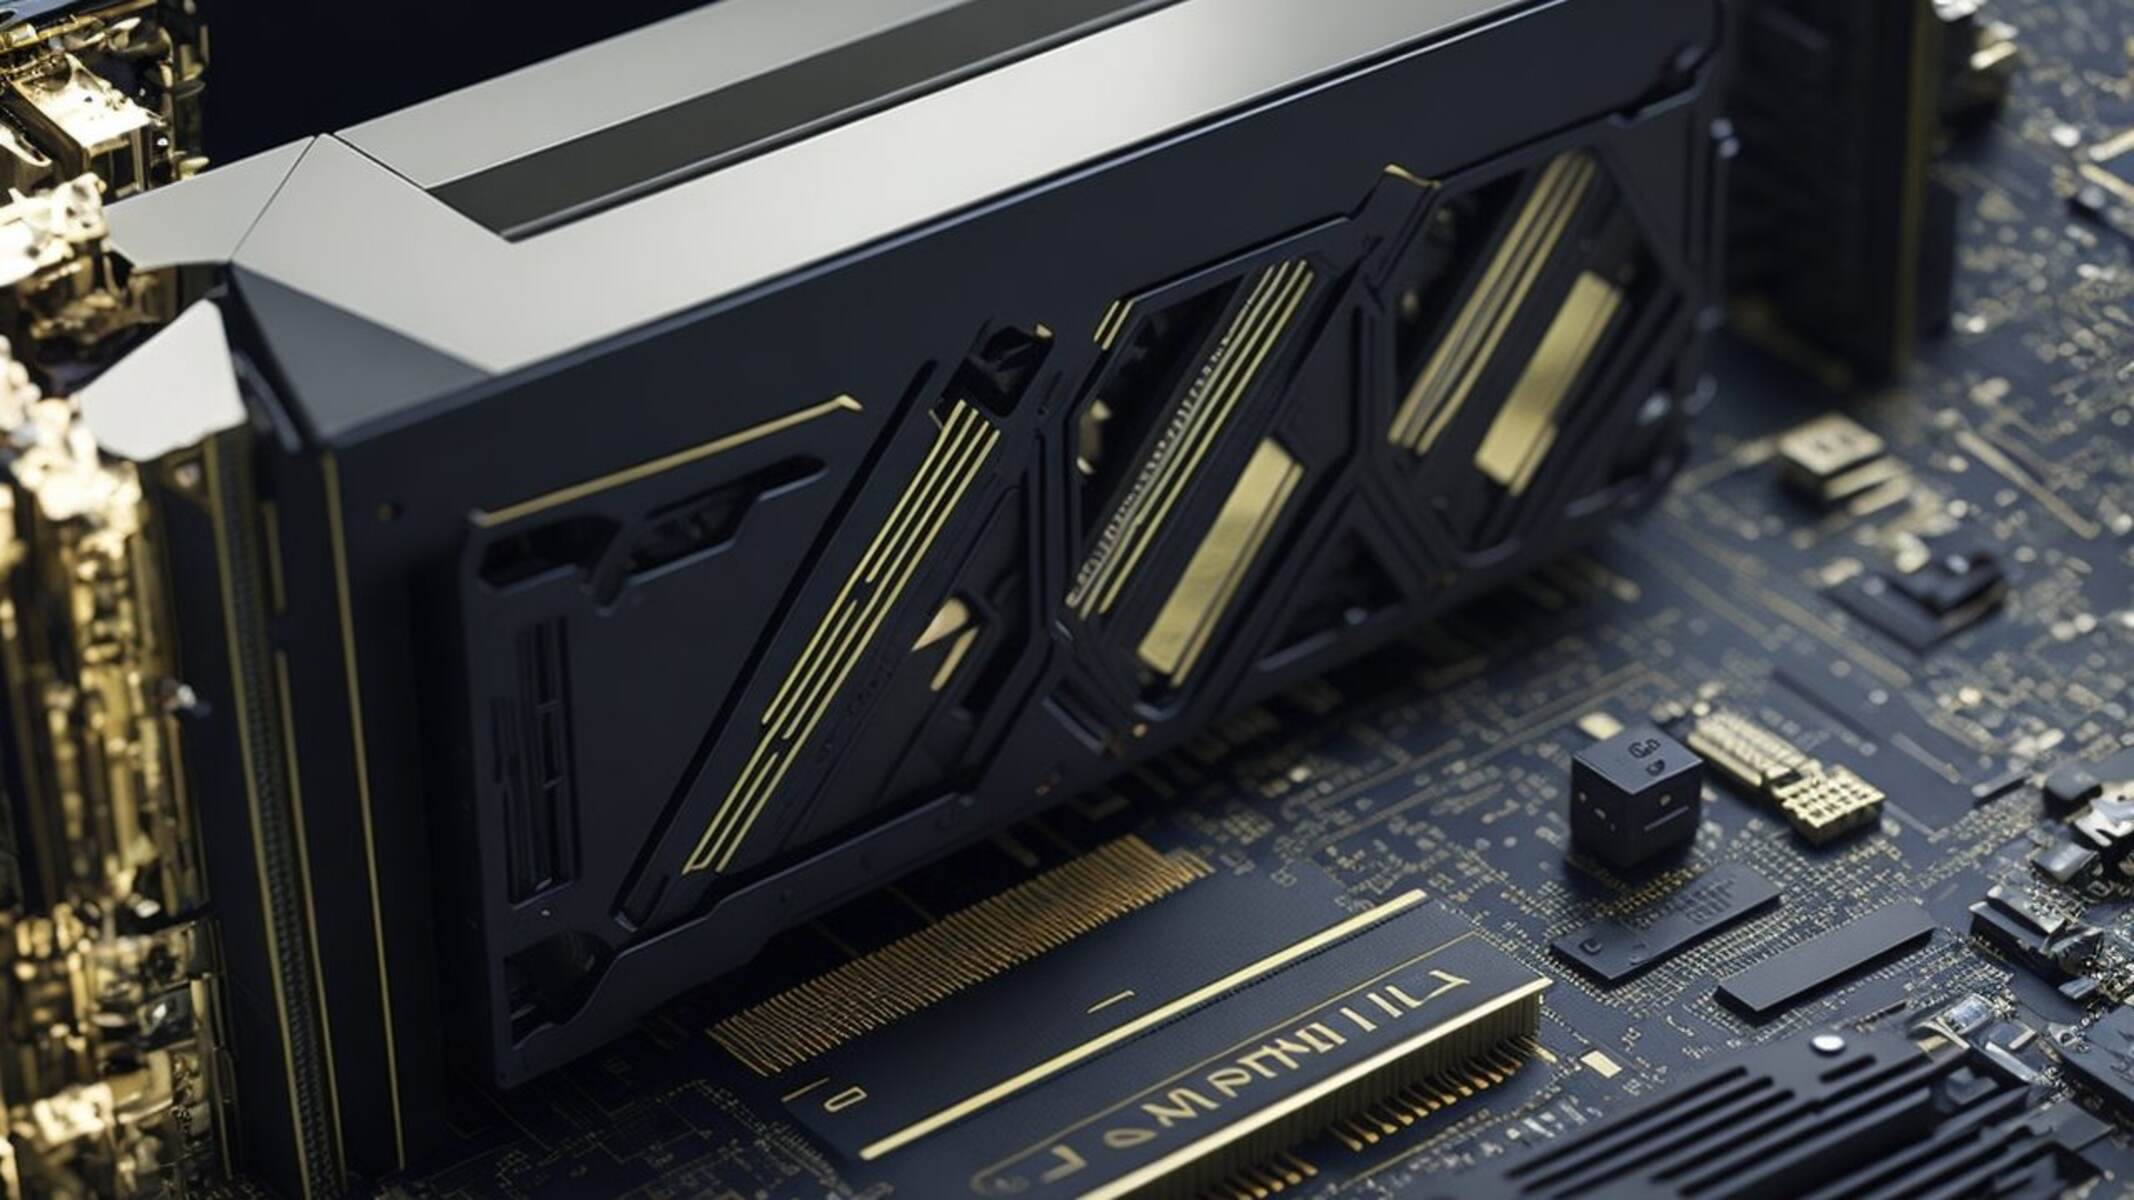
It’s worth noting that not all VRAM is created equal. Different graphics cards may use different types of VRAM, such as GDDR5, GDDR6, or HBM (High Bandwidth Memory). These variations can affect the speed and overall performance of the graphics card. Additionally, some high-end graphics cards may feature advanced technologies like VRAM overclocking or memory compression to further enhance performance.
Overall, understanding the role and importance of VRAM is essential in optimizing your computer’s graphical capabilities. By dedicating more VRAM to your graphics card, you can ensure smoother, more immersive, and visually stunning experiences across various applications and tasks.
Why Dedicating More Video RAM is Beneficial
Dedicating more Video RAM to your graphics card can have a significant impact on the overall performance and visual quality of your computer. Here are some key benefits of allocating more Video RAM:
- Improved Graphics Performance: Increasing the amount of Video RAM allows your graphics card to handle more complex graphical tasks with ease. This results in smoother gameplay, faster rendering of 3D models, and enhanced visual effects in games and other graphics-intensive applications.
- Higher Frame Rates: With increased Video RAM, your graphics card can store and access more textures and data, leading to improved frame rates. This is especially important for avid gamers who want a smooth and immersive gaming experience without any annoying lag or stuttering.
- Support for High-Resolution Displays: High-resolution displays, such as 4K monitors, require a large amount of Video RAM to render images at their native resolution. By dedicating more Video RAM, your system can effectively handle the increased demand for detailed visuals and prevent any degradation in image quality.
- Seamless Video Editing: Video editing software, especially those that involve working with high-definition or 4K footage, can put a strain on your graphics card’s resources. By allocating more Video RAM, you provide the necessary memory for smooth playback, real-time effects rendering, and efficient editing operations.
- Enhanced Multitasking: If you frequently work with multiple applications that require heavy graphics usage, dedicating more Video RAM can greatly improve your multitasking capabilities. It allows you to switch between different programs seamlessly, without causing any slowdowns or graphical glitches.
In summary, dedicating more Video RAM to your graphics card offers a range of benefits, including improved graphics performance, higher frame rates, better support for high-resolution displays, seamless video editing, and enhanced multitasking capabilities. Whether you are a gamer, content creator, or graphic designer, allocating more Video RAM can significantly enhance your overall computing experience and allow you to enjoy visually stunning visuals without any compromise in performance.
Checking Your Current Video RAM Allocation
Before you can proceed with dedicating more Video RAM to your graphics card, it’s important to determine how much Video RAM is currently allocated on your system. Here’s how you can check your current Video RAM allocation:
- Task Manager: On Windows, open the Task Manager by right-clicking on the taskbar and selecting “Task Manager” from the context menu. In the Task Manager, click on the “Performance” tab. Under the “GPU” section, you should see information about your graphics card, including the “Dedicated GPU Memory” or “Dedicated Video Memory” which represents the current allocation of Video RAM.
- System Information: On Windows, you can also use the built-in System Information tool to check your Video RAM allocation. Press the Windows key + R to open the Run dialog box, then type “msinfo32” and hit Enter. In the System Information window, expand the “Components” category and click on “Display”. Here, you can find information related to your graphics card, including the current allocation of Video RAM.
- Graphics Card Software: Graphics card manufacturers often provide their own software that allows you to monitor and customize various settings, including Video RAM allocation. Check the documentation or the official website of your graphics card manufacturer to see if they offer any software tools that can provide information about your current Video RAM allocation.
- Third-Party Software: If you prefer a more comprehensive approach, you can use third-party software tools that provide detailed information about your hardware configuration. Programs such as GPU-Z or Speccy can display details about your graphics card, including the allocated Video RAM.
By following one of these methods, you can easily check your current Video RAM allocation and have a better understanding of the resources available to your graphics card. This information will be helpful as you proceed with the methods for allocating more Video RAM, ensuring that you make the necessary adjustments for optimal performance.
Methods for Dedicating More Video RAM
If you’re looking to allocate more Video RAM to your graphics card, there are several methods you can try. Each method varies in complexity and feasibility, so choose the one that suits your specific situation. Here are three common methods:
- Method 1: Adjusting Video RAM in BIOS: This method involves accessing your computer’s BIOS settings to make adjustments to the Video RAM allocation. To do this, restart your computer and enter the BIOS setup by pressing a specific key during the boot process (usually F2, Del, or Esc). Once inside the BIOS, navigate to the “Settings,” “Advanced,” or “Graphics” section, and look for an option related to Video RAM or VRAM. Here, you can increase or decrease the Video RAM allocation by selecting the desired value or adjusting a slider. After making the changes, save and exit the BIOS. It’s important to note that not all computers have the option to adjust Video RAM in the BIOS, and the options may vary depending on your system’s manufacturer and model.
- Method 2: Utilizing Windows Registry Editor: This method involves using the Windows Registry Editor to modify the Video RAM allocation. Keep in mind that modifying the registry can have unintended consequences, so proceed with caution and make sure to back up your registry before making any changes. To access the Registry Editor, press Windows key + R to open the Run dialog box, then type “regedit” and hit Enter. In the Registry Editor, navigate to the following path: HKEY_LOCAL_MACHINE\SOFTWARE\Intel. Look for a key named “GMM” or “GfxSettings,” and within that key, locate a DWORD value named “DedicatedSegmentSize” or a similar term. Double-click on this value and set it to the desired allocation of Video RAM in megabytes. Save the changes and restart your computer for the modifications to take effect. Please note that this method is specific to computers with Intel graphics cards and may not work for other GPU brands.
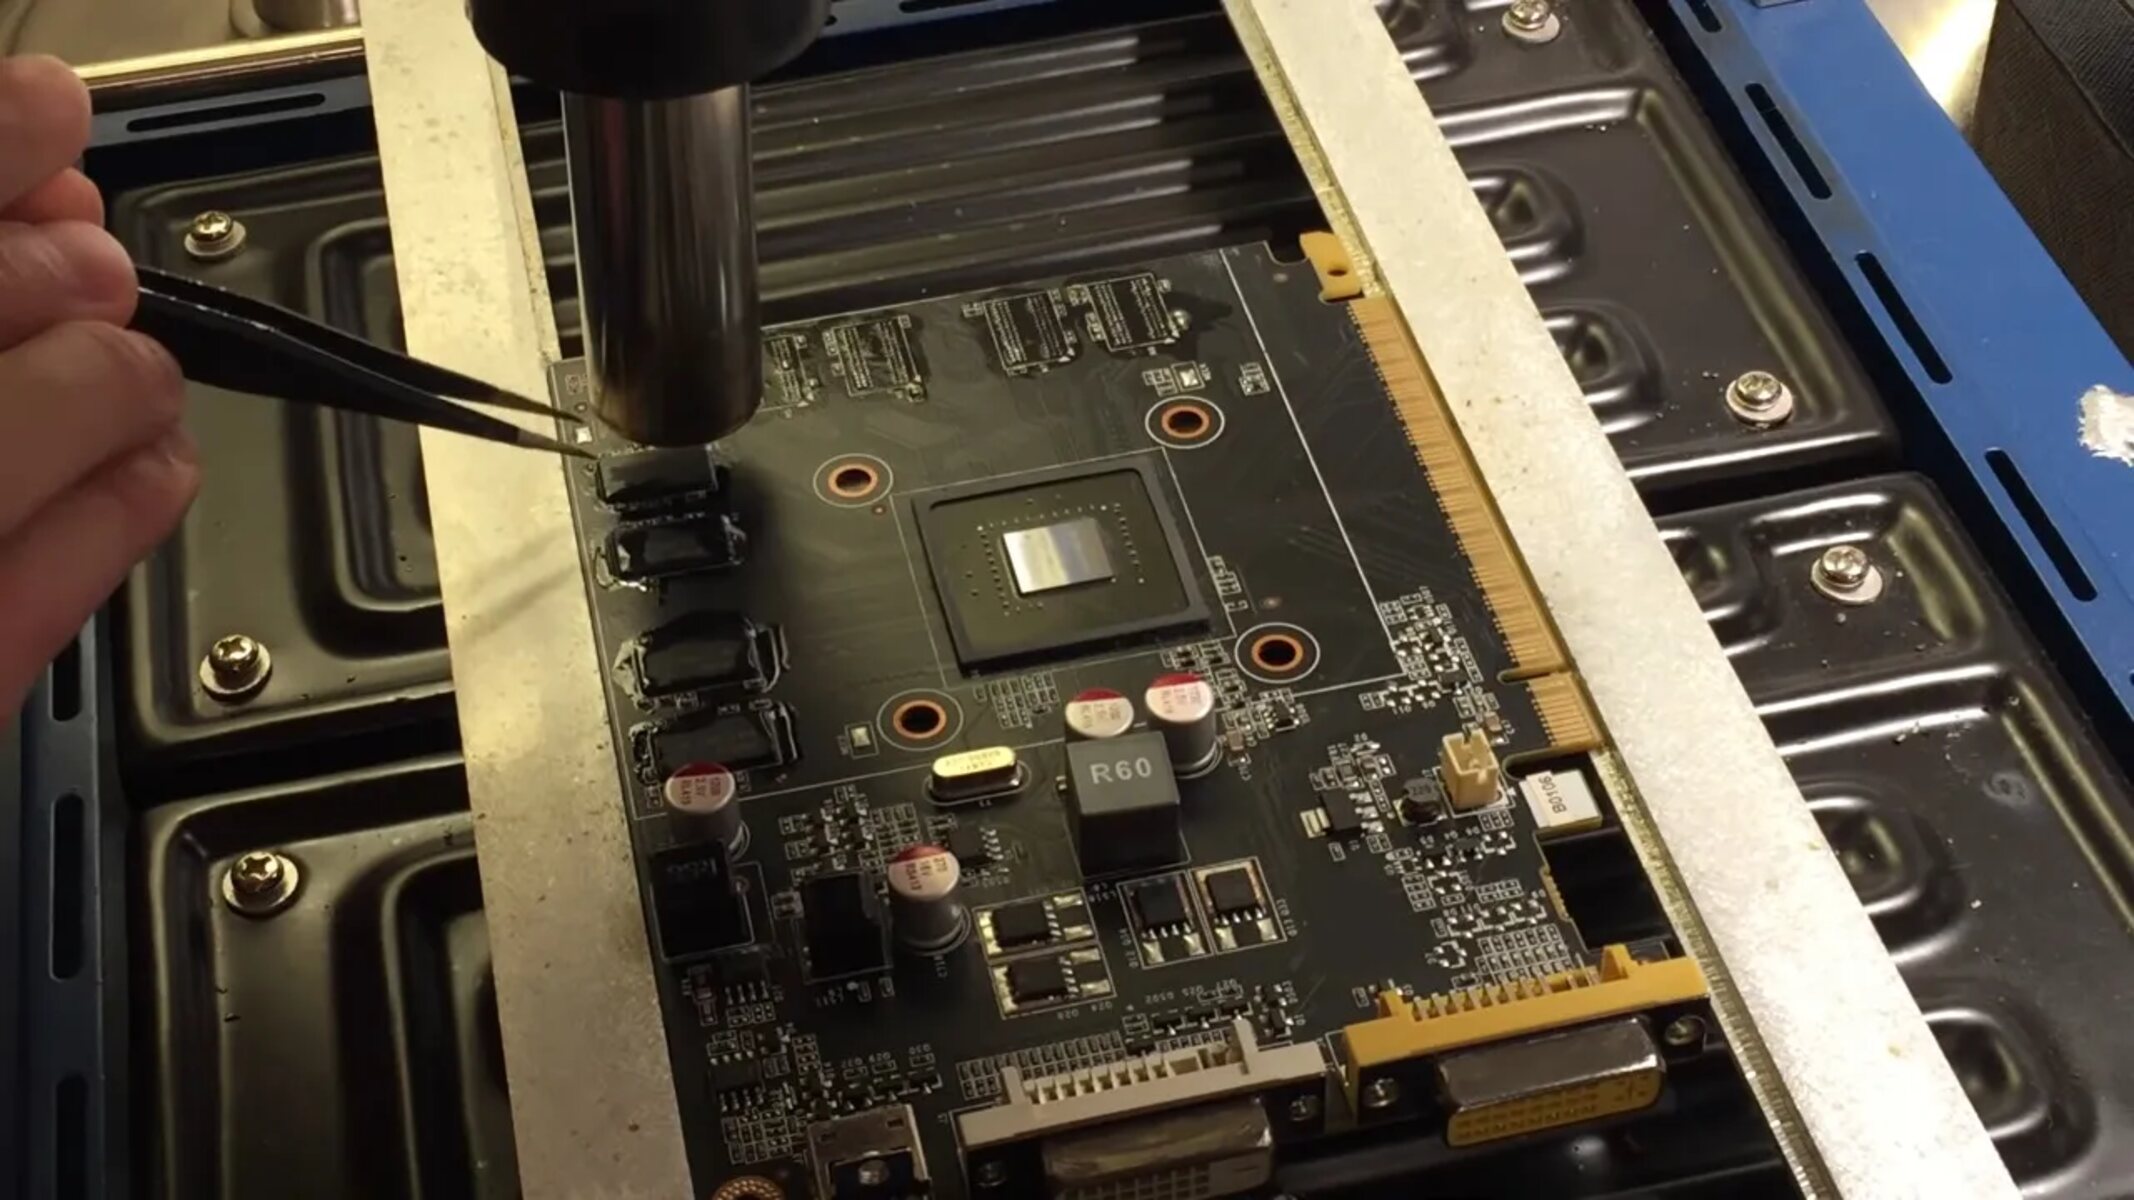
- Method 3: Upgrading Your Graphics Card: If the above methods do not work or are not feasible for your situation, the most effective way to allocate more Video RAM is to upgrade your graphics card. Upgrading to a more powerful graphics card with a higher capacity of Video RAM will provide you with a significant boost in performance and graphical capabilities. Research and choose a graphics card that is compatible with your system and offers the desired amount of Video RAM. This method may require additional hardware and may involve a higher cost compared to the previous methods, but it provides the most reliable and effective way to increase Video RAM.
Remember to consider your specific computer configuration, budget, and technical expertise when deciding which method to use for dedicating more Video RAM. It’s also a good idea to consult your computer manufacturer’s documentation or seek professional assistance if you’re unsure about making changes to your BIOS or registry.
Method 1: Adjusting Video RAM in BIOS
Adjusting Video RAM allocation in the BIOS is a method that allows you to directly modify the amount of memory allocated to your graphics card. This method can vary depending on your computer’s manufacturer and model, as different BIOS interfaces may have different options and settings. Here is a general step-by-step guide for adjusting Video RAM in the BIOS:
- Restart your computer: Start by restarting your computer and be prepared to enter the BIOS settings during the boot process. The key to access the BIOS is typically displayed on the screen, often indicated as “Press [Key] to enter BIOS” or something similar.
- Enter the BIOS: Press the designated key to access the BIOS settings. The common keys to enter the BIOS are F2, Del, or Esc, but it can vary depending on your system. Pay attention to the screen during the boot process or refer to your computer’s documentation for the correct key.
- Navigate to the Video RAM settings: Once inside the BIOS interface, navigate to the section related to graphics settings or advanced settings. The exact location of the Video RAM settings may differ depending on your BIOS, but common sections include “Settings,” “Advanced,” or “Graphics.”
- Adjust the Video RAM allocation: Within the graphics settings, look for an option related to Video RAM or VRAM. Depending on your BIOS, you may have the option to manually enter a specific value for the Video RAM allocation or adjust it using a slider. Increase the allocation to the desired amount. It’s important to note that the available options and maximum allocation may be limited by your system’s hardware capabilities.
- Save and exit the BIOS: After making the desired changes to the Video RAM allocation, save the settings in the BIOS and exit. Look for an option like “Save and Exit” or “Exit and Save Changes.” Your computer will then boot up with the new Video RAM allocation in effect.
It’s important to mention that not all computers have a BIOS that allows you to adjust the Video RAM allocation. Some manufacturers lock this setting or provide limited options in the BIOS. In such cases, the option to modify Video RAM may not be available. Additionally, altering settings in the BIOS requires caution, as incorrect changes can potentially disrupt your system’s functionality. If you’re unsure about making changes in the BIOS or if the option is not available, consider exploring other methods or consulting with a knowledgeable professional.
Method 2: Utilizing Windows Registry Editor
Another method to allocate more Video RAM involves using the Windows Registry Editor. This method allows you to modify the Video RAM allocation by editing specific registry values. However, it’s important to note that modifying the registry can have potential risks and should be approached with caution. Here is a step-by-step guide to utilizing the Windows Registry Editor to adjust Video RAM:
- Open the Registry Editor: Press the Windows key + R to open the Run dialog box. Type “regedit” and hit Enter. This will launch the Windows Registry Editor.
- Navigate to the Graphics Key: In the Registry Editor, navigate to the following path: HKEY_LOCAL_MACHINE\SOFTWARE\Intel. This path may vary depending on your system’s configuration and the manufacturer of your graphics card.
- Locate the DedicatedSegmentSize Value: Within the Graphics key, look for a DWORD value named “DedicatedSegmentSize” or a similar term. Double-click on this value to modify it.
- Specify the desired Video RAM allocation: In the Value Data field, enter the allocation of Video RAM you want to dedicate to your graphics card in megabytes. If the value is already present, you can simply modify it. If the value does not exist, right-click in the right pane, select New, and choose DWORD (32-bit) Value. Name the new value “DedicatedSegmentSize” and set the desired allocation.
- Save and restart your computer: Once you have entered the desired Video RAM allocation, click OK to save the changes in the Registry Editor. Restart your computer for the modifications to take effect.
It’s important to exercise caution when making changes in the Windows Registry Editor. Incorrect modifications can potentially disrupt the stability and functionality of your system. Before proceeding with any changes, it’s recommended to create a backup of your registry or create a system restore point as a precautionary measure.
Please note that this method specifically applies to computers with Intel graphics cards and may not work for systems with different GPU brands. Different graphics card manufacturers may have their own specific registry keys or settings for adjusting Video RAM allocation.
If you’re unfamiliar with editing the Windows Registry or are unsure about making changes, it is recommended to consult with a knowledgeable professional or seek assistance from your computer manufacturer or graphics card manufacturer.
Method 3: Upgrading Your Graphics Card
If the previous methods were not feasible or did not yield the desired results, another effective way to allocate more Video RAM is by upgrading your graphics card. Upgrading to a more powerful graphics card with a higher capacity of Video RAM can significantly enhance your system’s graphical performance. Here is a step-by-step guide for upgrading your graphics card:
- Research compatible graphics cards: Determine the compatibility of your current system and research graphics cards that are compatible with your motherboard and power supply. Consider factors such as the available slots on your motherboard and the power requirements of the new graphics card.
- Select a graphics card with higher Video RAM: Look for a graphics card that offers a higher capacity of Video RAM compared to your current graphics card. Higher Video RAM capacity will allow your system to handle more demanding graphical tasks and applications.
- Ensure proper installation: Before installing the new graphics card, ensure that you have the necessary tools and follow the manufacturer’s instructions carefully. Disconnect the power supply, remove the old graphics card if necessary, and install the new graphics card into the appropriate slot on your motherboard.
- Install the latest drivers: Once the new graphics card is installed, download and install the latest drivers from the manufacturer’s website. These drivers ensure that your graphics card is properly detected and optimized for performance.
- Configure Video RAM allocation: After installing the new graphics card and drivers, it’s important to configure the Video RAM allocation. Depending on the graphics card and drivers you have, you may be able to adjust Video RAM allocation through the manufacturer’s software. Consult the documentation or the support resources provided by the manufacturer for guidance on adjusting Video RAM allocation.
It’s worth mentioning that upgrading your graphics card may involve additional costs and considerations, such as the compatibility of other hardware components and the power supply capacity. It’s important to ensure that your system meets the requirements for the new graphics card and that the upgrade is within your budget.
Additionally, if you are not familiar with hardware installations or lack the technical expertise, it is recommended to seek assistance from a professional or consult with your computer manufacturer. They can provide guidance and support throughout the upgrade process, ensuring that it is performed correctly and without any issues.
By upgrading your graphics card to one with a higher Video RAM capacity, you can effectively increase the allocation of Video RAM and achieve a significant improvement in graphical performance, allowing for smoother gameplay, better video editing capabilities, and an overall enhanced visual experience.
Conclusion
Allocating more Video RAM to your graphics card can have a profound impact on your computer’s performance and visual quality. Whether you’re a gamer, video editor, or graphic designer, dedicating more Video RAM allows for smoother gameplay, faster rendering, and better support for high-resolution displays.
In this article, we discussed the importance of understanding Video RAM and its role in graphic-intensive tasks. We explored the benefits of dedicating more Video RAM, including improved graphics performance, higher frame rates, and enhanced multitasking capabilities. We also provided methods for allocating more Video RAM, such as adjusting settings in the BIOS, utilizing the Windows Registry Editor, and upgrading your graphics card.
It’s important to note that each method has its own considerations and limitations. Modifying settings in the BIOS or Windows Registry requires caution and may not be available on all systems. Upgrading your graphics card provides the most reliable and effective way to increase Video RAM, but it involves additional costs and compatibility considerations.
Before attempting any of these methods, it’s recommended to ensure compatibility and follow proper instructions to avoid any potential issues. If you’re unsure or uncomfortable making changes to your system, seek assistance from a knowledgeable professional or consult with your computer manufacturer.
By dedicating more Video RAM to your graphics card, you can unlock the full potential of your computer and enhance your overall computing experience. Enjoy smoother gameplay, faster rendering, and visually stunning graphics across all your favorite applications and tasks.