Introduction
Upgrading the RAM (Random Access Memory) in your laptop can significantly improve its performance, allowing you to run more programs simultaneously and handle resource-intensive tasks with ease. However, before diving into the world of RAM upgrades, it’s important to determine whether your laptop is capable of accommodating additional memory modules.
RAM plays a crucial role in the overall performance of your laptop. It acts as temporary storage for the data that your laptop needs to access quickly. The more RAM your laptop has, the faster and smoother it can handle multiple tasks, such as running large programs, multitasking, and even playing high-definition videos or games.
If you find that your laptop is struggling to keep up with your workload or experiencing frequent lag, an upgrade in RAM might be the solution. However, it’s essential to know the limitations of your laptop and ensure compatibility before purchasing and installing new memory modules.
This guide will provide you with a step-by-step approach to determine if your laptop can support a RAM upgrade, how much RAM it can handle, and the necessary steps to upgrade your laptop’s memory. By following these guidelines, you can make an informed decision and unleash the full potential of your laptop.
Please note that this guide is intended for laptops and not for desktop computers, as the process and compatibility requirements may differ.
Understanding RAM
Before diving into the process of upgrading your laptop’s RAM, it’s important to have a clear understanding of what RAM is and how it affects your device’s performance.
RAM, or Random Access Memory, is a type of computer memory that is utilized for temporary data storage. It is a crucial component that allows your laptop to quickly access and manipulate data that is actively being used by the operating system and running applications.
When you launch a program or open a file on your laptop, it gets loaded into the RAM. The more RAM your laptop has, the more data it can hold in its working memory, which results in faster and smoother performance.
RAM is different from permanent storage devices like hard drives or solid-state drives (SSDs). While these storage devices retain data even when the laptop is powered off, RAM loses its data once the laptop is turned off. Therefore, RAM is considered volatile memory.
RAM plays a crucial role in multitasking. When you’re performing multiple tasks simultaneously, each application requires a portion of the available RAM. If your laptop has insufficient RAM to handle the workload, it may start using virtual memory, which is essentially a portion of the hard drive space acting as additional memory. This can lead to slower performance and increased lag.
The RAM capacity of a laptop is typically measured in gigabytes (GB). It’s not uncommon for most entry-level laptops to have 4GB or 8GB of RAM, while high-end laptops can have 16GB or even 32GB of RAM.
Understanding the importance of RAM and how it impacts your laptop’s performance is crucial when considering an upgrade. By increasing the RAM capacity, you can ensure that your laptop has the necessary resources to handle demanding tasks and improve overall system responsiveness.
Reasons to Upgrade RAM
Upgrading the RAM in your laptop can offer several benefits and improve the overall performance of your device. Here are some key reasons why you might consider upgrading your laptop’s RAM:
- Better Multitasking: If you often find yourself running multiple applications or tasks simultaneously, an upgrade in RAM can significantly enhance your laptop’s multitasking capabilities. With more RAM, your laptop can handle a larger number of tasks efficiently, preventing slowdowns and lag.
- Improved Performance for Resource-Intensive Applications: Certain applications, such as video editing software, virtual machines, or graphic design tools, require a substantial amount of RAM to run smoothly. By upgrading your laptop’s RAM, you can provide the necessary resources for these resource-intensive applications, allowing them to perform at their best.
- Enhanced Gaming Experience: If you’re a gaming enthusiast, upgrading your laptop’s RAM can greatly enhance your gaming experience. Many modern games require a significant amount of memory to run smoothly. By increasing the RAM capacity, you can ensure smoother gameplay, faster loading times, and reduced frame rate drops.
- Quicker Access to Frequently Used Programs: When you have more RAM, your laptop can store frequently used programs and data in its working memory, resulting in quicker access times. This helps boost productivity and efficiency, as you won’t need to wait for applications to load every time you switch between them.
- Future-Proofing Your Laptop: As software and applications continue to evolve, they often become more resource-intensive. By upgrading your laptop’s RAM, you can future-proof your device and ensure it can handle the demands of future software updates without experiencing performance issues.
These are just a few of the many reasons why upgrading your laptop’s RAM can be beneficial. By assessing your specific needs and usage patterns, you can determine whether a RAM upgrade is right for you and take full advantage of the improved performance it offers.
Checking RAM Specifications
Before proceeding with a RAM upgrade, it’s important to identify the current RAM specifications of your laptop. This information will help you determine the type and capacity of RAM modules that are compatible with your device. Here are the steps to check your laptop’s RAM specifications:
- Check the Documentation: Start by referring to the documentation that came with your laptop or visit the manufacturer’s website. Look for information on the maximum RAM capacity supported by your laptop, the type of RAM modules compatible with your device, and any specific requirements or restrictions.
- Use the System Information Utility: On Windows, you can use the System Information utility to gather detailed information about your laptop’s hardware, including the current RAM specifications. Press the Windows key + R to open the Run dialog box, then type “msinfo32” and press Enter. In the System Information window, expand the “Components” category, and click on “Memory” to view details about your laptop’s RAM.
- Use the About This Mac Feature (MacOS): If you’re using a Mac, you can check the RAM specifications by clicking on the Apple logo in the top-left corner of the screen and selecting “About This Mac.” In the Overview tab, you’ll find information about the installed RAM modules, including the type and capacity.
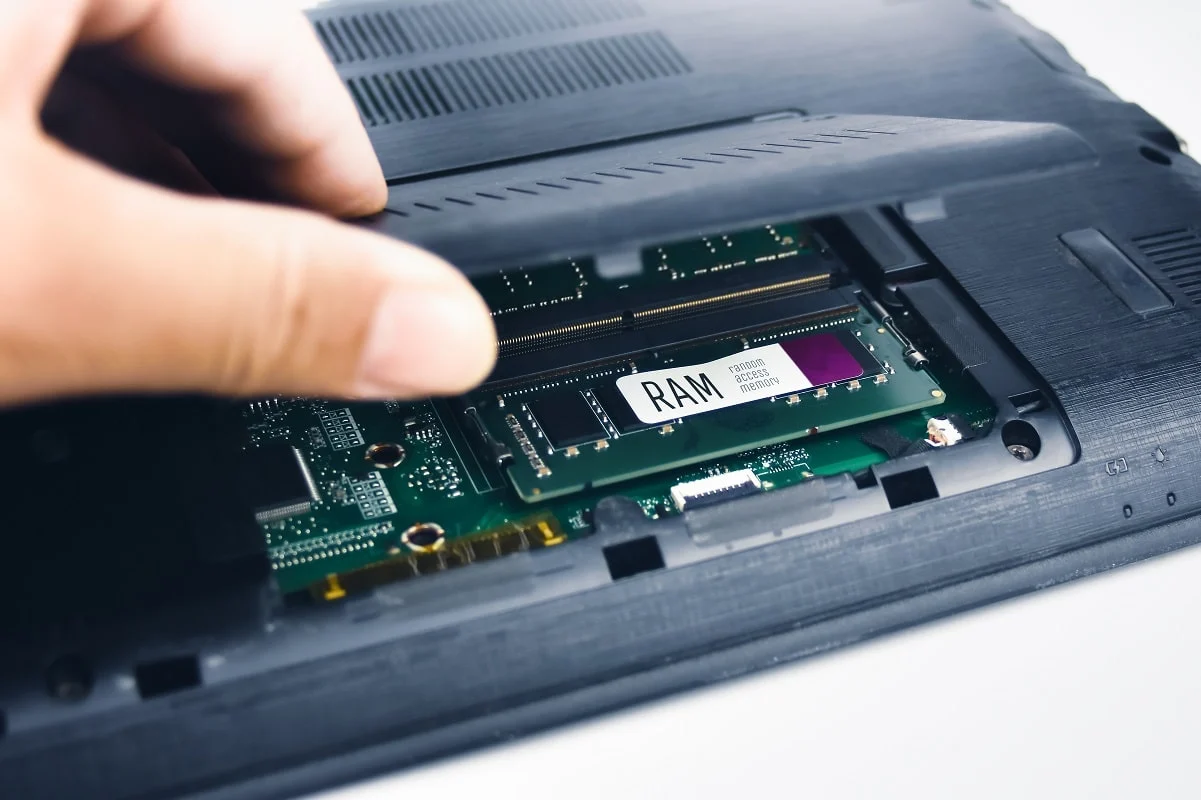
- Physical Inspection: In some cases, you might need to physically inspect your laptop to identify the RAM specifications. Start by shutting down your laptop and removing the battery (if applicable). Open the RAM access panel on the bottom of your laptop, carefully remove the RAM modules, and look for any labels or markings that indicate the type and capacity.
By checking the RAM specifications of your laptop, you’ll have a clear understanding of the type of RAM modules that are compatible, as well as the maximum capacity your device can support. This information is crucial when purchasing new RAM modules for your upgrade.
How Much RAM Can Your Laptop Support?
When considering a RAM upgrade for your laptop, it’s important to determine the maximum amount of RAM that your device can support. The maximum RAM capacity varies depending on the laptop model and its specifications. Here are a few ways to find out how much RAM your laptop can support:
- Manufacturer’s Documentation: Check the documentation that came with your laptop or visit the manufacturer’s website to find information about the maximum RAM capacity supported. Look for the model-specific specifications or the recommended RAM configurations.
- System Information Utility: If you’re using a Windows laptop, you can use the System Information utility to determine the maximum RAM capacity. Press the Windows key + R to open the Run dialog box, then type “msinfo32” and press Enter. In the System Information window, navigate to the “System Summary” section and look for the “Installed Physical Memory (RAM)”. This will indicate the total amount of RAM currently installed on your laptop and give you an idea of the maximum capacity it can support.
- Consult the Laptops’ Support Team: If you’re unable to find the necessary information in the documentation or through online resources, consider reaching out to the laptop’s support team. They can provide accurate information about the maximum RAM capacity for your specific model and any additional requirements or recommendations.
It’s essential to keep in mind that the maximum RAM capacity is not the same as what is currently installed on your laptop. Even if your laptop has some memory slots already occupied, you can still add additional RAM modules as long as you don’t exceed the maximum supported capacity.
Knowing how much RAM your laptop can support is crucial to ensure compatibility when purchasing and installing new memory modules. By staying within the supported limits, you can maximize the performance of your laptop and avoid any compatibility issues.
Determining the Type of RAM
Once you have identified the maximum RAM capacity supported by your laptop, the next step is to determine the specific type of RAM that is compatible with your device. Different laptops require different types of RAM, and using an incompatible RAM module can lead to issues or prevent your laptop from functioning properly. Here’s how you can determine the type of RAM your laptop needs:
- Check the Documentation: Start by referring to the documentation that came with your laptop or visit the manufacturer’s website. Look for information about the specific type of RAM modules recommended or compatible with your laptop. This information may be listed under the technical specifications or in the user manual.
- Use the System Information Utility (Windows): On a Windows laptop, you can use the System Information utility to gather information about your laptop’s RAM type. Press the Windows key + R to open the Run dialog box, then type “msinfo32” and press Enter. In the System Information window, navigate to the “System Summary” section and look for the “Memory Type” field. This will indicate the specific type of RAM used by your laptop.
- Use the About This Mac Feature (MacOS): If you’re using a Mac, you can determine the RAM type by clicking on the Apple logo in the top-left corner of the screen and selecting “About This Mac.” In the Overview tab, you’ll find information about the installed RAM, including the type.
- Physical Inspection: In some cases, you may need to inspect the RAM modules physically. Open the RAM access panel on the bottom of your laptop, carefully remove the RAM module, and look for any labels or markings that indicate the specific type, such as DDR3, DDR4, or LPDDR. Make a note of the type for reference when purchasing new RAM modules.
It’s crucial to ensure that you select the correct type of RAM for your laptop to ensure compatibility and optimal performance. Using the wrong type of RAM can lead to stability issues or prevent the RAM from being recognized by your laptop. Consulting the documentation or contacting the manufacturer’s support can provide confirmation and guidance in case of any confusion.
Checking RAM Compatibility
Before purchasing new RAM modules for your laptop upgrade, it’s important to ensure compatibility with your device. Not all RAM modules are compatible with every laptop, and using an incompatible RAM module can lead to various issues. Here are the key factors to consider when checking RAM compatibility:
- Maximum Capacity: Ensure that the RAM modules you purchase do not exceed the maximum supported capacity of your laptop. Exceeding the limit may result in the laptop not recognizing the additional RAM or causing stability issues.
- Type of RAM: Confirm that the type of RAM you intend to purchase is compatible with your laptop. Look for the supported RAM types, such as DDR3, DDR4, or LPDDR, as specified in your laptop’s documentation or through system information utilities.
- Speed: Consider the speed of the RAM modules. While it is possible to install RAM with faster speeds than the laptop’s specified limit, it will only run at the maximum supported speed. Hence, investing in faster RAM may not always yield performance improvements unless your laptop supports higher speeds.
- Form Factor: Ensure that the physical dimensions of the RAM modules match the available slots in your laptop. Most laptops use the Small Outline Dual In-Line Memory Module (SO-DIMM) form factor, but it’s important to verify the specific form factor required by your laptop.
- Voltage: Check the voltage requirements of your laptop’s RAM. Some laptops require low voltage (1.35V or lower) RAM modules to prevent compatibility issues. Make sure the new RAM meets the voltage specifications of your laptop.
- Number of Slots: Determine the number of RAM slots available in your laptop. If all the slots are occupied, you’ll need to replace existing RAM modules or purchase additional modules with higher capacities to maximize your laptop’s RAM.
Researching and confirming RAM compatibility before making a purchase will save you time, money, and potential headaches in the long run. If you have any doubts, reach out to the laptop manufacturer’s support or consult with a hardware expert for guidance tailored to your specific laptop model.
Steps to Upgrade RAM
Once you have determined the compatibility and type of RAM required for your laptop, you can proceed with the process of upgrading the RAM. While the specific steps may vary slightly depending on your laptop model, here is a general guideline to help you through the process:
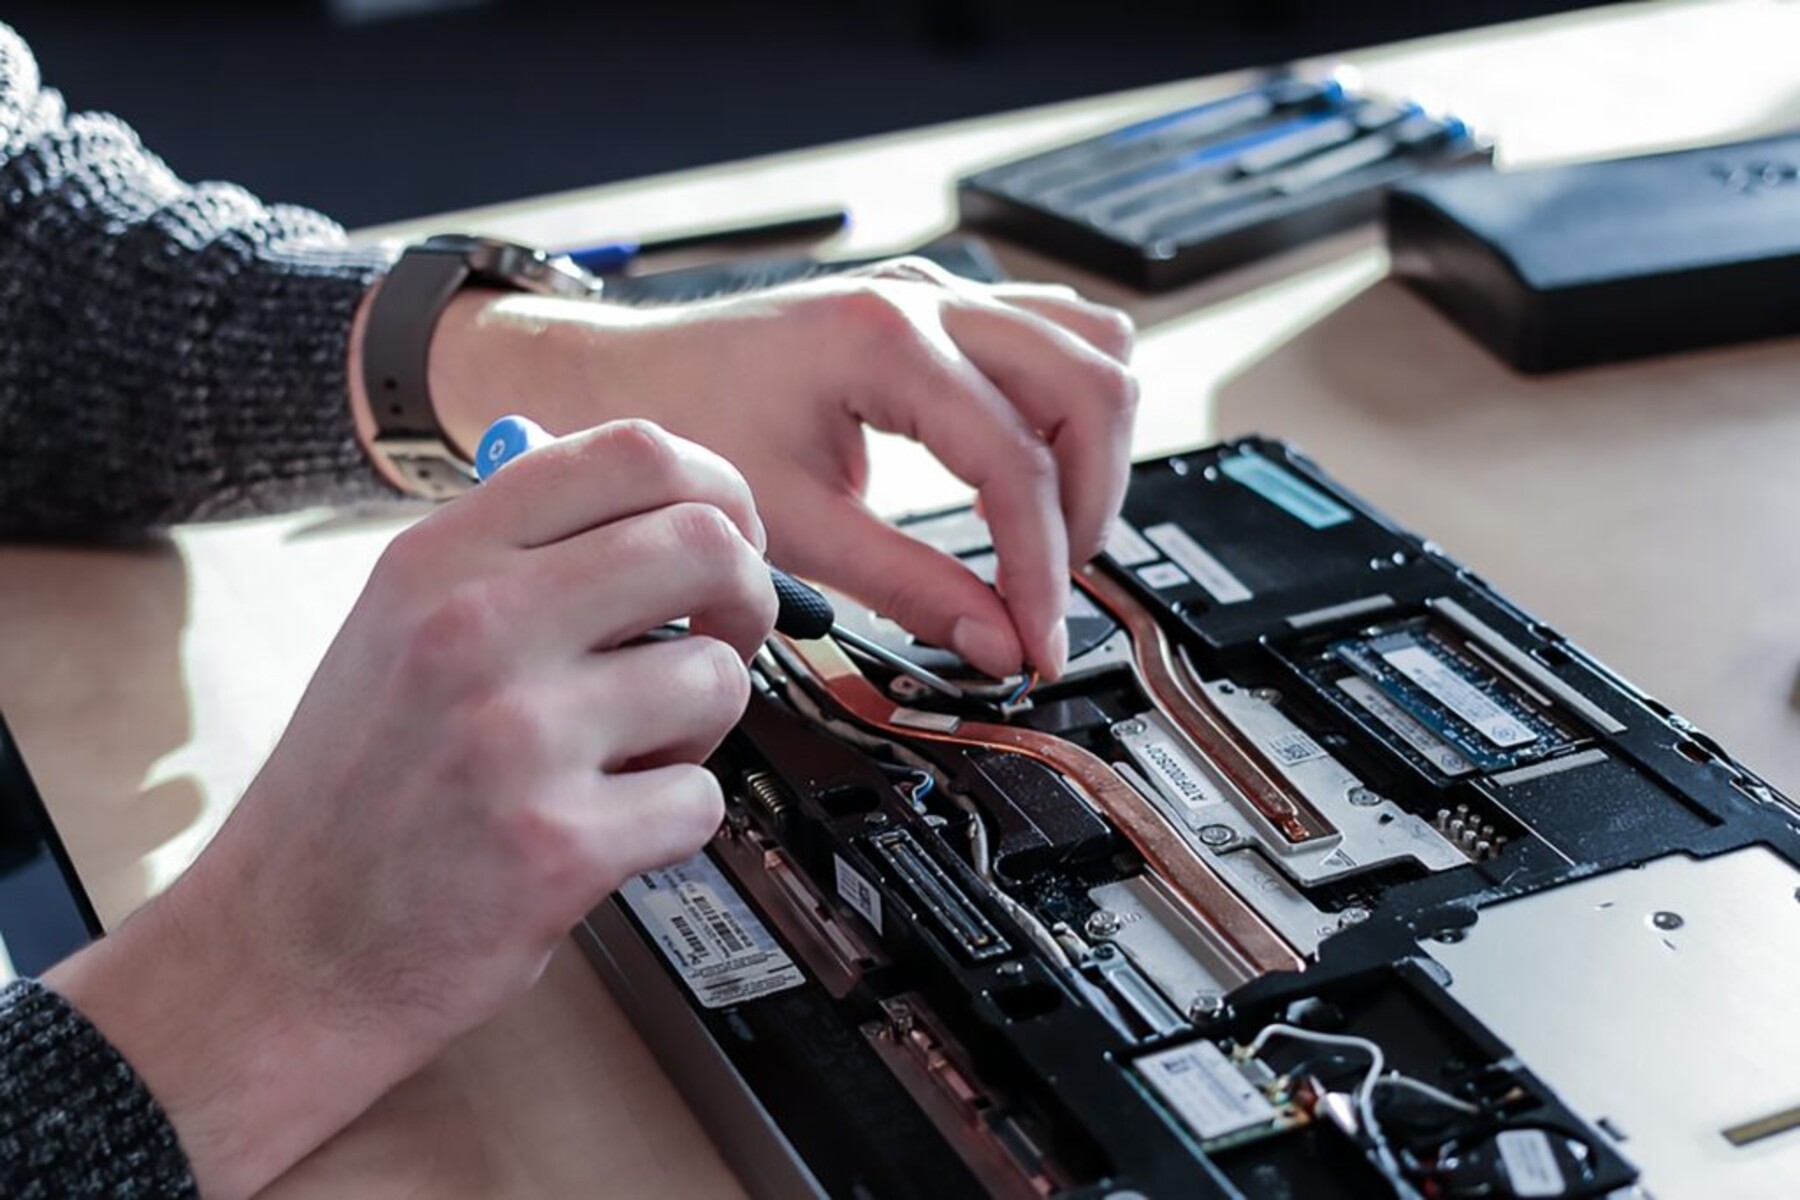
- Gather the Necessary Tools: Before starting the upgrade, gather the necessary tools, such as a screwdriver, an antistatic wristband (optional), and a clean, static-free workspace. These tools will ensure a safe and smooth installation process.
- Power Off and Disconnect: Shut down your laptop completely and disconnect it from the power source. This will prevent any potential electrical damage and ensure your safety during the upgrade process.
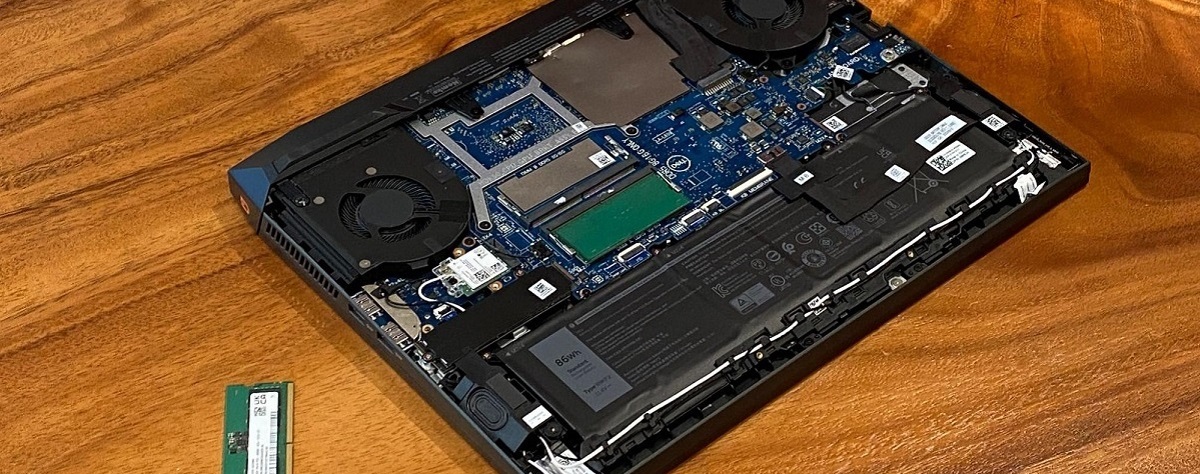
- Locate the RAM Compartment: Most laptops have a dedicated compartment for RAM modules. Refer to your laptop’s documentation or user manual to locate the RAM compartment. It is often found on the bottom of the laptop and covered by a plastic panel.
- Remove the Cover: Using a screwdriver, remove the screws holding the RAM compartment cover in place. Carefully remove the cover and set it aside in a safe place.
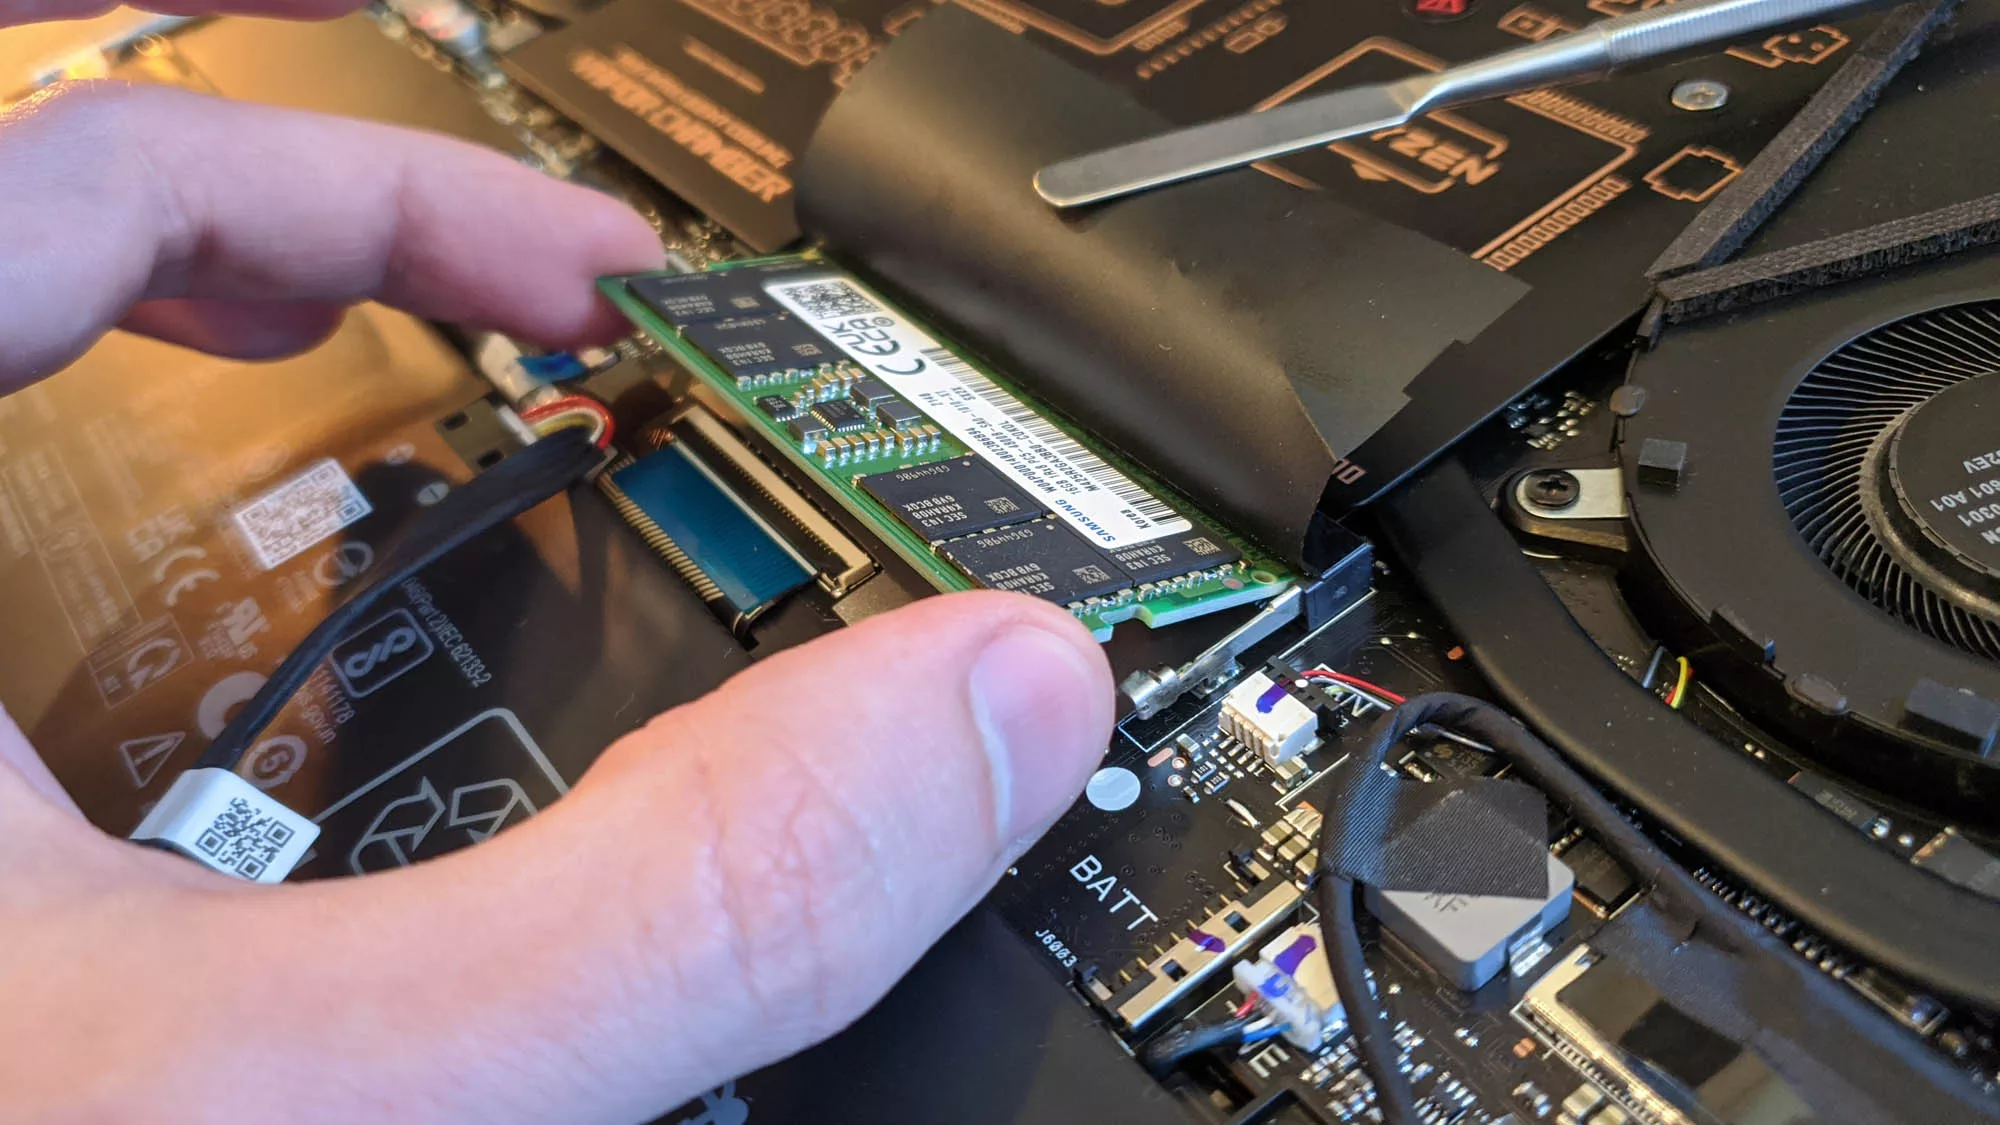
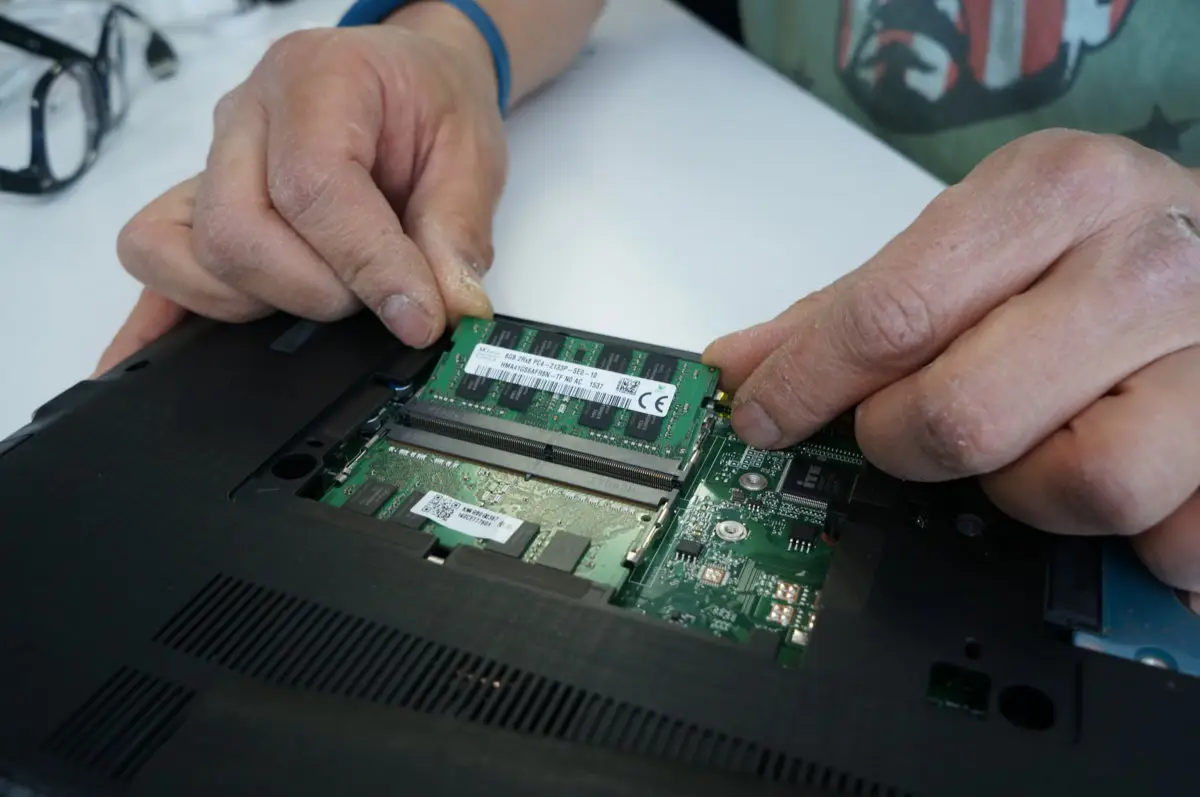
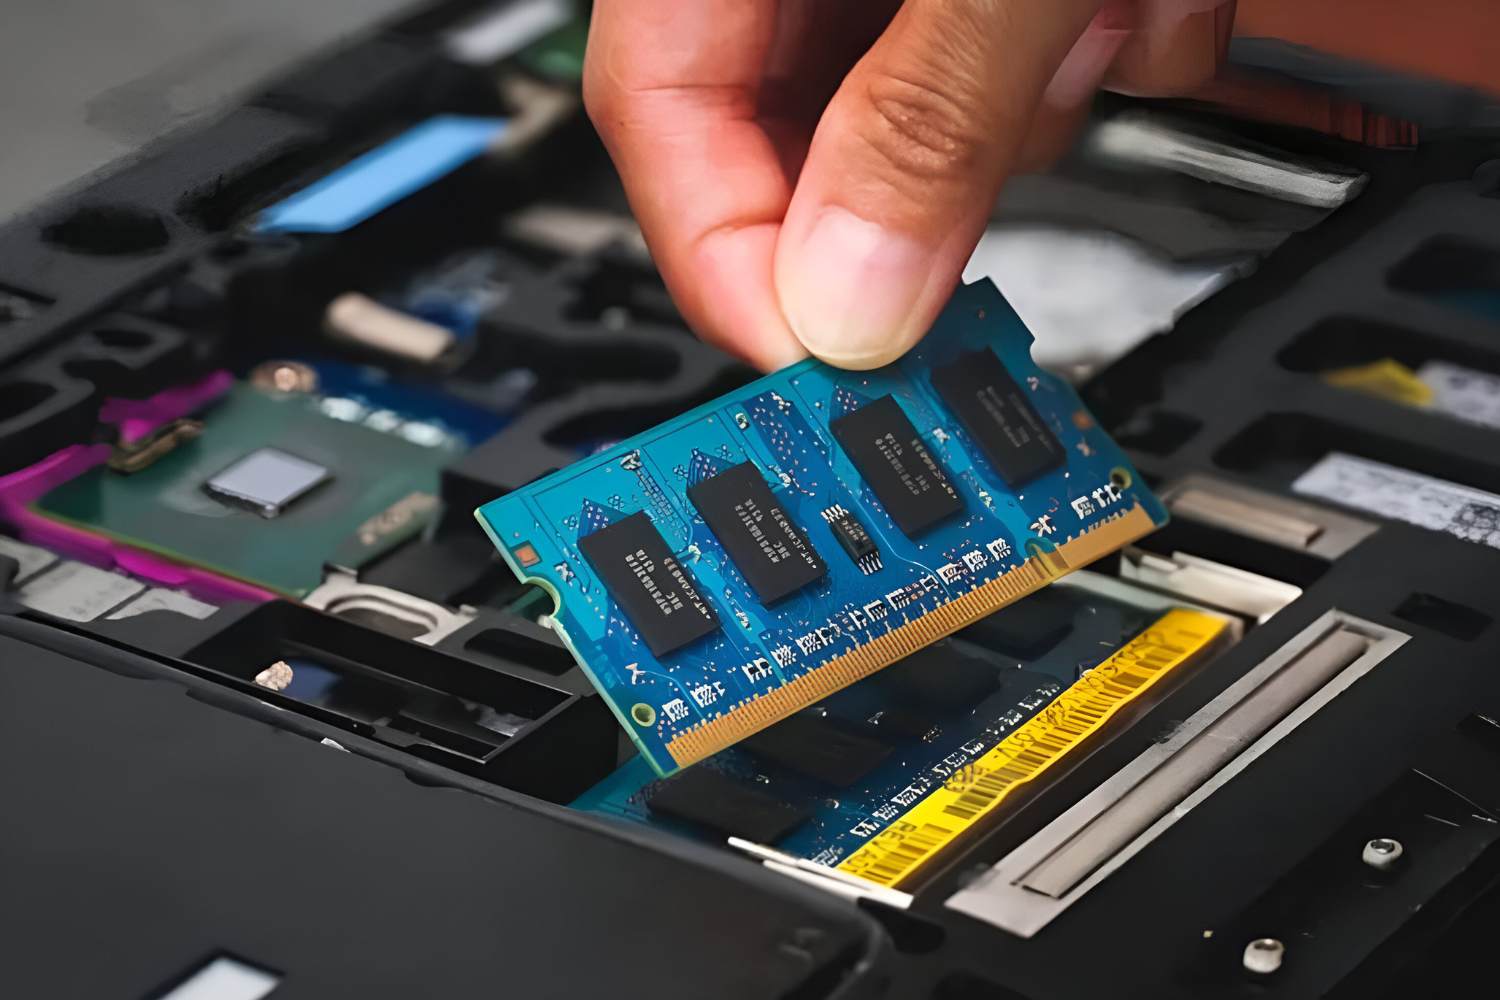
- Install the New RAM Module: Locate the RAM slots within the compartment. If any slots are already occupied, carefully eject the existing RAM modules by pulling apart the retaining clips on either side. Insert the new RAM module into an empty slot at a 45-degree angle and press it down until it clicks into place. The retaining clips should automatically secure the module.
- Repeat if Necessary: If you have more than one RAM slot and wish to install additional memory modules, repeat the previous step for each slot. Make sure to evenly distribute the modules for optimum performance.
- Replace the Cover: Once all the RAM modules are installed, align the cover with the compartment and secure it back in place using the screws. Ensure the cover is properly aligned before tightening the screws to avoid damaging the threads.
- Power On and Verify: Reconnect your laptop to the power source and power it on. Once your laptop boots up, verify that the installed RAM is recognized by your operating system. You can do this by opening the System Information utility on Windows or the About This Mac feature on Mac.
- Run Diagnostic Tests: It is recommended to run diagnostic tests on your laptop to ensure that the new RAM modules are functioning properly. Many laptop manufacturers provide diagnostic tools for this purpose. Running tests will help identify any potential issues and ensure that your laptop is utilizing the new RAM effectively.
Following these steps will help you successfully upgrade the RAM in your laptop. Remember to handle the RAM modules with care, avoid static electricity, and refer to your laptop’s specific documentation for any model-specific instructions or recommendations.
Troubleshooting RAM Upgrades
While upgrading the RAM in your laptop is generally a straightforward process, occasional issues may arise. If you encounter any problems during or after the RAM upgrade, here are some troubleshooting steps to help you resolve them:
- Check for Proper Installation: Ensure that the RAM modules are securely inserted into the slots and properly aligned. Sometimes, modules may not be fully seated or may come loose during installation, causing connection issues.
- Verify RAM Compatibility: Double-check that the RAM modules you’ve installed are compatible with your laptop. Confirm the type, speed, voltage, and capacity requirements. Using incompatible RAM can lead to instability or cause your laptop to fail to recognize the modules.
- Reseat the RAM Modules: If you’re experiencing issues, try removing the RAM modules and reseating them. Sometimes, poor connections can be the cause of problems. Carefully remove the RAM modules, clean the contacts if necessary, and reinstall them firmly.
- Clear the CMOS: If your laptop is not booting up correctly after the RAM upgrade, resetting the CMOS (Complementary Metal-Oxide-Semiconductor) settings might help. Consult your laptop’s user manual or manufacturer’s website for instructions on how to clear the CMOS.
- Test Individual RAM Modules: If you’ve installed multiple RAM modules, try testing each module individually. Remove all but one module and power on your laptop. If it works fine, repeat the process with each module. This will help identify any faulty or incompatible RAM modules.
- Update BIOS: In some cases, updating your laptop’s BIOS (Basic Input/Output System) may resolve compatibility issues with new RAM modules. Visit the manufacturer’s website and download the latest BIOS update for your specific laptop model. Follow the instructions provided to update the BIOS.
- Restore BIOS Defaults: If you made changes to the BIOS settings before the RAM upgrade, try restoring the default settings. Incorrect BIOS configurations can result in compatibility issues or prevent proper recognition of the installed RAM.
- Consult Manufacturer Support: If you have tried the above steps and are still experiencing issues, it may be helpful to consult the manufacturer’s support team or seek assistance from a qualified technician. They can provide further guidance or determine if there are any specific known issues with your laptop model and RAM upgrades.
It’s important to approach troubleshooting with patience and caution while working with your laptop’s hardware. Taking these steps should help you identify and address any issues that may occur during or after a RAM upgrade, ensuring your laptop functions optimally with the new RAM installed.
Conclusion
Upgrading the RAM in your laptop can significantly improve its performance and allow for smoother multitasking, faster program execution, and an overall enhanced user experience. By following the steps outlined in this guide, you can determine if your laptop is capable of supporting a RAM upgrade, understand the RAM specifications, and confidently select and install compatible RAM modules.
In the introductory section, we emphasized the importance of RAM in your laptop’s performance and discussed the reasons why you might consider upgrading. We then delved into the process of checking your laptop’s RAM specifications, including the maximum capacity and type of RAM supported.
Furthermore, we provided guidance on determining how much RAM your laptop can support and ensuring compatibility. Understanding the maximum capacity and specific requirements of your laptop is crucial to avoid purchasing incompatible RAM modules.
We also discussed the installation steps involved in upgrading the RAM, providing a general guideline for the process. By following these steps and exercising caution, you can successfully install the new RAM modules and optimize your laptop’s performance.
In the event of any issues during or after the RAM upgrade, we provided troubleshooting tips to help you identify and resolve common problems. From checking for proper installation to updating the BIOS, these troubleshooting steps can help ensure a smooth RAM upgrade experience.
Remember, each laptop model may have specific instructions or requirements, so it’s always recommended to consult the manufacturer’s documentation or seek professional assistance if needed.
By understanding the importance of RAM, determining compatibility, and following the necessary steps, you can upgrade the RAM in your laptop and unlock its full potential. Enjoy the improved performance and enhanced capabilities that come with the additional memory!