Introduction
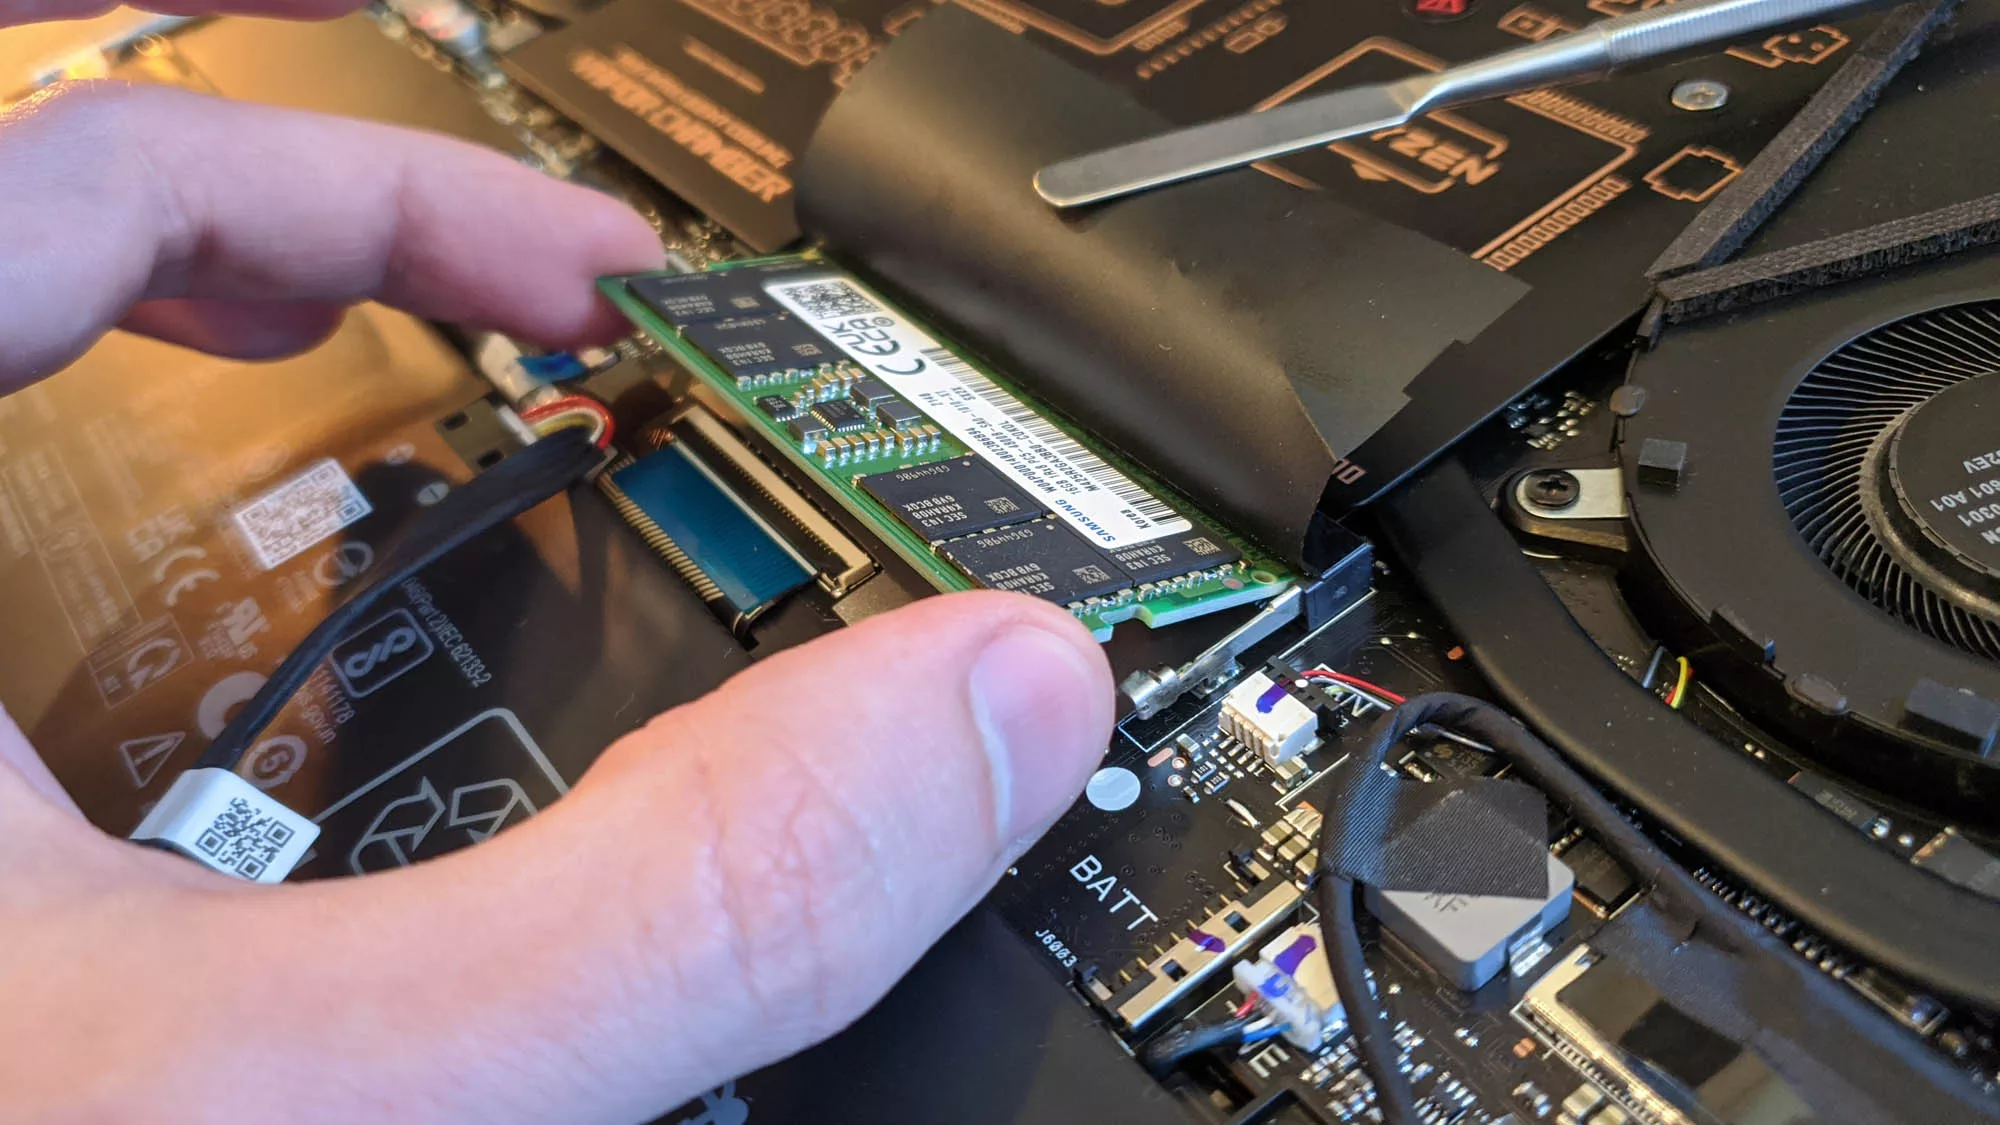
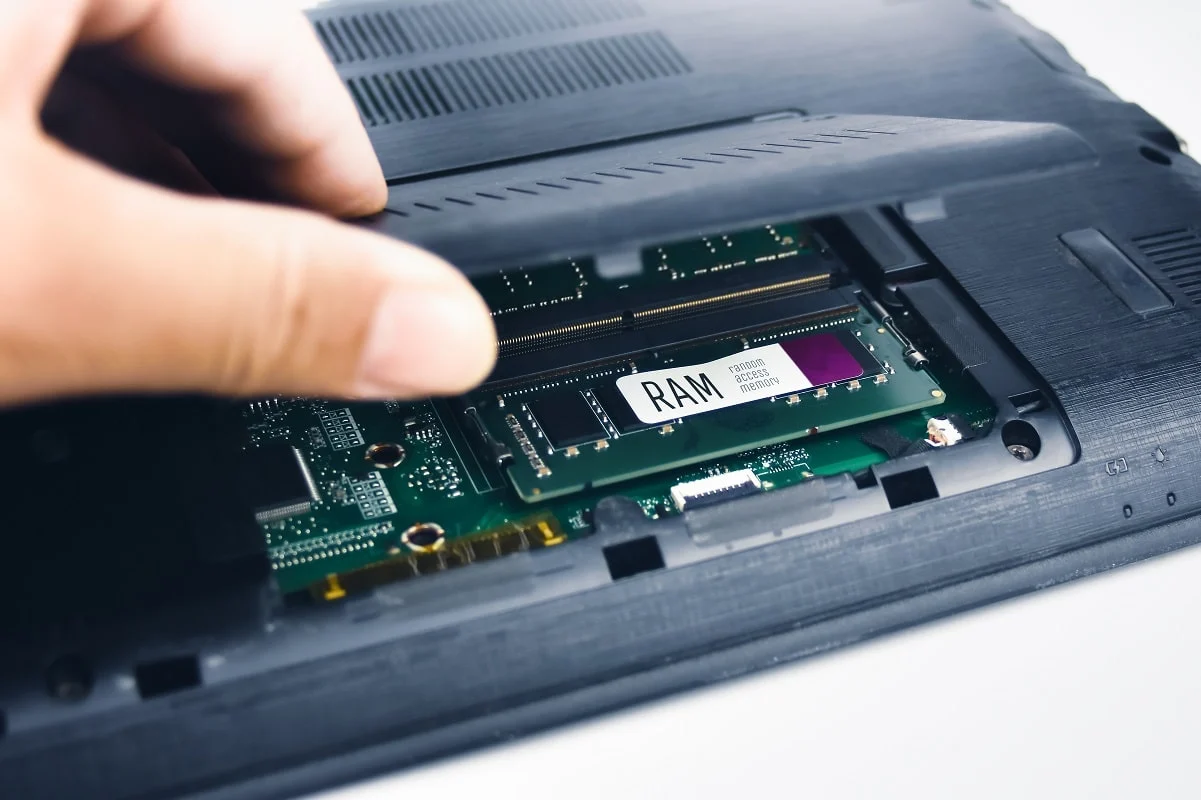
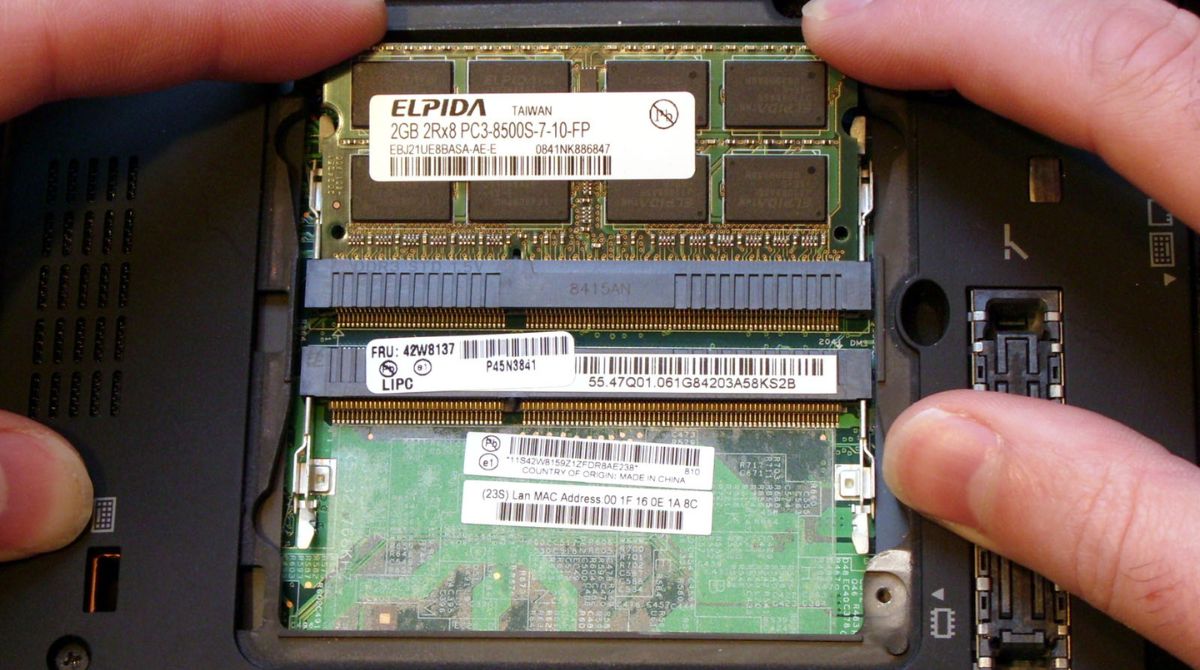
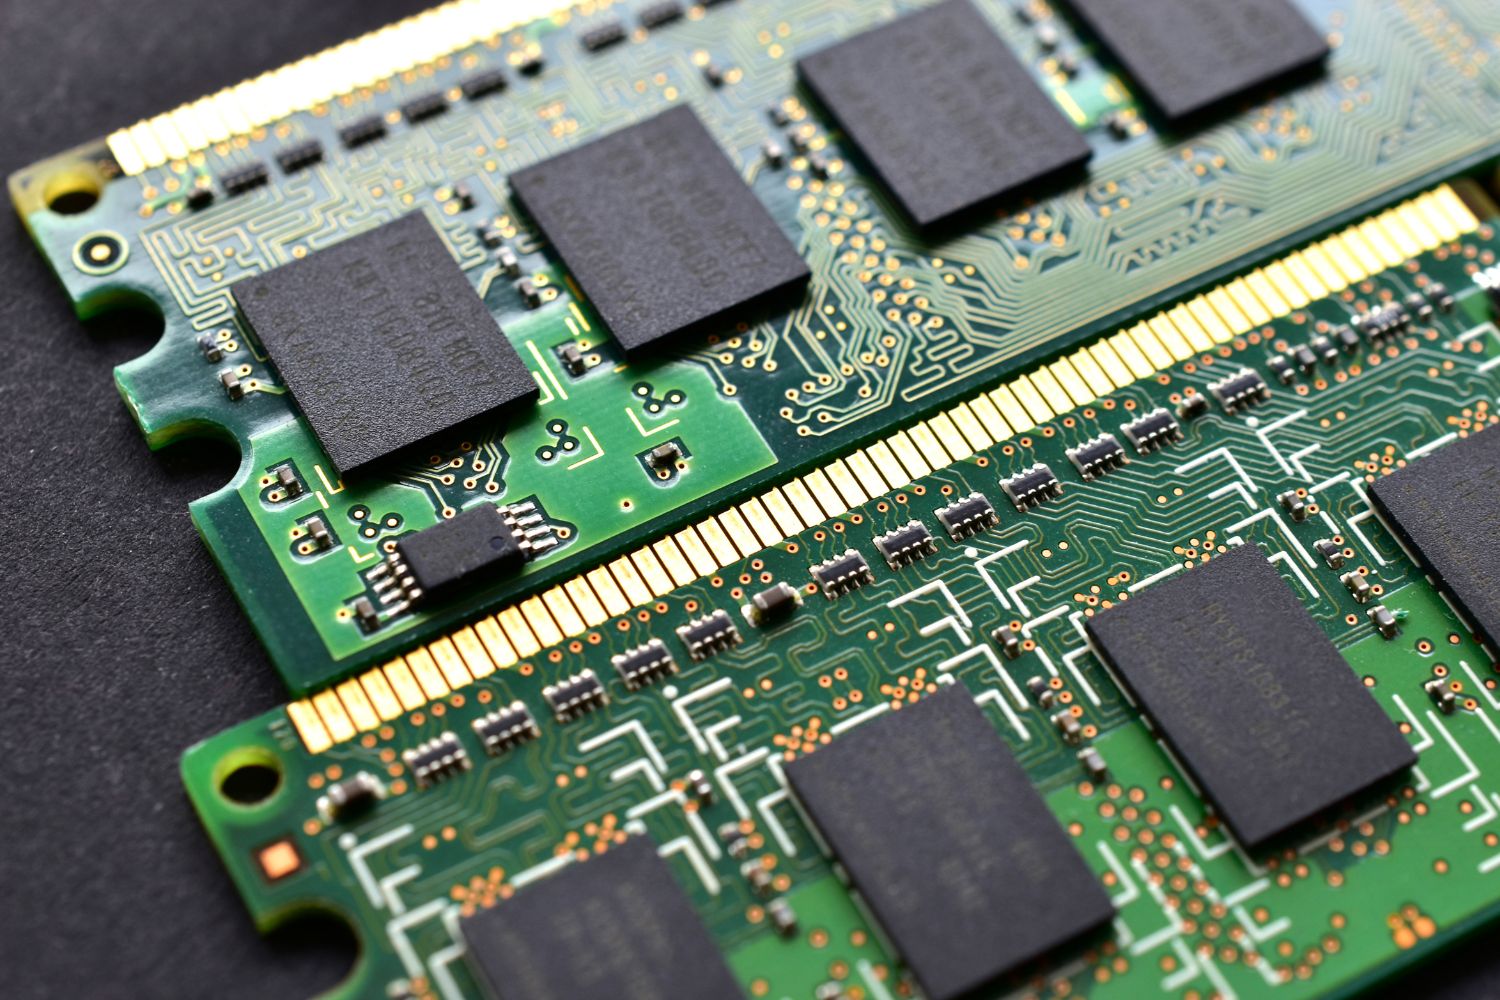
When it comes to understanding the capabilities and specifications of your laptop, one crucial piece of information is the amount of RAM it has. RAM, or Random Access Memory, is an integral component of your laptop’s hardware that directly impacts its performance. Whether you’re a tech enthusiast or simply want to determine if your laptop meets the minimum requirements for a specific software or game, knowing how to find the RAM of your laptop is essential.
By knowing the amount of RAM your laptop has, you can assess its ability to handle multitasking, run resource-intensive applications, and ensure a smooth computing experience. This knowledge can also help you determine if upgrading your laptop’s RAM would improve its performance.
In this article, we will explore various methods to find the RAM of your laptop. Whether you prefer using built-in utilities or third-party software, we’ve got you covered. So, let’s dive in and discover the different ways to uncover this crucial piece of information.
Checking System Information
One of the easiest ways to find the RAM of your laptop is by checking the system information. This method utilizes the built-in tools provided by the operating system. Let’s explore a few common ways to access this information:
- Using Task Manager: If you are using Windows, you can quickly find the RAM information by opening the Task Manager. Right-click on the taskbar and select “Task Manager” from the context menu. In the Task Manager window, click on the “Performance” tab. Here, you will find the details of your laptop’s memory, including the amount of RAM.
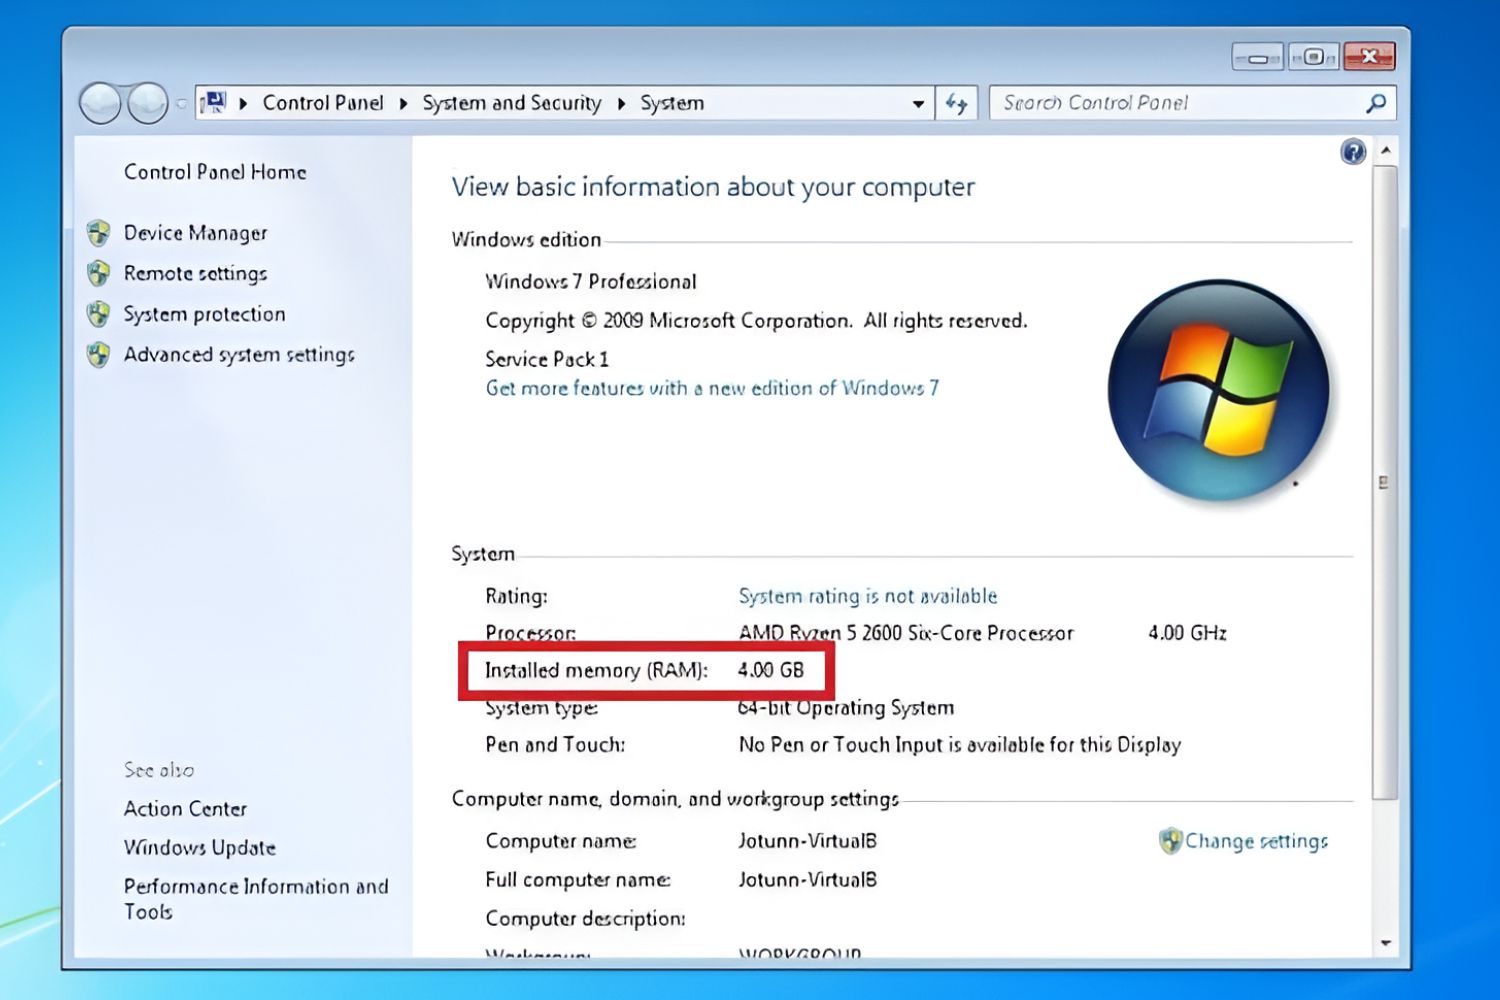
- Using System Information Tool: Another built-in tool on Windows is the System Information tool. To access it, press the Windows key + R to open the Run dialog box. Type “msinfo32” and hit Enter. The System Information window will open, displaying various information about your laptop’s hardware and software. Look for the “Installed Physical Memory” or “Total Physical Memory” section to find the RAM capacity.
- Using Command Prompt: For those who prefer the command line interface, you can find the RAM information via Command Prompt. Open the Command Prompt by pressing the Windows key + R, typing “cmd”, and hitting Enter. In the Command Prompt window, type “wmic memorychip get capacity” and press Enter. This command will provide you with the total installed RAM capacity in bytes.
These methods will give you a quick and straightforward way to check the RAM of your laptop using the tools provided by the operating system. If you are using a different operating system, such as macOS or Linux, consult the respective documentation or online resources to find the equivalent system information tools.
Using Task Manager
One of the most convenient ways to find the RAM of your laptop, especially if you are using Windows, is by utilizing the Task Manager. Task Manager provides a comprehensive overview of system performance, including memory usage. Here’s how you can use Task Manager to find the RAM information:
- Right-click on the taskbar of your Windows desktop.
- In the context menu that appears, select “Task Manager.” Alternatively, you can also launch Task Manager by pressing the Ctrl + Shift + Esc keys simultaneously.
- In the Task Manager window, click on the “Performance” tab located at the top.
- In the left-hand sidebar, select “Memory” to view memory-related information.
- Under the “Memory” section, you will see details such as “In use,” “Available,” “Committed,” and “Cached.” The “In use” value represents the portion of RAM currently being utilized by active processes.
- Additionally, you will notice the “Physical Memory” section with the label “Total” indicating the total amount of RAM installed on your laptop.
By following these steps, you can quickly find the amount of RAM installed on your Windows laptop using the Task Manager. It provides a straightforward and user-friendly interface to monitor your system’s memory usage and helps you determine if any updates or upgrades are required.
Note that the Task Manager also allows you to identify application-specific memory usage. You can switch between the “Processes” and “Performance” tabs to view detailed memory usage by individual programs, assisting you in identifying any memory-hungry applications that might be affecting overall system performance.
Keep in mind that different versions of Windows may have slightly different layouts or labels in the Task Manager, but the basic concept remains the same. Regardless of the specific version you are using, the Task Manager is an efficient tool to find the RAM of your laptop and monitor system performance.
Using System Information Tool
If you’re using a Windows operating system, another built-in tool that can provide you with detailed information about your laptop’s hardware, including the amount of RAM, is the System Information tool. Here’s how you can use it:
- Press the Windows key + R on your keyboard to open the Run dialog box.
- Type “msinfo32” into the text field and press Enter.
- The System Information window will open, displaying various information about your laptop.
- On the left-hand side of the System Information window, you will find a list of categories. Click on “System Summary” to expand it.
- Scroll down in the right-hand pane until you find the “Installed Physical Memory” or “Total Physical Memory” section.
- The value listed in this section represents the total amount of RAM installed in your laptop, typically displayed in megabytes (MB) or gigabytes (GB).
The System Information tool provides a comprehensive view of your laptop’s hardware and software configuration, making it an excellent resource for finding detailed information about your laptop’s RAM.
It’s important to note that the System Information tool may display slightly different labels or categories depending on the version of Windows you are using. Nevertheless, the RAM information can usually be found under the “System Summary” category.
By using the System Information tool, you can quickly and easily determine the amount of RAM installed in your laptop, helping you make informed decisions regarding system upgrades or software compatibility.
Remember to consult your laptop manufacturer’s documentation or their website if you encounter any difficulties or require additional information specific to your laptop model.
Using Command Prompt
If you prefer using the command line interface, you can find the RAM information of your laptop using Command Prompt. This method provides a quick and efficient way to access system details without the need for a graphical user interface. Here’s how you can do it:
- Press the Windows key + R on your keyboard to open the Run dialog box.
- Type “cmd” and press Enter to open the Command Prompt window.
- In the Command Prompt window, type the following command and press Enter:
wmic memorychip get capacity - The command will retrieve and display the capacity of the memory chips installed in your laptop.
- The result will be shown in bytes, so you may need to convert it to a more readable format such as megabytes (MB) or gigabytes (GB).
Using Command Prompt allows you to quickly obtain the total installed RAM capacity without the need for navigating through graphical user interfaces. It is especially useful for advanced users or troubleshooting scenarios where quickly accessing system information is crucial.
Keep in mind that Command Prompt is specific to the Windows operating system. If you’re using a different operating system, such as macOS or Linux, consult the respective command line tools and documentation to find the equivalent method of accessing RAM information.
The ability to use Command Prompt efficiently can be useful in various situations, such as diagnosing system issues, writing scripts, or performing advanced system configuration. However, if you’re unfamiliar with using the command line interface, it’s recommended to refer to the operating system’s documentation or seek guidance from knowledgeable sources.
Third-Party Software
In addition to the built-in tools provided by the operating system, there are numerous third-party software options available that can help you find the RAM of your laptop. These software solutions often offer more advanced features and detailed information about your system’s hardware. Here are a few popular third-party software options:
- Speccy: Speccy is a lightweight and user-friendly software developed by Piriform. It provides detailed information about your laptop’s hardware, including the amount of RAM, processor specifications, storage details, and more. Speccy displays this information in a clear and organized manner, making it easy to find the specific details you’re interested in.
- CPU-Z: CPU-Z is a powerful and widely-used software that provides extensive information about your laptop’s hardware. It not only displays the RAM capacity but also provides detailed information about the RAM modules, such as their frequency, timings, and voltage. CPU-Z is commonly used by tech enthusiasts and professionals for system diagnostics and performance optimization.
- Belarc Advisor: Belarc Advisor is a comprehensive system information tool that provides a detailed profile of your laptop’s hardware and software configuration. It generates a comprehensive report with information about the RAM, CPU, motherboard, installed software, and more. Belarc Advisor is particularly useful if you require a thorough overview of your laptop’s specifications for troubleshooting, system audits, or documentation purposes.
When selecting a third-party software, ensure that you download it from reputable sources and check for user reviews and ratings. Also, be mindful of any additional features or bundled software that may come with the installation.
These third-party software options offer a convenient and comprehensive way to find the RAM of your laptop while providing additional insights into your system’s hardware specifications. They can be particularly helpful if you need to gather detailed information about various components of your laptop or if you prefer a more user-friendly interface compared to the built-in tools.
Remember that the availability and compatibility of third-party software may vary based on your operating system, so ensure that you choose a software solution that is compatible with your laptop’s operating system.
Conclusion
Knowing how to find the RAM of your laptop is essential for understanding its capabilities and ensuring a smooth computing experience. Whether you’re a tech enthusiast looking to optimize your system’s performance or simply want to determine if your laptop meets the minimum requirements for a specific software, there are various methods available to uncover this information.
The built-in tools provided by the operating system, such as Task Manager and the System Information tool, offer quick and convenient ways to find the RAM of your laptop. These tools allow you to access the information directly from your operating system without the need for additional software installation.
Furthermore, if you prefer a more detailed overview of your system’s hardware or seek advanced features, third-party software options like Speccy, CPU-Z, or Belarc Advisor can be extremely helpful. These software solutions provide in-depth information about your laptop’s RAM capacity and other hardware specifications, allowing you to make informed decisions regarding upgrades or troubleshooting.
Ultimately, the method you choose depends on your preference and the level of detail you require. Whether you’re a casual user or a tech-savvy individual, the available options give you the flexibility to find the RAM of your laptop in a way that suits you best.
Remember to refer to your operating system’s documentation or seek guidance from reliable sources if you encounter any difficulties in accessing or interpreting the RAM information. Understanding the RAM capacity of your laptop helps you optimize its performance and ensure efficient multitasking for all your computing needs.