Introduction
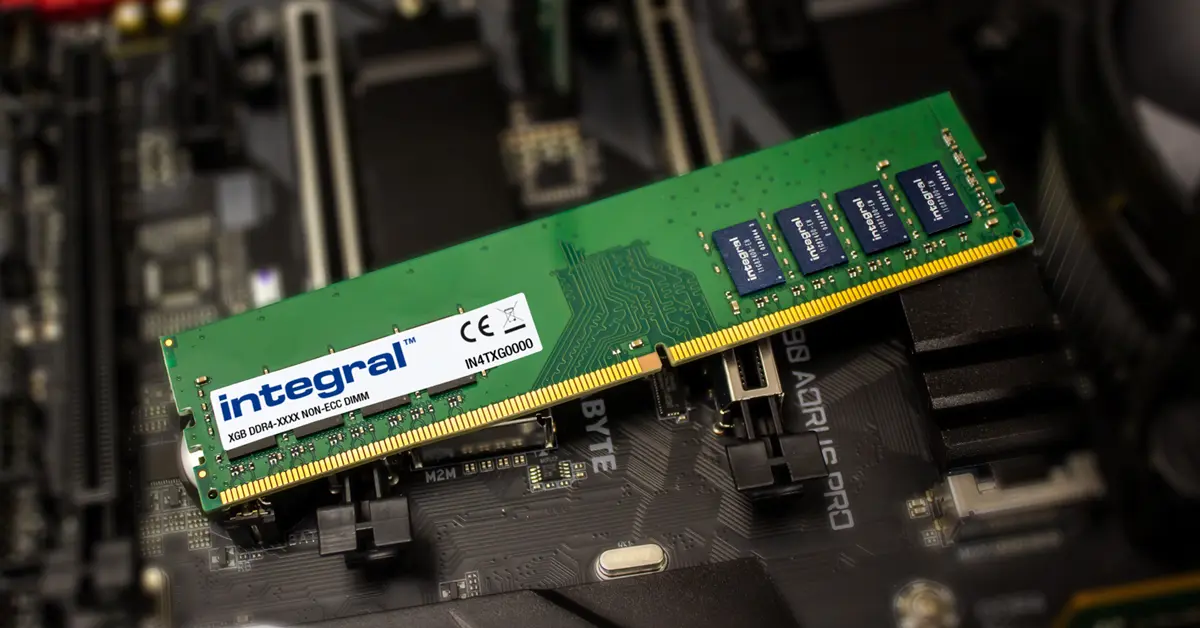
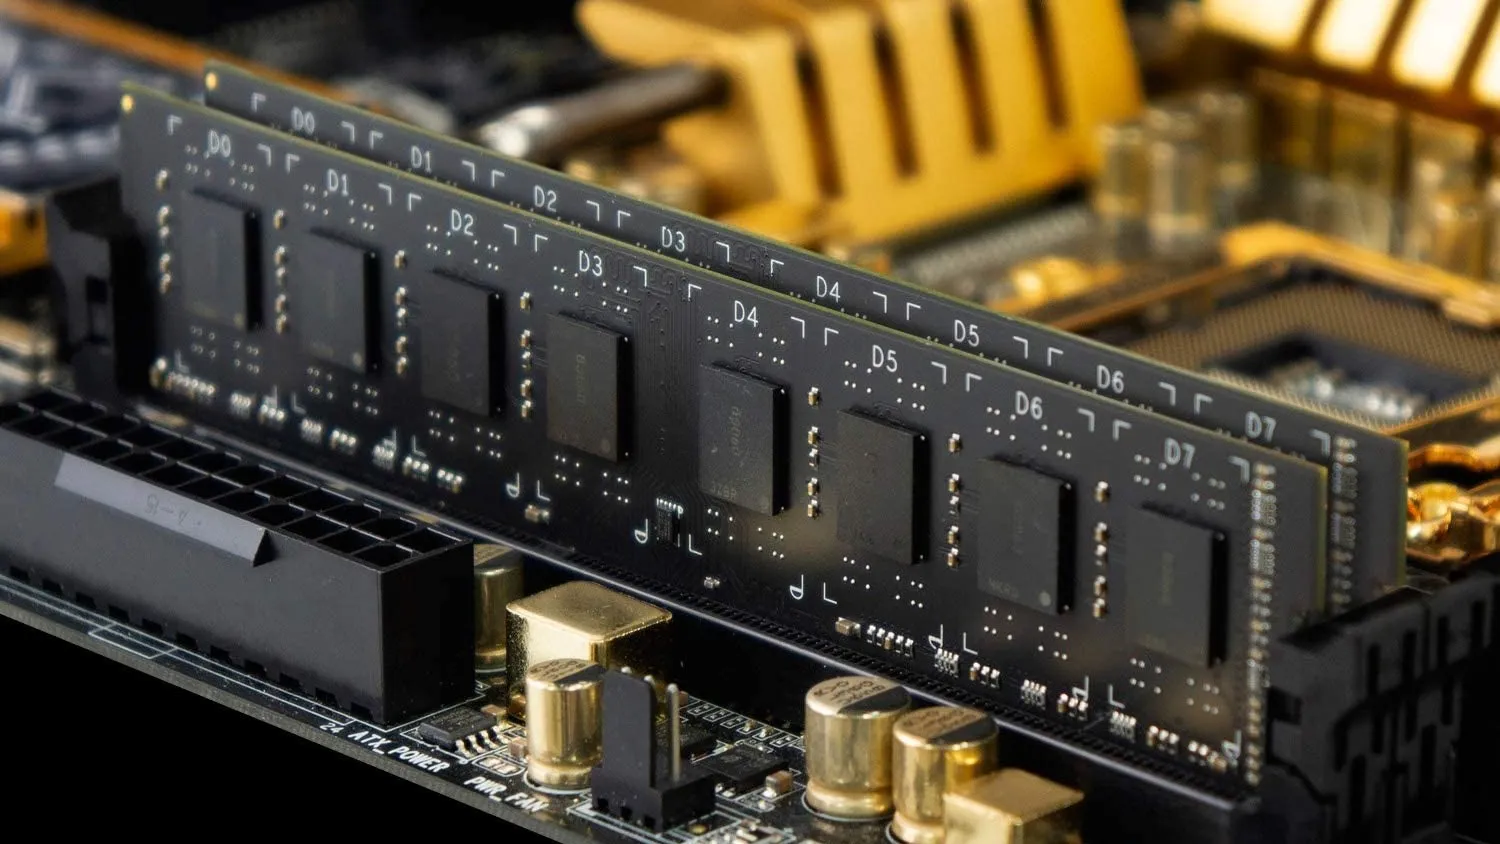
When it comes to maximizing the performance of your Mac computer, understanding how much RAM (Random Access Memory) you have is essential. RAM plays a crucial role in the overall speed and efficiency of your system, allowing your computer to quickly access and process data.
Whether you want to upgrade your RAM or simply want to check the current capacity, there are several methods available to determine how much RAM you have on your Mac. In this article, we will explore three different ways to check your Mac’s RAM and provide step-by-step instructions for each method.
Knowing your Mac’s RAM capacity can help you identify if your system has enough memory to handle the applications and tasks you frequently use. Insufficient RAM can result in sluggish performance, frequent freezing, and even crashes. By determining your current RAM capacity, you can make informed decisions about potential upgrades or optimizations to improve your Mac’s performance.
By following the methods outlined in this article, you can easily check your Mac’s RAM and gain a better understanding of your system’s capabilities. Whether you are a casual user or a power user, having this knowledge will empower you to make the necessary adjustments to ensure optimal performance.
Without further ado, let’s dive into the different methods to check how much RAM you have on your Mac.
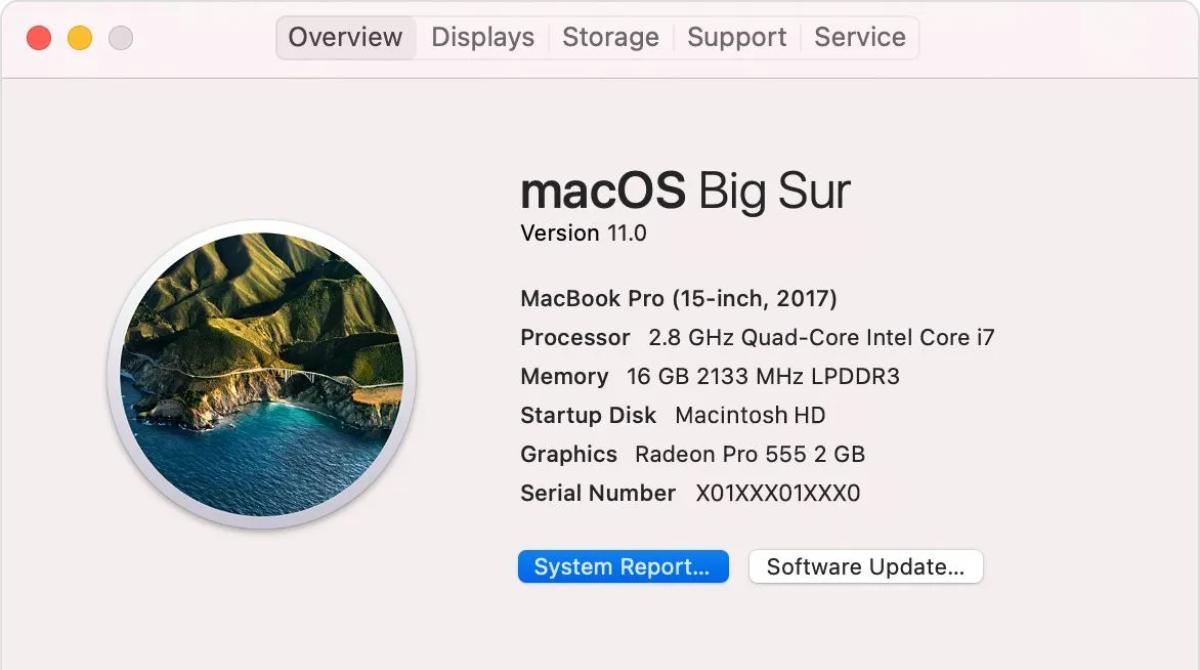
Method 1: Checking RAM through the “About This Mac” Section
The first and simplest method to check how much RAM you have on your Mac is by using the built-in “About This Mac” feature. This method provides a quick overview of your Mac’s hardware, including the RAM capacity.
Here’s how to do it:
- Click on the Apple menu in the top-left corner of your screen.
- From the drop-down menu, select “About This Mac.”
- A new window will appear with an overview of your Mac’s basic details.
- Click on the “Memory” tab to view the RAM information.
In the “Memory” section, you will see the total installed memory (RAM) displayed. It will indicate the capacity in gigabytes (GB). For example, if your Mac has 8GB of RAM, it will be listed as “8 GB.”
This method is convenient, especially if you just need a quick glimpse of your Mac’s RAM capacity. However, if you require more detailed information, such as the type and speed of your RAM modules, you may need to explore alternative methods.
Now that you know how to check your Mac’s RAM through the “About This Mac” section, let’s move on to the next method.
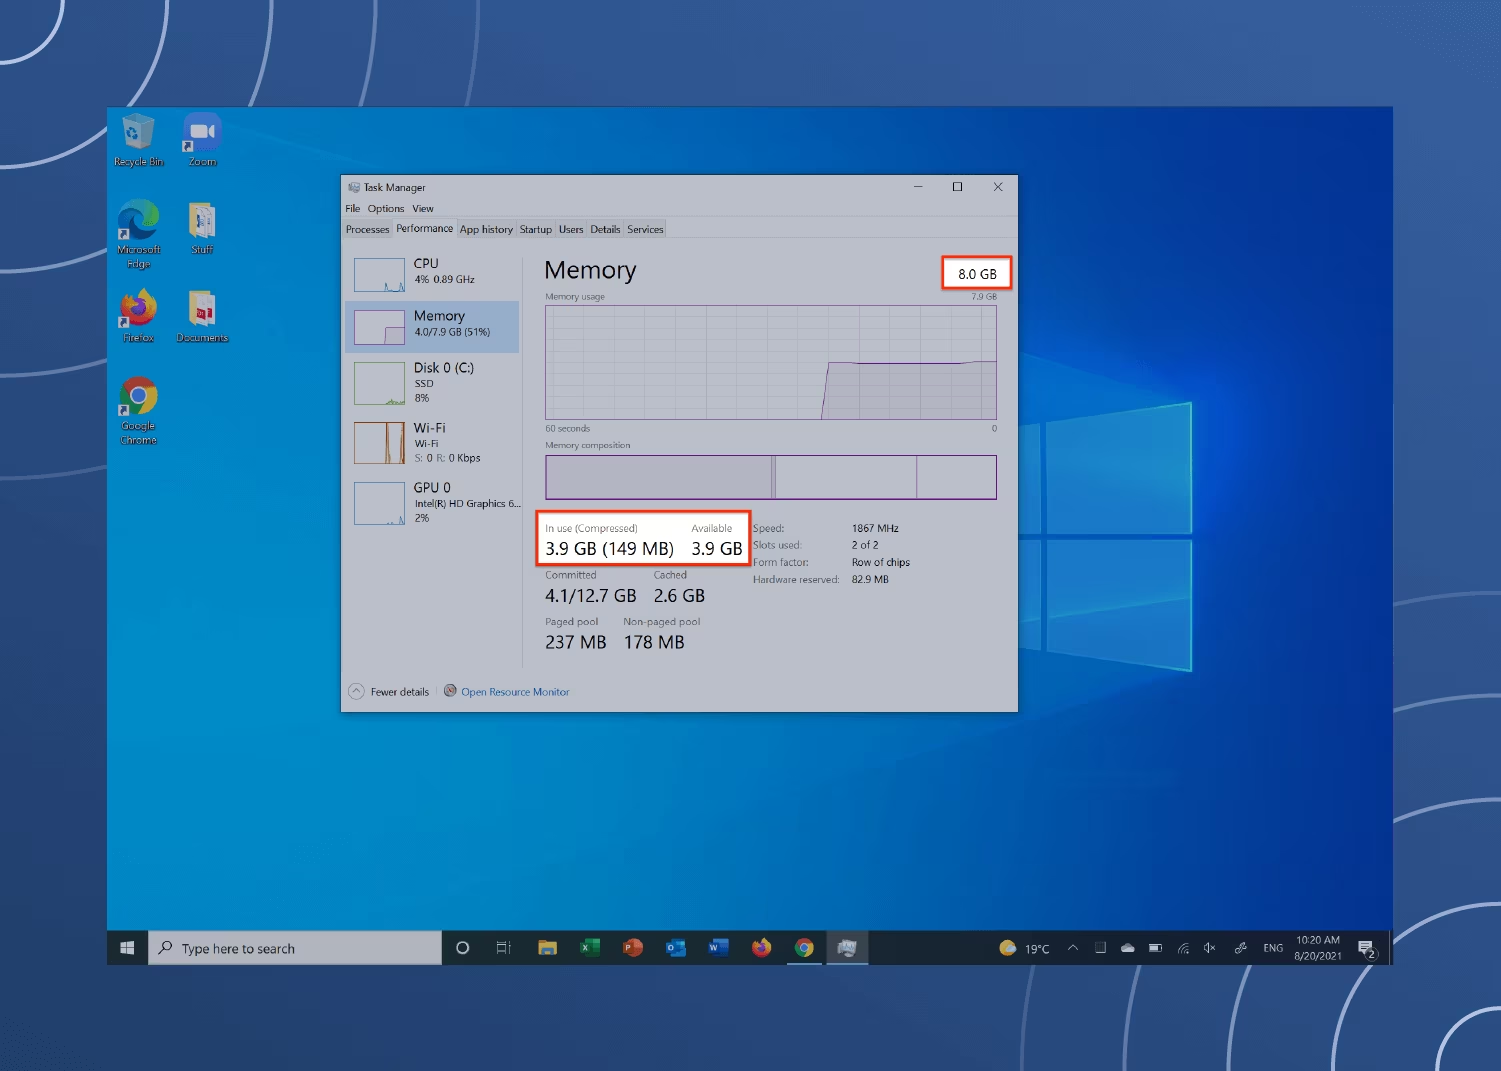
Method 2: Using the “Activity Monitor” to Check RAM
If you prefer a more detailed and comprehensive view of your Mac’s RAM usage, the “Activity Monitor” is the perfect tool. It provides real-time information about your system’s performance, including the RAM usage for all running processes.
Follow these steps to use the “Activity Monitor” to check your Mac’s RAM:
- Open the “Activity Monitor” application. You can find it by navigating to “Finder,” then “Applications,” and finally “Utilities.”
- Once the “Activity Monitor” window appears, click on the “Memory” tab at the top.
- Here, you will find a detailed breakdown of the RAM usage for all running processes on your Mac.
- The “Memory Pressure” graph at the bottom provides a visual representation of your Mac’s memory usage. If the graph is predominantly green, it indicates that your system has sufficient RAM available. However, if it turns yellow or red, it suggests that your Mac is experiencing high memory pressure.
- At the bottom of the window, you will also find the “Memory Used” value, which indicates the total RAM usage at that moment.
Using the “Activity Monitor” allows you to monitor the RAM usage in real-time, making it a valuable tool for troubleshooting performance issues or identifying memory-intensive applications. It provides insightful information on which processes are consuming the most memory, allowing you to take appropriate action to optimize your Mac’s performance.
Now that you are familiar with using the “Activity Monitor” to check your Mac’s RAM, let’s move on to the final method.
Method 3: Using the Terminal to Check RAM
If you prefer a command-line interface and want to delve deeper into your Mac’s system information, you can use the Terminal to check your RAM. The Terminal provides various commands to retrieve detailed hardware specifications, including the RAM capacity.
- Open the Terminal application. You can find it by navigating to “Finder,” then “Applications,” and finally “Utilities.”
- Once the Terminal window appears, type the following command and press Enter:
system_profiler SPHardwareDataType - The Terminal will display a list of hardware details, including the total installed memory (RAM) of your Mac.
Look for the section labeled “Memory” or “Physical Memory” in the Terminal output. Here, you will find information about your Mac’s RAM capacity, such as the total size in gigabytes (GB).
Using the Terminal to check your Mac’s RAM provides a more technical and detailed view of your system’s hardware. It can be particularly useful if you are troubleshooting or researching specific RAM-related issues.
Now that you are familiar with using the Terminal to check your Mac’s RAM, you have explored three different methods to gather this information. Choose the method that suits your preference and requirements.
Conclusion
Checking how much RAM you have on your Mac is a fundamental step in understanding your system’s capabilities and optimizing its performance. By knowing the amount of RAM installed, you can make informed decisions about potential upgrades, troubleshoot performance issues, and ensure smooth multitasking.
In this article, we explored three different methods to check your Mac’s RAM:
- Using the “About This Mac” section provides a quick overview of your Mac’s hardware, including the RAM capacity.
- The “Activity Monitor” allows for a detailed view of your Mac’s RAM usage, helping you identify memory-intensive processes.
- Using the Terminal provides a command-line approach to retrieve in-depth system information, including RAM capacity.
Each method has its advantages, ranging from simplicity and convenience to detailed analysis. The choice of method depends on your level of technical proficiency and the level of detail you need.
Now that you have learned how to check your Mac’s RAM through these methods, you can confidently assess your system’s memory capacity and take appropriate actions to optimize its performance. Whether you are a casual user or a power user, having this knowledge will empower you to make the necessary adjustments to ensure your Mac runs smoothly.
Remember that having sufficient RAM is crucial for maintaining a fast and responsive computer, especially when running resource-intensive applications. If you find that your Mac’s RAM is inadequate for your needs, upgrading the memory can significantly enhance its overall performance.
Take advantage of these methods to check your Mac’s RAM and make the most of your system’s capabilities. Start by determining your current RAM capacity and explore your options for potential upgrades or optimizations.