Introduction
Welcome to the world of Pixelmon, an exciting Minecraft mod that combines the best of both Minecraft and Pokémon. With Pixelmon, you can embark on adventures, catch and train Pokémon, and battle with other players. However, to ensure a smooth and enjoyable gameplay experience, it’s crucial to allocate an adequate amount of RAM to Pixelmon.
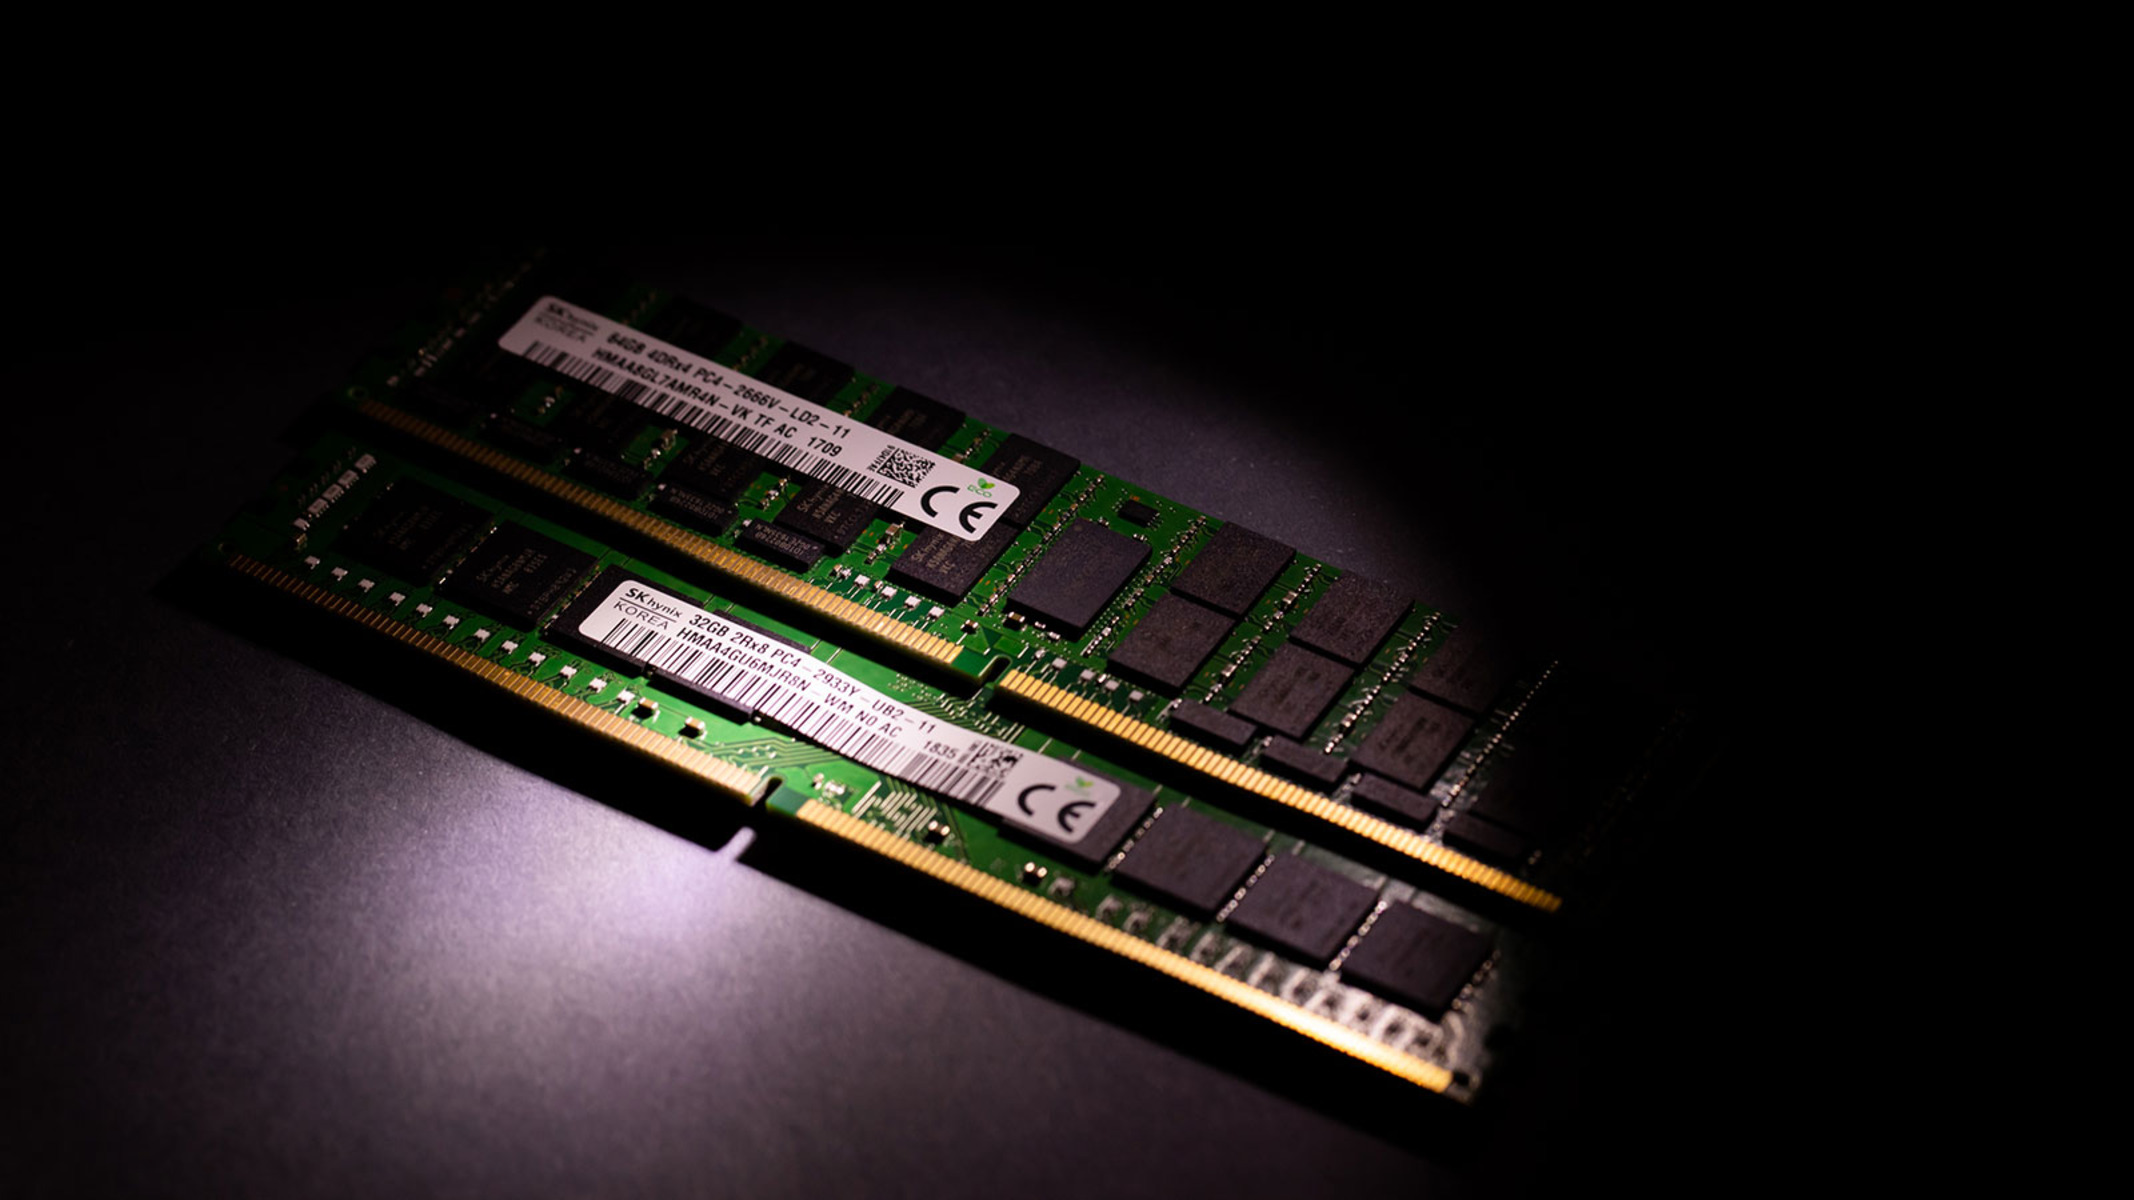
RAM, or Random Access Memory, plays a vital role in running programs and games on your computer. When it comes to Pixelmon, having enough RAM is essential to prevent lag, crashes, and other performance issues. Allocating more RAM to Pixelmon can significantly improve the game’s performance, allowing you to explore the vast world of Pokémon without any hindrances.
In this guide, we will walk you through the process of checking your computer’s RAM availability and allocating more RAM to Pixelmon on both PC and Mac. We will also address some common issues and provide troubleshooting tips to help you overcome any difficulties that may arise during the process.
Whether you’re a seasoned Pixelmon player or new to the mod, this guide will equip you with the knowledge and tools to give your game the boost it needs. So, let’s dive in and learn how to maximize your RAM and elevate your Pixelmon experience!
Understanding RAM and Its Importance in Pixelmon
Before we delve into the process of allocating more RAM to Pixelmon, it’s crucial to have a clear understanding of what RAM is and why it’s important for a smooth gaming experience.
RAM, or Random Access Memory, is a type of computer memory that stores temporary data for programs and processes to access quickly. In the case of Pixelmon, RAM plays a critical role in loading and running the game smoothly, as well as handling the complex calculations and rendering required for the Pokémon battles, creature encounters, and exploration of the Pixelmon world.
When running Pixelmon, your computer allocates a certain amount of RAM to the game. If this allocated amount is insufficient, it can lead to various performance issues, such as lagging, freezing, and crashes. These issues can be incredibly frustrating and hinder your overall gaming experience.
By allocating more RAM to Pixelmon, you give the game additional memory to work with, allowing it to load and run more efficiently. This can greatly reduce lags, eliminate crashes, and enhance the overall performance of the game. With more RAM, the game can handle the demanding task of rendering the complex environments, Pokémon models, and battle animations seamlessly.
It’s important to note that the amount of RAM you should allocate to Pixelmon depends on several factors, including the specifications of your computer and the number of mods you have installed. Generally, a minimum of 4GB of RAM is recommended for running Pixelmon smoothly, but if you have a more powerful system or use other resource-heavy mods, you may need to allocate even more.
Now that we have a better understanding of the importance of RAM in Pixelmon, let’s move on to the next section, where we will guide you through the process of checking your computer’s RAM availability.
Check Your Computer’s RAM Availability
Before you can allocate more RAM to Pixelmon, it’s important to determine how much RAM your computer has available. This will help you assess how much additional RAM you can allocate without impacting the overall performance of your system.
To check your computer’s RAM availability, follow these simple steps:
- On a Windows computer, press the Windows key + R to open the Run dialog box. Type “dxdiag” (without quotes) and press Enter to open the DirectX Diagnostic Tool. On a Mac computer, click on the Apple menu in the top-left corner of the screen and select “About This Mac”.
- In the DirectX Diagnostic Tool or the About This Mac window, you will find information about your computer’s specifications. Look for the section labeled “System” or “Memory” to find the total amount of installed RAM.
- Note the total amount of RAM available on your computer. This will be displayed in either megabytes (MB) or gigabytes (GB).
Once you have determined the amount of RAM available on your computer, you can proceed to allocate more RAM to Pixelmon based on your system’s capabilities. It’s important to allocate a reasonable amount of RAM that leaves enough for other processes and prevents overloading your system.
In the next section, we will provide step-by-step instructions on how to allocate more RAM to Pixelmon on both PC and Mac systems, ensuring a smoother and more enjoyable gaming experience.
Allocating More RAM to Pixelmon on PC
To allocate more RAM to Pixelmon on your Windows PC, follow these steps:
- Launch the Pixelmon Launcher or the Minecraft Launcher, depending on the method you use to play Pixelmon.
- In the launcher, locate the profile settings for Pixelmon. This is usually found under the “Installations” or “Profiles” tab.
- Select the profile that you use to play Pixelmon and click on the “Edit” or “More Options” button.
- In the editing options, look for the section labeled “JVM Arguments” or “Java Arguments”.
- In the JVM Arguments section, you will see a line of code that starts with “-Xmx” followed by a number. This number represents the amount of RAM allocated to Pixelmon.
- To allocate more RAM, increase the number after “-Xmx”. For example, if it currently says “-Xmx2G”, you can change it to “-Xmx4G” to allocate 4GB of RAM.
- Save the changes and launch Pixelmon. The game will now use the allocated amount of RAM.
It’s important to note that you should avoid allocating too much RAM, as it can impact the performance of your computer and potentially cause other programs to lag or crash. If you experience any issues after increasing the RAM allocation, you may need to reduce the amount slightly.
Now that you know how to allocate more RAM to Pixelmon on your PC, let’s move on to the next section, where we will guide Mac users through the process.
Allocating More RAM to Pixelmon on Mac
If you’re a Mac user looking to allocate more RAM to Pixelmon, follow these steps:
- Launch the Pixelmon Launcher or the Minecraft Launcher on your Mac.
- In the launcher, locate the profile settings for Pixelmon. This can usually be found under the “Installations” or “Profiles” tab.
- Select the profile that you use to play Pixelmon and click on the “Edit” or “More Options” button.
- In the editing options, look for the section labeled “JVM Arguments” or “Java Arguments”.
- In the JVM Arguments section, you will see a line of code that starts with “-Xmx” followed by a number. This number represents the amount of RAM allocated to Pixelmon.
- To allocate more RAM, increase the number after “-Xmx”. For example, if it currently says “-Xmx2G”, you can change it to “-Xmx4G” to allocate 4GB of RAM.
- Save the changes and launch Pixelmon. The game will now utilize the allocated amount of RAM.
As with the PC instructions, it’s important to be cautious when allocating RAM on your Mac. Allocating too much RAM can put a strain on your system and cause other applications to slow down or crash. If you encounter any issues after increasing the RAM allocation, you may need to adjust the amount accordingly.
Now that you know how to allocate more RAM to Pixelmon on your Mac, you can enjoy a smoother and more optimized gaming experience. In the next section, we will address some common issues that may arise during this process and provide troubleshooting tips to help you resolve them.
Common Issues and Troubleshooting Tips
While allocating more RAM to Pixelmon can greatly improve its performance, you may still encounter some issues along the way. Here are some common issues that may arise during the process and troubleshooting tips to help you resolve them:
1. Insufficient system resources: If you experience lag or crashes even after allocating more RAM, it could be due to limited system resources. Close any unnecessary applications or background processes to free up resources for Pixelmon.
2. Incorrect RAM allocation: Make sure you have allocated an appropriate amount of RAM to Pixelmon. Allocating too little can result in performance issues, while allocating too much can strain your system. Adjust the allocation based on your computer’s specifications and the number of mods being used.
3. Conflicts with other mods: Certain mods may conflict with Pixelmon, causing performance issues or crashes. Remove any conflicting mods or make sure they are compatible with Pixelmon.
4. Outdated Java version: Ensure that you have the latest version of Java installed on your computer. Outdated versions can lead to compatibility issues and performance problems. Visit the official Java website to download and install the latest version.
5. Graphics driver issues: Update your graphics drivers to the latest version. Outdated drivers can cause graphical glitches, instability, and poor performance. Check the manufacturer’s website for the most up-to-date drivers for your graphics card.
6. Corrupted game files: If Pixelmon is still experiencing issues, try reinstalling the mod or resetting your Minecraft installation to eliminate any corrupted files that may be causing the problems.
7. Insufficient hard drive space: Ensure that you have enough free space on your hard drive to accommodate Pixelmon and its associated files. Delete unnecessary files or transfer them to an external storage device if space is limited.
If you have tried the troubleshooting tips mentioned above and are still experiencing issues, it may be helpful to seek assistance from the Pixelmon community forums or the mod’s official support channels. They can provide additional guidance and specific solutions tailored to your situation.
Now that you are armed with these troubleshooting tips, you can overcome any challenges that may arise during the process of allocating more RAM to Pixelmon. In the final section, we’ll wrap up our guide and summarize the key points discussed.
Conclusion
Allocating more RAM to Pixelmon is a crucial step in optimizing your gaming experience and ensuring smooth gameplay. By providing Pixelmon with the necessary resources, you can minimize lag, eliminate crashes, and enhance overall performance.
In this guide, we covered the importance of RAM in Pixelmon and why allocating more RAM is essential. We explored the process of checking your computer’s RAM availability and provided step-by-step instructions for allocating more RAM on both PC and Mac systems.
Additionally, we discussed common issues that may arise during the process and provided troubleshooting tips to help you overcome them. From managing system resources to addressing conflicts with other mods, these tips will assist you in resolving any performance issues that might occur.
Remember, it’s important to allocate a reasonable amount of RAM that leaves enough resources for other processes. Allocating too much RAM can strain your system and cause other applications to suffer from performance issues.
If you encounter any technical difficulties or require further assistance, don’t hesitate to seek help from the Pixelmon community or official support channels.
With the knowledge gained from this guide, you are well-equipped to give Pixelmon the boost it needs. Allocate the appropriate amount of RAM, troubleshoot any issues that may arise, and embark on an exciting journey through the Pixelmon world.