Introduction
When it comes to optimizing your Forge experience, one often overlooked but crucial factor is the amount of RAM allocated to the program. Increasing Forge’s RAM allocation can significantly enhance its performance, allowing for smoother gameplay, faster rendering, and improved overall stability.
Forge is a highly popular and powerful modding platform for Minecraft, providing players with the ability to customize their gaming experience through the installation of mods, texture packs, and other user-created content. However, as players delve deeper into the world of mods, they may find that their Forge installation starts to slow down or experience crashes. This is where increasing the allocated RAM can make a real difference.
By default, Forge is allocated a certain amount of RAM based on your computer’s available resources. However, this default allocation may not be sufficient for running resource-intensive mods or large modpacks. By manually increasing the RAM allocation, you can ensure that Forge has enough memory to handle the extra load and maintain optimal performance.
In this guide, we will walk you through the process of checking your computer’s available RAM, increasing Forge’s RAM allocation, and testing whether the new allocation is effective. Whether you’re a seasoned modder or just getting started, these steps will help you make the most of your Forge experience.
Why Give Forge More RAM?
Allocating additional RAM to Forge can bring numerous benefits to your modded Minecraft experience. Here are some key reasons why giving Forge more RAM can make a significant difference:
- Improved Performance: When running mods that require a substantial amount of resources, such as high-resolution textures or complex gameplay mechanics, insufficient RAM allocation can lead to lag, freezes, and crashes. By increasing Forge’s RAM, you provide it with more memory to handle the additional load, resulting in smoother performance and a more enjoyable gameplay experience.
- Enhanced Stability: Insufficient RAM allocation can cause Forge to exceed its memory limits, resulting in frequent crashes and instability. By allocating more RAM, you ensure that Forge has enough space to operate without reaching its memory capacity, reducing the likelihood of crashes and improving stability during gameplay.
- Support for Large Modpacks: If you enjoy playing extensive modpacks that include numerous mods and addons, increasing Forge’s RAM allocation is crucial. Many modpacks, especially those with complex mods and world generation, require additional memory to run smoothly. By providing more RAM, you prevent performance issues and ensure that the modpack’s features can function properly without compromising performance.
- Faster World Loading: Modded Minecraft often introduces larger and more intricate worlds compared to the vanilla game. With increased RAM, Forge can load and generate these worlds more efficiently, resulting in faster world loading times and reducing the wait between different dimensions or biomes.
- Compatibility with Resource-Intensive Mods: Some mods introduce advanced graphical effects, realistic lighting, or extensive physics simulations that demand a significant amount of memory. By allocating more RAM, you enable Forge to handle these resource-intensive mods seamlessly, preventing performance drops and ensuring that you can fully enjoy the features they provide.
By understanding the importance and benefits of giving Forge more RAM, you can enhance your modded Minecraft experience and enjoy smoother gameplay, increased stability, and the ability to explore complex modpacks without limitations.
Step 1: Checking Your Computer’s Available RAM
Before increasing Forge’s RAM allocation, it’s essential to determine the amount of available RAM on your computer. This step ensures that you allocate a suitable amount without compromising the overall performance of your system. Follow these steps to check your computer’s available RAM:
- Open Task Manager: On Windows, you can open Task Manager by pressing Ctrl + Shift + Esc or by right-clicking the taskbar and selecting “Task Manager.” On macOS, you can open the Activity Monitor by searching for it in the Spotlight search or navigating to “Applications” > “Utilities” > “Activity Monitor.”
- Navigate to the Performance Tab: In Task Manager (Windows) or Activity Monitor (macOS), click on the “Performance” tab to access information regarding your computer’s RAM usage and available memory.
- Identify the Available RAM: Look for the “Physical Memory” or “Memory” section in Task Manager (Windows) or Activity Monitor (macOS). Here, you will find details about the total installed RAM, the amount currently in use, and the available RAM indicated in megabytes (MB) or gigabytes (GB).
By checking your computer’s available RAM, you will have a better understanding of how much memory you can allocate to Forge without causing performance issues or impacting other applications running on your system. Remember to close any unnecessary programs or background tasks to maximize the amount of available RAM for Forge.
Step 2: Increasing Forge’s RAM Allocation
Once you have determined the available RAM on your computer, you can proceed to increase the RAM allocation for Forge. Follow these steps to adjust the RAM allocation:
- Locate the forge.jar File: Navigate to the directory where Forge is installed on your computer. The file you are looking for is typically named “forge.jar” or something similar.
- Create a Backup: Before making any changes, it’s always a good idea to create a backup of the forge.jar file. Right-click on the file and select “Copy” to create a duplicate in case anything goes wrong during the modification process.
- Open a Text Editor: Right-click on the forge.jar file, hover over “Open with,” and select a text editor of your choice, such as Notepad (Windows) or TextEdit (macOS).
- Locate the Forge Memory Allocation Line: Within the text editor, search for a line that contains the argument “-Xmx” followed by a specified amount of RAM. This line determines the maximum amount of RAM allocated to Forge. For example, “-Xmx1G” allocates 1 gigabyte (GB) of RAM.
- Adjust the RAM Allocation: Modify the value following “-Xmx” to allocate the desired amount of RAM to Forge. For instance, changing “-Xmx1G” to “-Xmx4G” would allocate 4 GB of RAM to Forge. Keep in mind that you should allocate an amount that falls within the available RAM on your computer.
- Save the Changes: After adjusting the RAM allocation, save the changes within the text editor.
Once you have saved the modifications, the RAM allocation for Forge will be adjusted accordingly. It’s important to note that allocating too much RAM can lead to inefficiency and potential performance issues. Finding the right balance is crucial to ensure optimal performance.
Step 3: Testing Whether the New RAM Allocation Is Effective
After increasing Forge’s RAM allocation, it’s essential to verify whether the new allocation is effective in improving performance. Follow these steps to test the effectiveness of the new RAM allocation:
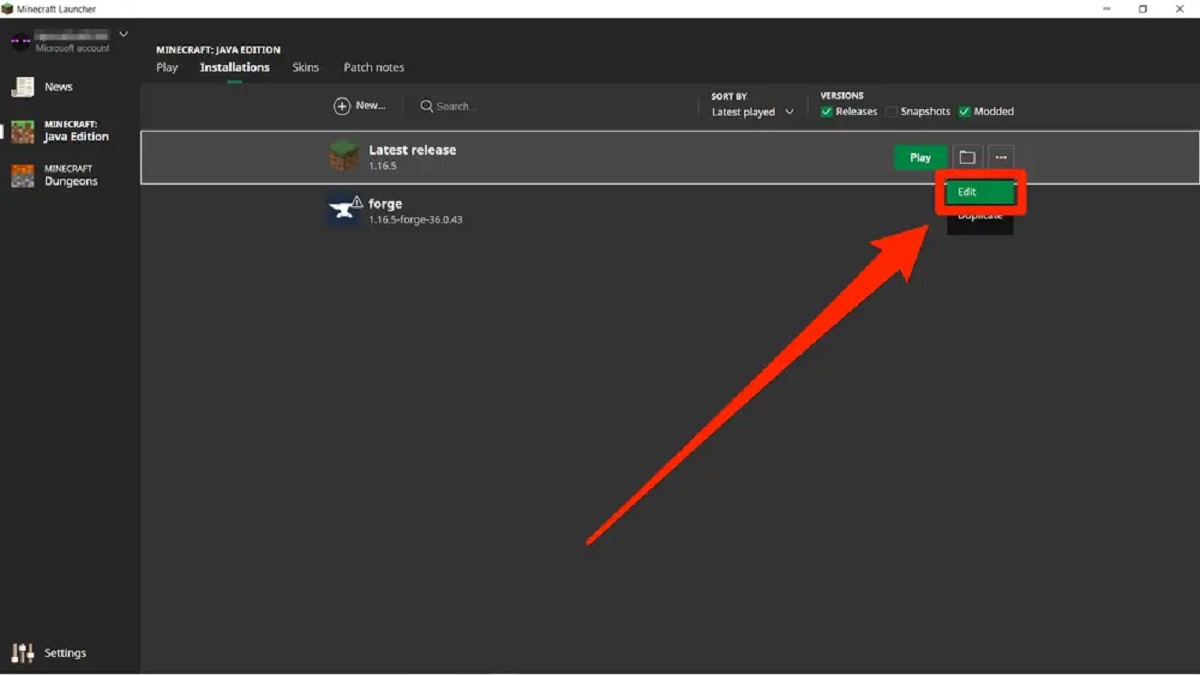
- Launch Forge: Start the Minecraft launcher and select the Forge profile to launch the game with the updated RAM allocation.
- Observe Gameplay: Pay attention to the gameplay experience while playing with the new RAM allocation. Look for any significant improvements in performance, such as reduced lag or smoother rendering.
- Monitor RAM Usage: While playing, monitor the RAM usage to determine if the increased allocation is being utilized. You can use third-party software like FPS monitor or in-game mods that display memory usage information.
- Note Performance Improvements: Take note of any noticeable improvements in gameplay, such as faster loading times, improved stability, or better mod performance. These improvements indicate that the new RAM allocation has effectively optimized your Forge experience.
- Adjust if Necessary: If you encounter any issues or complications after increasing the RAM allocation, consider adjusting the allocation to a lower value that still provides satisfactory performance. Experimenting with different RAM allocations can help you find the optimal balance between performance and stability.
By testing the effectiveness of the new RAM allocation, you can ensure that your Forge installation is running optimally. It allows you to fine-tune the allocation based on your specific modpack and computer configuration, providing you with the best possible modded Minecraft experience.
Conclusion
Increasing Forge’s RAM allocation is a simple yet effective way to optimize your modded Minecraft experience. By allocating more memory to Forge, you can improve performance, enhance stability, and ensure smooth gameplay even when running resource-intensive mods or large modpacks.
In this guide, we covered the three essential steps to give Forge more RAM. First, we explored the importance of checking your computer’s available RAM to determine how much memory you can allocate without negatively impacting your system’s overall performance. Next, we walked through the process of increasing Forge’s RAM allocation by modifying the forge.jar file, ensuring that you allocate an appropriate amount based on your available resources. Finally, we discussed the significance of testing the new RAM allocation to verify its effectiveness in improving performance and stability.
By following these steps, you can fine-tune Forge’s memory usage and optimize your modded Minecraft experience. Take the time to assess your computer’s resources, adjust the RAM allocation accordingly, and evaluate the performance gains achieved. Remember, finding the right balance between performance and stability is key, so don’t hesitate to experiment with different RAM allocations if needed.
Now that you know how to give Forge more RAM, you can enjoy a smoother, more immersive modded Minecraft experience. Dive into the world of mods, explore vast modpacks, and uncover the endless possibilities that Forge has to offer!