Introduction
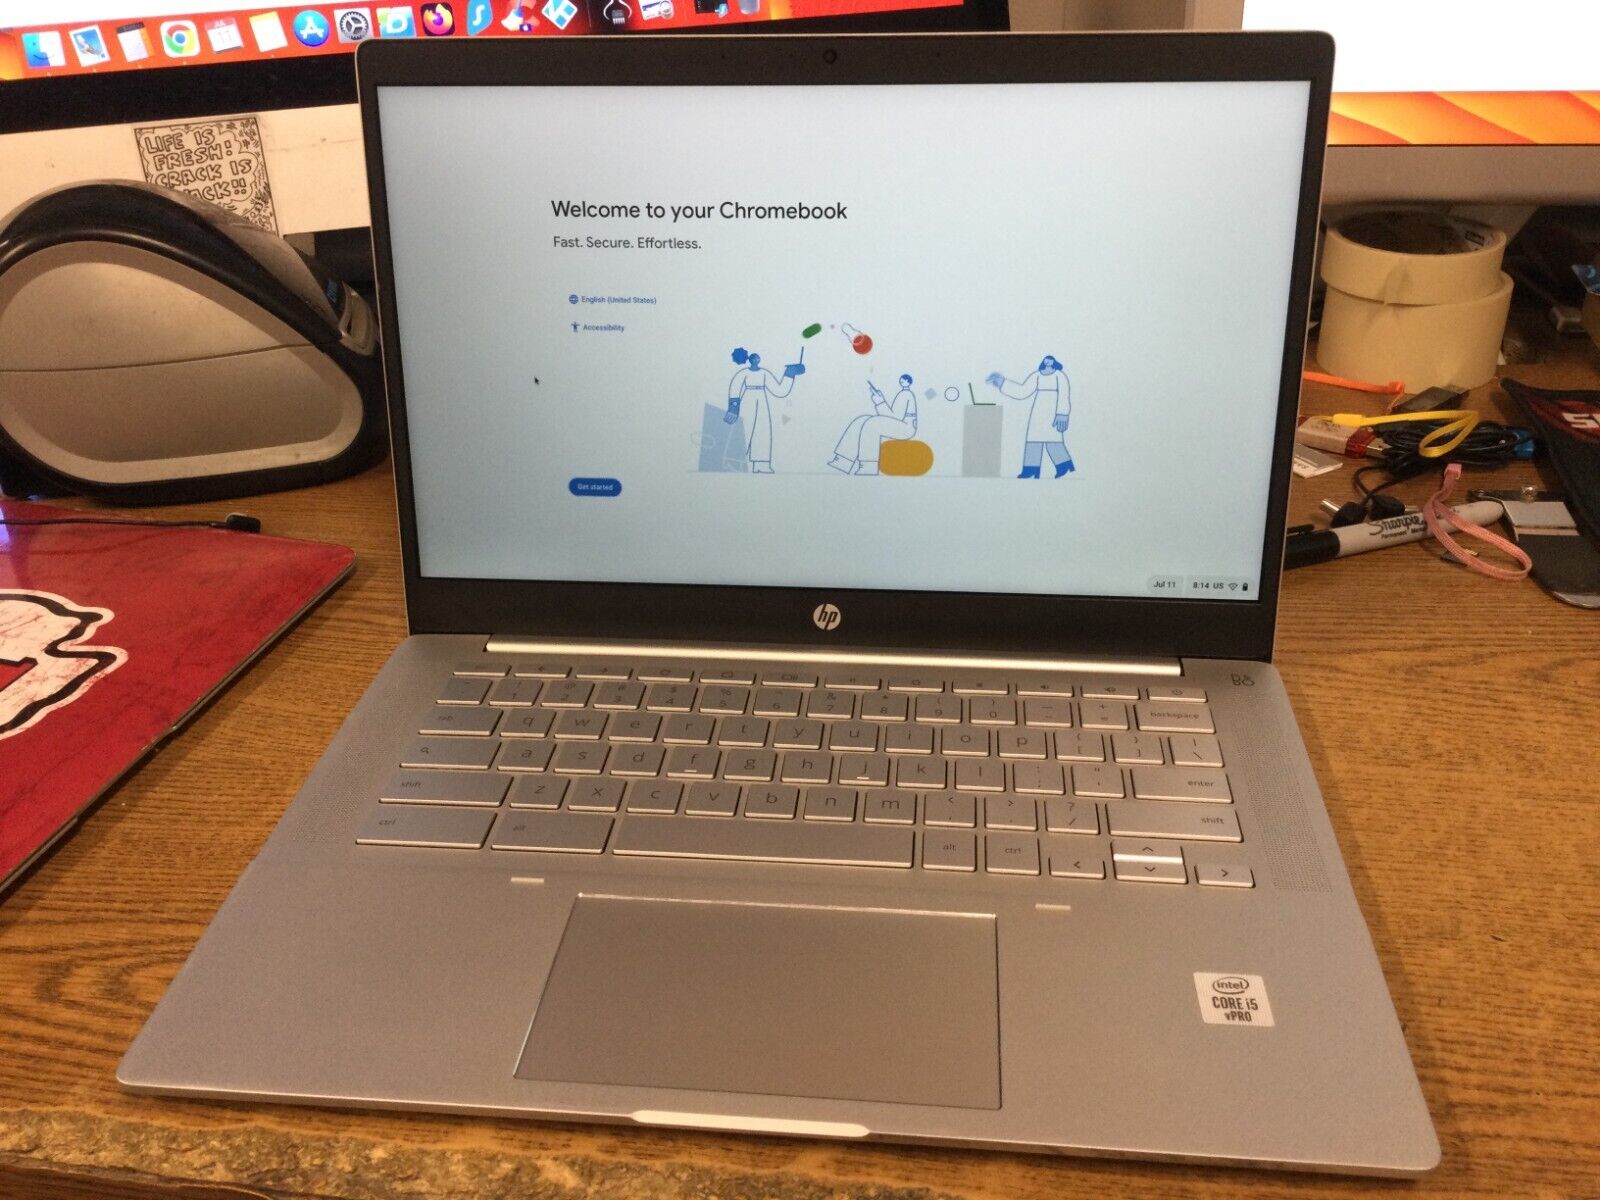
Welcome to this guide on how to clear RAM on a Chromebook. If you own a Chromebook, you may have noticed that over time, it tends to slow down and become less responsive. This can be attributed to the limited amount of RAM (random access memory) that Chromebooks typically have compared to traditional laptops or desktop computers.
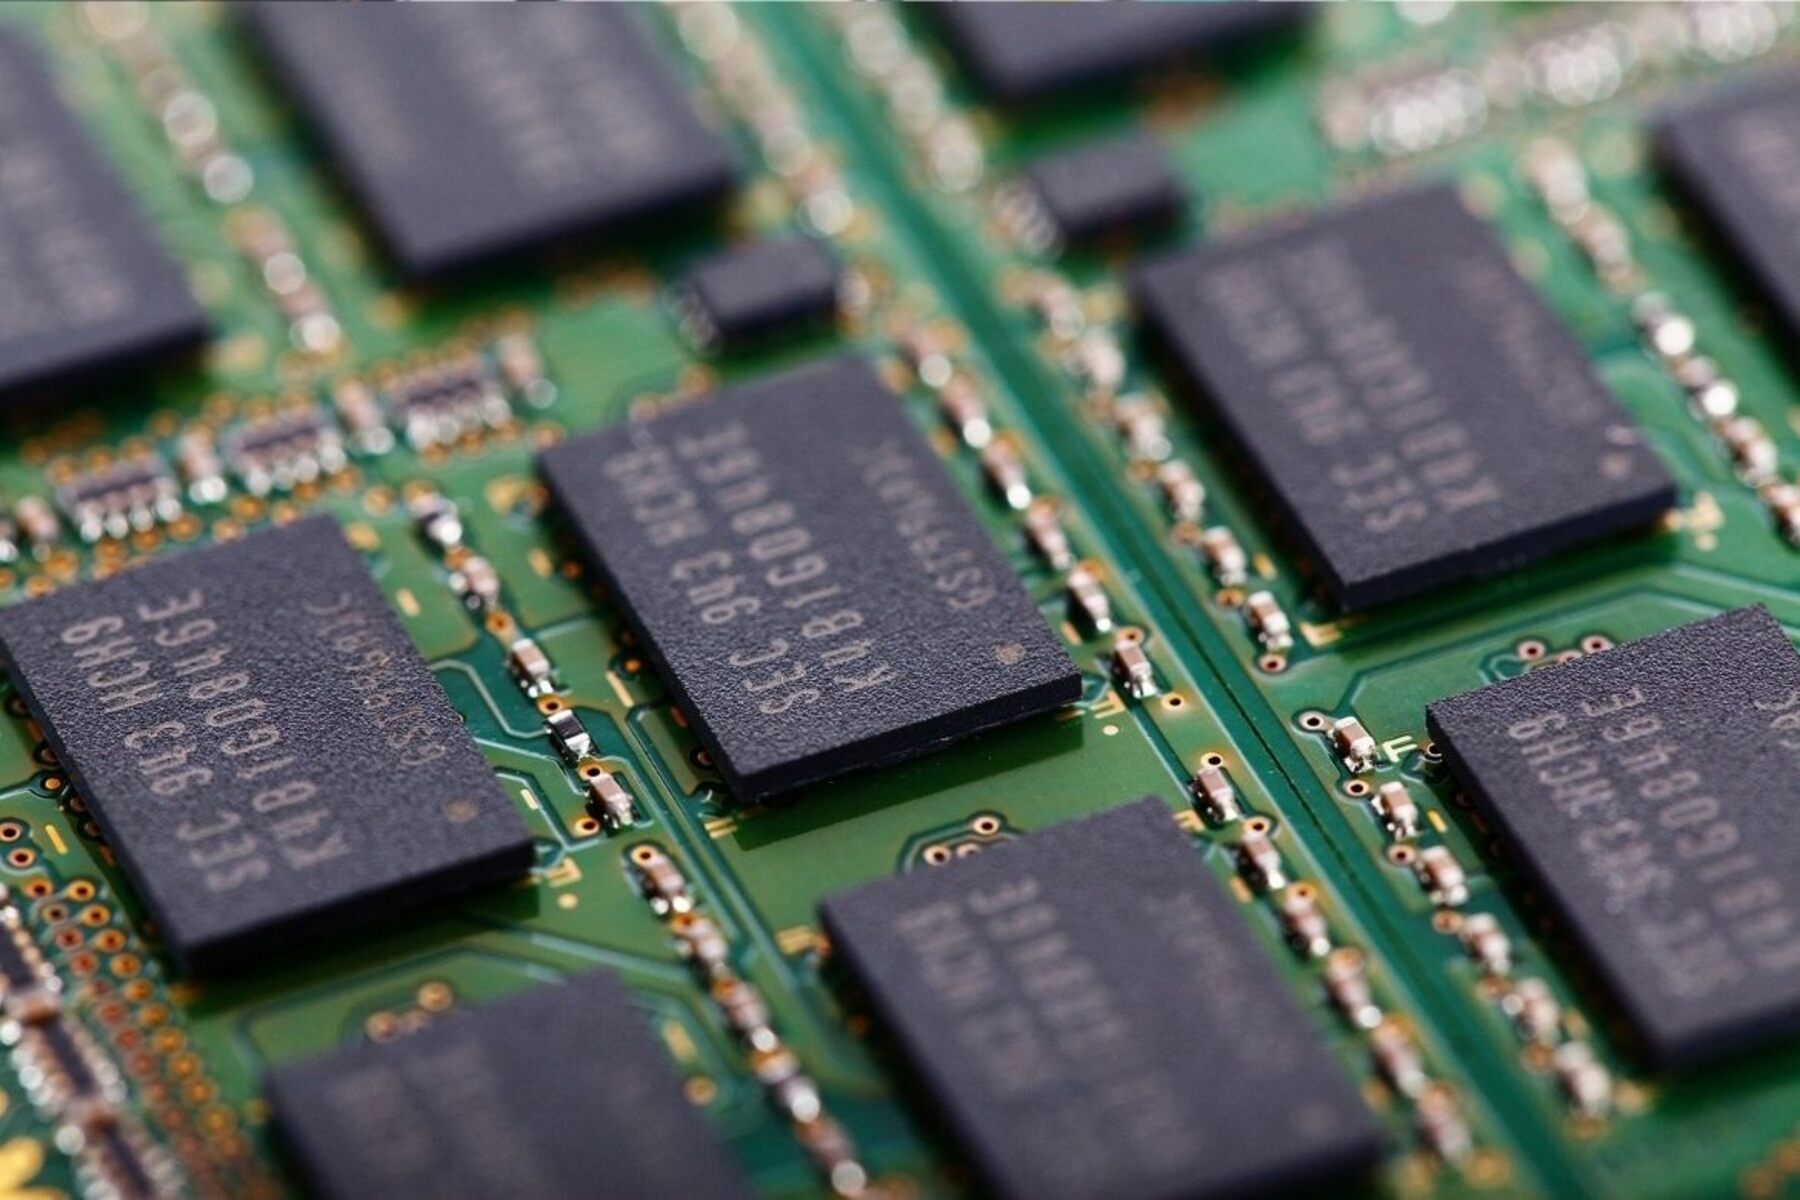
RAM is used by your operating system and applications to store temporary data that is needed for quick access. As you open multiple tabs, run various apps, and perform tasks on your Chromebook, more RAM is consumed, which can lead to a decrease in performance.
Clearing the RAM on your Chromebook can help improve its speed and responsiveness by freeing up memory space and reducing the burden on your system. By following the methods outlined in this guide, you’ll be able to efficiently clear the RAM on your Chromebook, ensuring smoother performance and a more enjoyable user experience.
It’s important to note that clearing the RAM will close any unsaved work or data on your Chromebook, so make sure to save any important information before proceeding with the methods mentioned in this guide. With that said, let’s explore the various ways to clear RAM on a Chromebook.
Why Clearing RAM is important on a Chromebook
Clearing RAM on a Chromebook is essential for maintaining optimal performance. As mentioned earlier, Chromebooks typically have limited RAM compared to traditional computers. The limited RAM capacity can cause performance issues when multiple applications and tabs are running simultaneously.
When you have several tabs open in your web browser or multiple applications running at the same time, the RAM on your Chromebook gets heavily utilized. In such cases, you may notice a significant slowdown in performance, including lagging, freezing, and longer response times.
By clearing the RAM, you essentially free up memory space, allowing your Chromebook to function more efficiently. When the RAM is cleared, the system can allocate resources more effectively, resulting in improved speed and responsiveness.
Clearing RAM is particularly important for users who tend to multitask or have a habit of keeping numerous tabs open. Each tab consumes a portion of the available RAM, even if it’s not actively being used. Over time, this can cause the system to become overwhelmed and slow down.
In addition to improving performance, clearing RAM can also help with battery life. When the RAM is cleared, the system doesn’t need to constantly access memory for inactive tasks, leading to reduced power consumption and longer battery life.
It’s worth noting that clearing the RAM is not a permanent solution to all performance issues on a Chromebook. If you regularly face performance problems, it may be worth considering other factors such as the overall system health, storage space, and the number of installed applications.
Now that we understand the importance of clearing RAM on a Chromebook, let’s explore the different methods you can use to accomplish this task effectively. By implementing these methods, you can optimize the performance of your Chromebook and enhance your overall computing experience.
Ways to Clear RAM on a Chromebook
When it comes to clearing the RAM on your Chromebook, there are several effective methods you can utilize. Let’s take a look at each method and how to implement them:
- Closing Unused Tabs: One of the primary reasons for RAM consumption on a Chromebook is having too many tabs open. By closing unused tabs, you can free up memory space and improve performance. To do this, simply right-click on the tab you want to close and select “Close Tab.” Repeat this process for each unused tab.
- Using the Task Manager: Chromebooks have a built-in Task Manager that allows you to monitor and manage memory usage. To access the Task Manager, press the Shift + Esc keys simultaneously. In the Task Manager window, you can see which processes are consuming the most memory and end any unnecessary tasks or applications.
- Clearing Browser Cache: Your web browser stores temporary files and data in its cache, which can occupy a significant amount of RAM. Clearing the browser cache can help free up memory and improve performance. To clear the cache, click on the three-dot menu icon in the top-right corner of your browser, select “More tools,” and then click on “Clear browsing data.” Make sure to select the “Cached images and files” option and click “Clear data.”
- Restarting the Chromebook: A simple restart can often resolve performance issues by clearing the RAM and other temporary system data. To restart your Chromebook, click on the system tray in the bottom-right corner, select the power button icon, and choose “Restart.”
- Powerwashing the Chromebook: If you are experiencing persistent performance problems, a more drastic solution is to perform a powerwash. This option restores your Chromebook to its factory settings, removing all data and applications. To powerwash your Chromebook, go to Settings > Advanced > Powerwash, and follow the prompts to complete the process.
By employing these methods, you can effectively clear the RAM on your Chromebook and improve performance. Experiment with these techniques to find the best approach that suits your needs. Remember to save any important work before clearing the RAM, as these actions can close unsaved tabs and applications.
Now that you are familiar with the different ways to clear RAM on a Chromebook, it’s time to put this knowledge into practice. Take control of your Chromebook’s performance and enjoy a smoother and faster computing experience.
Method 1: Closing Unused Tabs
One of the simplest and most effective ways to clear RAM on your Chromebook is by closing unused tabs. Each open tab consumes a portion of the available memory, even if it’s not actively being used. By closing unused tabs, you can free up memory space and improve overall performance.
To close a tab on your Chromebook, follow these steps:
- Click on the tab you wish to close. The tab will become active, indicating that it is selected.
- Right-click on the selected tab. A context menu will appear.
- Select “Close Tab” from the context menu. Alternatively, you can press the Ctrl + W keys simultaneously to close the tab.
Repeat these steps for each unused tab that you want to close. By removing unnecessary tabs from your browsing session, you can free up valuable RAM and improve the performance of your Chromebook.
It’s worth noting that some websites and web applications are more resource-intensive than others. If you notice that a particular tab or website is causing your Chromebook to slow down, consider closing it to free up additional memory.
It’s good practice to periodically review and close unused tabs, especially if you tend to have many tabs open simultaneously. By keeping your tab count to a minimum, you can optimize the available memory on your Chromebook and enjoy a smoother browsing experience.
Method 2: Using the Task Manager
Another useful method for clearing RAM on your Chromebook is by utilizing the built-in Task Manager. The Task Manager allows you to monitor memory usage and manage processes that are running on your Chromebook. By identifying and terminating unnecessary tasks or applications, you can free up memory and improve performance.
To access the Task Manager on your Chromebook, follow these steps:
- Press the Shift + Esc keys simultaneously. This action will open the Task Manager window.
- In the Task Manager, you’ll see a list of processes and the amount of memory each process is consuming. The processes are sorted in descending order based on memory usage.
- To end a specific process, click on it to select it, and then click the “End Process” button at the bottom-right corner of the Task Manager window.
- If you’re unsure about a particular process, you can click on the process and then select the “Find” button. This action will launch a Google search, allowing you to learn more about the process before deciding whether to terminate it.
By terminating unnecessary processes, you can free up memory and improve the overall performance of your Chromebook. However, exercise caution when using the Task Manager and ensure that you do not terminate essential system processes or applications that are currently in use.
The Task Manager is especially useful when you suspect a specific application or process is consuming excessive memory. By identifying and closing such processes, you can effectively clear RAM and enhance the responsiveness of your Chromebook.
Regularly monitoring the Task Manager can also help you identify any memory-hungry applications or extensions that you may need to uninstall or disable. This proactive approach can go a long way in maintaining optimal performance on your Chromebook.
Take advantage of the Task Manager on your Chromebook to keep track of memory usage and efficiently manage processes. By using this method, you can minimize RAM usage and ensure a smooth and responsive computing experience.
Method 3: Clearing Browser Cache
Clearing the browser cache is another effective method to clear RAM on your Chromebook and improve its performance. Your web browser stores temporary files and data in its cache, which can accumulate over time and consume valuable memory space. By clearing the browser cache, you can free up RAM and enhance the browsing experience.
Follow these steps to clear the browser cache on your Chromebook:
- Open your Chrome browser by clicking on the Chrome icon located in your app launcher or taskbar.
- Click on the three-dot menu icon in the top-right corner of the browser window. A dropdown menu will appear.
- Select “More tools” from the dropdown menu, and then choose “Clear browsing data” from the expanded submenu.
- A new tab will open with the title “Clear browsing data.” In this tab, you can customize the data you want to delete.
- Make sure the “Cached images and files” option is selected. You can also choose to clear other data such as browsing history, cookies, and more, if desired.
- Select the time range for which you want to clear the cache. If you want to clear the entire cache, choose “All time.”
- Click on the “Clear data” button. Your browser will begin clearing the cache.
Once the cache is cleared, you will notice an immediate improvement in performance. The browser will no longer need to retrieve data stored in the cache, allowing for quicker and smoother browsing.
Clearing the browser cache is especially useful if you frequently visit websites with heavy multimedia content or ones that constantly update their webpages. These types of websites tend to leave a larger cache footprint, which can impact your Chromebook’s performance over time.
Make it a habit to periodically clear your browser cache to keep your Chromebook running optimally. By doing so, you can free up RAM and ensure a faster and more responsive browsing experience on your Chromebook.
Method 4: Restarting the Chromebook
Restarting your Chromebook is a simple yet effective method for clearing RAM and improving overall performance. When you restart your Chromebook, it clears the temporary data and processes that may be slowing down the system. This includes freeing up memory space that was previously allocated to different tasks and applications.
To restart your Chromebook, follow these steps:
- Click on the system tray icon located in the bottom-right corner of the screen. This icon resembles a clock or battery icon.
- In the system tray menu that appears, select the power button icon.
- A dropdown menu will appear with options such as “Sleep,” “Sign out,” and “Shut down.”
- Select the “Restart” option from the dropdown menu and wait for your Chromebook to restart.
Once your Chromebook has restarted, you’ll notice that it boots up fresh and any RAM-consuming processes or tasks are cleared. This can lead to improved performance and a more responsive user experience.
Restarting your Chromebook is particularly beneficial if you’ve been running multiple applications or have had numerous tabs open for an extended period. It provides a quick and efficient way to clear the RAM and start afresh, with all unnecessary processes cleared from memory.
It’s a good practice to periodically restart your Chromebook, especially if you notice a decline in its performance. By restarting, you give your device a chance to refresh and optimize its resources, resulting in smoother operation and better overall performance.
Remember to save any unsaved work or close any important applications before restarting your Chromebook, as a restart will close all open programs.
By restarting your Chromebook regularly, you can effectively clear RAM and maintain its optimal performance for extended periods.
Method 5: Powerwashing the Chromebook
If you’re experiencing persistent performance issues on your Chromebook, a more drastic solution is to perform a powerwash. Powerwashing your Chromebook restores it to its factory settings, effectively clearing out all data, applications, and user settings. This can be beneficial if your Chromebook has accumulated a lot of unnecessary files or if you want to start fresh with a clean slate.
Here’s how you can powerwash your Chromebook:
- Click on the system tray icon located in the bottom-right corner of the screen.
- In the system tray menu that appears, select the gear icon to open the Settings menu.
- In the Settings menu, scroll down and click on the “Advanced” option.
- Under the “Reset settings” section, find and click on the “Powerwash” button.
- A confirmation window will appear, explaining that a powerwash will remove all data. Click on the “Restart” button to proceed.
- Your Chromebook will restart and begin the powerwashing process. Follow the on-screen instructions to complete the powerwash.
It’s important to note that powerwashing your Chromebook will erase all data, including files, downloads, and installed applications. Before performing a powerwash, make sure to back up any important files to an external storage device or cloud storage service.
Powerwashing your Chromebook is a more extreme measure and should only be done if other methods have not resolved the performance issues. It can be a highly effective way to clear RAM and restore your Chromebook’s performance to its original state.
After completing a powerwash, you’ll need to set up your Chromebook again, sign in with your Google account, and reinstall any desired applications. It can take some time to get your Chromebook back to its previous state, but you’ll benefit from a clean and optimized system.
Consider powerwashing your Chromebook as a last resort if you’re experiencing persistent performance problems or if you want to start anew with a fresh system. However, remember to back up your important data before proceeding with a powerwash to avoid losing any essential files.
Conclusion
Clearing RAM on a Chromebook is crucial for maintaining optimal performance and ensuring a smooth and responsive computing experience. The limited amount of RAM on Chromebooks can lead to performance issues when multiple applications and tabs are running simultaneously. By implementing the methods discussed in this guide, you can effectively clear RAM and improve the overall performance of your Chromebook.
We started by understanding the importance of clearing RAM on a Chromebook. With limited RAM capacity, it’s essential to free up memory space for better system operation. Clearing RAM helps optimize resource allocation and reduces the burden on the processor, resulting in improved speed and responsiveness.
We explored several effective methods to clear RAM on a Chromebook. Closing unused tabs is a simple yet powerful way to free up memory by shutting down resource-consuming websites. Using the Task Manager allows you to monitor and manage memory usage, terminating unnecessary processes to free up RAM. Clearing the browser cache removes temporary files, further optimizing memory usage. Restarting the Chromebook clears temporary data and processes, providing a clean start with refreshed resources. Lastly, powerwashing the Chromebook restores it to its factory settings, eliminating all data and applications for a clean slate.
Remember, clearing RAM is not a permanent solution for all performance issues. It’s important to maintain a healthy system by regularly performing these actions and keeping your Chromebook updated with the latest software patches.
In conclusion, by incorporating these methods into your routine, you can clear RAM on your Chromebook and optimize its performance. Experiment with these techniques to find the best approach for your specific needs, and enjoy a faster and more efficient computing experience on your Chromebook.