Introduction
Welcome to the world of technology where advancements occur at a rapid pace, and staying up-to-date is crucial. When it comes to your computer’s motherboard, one of the essential components that powers your system, keeping the BIOS (Basic Input/Output System) up to date is vital for optimal performance and compatibility. But you may be wondering, what exactly is a motherboard BIOS, and why should you bother updating it?
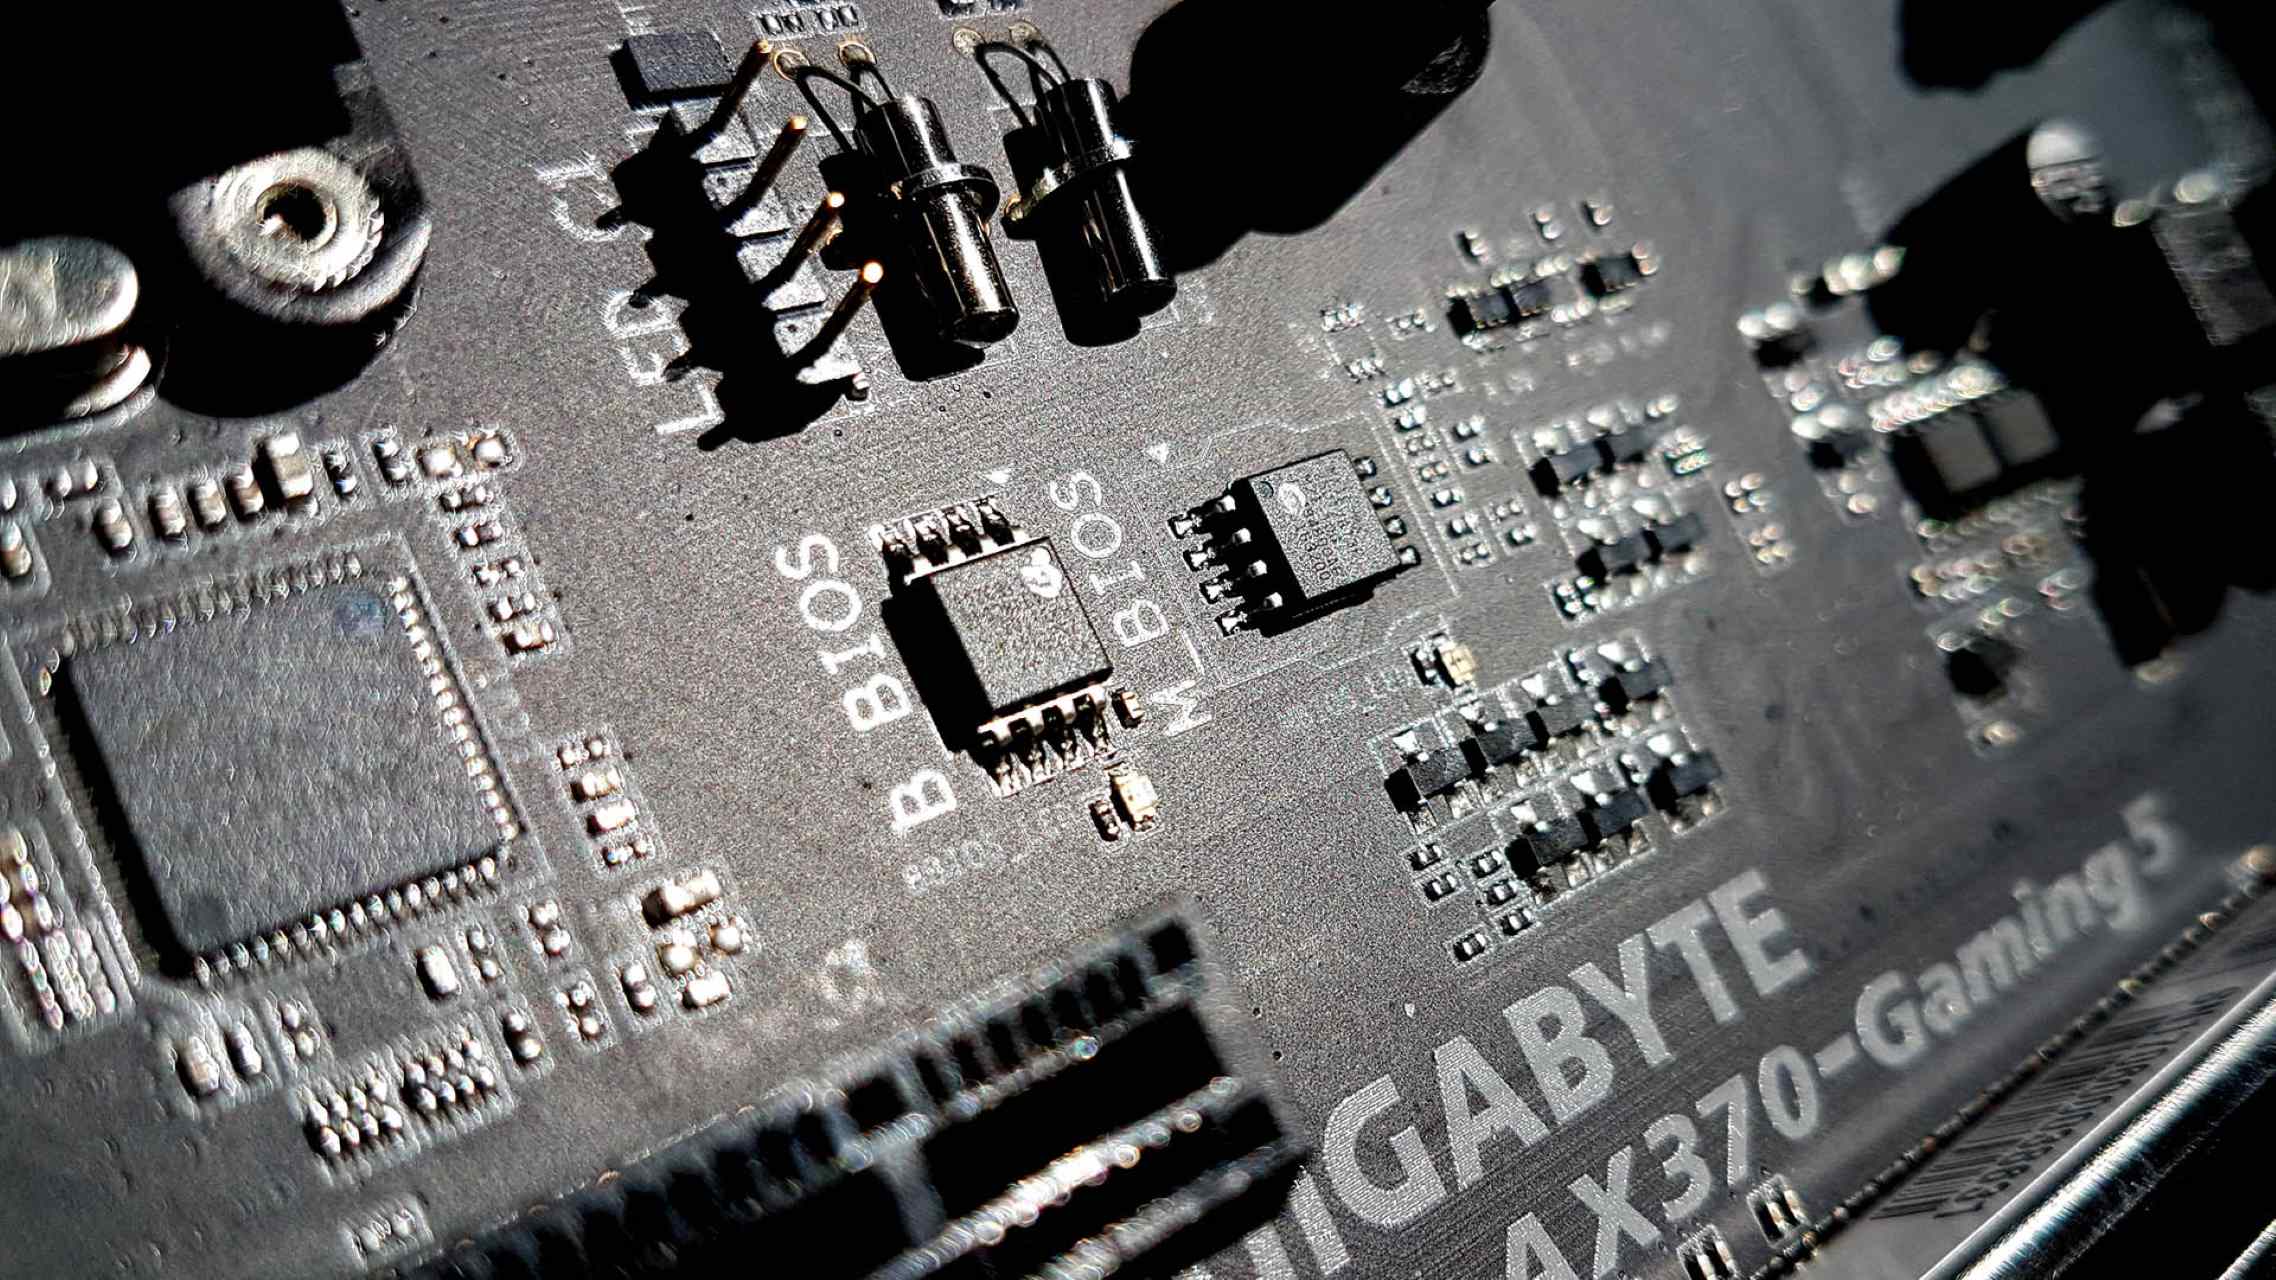
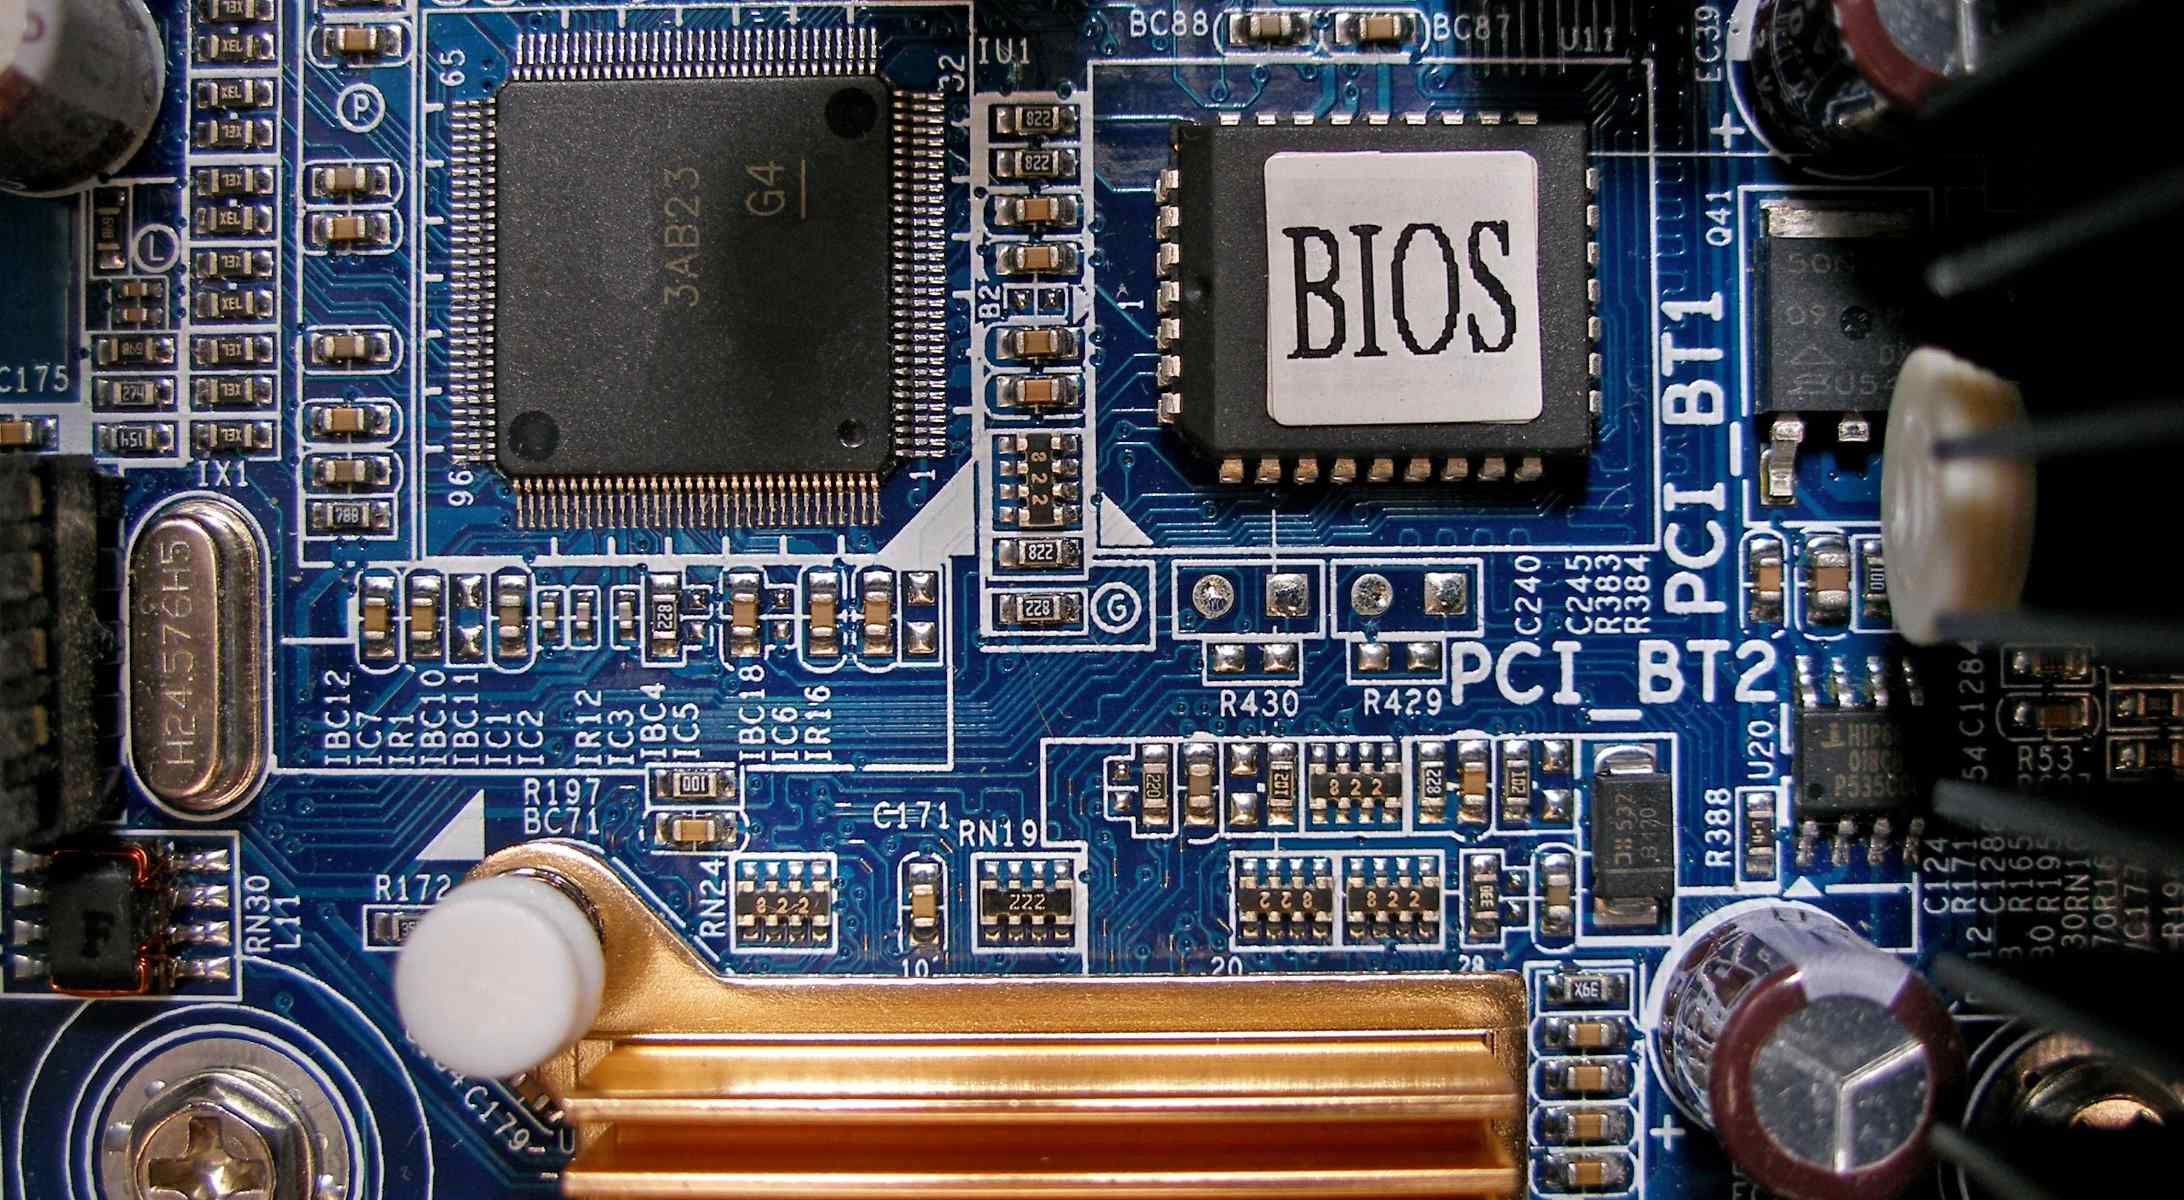
In simple terms, the BIOS is the firmware that controls the functionality of your motherboard and allows communication between various hardware components, such as the processor, memory, storage, and peripherals. It provides the necessary instructions for the computer to start up and run smoothly. Over time, motherboard manufacturers release BIOS updates that address bugs, security vulnerabilities, and add support for new hardware.
Updating your motherboard BIOS can have several benefits. First and foremost, it can improve system stability and overall performance. The software developers constantly refine and optimize the BIOS to enhance compatibility with different hardware configurations and to iron out any existing issues encountered by users.
Additionally, updating the BIOS can ensure compatibility with the latest processors, memory modules, and other hardware peripherals. If you plan to upgrade your system or install new components, having an up-to-date BIOS can prevent any compatibility issues or performance limitations.
It’s worth noting that updating the motherboard BIOS is not something that needs to be done frequently. Generally, you should consider updating it only if you encounter specific hardware compatibility issues, experience stability problems, or if the manufacturer explicitly recommends it.
In this guide, we will explore different methods to update the motherboard BIOS, including using the manufacturer’s website and software, the motherboard’s built-in flashing tool, and a USB flash drive. We will also cover the necessary preparations before updating and address common issues you might encounter during the process. So, let’s dive in and learn how to update your motherboard BIOS effectively.
Why Should You Update Your Motherboard BIOS
Updating your motherboard BIOS may seem like a hassle, but it brings several important advantages that make it worth considering. Here are some key reasons why you should consider updating your motherboard BIOS:
- Improved System Stability: BIOS updates often include bug fixes and stability improvements. These updates address issues that may cause crashes, freezes, or other system instability problems. By keeping your BIOS up to date, you can ensure a smoother and more stable computing experience.
- Enhanced Hardware Compatibility: As technology advances, new hardware components are introduced to the market. Updating your motherboard BIOS ensures better compatibility with the latest processors, memory modules, graphics cards, and other peripherals. This compatibility ensures optimal performance and prevents any potential conflicts or limitations with new hardware.
- Increased Performance: BIOS updates can also bring performance improvements by optimizing system settings. Manufacturers often fine-tune the BIOS to enhance the efficiency of hardware components, resulting in better overall performance. You may notice faster boot times, improved memory management, and increased responsiveness after updating your motherboard BIOS.
- Security Enhancements: BIOS updates often include security patches to address known vulnerabilities. By obtaining the latest BIOS version, you protect your system from potential security threats that can exploit outdated firmware. These updates help safeguard your personal data and prevent unauthorized access to your computer.
- Feature Enhancements: Manufacturers occasionally include new features or functionality in BIOS updates. These additions can provide additional control or customization options for your system. It’s worth checking the release notes and changelogs provided with each BIOS update to see if any exciting features are included.
It’s important to note that updating the motherboard BIOS should be approached with caution. While it offers several benefits, it also carries some risks. If the update process is interrupted or not performed correctly, it can result in a non-functional system. Therefore, it’s essential to carefully follow the manufacturer’s instructions and take the necessary precautions before proceeding with the BIOS update.
Now that we understand the importance of updating the motherboard BIOS and the benefits it brings, let’s move on to the preparations you need to make before updating.
Preparations Before Updating
Before diving into the process of updating your motherboard BIOS, it’s crucial to make a few preparations to ensure a smooth and successful update. Here are the key steps to follow:
- Research and Documentation: Start by visiting the manufacturer’s website and locate the support section for your specific motherboard model. Read through the documentation, user manuals, and any available notes regarding BIOS updates. Pay attention to any specific requirements, recommendations, or warnings provided by the manufacturer.
- Create a Backup: It’s always a good practice to create a backup of your important files and documents. While the chances of data loss during a BIOS update are low, it’s better to be safe than sorry. Copy your files to an external storage device or utilize cloud storage services to ensure your data is secure.
- Ensure Stable Power: A sudden power loss during the BIOS update process can lead to irreversible damage to your motherboard. Connect your computer to a reliable power source and consider using an uninterruptible power supply (UPS) to safeguard against power outages.
- Close Unnecessary Programs: Before initiating the update, close any unnecessary programs and disable antivirus software temporarily. These actions can prevent any interference or conflicts during the update process.
- Obtain the Latest BIOS Update: Download the latest BIOS update from the manufacturer’s website. Ensure that you are selecting the correct BIOS version for your exact motherboard model. Save the downloaded file to an easily accessible location on your computer.
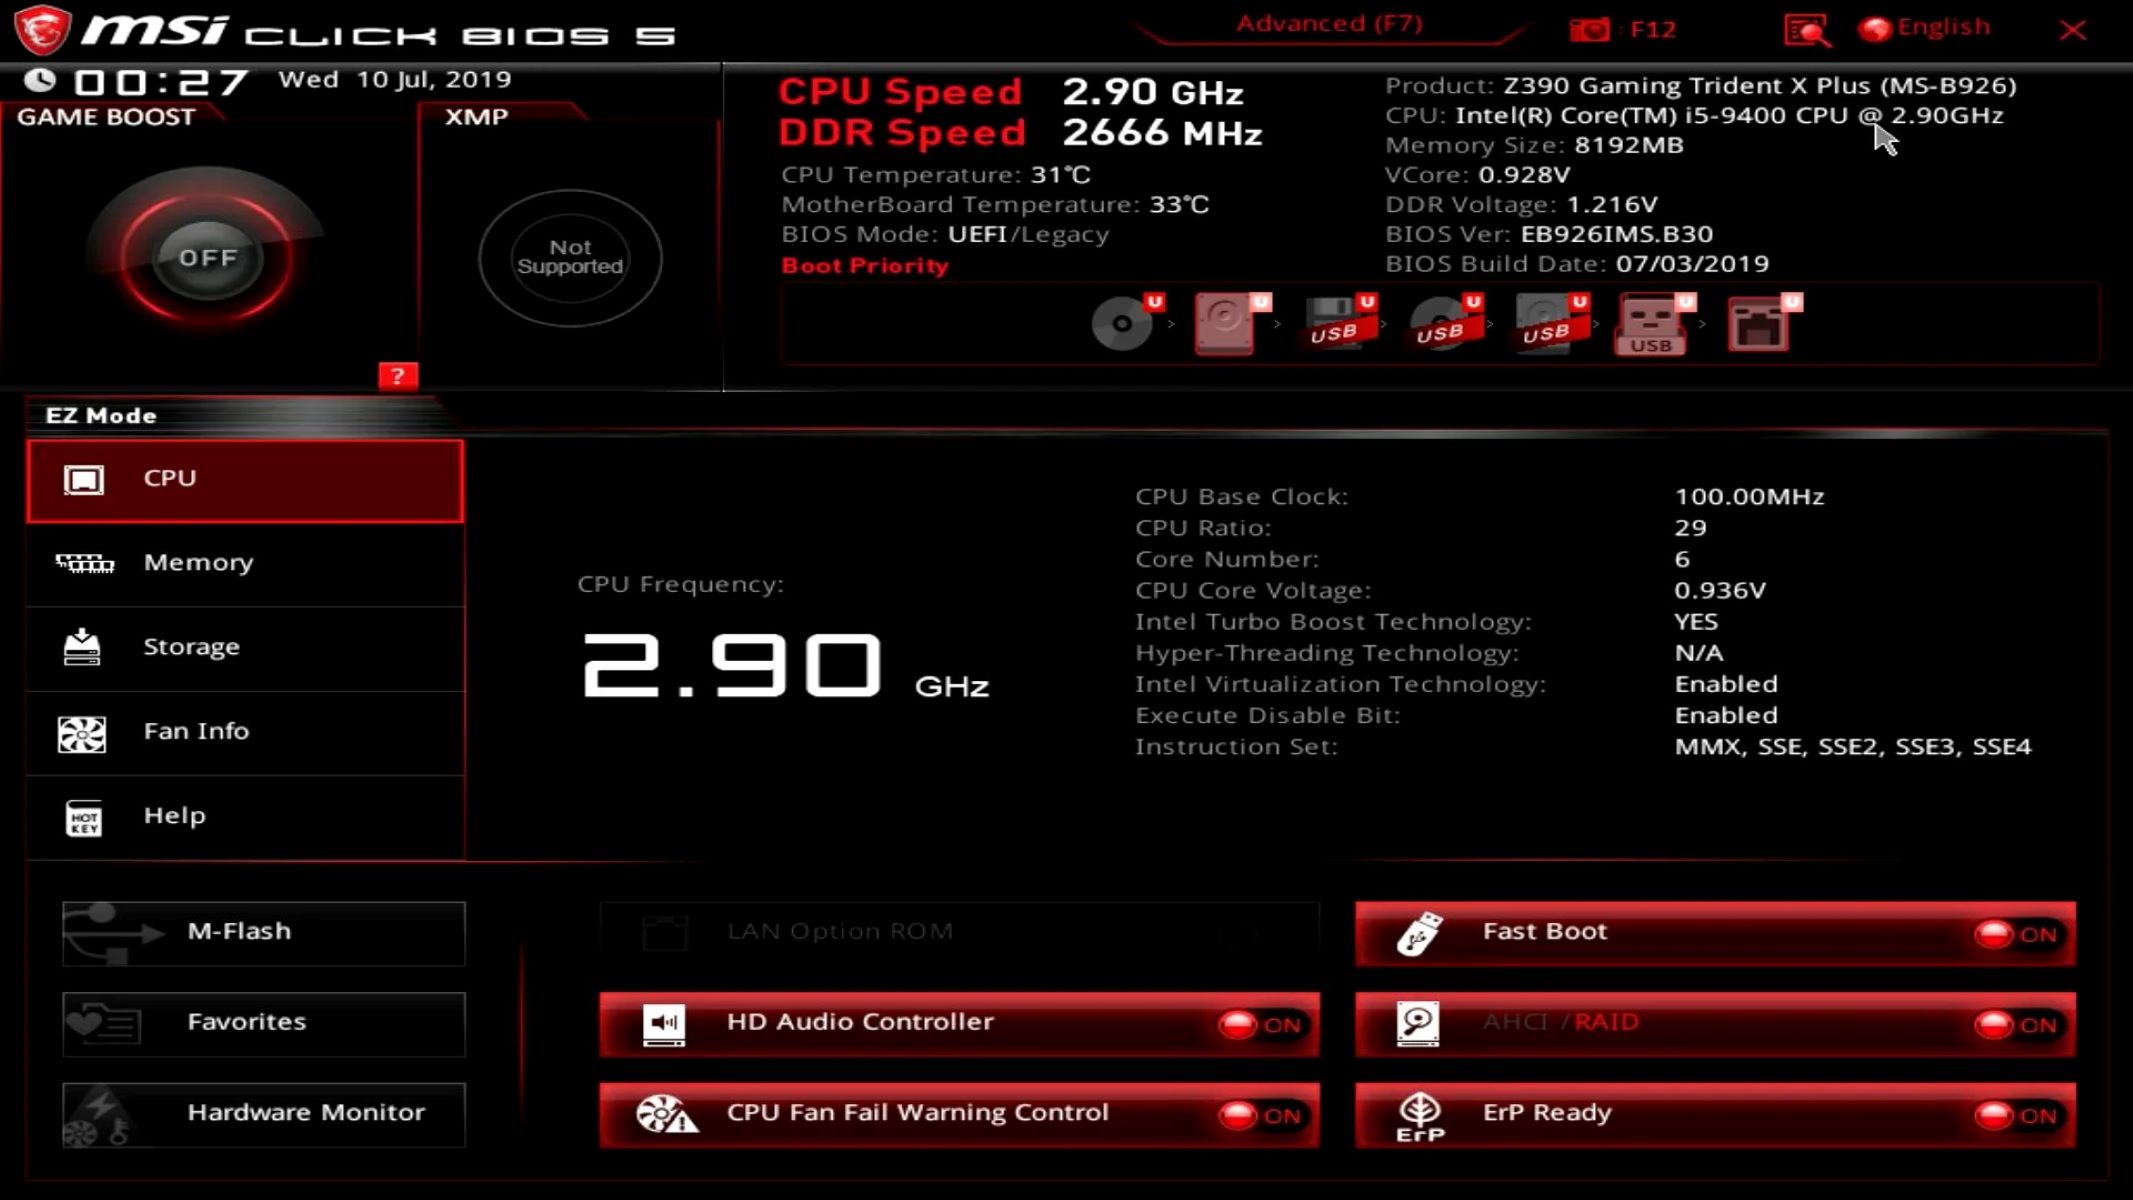
- Know Your Current BIOS Version: It’s helpful to know your current BIOS version before updating. You can typically find this information by entering the BIOS setup utility during computer startup. Alternatively, you can use hardware monitoring software or system information tools to identify the current BIOS version.
- Make Note of BIOS Settings: Take note of any custom BIOS settings or configurations you have made. Updating the BIOS may reset these settings to the default values. Having these settings documented will make it easier to restore them if necessary.
Following these preparations will help ensure that the BIOS update goes smoothly and minimizes the risk of encountering any issues along the way. With everything in place, you are ready to proceed with updating your motherboard BIOS using one of the methods we will discuss in the upcoming sections.
Method 1: Using the Manufacturer’s Website and Software
One of the most common and straightforward methods of updating your motherboard BIOS is through the manufacturer’s website and dedicated software. Each motherboard manufacturer typically provides their own software utility to facilitate the BIOS update process. Follow these steps to update your BIOS using this method:
- Visit the Manufacturer’s Website: Go to the website of your motherboard manufacturer and navigate to the support or downloads section. Locate your specific motherboard model and search for BIOS updates.
- Download and Install the Software: Look for the manufacturer’s dedicated software utility for BIOS updates. Download and install the software on your computer.
- Run the Software: Launch the installed software utility, and it should automatically detect your motherboard model and current BIOS version. It may take a moment to scan your system and provide information about the available BIOS updates.
- Select the BIOS Update: From the list of available BIOS updates, select the latest version. Read any accompanying release notes or instructions provided by the manufacturer to understand the changes introduced in the update.
- Back up Your Current BIOS: Some manufacturer software utilities offer the option to back up your current BIOS before proceeding with the update. It is recommended to create a backup to revert to your previous BIOS version if necessary.
- Initiate the BIOS Update: Once you have selected the appropriate BIOS update and made a backup, follow the on-screen instructions provided by the software utility to initiate the update process. The software will take care of downloading and applying the BIOS update to your motherboard.
- Monitor the Update Process: During the update, your computer may restart several times. It is essential to allow the process to complete uninterrupted. Avoid shutting down or restarting your computer until the update is finished.
- Verify the BIOS Update: After the update process completes successfully, the software utility will usually confirm the update and display the new BIOS version. You can also verify the new BIOS version by entering the BIOS setup utility during computer startup.
Using the manufacturer’s website and software utility is a reliable and user-friendly method for updating your motherboard BIOS. However, always exercise caution during the update process and ensure that you are using the correct BIOS update for your specific motherboard model.
Now that we’ve covered updating the BIOS through the manufacturer’s website and software, let’s explore another method of using the motherboard’s built-in flashing tool.
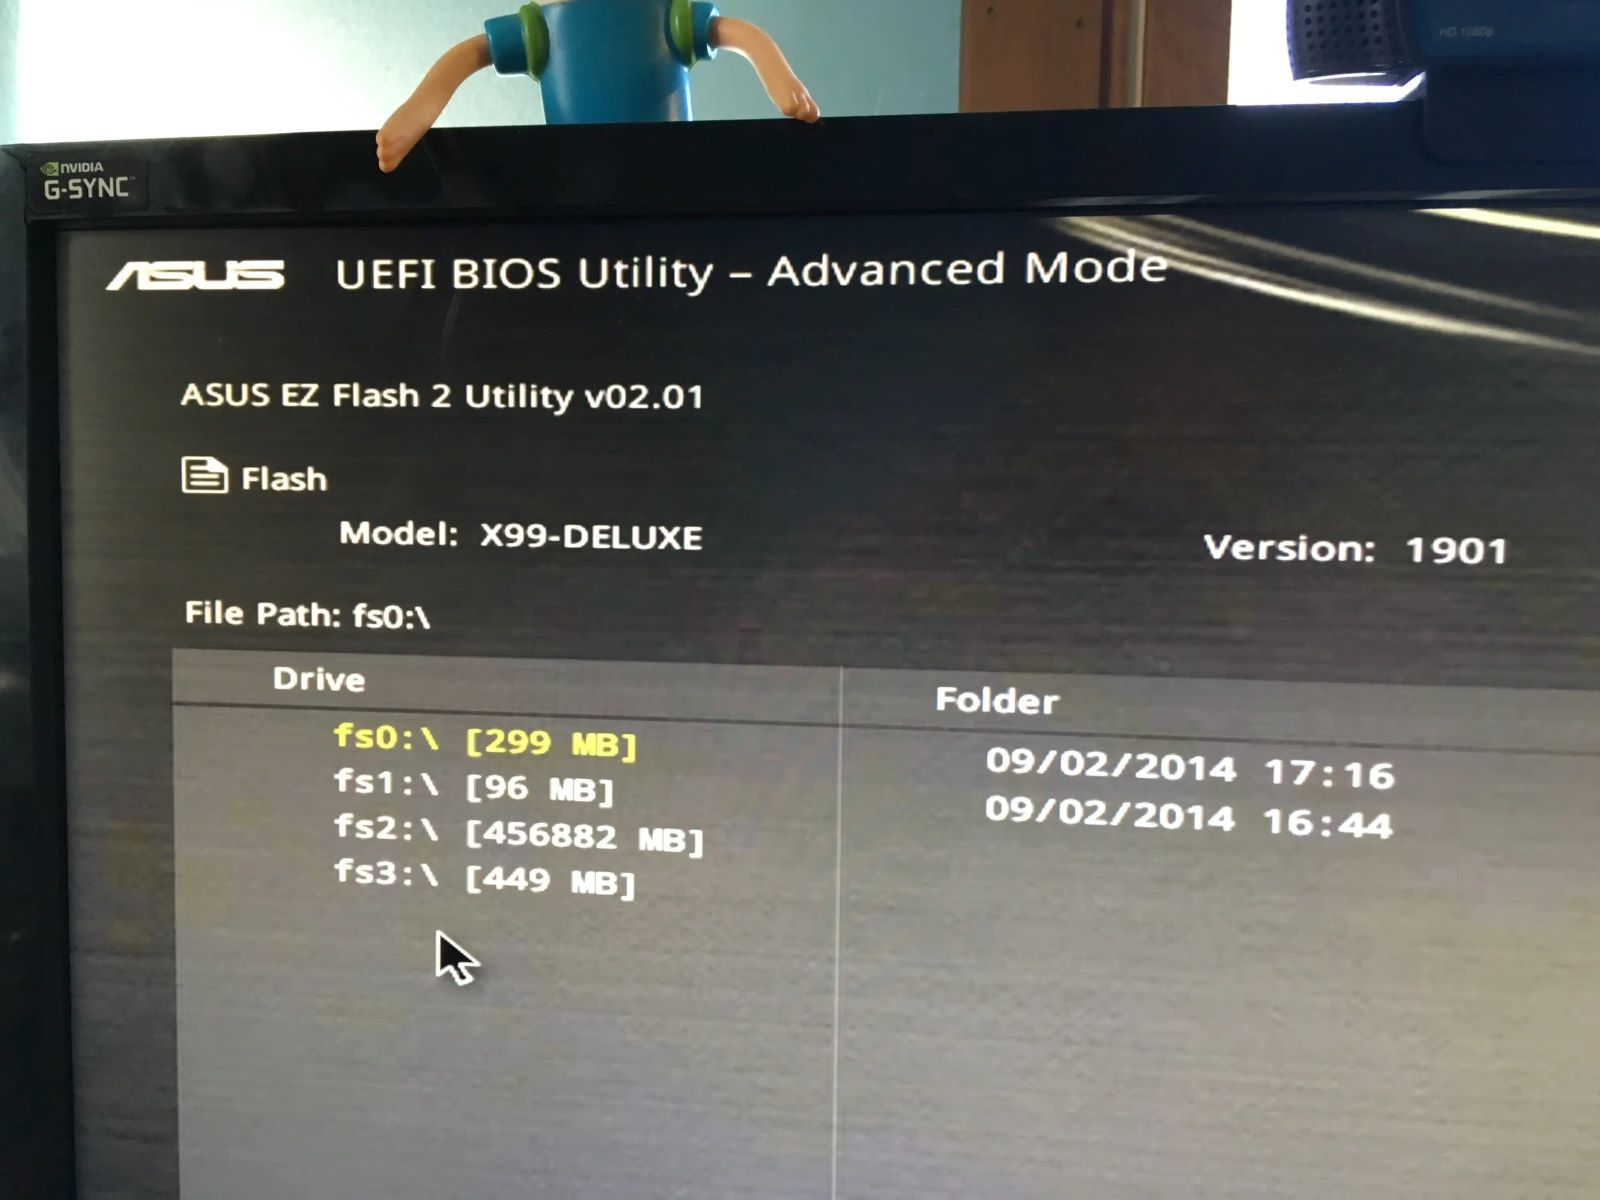
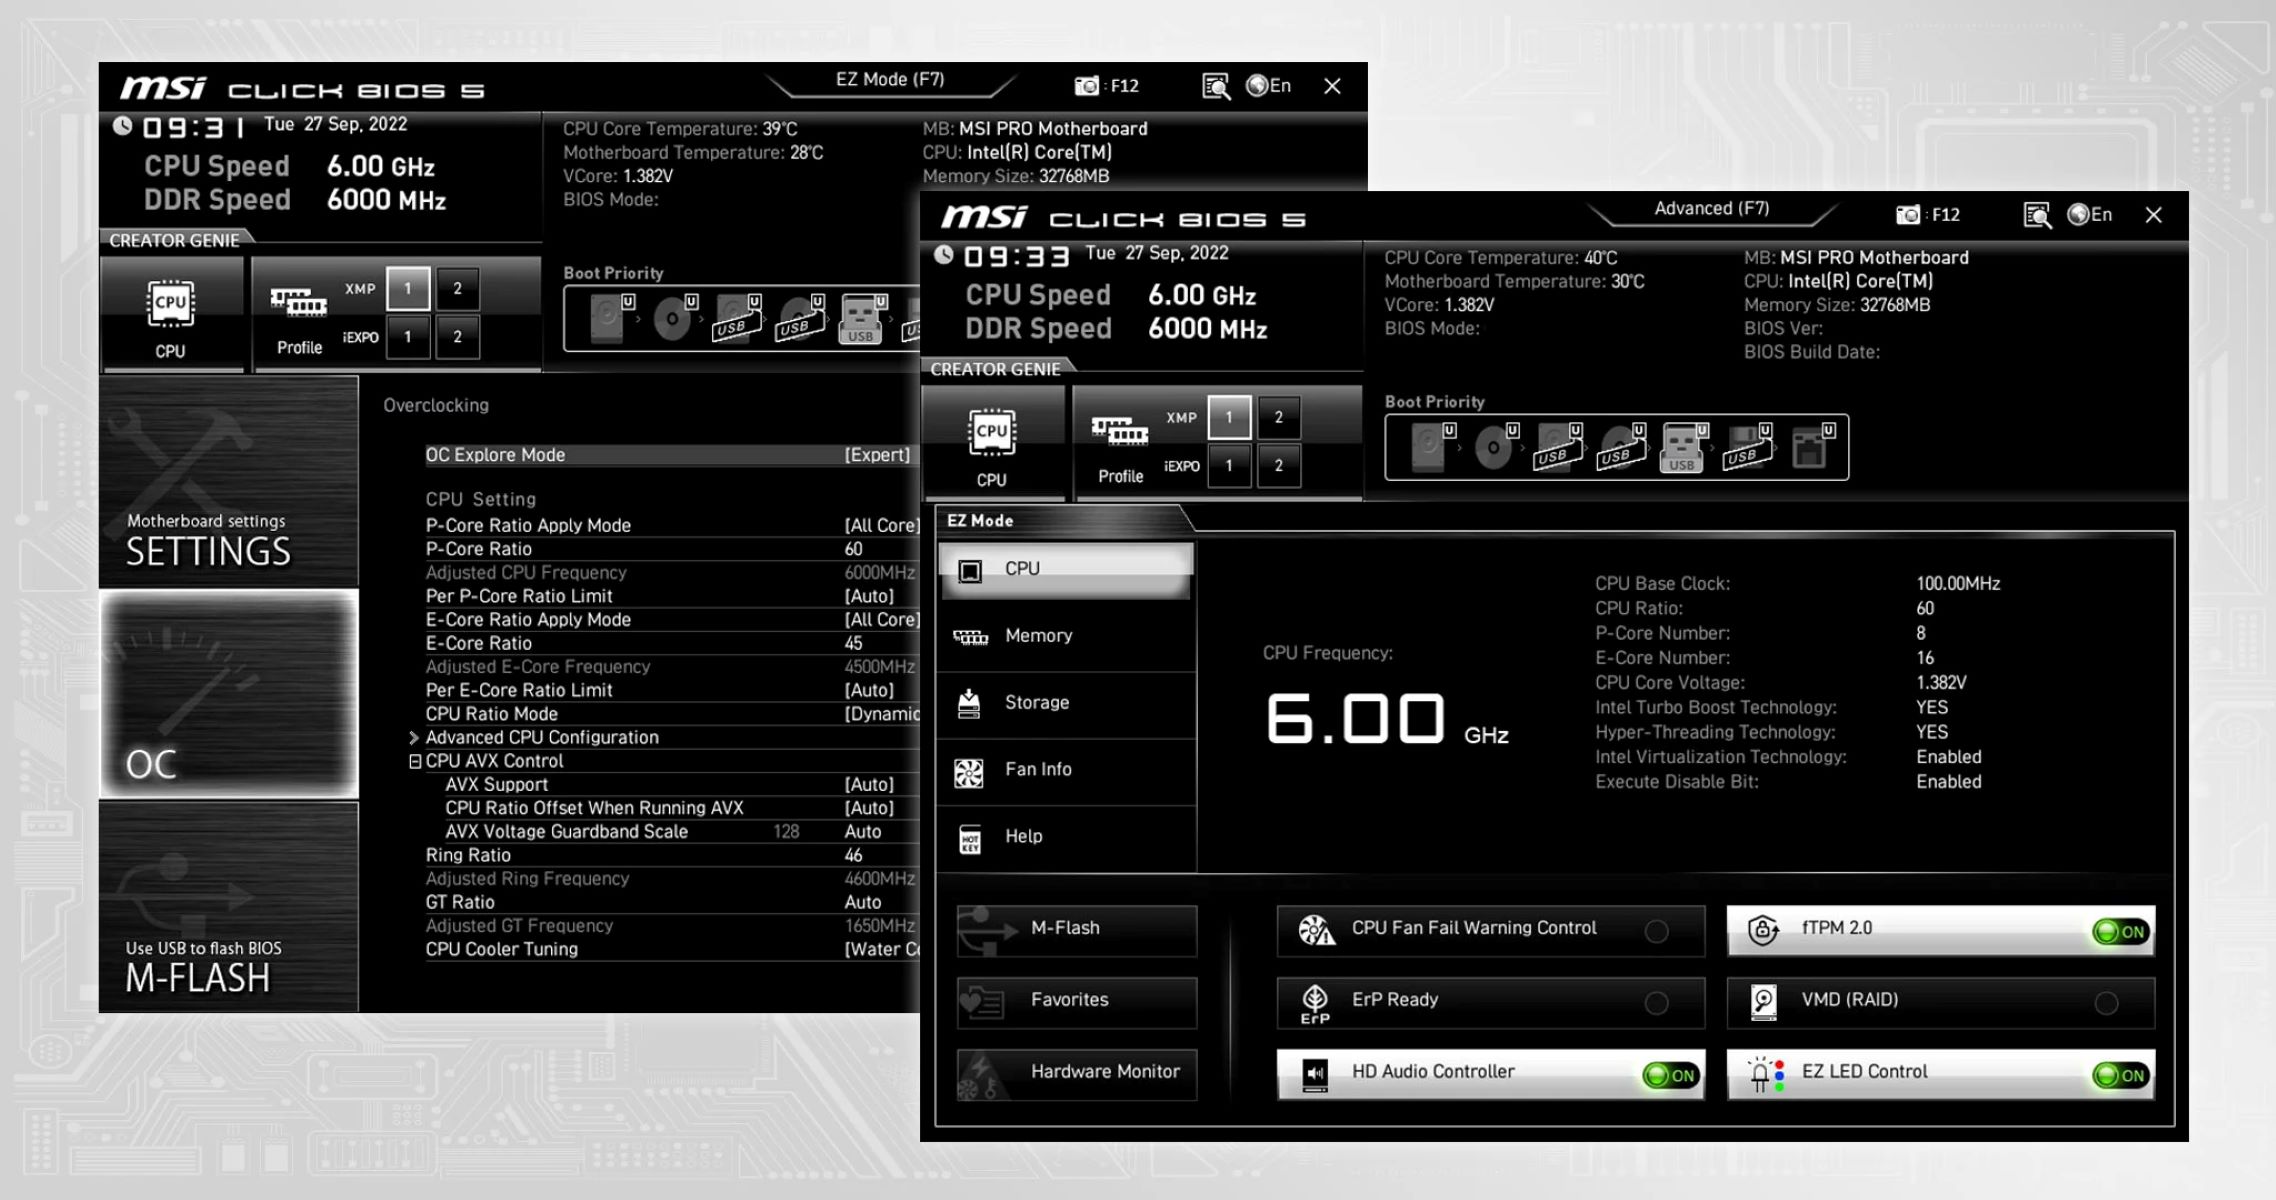
Method 2: Using the Motherboard’s Built-in BIOS Flashing Tool
Another common method for updating your motherboard BIOS is by utilizing the built-in BIOS flashing tool. Many modern motherboards come equipped with a feature that allows you to update the BIOS directly from within the BIOS setup utility itself. Follow these steps to update your BIOS using this method:
- Access the BIOS Setup: Restart your computer and press the key (usually shown on the screen during boot) to enter the BIOS setup utility. The key to access the BIOS may vary depending on your motherboard model, but common keys include Del, F2, F10, or F12.
- Navigate to the BIOS Update Section: In the BIOS setup utility, look for a section related to BIOS updates or firmware management. The location and naming of this section may vary depending on your motherboard model.
- Download the BIOS Update: Using a separate computer, visit the manufacturer’s website and download the latest BIOS update for your specific motherboard model. Save the downloaded file to a USB flash drive.
- Plug-in the USB Flash Drive: Insert the USB flash drive containing the BIOS update file into one of the USB ports on your computer.
- Select the BIOS Update Option: Within the BIOS setup utility, navigate to the BIOS update section and locate the option to select the BIOS update file. The naming and location of this option may vary, but it is usually straightforward to find.
- Initiate the BIOS Update: Once you have selected the BIOS update file from the USB flash drive, confirm your selection and proceed with the update. The BIOS flashing tool built into your motherboard will read the file and apply the update to the motherboard firmware.
- Monitor the Update Progress: During the update, the motherboard’s built-in flashing tool will display the progress on the screen. It may take a few minutes to complete. Do not interrupt or power off your computer during this process.
- Restart Your Computer: After the BIOS update is complete, you will typically be prompted to restart your computer. Ensure that you follow the on-screen instructions and allow your computer to reboot.
- Verify the BIOS Update: Once your computer restarts, you can enter the BIOS setup utility again to verify that the BIOS update was successful. Look for the updated BIOS version information and ensure that it matches the expected version.
It is important to note that the steps for updating the BIOS using the motherboard’s built-in flashing tool may vary slightly depending on your motherboard model. Be sure to consult your motherboard’s documentation or the manufacturer’s website for specific instructions relevant to your motherboard.
With the second method covered, let’s move on to the next approach: updating the BIOS using a USB flash drive.
Method 3: Using a USB Flash Drive
If your motherboard does not have a built-in BIOS flashing tool or if you prefer an alternative method, updating the BIOS using a USB flash drive is a viable option. Follow these steps to update your motherboard BIOS using this method:
- Visit the Manufacturer’s Website: Go to the manufacturer’s website and download the latest BIOS update for your specific motherboard model. Ensure that you select the appropriate BIOS update file for your motherboard and save it to your computer.
- Format the USB Flash Drive: Insert a blank USB flash drive into your computer and format it using the FAT32 file system. This step ensures compatibility with the motherboard’s BIOS flashing utility.
- Copy the BIOS Update File to the USB Drive: Once formatted, copy the BIOS update file from your computer to the root directory of the USB flash drive. Avoid placing the file within any folders on the drive.
- Restart Your Computer: Restart your computer and enter the BIOS setup utility by pressing the relevant key during the boot process. The specific key to access the BIOS setup may differ based on your motherboard model.
- Navigate to the BIOS Update Section: Within the BIOS setup utility, locate the BIOS update section or firmware management section. The exact location and naming may vary, so consult your motherboard’s documentation for guidance.
- Select the BIOS Update File: In the BIOS update section, choose the option to select the BIOS update file. Browse to the USB flash drive and select the file that you copied in step 3.
- Initiate the BIOS Update: Confirm your selection and follow the on-screen instructions to initiate the BIOS update. The motherboard’s BIOS flashing utility will read the file from the USB flash drive and apply the update to the motherboard.
- Monitor the Update Progress: The BIOS flashing utility will display the update progress on the screen. Let the process complete without interruption. It may take a few minutes.
- Restart Your Computer: After the BIOS update is finished, you will typically be prompted to restart your computer. Follow the instructions, allowing your computer to reboot.
- Verify the BIOS Update: Once your computer restarts, enter the BIOS setup utility again and verify that the BIOS update was successful. Check for the updated BIOS version information to ensure it corresponds to the expected version.
Updating the motherboard BIOS using a USB flash drive provides a reliable method for those without a built-in flashing tool or who prefer a more hands-on approach. Remember to double-check compatibility, follow the manufacturer’s instructions precisely, and exercise caution during the update process.
Now that we’ve covered all three methods for updating the motherboard BIOS, we’ll delve into common issues and troubleshooting in the next section.
Common Issues and Troubleshooting
While updating your motherboard BIOS, you may encounter some common issues or face unexpected challenges. Here are a few of the most common problems and potential troubleshooting steps:
- Power Interruptions: Ensure that your computer is connected to a reliable power source and consider using an uninterruptible power supply (UPS). Power interruptions during the BIOS update process can lead to critical failures or a non-functional system.
- Compatibility Issues: Double-check that you are using the correct BIOS update file for your specific motherboard model. Using the wrong file can cause issues and potentially render your system inoperable. Read the instructions carefully and confirm compatibility before proceeding.
- Failed BIOS Update: If the BIOS update process fails or encounters errors, consult the manufacturer’s website or support documents for troubleshooting steps. They may provide instructions for recovering from failed BIOS updates using methods such as a backup BIOS or a recovery utility.
- Incorrect BIOS Settings: After updating the BIOS, it is possible that some settings may be reset to their default values. Take the time to review and recreate any custom settings or configurations you had previously applied.
- Memory and Stability Issues: In some cases, a BIOS update may affect memory compatibility or system stability. If you experience crashes, freezes, or other instability after the update, try reseating your memory modules or performing a CMOS reset (consult your motherboard documentation for instructions).
- Flash Drive or USB Port Issues: If you encounter issues when using a USB flash drive to update the BIOS, try using a different flash drive or a different USB port on your computer. Sometimes, compatibility issues or faulty hardware can cause problems with the update process.
- Reverting to Previous BIOS: If you experience unexpected issues or incompatibilities after updating the BIOS, you may need to revert to a previous BIOS version. Check the manufacturer’s website or support documents for instructions on how to perform a BIOS downgrade.
Remember, it is crucial to follow the manufacturer’s instructions and recommendations when troubleshooting BIOS update issues. If you are unsure or encounter persistent problems, it may be best to seek assistance from the manufacturer’s technical support or a qualified professional.
With these troubleshooting tips in mind, you are better equipped to overcome common challenges and ensure a successful BIOS update process.
Conclusion
Updating your motherboard BIOS is an important task that can bring numerous benefits to your computer’s performance, stability, compatibility, and security. Whether you choose to use the manufacturer’s website and software, the motherboard’s built-in flashing tool, or a USB flash drive, following the appropriate steps and precautions is crucial for a successful update.
We discussed three common methods for updating the BIOS: using the manufacturer’s website and software, utilizing the motherboard’s built-in BIOS flashing tool, and updating through a USB flash drive. Each method has its advantages and can be chosen based on your specific preferences or the available resources.
Before updating, it is essential to make the necessary preparations, including researching, creating backups, ensuring stable power, and noting current BIOS settings. These steps help minimize the risk of encountering problems during the update process.
In addition, we explored common issues that may arise during the BIOS update, such as power interruptions, compatibility issues, failed updates, incorrect settings, memory and stability issues, and flash drive or USB port problems. Understanding these issues and knowing how to troubleshoot them can help you overcome any challenges you may face.
Remember to always refer to the manufacturer’s instructions, documentation, and support resources for accurate and up-to-date information specific to your motherboard model.
By keeping your motherboard BIOS up to date, you can ensure improved system stability, enhanced hardware compatibility, increased performance, heightened security, and access to new features or functionalities. Regularly checking for BIOS updates and applying them when necessary is a proactive step towards optimizing your computer’s performance and ensuring a seamless computing experience.
So, take the time to update your motherboard BIOS and enjoy the benefits it brings to your computer. Happy updating!