Introduction
Welcome to the world of motherboard BIOS! If you’re a tech enthusiast or someone who wants to tweak your PC settings, you might have heard about opening the motherboard BIOS. The BIOS, or Basic Input/Output System, is a firmware that is stored on a chip on your computer’s motherboard. It acts as an interface between the hardware and the operating system, allowing the system to start up and function properly.
Opening the motherboard BIOS gives you access to a wide range of settings that can affect the performance and functionality of your computer. From adjusting CPU and RAM frequencies to changing boot order and configuring power management options, the BIOS allows you to customize your system according to your needs.
However, it’s important to note that accessing the BIOS should be done with caution. Making incorrect changes or tinkering with the wrong settings can lead to system instability or even render your computer inoperable. Therefore, it’s crucial to understand the proper methods and precautions for opening the motherboard BIOS.
In this article, we will guide you through various methods to open the motherboard BIOS. Whether you’re using a desktop or laptop, we’ve got you covered. We’ll also provide troubleshooting tips for common issues that may arise during the process. So, let’s dive in and explore the different ways to access your computer’s BIOS.
Why Open Motherboard BIOS?
The motherboard BIOS is the key to unlocking the full potential of your computer hardware. It provides you with a wide range of customization options and settings that can greatly enhance your computing experience. Here are some reasons why you might want to open the motherboard BIOS:
1. Overclocking:
If you’re a gaming enthusiast or a power user, you may want to push your hardware to its limits. Opening the BIOS allows you to overclock your CPU and RAM, increasing their clock speeds beyond the manufacturer’s specifications. This can lead to improved performance and smoother multitasking, but it should be done with caution as it may cause overheating or stability issues if not done correctly.
2. Hardware Compatibility:
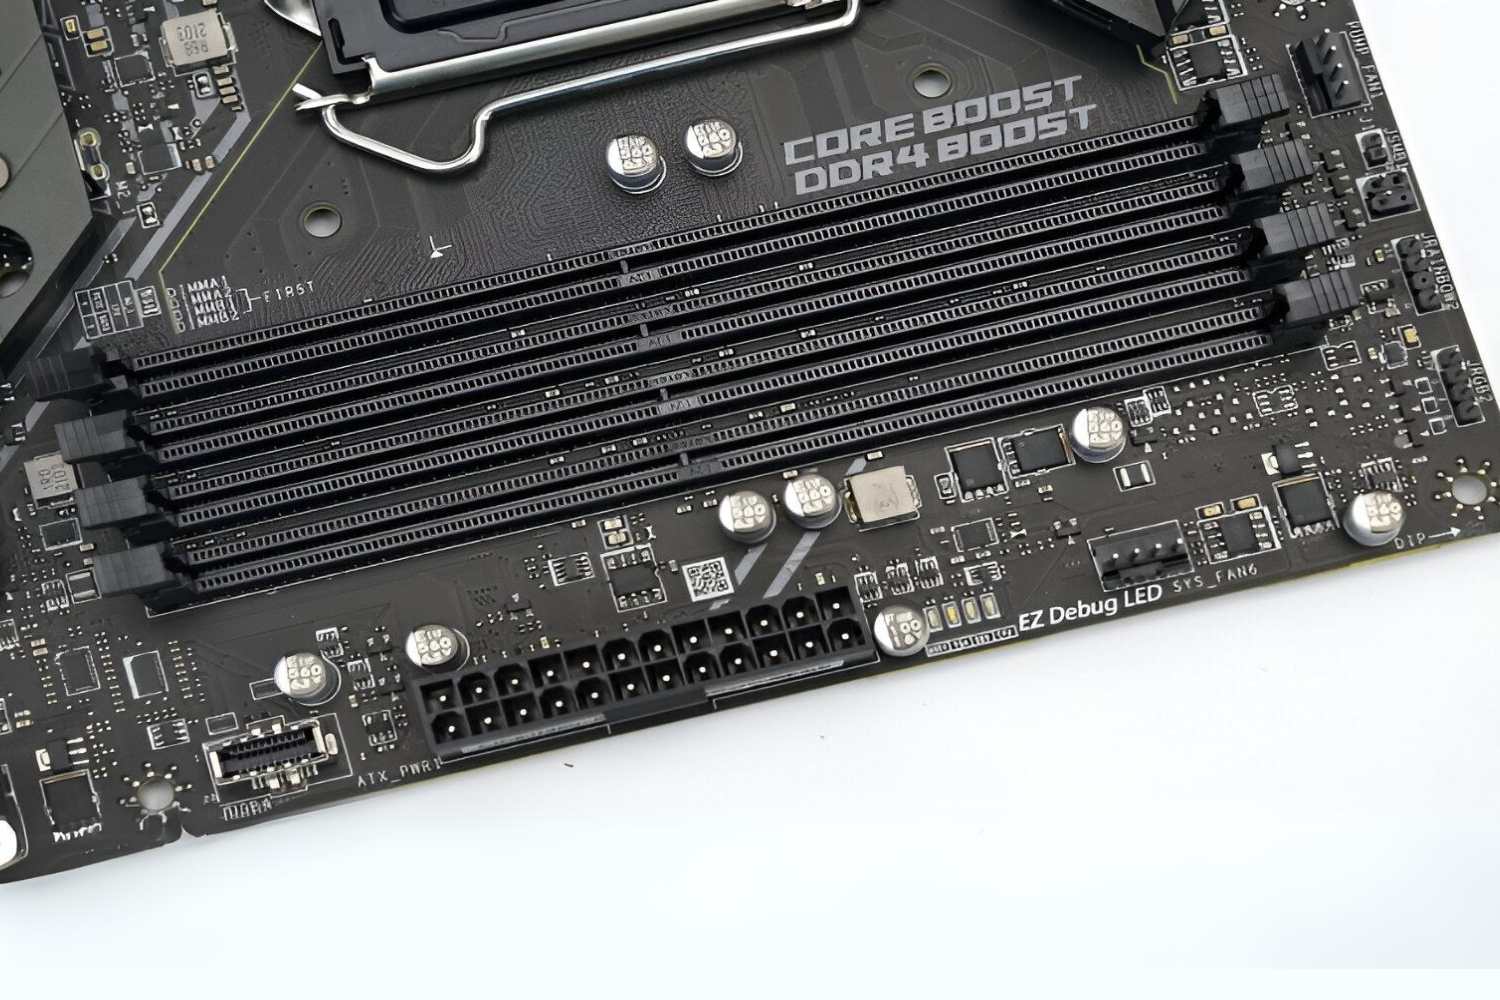
When upgrading or installing new hardware components, such as a new graphics card or additional RAM, you may need to make changes in the BIOS to ensure proper compatibility. Opening the BIOS gives you access to settings like PCI-E configurations, RAM timing, and voltage adjustments, allowing you to optimize your system for the new hardware.
3. Boot Order and Device Priority:
By accessing the motherboard BIOS, you can modify the boot order and device priority settings. This allows you to determine which devices the computer should boot from first, such as the hard drive, DVD drive, or USB devices. It’s useful when you want to install a new operating system, troubleshoot boot-related issues, or prioritize booting from a specific device.
4. Power Management:
Opening the BIOS grants you control over power management settings. You can adjust options like sleep mode, fan speed, and CPU power saving features. This allows you to strike a balance between power efficiency and performance, ensuring that your computer runs optimally for your specific needs.
5. BIOS Updates:
Manufacturers often release BIOS updates to fix bugs, improve stability, or add new features. Opening the BIOS allows you to check for and install these updates, ensuring that your system is up to date and running smoothly.
These are just a few reasons why you might want to open the motherboard BIOS. It provides a plethora of customization options and settings that can help you maximize the performance and functionality of your computer. However, always remember to exercise caution and research thoroughly before making any changes in the BIOS settings.
Precautions before Opening Motherboard BIOS
Opening the motherboard BIOS is a delicate process that requires caution to avoid potential issues or damage to your computer. Before diving into the BIOS settings, it’s important to be aware of these precautions:
1. Research and Understand:
Take the time to research and understand the purpose and functionality of each BIOS setting before making any changes. Familiarize yourself with the technical specifications of your hardware and how different settings can affect its performance. This knowledge will help prevent accidental misconfigurations that could lead to instability or hardware damage.
2. Backup Important Data:
Prior to accessing the BIOS, it’s recommended to back up your important data. While the BIOS settings generally don’t affect your files, it’s always wise to have a recent backup of your important documents and files in case something goes wrong during the process.
3. Take Note of Current Settings:
Before making any changes, take note of the current BIOS settings. This serves as a reference that you can revert to in case you encounter problems or need to troubleshoot any issues that arise from the changes you make. Knowing the original settings gives you a starting point for troubleshooting and ensures you can always go back to a stable configuration.
4. Be Mindful of Voltage and Frequency:
When modifying settings related to CPU or RAM frequencies, voltage, or other performance parameters, exercise caution. Adjusting these settings haphazardly can lead to system instability, overheating, or even component failure. It’s best to make incremental changes, test stability, and monitor temperatures to ensure your system remains within safe limits.
5. Keep a Record of Changes:
When you decide to modify any settings in the BIOS, keep a record of the changes you make. This can be as simple as taking a screenshot or jotting down the altered values. Having a record will make it easier to track and reverse changes if needed, especially if you encounter unexpected issues or if the changes didn’t have the desired effect.
By adhering to these precautions, you can minimize the risks associated with opening the motherboard BIOS and ensure a smoother and safer experience. Remember, the motherboard BIOS is a powerful tool, so take the time to understand and proceed with caution to avoid any potential problems.
Method 1: Using the BIOS Key
One of the most common and straightforward methods to open the motherboard BIOS is by using the BIOS key. The BIOS key is a specific key or combination of keys that you need to press during the computer’s boot process to access the BIOS menu. Here’s how you can do it:
Step 1: Restart or Power On Your Computer:
Start by restarting or powering on your computer. As soon as the computer starts booting, pay close attention to the screen. Look for a message that indicates the BIOS key or keys you need to press to access the BIOS menu. The message usually appears for a brief period of time and may say “Press [key] to enter setup” or something similar.
Step 2: Press the BIOS Key:
Once you identify the BIOS key, quickly press it. The key can vary depending on the computer manufacturer and model, but common BIOS keys include F2, Del, Esc, F10, or F12. If you’re unsure of the key, refer to the computer’s manual or visit the manufacturer’s website for the correct information.
Step 3: Access the BIOS Menu:
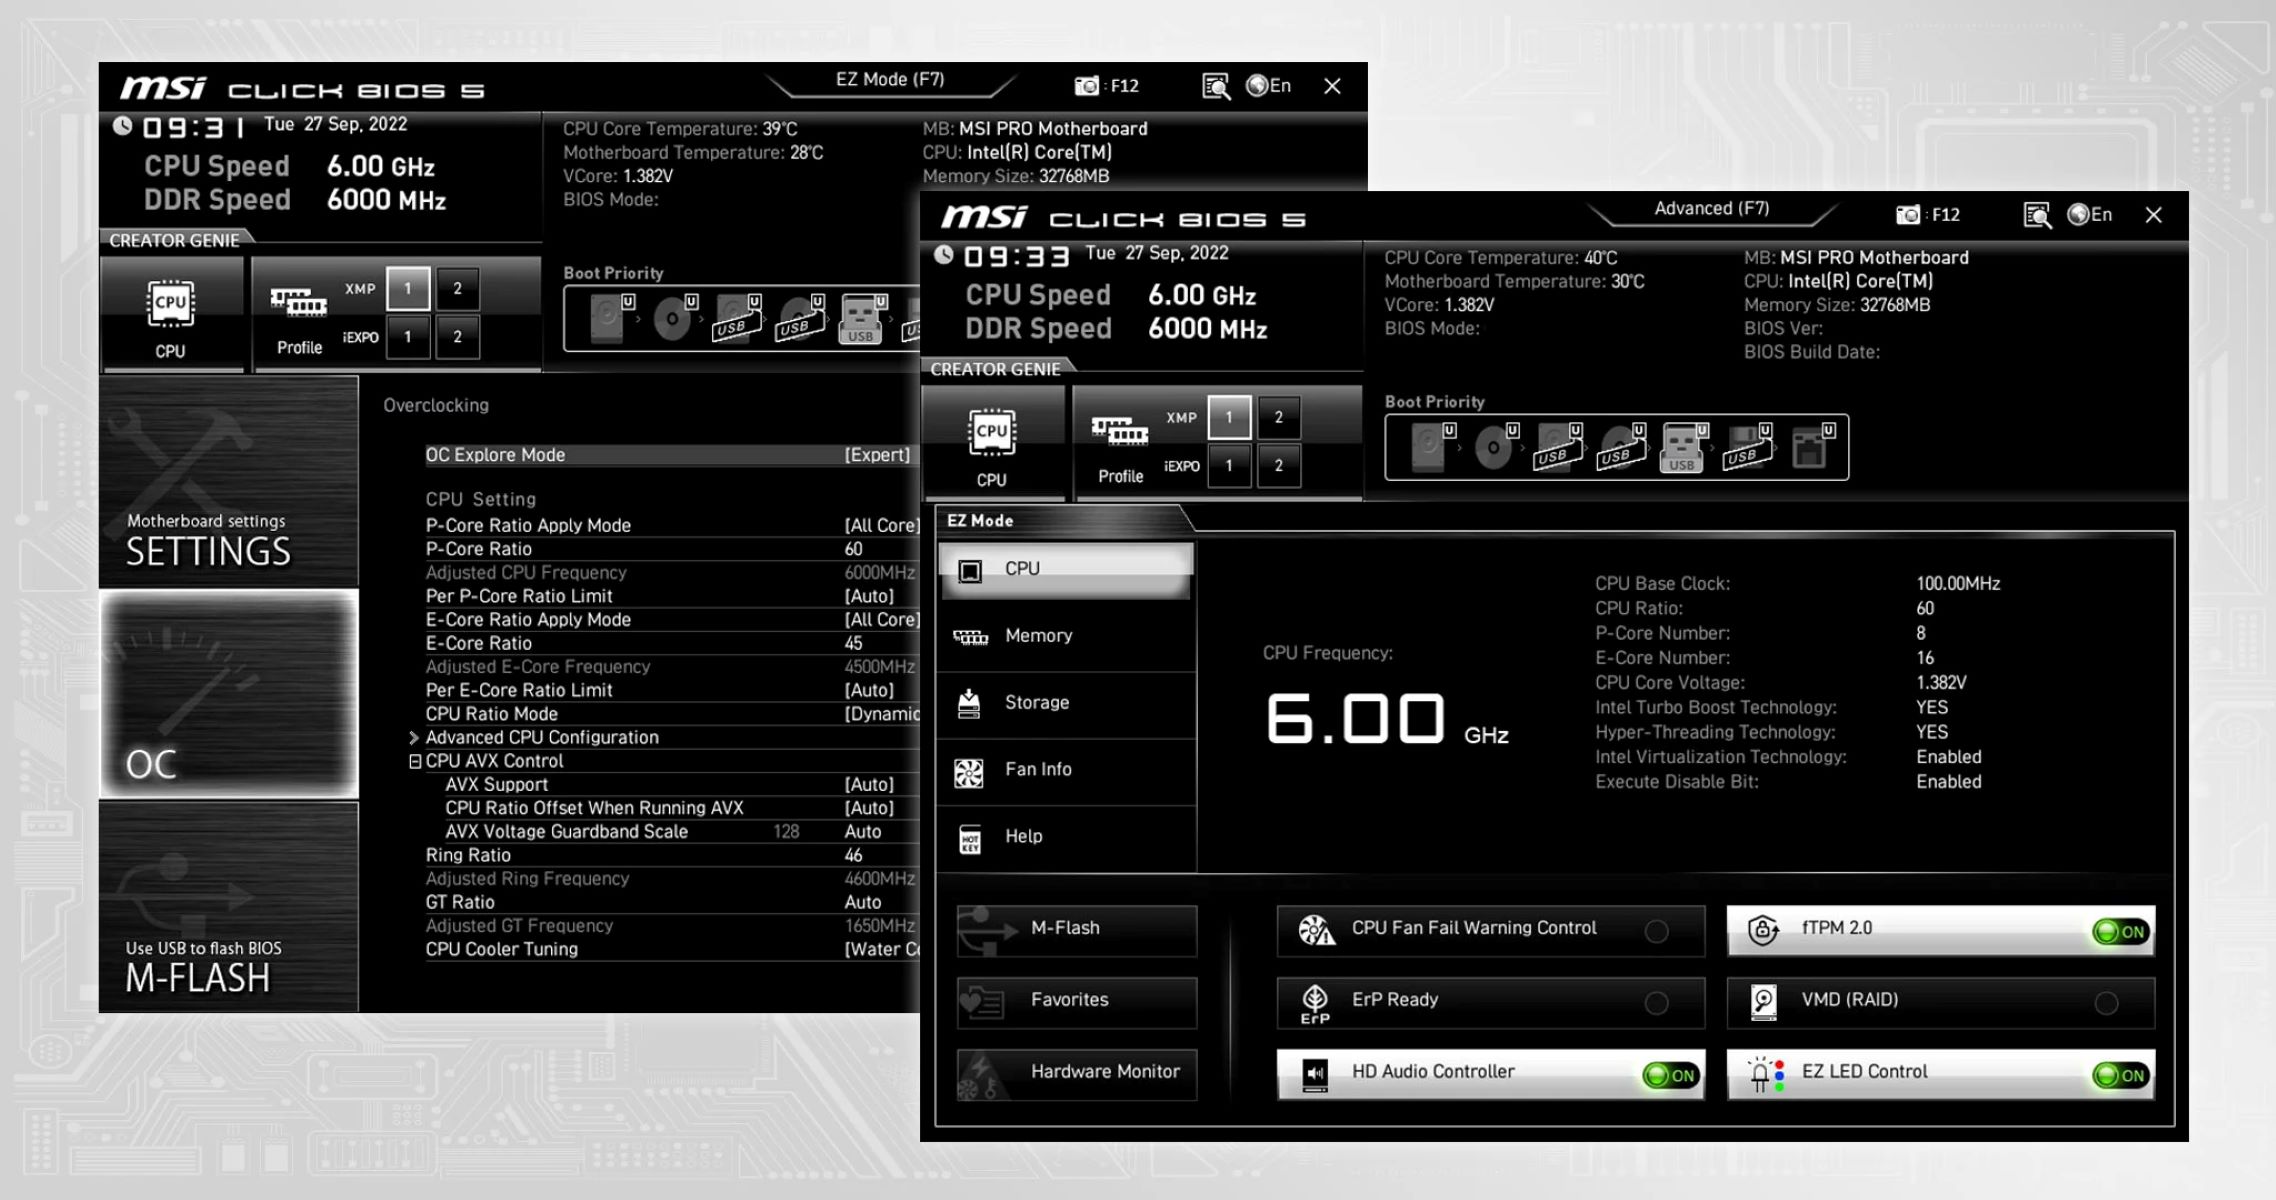
After pressing the BIOS key, you should be directed to the BIOS menu. The BIOS menu interface is usually text-based, with different categories and options displayed. Use the arrow keys on your keyboard to navigate through the menu and access different settings.
Step 4: Make Changes and Save:
Once inside the BIOS menu, you can make the desired changes to the settings. Use caution and refer to the motherboard manual or online resources for guidance on specific settings. After making the changes, be sure to save them before exiting the BIOS. The option to save and exit is usually located in the BIOS menu with a label like “Save and Exit” or “Exit Setup.”
Remember that accessing the BIOS using the BIOS key can vary depending on the computer’s manufacturer and model. It’s always a good idea to consult the manual or manufacturer’s website for specific instructions related to your computer.
Using the BIOS key is a simple and effective way to access the motherboard BIOS and make changes to the settings. However, it’s important to exercise caution and only modify settings that you understand to avoid any potential issues or damage to your computer.
Method 2: Using Windows Settings
If you prefer a more user-friendly approach to access the motherboard BIOS, you can use Windows Settings to enter the BIOS menu. This method is suitable for those who are not comfortable with pressing specific keys during the boot process. Here’s how you can do it:
Step 1: Open Windows Settings:
Start by opening the Windows Settings on your computer. You can do this by clicking on the Start menu and selecting the gear icon, or by pressing the Windows key + I on your keyboard.
Step 2: Go to Update & Security:
Once in the Windows Settings, click on the “Update & Security” option. This will take you to the Windows Update settings.
Step 3: Access the Recovery Options:
In the left sidebar of the Windows Update settings, click on “Recovery.” This will open the Recovery options on the right-hand side of the window.
Step 4: Restart Now:
Under the “Advanced startup” section, click on the “Restart now” button. This will initiate a system restart, taking you to the Advanced Startup options.
Step 5: Choose Troubleshoot:
Once the computer restarts, you will see the Advanced Startup menu. From here, select “Troubleshoot.”
Step 6: Access UEFI Firmware Settings:
In the Troubleshoot menu, select “Advanced options,” and then click on “UEFI Firmware Settings” or “BIOS Setup.” This will take you directly to the BIOS menu.
Step 7: Make Changes and Save:
Once inside the BIOS menu, you can navigate through the different settings using the arrow keys on your keyboard. Make the desired changes, and remember to save them before exiting the BIOS. The options to save and exit are usually located within the BIOS menu itself.
Using Windows Settings to open the motherboard BIOS provides a more user-friendly approach, especially for those who may be unfamiliar with accessing the BIOS using keyboard inputs during the boot process. However, keep in mind that the availability of this method can vary depending on your computer’s manufacturer and Windows version.
It’s important to exercise caution and only modify settings that you are familiar with to avoid any potential issues or damage to your system. If you’re unsure about certain settings, consult the motherboard manual or seek guidance from online resources before making any changes.
Method 3: Opening by Removing CMOS Battery
If you are unable to access the motherboard BIOS using the previous methods, or if you have forgotten the BIOS password, you can try opening the motherboard BIOS by removing the CMOS battery. This method involves physically removing the battery that powers the BIOS chip, which resets the BIOS settings to their default state. Here’s how you can do it:
Step 1: Power Off Your Computer:
Start by completely powering off your computer. Make sure to shut down your operating system properly before proceeding.
Step 2: Locate the CMOS Battery:
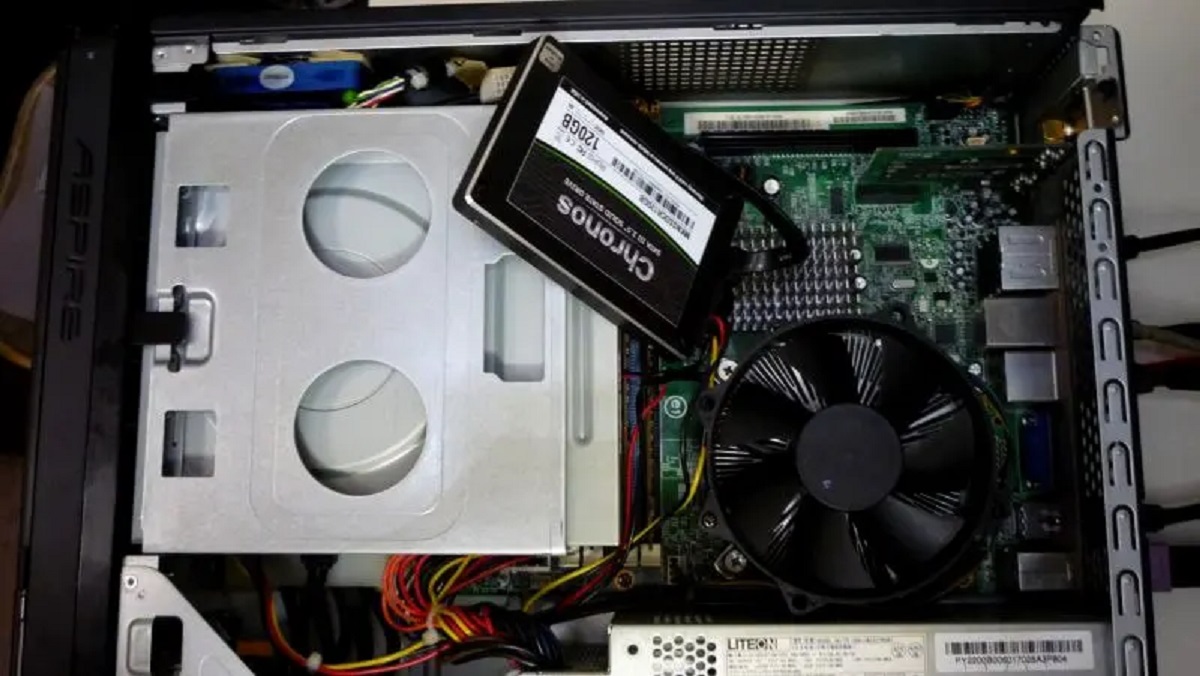
Open your computer case and locate the CMOS battery on the motherboard. The CMOS battery is a small, circular battery that is usually silver or light yellow in color. It is typically located near the center of the motherboard.
Step 3: Remove the CMOS Battery:
Once you have located the CMOS battery, gently remove it from its socket using your fingers or a small tool such as a flat-headed screwdriver. Take care not to apply excessive force or damage any surrounding components.
Step 4: Wait and Reinsert the CMOS Battery:
After removing the CMOS battery, wait for a few minutes to allow the residual charge to dissipate. This ensures that the BIOS settings are completely reset. Then, reinsert the CMOS battery back into its socket, ensuring that it is securely seated.
Step 5: Power On Your Computer:
Once you have reinserted the CMOS battery, close your computer case and power on your computer. The BIOS settings should have been reset to their default state, allowing you to access the BIOS menu without any password or previous configurations.
Step 6: Configure BIOS Settings:
Now that the BIOS settings have been reset, you can access the BIOS menu and configure the desired settings. Use the appropriate BIOS key or method discussed earlier to enter the BIOS menu and make the necessary changes.
It’s important to note that removing the CMOS battery should only be attempted as a last resort and with caution. This method is primarily used for resetting the BIOS settings when other methods fail, or if you’ve forgotten the BIOS password. Ensure that you are properly grounded to prevent electrostatic damage to your computer components while handling the CMOS battery.
If you are not comfortable with the hardware aspect or if your computer is under warranty, it is recommended to seek assistance from a professional technician or contact the manufacturer for support.
Method 4: Accessing BIOS with Jumper Settings
If the previous methods did not work for accessing the motherboard BIOS or resetting the BIOS settings, you can try using the jumper settings on the motherboard. This method involves changing the position of a jumper on the motherboard to reset the BIOS settings. Here’s how you can do it:
Step 1: Power Off Your Computer:
Start by completely powering off your computer. Ensure that the system is shut down properly before proceeding.
Step 2: Locate the BIOS Jumper:
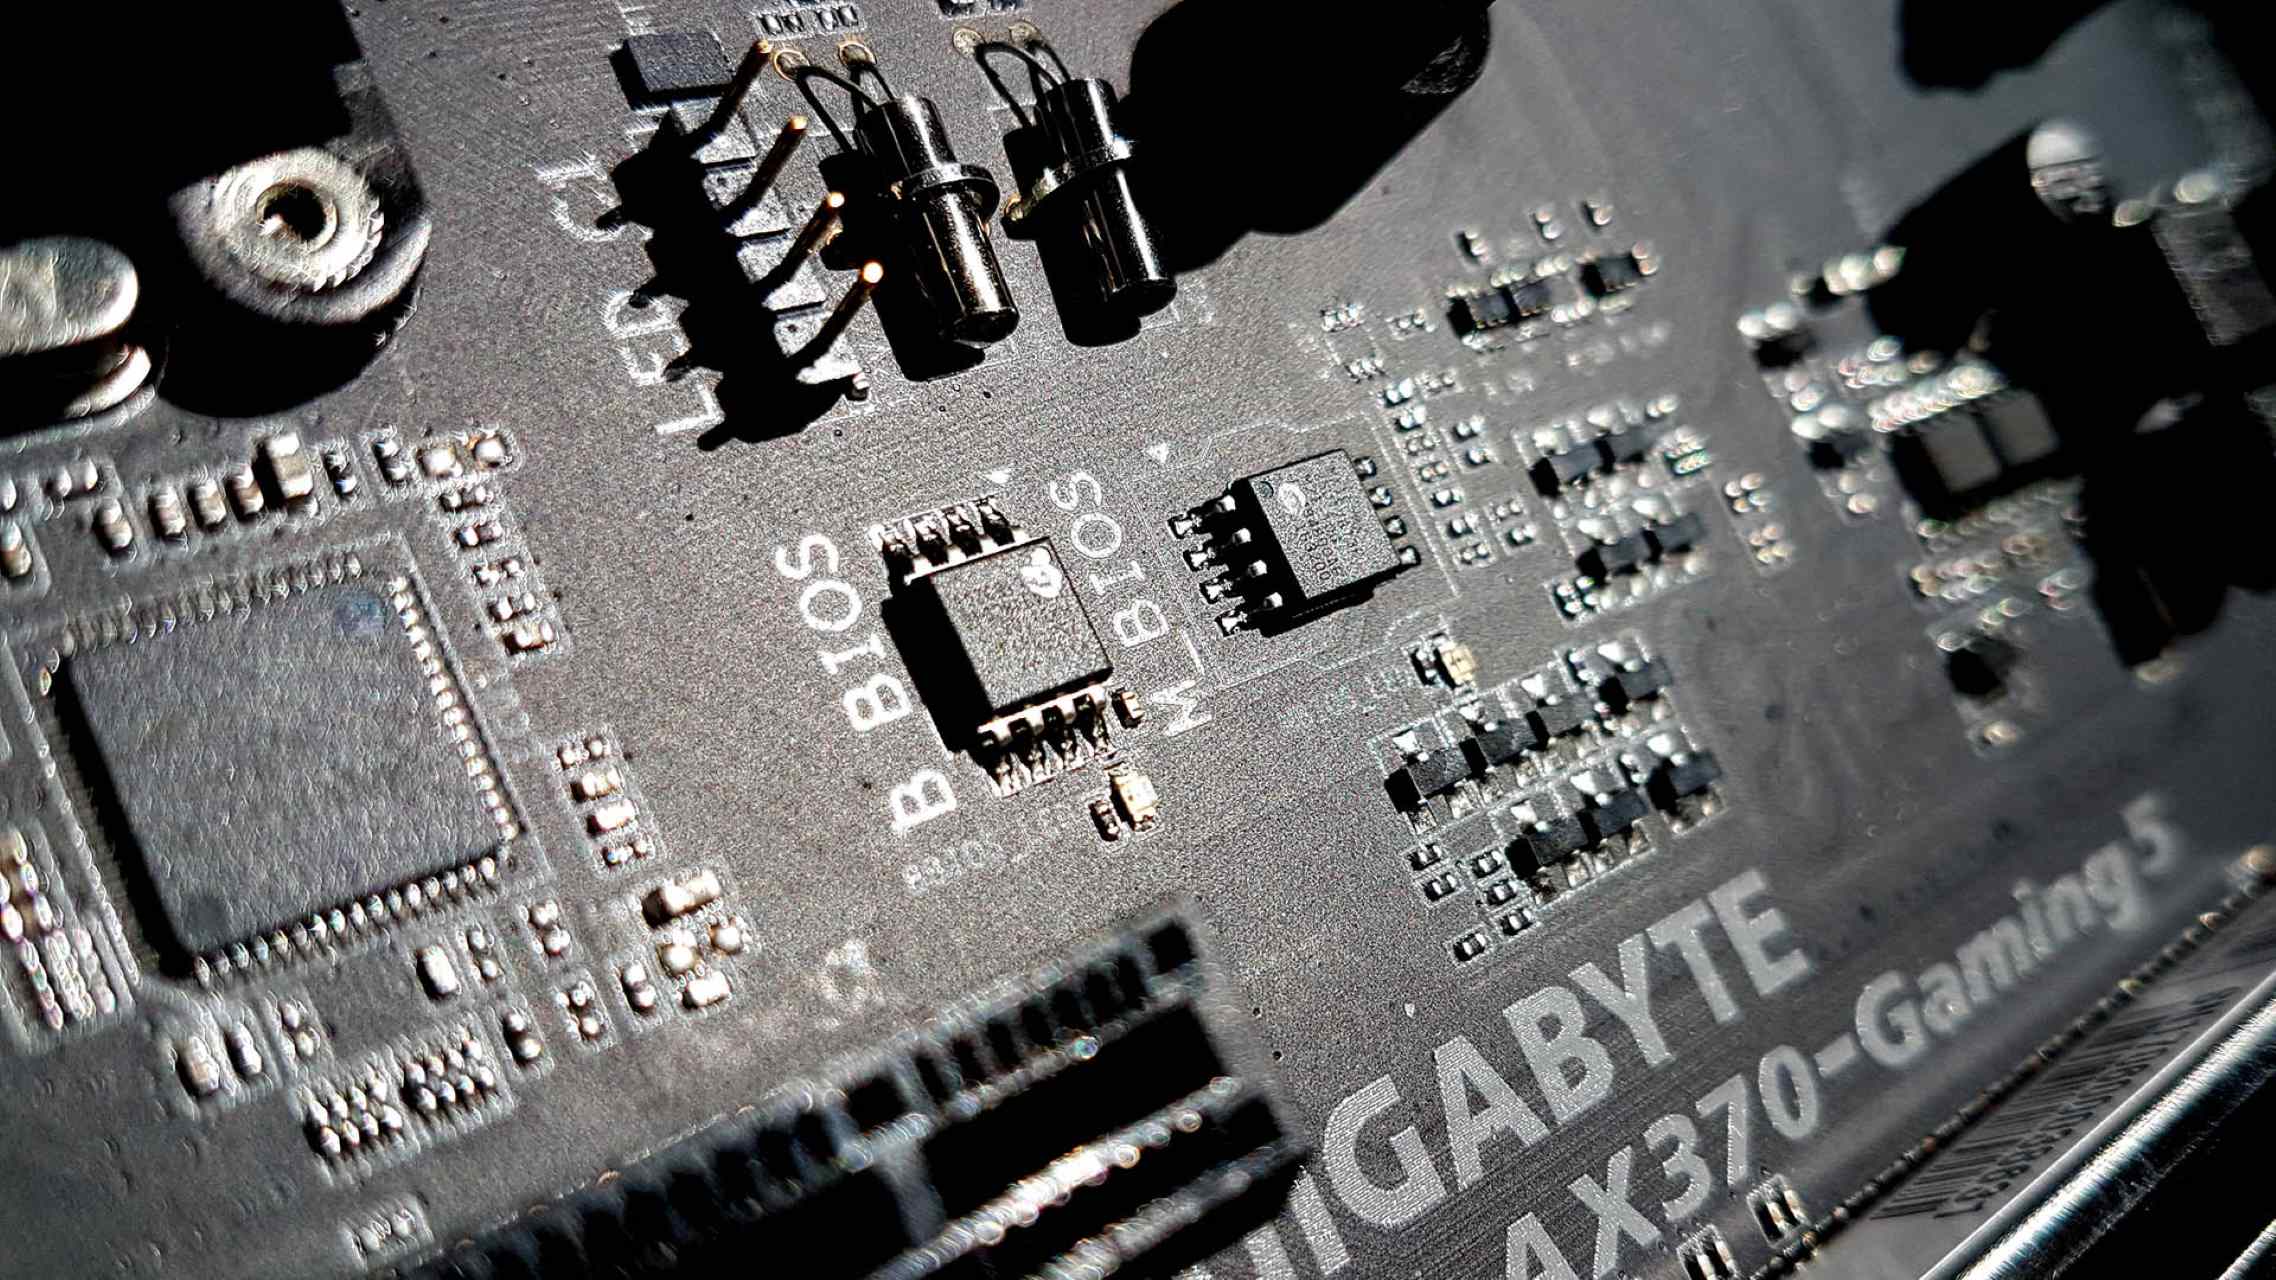
Open your computer case and locate the BIOS jumper on the motherboard. The BIOS jumper is a small plastic cap that covers two pins labeled as “BIOS” or “CLEAR CMOS.” It is usually located near the edge of the motherboard or close to the CMOS battery.
Step 3: Change the Jumper Position:
Identify the default position of the BIOS jumper. It is typically placed on two of the three available pins. To reset the BIOS settings, you need to move the jumper from its default position to the pins adjacent to it. Refer to the motherboard documentation or manufacturer’s website for the precise jumper configuration for your specific motherboard model.
Step 4: Wait and Restore the Jumper:
After changing the jumper position, wait for a few seconds or as recommended by the manufacturer. This allows the capacitors to discharge and reset the BIOS settings. Once the waiting period is over, restore the jumper to its original default position.
Step 5: Power On Your Computer:
Close your computer case and power on your computer. The BIOS settings should have been reset to their default state. You can now access the BIOS menu using the appropriate key or method discussed earlier.
Step 6: Configure BIOS Settings:
With the BIOS settings reset to default, you can now enter the BIOS menu and make the desired changes to configure your system. Remember to save any changes you make before exiting the BIOS.
It’s important to note that accessing and using the jumper settings on the motherboard should be done with caution. This method is generally recommended for advanced users or those familiar with motherboard hardware. If you are unsure about any steps or are uncomfortable working with the motherboard components, it’s best to seek assistance from a professional technician or contact the manufacturer for support.
Always consult the motherboard documentation or the manufacturer’s website for specific jumper configuration instructions for your particular motherboard model, as the jumper positions can vary between different motherboards.
Troubleshooting Common Issues
While accessing the motherboard BIOS can be a straightforward process, it’s not uncommon to encounter a few issues along the way. Here are some common problems that you may come across and their potential solutions:
1. BIOS Key Not Working:
If the BIOS key does not seem to work when trying to access the BIOS menu, ensure that you’re pressing the correct key and at the right time during the boot process. Double-check the computer’s manual or the manufacturer’s website for the correct BIOS key. If the issue persists, try using a different keyboard or check if the keyboard is properly connected.
2. Forgotten BIOS Password:
If you’ve forgotten the BIOS password and cannot access the BIOS settings, refer to the motherboard manual or the manufacturer’s website for instructions on resetting the password. This may involve using specific jumper settings, contacting technical support, or removing and reinstalling the CMOS battery. Be aware that some password removal methods may void the warranty or result in the loss of data.
3. Incorrect BIOS Settings:
If you’ve made changes to the BIOS settings and encounter issues such as system instability, boot failures, or compatibility problems, try resetting the BIOS settings to their default state. This can usually be done through the BIOS itself or by using the jumper settings or CMOS battery removal method mentioned earlier.
4. BIOS Update Problems:
If you’re experiencing issues after performing a BIOS update, such as system crashes or hardware malfunctions, it’s possible that the update may not have been successful or compatible with your hardware. In such cases, you may need to revert to a previous version of the BIOS or contact the motherboard manufacturer for support and guidance on resolving the issue.
5. Unable to Save Changes:
If you make changes in the BIOS settings but are unable to save them, ensure that you are following the correct procedure for saving and exiting the BIOS. Some motherboards may require additional steps or confirmation prompts to save the changes. If the issue persists, check for any BIOS updates or consider resetting the BIOS settings to their default state.
It’s important to note that the BIOS settings influence computer functionality at a fundamental level, and incorrect configurations can lead to system instability or hardware damage. Hence, it’s always recommended to proceed with caution, refer to the motherboard documentation, and seek assistance from professionals or the manufacturer’s support if needed.
By troubleshooting common issues and taking the necessary precautions, you can ensure a smoother experience when accessing and configuring the motherboard BIOS.
Conclusion
Opening the motherboard BIOS gives you the power to customize and optimize your computer’s performance and functionality. Whether you’re overclocking, adjusting hardware compatibility, managing power settings, or updating the BIOS, having access to these settings can greatly enhance your computing experience.
Throughout this article, we discussed different methods to open the motherboard BIOS. From using the BIOS key during the boot process to utilizing Windows Settings, removing the CMOS battery, or accessing the BIOS through jumper settings, each method offers a unique approach to accessing the BIOS menu.
However, it’s important to approach the BIOS settings with caution. Making incorrect changes or altering settings without proper understanding can result in system instability, hardware damage, or data loss. Always research and familiarize yourself with the specific BIOS settings and consult the motherboard documentation or manufacturer’s website for guidance.
In case you encounter any issues while accessing or making changes in the BIOS, following the troubleshooting tips provided can help you resolve common problems, such as incorrect BIOS key, forgotten BIOS password, incorrect or incompatible settings, update issues, or difficulties saving changes.
Remember to back up important data, take note of the current settings, and exercise caution when modifying hardware-related parameters, such as voltage and frequency. It’s also recommended to maintain a record of changes made to easily track and revert them if necessary.
In conclusion, accessing the motherboard BIOS gives you greater control over your computer’s configuration and performance. By understanding the different methods, taking precautions, and troubleshooting common issues, you can confidently navigate the BIOS settings and unlock the full potential of your system.