Introduction
Welcome to the world of computer hardware! If you’re curious about the motherboard on your Windows 7 PC, you’ve come to the right place. The motherboard is an essential component that connects all the hardware elements of your computer, such as the processor, memory, storage devices, and peripherals. Knowing the exact model of your motherboard can be useful for several reasons, including upgrading components, troubleshooting compatibility issues, and finding drivers and software updates.
In this article, we’ll explore different methods to help you identify the motherboard on your Windows 7 machine. Whether you’re a tech enthusiast, DIY computer builder, or simply curious about the inner workings of your PC, these methods will guide you in uncovering the details of your motherboard.
We’ll start with the basic methods that utilize built-in Windows tools, including System Information and Command Prompt. These tools provide valuable system details and can assist you in identifying the motherboard model. We’ll also cover the option of referencing the printed labels on your motherboard, which often reveal the necessary information.
Additionally, we’ll explore how to check the BIOS information, as it usually contains details about the motherboard model. Finally, for those who prefer a more user-friendly approach, we will discuss third-party software solutions that can quickly and accurately reveal your motherboard’s specifications.
By the end of this article, you’ll be equipped with various techniques to determine the motherboard model on your Windows 7 computer. So, let’s dive in and learn how to unveil the mystery of your motherboard!
Method 1: Using System Information
The first method we’ll explore is using the built-in System Information tool in Windows 7. This tool provides a comprehensive overview of your computer’s hardware and software configurations, including details about your motherboard.
To access System Information:
- Click on the “Start” button and type “System Information” in the search bar. Press “Enter” or click on the “System Information” option in the search results.
- In the System Information window that opens, navigate to the “System Summary” section.
- Look for the “BaseBoard Manufacturer” and “BaseBoard Product” fields. These fields will display the manufacturer and model information of your motherboard.
If the information is not visible, you may need to expand the “Motherboard” category in the left-hand pane.
Using System Information is a straightforward method, and it provides accurate details about your motherboard model. However, keep in mind that some older or custom-built PCs may not display the motherboard model in this tool.
Once you have identified the motherboard model, you can use this information to search for driver updates or compatibility information when upgrading or troubleshooting your computer’s components. It’s also helpful to have this information if you ever need to contact technical support for your motherboard.
Now that we’ve covered the System Information method, let’s move on to the next technique: using Command Prompt to identify your motherboard model.
Method 2: Using Command Prompt
Another method to determine the motherboard model in Windows 7 is by using Command Prompt, a powerful command-line tool. This method is particularly useful if you prefer a text-based interface or if the System Information tool doesn’t provide the necessary information.
Follow the steps below to use Command Prompt:
-
- Click on the “Start” button and type “cmd” in the search bar. Press “Enter” or click on the “Command Prompt” option in the search results.
- In the Command Prompt window that appears, type the following command:
wmic baseboard get product, manufacturer, version, serialnumber
- Press “Enter” to execute the command.
- You will see the manufacturer, product, version, and serial number information listed. The product field will display the model of your motherboard.
Note that the serial number information may also be displayed. However, the focus is on the product field for identifying the motherboard model.
Using Command Prompt can be a quick and straightforward method to retrieve information about your motherboard. It bypasses the need for navigating through different windows and provides the necessary details in a concise format.
Now that you’re familiar with using Command Prompt, let’s move on to the next method: referencing the printed labels on your motherboard.
Method 3: Referencing the Printed Labels
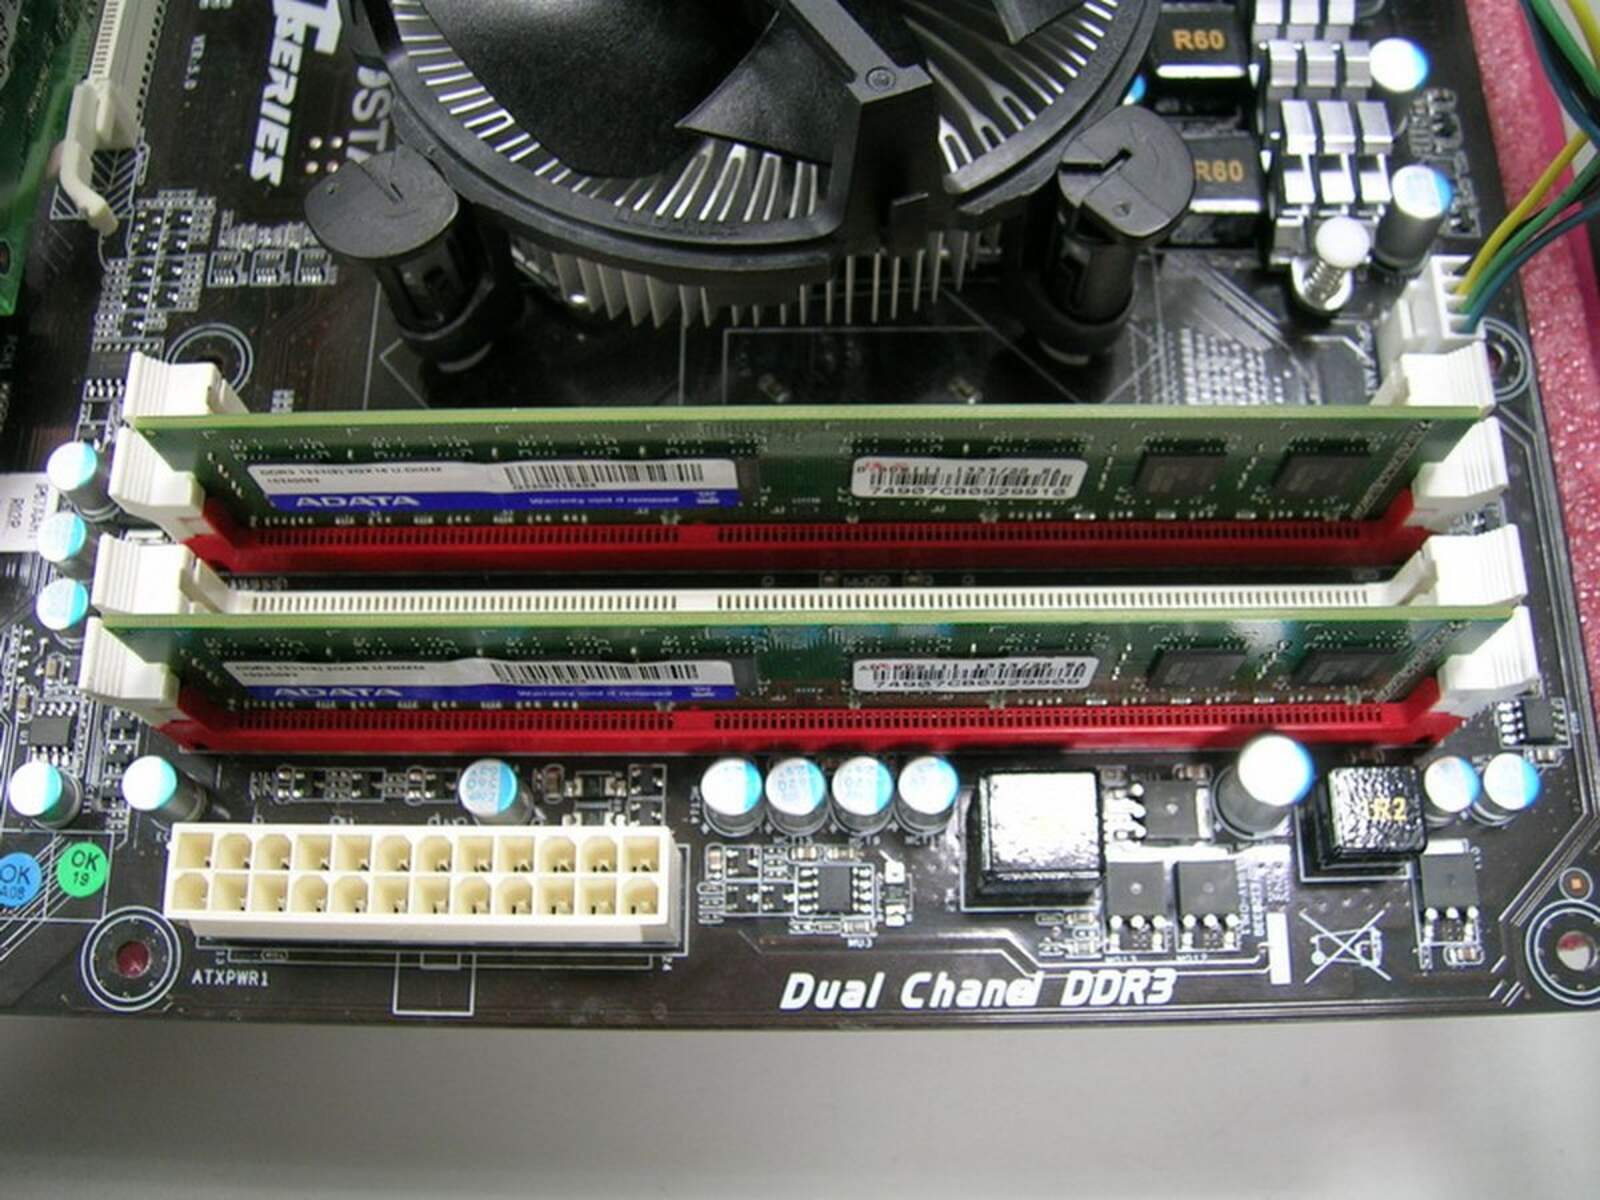
If you have physical access to your computer’s motherboard, you can also identify the model by referencing the printed labels directly on the motherboard itself. Manufacturers often include identifying information, such as the model number and branding, on the PCB (printed circuit board) of the motherboard.
To use this method:
- Power off your computer and unplug it from the wall socket. Safety first!
- Open the computer case by removing the side panel. Refer to your computer’s manual or search for specific instructions for your computer model.
- Locate the motherboard inside the computer case. It’s the large circuit board that connects all the components.
- Inspect the surface of the motherboard, particularly around the center or edges, for printed labels or text.
- Look for any information specifically indicating the model of the motherboard. This may include the manufacturer’s logo, model number, or product name.
The location of the printed labels may vary depending on the motherboard manufacturer and model. Some motherboards may have the labels printed near the CPU socket, while others may have them along the edges or around the RAM slots.
Once you find the model information, take note of it or take a photo for future reference. You can then search for the model online to find official documentation, drivers, and any other useful information provided by the manufacturer.
Referencing the printed labels may require physical access to your computer and the ability to open the case. If you’re uncomfortable with this process or are unable to access the inside of your computer, consider one of the previous methods that utilize Windows tools.
Now that you’re familiar with referencing the printed labels on your motherboard, let’s move on to the next technique: checking the BIOS information.
Method 4: Checking the BIOS Information
Another method to determine the motherboard model on your Windows 7 PC is by checking the BIOS (Basic Input/Output System) information. The BIOS is firmware that initializes the hardware components of your computer during the startup process.
To check the BIOS information:
- Power on your computer and immediately press the key to access the BIOS setup. The key to press varies depending on the manufacturer and model of your computer or motherboard. Common keys include F2, Del, Esc, or F10. Consult your computer’s manual or search for specific instructions for your computer model.
- Once in the BIOS setup, navigate through the menus using the arrow keys and look for a section that provides system information. This section may be named differently depending on the BIOS manufacturer.
- Within the system information section, locate the field that displays the motherboard model or manufacturer. Note that the location and exact wording may vary between different BIOS versions.
- Take note of the motherboard model or manufacturer information. You can either jot it down or take a photo for future reference.
The BIOS information provides valuable details about your motherboard and can often include the manufacturer, model, and sometimes even the version or revision number. This information can be useful when searching for BIOS updates or troubleshooting compatibility issues.
If you’re unable to access the BIOS setup or navigate through the menus, refer to the computer or motherboard’s manual for specific instructions on accessing the BIOS information.
Now that you’re familiar with checking the BIOS information, let’s explore the final method: using third-party software.
Method 5: Using Third-Party Software
If you prefer a user-friendly approach or if the previous methods did not yield satisfactory results, using third-party software is an excellent option to identify the motherboard model on your Windows 7 PC. There are various software applications available that can quickly and accurately retrieve detailed information about your motherboard.
Here are a few popular third-party software options:
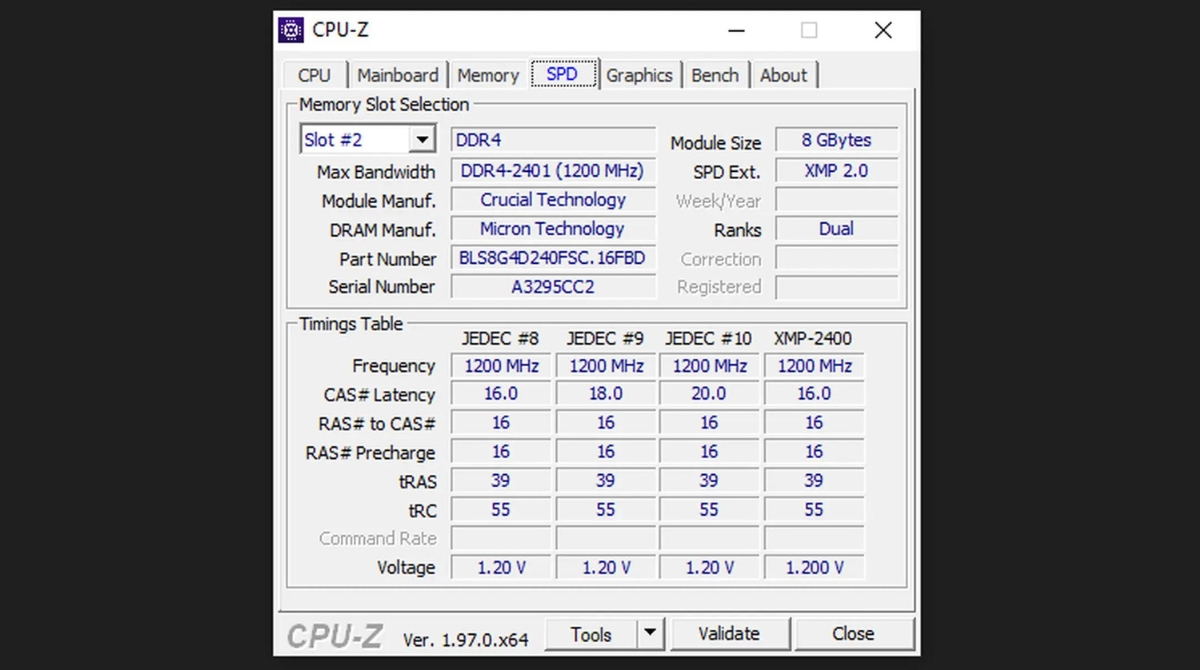
- CPU-Z: CPU-Z is a widely-used utility that provides extensive information about your computer’s hardware components, including the motherboard model. Simply download and install CPU-Z from the official website, run the program, and navigate to the “Mainboard” tab. You’ll find the manufacturer, model, and other relevant details about your motherboard.
- Speccy: Speccy is another well-known program for analyzing system specifications. After downloading and installing Speccy, launch the application and under the “Motherboard” section, you’ll see information such as the manufacturer, model, chipset, and BIOS version of your motherboard.
- HWiNFO: HWiNFO is a comprehensive system information tool that provides in-depth details about your computer’s hardware components. Download and install HWiNFO, then open the application and navigate to the “Motherboard” category. Here you’ll find specific information about your motherboard, including the manufacturer, model, chipset, and BIOS version.
These third-party software options are user-friendly and offer a wealth of information about your motherboard and other hardware components. They often provide additional details beyond just the model, making them valuable tools for system diagnostics and hardware optimization.
When using third-party software, always download from official sources to ensure the safety and reliability of the application.
Now that you’re familiar with using third-party software, you have a variety of techniques at your disposal to identify the motherboard model on your Windows 7 computer.
Conclusion
Identifying the motherboard model on your Windows 7 PC is an essential step for various purposes, such as upgrading components, troubleshooting compatibility issues, or finding software updates. In this article, we explored five different methods to help you determine the motherboard model.
We started with the built-in Windows tools, using System Information to retrieve detailed hardware information and Command Prompt to obtain motherboard details through commands. These methods are convenient and readily available for most users.
We then explored the option of referencing the printed labels on the motherboard itself. This method is useful if you have physical access to the motherboard and prefer a direct approach.
Checking the BIOS information was the next method discussed. By accessing the BIOS setup, you can retrieve valuable details about your motherboard, including the manufacturer, model, and sometimes the version.
Lastly, we explored the user-friendly approach of using third-party software such as CPU-Z, Speccy, and HWiNFO. These tools provide comprehensive information about your motherboard and other hardware components, making them ideal for detailed diagnostics and optimizations.
With these techniques at your disposal, you can confidently identify the motherboard model on your Windows 7 PC. Remember to prioritize safety when working with hardware, such as powering off your computer and unplugging it before accessing the motherboard.
Whether you’re a tech enthusiast, DIY computer builder, or simply curious about the inner workings of your PC, knowing your motherboard model can help you make informed decisions and troubleshoot effectively.
Now, armed with this knowledge, go forth and explore the possibilities that come with understanding your computer’s motherboard!