Introduction
When it comes to keeping your computer running smoothly, one crucial component to pay attention to is the CPU cooler. The central processing unit (CPU) of your computer generates a significant amount of heat while it carries out tasks. If this heat is not properly dissipated, it can lead to overheating and damage to your CPU, reducing its performance and lifespan.
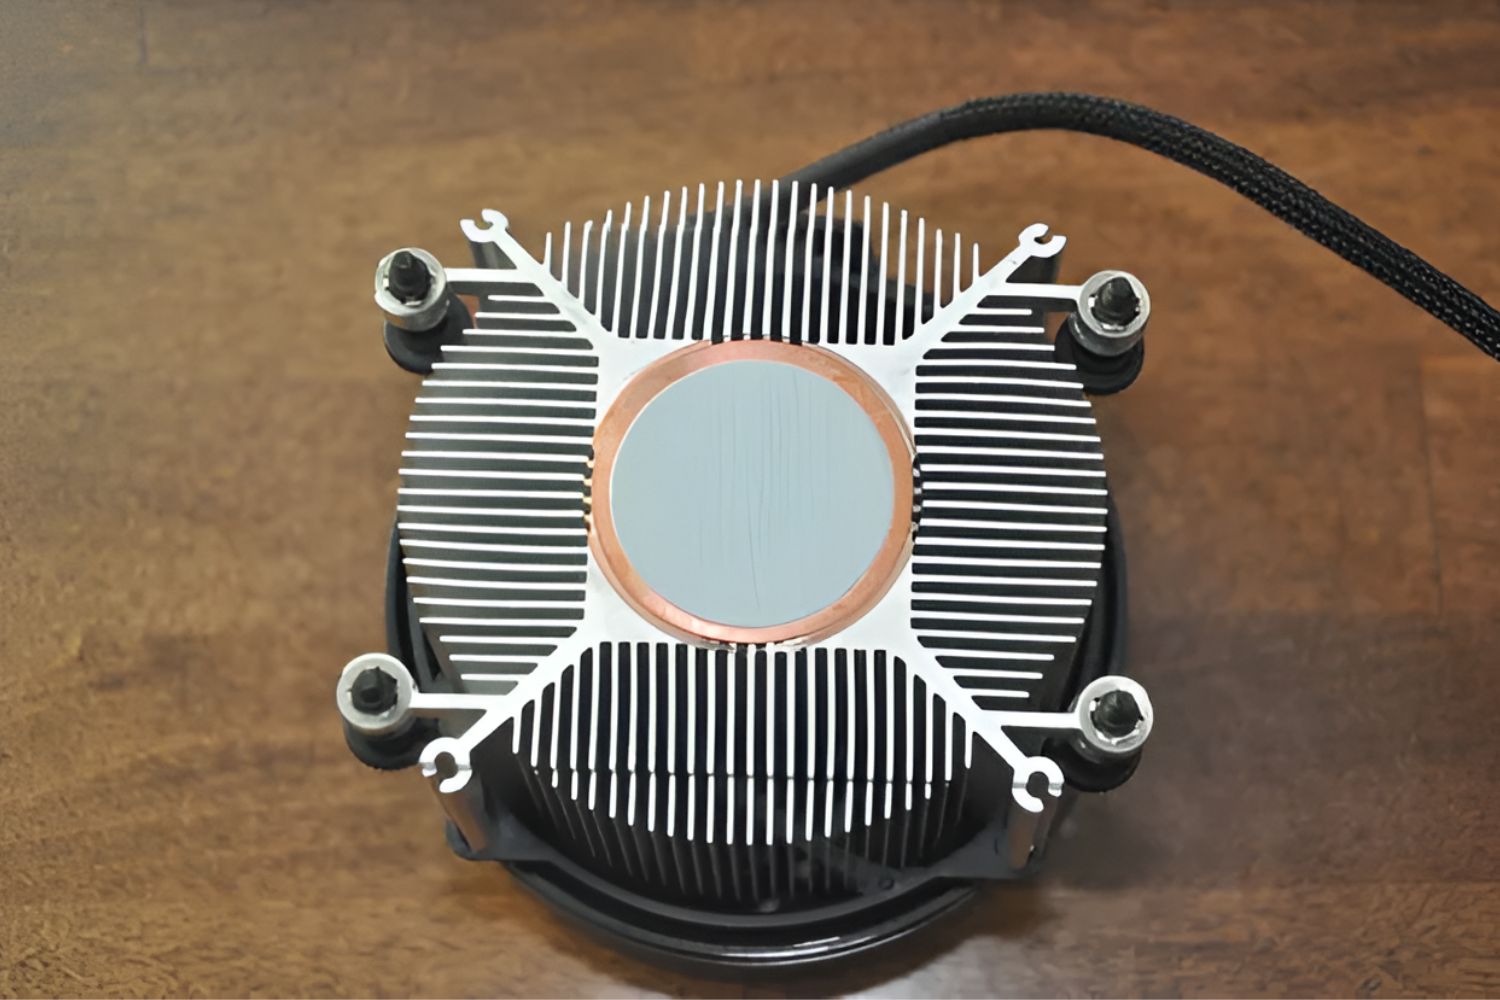
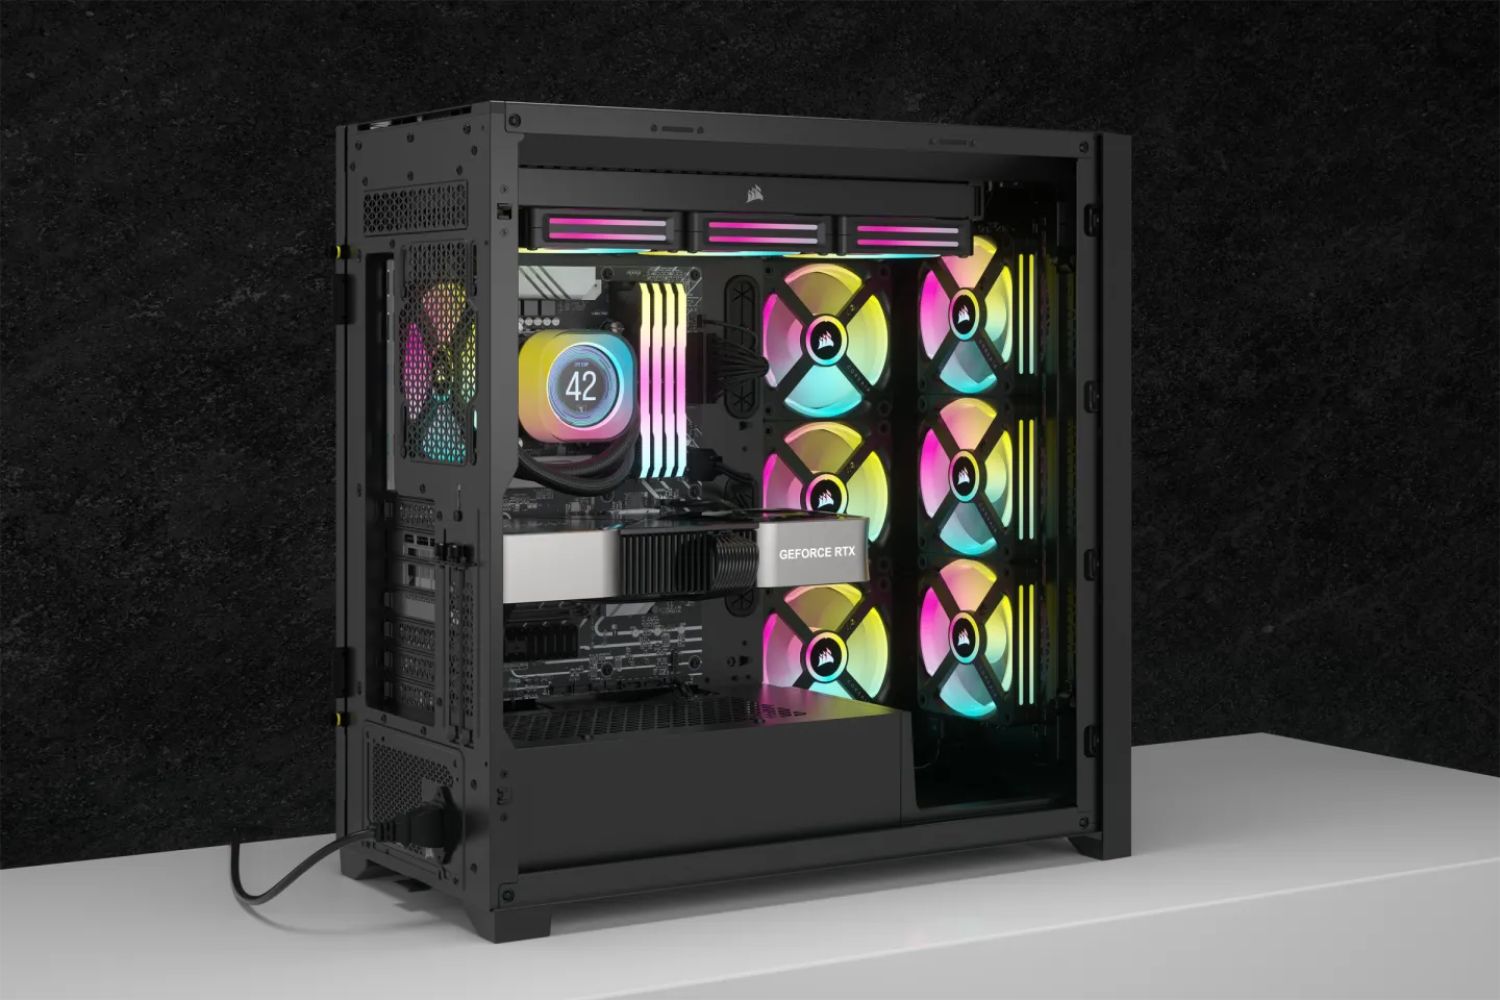
A CPU cooler is designed to regulate the temperature of the CPU by removing excess heat and maintaining optimal working conditions. It consists of a heat sink, which absorbs and disperses heat, and a fan, which helps in airflow and cooling. A well-functioning CPU cooler is vital for the overall health and longevity of your computer.
In this article, we will explore the signs that indicate your CPU cooler may not be operating properly and provide guidance on how to determine if it is working effectively. By learning how to assess the performance of your CPU cooler, you can take preventive measures to avoid potential damage, overheating, and system instability.
So, let’s dive in and discover how to tell if your CPU cooler is working as it should be.
What is a CPU cooler and why is it important?
A CPU cooler is a critical component of a computer that helps regulate the temperature of the CPU, ensuring it operates within safe temperature limits. The CPU is the brain of your computer, responsible for executing complex calculations and running various tasks. As it carries out these operations, it can heat up quickly, reaching temperatures that can be detrimental to its performance and longevity.
The primary function of a CPU cooler is to dissipate the excessive heat generated by the CPU. It achieves this by utilizing a combination of heat sinks and fans. The heat sink is a metal component with a large surface area that comes in direct contact with the CPU. It absorbs the heat and transfers it away from the CPU, allowing the fans to blow cool air over the heat sink and remove the heat from the system.
The importance of a CPU cooler cannot be overstated. Without proper cooling, the CPU can overheat, leading to a variety of issues. Excessive heat can cause the CPU to throttle, reducing its clock speed and performance. In extreme cases, it may even result in system crashes or permanent damage to the CPU. Additionally, high temperatures can also impact other components of your computer, such as the motherboard and RAM, potentially causing system instability and failures.
By investing in a reliable CPU cooler and ensuring its proper functioning, you can prevent these problems and maintain the optimal performance and reliability of your computer system. A robust CPU cooling solution not only protects your valuable hardware but also allows you to take advantage of overclocking capabilities for increased performance, especially during resource-intensive tasks like gaming or video editing.
Now that we understand the importance of a CPU cooler, let’s move on to the next section, where we will explore the signs that indicate your CPU cooler may not be working as it should.
Signs that your CPU cooler may not be working properly
In order to ensure the longevity and smooth performance of your computer, it is essential to regularly monitor the functionality of your CPU cooler. A malfunctioning CPU cooler can lead to overheating and potential damage to your CPU. Here are some signs that may indicate your CPU cooler is not working as it should:
- Increased CPU temperatures: One of the most obvious signs of a faulty CPU cooler is a sudden increase in CPU temperatures. If you notice that your CPU temperature is consistently higher than normal during regular usage or under load, it may be a sign that the CPU cooler is not effectively dissipating heat.
- Frequent system crashes or spontaneous reboots: A poorly functioning CPU cooler can cause the CPU to overheat, leading to system instability. If you experience frequent crashes or unexpected reboots, especially during resource-intensive tasks, it could be an indication that the CPU is overheating due to insufficient cooling.
- Unusually loud fan noise: While it is common for the CPU fan to spin faster under heavy workloads, an excessively loud or abnormal noise coming from the fan could suggest a problem. It could be an indication that the fan is struggling to cool the CPU adequately or that it is wearing out and requires maintenance or replacement.
- Visible signs of dust or debris: Over time, dust and debris can accumulate on the heat sink and fan, hindering their effectiveness. If you notice a significant buildup of dust or debris on the CPU cooler, it can impede airflow and lead to inadequate cooling. Regular cleaning is necessary to maintain optimal performance.
- Weak airflow or no airflow at all: When inspecting the CPU cooler, check if the airflow from the fan is weak or nonexistent. Insufficient airflow can indicate an issue with the fan, such as a malfunctioning motor or a loose connection. It can also point to an obstruction in the airflow path that needs to be rectified.
These signs, either individually or in combination, can indicate potential issues with your CPU cooler. It is important not to ignore these warning signs as they can lead to serious damage to your computer hardware. In the next section, we will discuss how to perform checks and troubleshoot common CPU cooling issues to identify the problem more precisely.
Checking the CPU temperature
Monitoring the CPU temperature is a crucial step in determining the effectiveness of your CPU cooler. By regularly checking the temperature, you can catch any abnormalities early on and take appropriate measures to prevent overheating. Here’s how you can check the CPU temperature:
1. BIOS/UEFI: Restart your computer and enter the BIOS or UEFI setup by pressing the designated key (typically Del, F2, or F12) during the boot process. Look for the hardware monitoring section, where you should find the CPU temperature listed. Keep in mind that the temperature reported in the BIOS may vary slightly from software-based monitoring tools.
2. Software-based monitoring tools: There are several third-party software applications available that provide real-time monitoring of CPU temperature. Examples include CPU-Z, Core Temp, and HWMonitor. These tools are easy to install and provide comprehensive information about your CPU, including temperature readings.
3. Operating system utilities: Some operating systems, such as Windows, have built-in tools that allow you to monitor CPU temperature. In Windows, you can use the Task Manager (Ctrl+Shift+Esc) to monitor CPU usage and temperature. Additionally, software programs like MSI Afterburner and SpeedFan also offer temperature monitoring features.
When monitoring the CPU temperature, it is important to note the normal temperature range for your specific CPU model. Each processor has a maximum safe operating temperature specified by the manufacturer. You can find this information on the manufacturer’s website or in the CPU specifications. Generally, keeping the CPU temperature below 80-85 degrees Celsius (176-185 degrees Fahrenheit) under load is considered safe.
If you notice that the CPU temperature is consistently higher than the recommended limits, it may indicate a problem with your CPU cooler. In the next section, we will explore how to check the heat sink and fan to ensure they are functioning properly.
Checking the heat sink and fan
The heat sink and fan are critical components of the CPU cooler, responsible for removing heat from the CPU and maintaining optimal temperatures. Checking the heat sink and fan is essential to ensure they are working effectively. Here’s how you can perform this check:
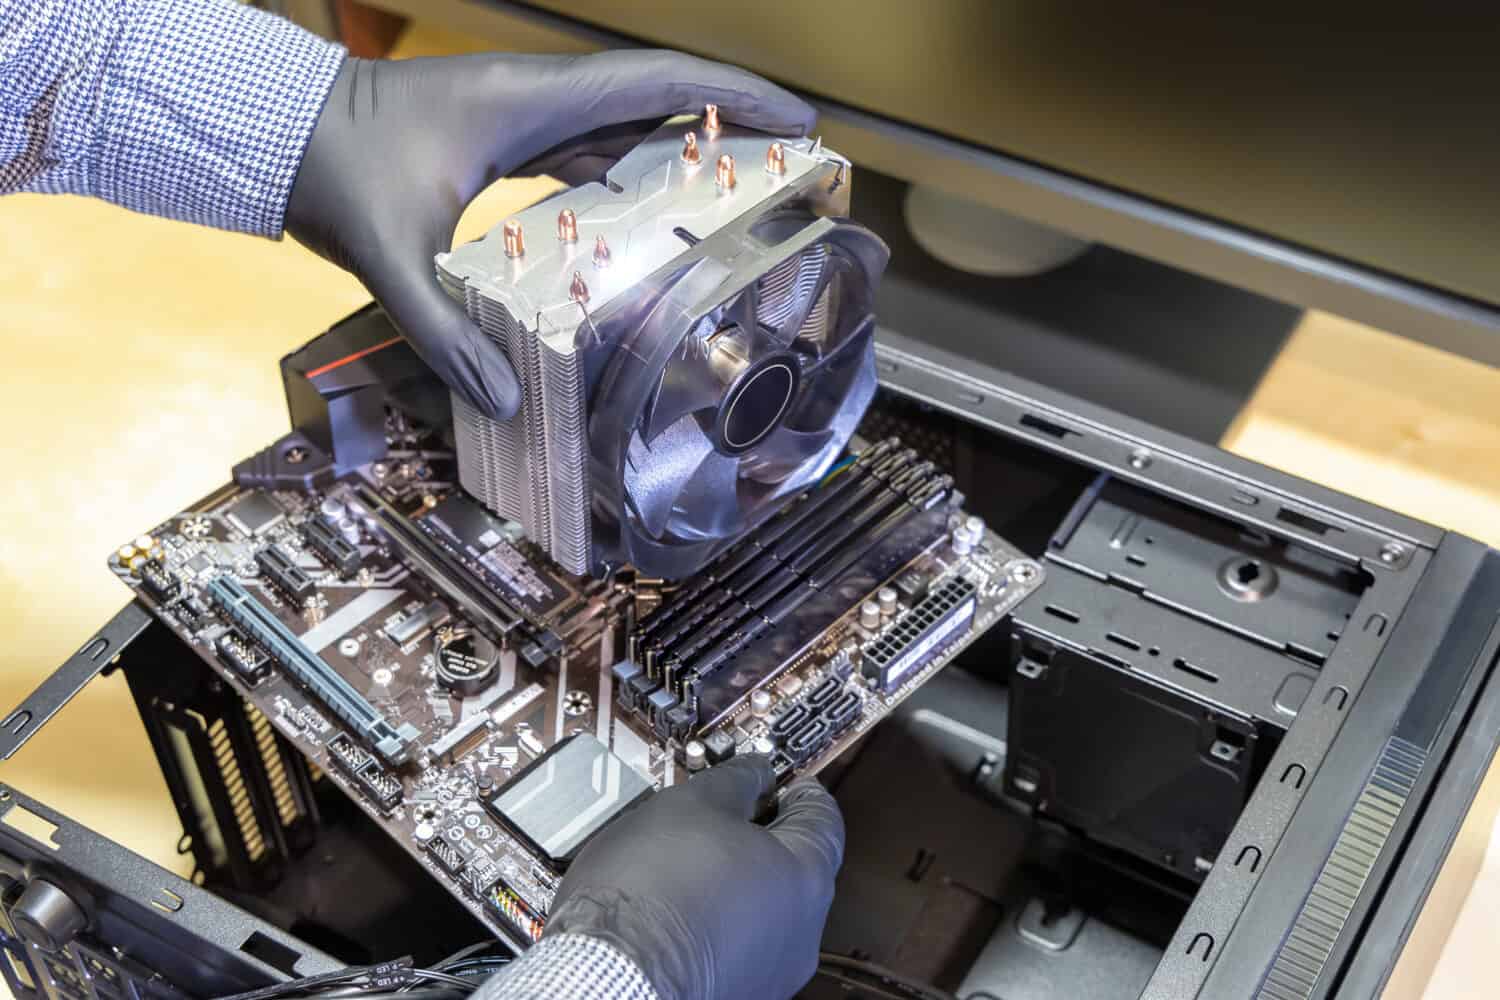
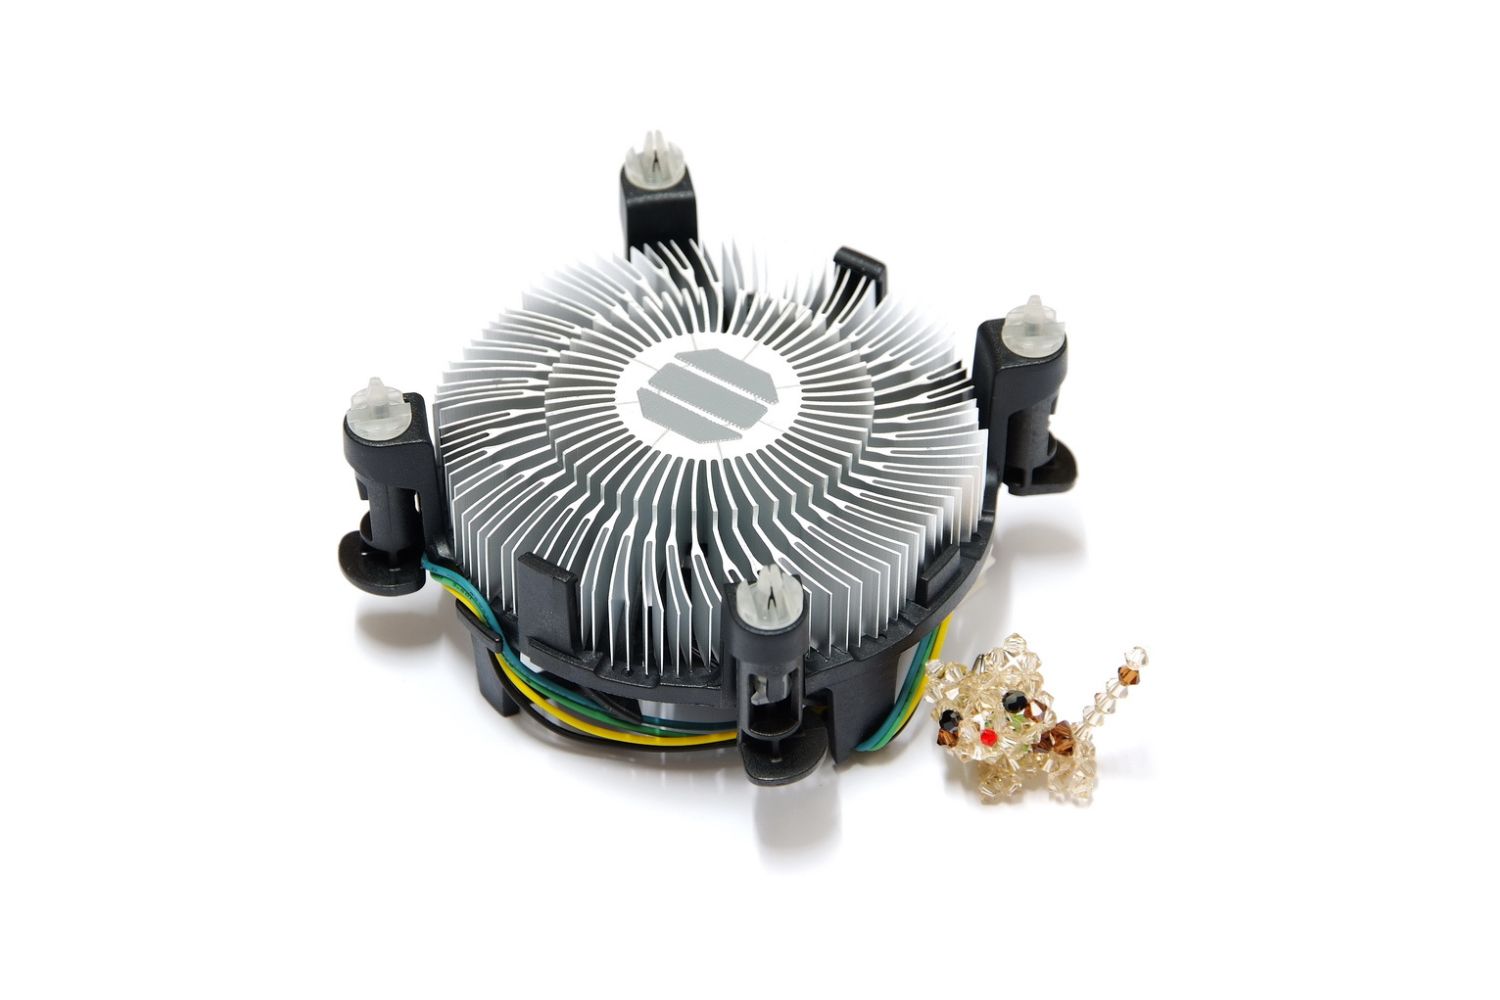
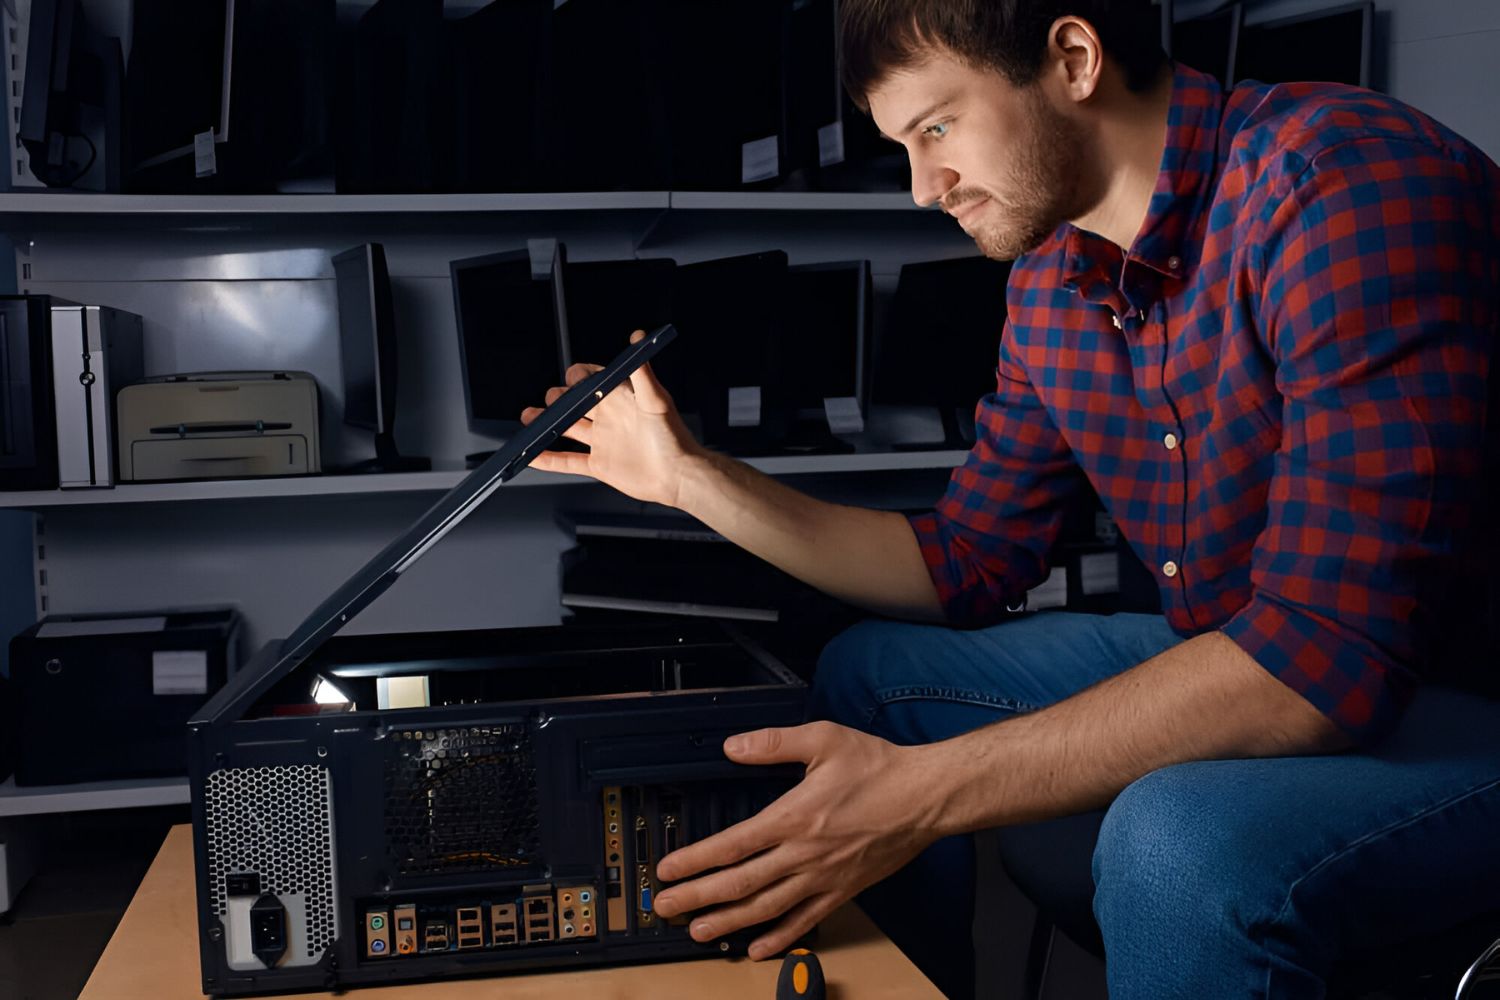
1. Visual inspection: Start by visually inspecting the heat sink and fan. Ensure that they are clean and free from any dust or debris. Over time, dust can accumulate on the heat sink fins and fan blades, hindering airflow and reducing cooling efficiency. If you notice a significant buildup, use compressed air or a soft brush to gently clean the heat sink and fan, taking care not to damage any delicate components.
2. Heat sink attachment: Ensure that the heat sink is securely attached to the CPU. If it is loose or wobbly, it may not make proper contact with the CPU, leading to insufficient heat transfer. Check that the fastening mechanisms, such as screws or clips, are tightened correctly to ensure a secure connection.
3. Fan operation: Power on your computer and observe the CPU fan’s operation. It should spin smoothly and consistently without any interruptions. If the fan is not spinning at all or spinning erratically, it may indicate a problem. Check that the fan cable is properly connected to the motherboard and that it is receiving power. If the fan still does not work, it may be a sign of a faulty fan or a malfunctioning fan header on the motherboard.
4. Fan speed control: Some CPU coolers and motherboards have fan speed control features that adjust the fan’s speed based on CPU temperature. Check if your CPU cooler has any such controls and ensure they are configured correctly. Incorrect settings can cause the fan to run at lower speeds, resulting in inadequate cooling.
If you notice any issues with the heat sink or fan during the inspection, such as excessive dust buildup, loose connections, or malfunctioning fans, address them promptly. Cleaning the heat sink and fan, tightening connections, or replacing faulty components can help restore proper cooling performance.
Next, we will explore another method of assessing the functionality of your CPU cooler: listening for abnormal noises.
Listening for abnormal noises
When it comes to determining the functionality of your CPU cooler, listening for abnormal noises can provide valuable insights. Unusual sounds can indicate issues with the fan or other components of the CPU cooler. Here’s how you can listen for abnormal noises:
1. Fan noises: Pay attention to the sound produced by the CPU fan. A properly functioning fan should generate a consistent and relatively quiet noise. If you hear loud grinding, rattling, or clicking noises, it may indicate a problem with the fan’s bearings or blades. These noises can disrupt airflow and lead to inefficient cooling.
2. Buzzing or whining noises: Buzzing or whining noises can be indicative of electrical issues. These noises may occur due to a faulty motor or inadequate power supply to the fan. If you notice these sounds, it is recommended to investigate further or seek professional assistance to prevent potential damage.
3. Vibrating noises: Excessive vibrations can occur if the CPU cooler is not securely mounted or if there are loose components. These vibrations can create unwanted noise and impact the overall stability of the system. Ensure that all screws or fasteners are tightened properly to minimize vibration-related noises.
4. Clicking noises: Clicking noises coming from the CPU cooler may be an indication of a physical obstruction or interference. Check if any cables or other objects are obstructing the fan’s movement. It is also worth inspecting the heat sink for any loose parts or foreign objects that may be causing the clicking sound.
Listening for abnormal noises can give you valuable clues about the condition of your CPU cooler. If you identify any unusual sounds, it is recommended to address them promptly. Depending on the nature and severity of the noise, solutions may involve cleaning, tightening connections, or replacing faulty components.
In the next section, we will discuss how you can monitor the CPU fan speed to gauge the performance of your CPU cooler.
Monitoring the CPU fan speed
Monitoring the CPU fan speed is an effective way to assess the performance of your CPU cooler. The fan speed indicates how efficiently the CPU cooler is operating in dissipating heat. By keeping an eye on the CPU fan speed, you can detect any abnormalities and ensure that the cooling system is functioning optimally. Here’s how you can monitor the CPU fan speed:
1. BIOS/UEFI: Restart your computer and access the BIOS or UEFI setup by pressing the appropriate key during boot (commonly Del, F2, or F12). Look for an option related to hardware monitoring or fan control. Within this menu, you should find the CPU fan speed listed. Note that the exact location and wording may vary depending on your motherboard manufacturer and BIOS version.
2. Software-based monitoring tools: Various software applications enable real-time monitoring of CPU parameters, including fan speed. Some popular options are CPU-Z, HWMonitor, and SpeedFan. These programs provide detailed information about your CPU, including fan speed readings. Install the software, launch it, and navigate to the fan speed section to view the current CPU fan speed.
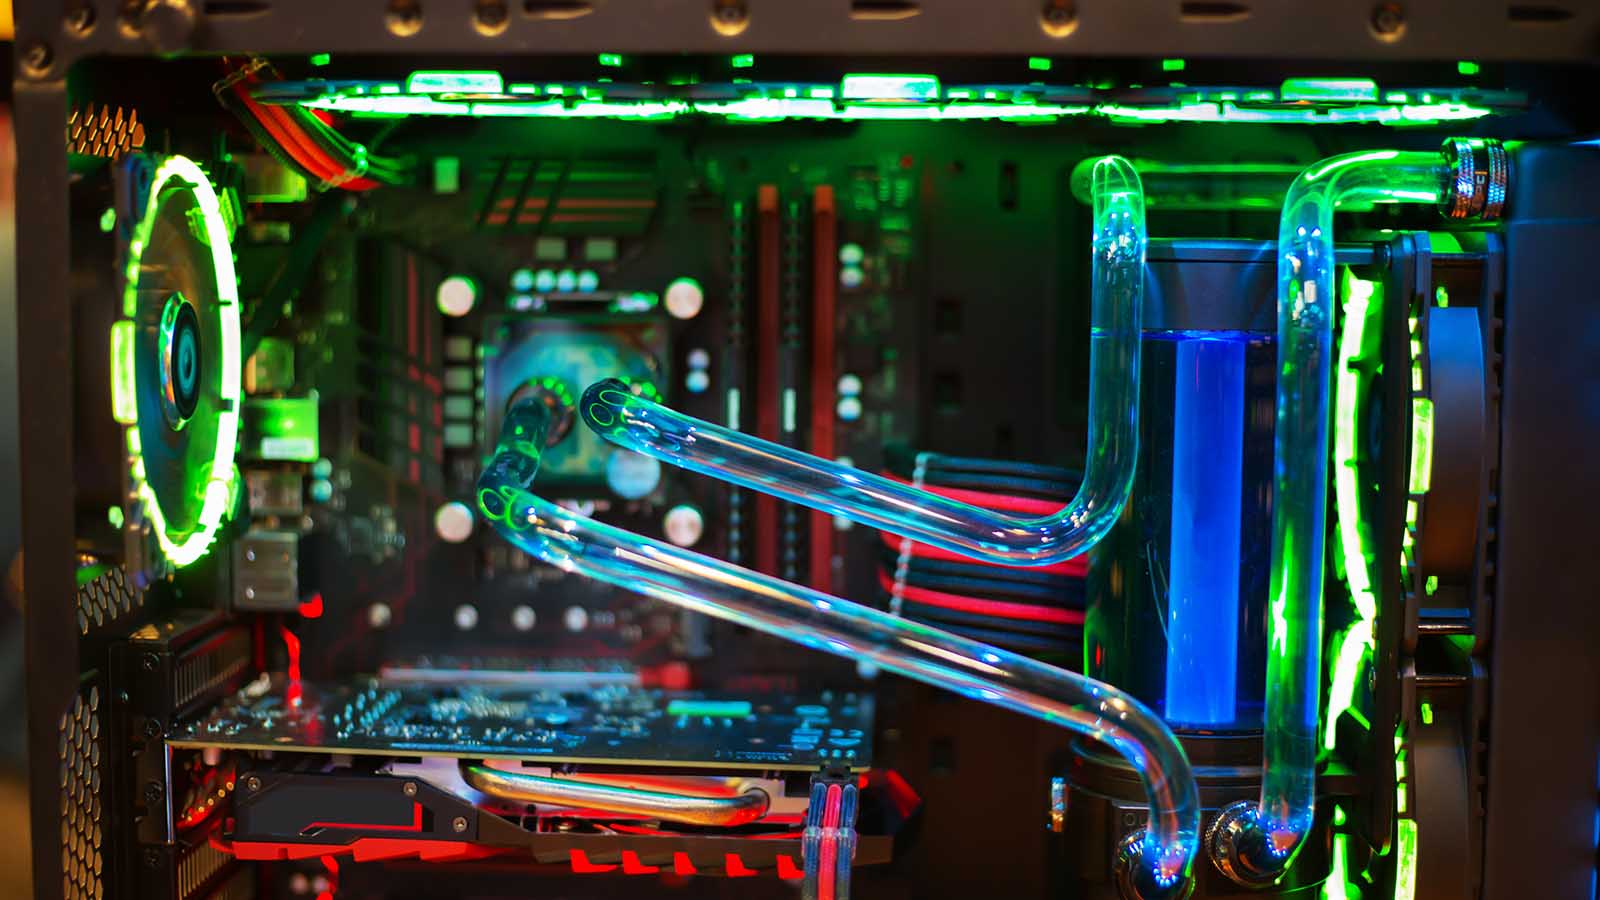
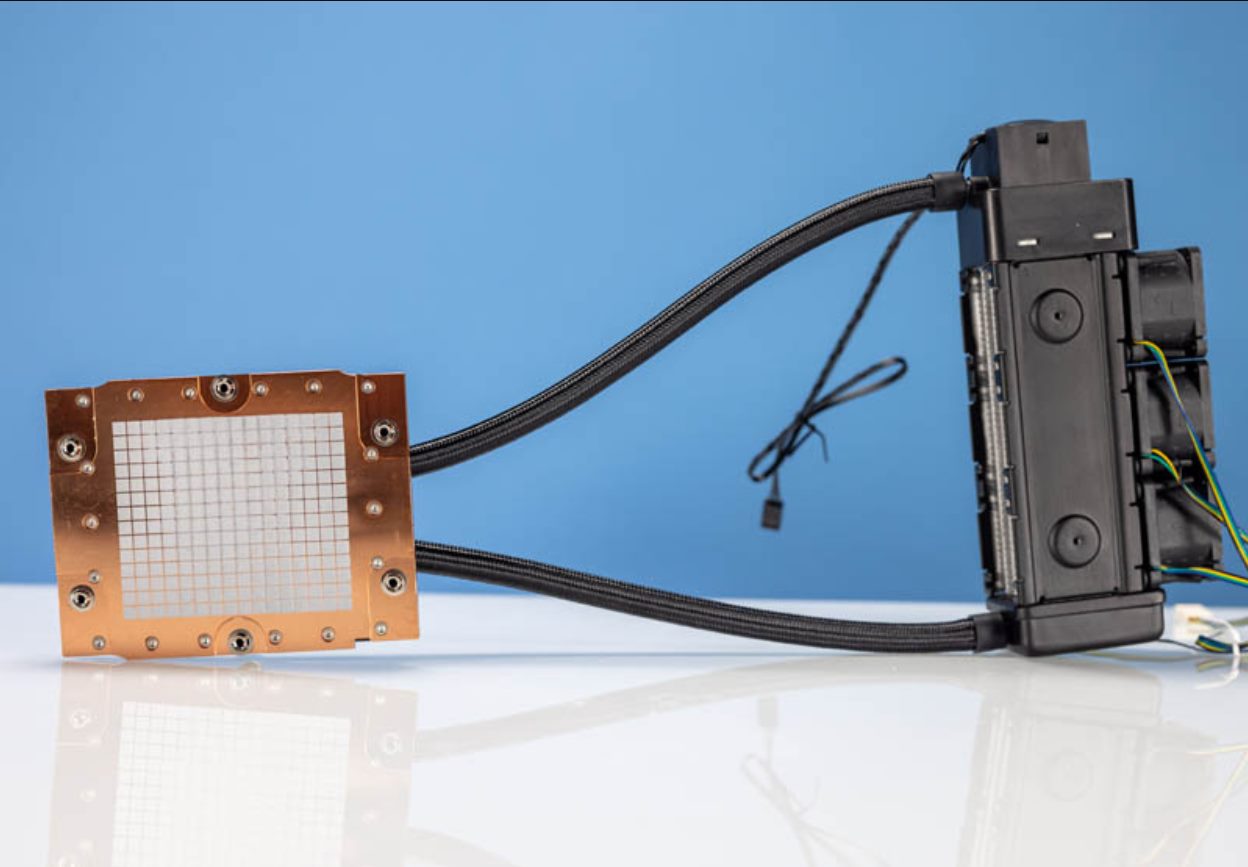
3. Third-party hardware monitoring: If you have an all-in-one (AIO) liquid cooling solution or a dedicated fan controller, it may come with its own monitoring software or a physical display panel. These tools allow you to monitor and control fan speeds directly from the software or hardware interface.
While monitoring the CPU fan speed, it is essential to note the appropriate range for your specific CPU cooler. Typically, fan speeds are measured in revolutions per minute (RPM). The optimal fan speed depends on factors such as CPU temperature, workload, and noise preference. It is recommended to consult your CPU cooler’s specifications or the manufacturer’s guidelines for the ideal fan speed range.
If you observe that the CPU fan speed is consistently low or fluctuating abnormally, it may indicate a problem with the fan or the fan control settings. Make sure the fan is properly connected to the motherboard and that there are no loose connections. Adjusting fan control settings in the BIOS may also help regulate the fan speed more effectively.
By actively monitoring the CPU fan speed, you can ensure that your CPU cooler is operating at an optimal level, providing efficient cooling for your processor. In the next section, we will discuss how you can utilize BIOS and software monitoring tools to diagnose and troubleshoot common CPU cooling issues.
Understanding BIOS and software monitoring tools
To diagnose and troubleshoot common CPU cooling issues, it is essential to understand how to utilize BIOS and software monitoring tools effectively. These tools provide valuable insights into the performance of your CPU cooler and allow you to make necessary adjustments. Here’s how you can use BIOS and software monitoring tools:
BIOS/UEFI: The BIOS or UEFI setup of your computer provides access to various hardware monitoring features. By entering the BIOS during the boot process, you can access settings and information related to CPU temperature, fan speed, and other vital parameters. Familiarize yourself with the BIOS menu options and look for sections dedicated to hardware monitoring. Here, you can monitor CPU temperatures, fan speeds, and make changes to fan control settings.
Software monitoring tools: There are several third-party software applications available that provide real-time monitoring of CPU parameters. These tools offer user-friendly interfaces and comprehensive data on CPU temperature, fan speed, voltage, and more. Some popular software monitoring tools include CPU-Z, Core Temp, HWMonitor, and Open Hardware Monitor. Install the software of your choice, launch it, and navigate to the monitoring section to view real-time CPU information.
Graphical user interfaces (GUIs): Some motherboards and CPU coolers come with their own graphical user interface software, providing a visually appealing and interactive way to monitor and control various parameters. These GUIs often offer additional features like fan curve customization and RGB lighting control. Check if your motherboard or CPU cooler manufacturer provides any such software and utilize it to monitor and adjust CPU cooling settings.
By utilizing these monitoring tools, you can keep a close eye on CPU temperatures, fan speeds, and other crucial parameters. Monitoring helps you identify any anomalies and take appropriate action, such as adjusting fan speeds, optimizing fan curves, or addressing cooling-related issues.
Remember, maintaining optimal CPU temperatures and fan speeds is crucial for the longevity and performance of your computer. However, it is also important to strike a balance between efficient cooling and noise levels. Fine-tuning your CPU cooler settings allows you to achieve the best balance between cooling performance and noise reduction.
In the next section, we will discuss common CPU cooling issues and provide troubleshooting tips to help address them effectively.
Troubleshooting common CPU cooling issues
When it comes to CPU cooling, various issues can arise that affect the performance and efficiency of your CPU cooler. Understanding and troubleshooting these common problems is essential to maintain optimal cooling and prevent potential damage to your computer. Here are some troubleshooting tips for common CPU cooling issues:
1. Excessive heat and high temperatures: If your CPU temperatures are consistently high, it may be due to inadequate cooling. Ensure that the CPU cooler is properly installed and making good contact with the CPU. Clean any dust or debris that has accumulated on the heat sink or fan. Consider upgrading to a more powerful CPU cooler if necessary.
2. Noisy fan or abnormal fan speeds: If the fan is making excessive noise or running at abnormal speeds, it could indicate a problem. First, check for any obstructions that may be blocking the fan’s movement. Clean the fan blades and heat sink to remove any dust buildup. Ensure that the fan is securely connected to the motherboard and adjust fan control settings in BIOS or software monitoring tools if needed.
3. Insufficient airflow: Inadequate airflow can cause heat to build up inside the case, leading to elevated CPU temperatures. Make sure that there are no obstructions blocking the airflow, such as cables or components. Consider adding additional case fans to improve overall airflow. Regularly clean the case and remove any accumulated dust to optimize airflow.
4. CPU cooler not recognized or not functioning: If your CPU cooler is not being detected by the system or not functioning at all, check the connections to ensure they are secure. Verify that the power cables are properly connected to the fan and motherboard. If the problem persists, try connecting the fan to a different fan header on the motherboard or try a different fan altogether.
5. Overclocking instability: If you have overclocked your CPU and are experiencing stability issues, it may be due to inadequate cooling. Overclocking increases the heat output of the CPU, and insufficient cooling can cause instability. Consider upgrading to a more robust CPU cooler designed for overclocking or revert to default clock speeds.
Remember, troubleshooting CPU cooling issues requires careful observation, knowledge of your specific hardware, and understanding the principles of effective cooling. Taking preventative measures, such as regular dust cleaning and monitoring temperatures, can go a long way in maintaining the performance and longevity of your CPU cooler.
If you are unsure or need expert assistance, contacting a professional or consulting the manufacturer’s support team can provide further guidance and help resolve any persistent cooling issues.
In the next section, we will conclude our discussion on how to tell if your CPU cooler is working properly and the importance of proper cooling for your computer system.
Conclusion
In conclusion,
Ensuring that your CPU cooler is working properly is vital for maintaining the overall health and performance of your computer system. By paying attention to the signs of a malfunctioning CPU cooler, such as increased temperatures, frequent crashes, abnormal noises, or weak airflow, you can identify potential issues and take necessary action to prevent overheating and damage to your CPU.
Methods such as monitoring the CPU temperature, checking the heat sink and fan, listening for abnormal noises, and monitoring the CPU fan speed allow you to assess the functionality of your CPU cooler effectively. Utilizing BIOS, software monitoring tools, and other graphical user interface software provides valuable insights into CPU performance and assists in diagnosing and troubleshooting CPU cooling issues.
If you encounter issues, such as high temperatures, noisy fans, insufficient airflow, cooler recognition problems, or instability during overclocking, it is important to address them promptly. Regular maintenance, including cleaning the heat sink and fan, ensuring proper connections, and adjusting fan control settings, can help optimize CPU cooling performance.
Remember, a well-functioning CPU cooler not only protects your valuable hardware but also allows you to maximize the potential of your CPU, especially during resource-intensive tasks like gaming, video editing, or rendering. Proper cooling ensures stable system operation, prolongs the lifespan of your components, and allows you to push your computer to its limits.
By implementing these troubleshooting tips, you can ensure that your CPU cooler is working as it should be, providing efficient heat dissipation and maintaining the optimal temperature for your CPU. With proper cooling, you can enjoy a smooth and reliable computing experience for years to come.