Introduction
When it comes to keeping your CPU running smoothly and efficiently, a crucial component in maintaining its longevity is a proper cooling system. Overheating can not only lead to a decrease in performance, but it can also cause long-term damage to your processor. To prevent this, investing in a high-quality CPU cooler is essential.
In this article, we will guide you through the process of choosing the right cooler for your CPU, preparing the CPU for installation, applying thermal paste, installing the cooler, connecting the fan and power, and finally, testing and making any necessary adjustments. By following these steps, you can ensure that your CPU operates at optimal temperatures and avoid any potential overheating issues.
Whether you are an avid gamer, a video editor, or simply a computer enthusiast, having a well-functioning cooler will not only enhance the overall performance but also extend the lifespan of your CPU. So, let’s get started on exploring the ins and outs of CPU cooling.
Choosing the Right Cooler
When it comes to selecting a CPU cooler, there are a few key factors to consider. These include your budget, the size and type of cooler compatible with your CPU socket, the level of cooling performance required, and any specific noise preferences you may have.
First, it’s important to determine your budget for a CPU cooler. Cooler prices can vary widely, ranging from budget-friendly options to high-end models. Establishing a budget will help narrow down your choices and ensure you find a cooler that meets both your performance needs and financial constraints.
Next, check the specifications of your CPU socket. Different coolers are designed to fit specific socket types, such as Intel or AMD. Ensure that the cooler you choose is compatible with your CPU socket to avoid any installation complications.
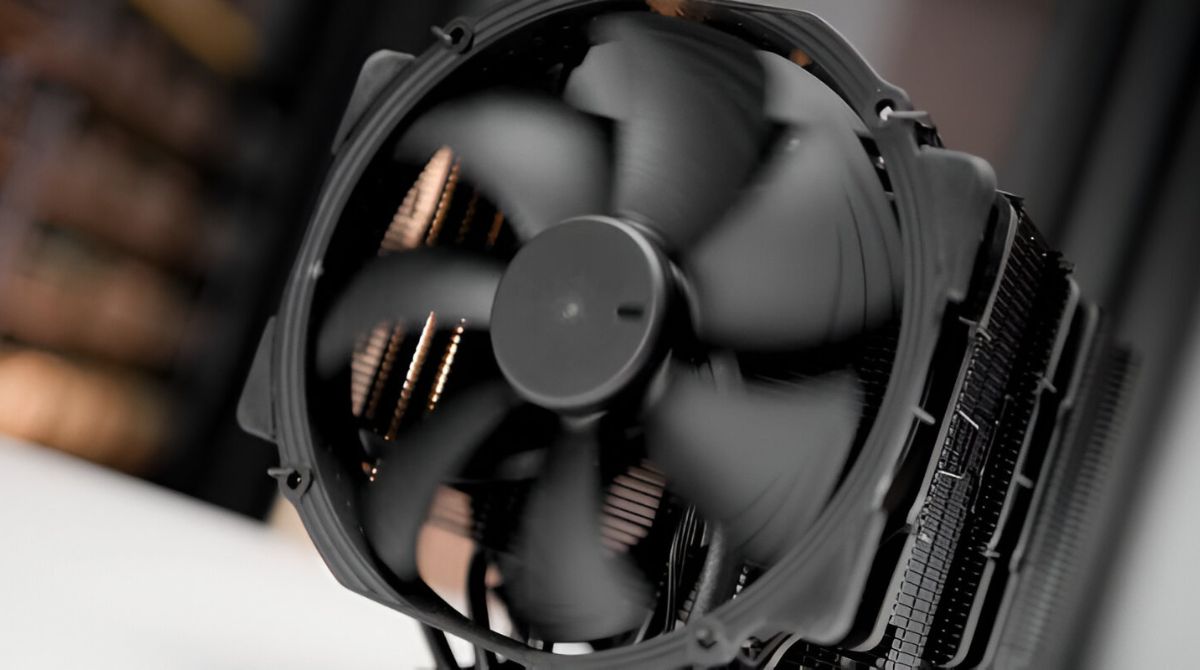
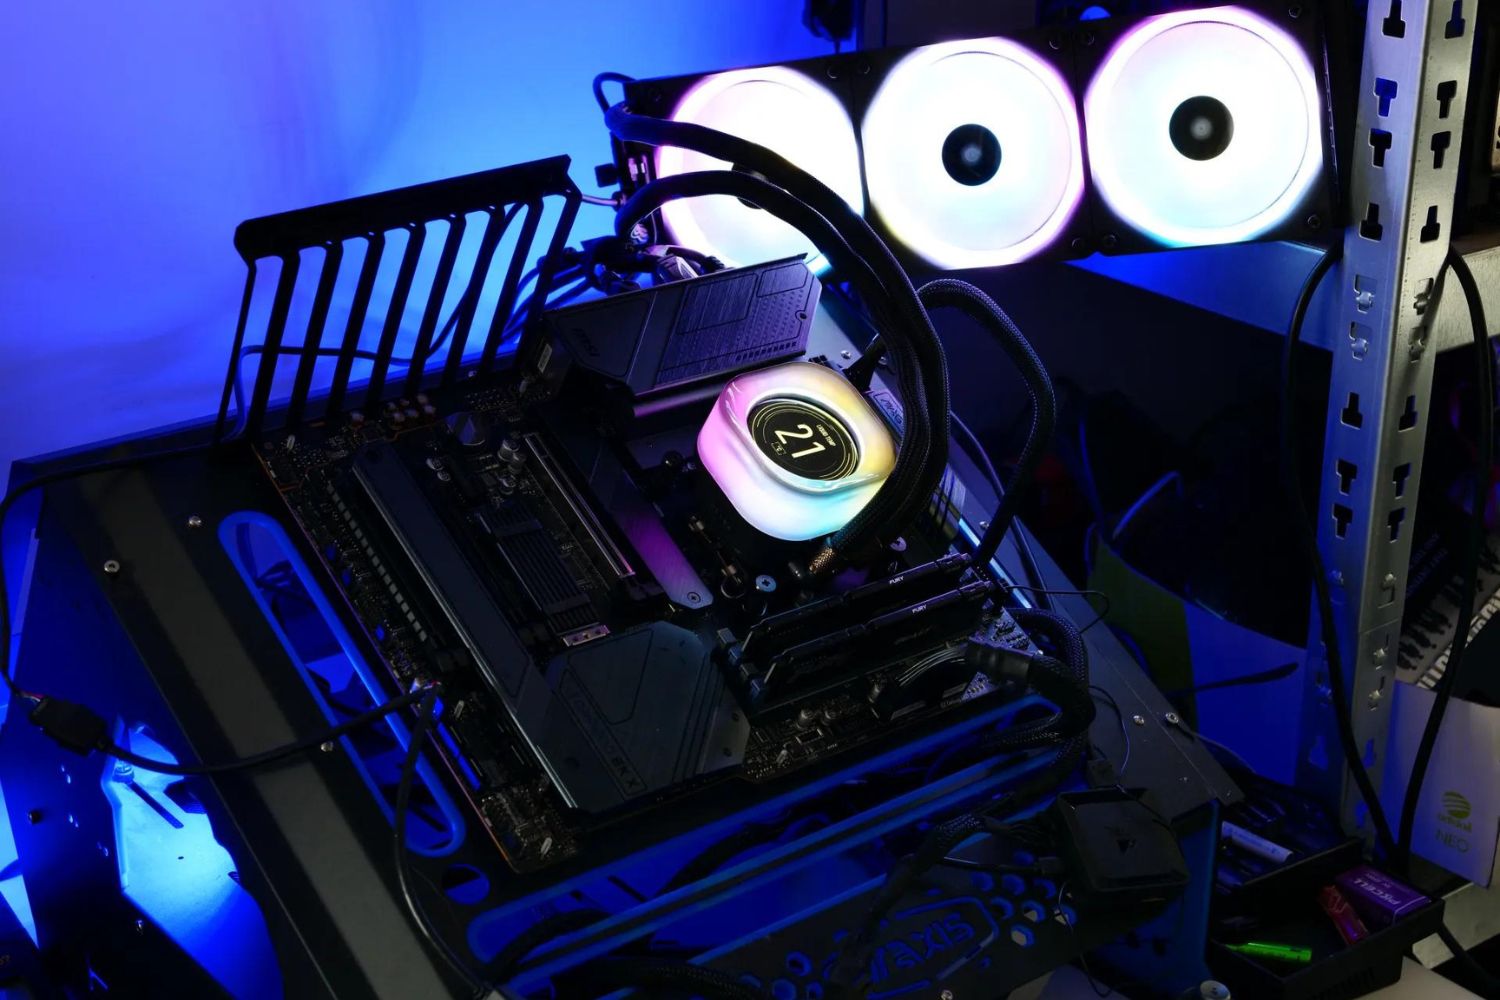
The cooling performance of a CPU cooler is another critical aspect to consider. Air coolers, which rely on fans to dissipate heat, are commonly used and offer good cooling performance for most CPUs. However, if you’re looking for more effective and efficient cooling, liquid coolers, or all-in-one (AIO) coolers, utilize liquid coolant and offer superior heat dissipation.
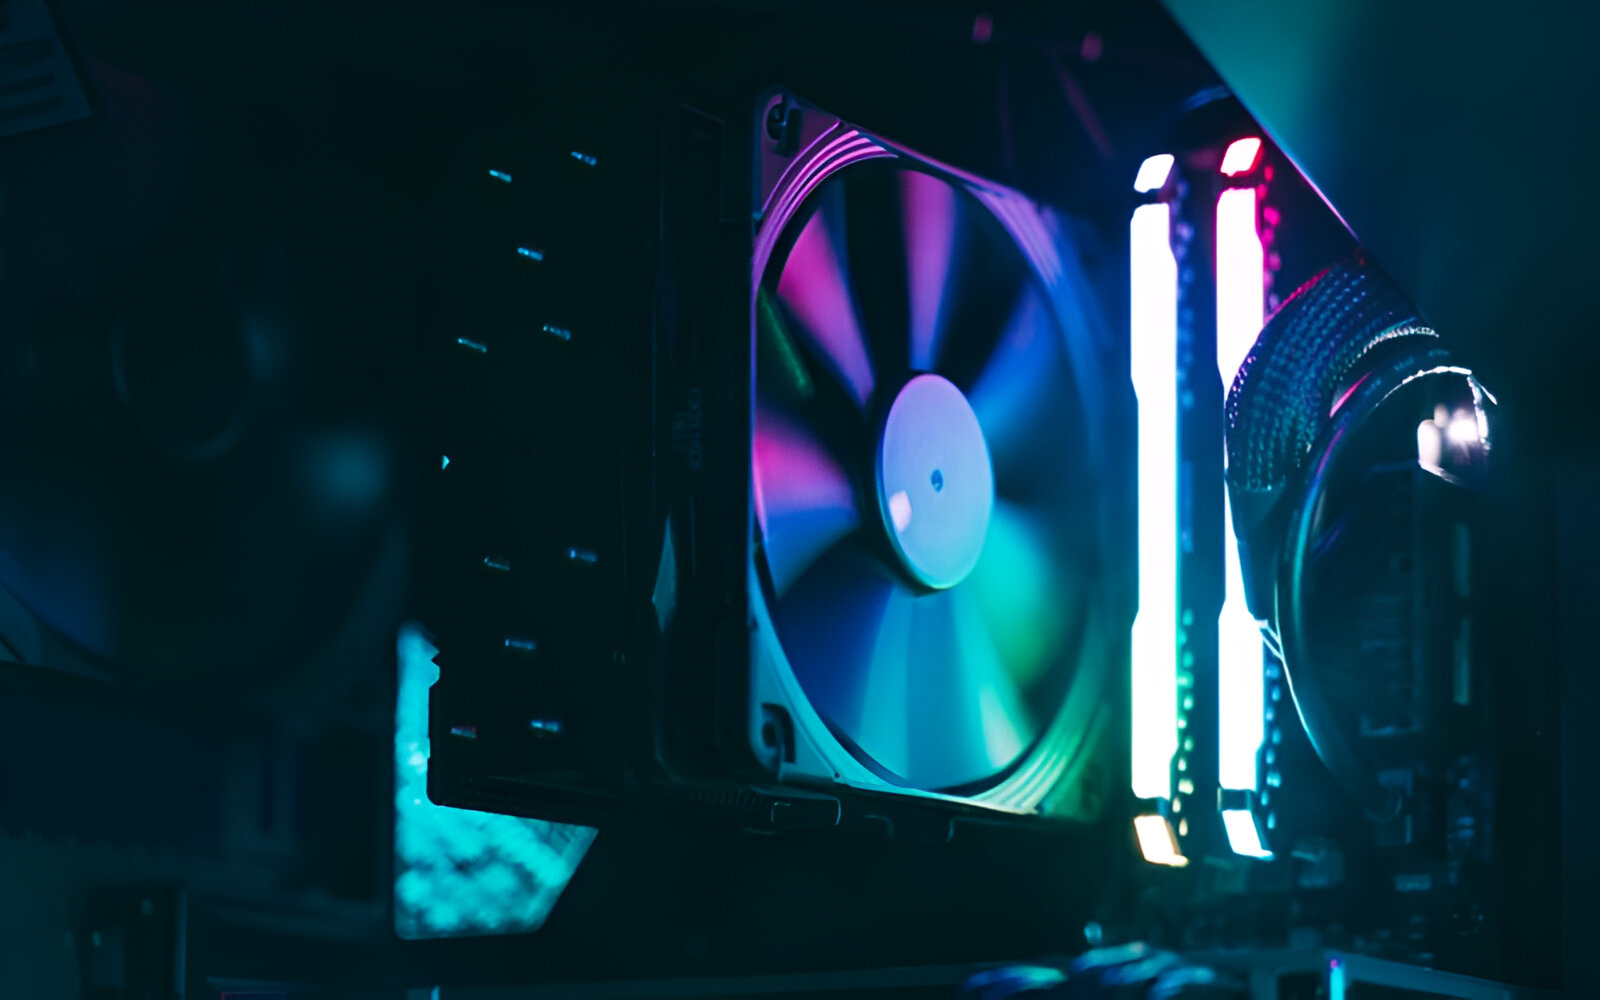
Another factor to weigh is the noise level. CPU coolers with higher fan speeds tend to generate more noise, which can be distracting for some users. However, many coolers offer adjustable fan settings, allowing you to strike a balance between noise and cooling performance.
Lastly, take into account the physical size of the cooler and ensure that it fits properly within your PC case. Larger coolers may provide better cooling performance, but they may also obstruct other components or interfere with RAM slots or graphics cards. Measure the available space in your case and refer to the cooler’s dimensions to determine compatibility.
When choosing a CPU cooler, remember to consider your budget, compatibility with your CPU socket, cooling performance, noise level, and physical dimensions. By taking all these factors into account, you can find the perfect cooler that meets your requirements and keeps your CPU running at optimal temperatures.
Preparing Your CPU for Installation
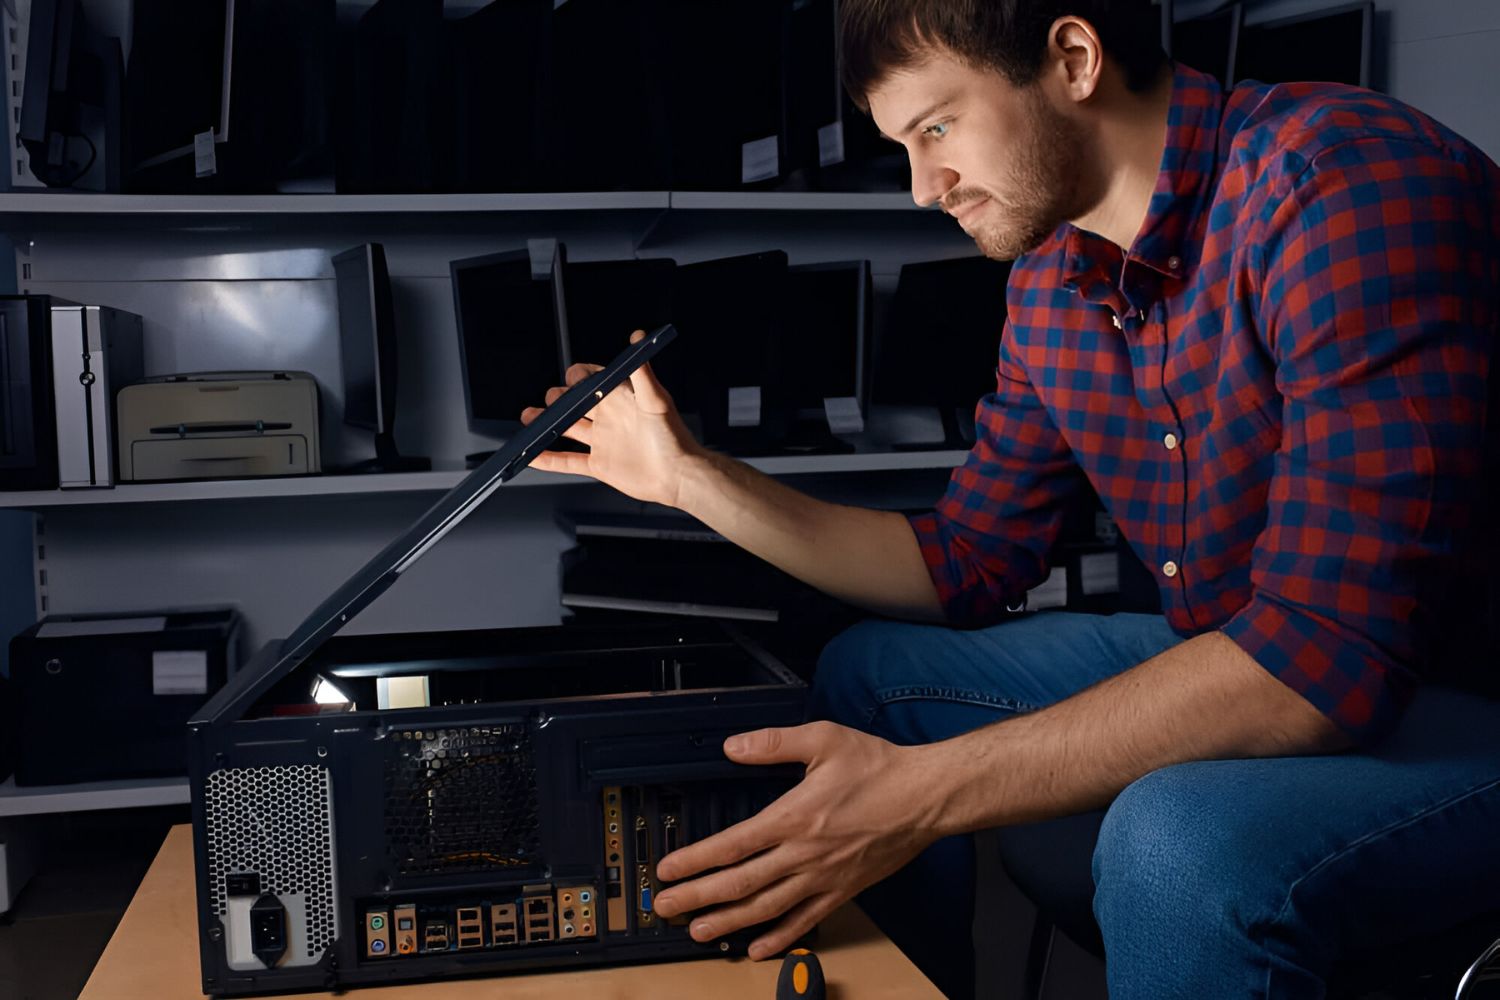
Before installing the CPU cooler, it is essential to properly prepare your CPU to ensure a secure and efficient installation. Here are the steps to follow:
Power Off and Unplug: Start by powering off your computer and unplugging it from the power source. This will prevent any electrical accidents or damage to your components during the installation process.
Remove Existing Cooler: If you already have a cooler installed, carefully remove it by unscrewing any mounting brackets or clips. Gently lift the cooler off the CPU, taking care not to damage the processor or other parts of the motherboard.
Clean the CPU: Use a lint-free cloth or a specialized CPU cleaner to gently remove any thermal paste residue from the surface of the CPU. Ensure that the CPU is clean and free of any debris or old thermal paste before proceeding.
Inspect the CPU Socket: Take a moment to inspect the CPU socket on the motherboard. Look for any bent pins or damage. If you notice any issues, it is recommended to consult the motherboard manufacturer’s documentation or seek professional assistance before proceeding.
Apply New Thermal Paste: It is crucial to apply new thermal paste to ensure effective heat transfer between the CPU and the cooler. Apply a small, pea-sized drop of thermal paste onto the center of the CPU. Avoid using excessive amounts as it can lead to poor heat dissipation.
Evenly Spread the Thermal Paste: Gently place the CPU cooler on top of the CPU and twist it slightly to spread the thermal paste evenly. Avoid applying too much pressure. The weight of the cooler and the mounting mechanism will ensure a secure and even distribution.
Secure the Cooler: Carefully align the cooler’s mounting brackets with the corresponding screws or clips on the motherboard. Tighten the screws or clips in a diagonal pattern to ensure even pressure distribution and a secure fit. Refer to the cooler’s instructions for specific mounting procedures.
By properly preparing your CPU, you ensure a clean and secure installation of your cooler. Taking the time to clean the CPU, inspect the socket, and apply new thermal paste will result in efficient cooling and help extend the lifespan of your CPU.
Applying Thermal Paste
Thermal paste plays a vital role in facilitating heat transfer between the CPU and the cooler. It fills microscopic gaps and imperfections on the surfaces, ensuring efficient heat dissipation. Here’s how to apply thermal paste correctly:
Clean the CPU and Cooler: Before applying new thermal paste, ensure that both the CPU surface and the base of the cooler are clean and free of any debris or old paste residue. Use a lint-free cloth or a specialized cleaner to gently wipe away any contaminants, ensuring a smooth and clean surface.
Apply the Right Amount: Depending on the type of thermal paste, a small, pea-sized dot in the center of the CPU is usually sufficient. Avoid applying too much paste, as it can lead to overheating and poor heat transfer. The pressure from the cooler’s mounting mechanism will help spread the paste evenly.
Spread the Paste: There are different methods for spreading thermal paste, but one common approach is the “pea method.” Place the paste in the center of the CPU, and when you secure the cooler, the pressure will naturally spread it out. Alternatively, you can use a plastic card or a specialized thermal paste spreader to evenly distribute the paste in a thin layer.
Avoid Air Bubbles: Air bubbles can hinder heat transfer between the CPU and the cooler. To prevent this, ensure that the paste is evenly spread without any gaps or air pockets. Eliminate any excess paste that may squeeze out from the edges when securing the cooler.
Tighten the Cooler: Once the thermal paste is applied, carefully place the cooler on top of the CPU. Align the mounting brackets with the corresponding screws or clips on the motherboard, then gently tighten them in a diagonal pattern. This will ensure even pressure distribution and a secure fit.
Check for Proper Coverage: After installing the cooler, visually inspect the CPU and cooler interface to ensure that the thermal paste has spread evenly across the surface. A thin and consistent layer of paste is ideal, promoting optimal heat transfer.
By following these steps, you can apply thermal paste correctly and optimize the heat transfer between your CPU and cooler. This will help maintain lower temperatures and enhance the overall performance and stability of your system.
Installing the Cooler
Now that you’ve prepared the CPU and applied thermal paste, it’s time to install the CPU cooler. Follow these steps to ensure a secure and proper installation:
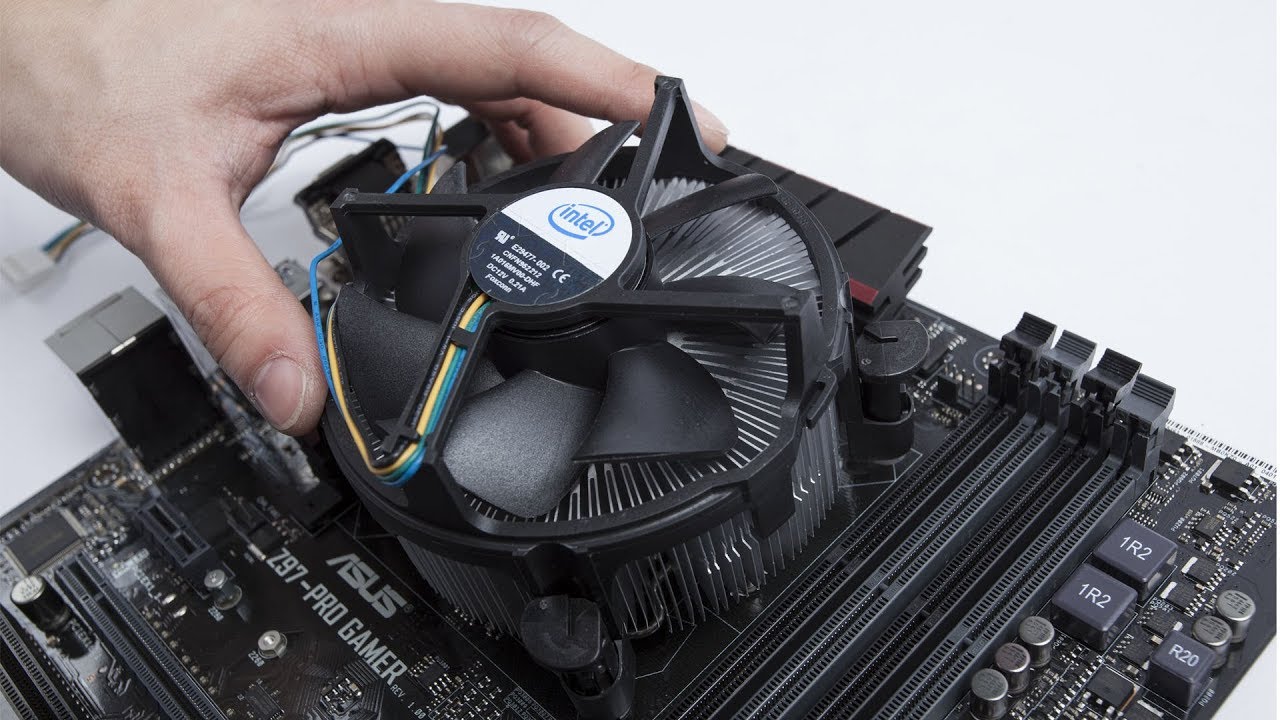
Align the Cooler: Carefully place the cooler on top of the CPU, ensuring that the mounting brackets or screws align with the corresponding holes on the motherboard. Take your time to make sure it is properly aligned before proceeding.
Mounting Mechanism: Depending on the type of cooler you have, there may be different mounting mechanisms. Some coolers have clips, while others require screws or other fasteners. Follow the instructions provided with the cooler to properly secure it in place.
Tighten the Screws or Clips: Using the appropriate tool or your hands, tighten the screws or clips of the cooler in a diagonal pattern. Gradually apply even pressure to ensure that the cooler is securely fastened to the motherboard. Be careful not to overtighten, as this can put excessive pressure on the CPU and cause damage.
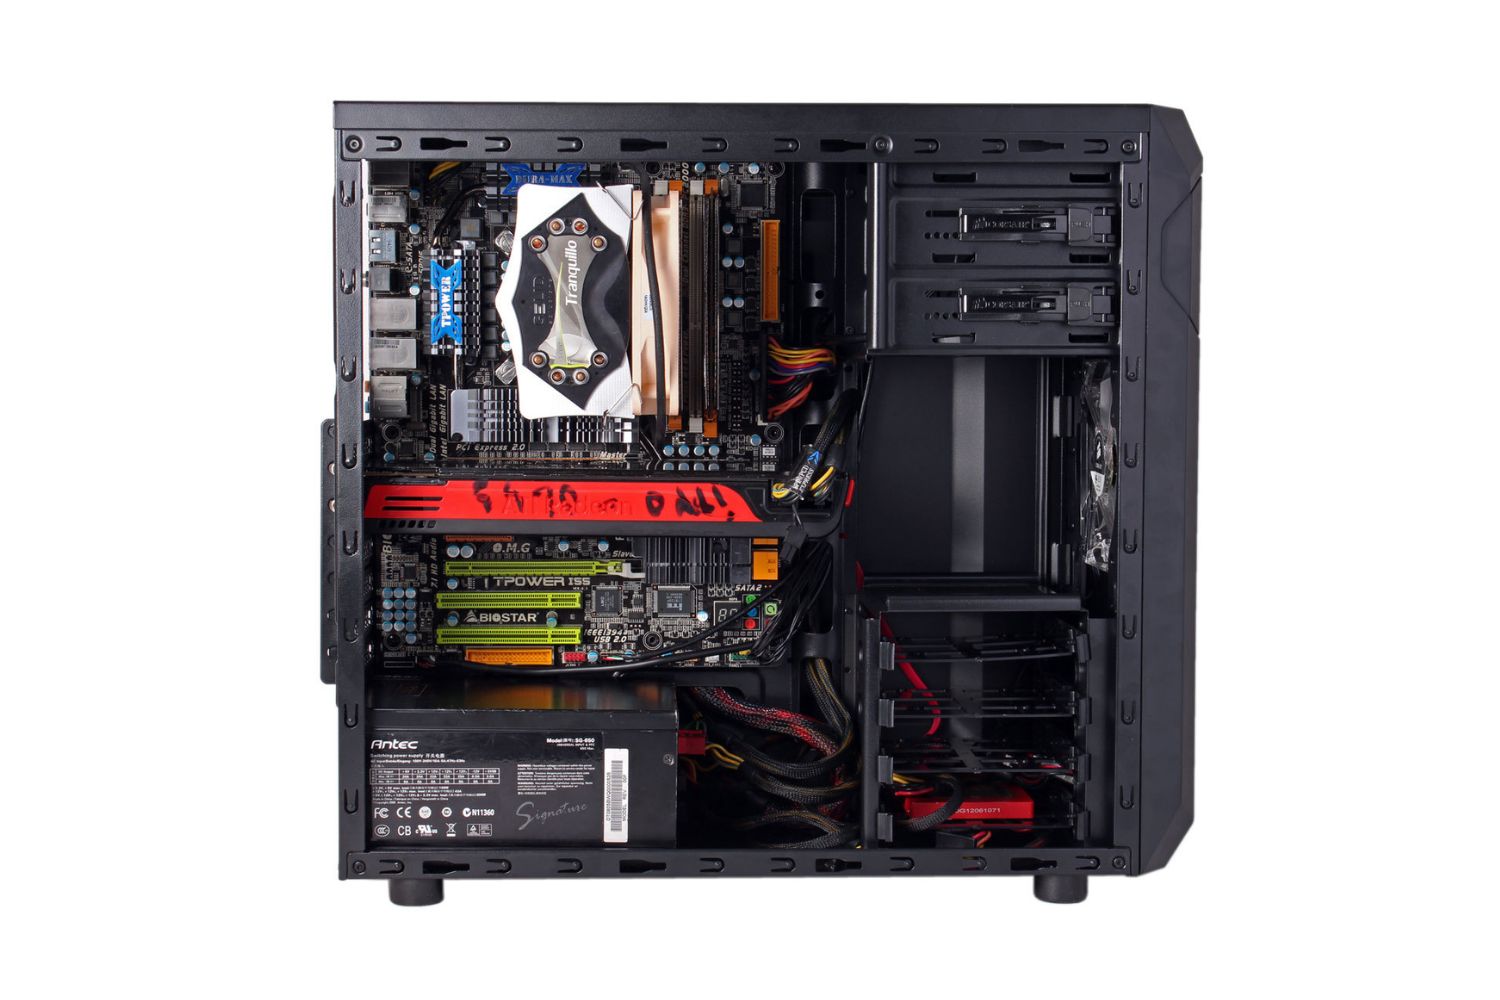
Check the Clearance: Once the cooler is installed, verify that there is sufficient clearance between the cooler and other components in your PC, such as RAM modules or graphics cards. Ensure that the cooler does not impede the functioning or obstruct the airflow of other critical components.
Refer to the Manual: If you encounter any difficulties or uncertainties during the installation process, consult the instruction manual provided with your cooler. It will provide specific guidance and troubleshooting tips for your particular model.
Double-Check Connections: Before powering on your computer, double-check that all necessary connections are secure. Ensure that the fan cable from the cooler is properly connected to the appropriate motherboard header for power.
With the cooler installed correctly, you can be confident in its ability to keep your CPU cool and maintain optimal performance. Take your time during the installation process, double-check all connections, and refer to the instructions provided with your cooler for any specific details or precautions.
Connecting the Fan and Power
Once the CPU cooler is securely installed, the next step is to connect the fan and provide power to ensure proper cooling. Follow these steps to connect the fan and power it correctly:
Locate the Fan Connector: Identify the fan connector on the CPU cooler. It is typically a three or four-pin connector located near the fan itself or on the cooler’s control module. The motherboard’s user manual can help you locate the appropriate header.
Align the Connector: Align the fan connector with the corresponding pins on the motherboard’s CPU fan header. Take note of the orientation and ensure that the connector is aligned correctly before inserting it.
Connect the Fan Cable: Gently insert the fan connector into the CPU fan header and press it firmly until it clicks into place. Ensure that the connection is secure to avoid any loose connections or potential fan malfunctions.
Additional Case Fans: If you have additional case fans, you can connect them to the corresponding fan headers on the motherboard using similar procedures. Refer to the motherboard manual to locate the appropriate headers for connecting the case fans.
Power Connection: Next, connect the power cable of the CPU cooler to the appropriate power source. Depending on the type of cooler, this may involve connecting a SATA or Molex power cable directly to the power supply unit (PSU) or connecting a USB cable to an available USB header on the motherboard for RGB lighting control.
Manage Cables: Organize and manage the cables to ensure a tidy and clutter-free setup. Use zip ties or cable management solutions to secure and route the cables, preventing any interference with other components or impeding the airflow inside the case.
Test the Fan: Once all connections are made, power on your computer and navigate to the BIOS or software monitoring utility to verify that the fan is functioning correctly. Confirm that the RPM (rotations per minute) readings are within the expected range to ensure proper cooling.
By correctly connecting the fan and providing power to the CPU cooler, you can ensure efficient cooling and optimal performance of your CPU. Taking the time to make secure connections and verify proper functionality will help maintain lower temperatures and protect your CPU from any potential overheating issues.
Testing and Final Adjustments
After installing the CPU cooler and connecting the fan, it is crucial to thoroughly test the cooling system and make any necessary adjustments to ensure optimal performance. Follow these steps to test and fine-tune your setup:
Power On and Monitor Temperatures: Start your computer and monitor the CPU temperatures using software utilities or the BIOS. Keep an eye on the temperature readings to ensure that they stay within acceptable ranges during idle and under load.
Stress Test: To further test the cooling system, run a stress test that puts a heavy load on your CPU. This can be done using special software designed for stress testing or by running demanding tasks such as rendering large files or playing graphically-intensive games. Monitor the temperatures again to see if they remain stable or if the cooling system is struggling to keep up.
Adjust Fan Speed: If you notice that the CPU temperatures are higher than desired, you can adjust the fan speed to increase cooling performance. This can be done either through the motherboard’s BIOS settings or by using specialized fan control software. Gradually increase the fan speed and monitor the temperatures to find the optimal balance between cooling performance and noise level.
Check for Noise: While testing the cooling system, pay attention to any unusual noises coming from the fan or the cooler. Vibrations, rattling, or loud noises could indicate an issue with the fan or an improper installation. If any unusual noises are detected, double-check the connections and mounting of the cooler to address the problem before it causes further complications.
Monitor and Maintain: Once you are satisfied with the cooling system’s performance, it is essential to continue monitoring the temperatures periodically. Over time, dust buildup can reduce the efficiency of the cooler and impact the temperatures. Regularly clean the CPU cooler and fan using compressed air or a soft brush to ensure optimal cooling performance.
Consider Additional Cooling Measures: If you find that your CPU temperatures are still higher than desired, even with proper installation and adjustments, you may need to consider additional cooling measures. These can include installing additional case fans, upgrading to a larger CPU cooler, or even considering liquid cooling options for more efficient heat dissipation.
By thoroughly testing the cooling system, making necessary adjustments, and monitoring temperatures, you can ensure that your CPU stays within safe operating temperatures and experiences optimal performance. Regular maintenance and occasional upgrades will help keep your computer running smoothly and extend the lifespan of your components.
Conclusion
Properly installing a CPU cooler is essential for maintaining the optimal performance and longevity of your CPU. By carefully choosing the right cooler, preparing the CPU for installation, applying thermal paste correctly, and connecting the fan and power, you can ensure effective cooling and prevent overheating issues.
Remember to select a CPU cooler that fits your budget, is compatible with your CPU socket, provides the necessary cooling performance, and meets your noise preferences. Take the time to clean the CPU, apply thermal paste evenly, and secure the cooler tightly to the motherboard.
After the installation, connect the fan and power the cooler, ensuring proper cable management. Test the cooling system, monitor the temperatures, and make adjustments as needed to achieve optimal cooling performance. Regularly maintain and clean the cooler to prevent dust buildup and maintain efficiency.
By following these steps, you can ensure that your CPU operates at optimal temperatures, maximizing its potential and protecting it from potential damage due to overheating. A well-functioning CPU cooler will not only enhance your overall computing experience but also contribute to the longevity of your system.
Remember, maintaining a properly cooled CPU is crucial for optimal performance, so it is worth investing time and effort in ensuring that your cooling system is up to the task. With the right cooler and proper installation, your CPU will stay cool, allowing you to enjoy seamless computing without any thermal worries.