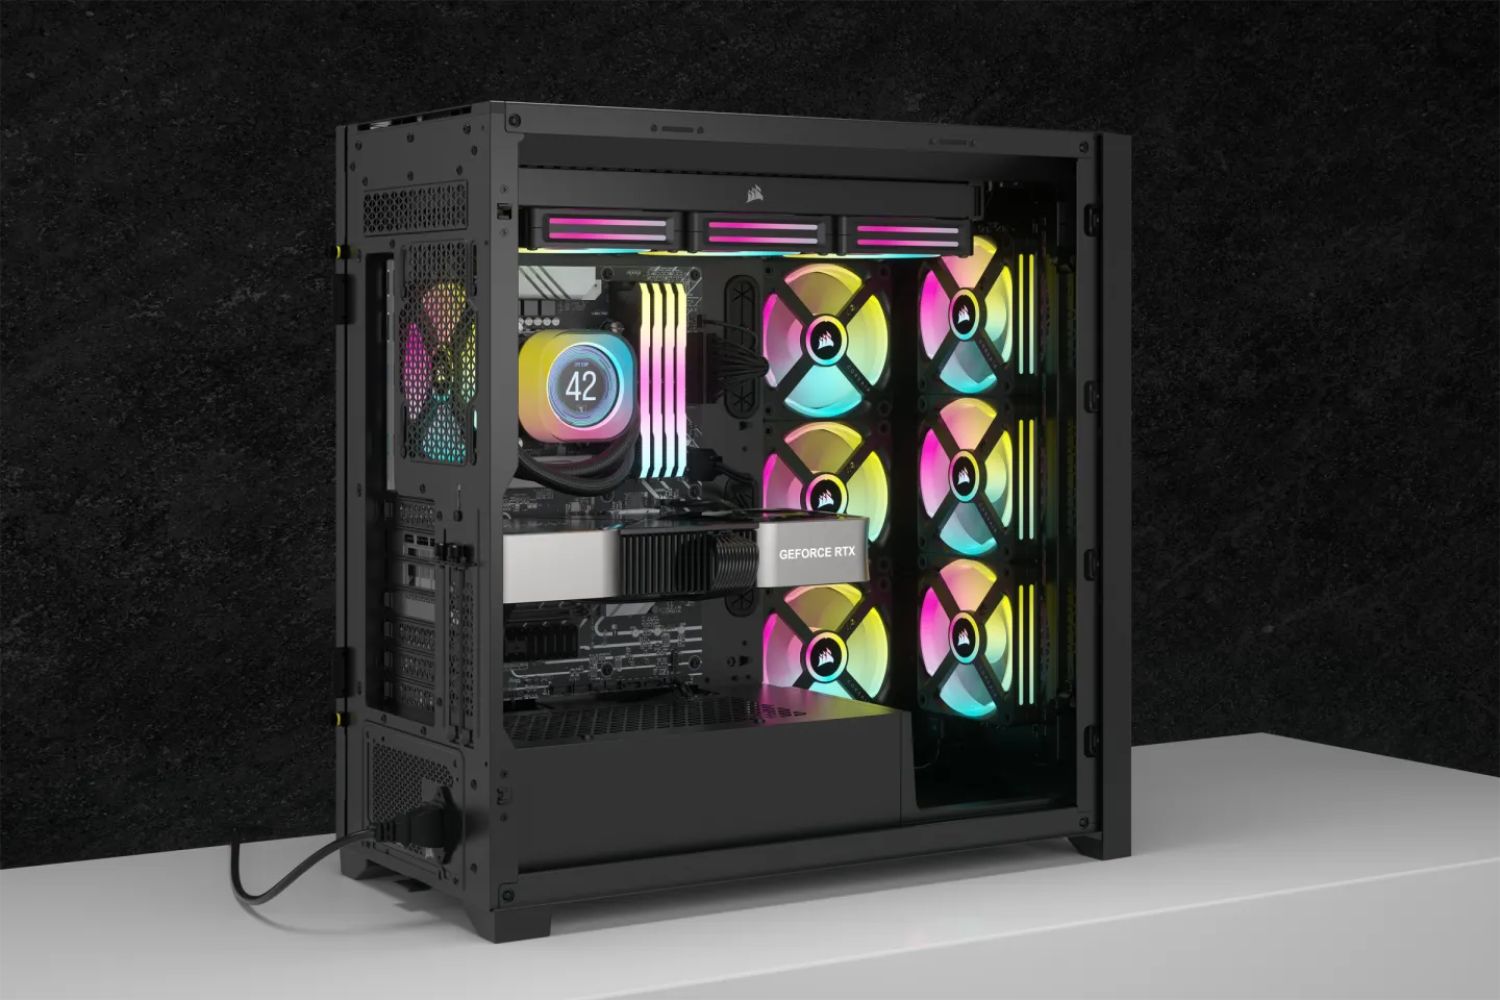
Introduction
When it comes to upgrading or replacing a CPU (Central Processing Unit) in your computer, one of the crucial pieces of information you need is the CPU socket type. The CPU socket determines the compatibility between the processor and the motherboard, making it essential to know which socket your computer supports.
Telling what CPU socket you have might seem like a daunting task, especially for those who are not tech-savvy. However, there are several methods you can use to easily determine your CPU socket. Whether you are planning to upgrade your CPU or just curious about your current setup, this guide will walk you through different methods to identify your CPU socket type.
In this article, we will explore five methods to help you identify your CPU socket. These methods range from checking the motherboard manual and visually inspecting the CPU socket to using system information tools and specialized CPU identification software like CPU-Z. Additionally, we will also discuss how you can check the BIOS or UEFI for the CPU socket information. By following these methods, you will gain the knowledge required to make informed decisions when it comes to upgrading or troubleshooting your CPU.
Understanding the CPU socket type is crucial as it ensures compatibility with the motherboard, allowing you to choose the right processor for your system. With the rapid advancements in technology, CPU sockets can change between generations, making it essential to confirm the socket type before making any upgrades or replacements. By accurately identifying the CPU socket, you can save time, money, and potential compatibility issues.
So, if you are ready to discover what CPU socket your computer has, let’s dive into the different methods that will help you determine your CPU socket type.
Method 1: Checking the Motherboard Manual
One of the most reliable and straightforward ways to determine your CPU socket type is by checking the motherboard manual. The manual provides comprehensive information about the motherboard, including specifications and supported CPU sockets.
Start by locating the manufacturer and model number of your motherboard. You can usually find this information printed on the motherboard itself or on the packaging if you still have it. Once you have the details, head over to the manufacturer’s website and search for the manual related to your specific motherboard model.
Download and open the manual, and navigate to the section that lists the specifications. Look for the CPU socket or CPU support section. In this section, you will find details about the compatible CPU sockets for your motherboard. The manual may also provide information about specific processor models that are supported.
If you don’t have access to the physical manual or cannot find it online, you can try searching for the motherboard specifications directly on the manufacturer’s website. Most manufacturers provide detailed product pages where you can find information about the supported CPU sockets.
It is important to note that the motherboard manual is the most reliable source of information when it comes to determining the CPU socket type. However, if you are unable to find the manual or it doesn’t specifically state the socket type, don’t worry. There are other methods you can try to identify the CPU socket, which we will discuss in the following sections.
By checking the motherboard manual, you can quickly and accurately determine the CPU socket type supported by your motherboard. This method is particularly useful if you want to upgrade your processor or if you are planning to purchase a compatible motherboard for a new CPU.
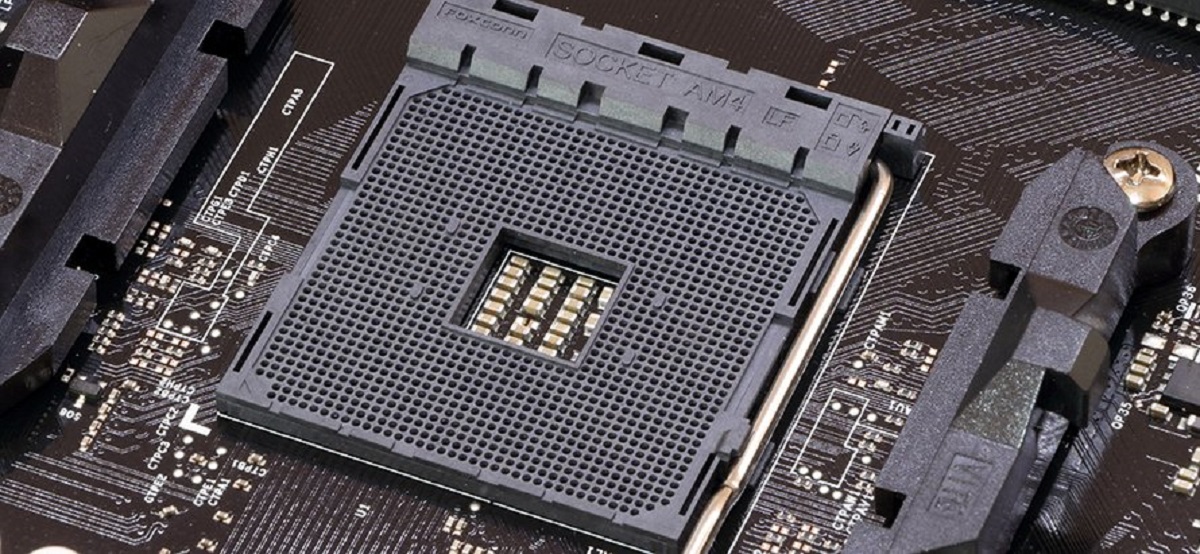
Method 2: Visually Inspecting the CPU Socket
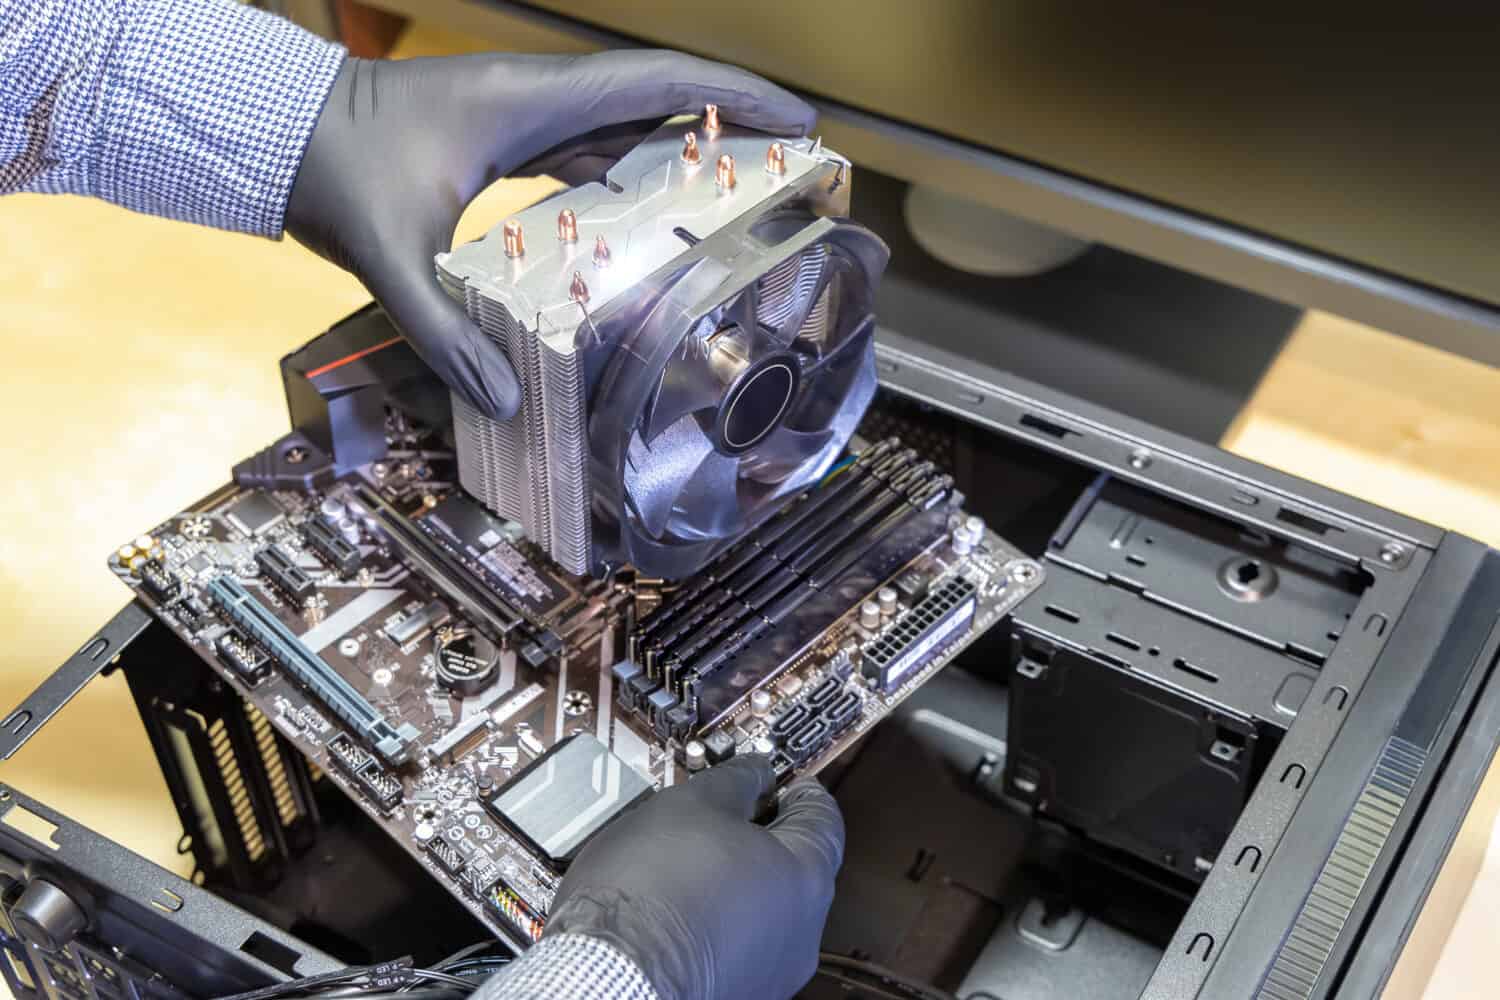
If you’re comfortable opening up your computer’s case, another method to determine your CPU socket type is by visually inspecting the CPU socket on your motherboard. This method requires a bit of technical knowledge and caution, so proceed only if you feel confident doing so.
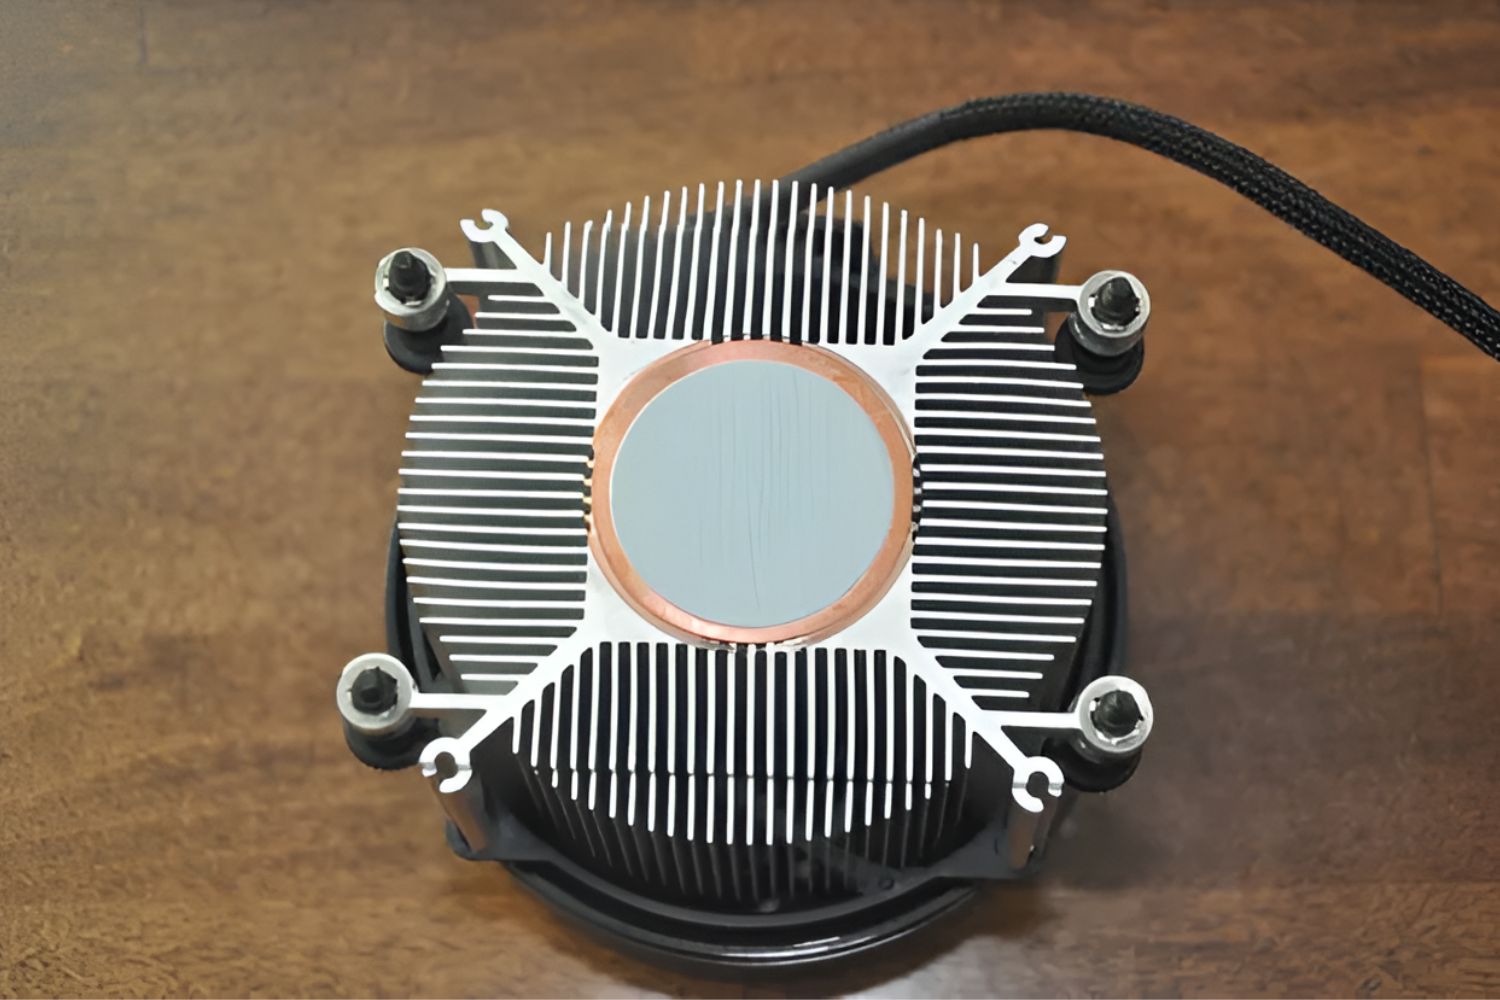
Start by shutting down your computer and unplugging it from the power source. Open up the computer case and locate the motherboard. The CPU socket can usually be found near the center of the motherboard, underneath the CPU cooler or heatsink.
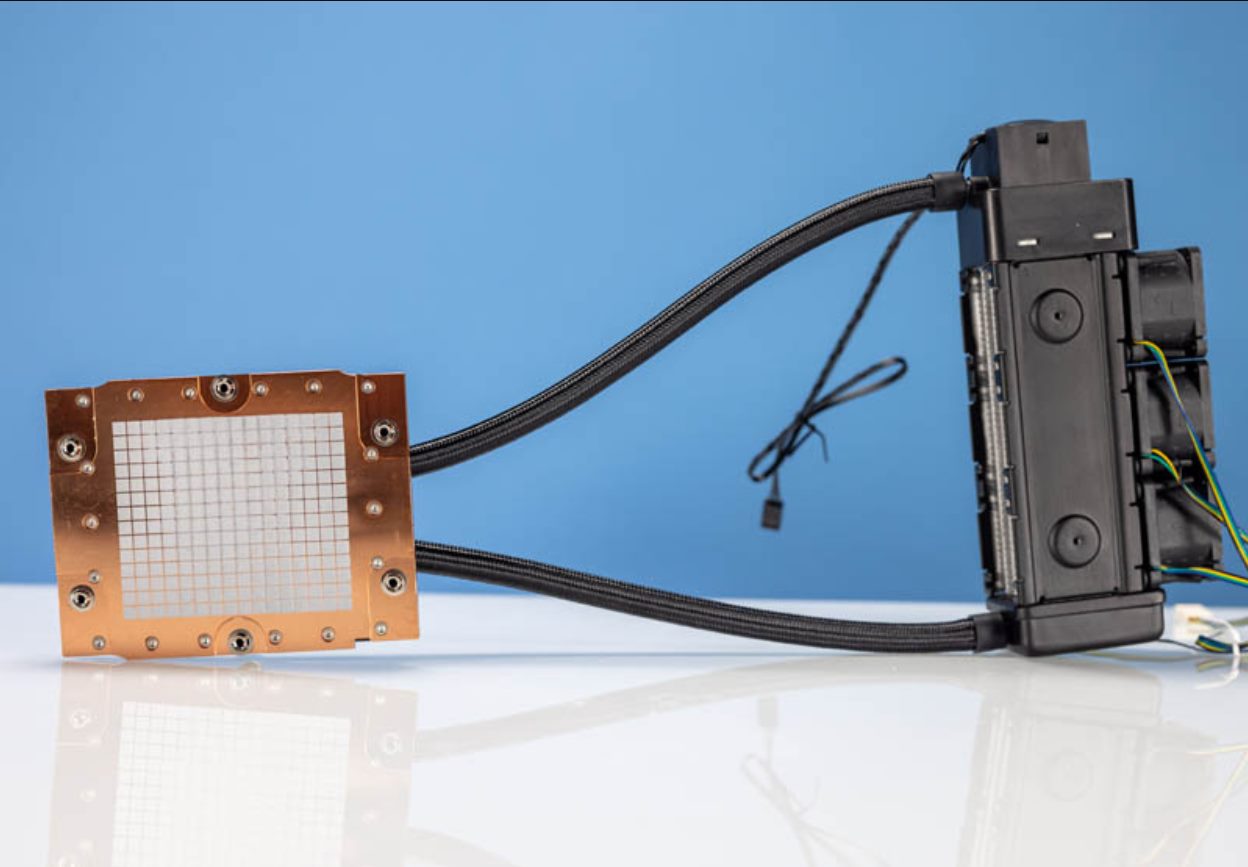
Once you have located the CPU socket, carefully examine its shape and design. The CPUs and motherboard sockets have specific configurations and shapes that are standardized. The most common types of CPU sockets are PGA (Pin Grid Array) and LGA (Land Grid Array).
PGA sockets have a grid of holes into which the CPU’s pins are inserted. On the other hand, LGA sockets have delicate pins on the motherboard, and the CPU has metal pads instead of pins. By visually inspecting the socket, you can determine whether it is a PGA or LGA socket, narrowing down the type of CPU socket you have.
After determining whether it’s a PGA or LGA socket, you can further identify the specific socket type by counting the number of pinholes or pins and examining their arrangement. Each CPU socket type has a different number of pins or holes, so this can help you determine the exact CPU socket type.
It’s important to handle the motherboard and CPU socket with extreme care during this process. Avoid touching any sensitive components or applying excessive pressure. Additionally, if you are unsure or uncomfortable with this method, it’s a good idea to seek assistance from a professional or someone with more experience.
Visually inspecting the CPU socket can provide you with a quick way to identify the type of socket your motherboard has. However, keep in mind that this method may not provide detailed information about compatibility or specific CPU models supported. For that, you may need to refer to the motherboard manual or use other methods, which we will explore in the upcoming sections.
Method 3: Using System Information Tools
If you prefer a software-based approach to determine your CPU socket type, you can make use of system information tools that provide detailed information about your computer’s hardware. These tools can extract and display various system specifications, including the CPU socket type.
One of the popular system information tools is CPU-Z, which is a lightweight and free software program widely used by enthusiasts and professionals alike. You can download CPU-Z from the official website and install it on your computer.
Once installed, open CPU-Z and go to the “CPU” tab. Here, you will find information about your processor, including the CPU socket type. CPU-Z provides the exact name and model of the CPU socket in the “Package” field. For example, if your CPU socket is an Intel LGA 1151, it will be displayed as such in the software.
Another system information tool to consider is Speccy. Similar to CPU-Z, Speccy provides detailed hardware information, including the CPU socket type. Download and install Speccy on your computer, then launch the program. In the “Motherboard” section, you will find the CPU socket information listed.
Using system information tools like CPU-Z and Speccy can give you a quick and accurate overview of your CPU socket type. These tools are especially useful if you are not comfortable opening up your computer or if you want to avoid potential risks associated with hardware inspection. However, it’s important to note that the information provided by these tools relies on accurate detection by the software and may be subject to limitations or inaccuracies.
By utilizing system information tools, you can easily obtain the CPU socket information without the need for physical inspection or referring to manuals. This method is quick, convenient, and can provide you with the necessary details to determine the compatibility of your CPU with other hardware components.
Method 4: Using CPU-Z
CPU-Z is a specialized software tool that provides detailed information about your computer’s hardware components, including the CPU socket type. It is widely used by tech enthusiasts and professionals to gather system specifications.
To use CPU-Z, you can download it from the official website and install it on your computer. Once installed, launch the program and navigate to the “CPU” tab. Here, you will find valuable information about your processor, such as the brand, model, and specifications.
In the “Package” field, CPU-Z will display the exact CPU socket type of your processor. It will provide information like “LGA 1151” for Intel processors or “AM4” for AMD processors. Additionally, CPU-Z also provides details about other CPU-related information such as cache sizes, core voltage, and clock speeds.
CPU-Z is an excellent tool for quickly identifying the specific CPU socket type of your processor. It not only displays the socket type but also provides additional relevant information about your CPU.
It’s important to note that CPU-Z is a reliable and widely-used software tool. However, like any software, there may be occasional compatibility issues or limitations with certain hardware configurations. In such cases, it is recommended to refer to other methods or consult official documentation for accurate CPU socket information.
By utilizing CPU-Z, you can easily identify your CPU socket type and gather vital information about your processor. This knowledge will prove invaluable when upgrading or replacing your CPU, ensuring compatibility and a smooth transition between hardware components.
Method 5: Checking the BIOS or UEFI
If you’re comfortable accessing the BIOS (Basic Input/Output System) or UEFI (Unified Extensible Firmware Interface) settings of your computer, you can find valuable information about your CPU socket type directly from these firmware interfaces. The BIOS or UEFI provides a range of system configuration options, including CPU-related details.
To access the BIOS or UEFI, restart your computer and look for a prompt or key combination to enter the firmware settings. Common keys to access the BIOS or UEFI include Del, F2, F10, or Esc, depending on the manufacturer of your motherboard.
Once you are in the BIOS or UEFI settings, navigate to the “System Information” or a similar section that provides details about your computer’s hardware. Look for information related to the CPU socket type or CPU configuration.
The location and layout of the CPU information may vary depending on the manufacturer and version of your motherboard’s firmware. However, most BIOS or UEFI interfaces will include a section dedicated to CPU information.
In this section, you will find the CPU socket type listed, along with other relevant CPU details. It may appear as “Socket Type” or “CPU Socket,” and the specific socket name, such as “LGA 1151” or “AM4.”
Once you have identified the CPU socket type in the BIOS or UEFI, you can cross-reference it with the official documentation provided by the motherboard manufacturer or other reliable sources to verify compatibility and find additional information about the supported CPUs.
Checking the BIOS or UEFI for CPU socket information provides you with a direct and reliable method to determine your CPU socket type. However, it’s important to exercise caution while accessing the firmware settings and make sure to avoid altering any critical settings if you’re not sure about their purpose.
By exploring the BIOS or UEFI interface, you can quickly find the information you need about your CPU socket type, making it easier to make informed decisions when it comes to CPU upgrades or replacements.
Conclusion
Identifying the CPU socket type of your computer is an essential task when it comes to upgrading or replacing your processor. By knowing the CPU socket type, you can ensure compatibility between the processor and the motherboard, saving you time, money, and potential compatibility issues.
In this article, we explored five methods to help you determine your CPU socket type. Checking the motherboard manual is a reliable method that provides comprehensive information about the supported CPU sockets. Visually inspecting the CPU socket on the motherboard gives you a hands-on approach to identifying the socket type.
Using system information tools like CPU-Z or Speccy allows you to extract accurate information about your CPU socket without the need to physically inspect your computer. CPU-Z, in particular, is a widely-used software tool that provides detailed CPU socket information and other relevant specifications.
Checking the BIOS or UEFI settings of your computer provides direct access to CPU socket information. This method is suitable for those comfortable accessing firmware interfaces.
Remember, it is crucial to cross-reference the identified CPU socket type with official documentation or other reliable sources to ensure compatibility and gather additional details about supported processors.
By utilizing these methods, you can confidently determine your CPU socket type, enabling you to make informed decisions when it comes to upgrading, troubleshooting, or replacing your CPU.
Understanding your CPU socket type is just one piece of the puzzle when it comes to optimizing your computer’s performance. Keeping yourself informed about the latest developments in CPU technology and staying up to date with hardware specifications will go a long way in ensuring the longevity and efficiency of your computer system.
So, whether you’re a tech enthusiast or a casual user looking to expand your knowledge, the ability to identify your CPU socket type will empower you to make the right choices when it comes to upgrading or maintaining your computer system.