Introduction
Installing a Ryzen CPU can significantly enhance the performance and capabilities of your computer. Whether you are upgrading your existing system or building a new one from scratch, the process of installing a Ryzen CPU requires careful attention to detail and adherence to safety precautions. This guide will take you through the step-by-step process of installing a Ryzen CPU, from gathering the necessary components to securing the CPU cooler.
Ryzen CPUs are known for their powerful multi-core performance, making them popular choices for gamers, content creators, and professionals who require high-performance computing. By successfully installing a Ryzen CPU, you can unlock the full potential of your system and enjoy faster speeds and smoother multitasking.
Before diving into the installation process, it is crucial to ensure your safety. Handling computer components, especially CPUs, requires caution to prevent any damage or injury. Additionally, having the right tools on hand will make the installation process smoother and more efficient.
This guide assumes you have a basic understanding of computer hardware and are familiar with general PC assembly procedures. If you are a novice, it is recommended to consult the manufacturer’s documentation or seek assistance from an experienced professional to ensure a successful installation.
Safety Precautions
When working with computer hardware, it is vital to prioritize safety to prevent damage to your components and ensure personal well-being. Before starting the installation process, make sure to follow these important safety precautions:
- Power Off: Before attempting any hardware installation, shut down your computer and disconnect the power cord from the wall outlet. This step eliminates the risk of electric shock.
- Ground Yourself: Static electricity can damage sensitive components. Before handling any computer parts, ground yourself by touching an unpainted metal surface to discharge any static buildup.
- Unplug Peripherals: Remove all external devices, such as USB drives, headphones, and speakers, from the computer. This prevents accidental damage to these devices during the installation process.
- Handle Components Carefully: CPUs are delicate and can be easily damaged by mishandling. Avoid touching the gold pins or the sensitive underside of the CPU. Hold the CPU by the edges or use an antistatic wrist strap for added protection.
- Clean, Dust-Free Environment: Find a clean, well-lit area with minimal dust. Dust can interfere with the operation of your components and potentially cause overheating.
- Avoid Excessive Force: Be gentle when installing or removing components. Using excessive force can damage the motherboard, CPU socket, or CPU itself. Ensure that all connections are properly aligned before applying gentle pressure.
- Follow Manufacturer’s Guidelines: Always refer to the manufacturer’s documentation, such as the motherboard and CPU manuals, for specific instructions and precautions. Different motherboards and CPUs may have unique installation requirements.
By following these safety precautions, you can minimize the risk of damage to your components and ensure a successful installation of your Ryzen CPU.
Tools Required
Before starting the installation process, it is essential to have the right tools. Here are the tools you will need to install a Ryzen CPU:
- Screwdriver: Depending on your motherboard, you’ll need a Phillips head or a combination Phillips and flathead screwdriver to remove and secure screws.
- Thermal Paste: This is a heat-conductive paste that is applied between the CPU and the CPU cooler. It helps to improve heat transfer and prevent overheating. Make sure to use a high-quality thermal paste.
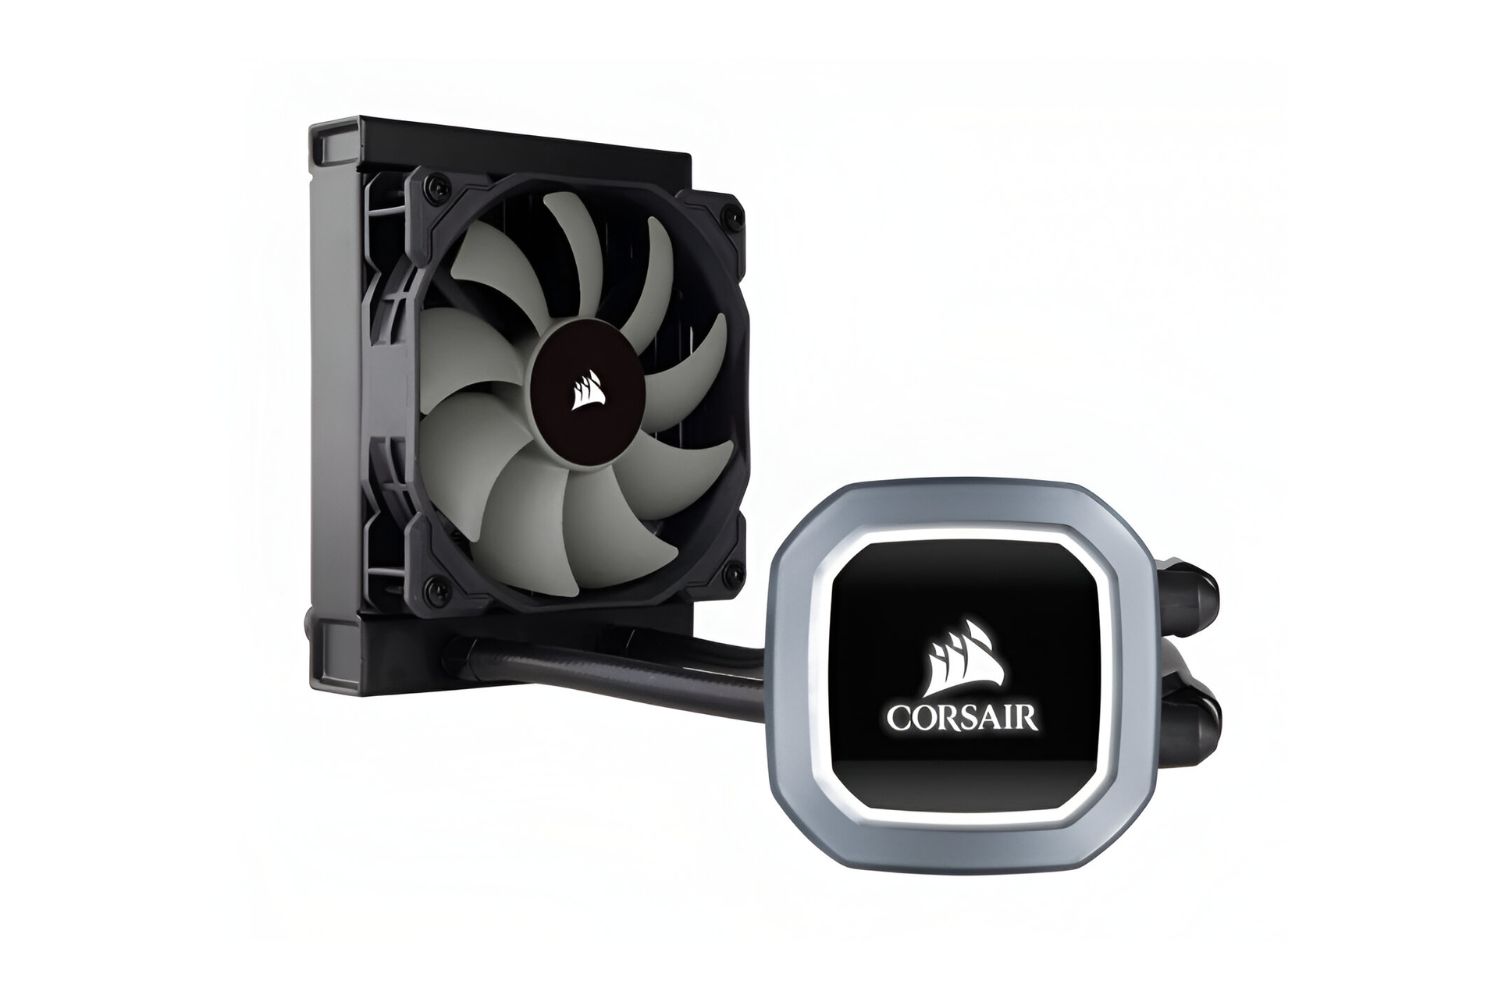
- CPU Cooler: This can be an air cooler or a liquid cooler, depending on your preference and system requirements. The CPU cooler keeps the temperatures of the CPU within safe limits.
- Anti-static Wrist Strap: This strap protects your components from the discharge of static electricity. It is highly recommended to prevent any damage caused by electrostatic discharge.
- Cleaning Cloth: A lint-free cloth or microfiber cloth will come in handy for wiping away any thermal paste residue or dust.
It is important to note that some motherboards may come with pre-applied thermal paste on the CPU socket. In such cases, you may not need additional thermal paste. However, it is always a good idea to have some on hand, just in case.
Having these tools readily available will ensure a smooth installation process and minimize the risk of damaging your components. Before proceeding, double-check that you have all the necessary tools to complete the installation.
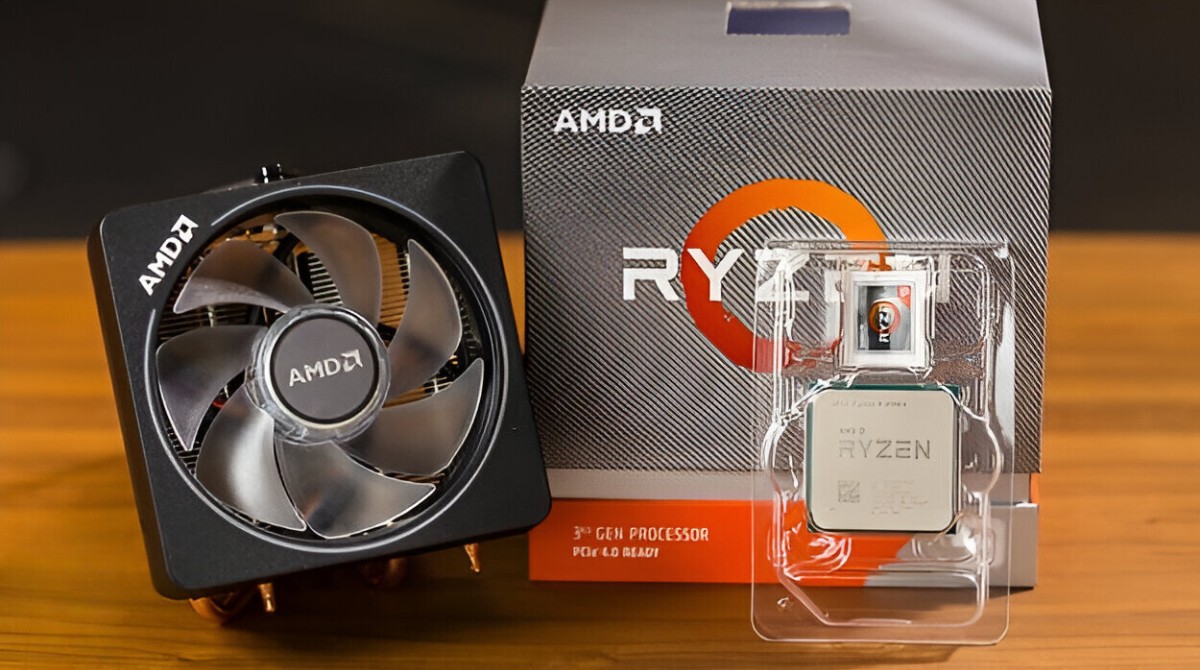
Step 1: Gathering all the Necessary Components
Before you begin the installation process, it’s important to gather all the necessary components to ensure a smooth and efficient installation. Here are the components you will need:
- Ryzen CPU: Choose the Ryzen CPU that best fits your specific needs and budget. Ensure that it is compatible with your motherboard’s socket type.
- Motherboard: Select a motherboard that is compatible with the Ryzen CPU you have chosen. Consult the motherboard manual or manufacturer’s website to ensure compatibility.
- RAM (Random Access Memory): Choose RAM modules that are compatible with your motherboard and provide sufficient capacity for your computing needs.
- Storage: Decide on the type and capacity of storage you require, whether it’s a solid-state drive (SSD) or hard disk drive (HDD).
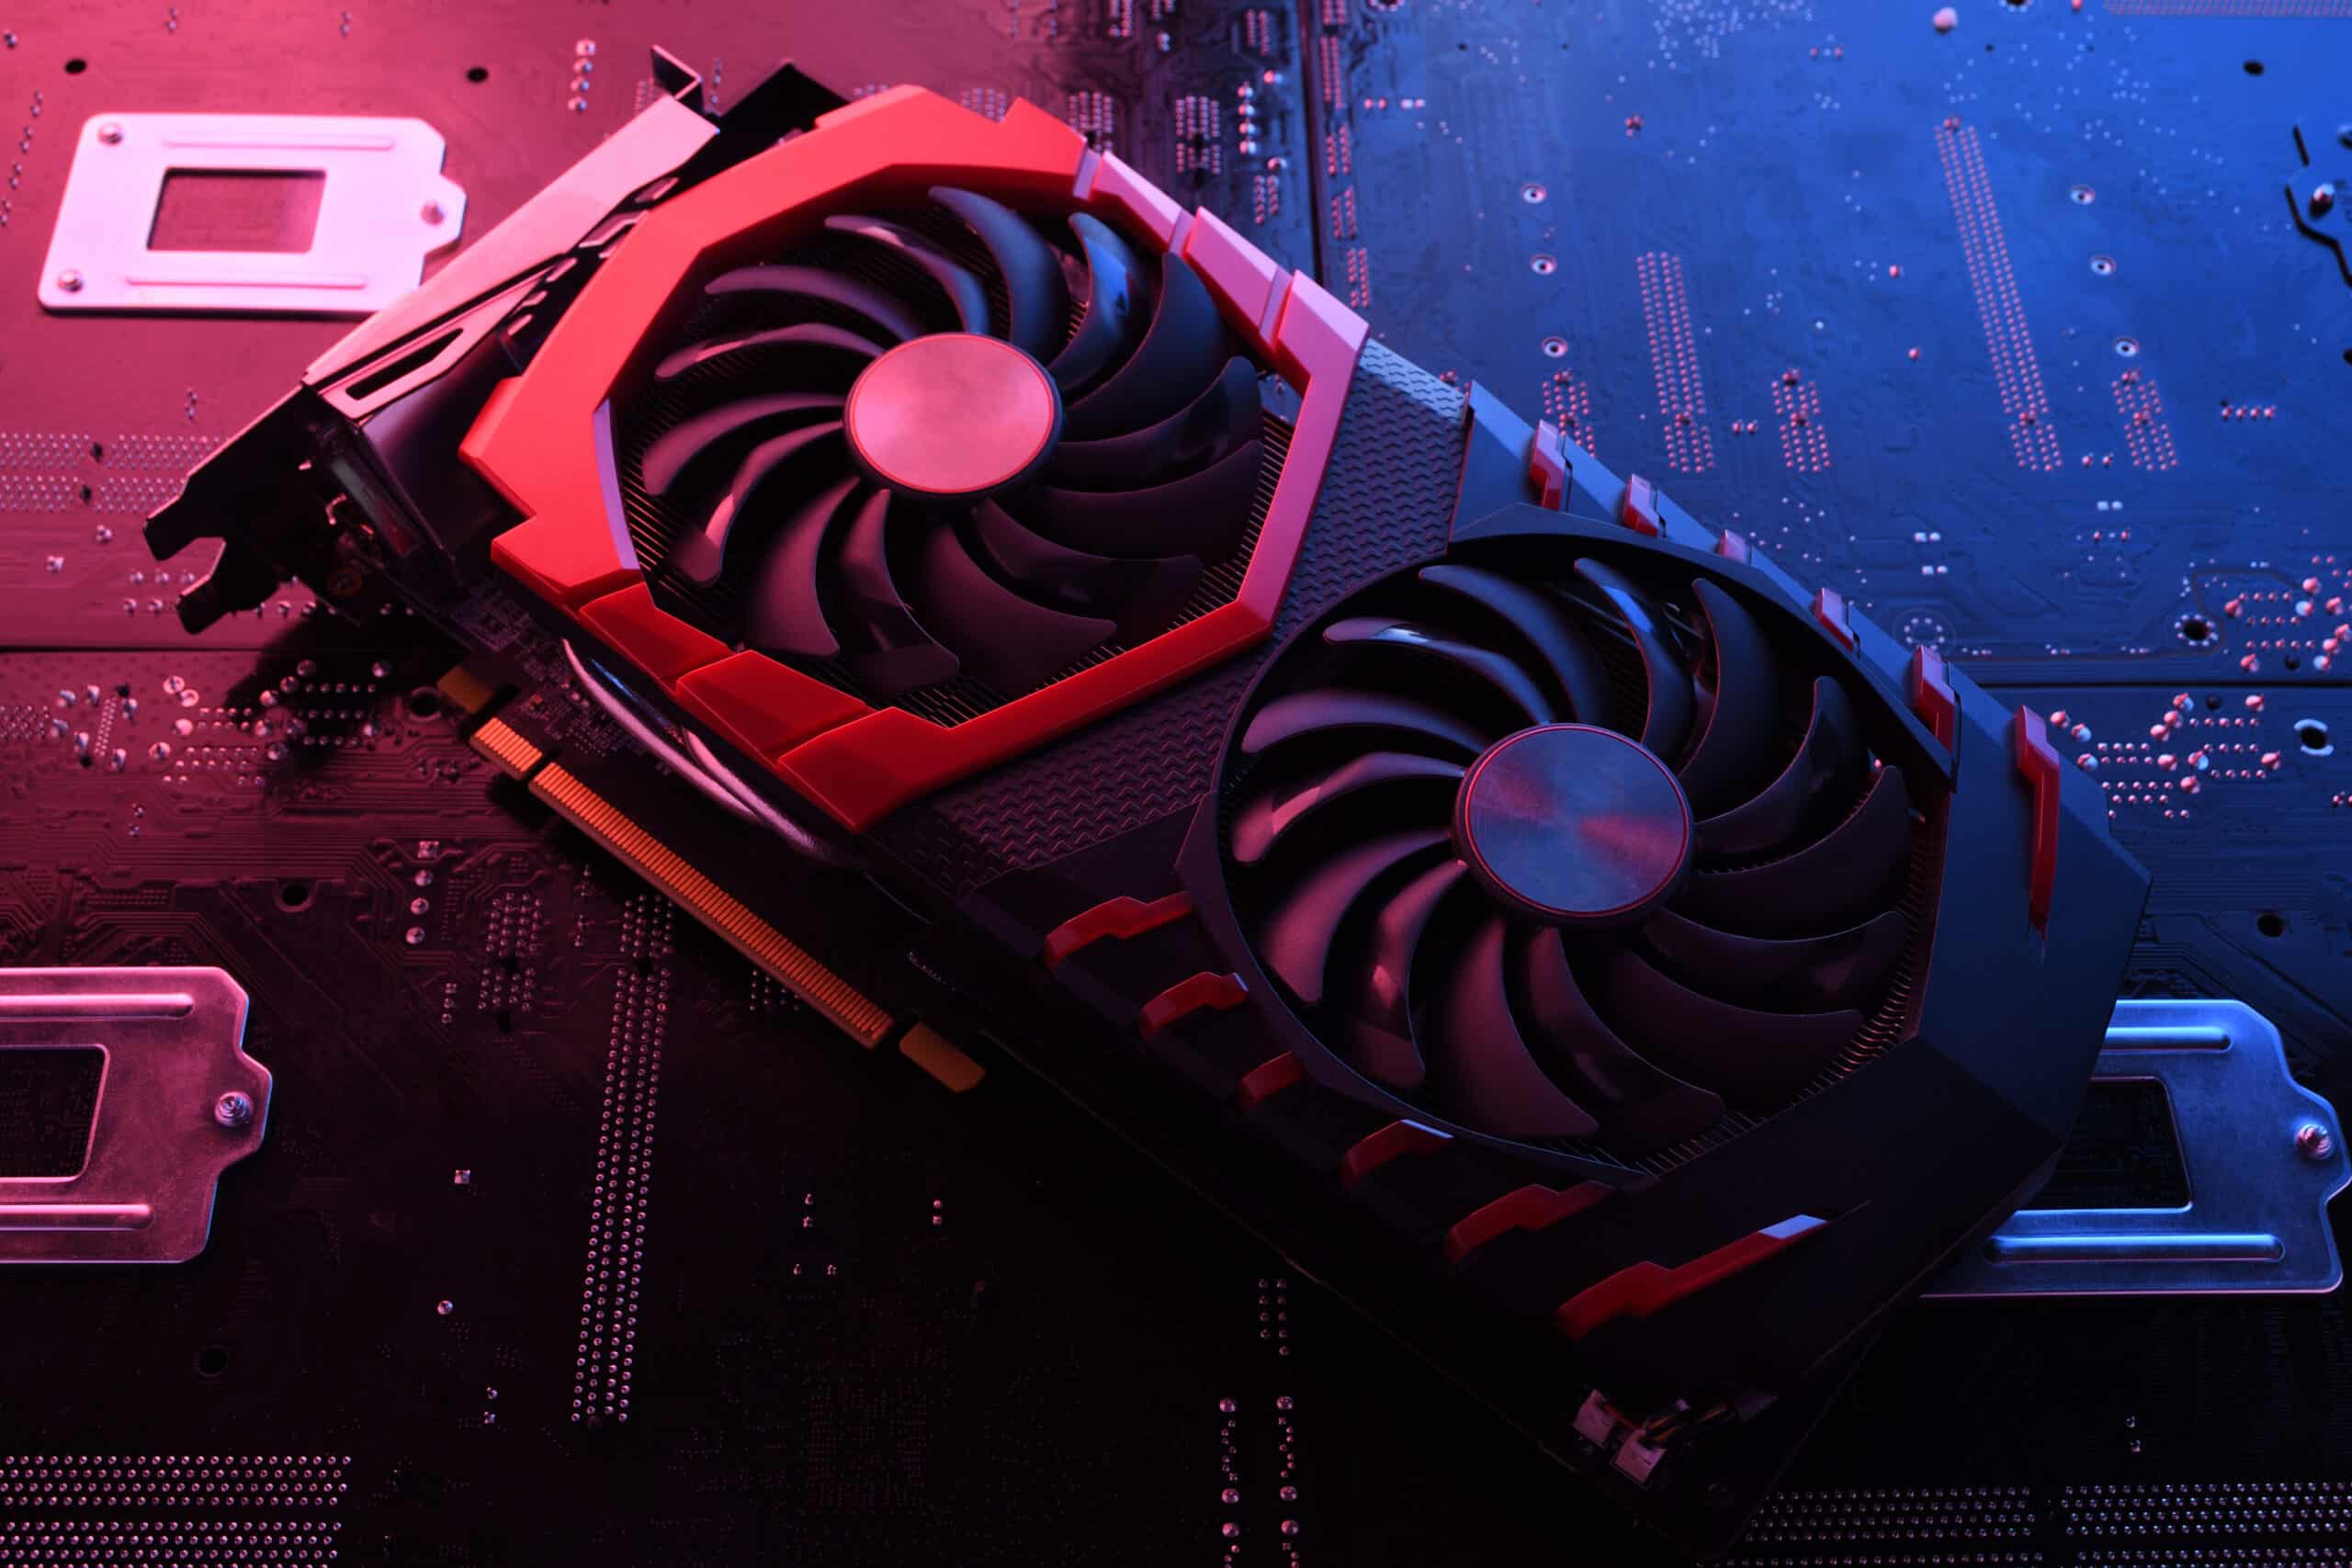
- GPU (Graphics Processing Unit): Select a GPU if your Ryzen CPU does not have integrated graphics or if you require additional graphical processing power.
- Power Supply Unit (PSU): Choose a PSU with sufficient wattage to support your system’s components.
- Case: Select a case that can accommodate your chosen motherboard and has adequate airflow for efficient cooling.
- Peripherals: Gather a keyboard, mouse, monitor, and any other peripherals you will need to complete your system setup.
- Cables and Connectors: Make sure you have all the necessary cables and connectors required to connect your components, such as SATA cables for storage devices and power cables for the PSU.
It is crucial to verify the compatibility of the components before purchasing or assembling your system. Consult the documentation provided by the manufacturers or use online compatibility tools to ensure that all components are compatible with each other.
By gathering all the necessary components before starting the installation process, you can ensure a smooth and hassle-free assembly of your Ryzen CPU system.
Step 2: Preparing the Motherboard
Before installing the Ryzen CPU, it’s important to prepare the motherboard to ensure a successful installation. Follow these steps to prepare the motherboard:
- Read the Manual: Familiarize yourself with the motherboard’s manual and documentation. This will provide specific instructions and precautions for your particular motherboard model.
- Layout Inspection: Take a close look at the motherboard to identify the CPU socket location. Often, it is located near the top of the motherboard, labeled as “CPU” or “Socket.”
- Socket Cover Removal: If your motherboard has a protective socket cover, carefully remove it by gently pulling it straight upward. Set it aside in a safe place for later use if needed.
- CPU Socket Examination: Inspect the CPU socket for any signs of damage, dust, or debris. If you notice anything, gently clean it using compressed air or a soft, lint-free cloth.
- Motherboard Standoffs: Ensure that the motherboard standoffs are correctly installed in your computer case. These standoffs help align and secure the motherboard in place. Refer to the case’s manual for proper Standoff installation.
- RAM Slots: Identify the RAM slots on the motherboard. Refer to the motherboard manual to determine the appropriate slots to install your RAM modules, if not clearly labeled on the motherboard itself.
- Expansion Slots: Take note of the expansion slots on the motherboard, such as PCIe slots, where you may want to install additional cards like graphics cards or sound cards.
- Connectors: Identify the various connectors on the motherboard, such as SATA connectors for storage devices, USB headers for front panel USB ports, and other connectors for peripherals.
By carefully preparing the motherboard, you ensure that it is ready to receive the Ryzen CPU and other components. Understanding the layout and connectors will aid in a smooth installation process, preventing any potential issues or mistakes.
Step 3: Removing the Old CPU (if applicable)
Before installing the new Ryzen CPU, it is essential to remove the old CPU if you are upgrading your existing system. Follow these steps to safely remove the old CPU:
- Power Off: Shut down your computer and disconnect the power cord from the wall outlet. This ensures your safety and prevents any damage to the components.
- Open the Case: Carefully open your computer case by removing the screws or using any latches or mechanisms provided by the case manufacturer.
- Ground Yourself: Protect your components from static electricity by grounding yourself. Touch an unpainted metal surface or wear an anti-static wrist strap throughout the removal process.
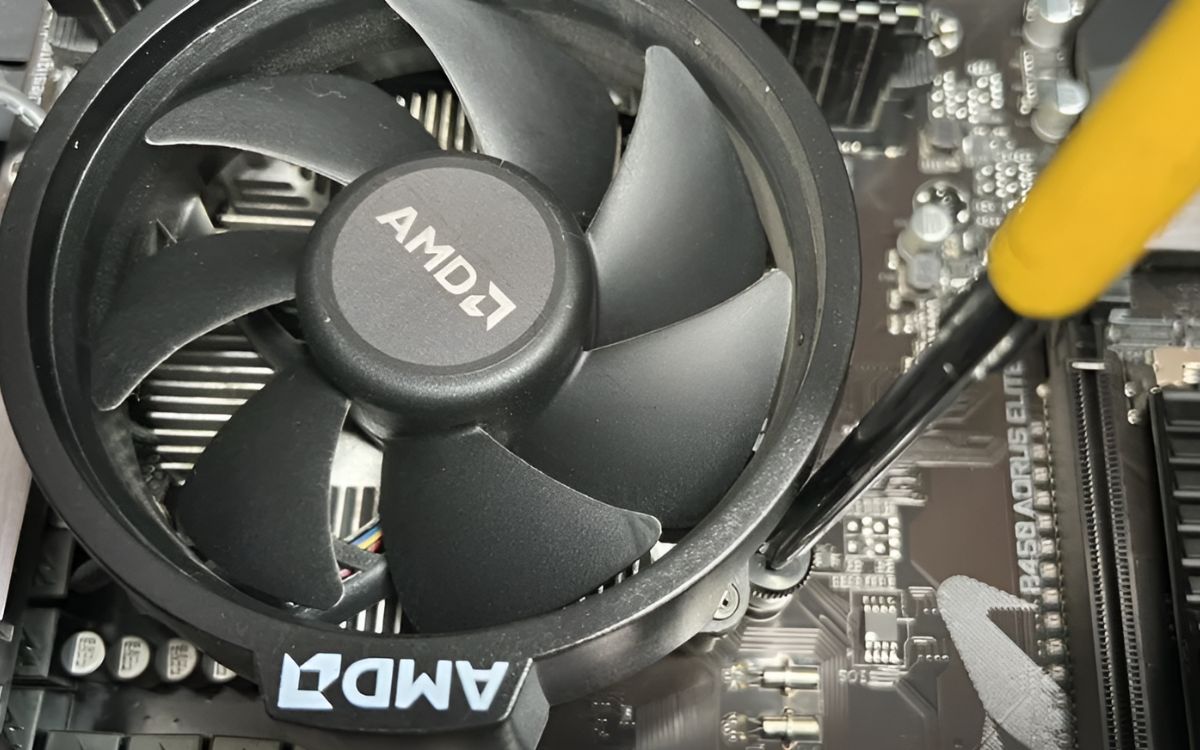
- CPU Cooler Removal: If your old CPU has a separate CPU cooler, carefully remove it by unscrewing any mounting brackets or clips. Gently lift the CPU cooler away from the CPU, making sure not to damage any of the surrounding components.
- CPU Socket Release: Locate the lever or mechanism that holds the CPU in place. Typically, this lever is located on the side of the CPU socket. Gently lift or release the lever to unlock the CPU socket.
- Remove the CPU: With the CPU socket unlocked, carefully lift the old CPU straight out of the socket. Hold the CPU by the edges, ensuring that you do not touch the pins or the sensitive underside of the CPU.
- CPU Inspection: Once the CPU is removed, inspect the socket and CPU for any signs of damage or bent pins. If you notice any issues, consult a professional technician or contact the manufacturer for further assistance.
If you are not replacing an old CPU and are installing the Ryzen CPU into a new system, you can skip this step and proceed to the next one.
By properly removing the old CPU, you ensure a clean installation process and minimize any potential damage to the motherboard or components.
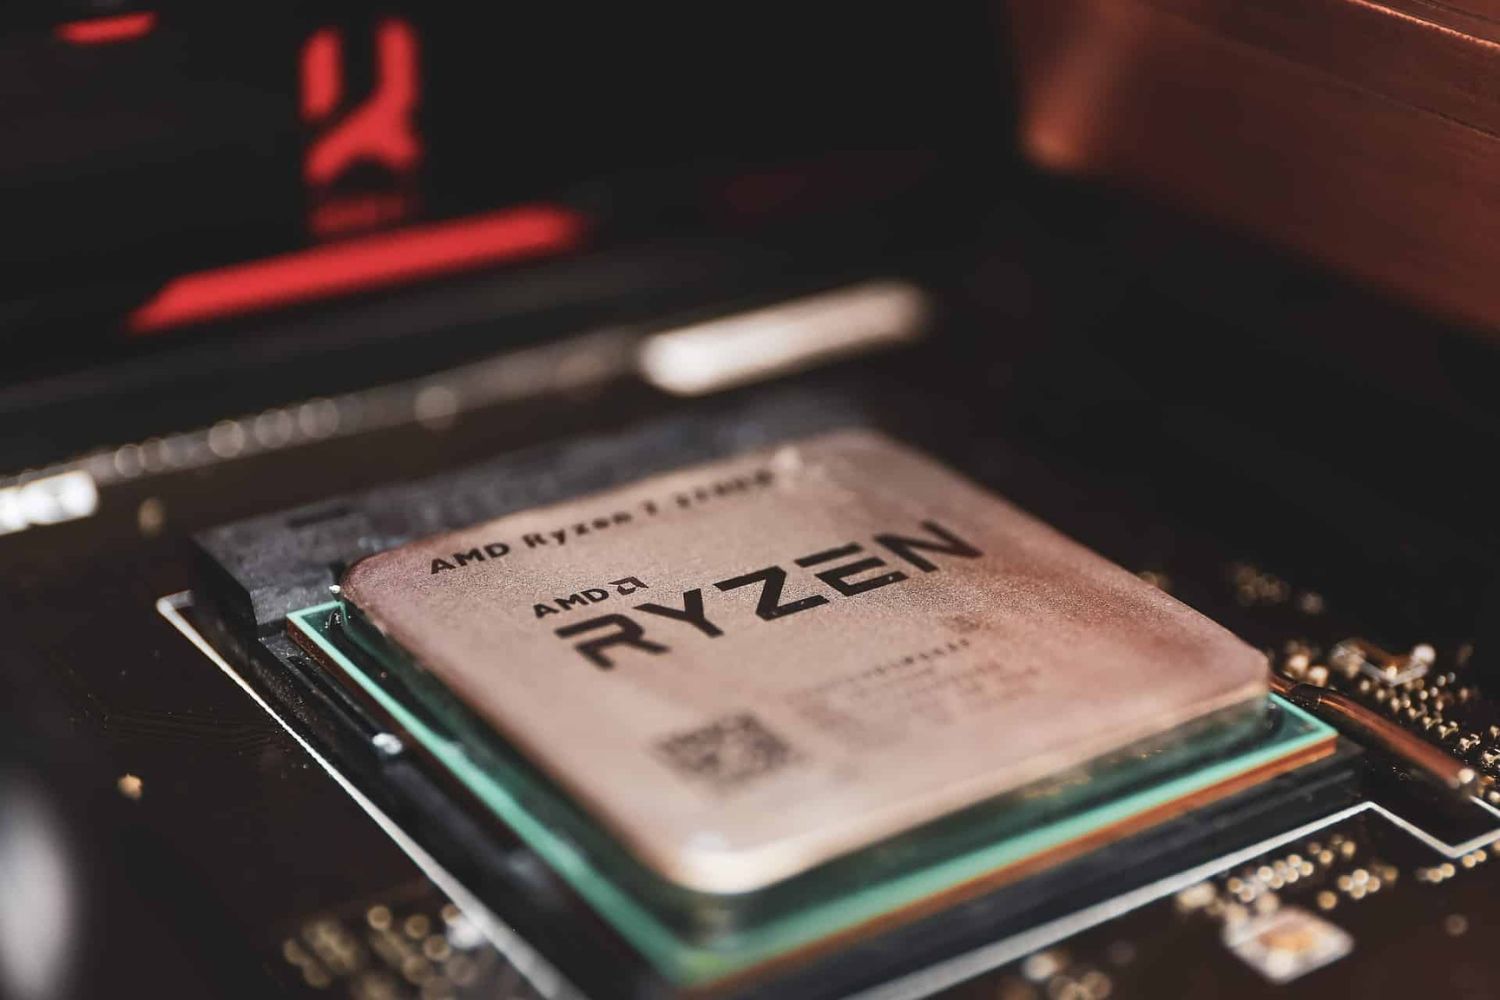
Step 4: Preparing the Ryzen CPU
Before installing the Ryzen CPU, it is important to properly prepare it to ensure a successful installation. Follow these steps to prepare the CPU:
- Inspect the CPU: Carefully inspect the Ryzen CPU for any visible damage. Check for bent pins, scratches, or any other abnormalities. If you notice any issues, contact the manufacturer for further assistance.
- Match the Socket: Ensure that the Ryzen CPU you have is compatible with the socket on your motherboard. Refer to the motherboard manual or the manufacturer’s website to confirm socket compatibility.
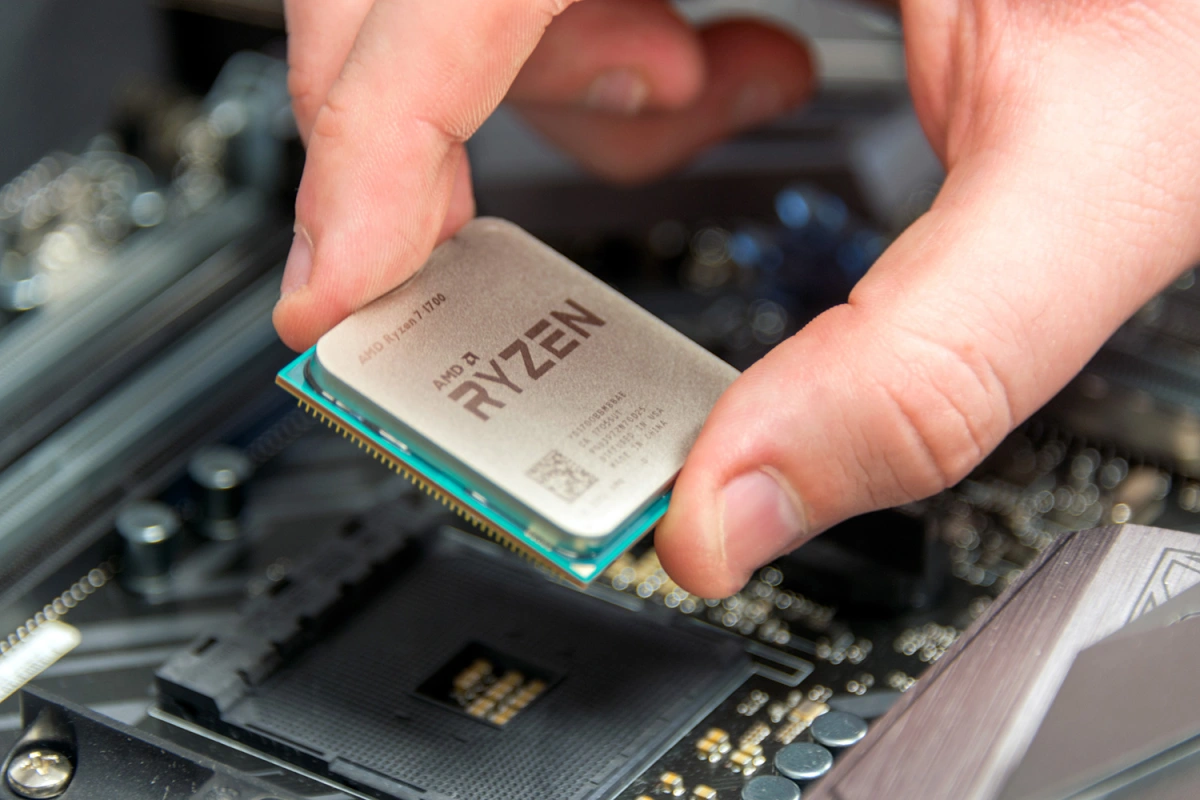
- Handle with Care: Hold the Ryzen CPU only by the edges, avoiding contact with the pins or the sensitive underside of the CPU. Touching the pins or applying excessive force can damage the CPU or interfere with its performance.
- Align the CPU Notches: On the Ryzen CPU, you will find notches or markers that match corresponding markers on the CPU socket. Take note of these notches and align them with the corresponding markings on the socket.
- Orientation: Ensure that the Ryzen CPU is oriented correctly. Look for the golden triangle or arrow on the CPU, which indicates the correct orientation. Align it with the corresponding triangle or marker on the socket.
- Place the CPU into the Socket: Carefully place the Ryzen CPU into the socket, aligning the notches and orientation markers. Be gentle and avoid applying excessive force. The CPU should fit snugly into the socket.
- Lock the CPU in Place: Once the CPU is properly seated, gently lower the socket lever to secure the CPU in place. The lever should lock into position, applying appropriate pressure to keep the CPU in place.
It is crucial to handle the Ryzen CPU with care to avoid any damage. Take your time during this step to ensure proper alignment and orientation, as incorrect installation can cause the CPU to malfunction or prevent the system from booting.
Once the Ryzen CPU is prepared, securely seated, and locked in place, you can proceed to the next step of the installation process.
Step 5: Installing the Ryzen CPU
Now that you have prepared the Ryzen CPU and motherboard, it’s time to install the CPU into the motherboard’s CPU socket. Follow these steps to install the Ryzen CPU:
- Align the CPU: Align the Ryzen CPU with the CPU socket on the motherboard. Ensure that the notches or markers on the CPU are lined up with the corresponding markers on the socket.
- Gently Lower the CPU: Carefully lower the Ryzen CPU straight down into the socket. Make sure that it is level and properly aligned. Do not apply any force or pressure while lowering the CPU.
- Seat the CPU: Once the CPU is in position, press down gently on the center of the CPU. This will help ensure that the CPU is seated properly in the socket. You may feel a slight resistance as the CPU settles into place.
- Check for Security: After seating the CPU, check that it is securely in place. The notches or markers on the CPU should be flush with the ones on the socket. If there is any misalignment, gently lift the CPU and reseat it.
- Do Not Touch the CPU After Installation: Once the CPU is installed, it is recommended not to touch or remove it unless necessary. Excessive handling can lead to damage or improper CPU seating.
During the installation process, it is important to handle the Ryzen CPU with care and avoid touching the pins or sensitive components. The CPU should fit snugly into the socket, and you should not force it or apply excessive pressure.
Installing the Ryzen CPU is a critical step in the process, and it sets the foundation for the rest of the installation. Taking time and care during this step will ensure a successful installation and optimal performance of your system.
Step 6: Applying Thermal Paste
Thermal paste is a crucial component in ensuring proper heat transfer between the CPU and the CPU cooler. Follow these steps to apply thermal paste to the Ryzen CPU:
- Clean the CPU: Before applying thermal paste, ensure that the surface of the Ryzen CPU is clean and free from any dust, debris, or residual thermal paste from previous installations. Use a lint-free cloth or isopropyl alcohol to carefully clean the CPU surface.
- Apply Thermal Paste: Apply a small, pea-sized amount of thermal paste to the center of the Ryzen CPU. Remember, a little goes a long way. Applying too much thermal paste can lead to poor heat transfer and may cause overheating issues.
- Spread the Thermal Paste: Use a plastic card or a thermal paste spreader to spread the thermal paste evenly across the CPU surface. Gently glide the spreader in a thin, uniform layer, covering the entire CPU surface. Ensure there are no air bubbles or excess paste.
- Do Not Touch the Applied Thermal Paste: Once the thermal paste is applied and spread, avoid touching it or disturbing it in any way. Oily residues from your fingers can interfere with the effectiveness of the thermal paste.
Thermal paste helps in filling microscopic irregularities between the CPU and the CPU cooler, ensuring optimal heat transfer and cooling efficiency. It helps to prevent the CPU from overheating, which can damage the components and impact system performance.
After applying the thermal paste, you can proceed to the next step of installing the CPU cooler onto the Ryzen CPU.
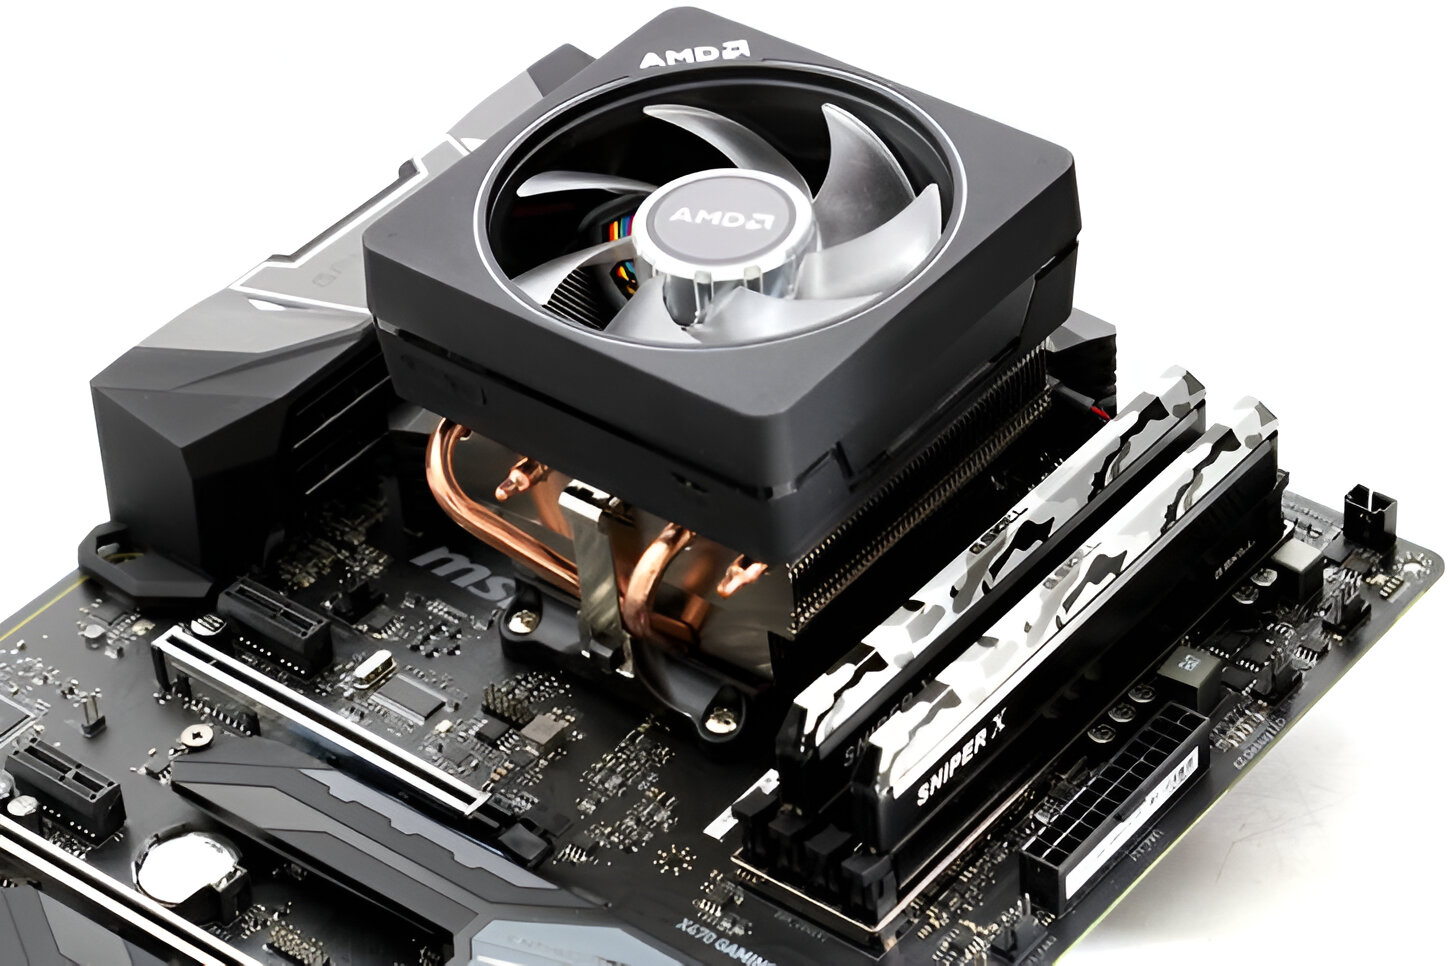
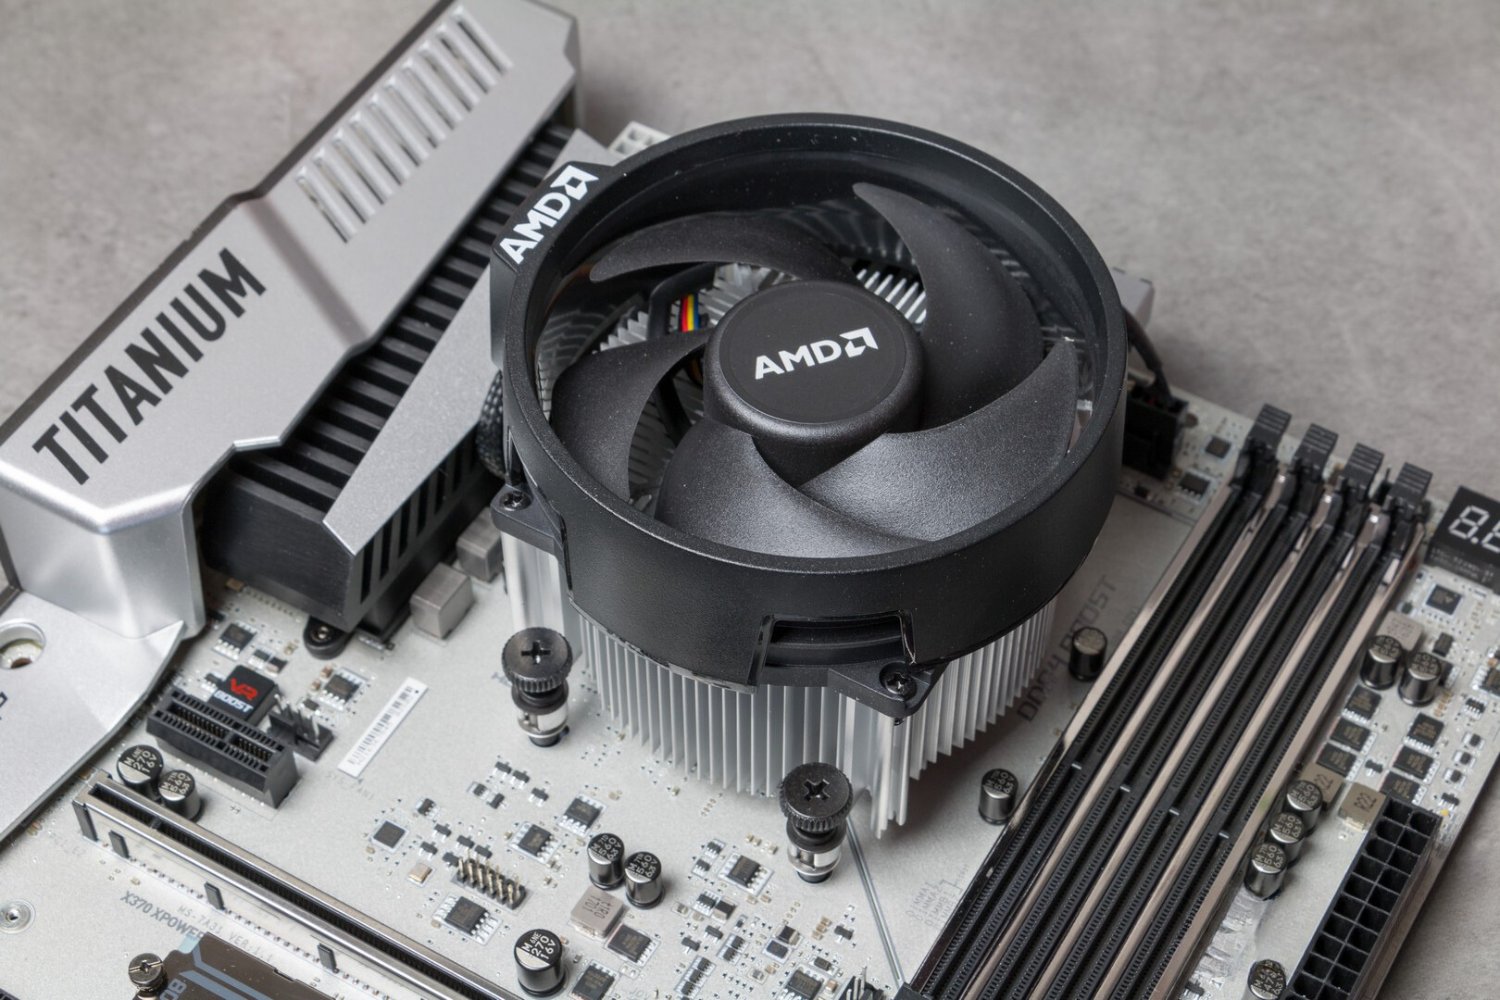
Step 7: Installing the CPU Cooler
The CPU cooler plays a vital role in keeping the Ryzen CPU temperatures in check. Follow these steps to install the CPU cooler:
- Identify the CPU Cooler: Locate the CPU cooler that is compatible with your Ryzen CPU and motherboard. Refer to the CPU cooler manual for specific instructions tailored to your model.
- Mounting Bracket: Depending on the type of CPU cooler you have, you may need to install a mounting bracket onto the motherboard. Follow the instructions provided with the CPU cooler to attach the mounting bracket securely.
- Thermal Paste: Ensure that thermal paste is applied to the Ryzen CPU before installing the CPU cooler. The thermal paste helps in facilitating heat transfer between the CPU and the CPU cooler.
- Align the CPU Cooler: Gently position the CPU cooler over the Ryzen CPU, aligning the mounting holes of the cooler with the corresponding holes on the motherboard or mounting bracket.
- Screw or Clip Mounting: Depending on the CPU cooler design, use screws or retaining clips to secure the cooler to the motherboard. Refer to the CPU cooler manual for the correct installation method.
- Tighten Screws or Clips: Carefully tighten the screws or clips in a diagonal pattern, ensuring even pressure across the CPU cooler. Avoid over-tightening, as it may damage the motherboard or CPU cooler.
During the installation process, ensure that the CPU cooler is aligned with the CPU and sits flat on top of it. The thermal paste will help in creating a uniform heat-conductive layer between the CPU and the CPU cooler, enhancing cooling efficiency.
Properly installing the CPU cooler is crucial for maintaining optimal temperatures and ensuring the longevity and performance of your Ryzen CPU. Take your time during this step to ensure a secure and proper installation.
Step 8: Attaching the CPU Fan
Attaching the CPU fan is the next critical step in the installation process, as it plays a crucial role in cooling the CPU. Follow these steps to attach the CPU fan:
- Locate the CPU Fan Header: Identify the CPU fan header on the motherboard. This header is specifically designed to power and control the CPU fan.
- Connect the Fan Cable: Align the pins on the CPU fan connector with the corresponding holes on the CPU fan header. Gently push the connector down onto the header until it clicks into place. Ensure a secure connection to provide power to the CPU fan.
- Orient the CPU Fan: Orient the CPU fan in a way that allows it to blow air towards the heatsink or exhaust area of the case. This helps in efficient heat dissipation.
- Secure the CPU Fan: Depending on the CPU fan model, use the provided mounting brackets, screws, or clips to secure the CPU fan onto the heatsink. Follow the instructions provided with the CPU fan to ensure a secure attachment.
- Manage the Fan Cable: Carefully route and manage the fan cable to ensure it is out of the way of any components or blocking any airflow. Use cable management techniques such as zip ties or Velcro straps to keep the cable tidy and organized.
Attaching the CPU fan ensures proper airflow and cooling of the CPU. The fan draws heat away from the CPU heatsink, dissipating it to maintain optimal temperatures.
Once the CPU fan is securely attached and the cable is managed properly, you can proceed to the next step of connecting the power and reset pins.
Step 9: Connecting Power and Reset Pins
Connecting the power and reset pins on the motherboard is a crucial step to ensure the proper functioning of your Ryzen CPU system. Follow these steps to connect the power and reset pins:
- Identify the Power and Reset Pins: Locate the power and reset pins on the motherboard. These pins are usually located at the bottom right corner of the motherboard and are labeled for easy identification.
- Refer to the Motherboard Manual: Consult the motherboard manual or documentation to determine the specific pin layout and corresponding functions.
- Connect the Power Button: Using the power button connector from the computer case, connect it to the corresponding power pin on the motherboard. This allows you to power on the system using the power button.
- Connect the Reset Button: Similarly, using the reset button connector from the computer case, connect it to the corresponding reset pin on the motherboard. This allows you to reset the system using the reset button.
- Double-Check Connections: After connecting the power and reset pins, ensure that the connections are secure and properly aligned. Improper connections can result in power or reset issues.
- Verify Proper Functionality: Once the connections are made, test the power and reset buttons to ensure they are functioning correctly. Power on the system and verify that it starts up as expected.
Properly connecting the power and reset pins ensures that you can easily power on and reset your Ryzen CPU system when needed. It is important to refer to the motherboard manual for precise pin configurations, as they may vary depending on the motherboard model.
Once the power and reset pins are connected, you are ready to move on to the final step of securing the CPU cooler in place.
Step 10: Securing the CPU Cooler
Securing the CPU cooler is the final step in the installation process. This step ensures that the CPU cooler is stable and properly mounted, allowing for efficient heat dissipation. Follow these steps to secure the CPU cooler:
- Tighten Mounting Screws/Clips: Using a screwdriver or the appropriate tool, tighten the mounting screws or clips on the CPU cooler. Ensure that the screws or clips are secure but be cautious not to overtighten them, as this can damage the motherboard or CPU cooler.
- Check for Even Pressure: Ensure that the pressure is evenly distributed across the CPU cooler. Tighten the screws or clips in a diagonal pattern to maintain even pressure on all sides.
- Verify Stability: Gently shake the CPU cooler to ensure that it is firmly mounted and there is no excessive movement. A secure CPU cooler is essential to maintain good contact between the CPU and the cooler.
- Double-Check Connections: Check all connections between the CPU cooler and the motherboard, such as the CPU fan cable and any additional fan connectors. Ensure they are properly attached and secured.
- Inspect Clearance and Airflow: Verify that the CPU cooler has sufficient clearance from surrounding components and that there are no obstacles obstructing airflow. This ensures proper cooling performance.
- Final System Check: Double-check all components and connections to ensure everything is securely in place. Make sure there are no loose screws or cables that can interfere with the operation of your system.
Securing the CPU cooler is crucial to maintain the stability and performance of your Ryzen CPU system. A properly mounted CPU cooler promotes efficient heat dissipation, preventing thermal throttling and maintaining optimal operating temperatures.
Once the CPU cooler is securely in place, you have successfully completed the installation process. Your Ryzen CPU is now ready for use, providing you with improved performance and stability.
Conclusion
Congratulations! You have successfully installed your Ryzen CPU, bringing enhanced performance and capabilities to your computer system. By following the step-by-step process outlined in this guide, you have ensured a proper and secure installation.
Throughout the installation process, we emphasized the importance of safety precautions, such as powering off your computer, grounding yourself, and handling components with care. These precautions help prevent damage to your components and ensure a safe installation experience.
We also highlighted the tools required for the installation, including a screwdriver, thermal paste, CPU cooler, and an anti-static wrist strap. Having these tools on hand makes the installation process smoother and more efficient.
The installation steps covered various essential tasks, from gathering the necessary components to securing the CPU cooler in place. Preparing the motherboard, removing the old CPU (if applicable), and properly applying thermal paste were all key components of the installation process.
Securing the CPU cooler and connecting the power and reset pins ensured proper functionality and cooling efficiency. Following these steps ensures optimal performance and protects your components from damage caused by overheating.
Remember, always consult the documentation provided by the manufacturers, such as the motherboard and CPU manuals, for specific instructions and precautions. Different motherboards and CPUs may have unique installation requirements.
With your Ryzen CPU installed, you can now enjoy faster speeds, improved multitasking, and better overall performance. Take a moment to double-check all connections, ensure proper airflow, and verify that your system is functioning as expected.
Thank you for following this installation guide. We hope it has been helpful in installing your Ryzen CPU. If you have any further questions or need assistance, don’t hesitate to reach out to the manufacturer or consult with an experienced professional in the field. Enjoy your upgraded system!