Introduction
Welcome to the guide on how to take off a CPU cooler. Whether you are upgrading your cooler, cleaning your computer components, or troubleshooting a hardware issue, removing the CPU cooler is a necessary step. The CPU cooler plays a crucial role in keeping your processor cool and preventing it from overheating.
Before we dive into the step-by-step process, it’s important to understand that removing a CPU cooler requires careful handling to avoid any damage to the processor or other delicate components. Following best practices and taking necessary precautions will ensure a smooth and hassle-free removal process.
In this guide, we will walk you through the process of safely removing a CPU cooler, ensuring that you maintain the integrity of your hardware. We will discuss the tools you need, the preparation required, and the exact steps you should take.
Whether you are a beginner or an experienced computer enthusiast, this guide provides a detailed and comprehensive overview of the process. So, let’s get started with the necessary tools you will need.
Step 1: Gather the necessary tools
Before you begin removing your CPU cooler, it’s important to gather all the necessary tools to ensure a smooth and efficient process. Having the right tools on hand will make the removal process easier and help prevent any accidental damage.
Here is a list of tools you should have:
- Screwdriver (typically a Phillips or a flathead) – Make sure it is the correct size for the screws on your CPU cooler.
- Thermal paste cleaner (optional) – If you plan to reapply thermal paste, having a good thermal paste cleaner will help remove the old thermal paste effectively.
- Isopropyl alcohol – This is used to clean the CPU and heatsink surface before applying new thermal paste.
- Lint-free cloth or coffee filters – These can be used to clean the CPU and heatsink surfaces without leaving behind any residue or lint.
- Thermal paste – If you plan to reapply thermal paste, make sure you have a high-quality thermal paste on hand.
- Anti-static wristband (optional) – Using an anti-static wristband can help prevent accidental static discharge that could damage sensitive computer components.
Having all these tools readily available will save you time and frustration during the removal process. It’s important to note that the specific tools you need may vary depending on your CPU cooler’s design and the mounting mechanism it uses. Always consult the user manual or manufacturer’s guidelines for your specific CPU cooler for any additional tools or instructions.
Once you have gathered all the necessary tools, you are ready to move on to the next step: preparing your workspace.
Step 2: Prepare your workspace
Preparing your workspace is essential before you start removing the CPU cooler. Having a clean and organized workspace will make the entire process more efficient and help prevent any accidental damage to your computer components.
Here are a few steps to prepare your workspace:
- Clean your workspace: Clear any clutter from your workspace to create a clean and spacious area to work. Remove any unnecessary items that could hinder your progress or accidentally knock over during the process.
- Static discharge precautions: To prevent static electricity from damaging your computer components, it is recommended to work on a static-free surface. Use an anti-static mat or place your computer on a non-conductive surface such as a wooden table or a rubber mat. Additionally, consider using an anti-static wristband to ground yourself and discharge any static electricity.
- Proper lighting: Ensure that your workspace is well-lit to clearly see the components and avoid any accidental mishaps.
- Organize your tools: Lay out your tools in an organized manner so that you can easily access them during the removal process. This will save you time and prevent any frustration of searching for tools when needed.
- Take necessary precautions: Before you start working on your computer, make sure to unplug all power cords and turn off the power supply. This will mitigate the risk of electric shock and prevent any potential damage to your hardware.
By setting up a clean and organized workspace, you will have a conducive environment for safely removing the CPU cooler. Now that you have prepared your workspace, you are ready to move on to the next step: shutting down the computer and unplugging it.
Step 3: Shut down the computer and unplug it
Before proceeding to remove the CPU cooler, it is crucial to shut down the computer and disconnect it from the power source. This step ensures your safety and prevents any potential damage to the components due to electric shock.
Follow these steps to shut down the computer and unplug it:
- Saving your work: Save any unsaved documents or files to prevent data loss.
- Exiting applications: Close all running applications and programs on your computer.
- Shutting down: Click on the “Start” button in your operating system (usually located in the bottom-left corner of the screen). Select “Shutdown” or “Restart” from the options provided.
- Disconnect power cords: Once your computer has shut down completely, unplug the power cord from the back of the computer and from the power outlet. This will ensure that there is no electrical current flowing through the system.
- Touching a grounded metal object: To discharge any static electricity from your body, touch a grounded metal object, such as a doorknob or the metal frame of your computer case. This step helps prevent any potential damage from static discharge when working with the internal components.
It is important to note that some computers may have a power supply unit (PSU) switch located on the back of the computer case. In such cases, make sure to turn off the switch to completely cut off power to the system.
By shutting down the computer and disconnecting it from the power source, you ensure the safety of both yourself and the computer components. Keep the computer unplugged until the CPU cooler removal process is complete.
Now that you have shut down and unplugged the computer, you can move on to the next step: opening the computer case.
Step 4: Open the computer case
Now that the computer is shut down and unplugged, it’s time to open the computer case to gain access to the internal components, including the CPU cooler. Opening the case may vary depending on the design of your computer, such as a tower or a desktop.
Follow these general steps to open the computer case:
- Locate the case screws: Identify the screws that hold the side panel of your computer case in place. These screws are usually located at the back of the case.
- Use a screwdriver: Use an appropriate screwdriver (either Phillips or flathead, depending on the type of screws) to loosen and remove the screws.
- Slide or remove the side panel: Once the screws are removed, gently slide or remove the side panel of the case to expose the internal components. Some cases may have a latch mechanism or a locking mechanism that needs to be released before sliding off the panel.
- Set aside the side panel: Place the removed side panel in a safe location where it won’t get damaged or cause any obstruction during the removal process.
When opening the computer case, be cautious of any cables or wires that may be attached to the side panel or other components. Ensure that they are not strained or tangled before setting aside the panel.
It is important to note that the process of opening the computer case may vary, depending on the specific make and model of your computer. Always refer to the manufacturer’s guidelines or user manual for any specific instructions or precautions.
Now that you have successfully opened the computer case, you are ready to proceed to the next step: identifying the CPU cooler within the case.
Step 5: Identify the CPU cooler
After opening the computer case, the next step in removing the CPU cooler is to identify its location within the computer. The CPU cooler is responsible for dissipating heat generated by the processor (CPU) to ensure optimal performance and prevent overheating.
Here’s how you can identify the CPU cooler:
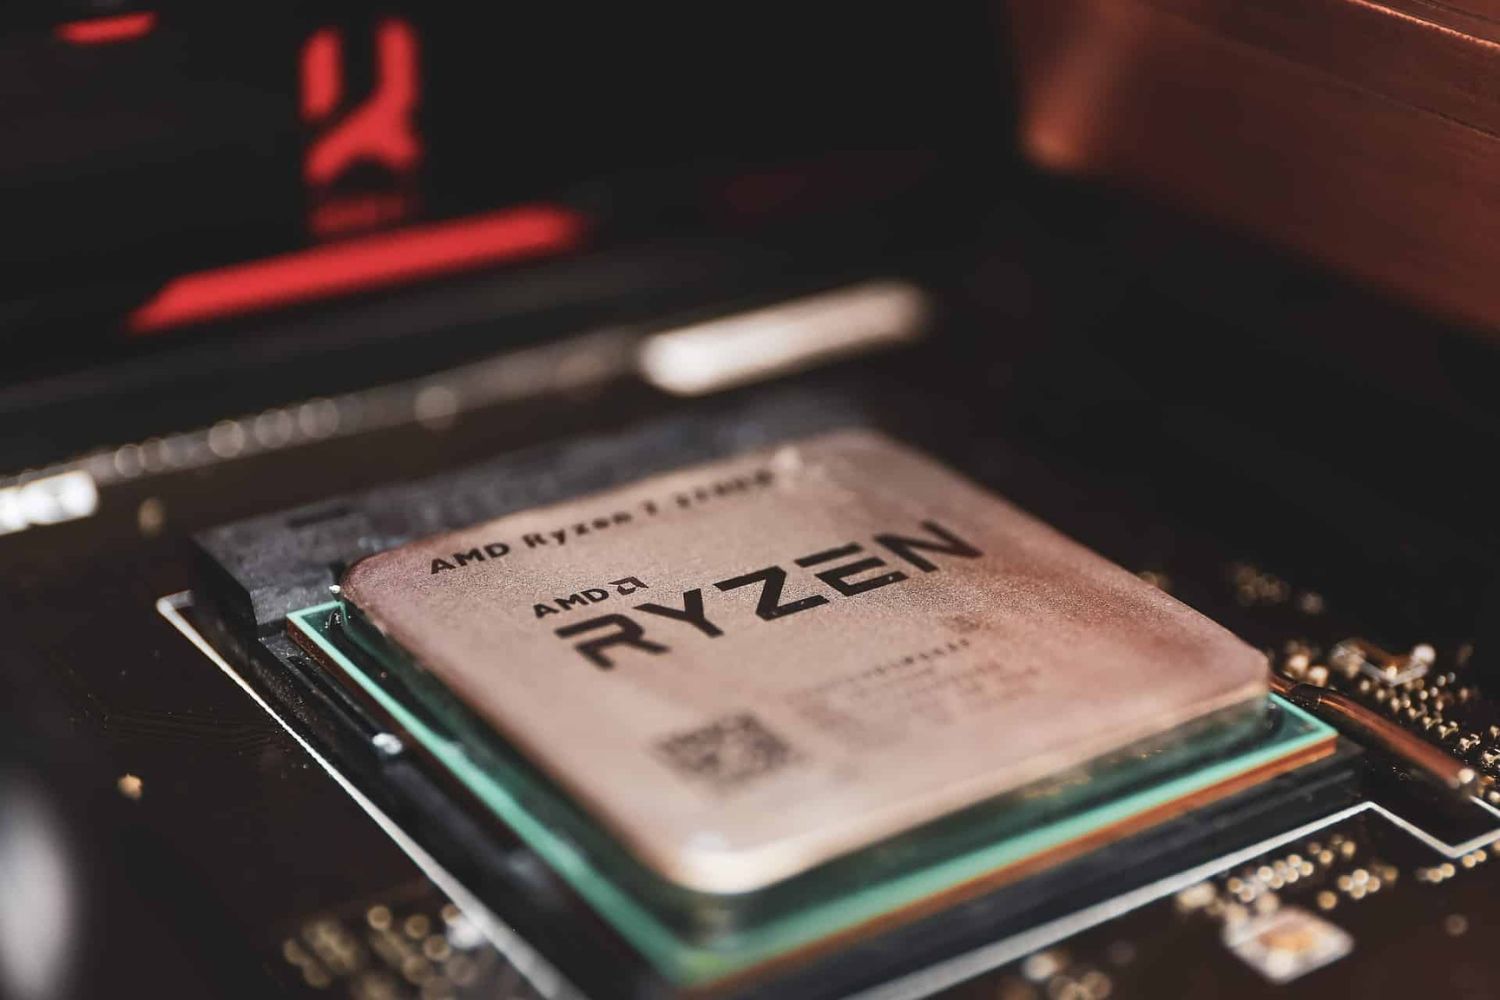
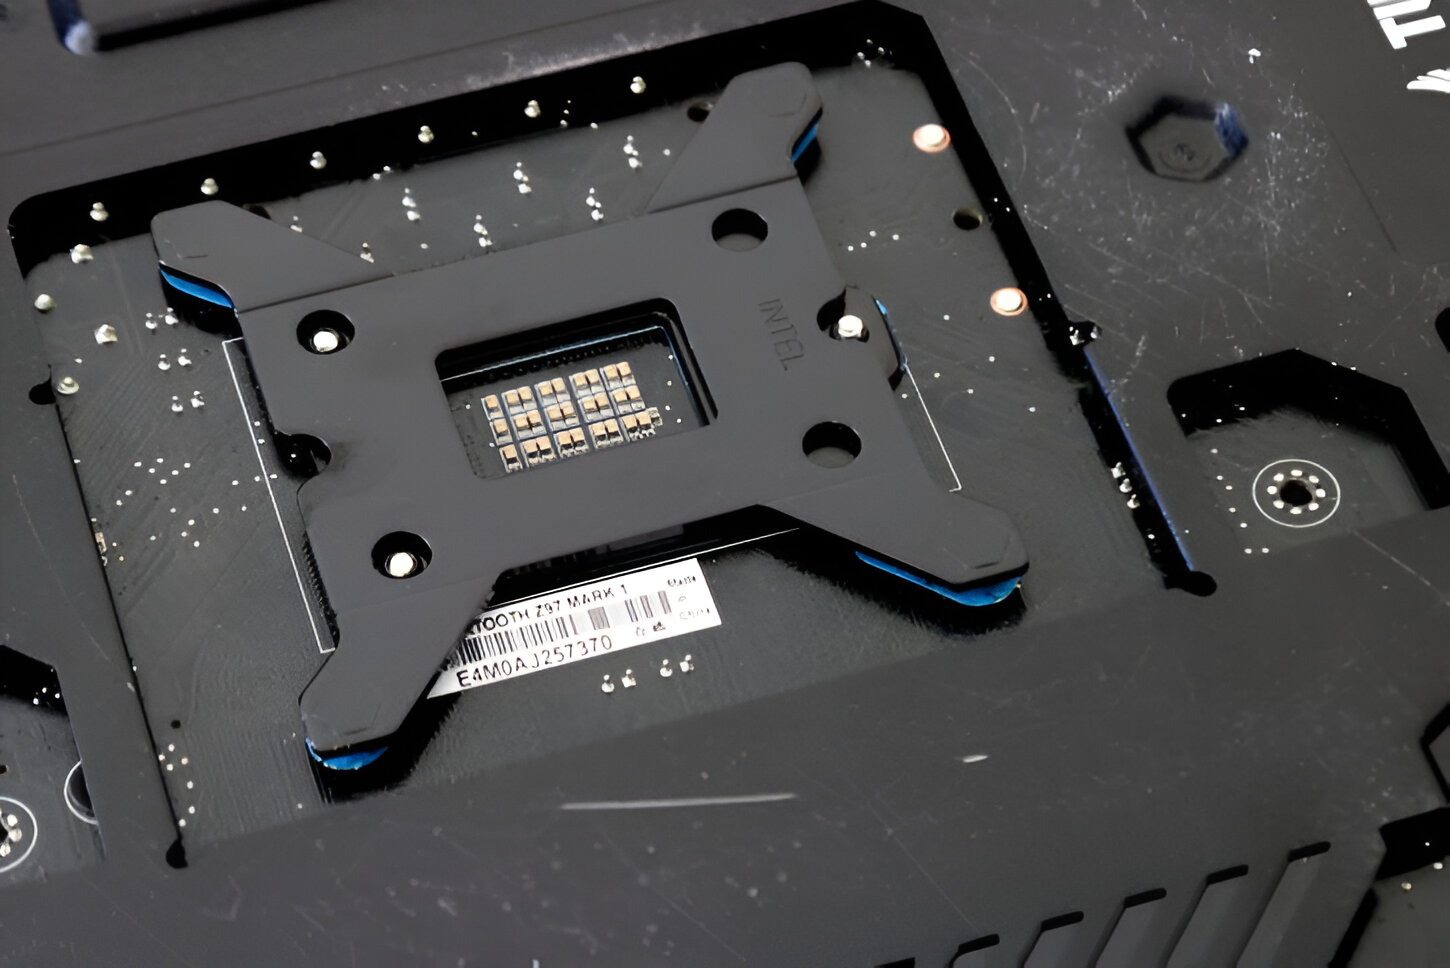
- Locate the CPU socket: The CPU socket is usually located on the motherboard, near the center of the board. It is a square or rectangular socket with a lever mechanism to secure the CPU.
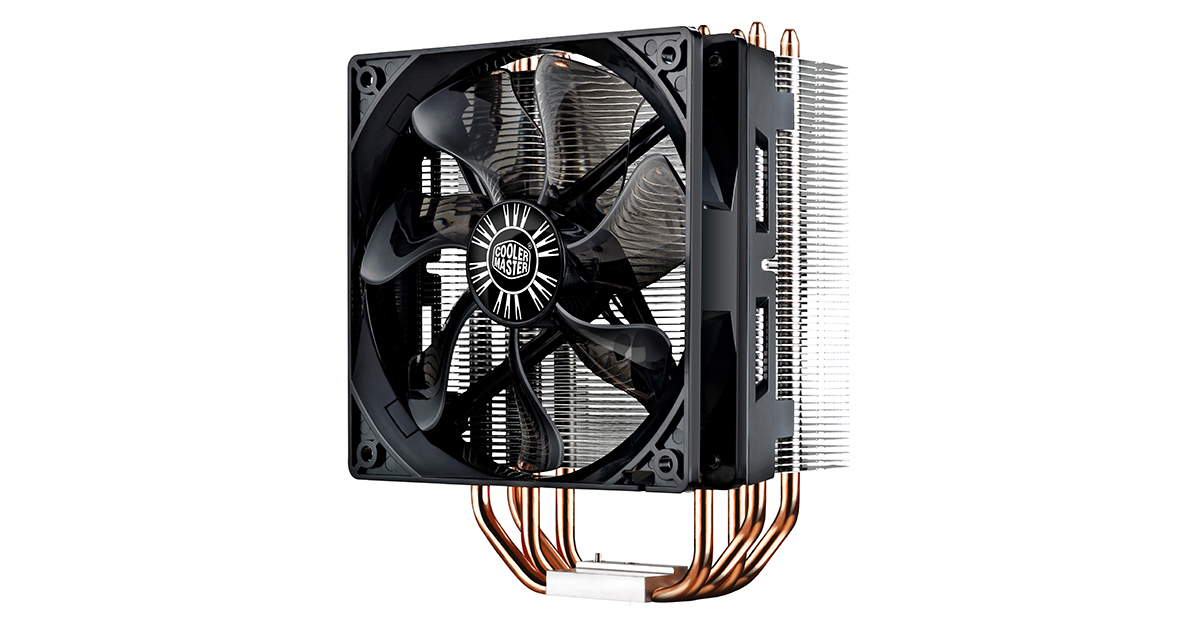
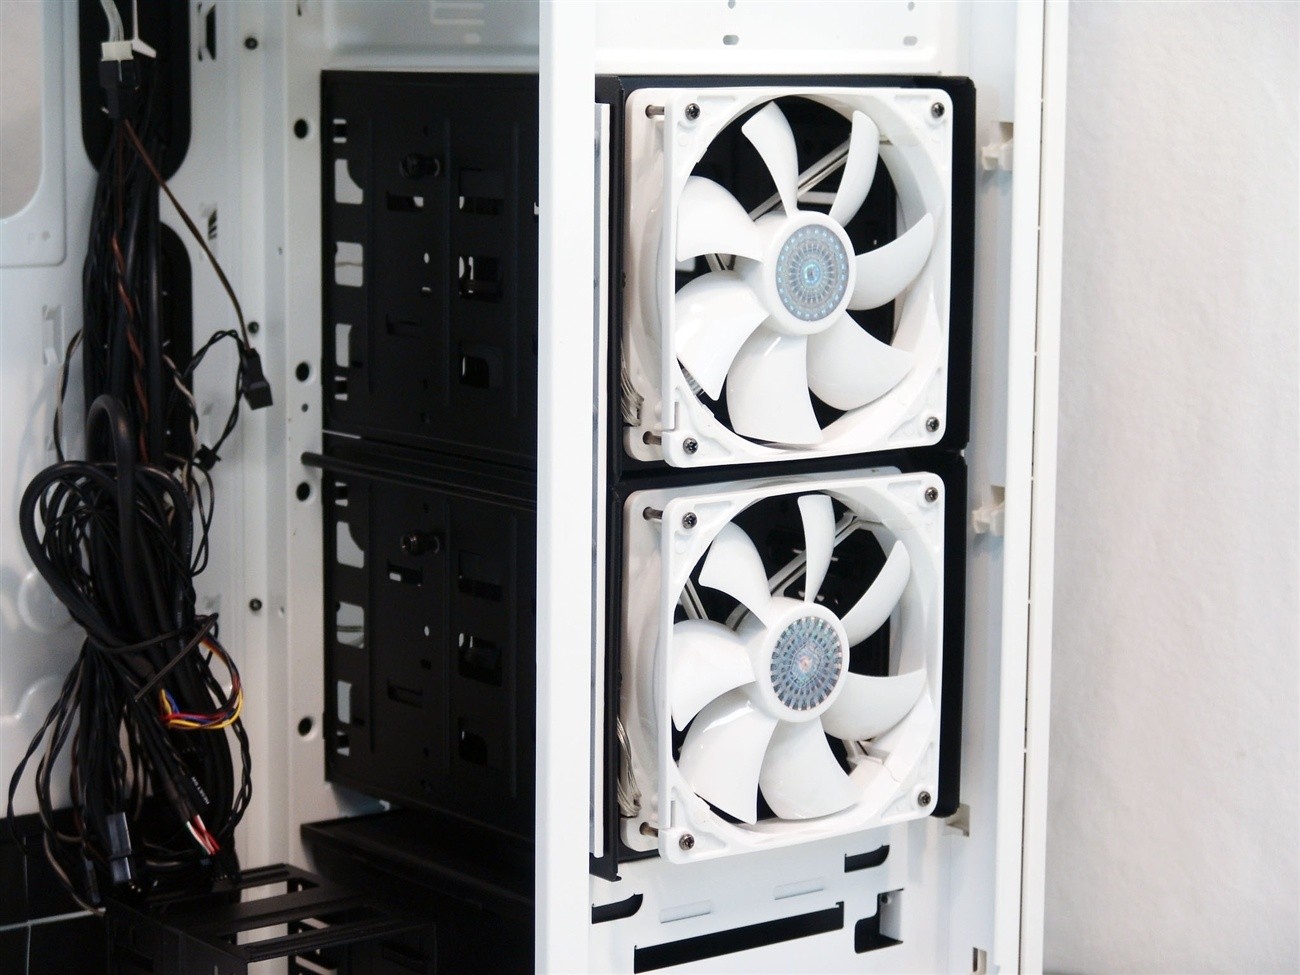
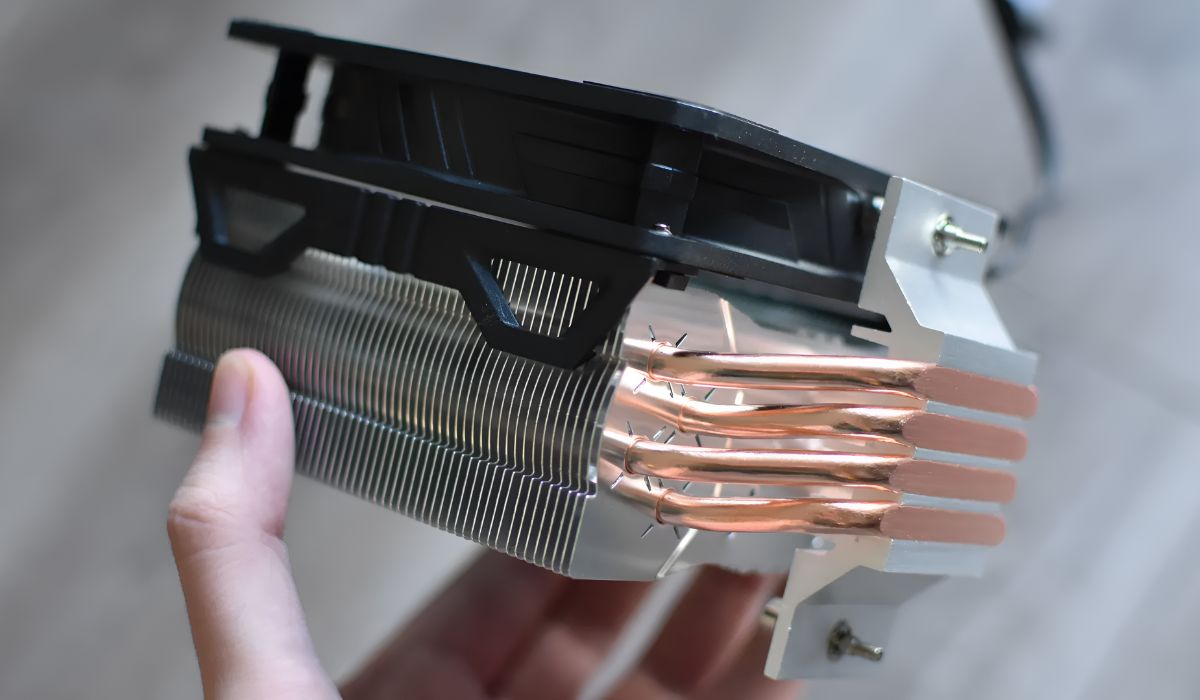
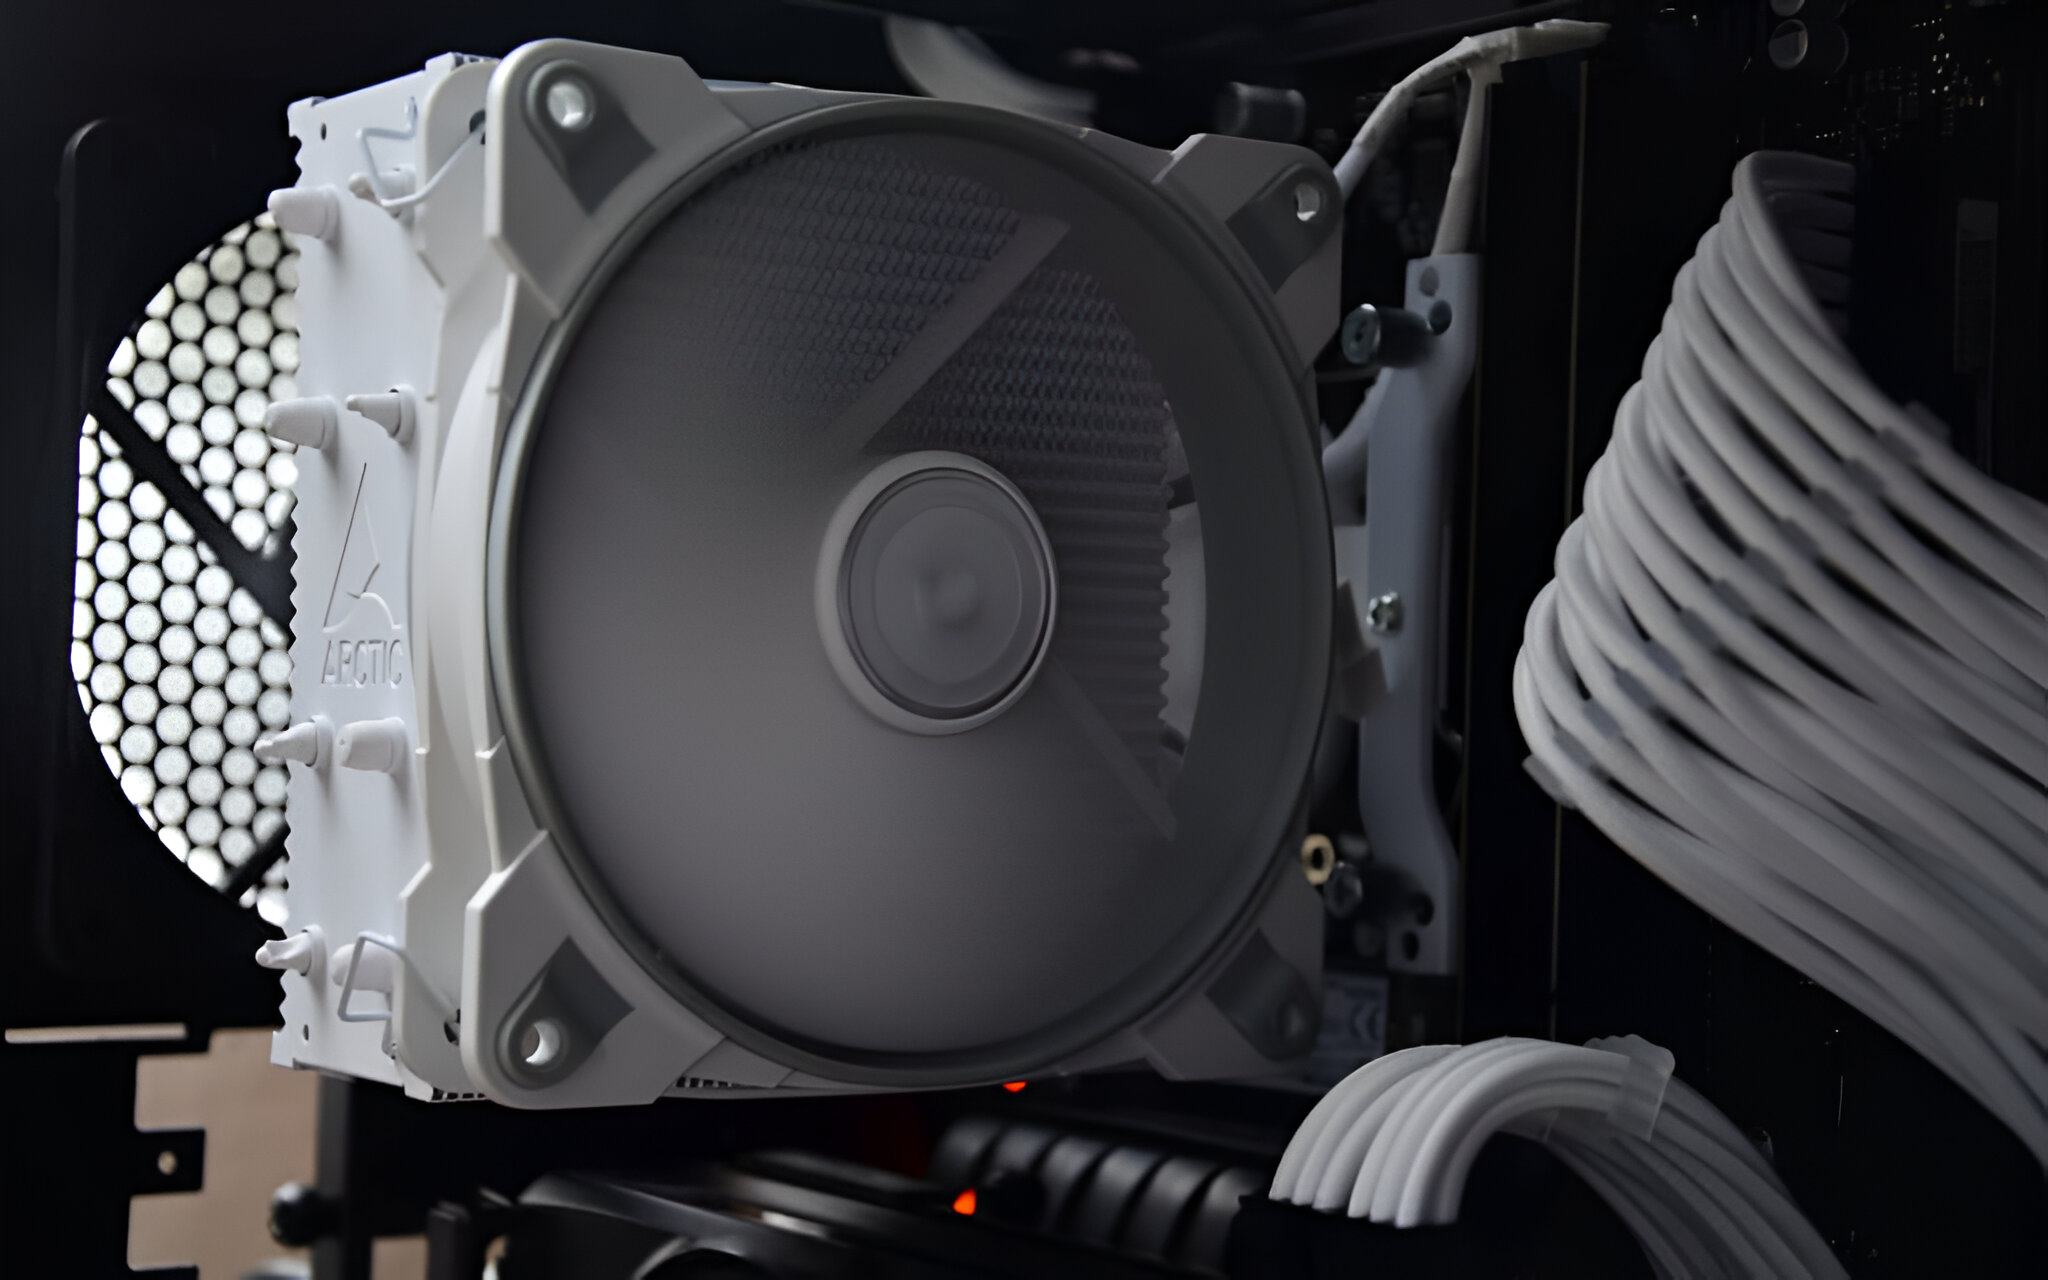
- Look for the heatsink and fan assembly: The CPU cooler usually consists of a metal heatsink that sits on top of the CPU and a fan (or multiple fans) to provide active cooling. The heatsink can be identified by its distinct metal fins, while the fan can be easily distinguished by its rotating blades.
- Note the connection to the motherboard: Take note of how the CPU cooler is connected to the motherboard. It may be secured using brackets, screws, or a mounting mechanism specific to your cooler model.
It is important to exercise caution when handling the CPU cooler, as it can be delicate and prone to damage. Avoid applying excessive force or bending any components during the identification process.
If you are unsure about the location or identification of the CPU cooler, consult your computer’s user manual or the manufacturer’s guidelines for assistance. They will provide specific information and illustrations that can help you locate the CPU cooler within your specific computer setup.
Once you have identified the CPU cooler, you can proceed to the next step: disconnecting the CPU fan power cable.
Step 6: Disconnect the CPU fan power cable
Disconnecting the CPU fan power cable is an important step in removing the CPU cooler. The power cable supplies electricity to the fan, allowing it to cool the CPU effectively. By disconnecting the power cable, you ensure a safe and hassle-free removal process.
Follow these steps to disconnect the CPU fan power cable:
- Locate the CPU fan power cable: Look for a cable connected to the CPU fan. It is usually a three- or four-pin connector coming from the fan and is often labeled “CPU Fan” or “CPU_FAN”.
- Release the connector latch: Depending on the connector type, you may need to release a latch or unlock mechanism before disconnecting the cable. Gently lift the latch or unlock the mechanism to loosen the connection.
- Disconnect the power cable: Once the latch is released, carefully pull out the CPU fan power cable from the motherboard, making sure to hold onto the connector and not yank on the cable itself. Use gentle and even pressure to disconnect the cable.
It’s essential to take your time and handle the power cable with care to avoid damage to the connector pins or the motherboard. If you encounter any resistance, double-check to ensure the latch is fully released before attempting to disconnect the cable.
Keep in mind that some CPU coolers may have additional cables for advanced features such as RGB lighting or fan speed control. If your cooler has these extra cables, disconnect them accordingly, following the manufacturer’s instructions or user manual.
Once you have successfully disconnected the CPU fan power cable, you are ready to move on to the next step: removing the CPU cooler mounting brackets.
Step 7: Remove the CPU cooler mounting brackets
In order to remove the CPU cooler, you’ll need to detach the mounting brackets that secure it to the motherboard. These brackets keep the cooler firmly in place and ensure proper thermal contact between the CPU and the cooler. Removing them is an essential step in the process.
Follow these steps to remove the CPU cooler mounting brackets:
- Identify the mounting brackets: Locate the mounting brackets on the CPU cooler. They are typically positioned on opposite sides of the cooler and are attached to the motherboard.
- Check the mounting mechanism: Different CPU coolers utilize various mounting mechanisms, such as screws, clips, or push-pins. Determine the type of mounting mechanism used in your cooler.
- Remove the screws/clips/push-pins: Depending on the mounting mechanism, use the appropriate tool (screwdriver, pliers, etc.) to remove the screws, clips, or push-pins that secure the mounting brackets to the motherboard. Loosen them in a crosswise pattern to ensure even pressure.
- Set aside the mounting brackets: Once the screws, clips, or push-pins are removed, carefully detach the mounting brackets from the CPU cooler. Set them aside in a safe place so that they don’t get lost or misplaced during the removal process.
Take note that some CPU coolers may have additional mounting components or brackets depending on their design. Refer to the cooler’s user manual or manufacturer’s guidelines for specific instructions on how to remove these additional components, if applicable.
While removing the mounting brackets, be cautious not to apply excessive force or damage any components on the motherboard. Take your time and handle the brackets carefully to prevent any unintended consequences.
With the removal of the CPU cooler mounting brackets complete, you are now ready to proceed to the next step: releasing the CPU cooler from the CPU socket.
Step 8: Release the CPU cooler from the CPU socket
Now that the mounting brackets have been removed, it’s time to release the CPU cooler from the CPU socket. This step involves detaching the cooler from the CPU itself, allowing you to remove it from the motherboard.
Follow these steps to release the CPU cooler from the CPU socket:
- Identify the CPU cooler attachment mechanism: Take note of how the CPU cooler is attached to the CPU socket. It can be a lever, screws, or any other fastening mechanism specific to your cooler model.
- Unlock the CPU cooler attachment mechanism: If your CPU cooler has a lever mechanism, gently lift the lever to unlock it. If it utilizes screws, use a screwdriver to loosen and remove them. Be careful not to apply excessive force and avoid disrupting any surrounding components.
- Gently twist or wiggle the cooler: With the attachment mechanism unlocked, gently twist or wiggle the CPU cooler in a back-and-forth motion to loosen it from the CPU socket. This helps break the thermal paste bond between the cooler and the CPU.
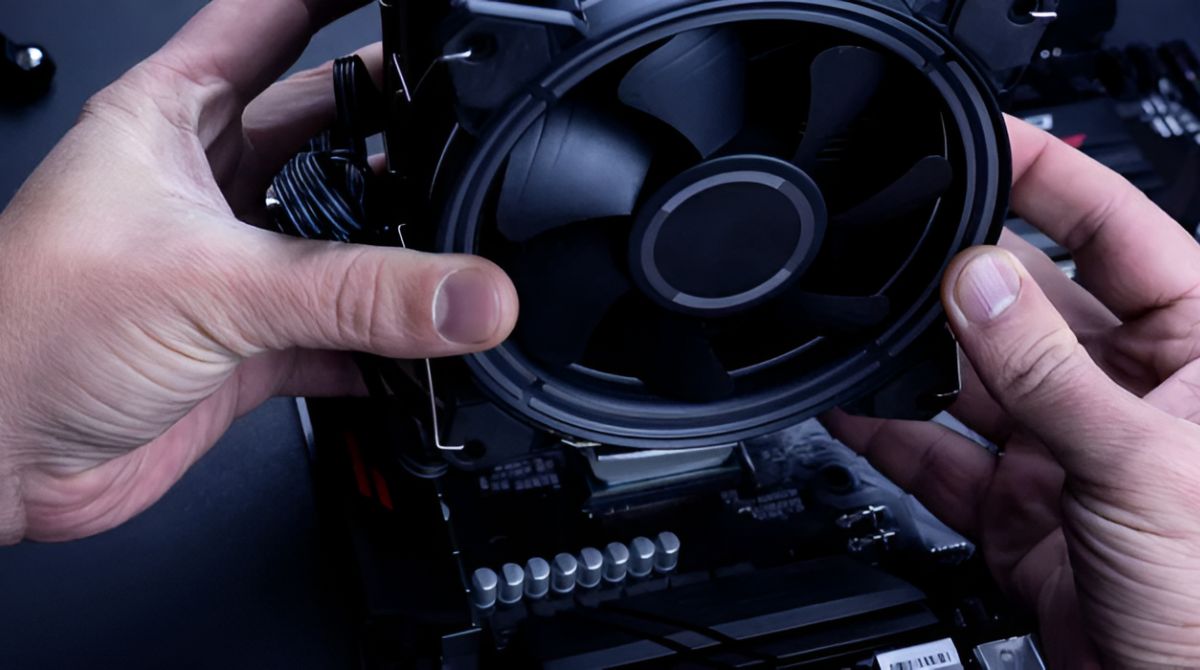
- Lift the CPU cooler: Once the cooler is loosened, carefully lift it straight up, ensuring that no components or cables are caught or obstructed. Keep a firm grip on the cooler to prevent any accidental drops or damage during removal.
It’s important to note that the CPU cooler may still be slightly attached to the CPU due to the thermal paste. Take care not to exert too much force or pull abruptly, as this could damage the CPU or motherboard. If necessary, gently twist or wiggle the cooler a bit more to further loosen the paste before lifting it off entirely.
Upon removing the CPU cooler, be sure to place it on a clean and static-free surface. Avoid placing it on components or surfaces that may create static or cause damage to the cooler.
With the CPU cooler released from the CPU socket, you have successfully completed this step. The next step, which is optional, involves cleaning the CPU and reapplying thermal paste.
Step 9: Clean the CPU and reapply thermal paste (optional)
While not necessary, it is highly recommended to clean the CPU and reapply thermal paste when removing the CPU cooler. This step ensures optimal thermal conductivity between the CPU and the new cooler you may install.
Follow these steps to clean the CPU and reapply thermal paste:
- Remove old thermal paste: Use a lint-free cloth or coffee filter along with a small amount of isopropyl alcohol to gently clean off the old thermal paste from the surface of the CPU and the bottom of the CPU cooler. Be careful not to leave any residue or fibers behind.
- Apply new thermal paste: Take a small amount (pea-sized or rice-sized) of high-quality thermal paste and apply it to the center of the CPU. Spread the paste evenly using a plastic card or a similar non-conductive tool. Be sure to avoid applying too much paste, as it can lead to excessive heat buildup.
- Place the CPU cooler back: Carefully align the CPU cooler over the CPU socket, ensuring that it is properly oriented and matches the mounting holes. Gently press down on the cooler to evenly distribute the thermal paste and create a secure connection between the CPU and the cooler.
- Reinstall the mounting brackets (if applicable): If your cooler requires mounting brackets, reattach them following the manufacturer’s instructions. Use the appropriate screws, clips, or push-pins to secure the brackets back in place.
It is important to note that applying thermal paste is a delicate process. Ensure that the paste is evenly spread and covers the CPU surface without overflowing onto other components. Excessive thermal paste can cause poor heat transfer or lead to potential damage if it touches electrical contacts.
When handling the CPU and thermal paste, avoid touching the CPU pins or the bottom of the CPU cooler. Oil from your fingers can interfere with thermal conduction or cause corrosion over time.
Remember, cleaning the CPU and reapplying thermal paste is an optional step but highly recommended to ensure optimal cooling performance. If you choose to skip this step, proceed to the next step, which focuses on installing a new CPU cooler (if desired).
Step 10: Install the new CPU cooler (optional)
If you have chosen to install a new CPU cooler instead of reusing the old one, this step will guide you through the process of installing the new cooler onto the motherboard.
Follow these steps to install the new CPU cooler:
- Prepare the new CPU cooler: Unbox the new CPU cooler and ensure that all necessary components are included. Refer to the manufacturer’s instructions or user manual for any specific assembly or installation guidance.
- Apply thermal paste: If you have not already done so in the previous step, apply a small amount of thermal paste to the center of the CPU surface.
- Align the cooler bracket: Most CPU coolers come with a mounting bracket that needs to be aligned with the mounting holes on the motherboard. Attach the bracket securely using the provided screws, clips, or other mounting mechanisms.
- Position the cooler: Place the new CPU cooler onto the CPU socket, aligning it with the mounting bracket. Ensure that it sits evenly and aligns with the screw holes on the bracket.
- Secure the cooler: Attach the new cooler to the mounting bracket using the appropriate screws, clips, or push-pins. Tighten them evenly and in a crosswise pattern to ensure proper contact and thermal conduction.
- Connect the CPU fan power cable: Finally, reconnect the CPU fan power cable to the appropriate connector on the motherboard. Ensure a secure and proper connection to enable power supply and control the cooling fan.
It is important to carefully follow the manufacturer’s instructions or user manual specific to your new CPU cooler model. Each cooler may have different installation requirements or additional components.
Once the new CPU cooler is securely installed, you can move on to the next step: reassembling the computer case.
Step 11: Reassemble the computer case
After successfully removing and replacing the CPU cooler, it’s time to reassemble the computer case ensuring that all components are properly secured and connected. This step will guide you through the process of putting everything back together.
Follow these steps to reassemble the computer case:
- Place the side panel: Take the side panel that you set aside earlier and align it with the case. Carefully slide or secure it back into place, ensuring a snug fit.
- Tighten the screws: Use the appropriate screwdriver to fasten the screws on the side panel, making sure they are firmly in place but not overtightened.
- Reconnect any cables: Check that all cables and connections inside the case are properly reconnected. Ensure that power cables, data cables, and any other necessary connections are securely plugged in.
- Plug in the power supply: Reconnect the power cord to the computer and plug it back into a power outlet.
- Power on the computer: Press the power button to turn on the computer and verify that it boots up properly.
- Monitor temperatures: Once the computer is powered on, monitor the temperatures of the CPU using monitoring software or the BIOS to ensure that the new CPU cooler is functioning correctly and keeping temperatures within acceptable limits.
Take your time while reassembling the computer case and double-check all connections to avoid any loose or improper connections that could cause issues with the system.
After successfully reassembling the computer case, your CPU cooler removal and installation process is complete. Enjoy your improved cooling performance and the stability it brings to your system.
Conclusion
Removing a CPU cooler is a crucial process when upgrading, cleaning, or troubleshooting your computer. It is essential to follow the steps outlined in this guide to ensure a safe and successful removal. By carefully gathering the necessary tools, preparing your workspace, and shutting down and unplugging your computer, you set the foundation for a smooth removal process.
Throughout the process, take precautions to handle components delicately, avoid static discharge, and exercise patience when detaching the CPU cooler and its mounting brackets. If you choose to clean the CPU and reapply thermal paste, follow the recommended steps to optimize thermal conductivity and heat dissipation. Additionally, installing a new CPU cooler can further enhance your system’s cooling performance.
Finally, once the CPU cooler removal and installation are completed, reassembling the computer case and verifying proper connections are important to ensure the stability and functionality of your computer. Monitor the CPU temperatures to ensure that the new cooler is performing optimally.
We hope this guide has provided you with a comprehensive understanding of how to take off a CPU cooler. By following the steps outlined here, you can confidently remove and replace your CPU cooler, improving your system’s performance and longevity.