Introduction
When it comes to optimizing the performance and lifespan of your CPU, a crucial component in your computer, proper cooling is paramount. The CPU cooler is responsible for dissipating the heat generated by the processor, ensuring it stays within safe operating temperatures. Whether you’re a seasoned computer enthusiast or a beginner looking to upgrade your system, knowing how to attach a CPU cooler is an essential skill.
In this guide, we will walk you through the step-by-step process of attaching a CPU cooler to your motherboard. By following these instructions, you can ensure that your CPU remains cool and your system runs smoothly, avoiding any potential thermal issues.
Before we begin, it’s important to gather the necessary supplies. You will need a CPU cooler suited for your specific processor socket, thermal paste, a Phillips screwdriver, and rubbing alcohol or a cleaning solution and cloth. Make sure you have these supplies on hand to complete the installation process.
Properly attaching a CPU cooler involves several important steps, including preparing the motherboard, applying thermal paste, installing the CPU cooler, securing it in place, connecting the fan, and testing the installation. Each step plays a crucial role in ensuring optimal heat dissipation and preventing any damage that could occur from overheating.
By the end of this guide, you will have the knowledge and confidence to successfully attach a CPU cooler to your motherboard. So, grab your supplies, prepare your workspace, and let’s dive into the process of attaching a CPU cooler!
Supplies Needed
Before you begin attaching a CPU cooler to your motherboard, it’s essential to have the necessary supplies ready. Here is a list of items you will need:
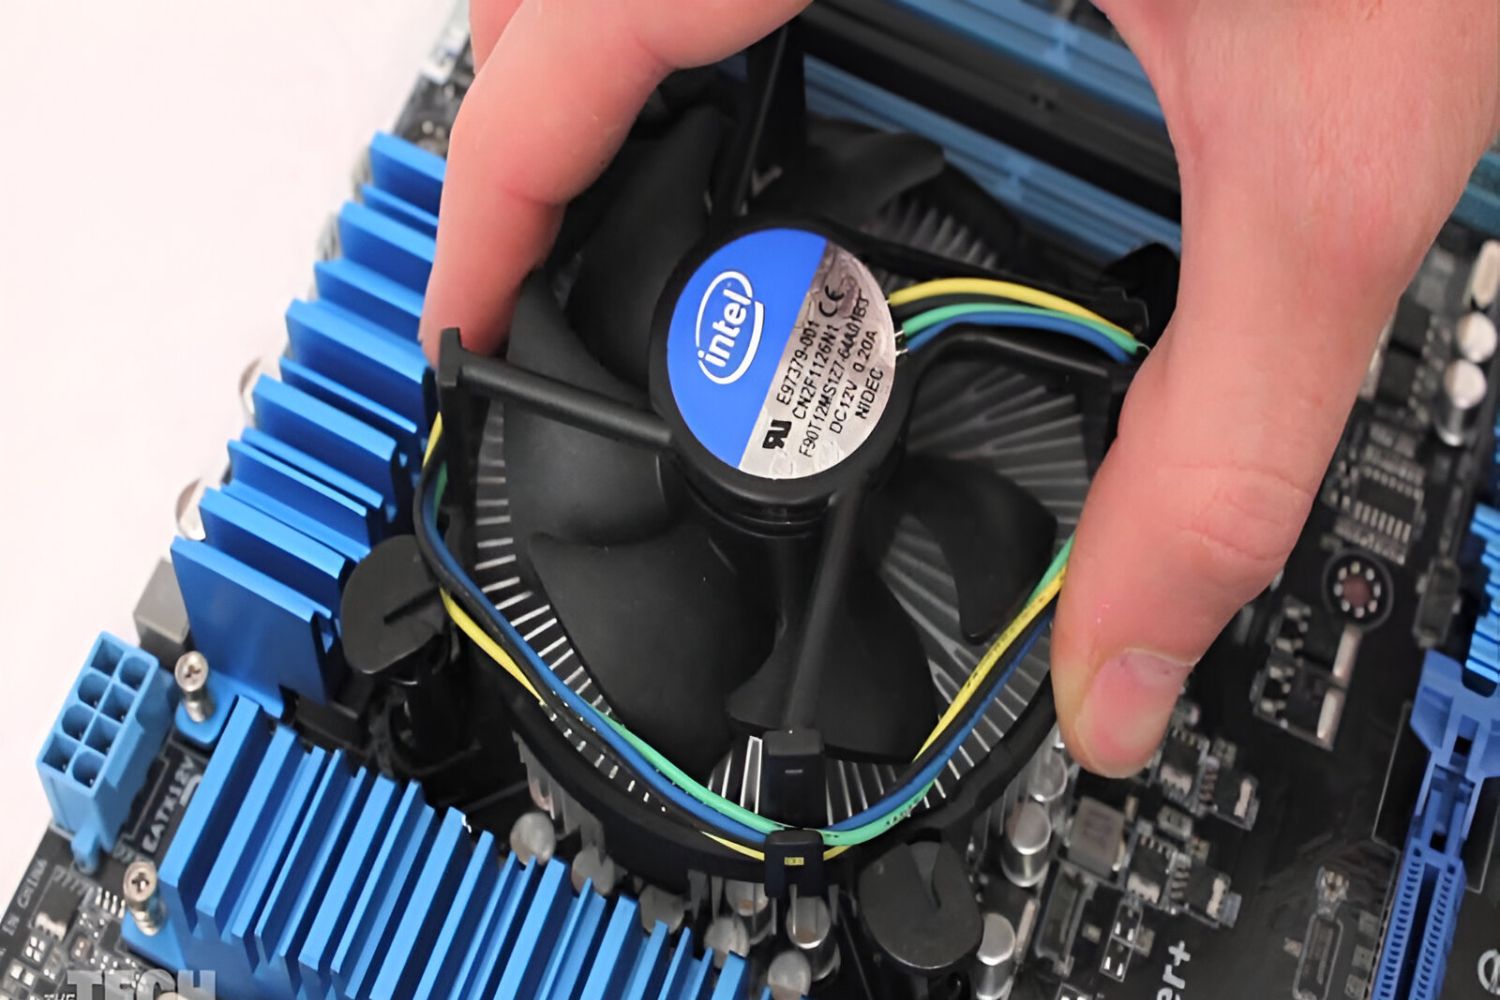
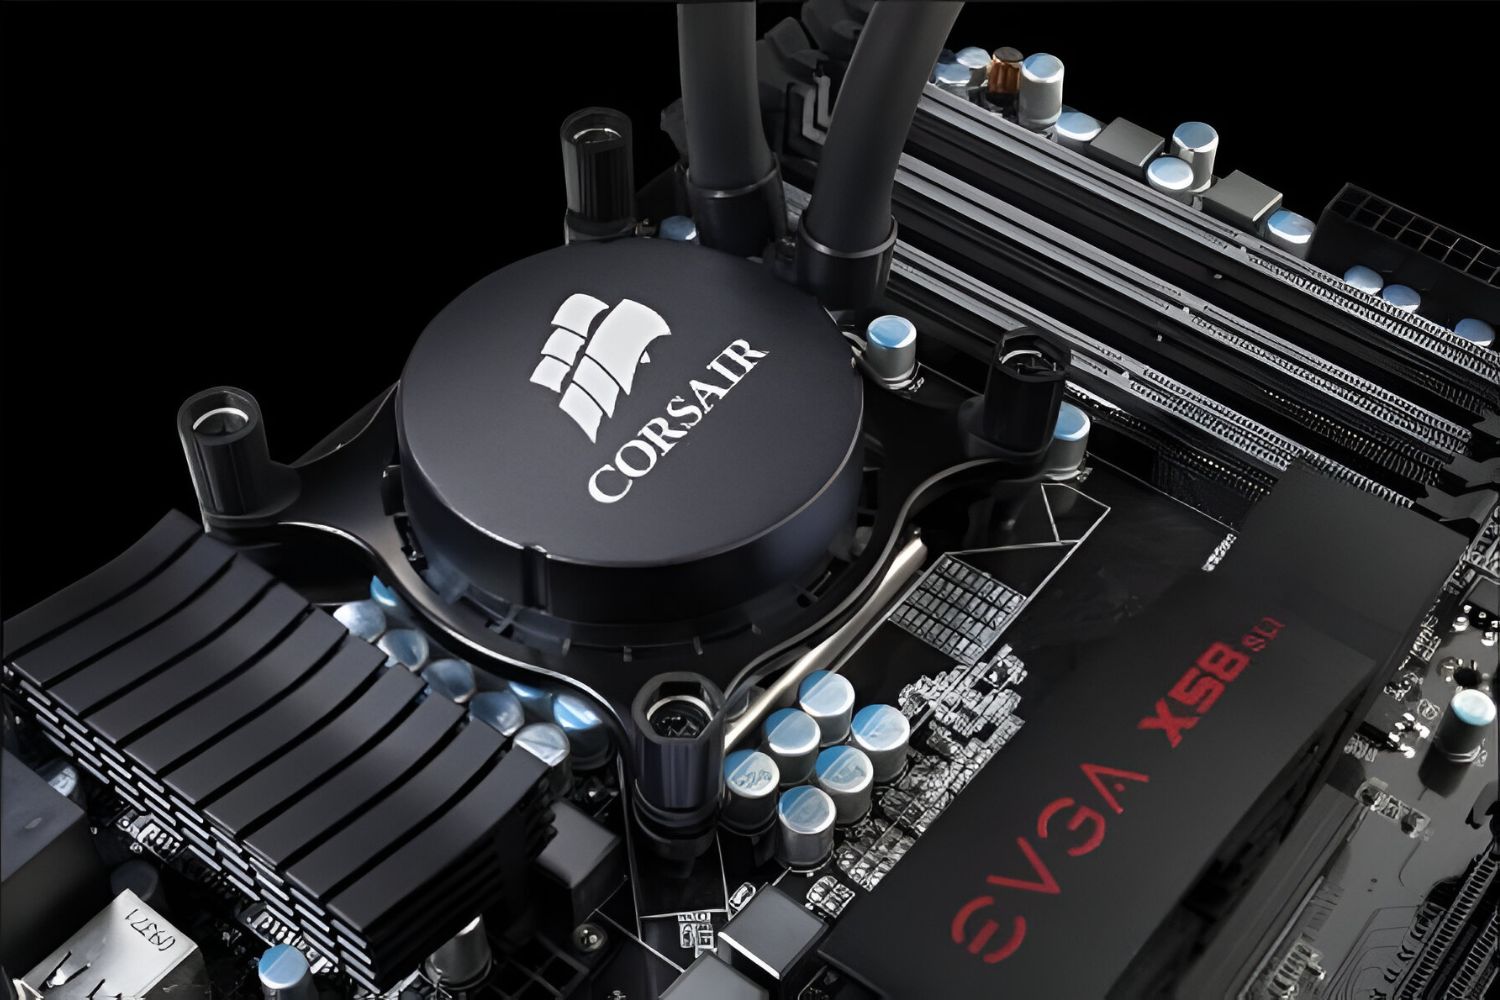
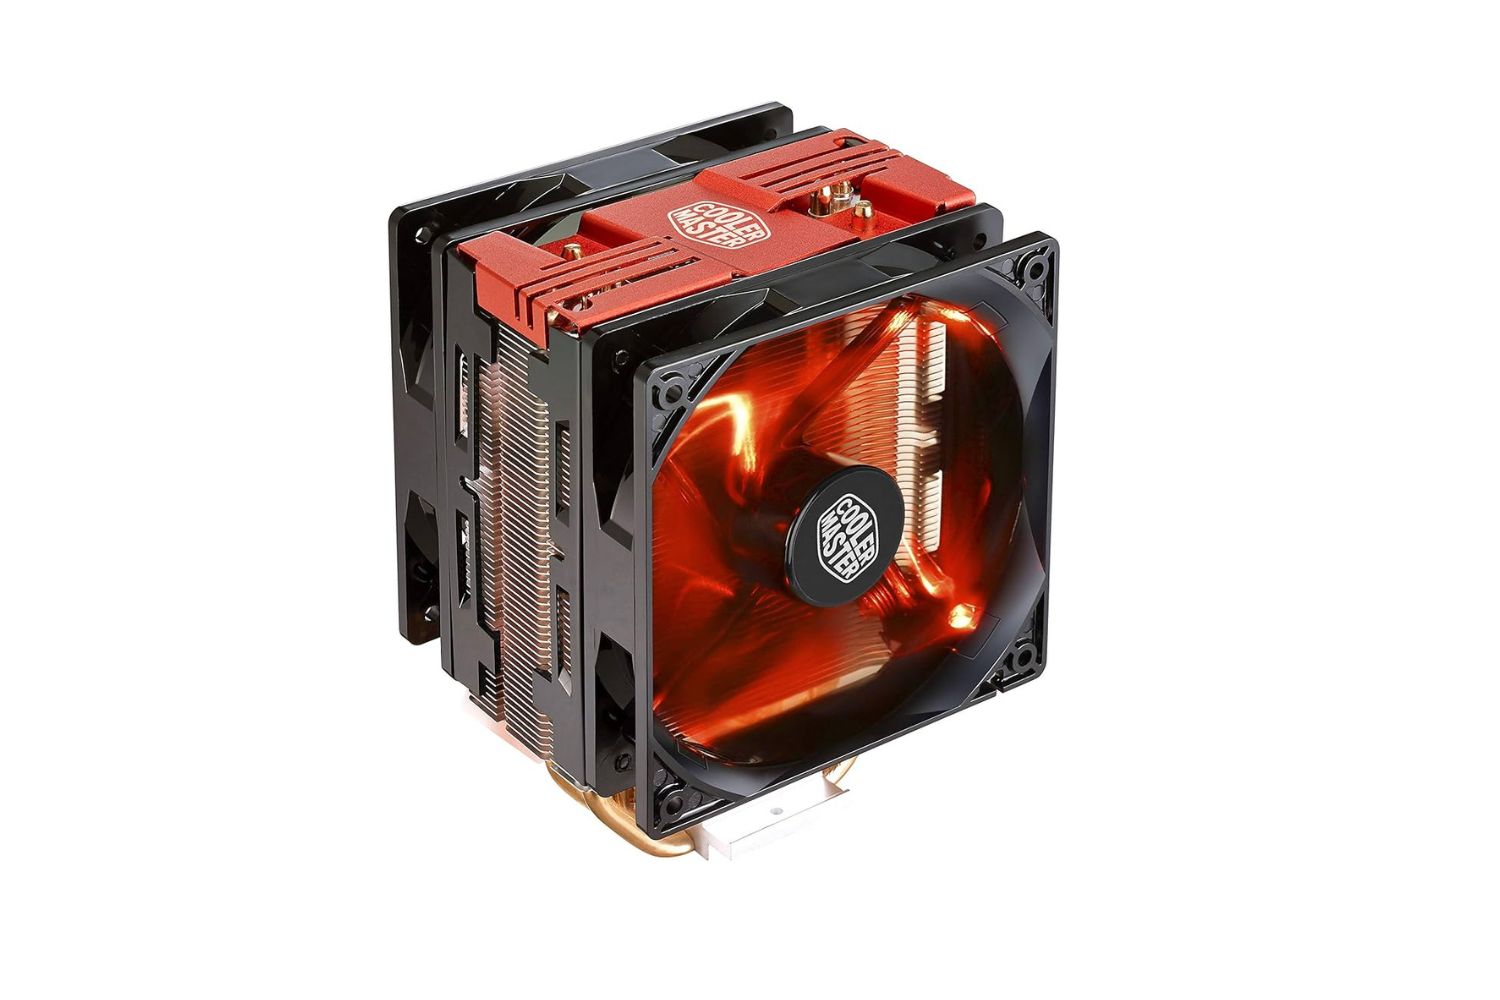
- CPU Cooler: Make sure you have a CPU cooler that is compatible with your processor socket. There are various types of coolers available, including air coolers and liquid coolers. Choose one that suits your needs and budget.
- Thermal Paste: Thermal paste is a crucial element in the cooling process. It helps in transferring heat from the CPU to the cooler. Ensure you have high-quality thermal paste to achieve optimal heat transfer.
- Phillips Screwdriver: A Phillips screwdriver is necessary for fastening the cooler in place. Make sure you have a screwdriver with the appropriate size to fit the screws of your cooler.
- Rubbing Alcohol or Cleaning Solution: Before applying thermal paste, it’s important to clean the CPU surface. Use rubbing alcohol or a cleaning solution and a clean cloth to remove any residual thermal paste or debris.
- Microfiber Cloth: A clean microfiber cloth is useful for wiping away fingerprints or smudges while handling the CPU cooler. It ensures a clean and professional-looking installation.
- Optional: Thermal Pad: Some CPU coolers may come with pre-applied thermal pads. These pads eliminate the need for thermal paste. If your cooler includes one, you can skip the thermal paste application step.
Having these supplies readily available will make the installation process smoother and more efficient. Take a moment to gather all the necessary items before proceeding to the next step. Adequate preparation ensures a successful and hassle-free CPU cooler installation.
Step 1: Preparing the Motherboard
Before you can attach a CPU cooler, it’s crucial to prepare your motherboard for the installation process. Follow these steps to ensure a smooth and successful attachment:
- Power Off and Unplug: Before handling any computer components, make sure to power off your system and unplug it from the electrical outlet. This precautionary measure reduces the risk of electrical shock or damage to your components.
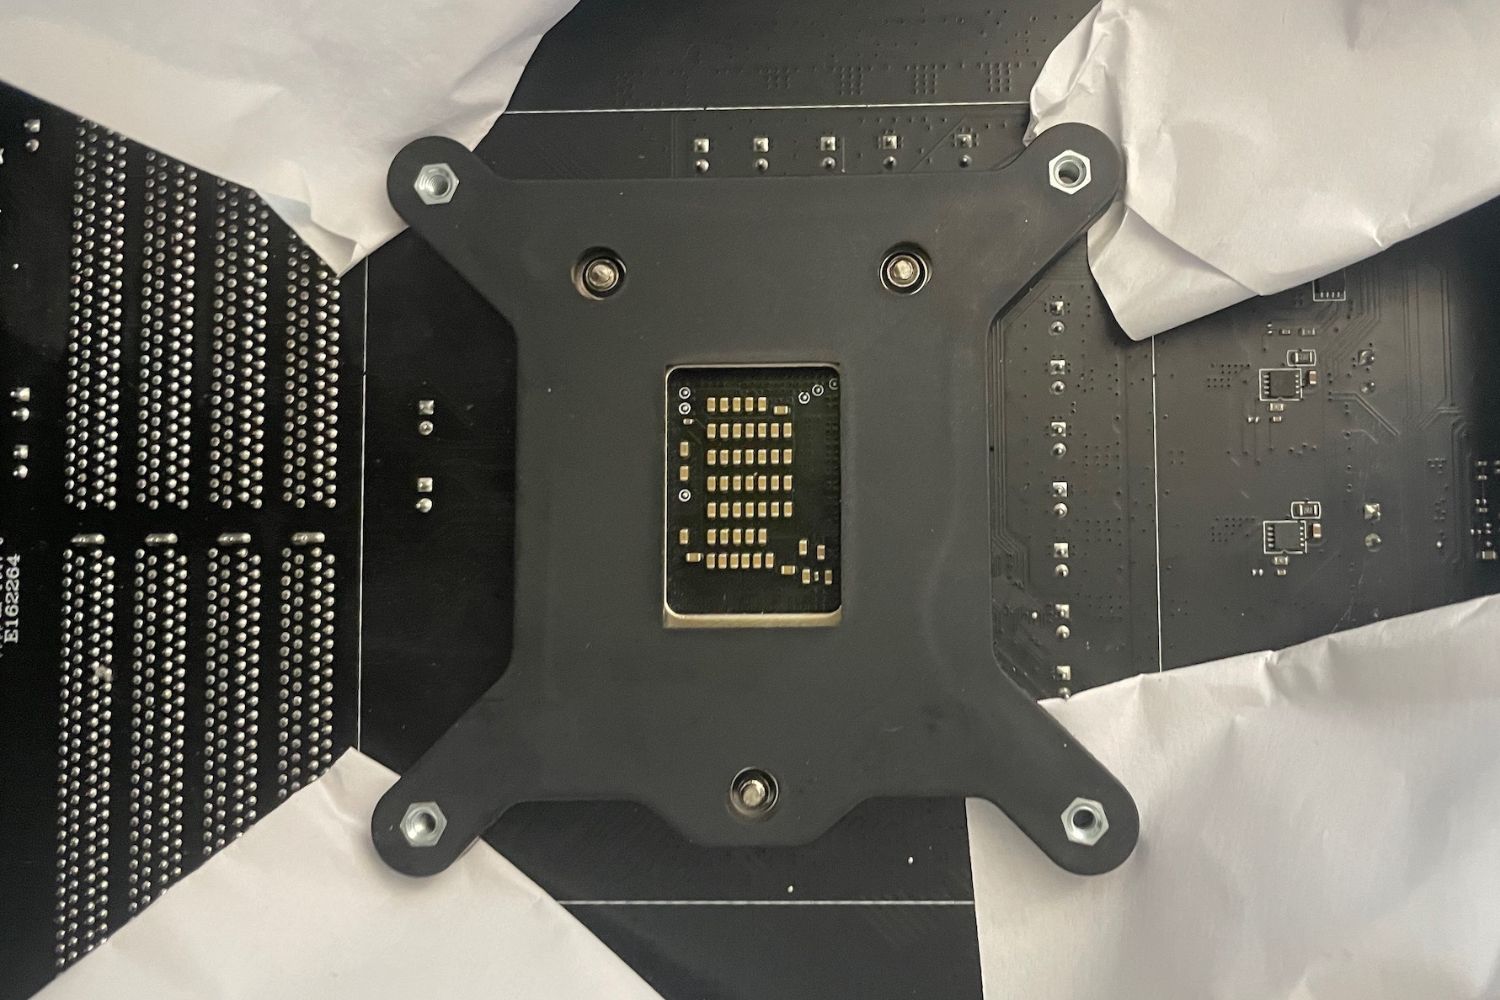
- Access the CPU Socket: Locate the CPU socket on your motherboard. It is typically a square socket with numerous small holes. Remove any protective covers or plastic brackets from the socket, taking care not to touch the delicate pins or the socket itself.
- Clean the CPU Socket: Use a can of compressed air or a small brush to gently remove any dust or debris from the socket. Ensure the socket is clean and free from any foreign particles that could hinder the installation process.
- Check the CPU Socket Alignment: Take a moment to ensure that the CPU socket lever is in the unlocked position. This allows easy access for CPU installation. If the lever is closed or locked, gently push it down and to the side to release it.
- Check Compatibility: Verify that your CPU cooler is compatible with your motherboard and processor socket. Refer to the manufacturer’s specifications or consult the documentation that came with the cooler to ensure a proper fit.
- Identify Mounting Holes: Take note of the mounting holes surrounding the CPU socket. These holes will be used to attach the CPU cooler. Most coolers have universal support for different mounting hole configurations, but it’s always a good idea to check the cooler’s instructions for any specific requirements.
By thoroughly preparing your motherboard, ensuring a clean and suitable socket, and confirming compatibility, you lay the foundation for a successful CPU cooler installation. Once you have completed these steps, you are ready to move on to the next phase: applying thermal paste.
Step 2: Applying Thermal Paste
Applying thermal paste is a crucial step in the CPU cooler installation process. Thermal paste helps to fill any microscopic imperfections between the CPU and the cooler, ensuring optimal heat transfer. Follow these steps to apply thermal paste correctly:
- Clean the CPU: Before applying thermal paste, it’s essential to clean the surface of the CPU. Use rubbing alcohol or a cleaning solution and a clean cloth to remove any residual thermal paste or debris from the CPU.
- Apply a Pea-Sized Amount: Take a small amount of thermal paste, roughly the size of a pea, and place it at the center of the CPU. Avoid using too much thermal paste, as excessive amounts can hinder heat transfer and potentially cause other issues.
- Spread the Thermal Paste: Gently spread the thermal paste using a plastic card or a small, clean spatula. Ensure that the paste is evenly spread across the entire surface of the CPU, creating a thin and uniform layer. Be careful not to apply too much pressure, as this can squeeze out excess paste and create an uneven application.
- Don’t Touch the Paste: Once the thermal paste is applied, avoid touching it or getting any fingerprints on it. Any oils or contaminants can affect the performance of the thermal paste and compromise heat transfer.
- Consult the Cooler Instructions: Some CPU coolers may have specific instructions regarding thermal paste application. It’s important to consult the cooler’s documentation or the manufacturer’s website for any specific guidelines or recommendations.
By properly applying thermal paste, you help ensure efficient heat transfer from the CPU to the cooler. This step plays a crucial role in preventing overheating and optimizing the performance of your CPU. With the thermal paste applied, you are now ready to proceed to the next step: installing the CPU cooler.
Step 3: Installing the CPU Cooler
Installing the CPU cooler is a pivotal part of the installation process, as it directly affects the cooling performance of your CPU. Follow these steps carefully to ensure a secure and effective installation:
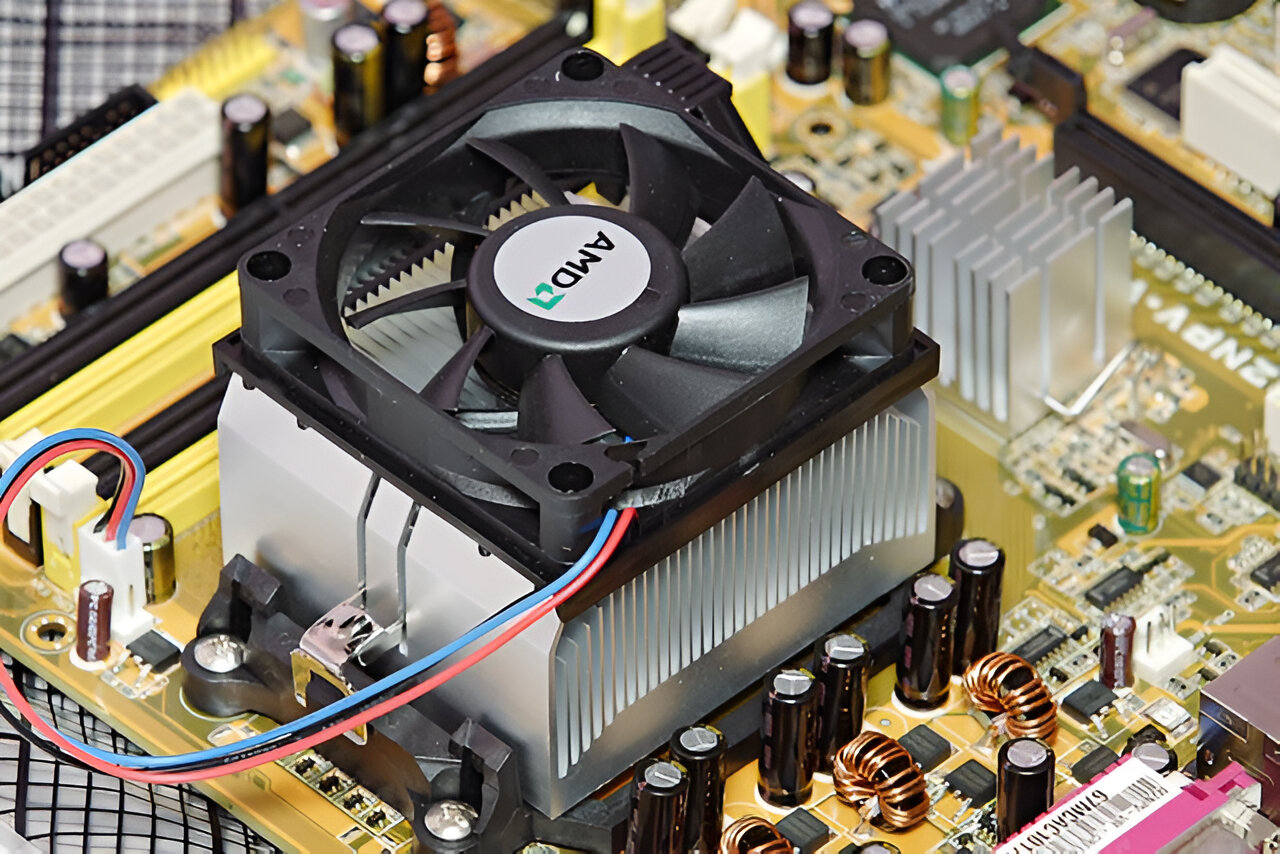
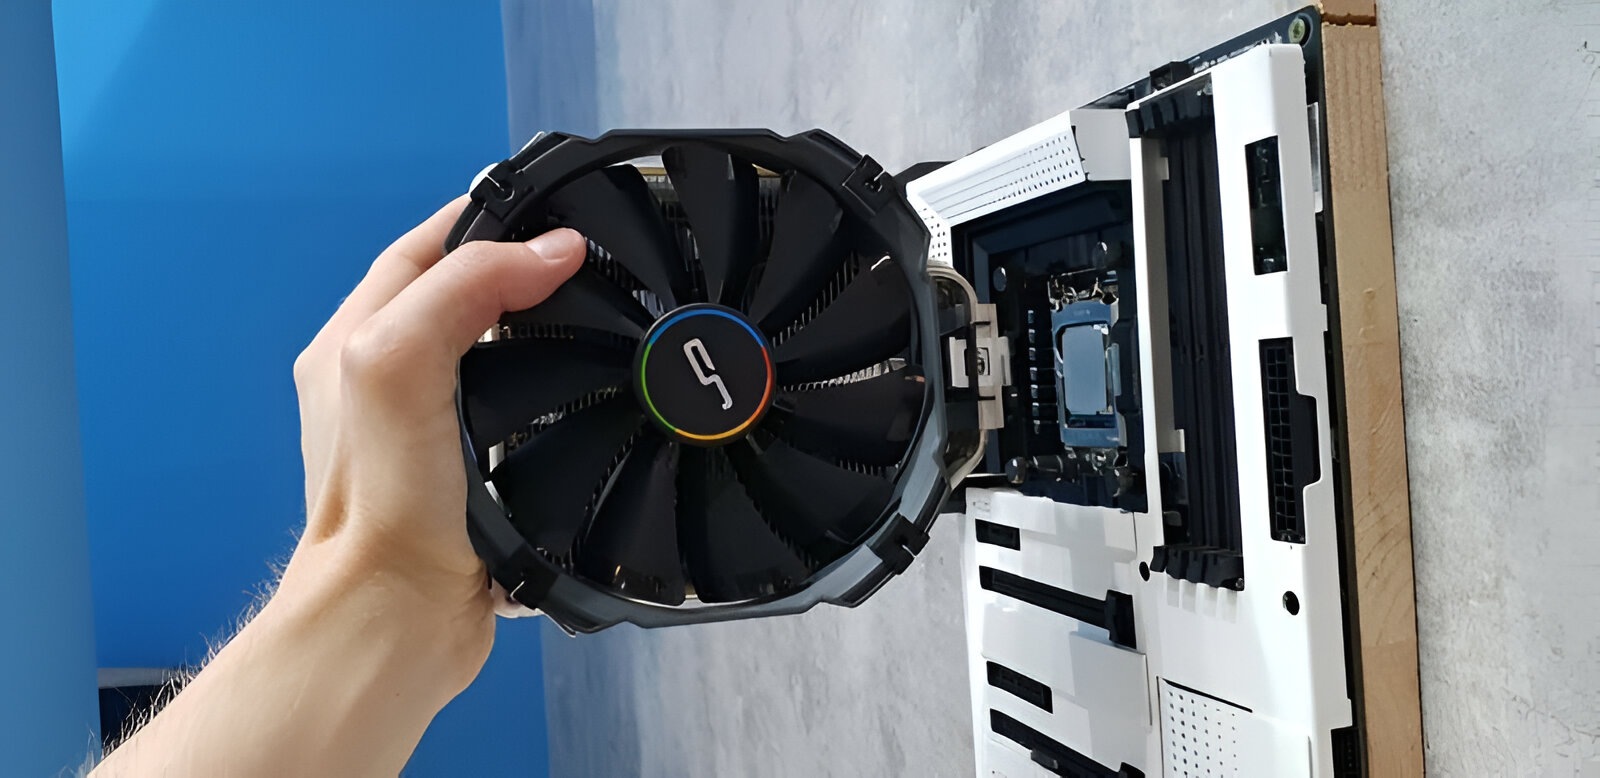
- Align the Cooler: Carefully align the CPU cooler with the mounting holes surrounding the CPU socket. The cooler should be positioned in such a way that it covers the CPU entirely, with its base making direct contact with the thermal paste on the CPU.
- Lower the Cooler: Gently lower the cooler onto the CPU, aligning the screw holes with the mounting holes on the motherboard. Take care to avoid any excessive force or misalignment, as this could damage the CPU or motherboard.
- Secure the Cooler: Once the cooler is in position, use the appropriate screws or mounting brackets provided with your cooler to secure it to the motherboard. Start by loosely screwing the screws in a diagonal pattern to ensure even pressure distribution.
- Tighten the Screws: Gradually tighten the screws in a cross or diagonal pattern. This ensures uniform pressure and prevents any warping or uneven contact between the CPU and the cooler. Be careful not to overtighten the screws, as this can damage the CPU or motherboard.
- Verify Firm Attachment: After tightening the screws, gently shake the cooler to ensure it is securely attached. It should not wobble or feel loose. If necessary, adjust the screws slightly to achieve a firm attachment.
- Check Clearance: Double-check that the CPU cooler does not interfere with any nearby components, such as RAM modules or tall heatsinks. Ensure there is sufficient clearance for optimal airflow and overall system compatibility.
Properly installing the CPU cooler guarantees that it will function optimally in dissipating heat from the CPU. Take the time to follow these steps diligently, and you will have a solid and secure CPU cooler installation. With the cooler installed, the next step is to secure it in place.
Step 4: Securing the Cooler in Place
Securing the CPU cooler in place is crucial to ensure stability and optimal cooling performance. Follow these steps to properly secure the cooler:
- Check for Additional Mounting Hardware: Some CPU coolers may require additional mounting hardware, such as brackets or backplates, to provide extra support. Make sure you have all the necessary hardware according to the manufacturer’s instructions.
- Attach Mounting Hardware: If additional mounting hardware is required, carefully attach it following the specific instructions provided with your CPU cooler. This step may involve fastening brackets or backplates to the backside of the motherboard to provide a secure foundation for the cooler.
- Adjust Tension: If your CPU cooler has a tension screw or an adjustable mounting mechanism, adjust it to ensure the proper tension. This will help ensure optimal contact between the cooler and the CPU, enhancing heat transfer efficiency.
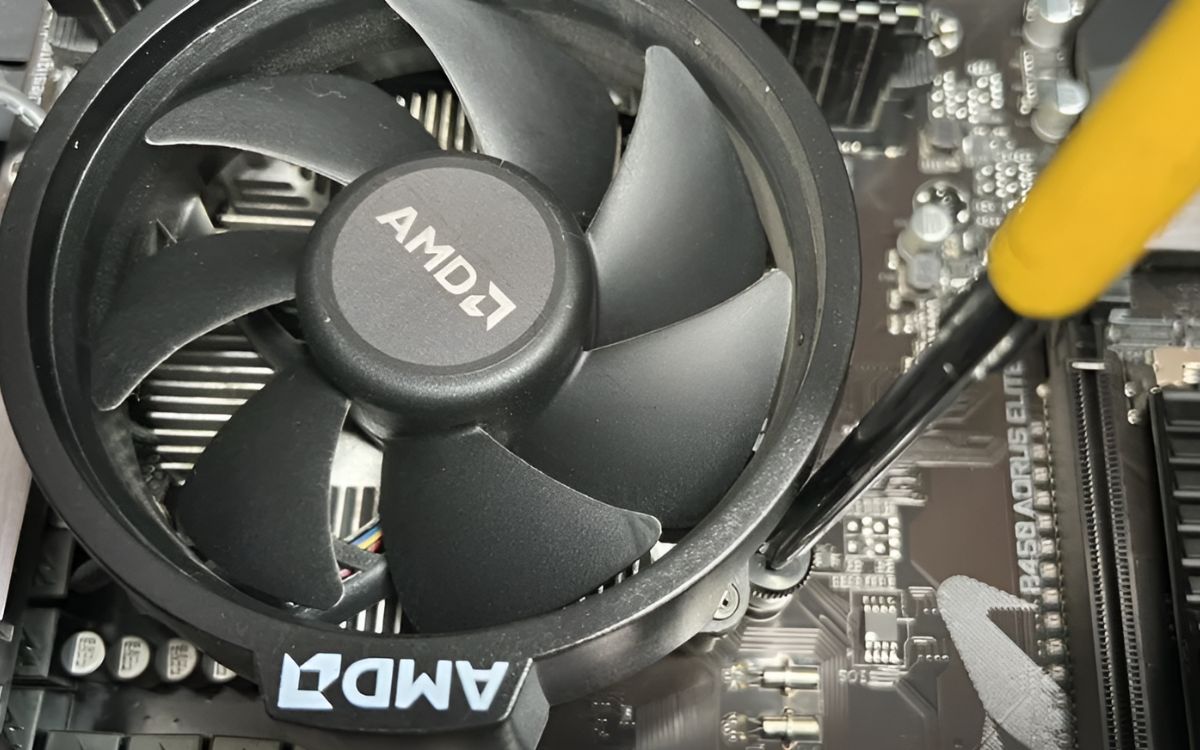
- Secure the Screws/Bolts: Tighten the screws or bolts that hold the cooler in place. Use a screwdriver or wrench and tighten them in a cross or diagonal pattern. Take care not to overtighten, as this can damage the motherboard or cooler.
- Double-check Stability: Once the screws or bolts are tightened, gently wiggle the cooler to ensure it is securely fastened. The cooler should not move or wobble. If there is any movement, double-check the mounting hardware and screws to ensure they are properly tightened.
- Reconnect Power and Cables: Reconnect the power cable for the CPU cooler fan to the appropriate header on the motherboard. Ensure all necessary cables are properly connected before continuing.
By following these steps, you can securely lock the CPU cooler in place, minimizing the risk of it detaching and providing consistent and reliable cooling performance. With the cooler now secured, we can move on to the next step: connecting the fan.
Step 5: Connecting the Fan
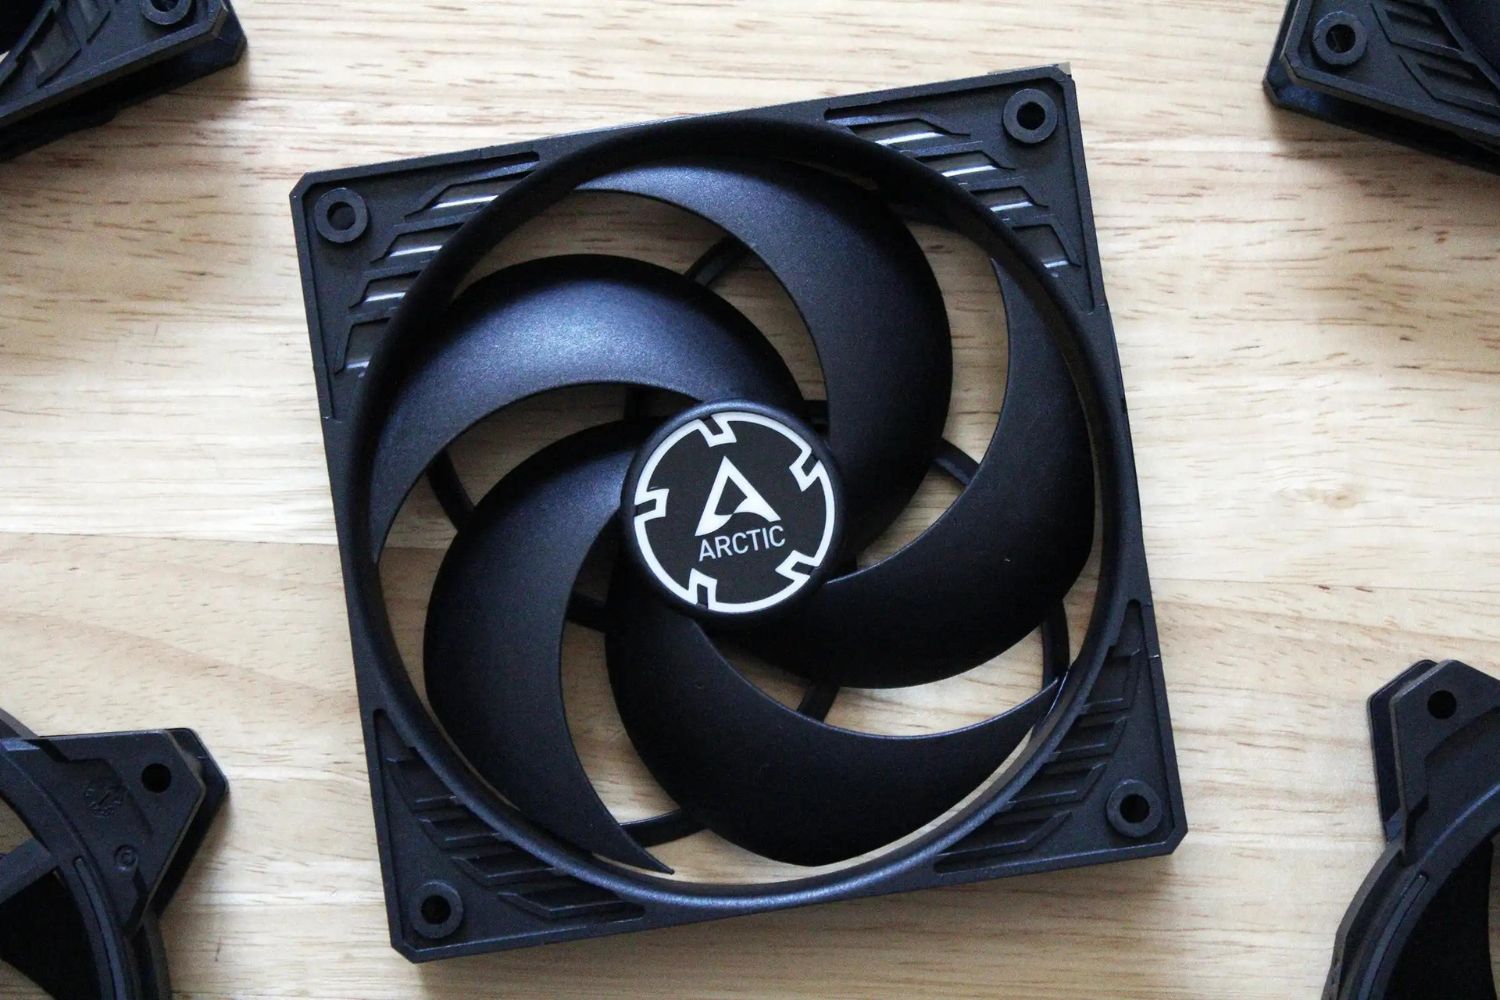
The fan plays a vital role in cooling the CPU by dissipating heat from the cooler. Follow these steps to properly connect the fan:
- Locate the Fan Header: Identify the fan header on your motherboard where the CPU cooler fan will connect. Typically, the fan header will be labeled “CPU_FAN” or something similar.
- Orient the Fan Cable: Ensure that the fan cable is orientated correctly, with the connector matching the shape and pins of the fan header. Take note of any tab or guide on the connector that needs to align with the header.
- Connect the Fan: Gently plug the fan connector into the designated fan header on the motherboard. Make sure the connection is secure and fully inserted to guarantee proper power supply and operation.
- Verify Fan Rotation: Check the direction of the fan’s rotation to ensure it aligns with the intended airflow. Most fans have an arrow indicating the direction of airflow on the side of the fan housing. Ensure the fan is properly positioned to direct the airflow through the CPU cooler and out of the case.
- Adjust Fan Speed (Optional): If your motherboard or BIOS supports fan speed control, you may have the option to adjust the fan speed settings. This can be done through the BIOS or through software provided by the motherboard manufacturer.
By connecting the CPU cooler fan properly, you ensure that the fan functions as intended, providing the necessary air circulation for efficient cooling. Take care to double-check the connections and fan orientation before proceeding to the final step: testing the installation.
Step 6: Testing the Installation
After completing the CPU cooler installation, it’s essential to test its functionality to ensure that everything is working as expected. Here are the steps to test the installation:
- Reassemble the System: Put the side panel back on your computer case and reconnect all the necessary cables, including the power cable.
- Power on the System: Plug in your computer and power it on. Allow the system to boot up and reach the desktop.
- Monitor the CPU Temperature: Use a temperature monitoring software or BIOS utility to monitor the CPU temperature. Keep an eye on the idle temperature, as well as the temperature under load.
- Run a CPU Stress Test: To put the CPU under load, you can run CPU stress test software that pushes the CPU to its maximum performance for an extended period. This will help you assess the stability of the cooler installation and observe the temperature response.
- Observe Temperature Stability: Pay attention to the temperature readings during the stress test. Ideally, the temperature should stay within safe operating limits and remain stable throughout the test. If you notice any unusually high temperatures or significant fluctuations, it may indicate an issue with the cooler installation.
- Listen for Unusual Noises: While the stress test is running, listen for any unusual noises coming from the CPU cooler or fan. Rattling, grinding, or excessively loud noise could indicate a problem that needs further investigation.
Testing the CPU cooler installation ensures that it is functioning properly and effectively cooling the CPU. Monitoring the temperature and observing system stability during a stress test allows you to identify any potential issues and take necessary remedial actions.
If you notice any abnormal temperature readings or encounter performance issues, it may be necessary to recheck the CPU cooler installation and make sure all connections are secure. If problems persist, consulting a professional or the manufacturer’s support team may be advisable.
Once you are satisfied with the temperature readings and overall system stability, you can consider the CPU cooler installation complete. Enjoy the benefits of a well-cooled CPU that will keep your system running smoothly.
Conclusion
Attaching a CPU cooler is a crucial step in ensuring the optimal performance and longevity of your CPU. By following the step-by-step process outlined in this guide, you can successfully install a CPU cooler and keep your system running cool and efficiently.
Remember to gather all the necessary supplies before beginning the installation process, including a compatible CPU cooler, thermal paste, a Phillips screwdriver, and cleaning materials.
Prepare your motherboard by cleaning the CPU socket and ensuring compatibility between the CPU cooler and your motherboard and processor socket. Apply thermal paste in a pea-sized amount and spread it evenly across the CPU surface to facilitate effective heat transfer.
Carefully install the CPU cooler, ensuring proper alignment and firm attachment. Secure the cooler in place with screws or bolts, double-checking stability to avoid any potential damage or improper heat dissipation.
Connect the CPU cooler fan to the appropriate header on the motherboard, ensuring the correct orientation and verifying the fan’s rotational direction for optimal airflow. If applicable, adjust the fan speed settings to achieve a balance between cooling performance and noise levels.
Finally, test the installation by reassembling the system, monitoring the CPU temperature, and running a stress test to ensure stability and proper cooling under load. Listen for any unusual noises that may indicate a problem with the cooler.
By following these steps, you can effectively attach a CPU cooler and maintain optimal temperature levels for your CPU, improving overall system performance and reliability.
Remember, if you encounter any issues or are unsure about any aspect of the installation process, it is always recommended to consult the manufacturer’s documentation or seek assistance from a professional. Enjoy a cool and efficient computing experience with your newly installed CPU cooler!