Introduction
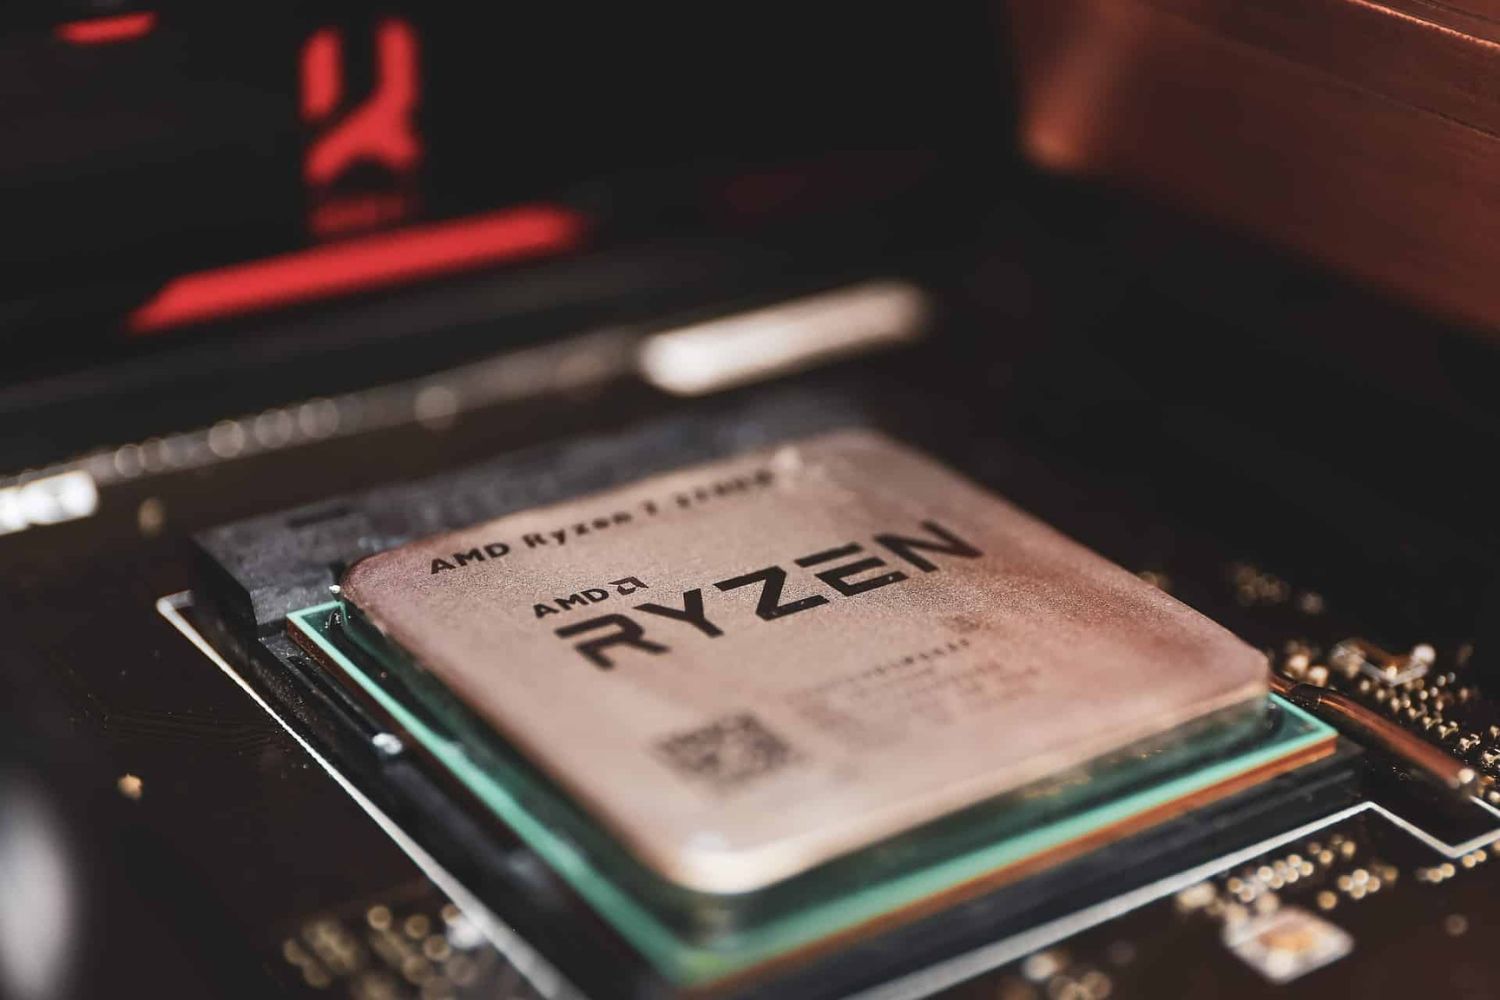
The Ryzen 5 2600X is a powerful CPU that offers excellent performance for gaming and productivity. However, to ensure optimal cooling and prevent overheating, it is crucial to correctly install the CPU cooler. In this guide, we will walk you through the step-by-step process of properly screwing in the Ryzen 5 2600X CPU cooler.
Screwing in the CPU cooler may seem daunting for those who are new to computer building or upgrading. However, with the right tools and proper technique, it can be a straightforward and rewarding task. By following these instructions, you will ensure that your CPU remains cool, allowing for efficient and smooth operation.
Before we dive into the installation process, it’s important to note that these instructions are specific to the Ryzen 5 2600X CPU cooler. While some general principles may apply to other CPU coolers, it’s essential to consult the specific instructions provided by the manufacturer for your particular cooler model.
Now, let’s gather the necessary tools and get started with the installation process!
Required Tools
Before you begin the installation process, it’s essential to gather the necessary tools to ensure a successful and smooth installation of the Ryzen 5 2600X CPU cooler. Here are the tools you will need:
- CPU Cooler: The Ryzen 5 2600X CPU cooler, which typically comes included with the CPU package.
- Thermal Paste: A high-quality thermal paste is necessary to ensure proper heat transfer between the CPU and the cooler’s base.
- Screwdriver: A screwdriver that fits the screws provided with the CPU cooler is necessary for secure installation.
- Clean Cloth or Alcohol Wipes: It’s crucial to have a clean cloth or alcohol wipes to remove any pre-applied thermal paste or contaminants from the CPU and cooler.
- Anti-static Strap: An anti-static strap is recommended to prevent any static electricity from damaging your CPU or other components. While not essential, it adds an extra layer of protection during the installation process.
Ensuring you have all the required tools before starting the installation process will help you avoid any delays or interruptions. Double-check your equipment to make sure you have everything on hand.
With your tools ready, let’s move on to the unboxing and overview of the Ryzen 5 2600X CPU cooler.
Unboxing and Overview of Ryzen 5 2600X CPU Cooler
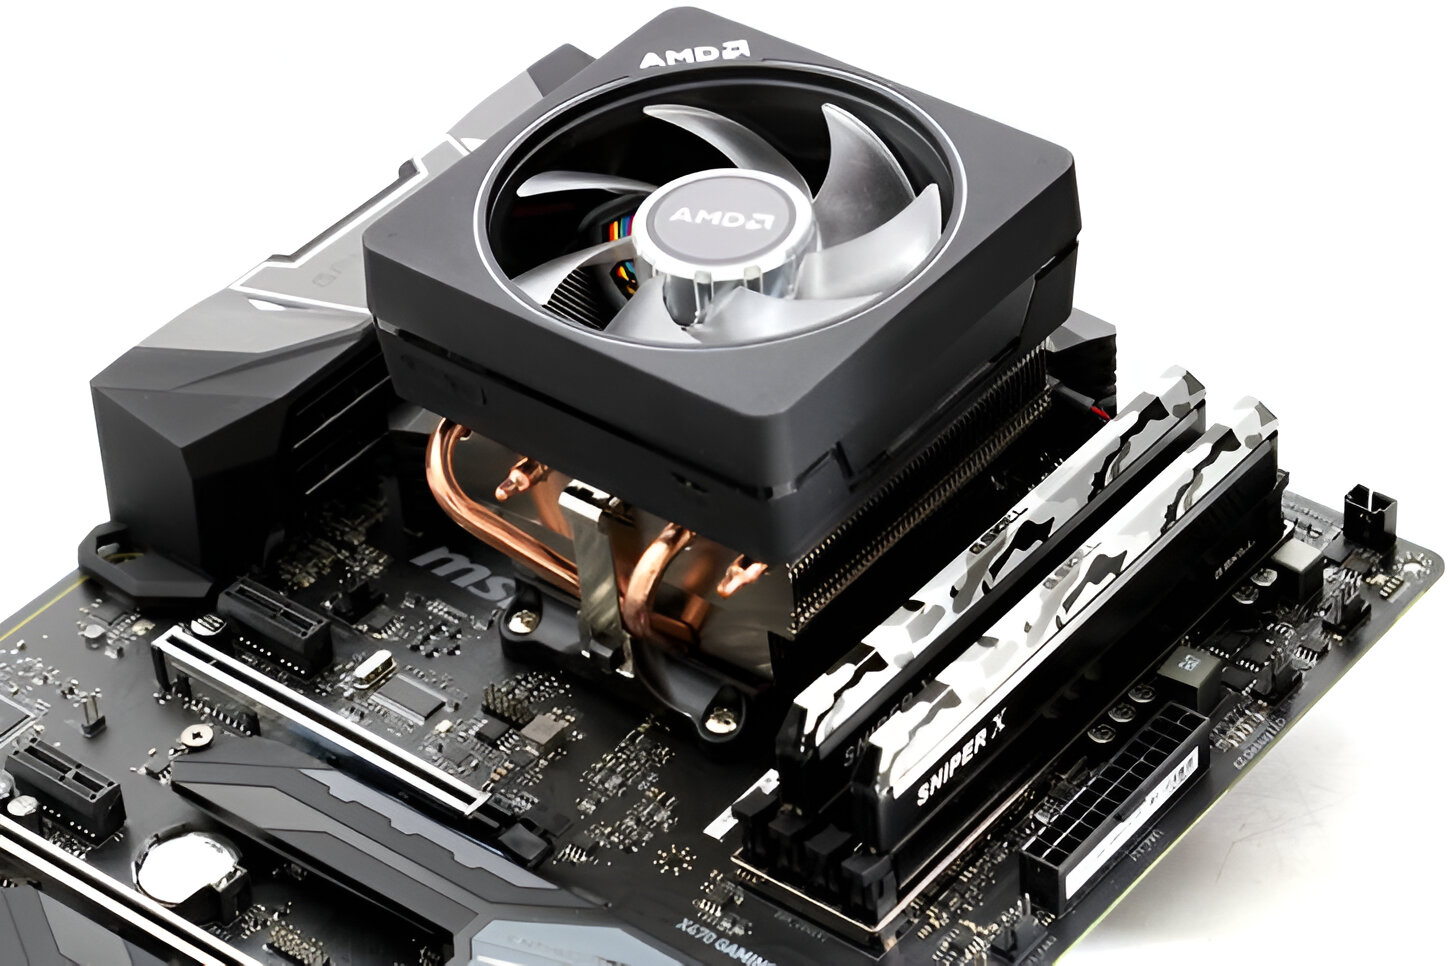
Before we start installing the Ryzen 5 2600X CPU cooler, let’s take a moment to unbox and familiarize ourselves with its components. The Ryzen 5 2600X CPU cooler package typically includes:
- CPU Cooler: The main component of the package, responsible for cooling the CPU.
- Mounting Bracket: A bracket that allows the CPU cooler to be securely attached to the motherboard.
- Screws and Fasteners: Small screws and fasteners used to secure the mounting bracket and CPU cooler onto the motherboard.
- Cooler Fan: A fan that helps dissipate heat from the CPU and maintain optimal operating temperatures.
- Instruction Manual: An instruction manual that provides detailed information on how to install the CPU cooler.
When unboxing the CPU cooler, be sure to handle the components with care to prevent any damage. Take a moment to inspect each component and ensure that nothing is missing or damaged.
Now, let’s move on to preparing the motherboard for the installation process.
Preparing the Motherboard
Before we can install the Ryzen 5 2600X CPU cooler, we need to prepare the motherboard to ensure a secure and efficient installation. Follow these steps to properly prepare the motherboard:
- Power off the computer: Before working on the motherboard, it’s important to power off the computer and unplug it from the electrical outlet to avoid any accidents or damage.
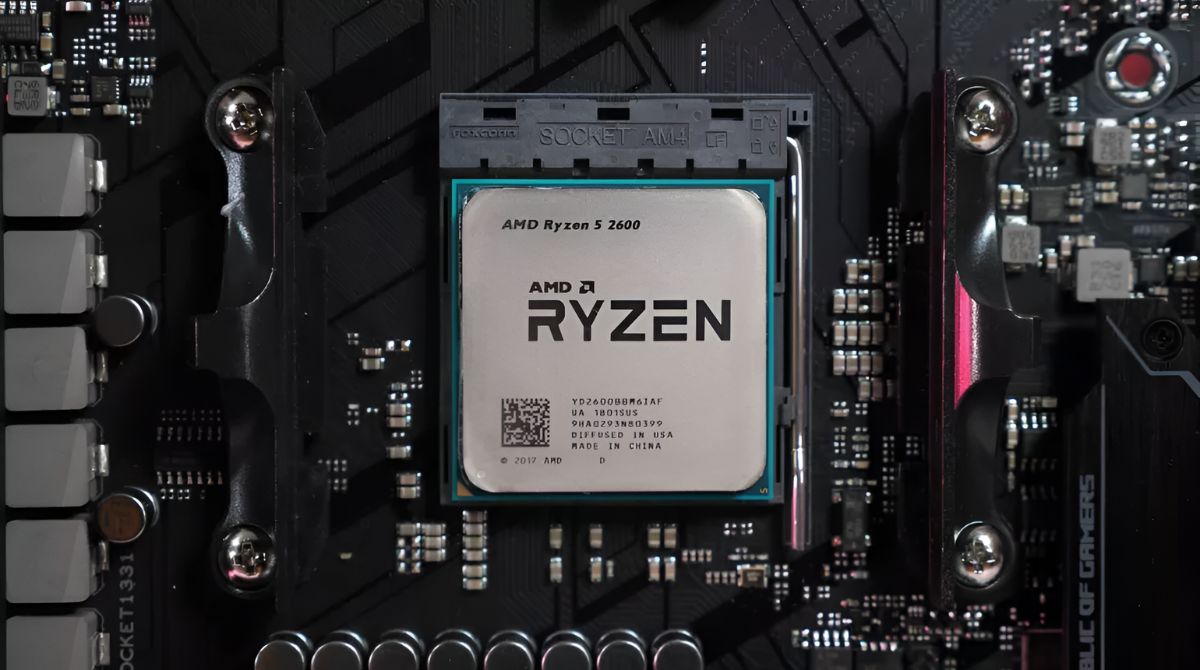
- Open the computer case and locate the CPU socket: Remove the computer case side panel and locate the CPU socket on the motherboard. The CPU socket is a rectangular area where the CPU will be installed.
- Remove any pre-existing CPU cooler: If there is a pre-existing CPU cooler installed, carefully remove it by unscrewing the mounting screws or clips and gently detaching it from the CPU.
- Clean the CPU socket: Use a clean cloth or alcohol wipes to carefully clean any residual thermal paste or debris from the CPU socket. Ensure that the socket is clean and free from any contaminants that could interfere with the installation process.
- Inspect the CPU socket pins: Take a moment to inspect the CPU socket pins for any visible damage or bending. If you notice any issues with the pins, consult the motherboard’s manual or contact the manufacturer for further guidance.
By preparing the motherboard before the installation, you ensure a clean and stable foundation for the Ryzen 5 2600X CPU cooler. With the motherboard ready, it’s time to move on to applying the thermal paste.
Applying Thermal Paste
Thermal paste is a crucial component in the installation of the Ryzen 5 2600X CPU cooler. It helps facilitate heat transfer from the CPU to the cooler’s base, ensuring efficient cooling. Follow these steps to correctly apply thermal paste:
- Prepare the thermal paste: Before applying thermal paste, ensure that the CPU and cooler’s base are clean and free of any residue. Squeeze a small amount of thermal paste, roughly the size of a grain of rice, onto the center of the CPU.
- Spread the thermal paste: Gently and evenly spread the thermal paste across the CPU’s surface using a plastic spatula, credit card, or a thermal paste applicator. Ensure that the entire surface is covered, but avoid applying too much excess paste.
- Do not touch the thermal paste: Once applied, avoid touching or smudging the thermal paste. The natural oils on our fingers can hinder the paste’s performance and affect heat transfer. Handle the CPU and cooler carefully to prevent any accidental contact.
Note: Some CPU coolers come with pre-applied thermal paste on their base. In such cases, skip the above steps as the thermal paste is already applied.
Applying thermal paste properly ensures an even layer and maximum heat transfer between the CPU and the cooler. With the thermal paste applied, we can move on to attaching the CPU cooler bracket.
Attaching the CPU Cooler Bracket
Before mounting the Ryzen 5 2600X CPU cooler, we need to attach the CPU cooler bracket to the motherboard. The specific method may vary depending on the motherboard and cooler model, but here are the general steps to follow:
- Refer to the motherboard’s manual: Consult the motherboard’s manual to identify the specific CPU cooler bracket that is compatible with your motherboard. Different motherboards may require different bracket designs.
- Align the CPU cooler bracket: Place the CPU cooler bracket on the backside of the motherboard, aligning it with the mounting holes around the CPU socket. Ensure that the bracket is securely attached and will not move during the installation process.
- Screw in the bracket: Take the provided screws and carefully screw them into the designated holes on the motherboard, securing the CPU cooler bracket in place. Use a screwdriver to tighten the screws, but avoid over-tightening, as it can damage the motherboard.
- Confirm the bracket’s stability: Once the screws are tightened, gently shake the motherboard to ensure the bracket is securely attached and does not move. If the bracket is loose, double-check the screws’ tightness or consult the motherboard’s manual for further guidance.
Attaching the CPU cooler bracket properly is essential for a stable and secure installation of the Ryzen 5 2600X cooler. With the bracket in place, we can now proceed to mount the CPU cooler itself.
Mounting the CPU Cooler
Now that the CPU cooler bracket is securely attached to the motherboard, it’s time to mount the Ryzen 5 2600X CPU cooler. Follow these steps to ensure a proper installation:
- Check the cooler orientation: Take a close look at the CPU cooler and identify the correct orientation. The logo or branding on the cooler should be visible and facing in a desired direction. This ensures both a visually appealing installation and proper airflow.
- Align the cooler with the bracket: Carefully place the CPU cooler onto the CPU socket, aligning the screw holes on the cooler’s base with the corresponding holes on the CPU cooler bracket.
- Start screwing in the cooler: Insert the screws provided with the cooler into the screw holes on the base of the cooler. Begin screwing them in by hand, ensuring each screw is threaded properly and not cross-threaded.
- Tighten the screws: Using a screwdriver, gradually tighten each screw in a diagonal pattern. This helps ensure even pressure and prevents the cooler from being mounted unlevelled. Avoid overtightening the screws, as it may damage the cooler or CPU.
As you tighten the screws, you should feel resistance, and the CPU cooler should be properly seated and tightly secured to the CPU cooler bracket. A securely mounted CPU cooler ensures efficient heat dissipation and prevents the cooler from moving during the computer’s operation.
With the Ryzen 5 2600X CPU cooler mounted, we are now ready to move on to securing the screws for a secure installation.
Securing the Screws
After mounting the Ryzen 5 2600X CPU cooler onto the CPU cooler bracket, it’s crucial to properly secure the screws to ensure a stable and secure installation. Follow these steps to securely tighten the screws:
- Ensure all screws are threaded properly: Double-check that all the screws are correctly positioned and properly threaded into the screw holes on the CPU cooler’s base and the CPU cooler bracket.
- Use a screwdriver: Take a screwdriver that is compatible with the screws provided with the cooler and gradually tighten each screw in a diagonal pattern. Start with one screw, then move to the opposite corner, followed by the other two corners. Continue tightening each screw until they are snug, but avoid over-tightening, as it may damage the cooler or the motherboard.
- Check for stability: Gently shake the motherboard to ensure that the CPU cooler does not move or wobble. If the cooler appears loose or unstable, double-check the tightness of the screws or consult the manufacturer’s manual for additional guidance.
By securely tightening the screws in a diagonal pattern, you distribute the pressure evenly and ensure that the CPU cooler is firmly attached to the motherboard. This helps prevent any potential damage or movement during the computer’s operation, ensuring optimal cooling performance.
Next, we’ll move on to connecting the cooler fan, an essential step in the installation process.
Connecting the Cooler Fan
Connecting the cooler fan is the final step in installing the Ryzen 5 2600X CPU cooler. Follow these steps to ensure a proper and functional connection:
- Locate the fan connector: On the CPU cooler or the motherboard, locate the fan connector that is specifically designated for the CPU cooler fan. This connector is typically labeled “CPU_FAN” or “CPU_OPT” on the motherboard.
- Align the fan connector: Take the cable from the CPU cooler fan and align it with the fan connector on the motherboard. Ensure that the tab on the connector and the slot on the fan cable are properly aligned.
- Make the connection: Gently press the fan connector onto the motherboard’s fan connector. Apply an even and gentle pressure until you hear a click or feel it securely in place.
By connecting the CPU cooler fan properly, you ensure that it receives power to operate and effectively cool the CPU during operation. Additionally, a secure connection prevents the fan from coming loose or disconnected, maintaining stable cooling performance.
At this point, the installation of the Ryzen 5 2600X CPU cooler is complete. However, it’s important to perform a final test to ensure the mounting is secure and functioning correctly.
Continue reading to learn more about testing the mounting and verifying the installation.
Testing the Mounting
After completing the installation of the Ryzen 5 2600X CPU cooler, it’s essential to test the mounting to ensure a secure and proper installation. Follow these steps to verify the mounting:
- Inspect the CPU cooler: Take a close look at the CPU cooler and check for any visible gaps or misalignment between the cooler and the CPU. Ensure that the cooler is sitting flush on the CPU and that all screws are firmly in place.
- Power on the computer: Plug in the power cord and turn on your computer. Monitor the CPU temperature during startup and while running various tasks to ensure that it remains within a safe range. High temperatures could indicate an improper mounting or inadequate cooling.
- Listen for abnormal sounds: Pay attention to any unusual noises coming from the CPU cooler, such as rattling or grinding. These noises may indicate a loose mounting or a problem with the fan’s operation.
- Check the fan’s RPM: Use software or your motherboard’s BIOS to monitor the fan’s RPM (rotations per minute). Confirm that the fan is spinning at the expected speed and that it responds to changes in CPU temperature.
By testing the mounting, you can identify any potential issues and ensure the proper functioning of the Ryzen 5 2600X CPU cooler. If you notice any problems during testing, it is advisable to refer to the manufacturer’s instructions or seek assistance from technical support to resolve the issue.
With the mounting successfully tested and verified, you can rest assured that your Ryzen 5 2600X CPU is properly cooled and ready to deliver optimal performance.
Conclusion
Installing the Ryzen 5 2600X CPU cooler requires attention to detail and following the proper steps to ensure a successful installation. By correctly screwing in the CPU cooler, you can maintain optimal cooling performance for your CPU.
In this guide, we covered the necessary tools required for the installation, the unboxing and overview of the Ryzen 5 2600X CPU cooler, as well as the important steps to prepare the motherboard and apply thermal paste. We walked you through attaching the CPU cooler bracket, mounting the CPU cooler, connecting the cooler fan, and testing the mounting to ensure a secure and functional installation.
Remember to consult the specific instructions provided by the manufacturer of your CPU cooler for any additional guidance or model-specific instructions.
With the Ryzen 5 2600X CPU cooler properly installed, you can enjoy the benefits of improved cooling performance, enabling your CPU to operate at optimal temperatures during demanding tasks such as gaming or content creation.
Proper screwing in of the CPU cooler is crucial for maintaining the longevity and performance of your Ryzen 5 2600X CPU. Take your time, follow the steps carefully, and double-check your work to ensure a successful installation.
We hope this guide has provided you with the knowledge and confidence to correctly screw in your Ryzen 5 2600X CPU cooler. Happy computing!