Introduction
Welcome to the world of computer building, where you have the freedom to customize and optimize your machine to suit your needs. Whether you are a gaming enthusiast or a professional content creator, having a powerful and efficient CPU (Central Processing Unit) is essential. To ensure the proper functioning of your CPU, it is crucial to have a reliable and compatible CPU cooler.
However, even with the plethora of options available in the market, choosing the right CPU cooler can often be challenging. One common issue that DIY builders encounter is finding that their CPU cooler won’t fit properly in their system. This can be a frustrating situation, especially after investing time and money in selecting the perfect cooler.
In this article, we will explore some of the reasons behind compatibility issues when it comes to CPU coolers. By understanding these factors, you’ll be better equipped to select a cooler that fits seamlessly in your system, and optimize the performance of your CPU.
It is important to note that every computer build is unique, with different motherboard layouts, case sizes, and cooling requirements. Therefore, it is essential to carefully consider compatibility factors before purchasing a CPU cooler.
Let’s dive into the various factors that can cause a CPU cooler to not fit properly, and explore possible solutions to these compatibility problems.
Compatibility Issues
When it comes to CPU coolers, compatibility is key. There are several factors that can contribute to compatibility issues, making it essential to thoroughly research and consider these factors before making a purchase.
The first and most common compatibility issue arises from the incorrect socket type. CPU coolers are designed to fit specific socket types, such as Intel’s LGA or AMD’s AM4, and using a cooler with an incompatible socket can lead to a variety of problems, including improper installation or insufficient cooling.
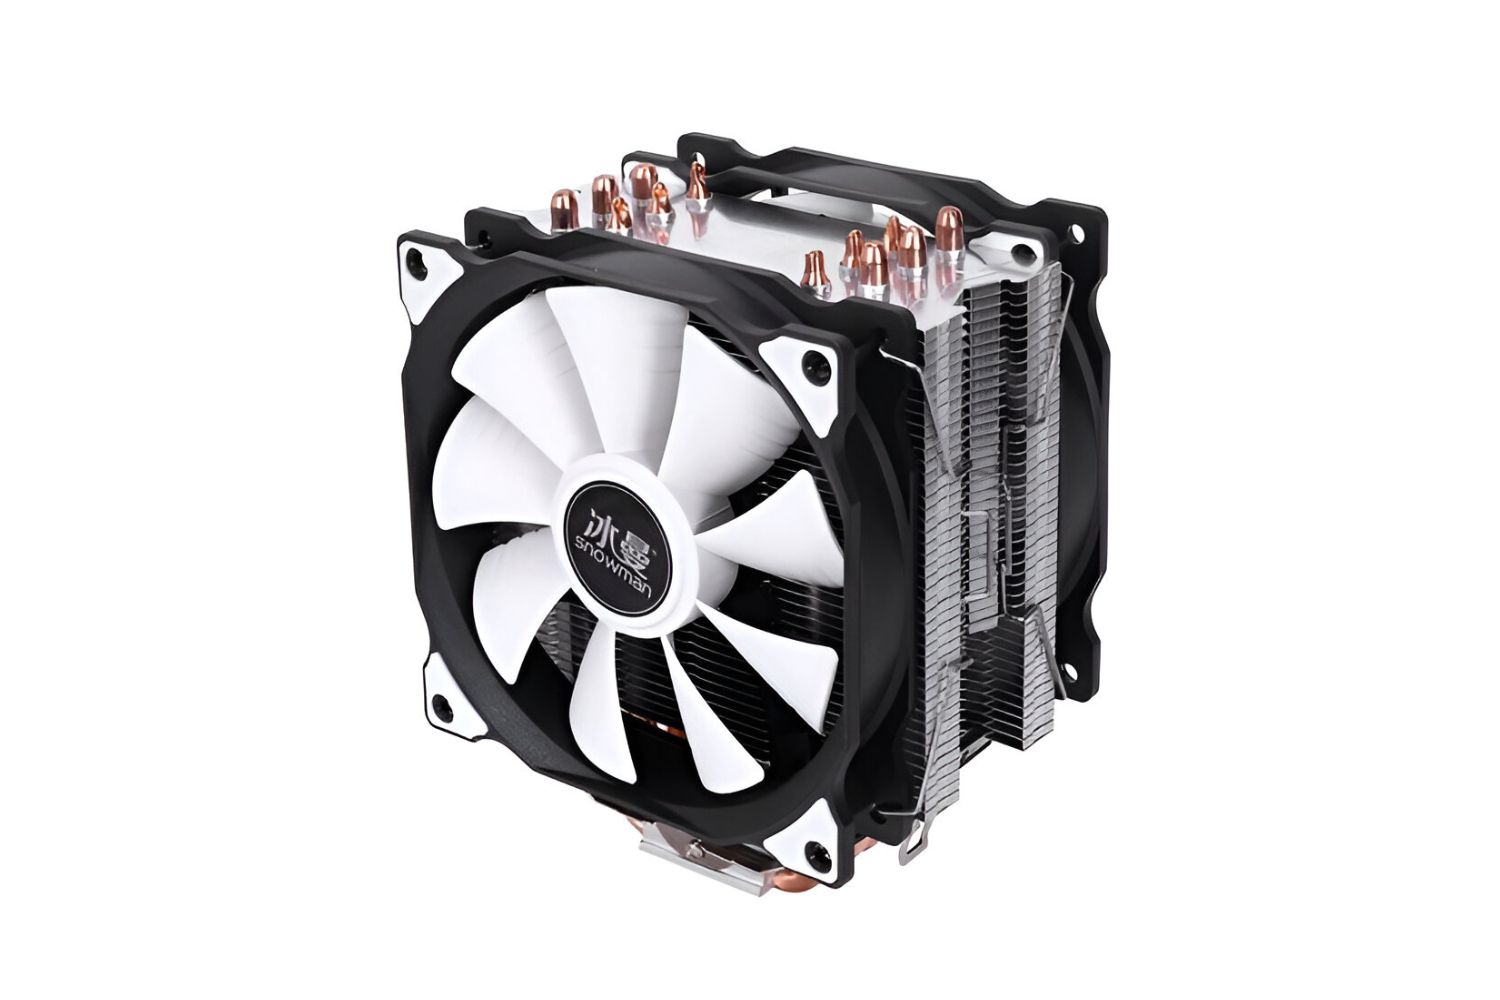
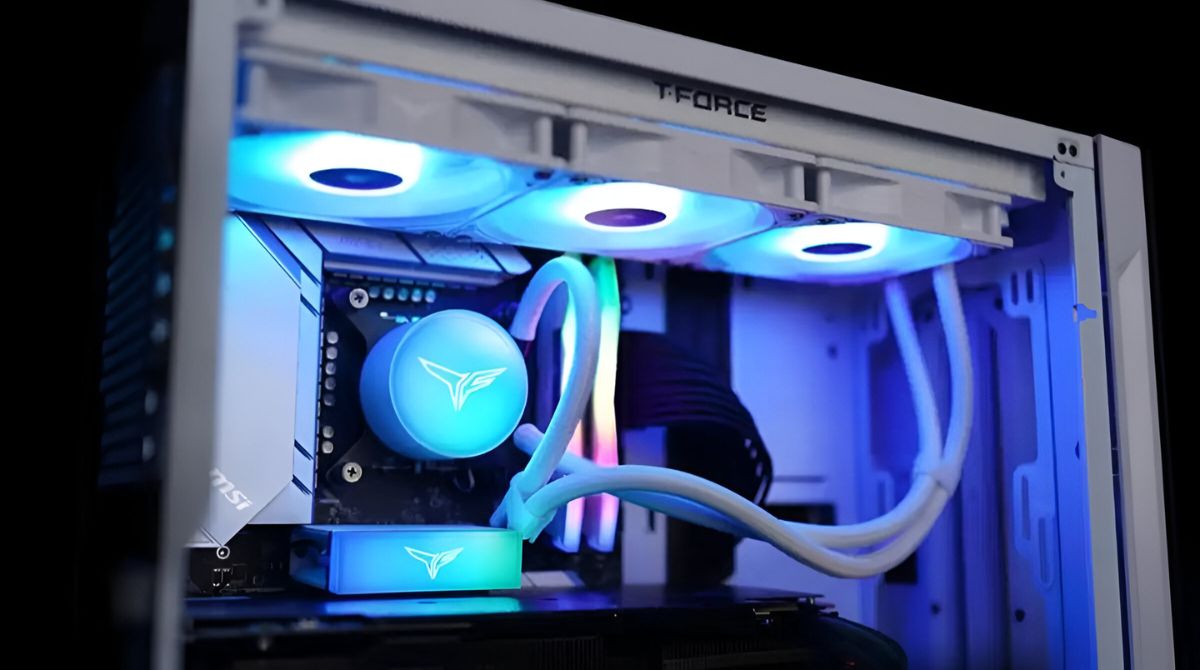
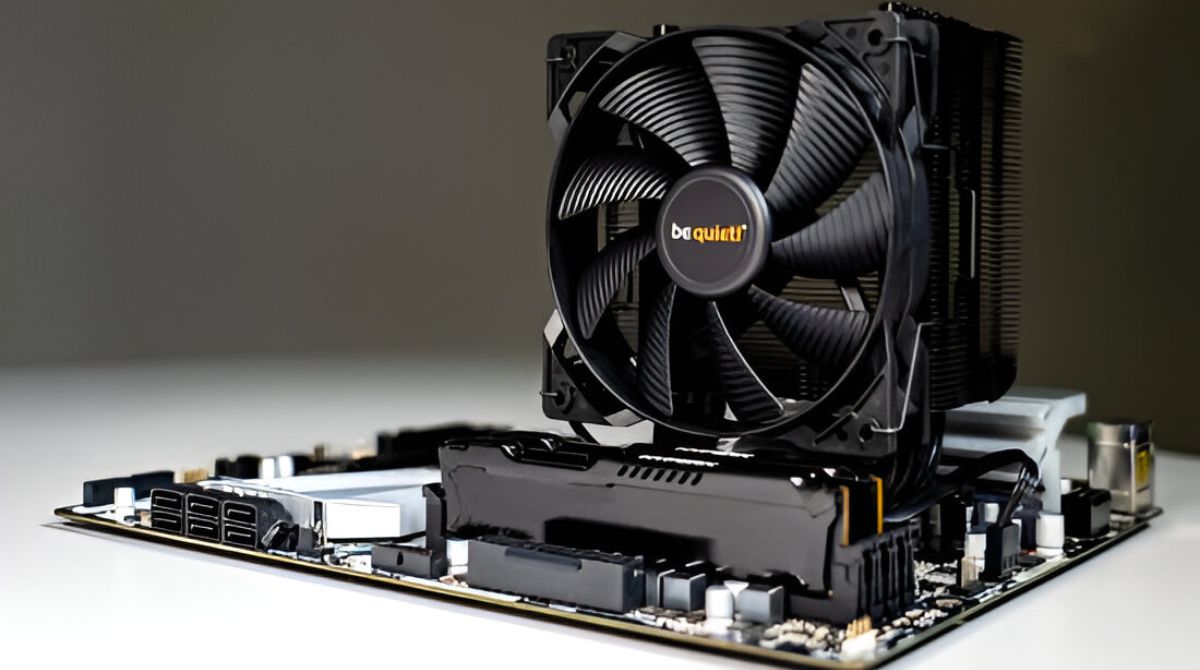
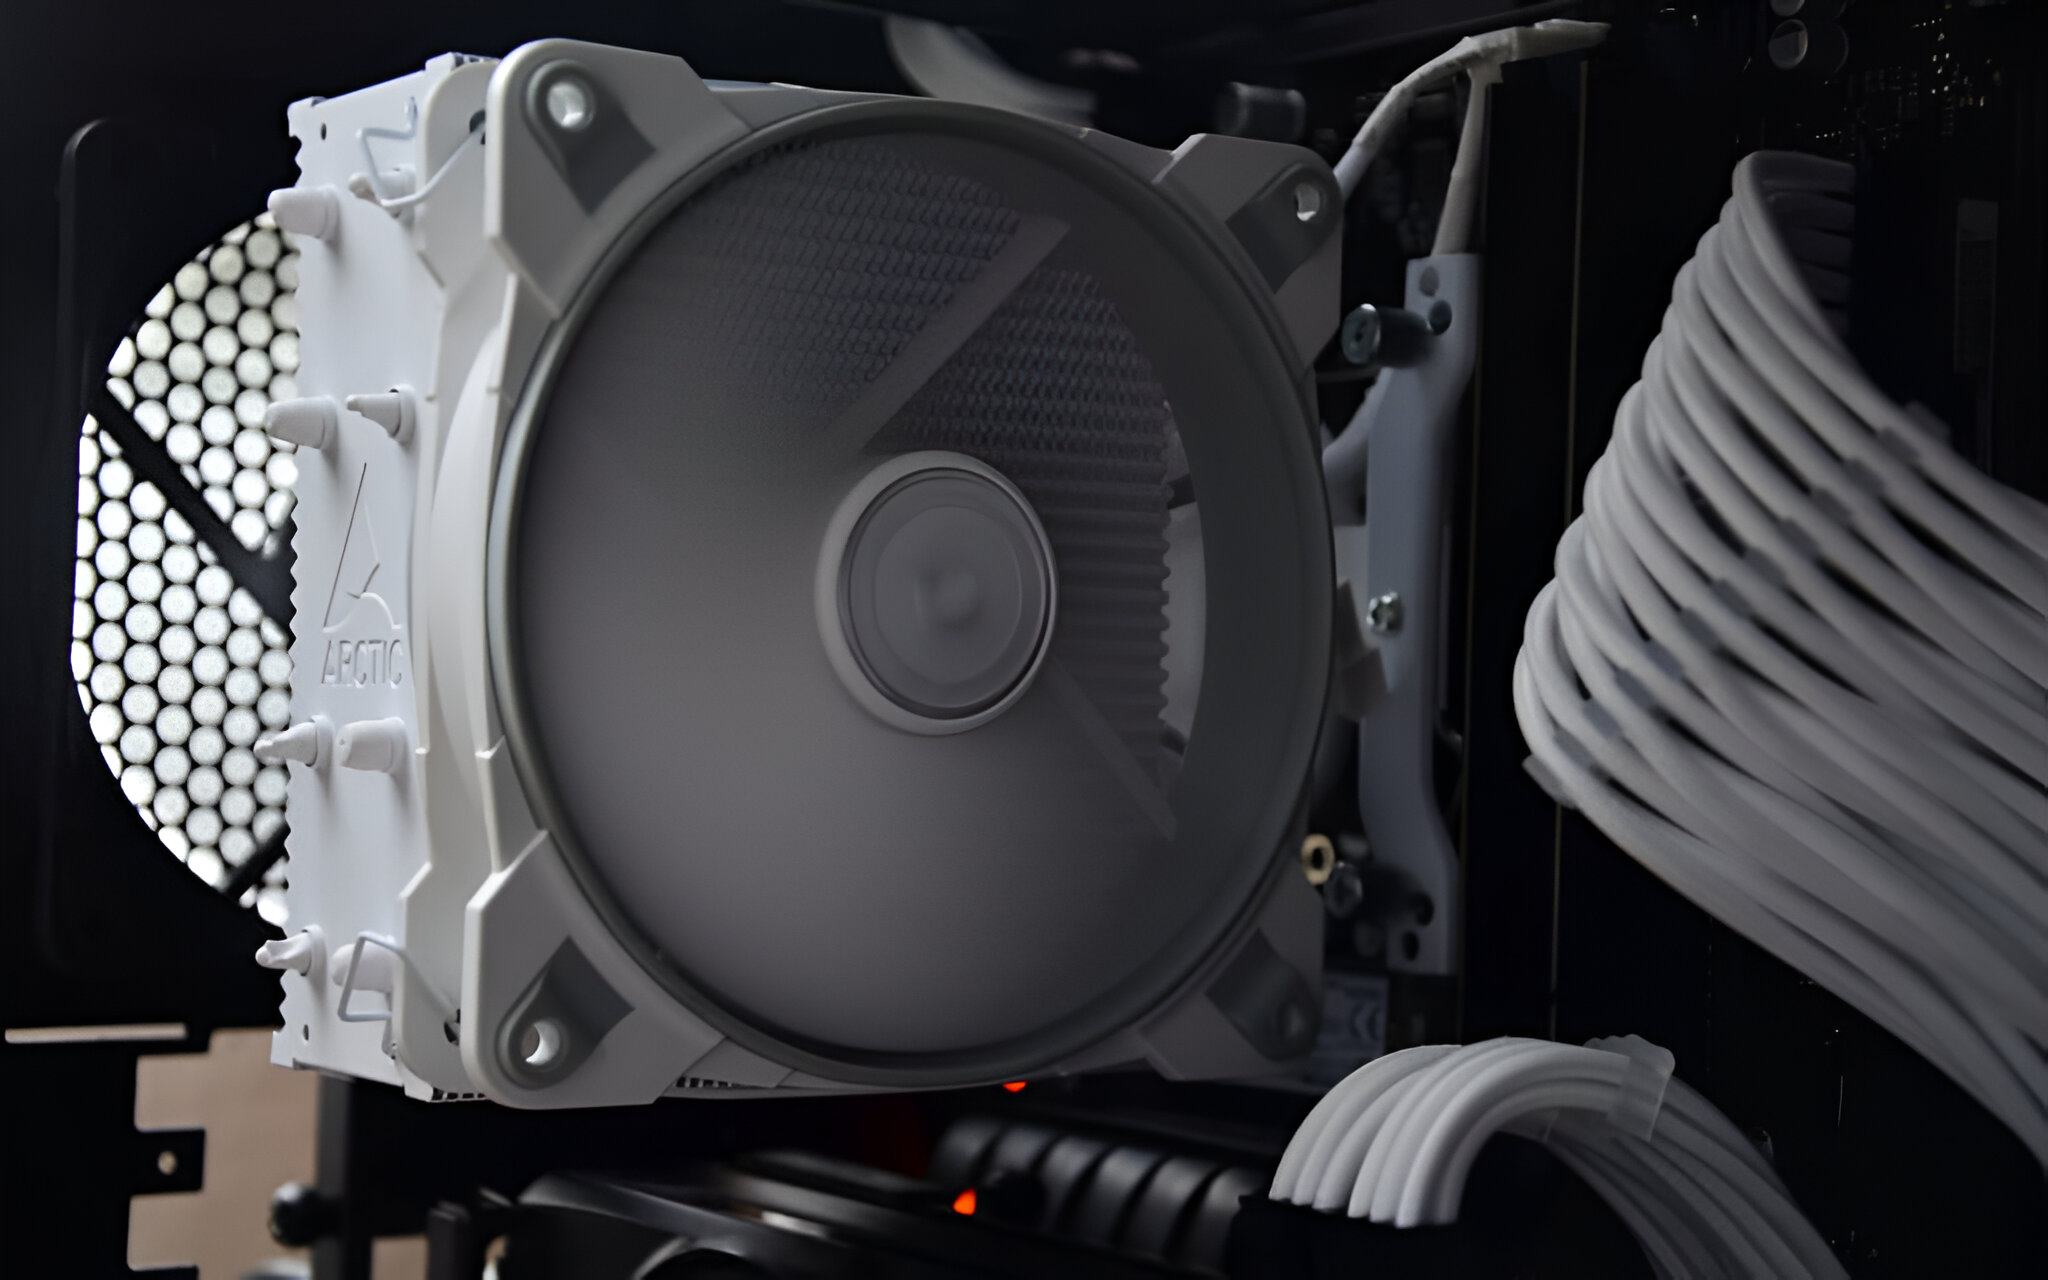
Another compatibility concern is the height of the cooler relative to the case clearance. Some larger CPU coolers may not fit inside compact cases due to limited vertical space. It’s crucial to double-check the maximum cooler height supported by your case to avoid encountering this issue.
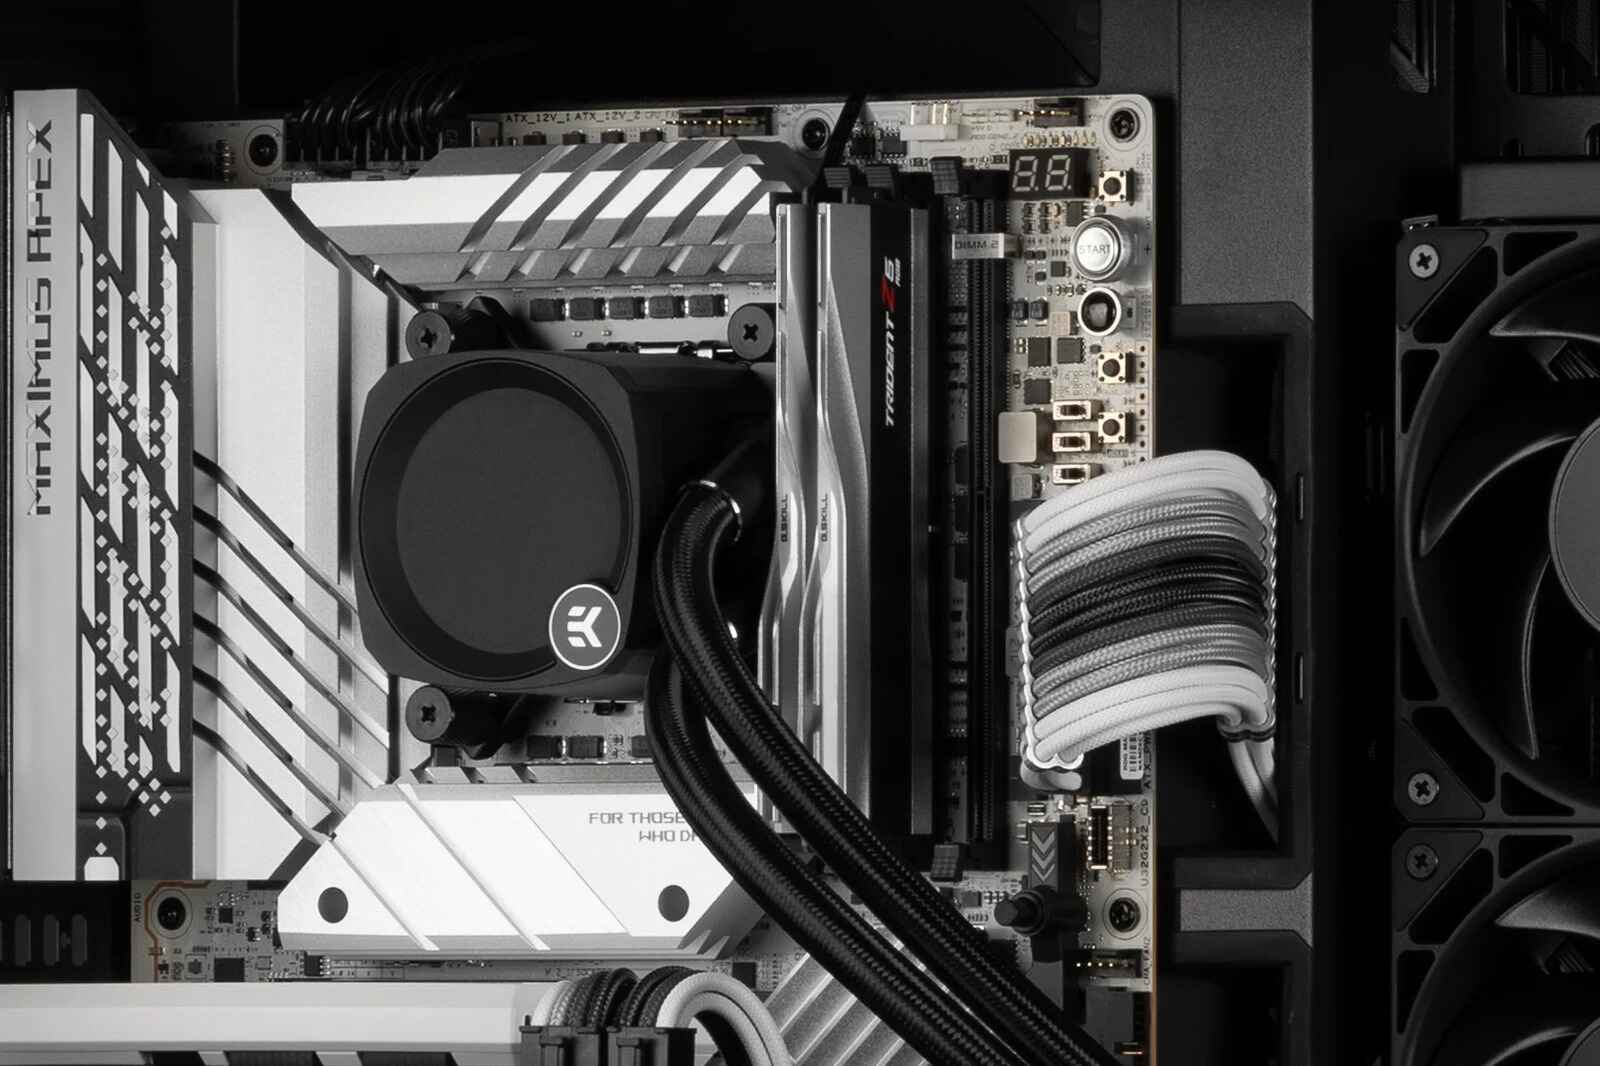
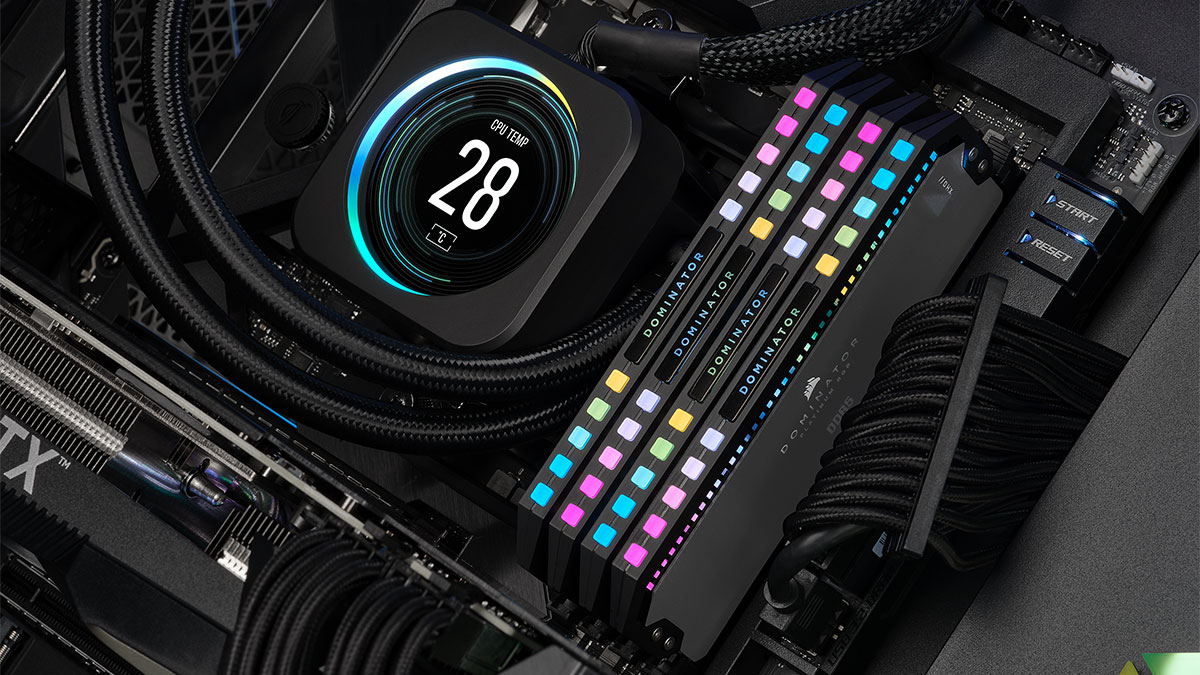
RAM clearance is another factor to consider. Certain CPU coolers, especially those with larger heat sinks or fans, may obstruct the slots where RAM modules are installed. This can restrict your options for RAM configuration or even prevent the cooler from fitting altogether.
While on the topic of fans, it’s important to consider their placement when selecting a CPU cooler. Some tower-style coolers may interfere with system fans, making it necessary to adjust fan configurations or choose a different cooler that doesn’t obstruct the airflow.
The application of thermal paste is often overlooked but can also impact compatibility. The amount and distribution of thermal paste applied can affect the contact between the CPU and the cooler, leading to inadequate heat transfer. Following the manufacturer’s guidelines for thermal paste application is crucial to ensure optimal cooling performance.
Lastly, compatibility issues can also arise from user error during installation. Common mistakes include improper alignment of mounting brackets, not applying enough pressure during installation, or forgetting to remove protective film from the thermal interface material. Double-checking the installation steps and following the provided instructions can help avoid these errors.
By considering these compatibility concerns and conducting thorough research, you can avoid the frustration of a CPU cooler that doesn’t fit your system properly. In the following sections, we will delve into each of these compatibility issues in more detail and discuss potential solutions.
Incorrect Socket Type
One of the most common compatibility issues with CPU coolers is using a cooler with an incorrect socket type. Both Intel and AMD CPUs have specific socket types, such as Intel’s LGA (Land Grid Array) or AMD’s AM4 (Advanced Micro Devices Socket AM4). Using a cooler that is designed for a different socket type can lead to installation issues and inadequate cooling performance.
When selecting a CPU cooler, it is essential to ensure that it is compatible with your CPU’s socket type. This information can usually be found in the product specifications provided by the cooler manufacturer. Additionally, most motherboard manufacturers will provide a list of compatible coolers for their specific socket types.
If you already have a CPU cooler that is not compatible with your socket type, there are a few potential solutions. The first option is to check if there are any adapter brackets available. Some aftermarket cooler manufacturers may offer adapter brackets that allow you to use their coolers with different socket types. However, it’s worth noting that not all coolers have compatible adapter brackets.
If an adapter bracket is not available for your specific cooler, you may need to consider purchasing a new CPU cooler that is compatible with your socket type. While this may be an additional expense, it is crucial to invest in a cooler that will provide proper cooling and fit in your system without any compatibility issues.
Before purchasing a new CPU cooler, ensure that you research and verify its compatibility with your CPU’s socket type. Look for specific information about compatible socket types in the product description or consult with the manufacturer if you have any doubts.
By choosing a CPU cooler that matches your socket type, you can avoid compatibility issues and ensure that your cooler fits properly and operates optimally in your system.
Cooler Height vs. Case Clearance
Another important compatibility consideration when it comes to CPU coolers is the height of the cooler relative to the case clearance. Some CPU coolers, especially larger ones with high-performance capabilities, can be quite tall. If your computer case has limited vertical space or a smaller form factor, it may not accommodate these larger coolers.
To ensure that your CPU cooler fits properly within your case, it’s essential to check the maximum cooler height supported by your case. This information can usually be found in the case specifications provided by the manufacturer.
Before purchasing a CPU cooler, measure the vertical clearance inside your case, paying attention to any potential obstructions such as motherboard components, power supply units, or other installed components. You’ll want to leave some extra space for proper airflow and potential future upgrades. Subtracting this clearance from the maximum cooler height supported by your case will give you an idea of the maximum cooler height you can consider.
It’s worth noting that some smaller form factor cases may have specific cooler height restrictions due to their compact design. Therefore, it’s crucial to choose a CPU cooler that is specifically designed for your case type, or one that falls within the height limitations of your case.
If you discover that your chosen CPU cooler exceeds the maximum height supported by your case, you have several options. One option is to look for a smaller cooler that fits within your case’s clearance limitations. Many manufacturers offer a range of coolers in different sizes and heights to accommodate various case types.
Another option is to consider purchasing a different computer case with greater clearance. Upgrading your case may provide you with more flexibility in selecting a CPU cooler that offers better cooling performance.
By carefully considering the cooler height and case clearance, you can ensure that your CPU cooler fits properly within your case and avoids any compatibility issues.
RAM Clearance Problems
When selecting a CPU cooler, it’s important to consider the clearance of the cooler in relation to your RAM modules. Some CPU coolers, particularly those with large heatsinks or fans, may obstruct the space where the RAM modules are installed, preventing them from fitting properly or limiting your options for RAM configuration.
To avoid RAM clearance problems, you should carefully check the specifications of both the CPU cooler and your motherboard. Look for information regarding RAM clearance and compatibility. Most CPU cooler manufacturers provide this information on their websites, specifying the maximum RAM height that is compatible with the cooler.
Measure the height of your RAM modules, taking into account any additional height from heatsinks or RGB lighting. Compare this measurement with the available clearance specified by the CPU cooler manufacturer. If your RAM modules exceed the maximum allowable height, it’s likely that they will interfere with the CPU cooler.
If you find that your chosen CPU cooler and RAM modules are incompatible due to clearance limitations, you have a few potential solutions. One option is to search for low-profile RAM modules that have a smaller form factor and can fit under the CPU cooler without obstruction.
Alternatively, you may need to consider either choosing a different CPU cooler with higher RAM clearance or adjusting the orientation of the cooler to provide more space for the RAM modules. Some coolers allow for repositioning of the fan or heatsink to optimize clearance. However, be cautious of potential impact on cooling performance when modifying the cooler’s configuration.
It’s crucial to ensure that there is adequate space for proper airflow between the CPU cooler and the RAM modules. If the cooler is too close to the modules, it can hinder cooling performance and potentially cause overheating issues.
By carefully considering the RAM clearance and selecting components that are compatible with each other, you can ensure that your CPU cooler fits properly in your system and allows for optimal cooling performance.
Fan Placement
When it comes to CPU coolers, the placement of the fans is an important aspect to consider. Improper fan placement can lead to compatibility issues and hinder the airflow and cooling performance of your system.
One factor to consider is the interaction between the CPU cooler fans and other system fans. Some tower-style CPU coolers may interfere with the placement of system fans, particularly those located on the side or top of the case. This can disrupt the airflow and negatively impact the cooling efficiency of your system.
Prior to purchasing a CPU cooler, it’s important to carefully analyze the layout and placement of the fans in your case. Consider the positions of both intake and exhaust fans, as well as any potential obstructions caused by the CPU cooler’s size and fan placement.
If you find that your chosen CPU cooler interferes with the position of system fans, there are a few potential solutions. One option is to adjust the positions of the system fans to accommodate the CPU cooler. This may involve repositioning fans or removing some and relying solely on the CPU cooler for cooling the CPU.
Another solution is to choose a CPU cooler that has a fan configuration that better aligns with the existing system fan layout. Some CPU coolers offer dual fans or fans that can be repositioned to adapt to different case configurations. By selecting a compatible CPU cooler that harmonizes with the fan placement in your case, you can optimize the airflow for better cooling performance.
Additionally, pay attention to the direction of airflow when installing the CPU cooler fans. The fans should be positioned to ensure proper intake and exhaust of air. Following the manufacturer’s guidelines for fan placement and orientation will help maximize the cooling efficiency of your CPU cooler.
By considering the placement of the fans in your system and selecting a CPU cooler that aligns with this configuration, you can avoid compatibility issues and ensure optimal cooling for your CPU.
Thermal Paste Application
Thermal paste is a crucial component in ensuring efficient heat transfer between the CPU and the CPU cooler. Proper application of thermal paste is essential to maintain optimal cooling performance and prevent compatibility issues.
When applying thermal paste, it’s important to apply the right amount and ensure even distribution across the CPU surface. Using too much or too little thermal paste can lead to uneven heat transfer and hinder the cooling efficiency.
Before applying thermal paste, thoroughly clean the CPU surface and the base of the CPU cooler. Remove any dirt, dust, or residue to ensure a clean and smooth contact surface. Failure to clean the surfaces properly can result in poor heat transfer and compromised cooling performance.
There are different methods of applying thermal paste, including the pea-sized dot method, the vertical line method, or spreading a thin layer with a plastic applicator. The specific method may vary depending on the brand of thermal paste and the recommendations provided by the manufacturer. It’s crucial to follow the instructions provided by the thermal paste manufacturer for the best results.
Ensure that the thermal paste is evenly spread across the CPU surface and covers the entire heat spreader area. Be cautious not to apply excessive pressure when installing the CPU cooler, as this could cause the thermal paste to smear or overflow onto other components.
Properly applying thermal paste can help fill in microscopic imperfections on the CPU and cooler surfaces, improving the thermal conductivity and heat transfer between them.
By properly applying thermal paste, you can enhance the cooling performance of your CPU cooler, ensuring it operates efficiently and mitigating any potential compatibility issues that may arise from inadequate heat transfer.
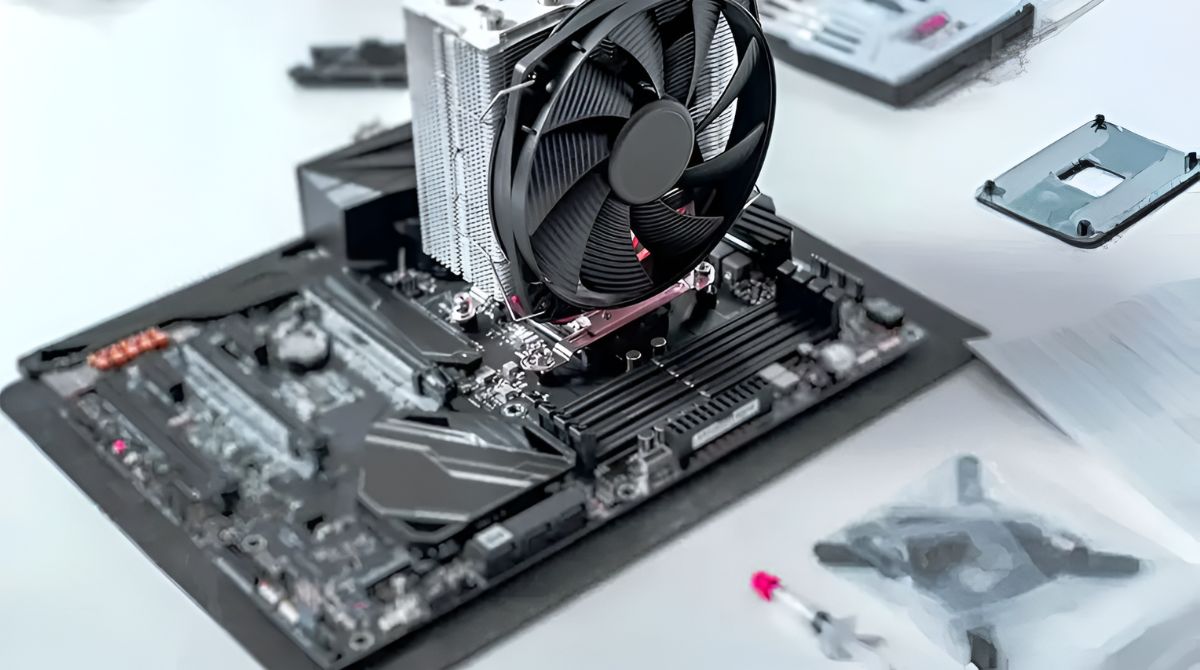
CPU Cooler Installation Mistakes
Installing a CPU cooler may seem like a straightforward task, but there are several common mistakes that can lead to compatibility issues and compromised cooling performance. By being aware of these mistakes, you can avoid potential pitfalls and ensure a successful installation.
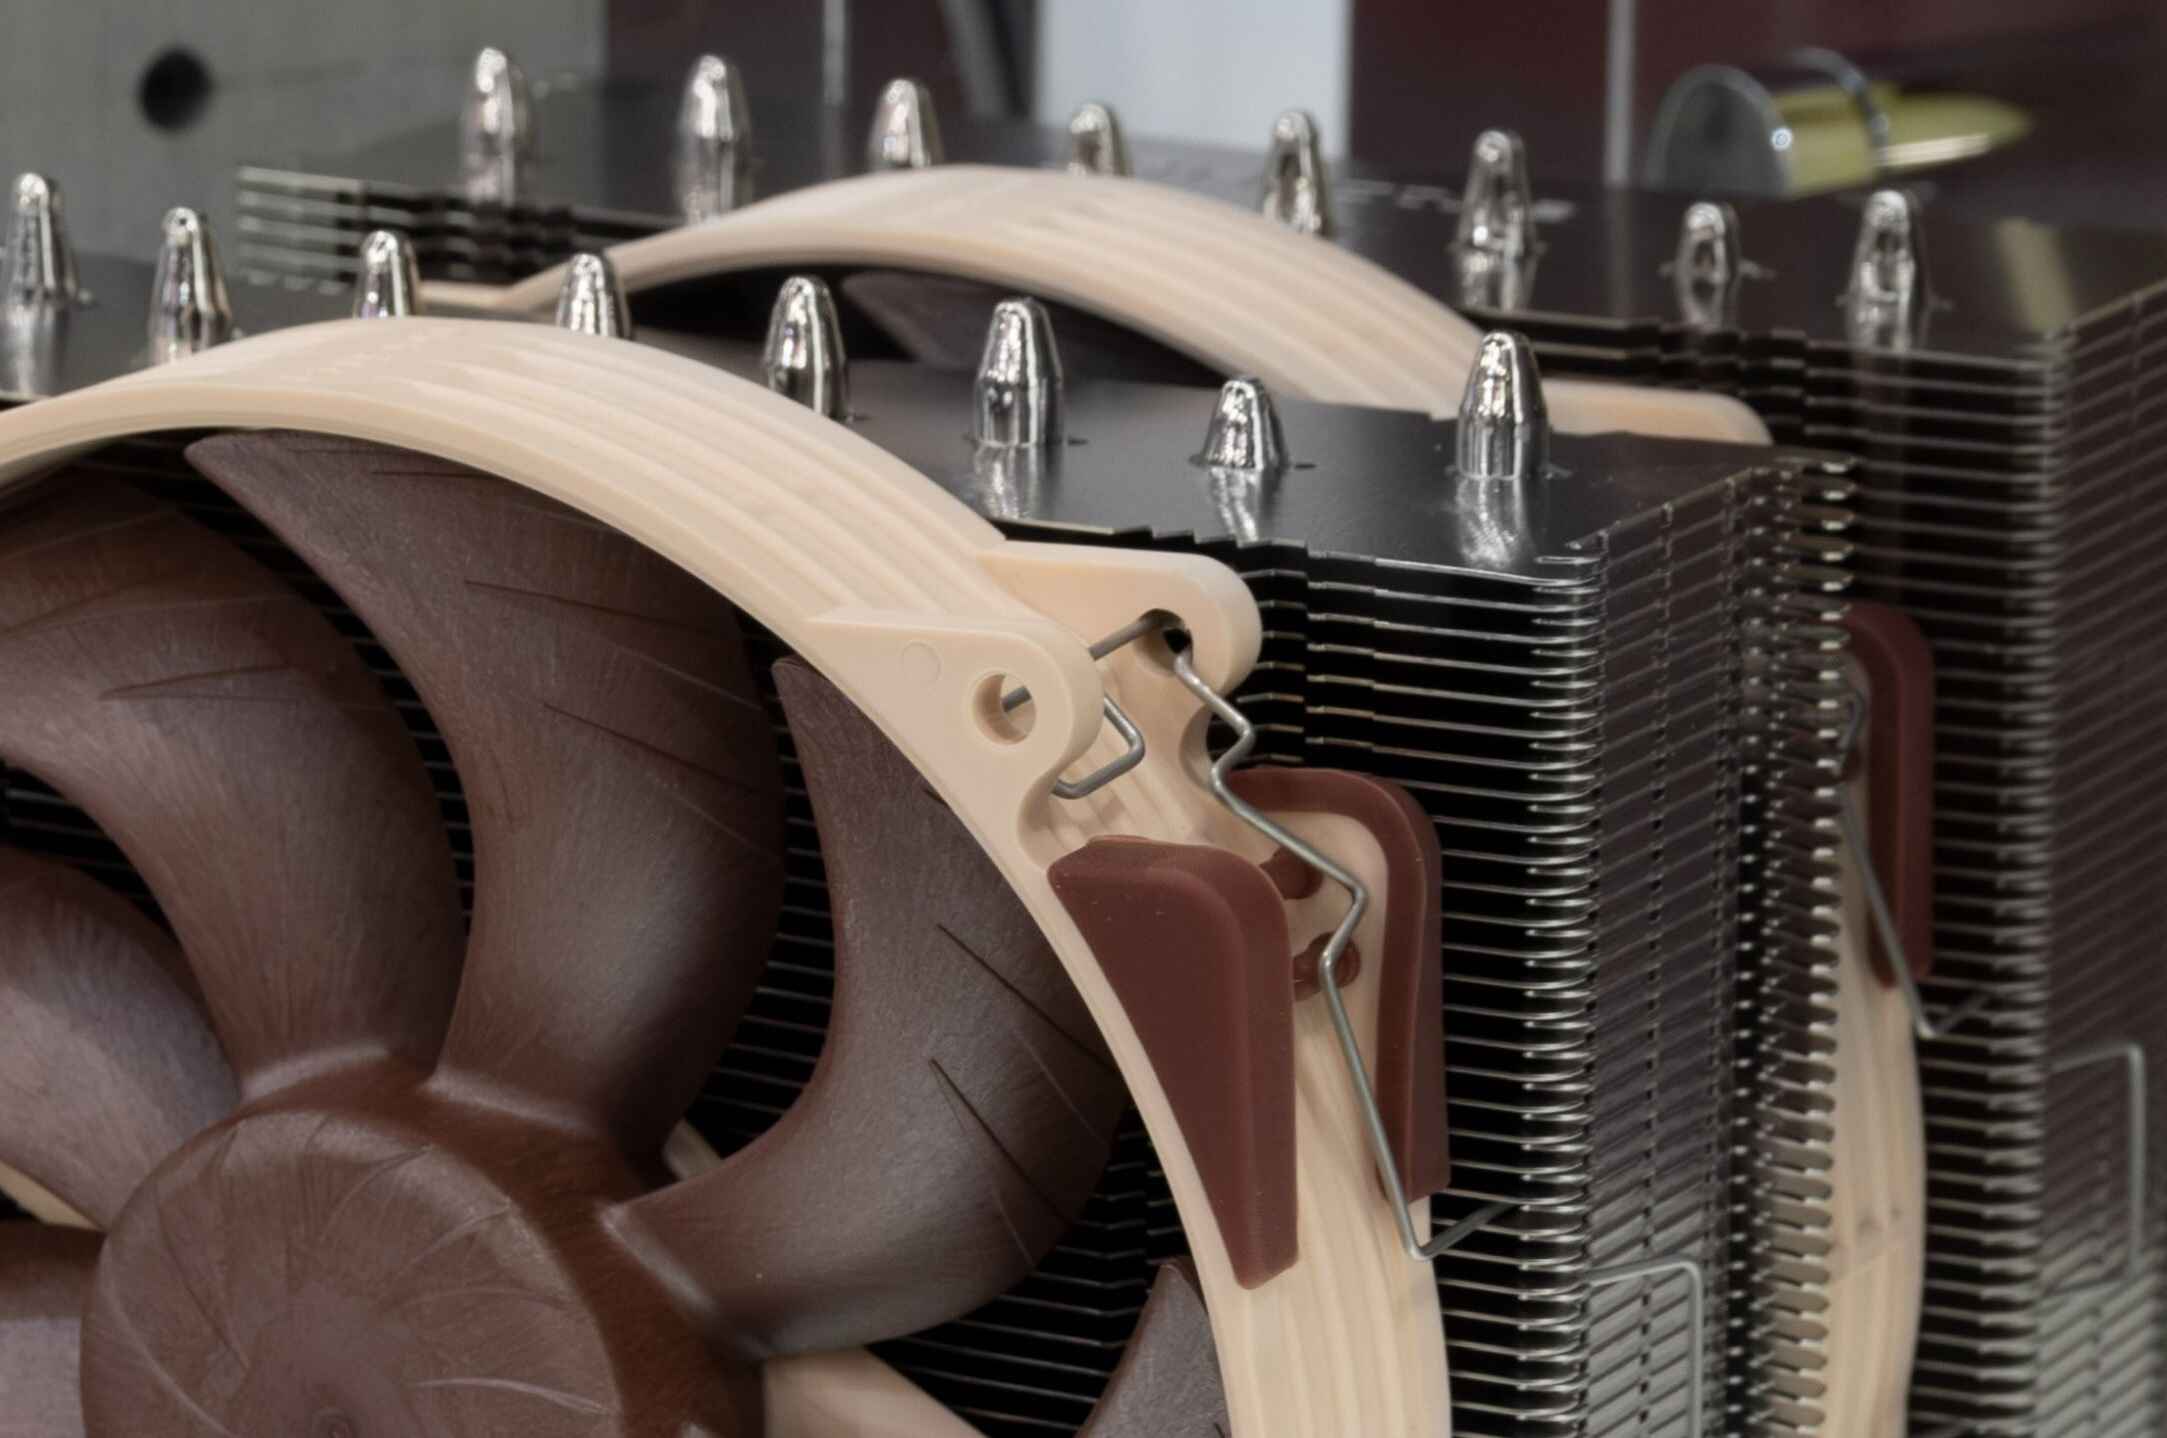
One common mistake is the improper alignment of mounting brackets. Most CPU coolers come with brackets that need to be attached to the motherboard before installing the cooler. It’s important to carefully follow the manufacturer’s instructions and ensure that the brackets are aligned and secured correctly. Failing to do so can result in an unstable cooler or improper contact with the CPU, leading to inadequate cooling.
Another mistake to watch out for is not applying enough pressure during installation. The CPU cooler should be firmly and evenly pressed onto the CPU. Insufficient pressure can create air gaps and hinder effective heat transfer. However, it’s crucial to strike a balance and avoid applying excessive pressure, as this can damage the CPU or cause other compatibility issues.
Forgetting to remove the protective film from the thermal interface material (TIM) is another common oversight. The TIM is typically pre-applied on the CPU cooler or supplied separately. Failing to remove the film before installation can prevent proper contact between the CPU and the cooler, leading to ineffective cooling and potential overheating issues.
Not following the manufacturer’s instructions regarding fan orientation and placement can also cause problems. Some CPU coolers have specific fan configurations and recommended orientations to ensure optimal cooling performance. Installing the fans in the wrong position or with the wrong orientation can lead to restricted airflow and overall poor cooling efficiency.
Lastly, rushing through the installation process without double-checking the steps can result in errors. It’s important to take the time to read the user manual, watch installation videos if available, and ensure you understand each step before proceeding. This will help you avoid potential mistakes and ensure a proper and compatible installation.
By being aware of these common CPU cooler installation mistakes and taking the time to follow the instructions provided by the manufacturer, you can avoid compatibility issues, optimize cooling performance, and extend the lifespan of your CPU.
Resolving the Issue
If you find yourself facing compatibility issues with your CPU cooler, there are several steps you can take to resolve the problem and ensure a proper fit and optimal cooling performance.
The first step is to thoroughly research your CPU socket type and ensure that the cooler you have or plan to purchase is compatible. Double-check the specifications provided by the cooler manufacturer and consult the motherboard manufacturer’s documentation for a list of supported coolers.
If you discover that your CPU cooler is incompatible due to socket type, you may need to consider purchasing a new cooler that is compatible with your CPU’s socket. Look for coolers specifically designed for your socket type, ensuring a proper fit and avoiding any compatibility issues.
If the issue is related to the height of the cooler and case clearance, consider reevaluating the dimensions of your computer case. If it’s a small form factor case with limited vertical space, it may be necessary to upgrade to a larger case that can accommodate a taller CPU cooler.
For RAM clearance problems, you have a few options. Consider swapping your current RAM modules for low-profile ones that have a smaller form factor, allowing them to fit beneath the CPU cooler. Alternatively, you can choose a CPU cooler with higher RAM clearance or adjust the orientation of the cooler to provide more space for the RAM modules.
When it comes to fan placement, consider adjusting the positions of the system fans to accommodate the CPU cooler or choose a cooler with a fan configuration that aligns with the existing fan layout in your case.
Ensure that you properly apply thermal paste, following the manufacturer’s instructions. Clean the CPU surface and the base of the cooler thoroughly before applying an appropriate amount of thermal paste. This will help optimize heat transfer and improve the cooling efficiency of your CPU cooler.
To avoid installation mistakes, carefully follow the manufacturer’s instructions for mounting brackets, ensuring proper alignment and secure attachment. Apply adequate pressure when installing the CPU cooler, but avoid excessive force that may damage the CPU or cause compatibility issues. Remember to remove any protective film from the thermal interface material before installation.
If you encounter any issues during the installation process, don’t hesitate to consult online resources, installation guides, or seek assistance from experienced computer builders or technical support.
By taking these steps to resolve compatibility issues, you can ensure that your CPU cooler fits properly in your system and operates at its optimum capacity, providing efficient and effective cooling for your CPU.
Conclusion
Selecting a CPU cooler that fits properly in your system is essential for optimal cooling performance. Compatibility issues can arise due to factors such as incorrect socket types, cooler height vs. case clearance, RAM clearance problems, fan placement, thermal paste application, and installation mistakes.
By researching and ensuring compatibility with your CPU socket type, you can avoid the frustration of a cooler that doesn’t fit your system. Checking the height of the cooler and the clearance of your case will help you make sure that your CPU cooler fits properly without obstructing other components. Considering RAM clearance will ensure that the cooler doesn’t interfere with your memory modules.
Proper fan placement, adhering to thermal paste application guidelines, and avoiding installation mistakes are crucial for optimal cooling performance. Following the manufacturer’s instructions, applying adequate pressure, and removing any protective film will contribute to effective heat transfer.
If you encounter any compatibility issues, there are solutions available. Purchasing a CPU cooler that matches your socket type, considering a different case, selecting low-profile RAM modules, or adjusting fan positions can help resolve compatibility problems.
By taking these steps and considering the various compatibility factors, you can ensure that your CPU cooler fits properly, operates efficiently, and helps maintain the desired temperature for your CPU, ultimately enhancing the overall performance and longevity of your system.