Introduction
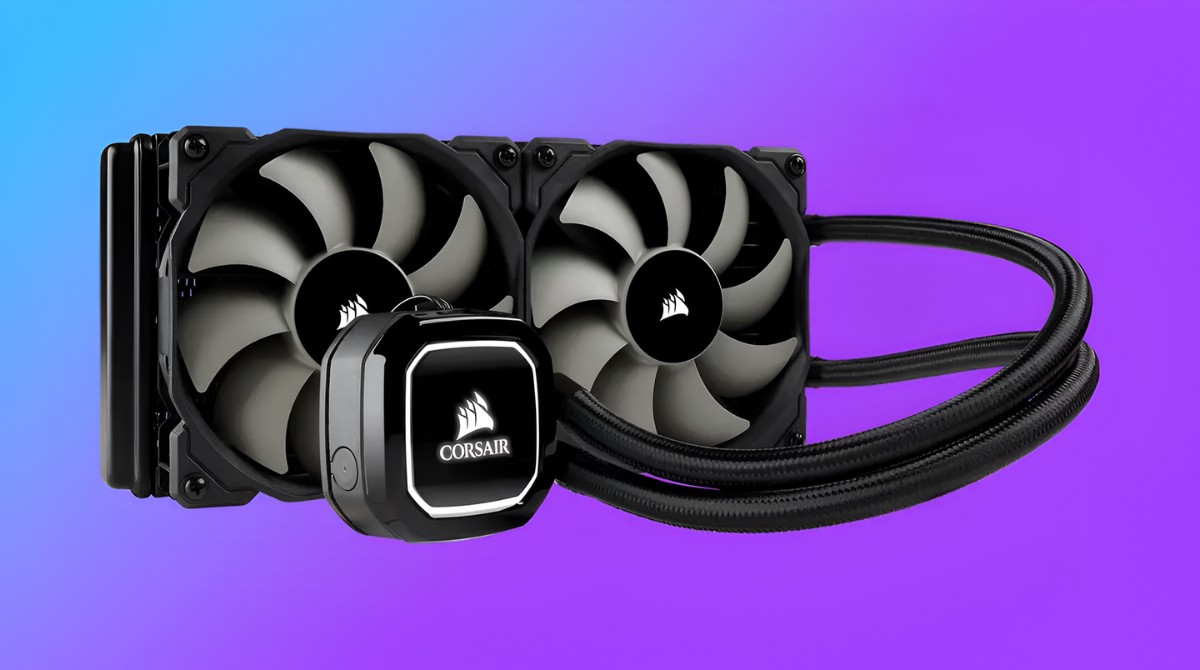
An all-in-one CPU cooler plays a critical role in keeping your computer’s processor cool and preventing it from overheating. Over time, the coolant used in the cooler may need to be replaced, either due to degradation or when you want to upgrade to a more efficient coolant.
Refilling an all-in-one CPU cooler is a cost-effective way to ensure optimal cooling performance and extend the lifespan of your cooling system. However, it’s essential to follow the correct steps to avoid damaging your hardware or voiding any warranties.
In this guide, we will walk you through the process of refilling an all-in-one CPU cooler. We’ll discuss the tools and materials you’ll need, the steps involved, and provide some handy tips along the way.
Remember that every all-in-one CPU cooler is unique, so it’s crucial to refer to the manufacturer’s documentation for specific instructions. With that said, let’s dive in and learn how to refill an all-in-one CPU cooler.
Tools and Materials Needed
Before you begin the process of refilling your all-in-one CPU cooler, it’s important to gather the necessary tools and materials. Having everything prepared in advance will help ensure a smooth and efficient process. Here’s a list of what you’ll need:
- Screwdriver set: Depending on the type of CPU cooler, you may need Phillips or Torx screwdrivers to disassemble and reassemble the cooler.
- CPU cooler coolant: Check the manufacturer’s specifications for the recommended coolant type and make sure to purchase the appropriate coolant for your specific CPU cooler model.
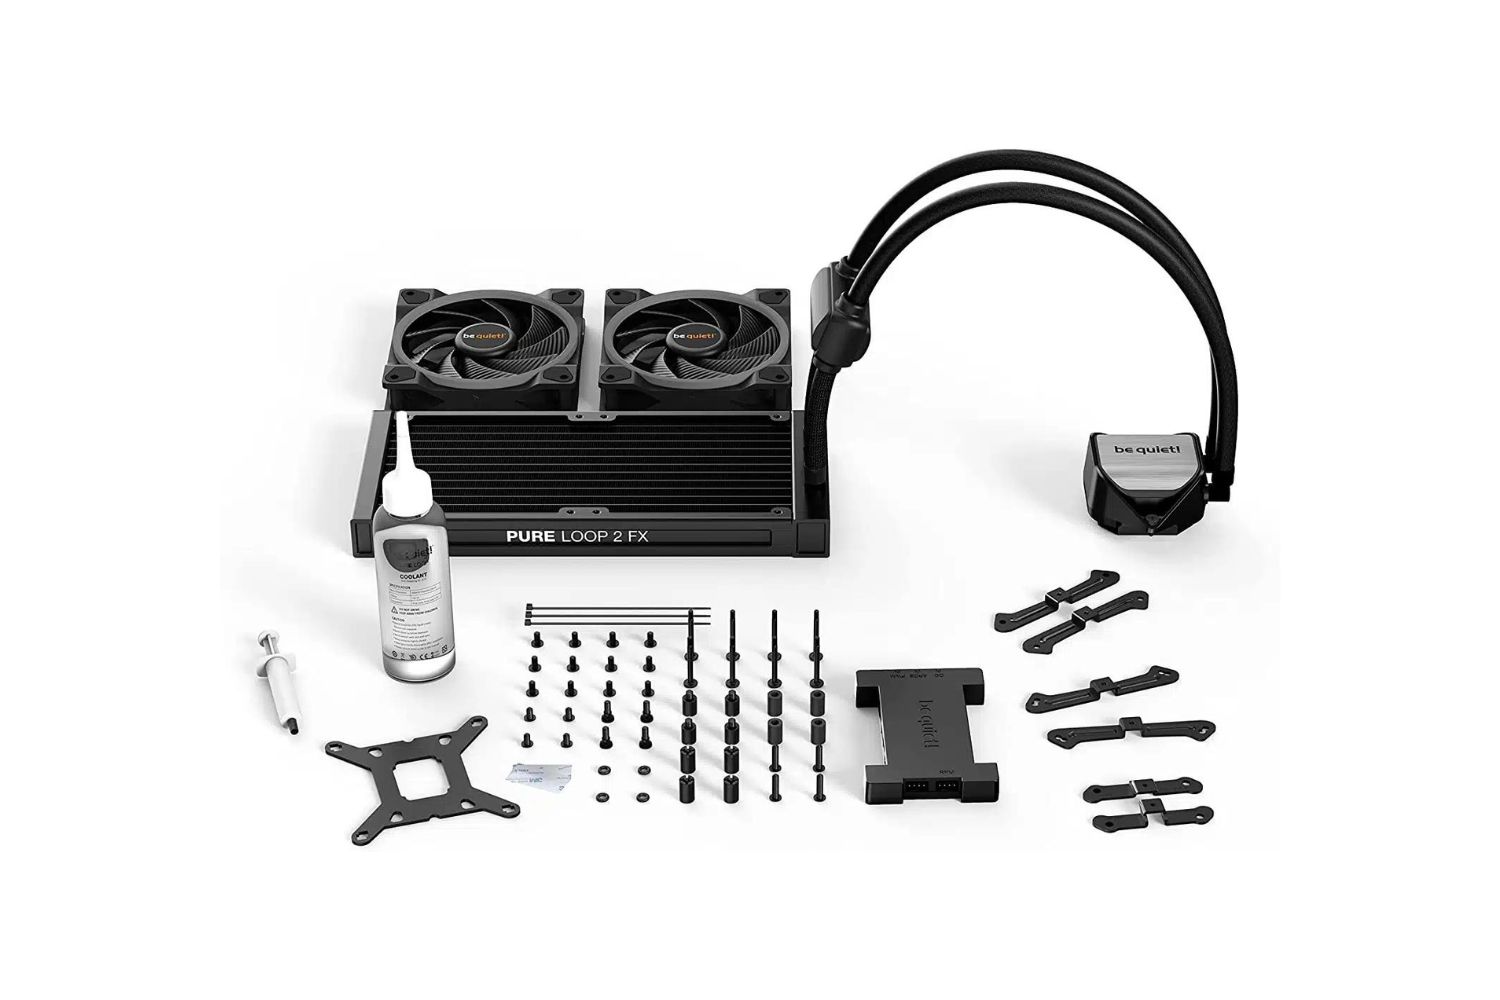
- Refill kit: Some CPU coolers come with a refill kit that includes accessories such as syringes, tubes, and plugs. If your cooler didn’t come with one, make sure to purchase a refill kit separately.
- Isopropyl alcohol: You’ll need isopropyl alcohol with a concentration of at least 90% to clean the CPU cooler components and remove any residue or old coolant.
- Lint-free cloth or paper towels: These will come in handy for wiping off excess coolant and cleaning the components.
- Thermal paste: It’s a good idea to have some thermal paste on hand to reapply to the CPU when reinstalling the CPU cooler.
- Anti-static wrist strap: This optional but recommended tool helps prevent electrostatic discharge that could potentially damage sensitive components during the process.
Having these tools and materials ready will ensure that you have everything you need to successfully refill your all-in-one CPU cooler without any interruptions. Now that you have everything prepared, let’s move on to the next step.
Step 1: Determine if Your All-In-One CPU Cooler Can Be Refilled
Before proceeding with the refill process, it’s crucial to determine if your all-in-one CPU cooler is designed to be refilled. Not all coolers offer this option, and attempting to refill a sealed cooler can lead to damaging the unit or voiding any existing warranty. Here’s how to determine if your cooler can be refilled:
1. Consult the manufacturer’s documentation: Start by reviewing the documentation that came with your CPU cooler. Look for any information regarding the refillability of the unit. The manual should outline specific instructions or mention whether the cooler is refillable or not.
2. Check for refill ports or access points: Open up your computer case and inspect the CPU cooler. Look for any visible refill ports or access points on the radiator or coolant tubes. If your cooler has these features, it’s a good indication that it can be refilled. If you’re unsure or can’t locate any refill ports, refer back to the manual for clarification.
3. Research online or contact the manufacturer: If the documentation isn’t clear or if you can’t find any refill ports, it’s a good idea to do some additional research online. Visit the manufacturer’s website or search for user forums and communities where others might have discussed the refillability of your specific CPU cooler model. You can also contact the manufacturer directly to inquire about the refill options available for your cooler.
Remember, attempting to refill a non-refillable CPU cooler can lead to irreversible damage. It’s important to confirm the refillability of your cooler before proceeding with the next steps. Once you’ve determined that your cooler is refillable, you can move on to gathering the necessary tools and materials.
Step 2: Purchase the Correct Coolant and Refill Kit
Now that you’ve confirmed that your all-in-one CPU cooler can be refilled, it’s time to purchase the appropriate coolant and refill kit. It’s crucial to use the correct coolant type recommended by the manufacturer to ensure compatibility and optimal performance. Here’s how to proceed:
1. Check the manufacturer’s specifications: Refer to the documentation or the manufacturer’s website to find the recommended coolant type for your specific CPU cooler model. It’s important to follow these specifications to avoid any potential compatibility issues or damage to your cooling system.
2. Research and select a reliable coolant brand: Look for reputable brands that offer high-quality coolants specifically designed for CPU cooling systems. Read reviews and check user feedback to ensure that the coolant you choose has a good track record for performance and reliability.
3. Purchase a refill kit, if necessary: Depending on your CPU cooler model, you may need a refill kit that includes accessories such as syringes, tubes, and plugs. If your cooler didn’t come with a refill kit, make sure to purchase one separately. Refill kits provide the necessary tools to safely refill the coolant without causing any leaks or spills.
4. Consider additional components: Depending on the condition of your CPU cooler or personal preference, you may also want to consider purchasing new thermal paste. Thermal paste is used to create a smooth transfer of heat between the CPU and the cooler. It’s a good idea to refresh the thermal paste during the refill process for optimal cooling performance.
Once you have all the necessary materials and accessories, you can proceed to the next step: preparing your workspace.
Step 3: Prepare Your Workspace
Before you begin the process of refilling your all-in-one CPU cooler, it’s important to create a suitable workspace that is clean, well-lit, and free from any potential hazards. Here are some steps to prepare your workspace:
1. Choose a clean and static-free environment: Find a well-ventilated area with a clean surface, such as a table or desk, to work on. Make sure the area is free from any dust, debris, or static-prone objects that could potentially interfere with the process or damage your hardware.
2. Gather necessary cleaning materials: Prepare a lint-free cloth or paper towels and isopropyl alcohol with a concentration of at least 90%. These will be used to clean the CPU cooler components and remove any residue or old coolant.
3. Take anti-static precautions: If you have an anti-static wrist strap, consider wearing it to protect your computer’s sensitive components from electrostatic discharge. This will help prevent any potential damage caused by static electricity during the process.
4. Keep essential tools and materials nearby: Ensure that all the tools and materials you gathered earlier, such as the screwdrivers, coolant, refill kit, and thermal paste, are within reach. Having everything organized and readily accessible will save you time and prevent any unnecessary interruptions or delays.
5. Read and familiarize yourself with the manufacturer’s instructions: Take a few minutes to review the manufacturer’s documentation or any specific instructions provided with your cooler. Familiarize yourself with the disassembly and refill process, so you have a clear understanding of what needs to be done.
By creating a well-prepared workspace, you’ll have everything you need at hand and minimize the risk of any accidents or damage during the refill process. With your workspace ready, you can now proceed to the next step: draining the existing coolant.
Step 4: Drain the Existing Coolant
Before refilling your all-in-one CPU cooler with fresh coolant, it is essential to drain out the existing coolant. This step ensures that any old or degraded coolant is removed from the system. Follow these steps to drain the existing coolant:
1. Power off your computer: Shut down your computer and disconnect it from the power source. This precaution is necessary to avoid any electrical accidents or damage to your hardware while working on the CPU cooler.
2. Locate the drain plug or valves: Look for the drain plug or valves on your CPU cooler. These can typically be found near the radiator or coolant tubes. Refer to the manufacturer’s documentation or user manual if you’re having trouble locating the drain plug or valves.
3. Place a container for collecting the coolant: Position a container or bowl beneath the drain plug or valves to catch the coolant as it drains out of the system. It’s important to use a container that can hold the entire volume of coolant inside your CPU cooler.
4. Open the drain plug or valves: Carefully open the drain plug or valves on your CPU cooler. Be prepared for the coolant to start draining into the container. Take your time and allow the coolant to completely drain out of the system. It’s essential to ensure that no coolant remains in the cooler to avoid any mixing or contamination with the new coolant.
5. Dispose of the coolant responsibly: Coolants can be harmful to the environment, so it’s crucial to dispose of the old coolant responsibly. Check with your local waste management facility for guidance on proper disposal methods. Do not pour the coolant down the drain or throw it in the regular trash.
Once you have emptied all the coolant from the CPU cooler, you can move on to the next step: removing the CPU cooler from your computer.
Step 5: Remove the CPU Cooler From Your Computer
With the existing coolant drained, it’s time to remove the CPU cooler from your computer. Removing it allows for easier access to the cooler and its components, making the refill process more manageable. Follow these steps to remove the CPU cooler:
1. Power off your computer and unplug all cables: Before you begin, make sure to power off your computer completely and disconnect all cables from the back of the CPU. This precaution ensures that you won’t accidentally cause any damage to your hardware.
2. Locate and remove the cooler mounting brackets: Depending on your CPU cooler model, there may be mounting brackets that secure the cooler in place. Use the appropriate screwdriver to loosen and remove the mounting brackets. Put the screws aside in a safe place, as you will need them later for reassembly.
3. Gently detach the CPU cooler from the processor: Slowly and carefully lift the CPU cooler away from the processor, making sure not to apply excessive force. Wiggle it gently if necessary, but be cautious not to damage any other components in the process.
4. Disconnect the cooler from the motherboard: Depending on the design of your CPU cooler, there may be connectors or screws attaching it to the motherboard. Follow the manufacturer’s instructions to disconnect the cooler from the motherboard. Take note of the connections and their arrangement to ensure proper reinstallation later.
5. Set the CPU cooler aside in a safe place: Once the CPU cooler is detached from the motherboard, carefully place it in a secure location where it won’t be at risk of falling or being damaged. You may want to lay it on a clean, non-static surface or cover it with a cloth to protect it during the refill process.
With the CPU cooler removed from your computer, you’re ready to proceed to the next step: disassembling the CPU cooler and its components.
Step 6: Disassemble the CPU Cooler
In this step, you will disassemble the CPU cooler to gain access to the internal components and be able to refill it properly. Follow these steps to disassemble the CPU cooler:
1. Refer to the manufacturer’s documentation: The disassembly process may vary depending on your CPU cooler model, so it’s essential to consult the manufacturer’s documentation or user manual for specific instructions. This will help ensure that you disassemble the cooler correctly and avoid any potential damage.
2. Remove the radiator: If your CPU cooler has a separate radiator, locate and remove it from the cooler assembly. This may involve unscrewing it or disconnecting any mounting brackets or screws. Set the radiator aside in a safe place.
3. Remove the fan(s): If there are any fans attached to the CPU cooler, carefully detach them. This may involve removing screws or disconnecting any wire connectors. Ensure that you keep track of any screws or connectors you remove, as you will need them for reassembly.
4. Disassemble the coolant tubes: Depending on the design of your CPU cooler, you may need to disassemble the coolant tubes to access the internal components. Carefully disconnect the tubes from the cooler assembly, taking note of their arrangement and any connectors or clamps used to secure them.
5. Separate the cold plate from the pump block: If your CPU cooler has a separate cold plate and pump block, detach them from each other according to the manufacturer’s instructions. This may involve removing screws or other fasteners. Once separated, set them aside in a secure location.
During the disassembly process, take care to handle the components gently and avoid excessive force. If you encounter any difficulties or are unsure about a particular step, refer back to the manufacturer’s documentation or seek assistance from their customer support.
With the CPU cooler disassembled, you’re now ready to move on to the next step: refilling the CPU cooler with new coolant.
Step 7: Refill the CPU Cooler with New Coolant
Now that you have disassembled the CPU cooler, it’s time to refill it with fresh coolant. Follow these steps to ensure a successful refill:
1. Prepare the new coolant: Open your new coolant and ensure that it is compatible with your CPU cooler model. Refer to the manufacturer’s instructions for any specific preparation steps, such as shaking the coolant bottle or mixing it with distilled water if required.
2. Fill the syringe or designated container: If your refill kit includes a syringe, use it to draw the new coolant from the bottle. If not, use a designated container provided in the kit. Fill the syringe or container with the appropriate amount of coolant, as specified by the manufacturer.
3. Refill the CPU cooler: Locate the refill port or access point on the CPU cooler. Slowly and carefully inject or pour the coolant into the cooler while observing the manufacturer’s recommended fill level. Take your time to avoid overfilling or spilling the coolant.
4. Bleed any air bubbles: After filling the CPU cooler, you may notice air bubbles trapped in the coolant. Gently tap or give the cooler a few shakes to encourage air bubble release. This step ensures optimal coolant flow and prevents potential performance issues.
5. Reassemble the components: Once the CPU cooler is refilled, it’s time to reassemble the components in the reverse order of disassembly. Reconnect the coolant tubes, attach the cold plate to the pump block, and reattach any fans or other components according to the manufacturer’s instructions.
6. Apply thermal paste (if necessary): If you removed the cold plate from the CPU during disassembly, you’ll need to apply a small amount (typically pea-sized) of thermal paste to the center of the CPU before reattaching the cooler. This paste helps in ensuring proper heat transfer between the CPU and the cold plate.
With the CPU cooler refilled and reassembled, you’re now ready to move on to the next step: reinstalling the CPU cooler into your computer.
Step 8: Reassemble the CPU Cooler
After refilling the CPU cooler, it’s time to reassemble the components to ensure proper functioning. Follow these steps to reassemble the CPU cooler:
1. Align the CPU cooler with the mounting holes: Carefully position the CPU cooler back onto the motherboard, aligning it with the mounting holes. Take note of the orientation to ensure proper positioning.
2. Connect the CPU cooler to the motherboard: Reattach any connectors or screws that secure the CPU cooler to the motherboard. Follow the manufacturer’s instructions for proper installation and ensure a snug fit without overtightening.
3. Secure the mounting brackets: Reinsert and tighten the mounting brackets that hold the CPU cooler in place. Use the appropriate screwdriver to secure them, making sure they are evenly tightened for proper stability.
4. Attach the radiator (if applicable): If your CPU cooler has a separate radiator, reattach it to the cooler assembly. Secure it using the designated screws or brackets, ensuring a secure and stable connection.
5. Reconnect any fans: If you detached any fans during the disassembly process, reattach them to the CPU cooler. Use the necessary screws or connectors, ensuring a proper and secure connection.
6. Organize cables: Make sure to arrange and manage any cables or wires that may be connected to the CPU cooler. Proper cable management helps improve airflow and ensures a tidy and organized setup.
By carefully reassembling the CPU cooler, you’re ensuring that it is properly attached and securely mounted to your computer’s motherboard. This step is crucial for optimal cooling performance and longevity.
With the CPU cooler reassembled, you’re ready to move on to the next step: reinstalling the CPU cooler back into your computer.
Step 9: Reinstall the CPU Cooler in Your Computer
After reassembling the CPU cooler, it’s time to reinstall it back into your computer. Follow these steps to ensure a proper installation:
1. Prepare the CPU and motherboard: Ensure that the CPU socket on the motherboard is clean and free from any dust or debris. If necessary, gently clean it using compressed air or a soft brush. Apply a fresh layer of thermal paste to the center of the CPU, ensuring even coverage.
2. Align and mount the CPU cooler: Carefully align the CPU cooler with the mounting holes around the CPU socket. Take note of the correct orientation, making sure the cooler lines up with any brackets or mounting points on the motherboard.
3. Secure the CPU cooler: Once aligned, gently press the cooler onto the motherboard. Use the appropriate screws or mounting brackets to secure the cooler in place. Tighten the screws evenly and cautiously, following the manufacturer’s instructions and avoiding overtightening.
4. Connect the CPU fan: Locate the CPU fan header on the motherboard and connect the fan cable from the CPU cooler to it. Ensure a secure connection, making sure the cable is properly seated and not obstructing any other components.
5. Double-check connections and cables: Before closing your computer case, double-check all connections and cables associated with the CPU cooler. Ensure that everything is properly connected and secured, minimizing the risk of loose connections or accidental dislodging.
6. Close your computer case: Once you’ve confirmed that all connections are secure, carefully close your computer case. Make sure all screws or fasteners are properly tightened to ensure a snug fit and prevent any vibrations or loose components.
By reinstalling the CPU cooler correctly, you’ll ensure proper cooling performance and functionality for your computer’s processor. This step is crucial for maintaining optimal temperatures and preventing overheating issues.
Now that the CPU cooler is securely installed, you can move on to the final step: testing the CPU cooler to ensure proper operation.
Step 10: Test the CPU Cooler
The final step in the process of refilling an all-in-one CPU cooler is to test its functionality and ensure it is operating correctly. Follow these steps to test the CPU cooler:
1. Power on your computer: Connect your computer to the power source and turn it on. Allow the system to boot up and reach the desktop or operating system.
2. Monitor CPU temperatures: Use a reliable monitoring software or utility to check the CPU temperatures. Monitor the temperatures to ensure that they remain within safe limits during normal computer usage and under load.
3. Perform stress tests: To further evaluate the cooling performance, consider running benchmarking or stress testing software that puts a heavy load on the CPU. Observe the CPU temperatures during these tests to ensure that the cooler is effectively dissipating heat and maintaining acceptable temperatures.
4. Listen for abnormal noises: Pay attention to any unusual sounds coming from the CPU cooler, such as rattling, buzzing, or excessive fan noise. These can indicate potential issues with the cooler’s operation, such as a loose fan or an obstruction in the airflow.
5. Monitor for any leaks or coolant loss: Keep an eye on the CPU cooler and the surrounding components for any signs of leakage or coolant loss. Check for dampness, stains, or unusual residue around the CPU cooler or on the motherboard. If you notice any leaks, immediately power off your computer and resolve the issue before continuing to use the system.
By testing the CPU cooler, you’re ensuring that it is effectively cooling your CPU and maintaining safe operating temperatures. This step helps catch any potential issues early on and allows you to address them promptly.
If you encounter any problems during the testing phase or suspect that the CPU cooler is not performing optimally, refer to the manufacturer’s documentation or contact their customer support for further assistance and troubleshooting.
With the CPU cooler successfully tested and functioning correctly, you have completed the process of refilling an all-in-one CPU cooler. Congratulations! Your computer is now equipped with a refreshed and efficient cooling system.
Conclusion
Refilling an all-in-one CPU cooler can be a rewarding and cost-effective way to maintain optimal cooling performance for your computer’s processor. By following the steps outlined in this guide, you can ensure a successful and safe refill process. Here’s a recap of the key points:
1. Determine if your all-in-one CPU cooler is refillable by consulting the manufacturer’s documentation or contacting their customer support.
2. Purchase the correct coolant and refill kit recommended for your specific CPU cooler model. Consider additional components such as thermal paste for improved heat transfer.
3. Prepare a clean and organized workspace, ensuring proper static protection, and gathering all the necessary tools and materials.
4. Drain the existing coolant from your CPU cooler, taking care to collect and dispose of it responsibly.
5. Remove the CPU cooler from your computer by disconnecting any mounting brackets and detaching it from the motherboard.
6. Disassemble the CPU cooler, separating components such as the radiator, fans, and coolant tubes to access the internal parts.
7. Refill the CPU cooler with the new coolant, ensuring proper levels and bleeding any air bubbles.
8. Reassemble the CPU cooler by following the reverse order of disassembly, making sure all components are properly connected and secured.
9. Reinstall the CPU cooler into your computer, aligning and mounting it correctly on your motherboard.
10. Test the CPU cooler’s functionality by monitoring temperatures, running stress tests, and listening for any abnormal noises or leaks.
Remember to refer to the manufacturer’s documentation and guidelines specific to your CPU cooler model throughout the refilling process, as certain steps and requirements may vary.
By successfully refilling your all-in-one CPU cooler, you’ll ensure that your computer’s processor stays cool and maintains optimal performance. Regular maintenance and monitoring of your CPU cooler will help extend its lifespan and prevent potential overheating issues.
With the knowledge gained from this guide, you are now equipped to confidently and effectively refill your all-in-one CPU cooler. Enjoy a cooler and more efficient computing experience!


