Signs that your CPU cooler is not working properly
A CPU cooler is an essential component of any computer system, responsible for keeping the CPU cool and preventing it from overheating. If your CPU cooler is not functioning properly, it can lead to several issues that can affect the performance and longevity of your computer. Here are some signs that indicate your CPU cooler may not be working properly:
- High CPU temperatures: One of the most obvious signs of a malfunctioning CPU cooler is consistently high CPU temperatures. If you notice that your CPU temperatures are regularly reaching unsafe levels, it could be a clear indication that the cooler is not effectively dissipating heat.
- Noise from the cooler: A properly functioning CPU cooler should operate silently or produce minimal noise. However, if you hear loud or unusual noises coming from the cooler, such as grinding, rattling, or clicking sounds, it could be a sign of a faulty fan or other cooling component.
- Computer crashes or freezes: Overheating caused by a malfunctioning CPU cooler can lead to frequent crashes or system freezes. If your computer suddenly shuts down or becomes unresponsive during regular use, it’s essential to check the CPU temperatures and the functionality of the cooler.
- Inconsistent fan speed: The fan speed of a CPU cooler should adjust based on the CPU temperature. If you notice that the fan is constantly running at high speed or not spinning at all, it indicates a problem with the cooler’s fan control mechanism.
- Burning smell or hot air: If you detect a burning smell or feel hot air being exhausted from the CPU cooler, it could be a sign of overheating. This could be due to a malfunctioning cooler or insufficient thermal paste between the CPU and the cooler.
If you experience any of these signs, it’s crucial to address the issue promptly to prevent potential damage to your CPU and other components. In the following sections, we will explore how you can troubleshoot and rectify problems with your CPU cooler.
How to check the temperature of your CPU
Monitoring the temperature of your CPU is vital to ensure that it is running within safe operating limits. Excessive heat can cause instability, performance issues, and even permanent damage to your processor. Fortunately, there are several methods to check the CPU temperature:
1. BIOS or UEFI: Many motherboards provide temperature monitoring options in the BIOS or UEFI settings. Reboot your computer and enter the BIOS by pressing a specific key during startup (typically Del, F2, or F10). Look for a section related to hardware monitoring or system information, where you can find the CPU temperature.
2. Software utilities: There are numerous third-party software applications available that can monitor the temperature of your CPU. Some popular options include HWiNFO, Core Temp, and SpeedFan. Download and install the software of your choice, and it will display real-time CPU temperature and other relevant information.
3. Task Manager: If you’re using a Windows operating system, you can also check the CPU temperature using the Task Manager. Simply right-click on the taskbar and select “Task Manager” from the menu. In the Performance tab, you will find a section labeled “CPU.” The temperature is usually displayed as a graph or a numeric value.
4. Hardware monitoring tools: Some manufacturers provide their own monitoring software for their CPUs or coolers. For example, AMD offers the Ryzen Master utility for monitoring and optimizing their Ryzen processors. Check the manufacturer’s website to see if they offer any specific tools for your CPU.
When monitoring the CPU temperature, it’s important to note that the acceptable temperature range may vary depending on the CPU model. As a general rule of thumb, aim to keep your CPU temperatures below 80°C (176°F) under heavy load. If the temperatures consistently exceed this limit, you may need to take steps to improve your cooling setup or address any issues with your CPU cooler.
Regularly checking and monitoring the CPU temperature will help you ensure the stability and longevity of your computer system. In the next section, we will discuss troubleshooting tips for a malfunctioning CPU cooler.
Troubleshooting tips for a malfunctioning CPU cooler
A malfunctioning CPU cooler can lead to overheating, performance issues, and potential damage to your computer. If you suspect that your CPU cooler is not working properly, here are some troubleshooting tips to help you identify and address the problem:
1. Verify the fan connections: Ensure that the CPU cooler fan is securely connected to the motherboard. Check the fan cables for any loose connections or damage. In some cases, simply reseating the fan cable can resolve the issue.
2. Clean the CPU cooler: Over time, dust and debris can accumulate on the CPU cooler, hindering its cooling performance. Carefully remove the cooler from the CPU and clean it using compressed air or a soft brush. Be cautious not to damage any delicate components during the cleaning process.
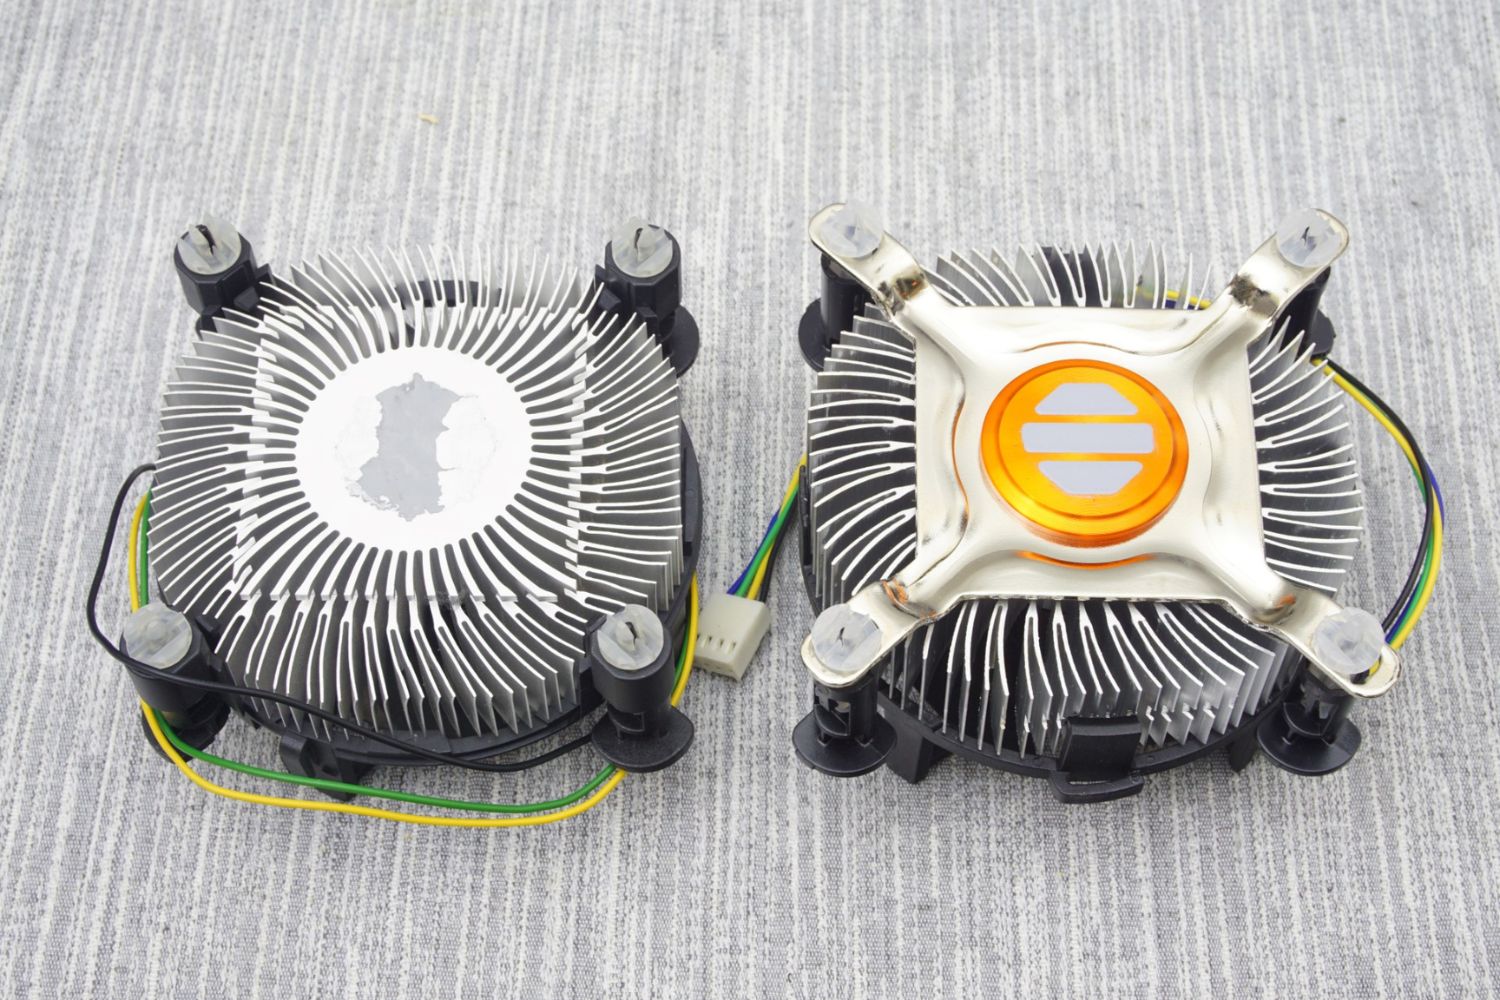
3. Replace thermal paste: CPU coolers rely on a thin layer of thermal paste between the CPU and the cooler to facilitate heat transfer. If the thermal paste has dried up or has become ineffective, it can impact the cooling performance. Remove the old thermal paste and apply a fresh layer before reattaching the cooler.
4. Check for obstructions: Ensure that there are no obstructions blocking the airflow to the CPU cooler. Remove any obstacles like cables or accumulated dust that could impede proper cooling. Optimal airflow is crucial for the cooler to dissipate heat efficiently.
5. Test with a different cooler or fan: If possible, try replacing the CPU cooler or fan with a known working unit to determine if the issue lies with the cooler itself. This can help pinpoint whether the problem is with the fan, the cooling mechanism, or other related components.
6. Update BIOS and drivers: Check for any available BIOS updates for your motherboard and install them. Similarly, ensure that you have the latest chipset drivers and software updates for your system. Sometimes, outdated firmware or drivers can cause cooling issues.
7. Monitor CPU temperatures: Use software utilities to track the CPU temperatures and observe any abnormalities. If the temperatures consistently exceed safe limits or show sudden spikes, it indicates that the CPU cooler is not functioning properly. This can help you diagnose the problem before taking further action.
By following these troubleshooting tips, you can diagnose and potentially resolve issues with a malfunctioning CPU cooler. However, if the problem persists or if you are unsure about performing these steps yourself, it is recommended to seek professional assistance. In the next sections, we will explore other aspects of CPU cooler maintenance, including checking fan speed and airflow, and the importance of a properly functioning CPU cooler.
Checking fan speed and airflow for proper cooling
Proper airflow and fan speed are crucial for effective CPU cooling. Insufficient airflow or fan speed can lead to higher CPU temperatures and reduced cooling performance. To ensure that your CPU cooler is functioning optimally, here are some steps you can take to check the fan speed and airflow:
1. BIOS or UEFI settings: Enter the BIOS or UEFI settings of your computer by restarting it and pressing the designated key (such as Del, F2, or F10) during startup. Look for options related to fan settings or fan control. You should be able to see the fan speed settings and adjust them if necessary.
2. Software monitoring tools: Utilize third-party software tools like HWiNFO, SpeedFan, or the manufacturer’s proprietary software to monitor fan speed. These tools can provide real-time information on fan RPMs (rotations per minute) and allow you to control fan speed if available.
3. Physical inspection: Open your computer case and visually inspect the CPU cooler fan. Ensure that it is spinning smoothly and without any interruptions or irregularities. If the fan is not spinning, it may indicate a faulty fan or a problem with power supply to the fan.
4. Check for clogged vents or obstructions: Dust and debris can accumulate on the CPU cooler and block the airflow. Inspect the cooler and its vents for any clogs or obstructions. Use compressed air or a soft brush to remove the dust carefully. This will help maintain proper airflow and prevent overheating.
5. Ensure proper fan orientation: Check that the CPU cooler fan is properly installed and angled in the correct direction to promote optimal airflow. The airflow should follow the direction indicated by the arrows on the fan itself or the cooler housing. Improper fan orientation can disrupt the cooling efficiency.
6. Consider additional case fans: If your case has available fan slots, you can install additional case fans to improve overall airflow and cooling. Strategically positioning these fans to target the CPU cooler and other hot components can enhance the cooling performance significantly.
7. Monitor temperatures: Use software monitoring tools to keep an eye on CPU temperatures while the computer is running. Observe if the temperatures are within a safe range during idle and under load. If the temperatures consistently remain high, it may indicate a problem with fan speed or airflow.
Checking the fan speed and airflow is essential to maintain proper cooling for your CPU. By ensuring that the fan speed is adequate and the airflow is unrestricted, you can effectively prevent overheating and maintain optimal performance. In the following section, we will discuss how to monitor CPU temperatures using software.
Monitoring CPU temperatures using software
Monitoring the temperature of your CPU is crucial for maintaining optimal performance and ensuring that your computer is running within safe temperature limits. Fortunately, there are several software tools available that allow you to monitor CPU temperatures in real-time. Here’s how you can monitor CPU temperatures using software:
1. Third-party monitoring software: There are various third-party software applications specifically designed for monitoring CPU temperatures. Some popular options include HWiNFO, Core Temp, and SpeedFan. Download and install the software that suits your needs, and it will provide you with accurate and detailed real-time information on CPU temperatures.
2. Manufacturer’s software utilities: Many CPU manufacturers offer their own software utilities for monitoring CPU performance and temperatures. For example, Intel offers the Intel Extreme Tuning Utility (XTU), while AMD provides the Ryzen Master utility. These utilities not only display CPU temperatures but also provide advanced features for overclocking and performance tuning.
3. System monitoring or hardware diagnostic tools: Some system monitoring or hardware diagnostic tools, such as CPU-Z, HWMonitor, or Speccy, also include temperature monitoring features. These tools provide comprehensive information about various hardware components, including the CPU temperature.
4. Built-in operating system tools: Operating systems like Windows and macOS also provide built-in tools for monitoring CPU temperatures. In Windows, you can use the Task Manager or third-party applications like Open Hardware Monitor or MSI Afterburner. On macOS, the Activity Monitor or iStat Menus can provide temperature information.
Once you have installed the monitoring software of your choice, launch the application, and navigate to the relevant section to view the CPU temperature. Most software will display the CPU temperature in Celsius or Fahrenheit, along with other essential information such as CPU usage, clock speed, and voltage.
It’s important to continuously monitor CPU temperatures, especially during intensive tasks like gaming or video rendering. Keeping an eye on the temperatures can help you detect any abnormalities or excessive heat buildup that may indicate a problem with your CPU cooler or overall cooling setup.
Additionally, monitoring software often allows you to set up alarms or notifications to alert you when the CPU temperature reaches a certain threshold. This can be especially useful in preventing temperature-related issues and potentially avoiding overheating or performance degradation.
By regularly monitoring the CPU temperatures using software, you can ensure that your computer stays cool and performs optimally. In the next section, we will discuss how to clean a dusty CPU cooler for better performance.
How to clean a dusty CPU cooler for better performance
Over time, dust and debris can accumulate on the CPU cooler, hindering its ability to dissipate heat efficiently. Cleaning the CPU cooler is important for maintaining optimal performance and preventing overheating. Here’s how you can clean a dusty CPU cooler:
1. Prepare the necessary tools: Before you begin, gather the tools you’ll need for the cleaning process. These may include compressed air, a soft brush or cotton swabs, and isopropyl alcohol. Make sure to power off and unplug your computer before proceeding.
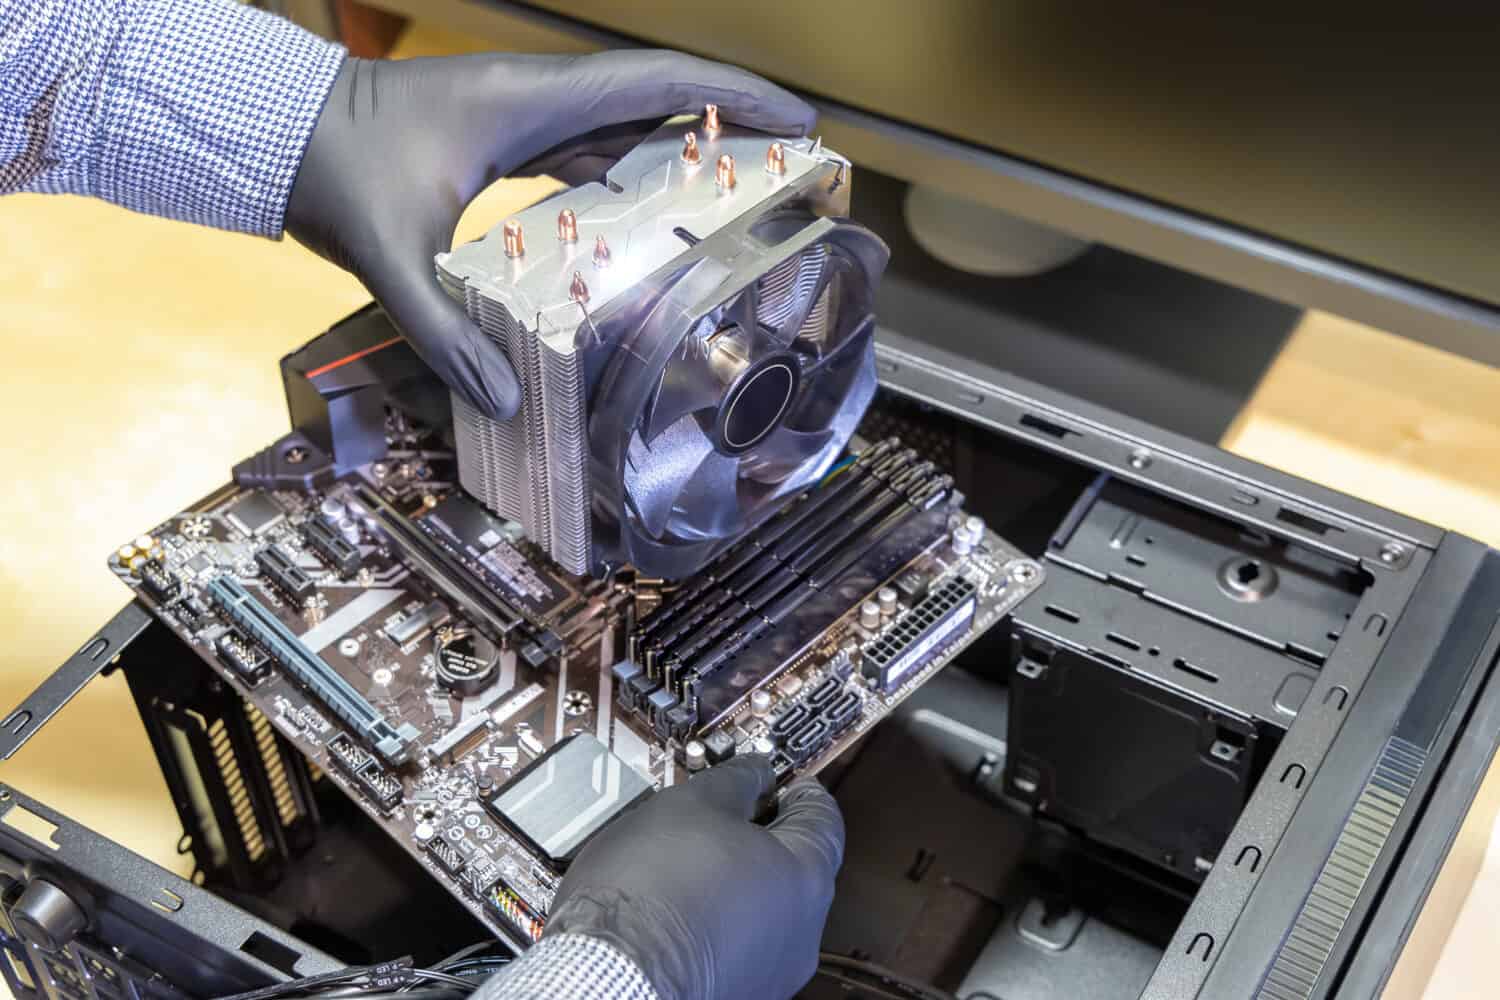
2. Remove the CPU cooler: Depending on your CPU cooler type, you may need to remove it from the CPU socket. Consult the manufacturer’s instructions or search online for specific guidance on how to remove your CPU cooler safely.
3. Use compressed air: Take the can of compressed air and carefully blow away the dust and debris from the CPU cooler fins, fan blades, and heat sink. Hold the can at a safe distance to avoid damaging any components and make sure to blow the air in a consistent direction to prevent the dust from spreading further into the system.
4. Brush away remaining dust: If there are any stubborn dust particles that the compressed air couldn’t remove, use a soft brush or a cotton swab to gently brush away the remaining dust. Be careful not to apply too much pressure or use any sharp objects that could damage the cooler.
5. Clean the fan blades: If the CPU cooler has a fan, use a brush or a cotton swab dipped in isopropyl alcohol to wipe down the fan blades. This will help remove any dirt or grime that may be affecting the fan’s performance. Allow the fan to dry completely before reassembling.
6. Reapply thermal paste: Once you’ve cleaned the CPU cooler, you may need to reapply thermal paste to ensure proper heat transfer between the CPU and the cooler. Follow the manufacturer’s instructions for applying the thermal paste in the correct amount and method. This step is crucial for optimal cooling efficiency.
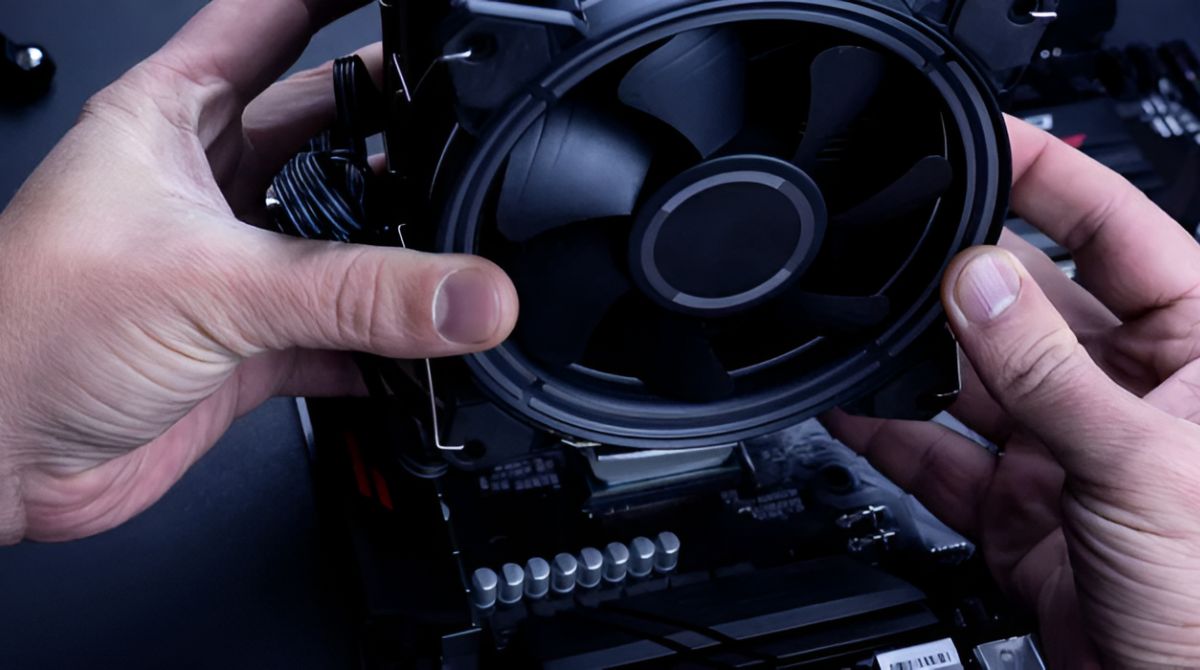
7. Reinstall the CPU cooler: Carefully reattach the CPU cooler to the CPU socket following the manufacturer’s instructions. Ensure that it is securely fastened and properly aligned to promote efficient heat dissipation.
8. Clean other system components: While you’re at it, consider cleaning other dusty components such as the graphics card, power supply, and case fans. Removing dust from these components will help improve overall airflow and cooling performance.
Regularly cleaning your CPU cooler is essential for maintaining the longevity and performance of your computer. Aim to clean the cooler at least once every few months, or more frequently if you live in a particularly dusty environment.
With a clean CPU cooler, you can ensure better airflow, lower CPU temperatures, and improved system stability. In the next section, we will discuss how to replace a faulty CPU cooler if cleaning doesn’t resolve the issue.
How to replace a faulty CPU cooler
If you’ve determined that your CPU cooler is faulty and cleaning it hasn’t resolved the issue, it may be time to replace it. Replacing a faulty CPU cooler is a relatively straightforward process. Here’s how you can do it:
1. Gather necessary tools and materials: Before you begin, make sure you have the replacement CPU cooler, thermal paste, and any tools required for installation. Check the specifications of your CPU and motherboard to ensure compatibility with the new cooler.
2. Power off and unplug your computer: It’s important to turn off and unplug your computer before working on any internal components. This ensures your safety and prevents any accidental damage to the system.
3. Remove the old CPU cooler: Carefully disconnect the power cable and any other connectors attached to the old CPU cooler. Unscrew the mounting screws or clips carefully, and gently remove the cooler from the CPU socket. Be cautious not to damage any other components during this process.
4. Clean the CPU and reapply thermal paste: Once the old CPU cooler is removed, use isopropyl alcohol and a lint-free cloth or cotton swab to clean the old thermal paste from the CPU surface. Apply a small amount of new thermal paste to the center of the CPU, ensuring not to use too much or too little. Follow the manufacturer’s instructions for proper application.
5. Install the new CPU cooler: Carefully position the new CPU cooler on the CPU socket, aligning the mounting holes with the corresponding brackets on the motherboard. Ensure the cooler is level and secure. Then, using the provided screws or clips, fasten the cooler in place. Follow the manufacturer’s instructions for proper installation.
6. Connect the cooler’s power cable: Reattach the power cable to the new CPU cooler. Ensure it is securely connected to the appropriate fan header on the motherboard. Double-check that all other cables and components are properly reconnected as well.
7. Test the new CPU cooler: Once everything is reassembled, power on your computer and monitor the CPU temperatures. Ensure that the new CPU cooler is functioning correctly and that the temperatures are within safe limits. Observe the fan speed, airflow, and noise levels to ensure optimal performance.
8. Dispose of the old cooler: If the old CPU cooler is damaged or no longer functioning, dispose of it properly according to local regulations. Some communities offer recycling or electronic waste disposal programs to ensure environmentally responsible disposal.
Replacing a faulty CPU cooler is a relatively simple process, but if you are uncomfortable doing it yourself or lack the necessary experience, it’s always recommended to seek assistance from a professional technician.
A properly functioning CPU cooler is essential for maintaining the stability and performance of your computer system. In the following section, we will discuss the importance of a properly functioning CPU cooler.
Importance of a properly functioning CPU cooler
A properly functioning CPU cooler is crucial for the overall health and performance of your computer system. The CPU generates a substantial amount of heat during its operation, and without a reliable cooling solution, it can lead to various issues. Here’s why a properly functioning CPU cooler is important:
1. Temperature regulation: The primary function of a CPU cooler is to regulate the temperature of the CPU. A cooler that effectively dissipates heat and keeps the CPU at optimal operating temperatures helps prevent overheating and ensures stability and longevity of the CPU. High temperatures can lead to system instability, crashes, and even permanent damage to the CPU.
2. Performance optimization: When the CPU is running at high temperatures, it can result in thermal throttling. This is a safety mechanism that reduces the CPU’s performance to lower temperatures and prevent damage. A properly functioning cooler prevents excessive heat buildup, allowing the CPU to maintain its maximum performance without being limited by thermal constraints.
3. System stability: Overheating caused by an inadequate or malfunctioning CPU cooler can lead to system instability. Frequent crashes, freezing, and unexpected shutdowns are common symptoms of an overheating CPU. A properly functioning cooler helps maintain stable system operation, preventing such issues and providing a smoother and more reliable computing experience.
4. Component longevity: High temperatures can significantly impact the lifespan of various components in your computer system, including the CPU itself. Excessive heat can accelerate the degradation of electronic components, leading to premature failure. A properly functioning CPU cooler helps keep temperatures within safe limits, extending the lifespan of not only the CPU but also other sensitive components in the system.
5. Noise reduction: In addition to cooling, CPU coolers often include fans that can help dissipate heat. If the cooler is working optimally, it can help maintain lower CPU temperatures without the need for fan speeds to constantly run maxed out. This can result in reduced noise levels, contributing to a quieter computing environment.
6. Overclocking capability: Overclocking is a popular technique among enthusiasts to push their CPUs beyond the manufacturer’s specifications for increased performance. However, overclocking generates even more heat, and a properly functioning CPU cooler is essential to keep temperatures under control during this process. A robust cooler allows for more stable overclocking and better performance gains.
Ensuring that your CPU cooler is functioning properly is essential to maintain the performance, stability, and longevity of your computer system. Regularly checking temperatures, cleaning the cooler, and replacing faulty coolers are important steps to ensure optimal cooling efficiency.
In the next section, we will summarize the key points discussed and provide some concluding thoughts.
Conclusion
The CPU cooler plays a vital role in maintaining the optimal temperature of your CPU and ensuring the smooth operation of your computer system. By understanding the signs of a malfunctioning CPU cooler, checking CPU temperatures, troubleshooting issues, monitoring fan speed and airflow, cleaning the cooler, and replacing a faulty cooler when necessary, you can keep your CPU running at its best.
Signs of a malfunctioning CPU cooler, such as high CPU temperatures, strange noises, system crashes, inconsistent fan speed, or burning smells, should not be ignored. Identifying and addressing these issues promptly can help prevent damage to your CPU and other components.
Monitoring the temperature of your CPU is crucial to ensure it stays within safe operating limits. Utilizing software tools, checking BIOS or UEFI settings, or using built-in operating system tools can provide valuable real-time information on CPU temperatures.
Troubleshooting tips for a malfunctioning CPU cooler, such as verifying fan connections, cleaning the cooler, replacing thermal paste, checking for obstructions, testing with a different cooler, and updating firmware or drivers, can help identify and resolve common issues.
Checking fan speed and airflow is essential to maintain proper cooling. By accessing BIOS/UEFI settings, using software monitoring tools, physically inspecting the CPU cooler fan, removing obstructions, ensuring proper fan orientation, and considering additional case fans, you can optimize airflow and cooling efficiency.
Using software tools to monitor CPU temperatures provides crucial information for maintaining optimal performance. It allows you to keep a close eye on CPU temperatures, set up alarms, and prevent overheating-related problems.
Regularly cleaning a dusty CPU cooler is necessary to remove accumulated dust and debris, ensuring better cooling performance. By following proper cleaning techniques and reapplying thermal paste, you can maintain the efficiency of your CPU cooler and prevent potential overheating issues.
If cleaning and troubleshooting do not resolve the problem with your CPU cooler, replacing it with a new and compatible one is the next step. This allows you to ensure proper cooling, prevent overheating, and maintain the stability and performance of your system.
A properly functioning CPU cooler is of utmost importance in maintaining system stability, optimizing performance, and prolonging the lifespan of your computer components. By actively monitoring temperatures, troubleshooting issues promptly, and performing regular maintenance, you can ensure that your CPU remains cool and performs at its peak.
Remember, if you are unsure about performing any maintenance or troubleshooting steps yourself, it is always best to consult with a professional technician for assistance.