Introduction
Replacing a liquid CPU cooler is a necessary task for any computer enthusiast who wants to ensure optimal performance and prevent overheating. Over time, the liquid coolant can become less effective, leading to higher temperatures and potential damage to your CPU. By replacing your liquid CPU cooler, you can maintain a stable and efficient cooling system.
In this guide, we will walk you through the step-by-step process of replacing a liquid CPU cooler. Whether you are upgrading to a more advanced model or simply replacing a faulty cooler, we have you covered. It’s important to note that this guide assumes you already have a basic understanding of computer hardware and are comfortable working with delicate components.
Before we dive into the process, it’s crucial to ensure you have the necessary tools and materials. Additionally, creating a suitable workspace and taking proper precautions will help ensure a smooth and successful installation. So, let’s get started on this exciting journey to improve your computer’s cooling capabilities!
Step 1: Gather the necessary tools and materials
Before you begin replacing your liquid CPU cooler, it’s important to gather all the tools and materials you’ll need. Having everything prepared will save you time and ensure a hassle-free installation process. Here are the essential items you should have on hand:
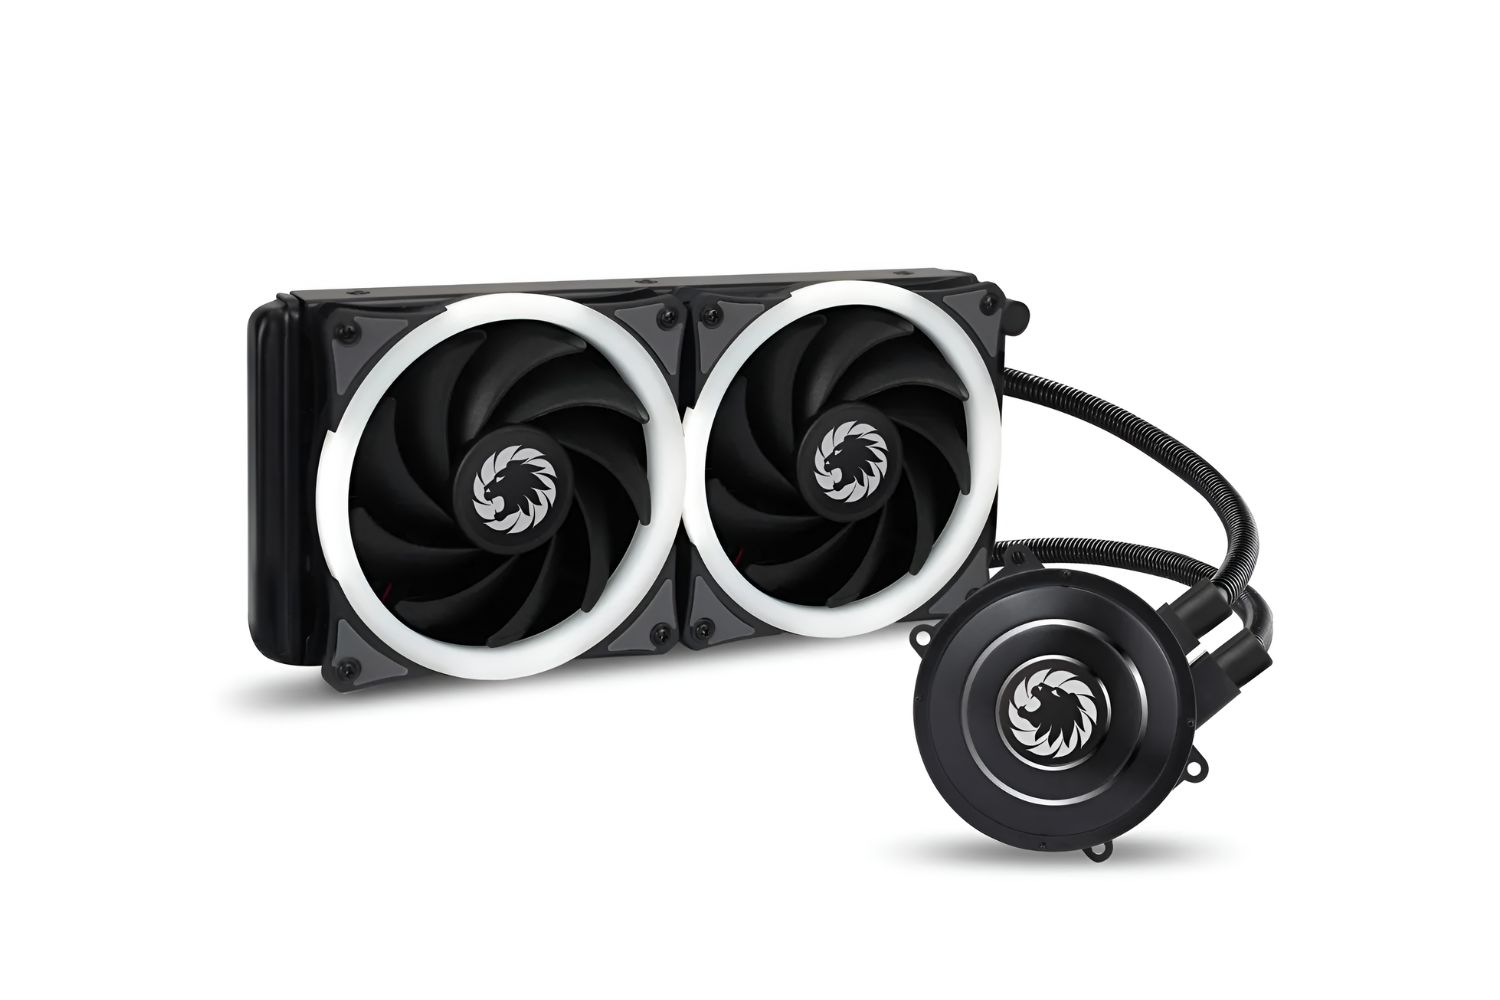
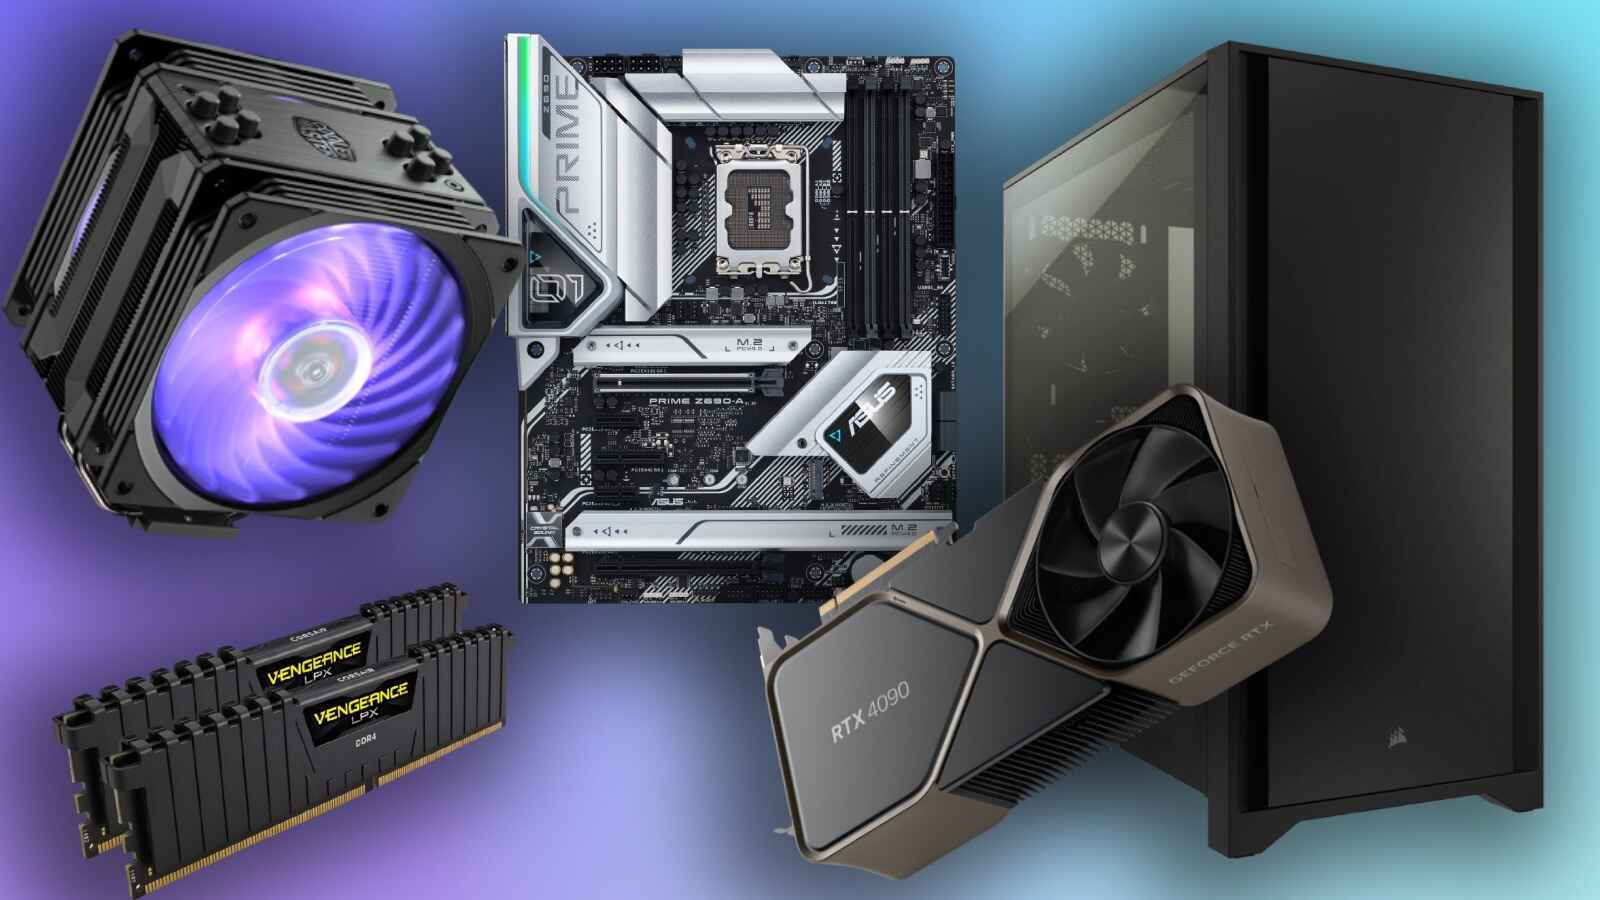
- Replacement liquid CPU cooler: Make sure you choose a compatible cooler that fits your CPU socket and meets your cooling needs. Research and select a reputable brand for the best performance and reliability.
- Thermal paste: You’ll need a high-quality thermal paste to ensure proper heat transfer between the CPU and the cooler. Remove any old thermal paste from the CPU before applying the new one.
- Screwdriver: Depending on the cooler model, you might need a Phillips or flat-head screwdriver to remove and install the cooler. Check the specifications of your cooler to determine the correct type of screwdriver.
- Clean cloth or alcohol wipes: These will be used to clean the CPU and cooler surfaces before applying the thermal paste.
- Isopropyl alcohol: This is optional but recommended for thorough cleaning. It helps remove any residual thermal paste and ensures a clean surface for applying the new paste.
- CPU cooler mounting brackets: Some coolers might require specific brackets or adapters to fit your motherboard. Make sure you have the necessary mounting hardware to attach the cooler securely.
- Anti-static wrist strap (optional): Although not mandatory, wearing an anti-static wrist strap can prevent accidental electrostatic discharge that could damage sensitive components.
Once you’ve gathered all the necessary tools and materials, double-check to make sure you haven’t missed anything. Having everything within reach will allow you to work efficiently and avoid unnecessary interruptions during the installation process. Now that you’re well-equipped, let’s proceed to the next step: preparing the workspace.
Step 2: Prepare the workspace
Before you start replacing your liquid CPU cooler, it’s important to set up a clean and organized workspace. This will ensure that you have enough room to work comfortably and minimize the risk of damaging any components. Here are some steps to prepare your workspace:
- Select a clean and well-lit area: Find a spacious and well-lit area to work in. Make sure there is enough space to spread out your tools and components without clutter.
- Use an anti-static mat or work on a non-static surface: To prevent static electricity from damaging sensitive components, it’s recommended to work on an anti-static mat or a non-static surface like a wooden table.
- Remove any static-generating objects: Keep away any items that could generate static electricity, such as rugs, plastic bags, or synthetic clothing. This will help prevent accidental damage to your components.
- Ground yourself: Before handling any computer components, discharge any static electricity buildup by touching a grounded metal surface or using an anti-static wrist strap. This step is crucial to avoid damaging delicate parts.
- Organize your tools and materials: Lay out all the tools and materials you gathered in the previous step. Place them within easy reach to avoid searching for them during the installation process.
By preparing a proper workspace, you create an environment that promotes a smooth and efficient installation process. It gives you the necessary space and organization to work comfortably, reducing any potential risks or mishaps. With your workspace ready, it’s time to move on to the next step: powering down and disconnecting your computer.
Step 3: Power down and disconnect your computer
Before you start working on replacing your liquid CPU cooler, it’s crucial to power down your computer and disconnect it from any power sources. This step is essential to ensure your safety and prevent any potential damage to your components. Follow these steps to power down and disconnect your computer:
- Save all your work and close any open applications: Make sure to save any unsaved work and close all applications before proceeding. This will prevent data loss or corruption.
- Shut down your computer: Click on the “Start” menu in the bottom left corner of your screen, then select “Shut down.” Allow your computer to fully shut down before proceeding.
- Unplug the power cable: Locate the power cable connected to the back of your computer’s case. Firmly pull the plug from the power outlet to disconnect the computer from the electrical supply.
- Press the power button: After disconnecting the power cable, press and hold the power button on your computer for a few seconds. This helps discharge any remaining power in the system.
- Disconnect other cables: Carefully unplug any other cables connected to your computer, such as the monitor, keyboard, mouse, and any peripherals.
By following these steps, you ensure that your computer is completely powered down and disconnected from any power sources. This is crucial for your safety and the safety of your components, as it reduces the risk of electrical shock or damage during the cooler replacement process. With your computer safely disconnected, you’re ready to move on to the next step: removing the old liquid CPU cooler.
Step 4: Remove the old liquid CPU cooler
Now that your computer is safely powered down and disconnected, it’s time to remove the old liquid CPU cooler. Follow these steps to ensure a proper and smooth removal process:
- Locate the CPU cooler: Identify the location of the liquid CPU cooler in your computer. It is typically mounted on top of the CPU and connected to the motherboard.
- Disconnect the power cables: Depending on the cooler model, there may be power cables connected to the CPU cooler. Disconnect any power cables attached to the cooler by gently detaching the connectors.
- Unfasten the mounting screws or clips: Look for the screws or clips that secure the cooler to the motherboard. Use a screwdriver or your hands to carefully loosen and unfasten the mounting screws or clips.
- Remove the CPU cooler: Once the mounting screws or clips have been loosened, gently lift the CPU cooler off the CPU. Be cautious not to apply excessive force, as it may damage the CPU or other components.
- Clean the CPU surface: After removing the old CPU cooler, take a clean cloth or alcohol wipe and carefully clean the surface of the CPU. Remove any residual thermal paste from the CPU using gentle, circular motions.
By following these steps, you can safely remove the old liquid CPU cooler from your computer. Take your time and be gentle to avoid any accidental damage to the CPU or other components. Once you have removed the old cooler and cleaned the CPU surface, you’re ready to move on to the next step: cleaning the CPU and applying thermal paste.
Step 5: Clean the CPU and apply thermal paste
With the old CPU cooler removed, it’s essential to clean the CPU surface and apply a fresh layer of thermal paste before installing the new liquid CPU cooler. This step ensures proper heat transfer and optimal cooling performance. Follow these steps to clean the CPU and apply thermal paste:
- Prepare the cleaning materials: Gather a clean cloth or alcohol wipes and some isopropyl alcohol (optional) to clean the CPU surface. Ensure that the cloth or wipes are lint-free to avoid leaving any residue behind.
- Clean the CPU surface: Dampen the cloth or wipes with isopropyl alcohol (if using) and gently wipe the surface of the CPU. Remove any remnants of the old thermal paste, ensuring a clean and smooth surface for the new paste.
- Apply thermal paste: Take a small amount of thermal paste (about the size of a grain of rice) and apply it to the center of the CPU. Using a plastic card or thermal paste spreader, spread the paste in a thin and even layer, covering the entire CPU surface.
- Avoid excessive thermal paste: It’s important not to apply too much thermal paste, as it can hinder heat transfer and potentially create a mess. A thin and even layer is sufficient to achieve optimal results.
By following these steps, you have successfully cleaned the CPU surface and applied a fresh layer of thermal paste. This ensures proper heat transfer between the CPU and the new liquid cooler, maximizing cooling efficiency. Now that the CPU is properly prepared, you’re ready to move on to the next step: installing the new liquid CPU cooler.
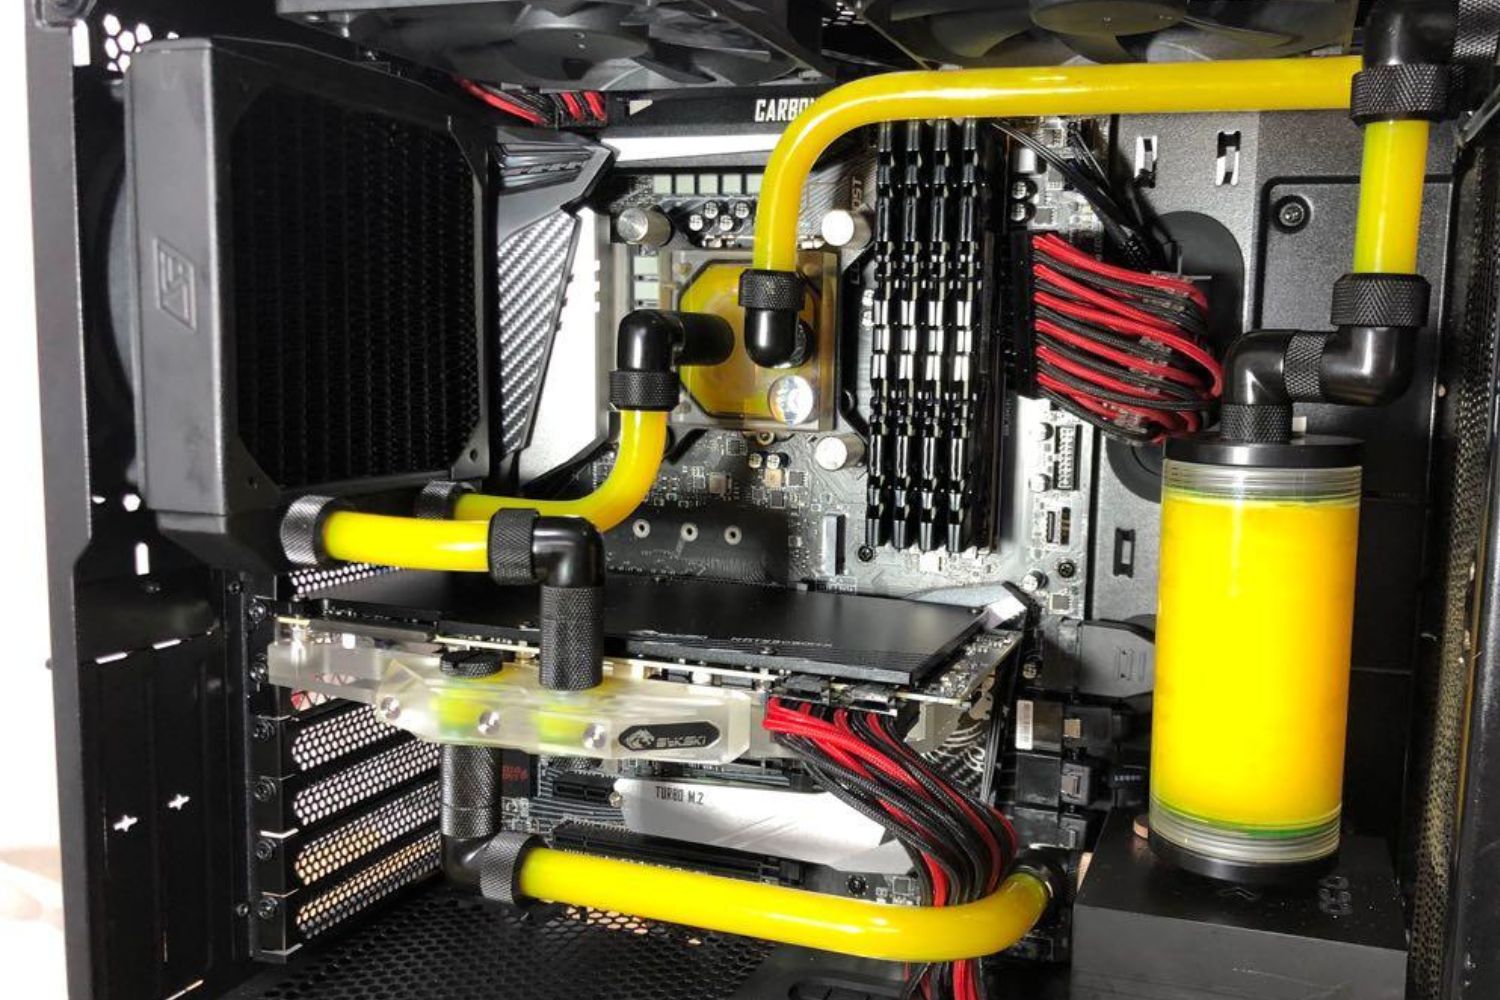
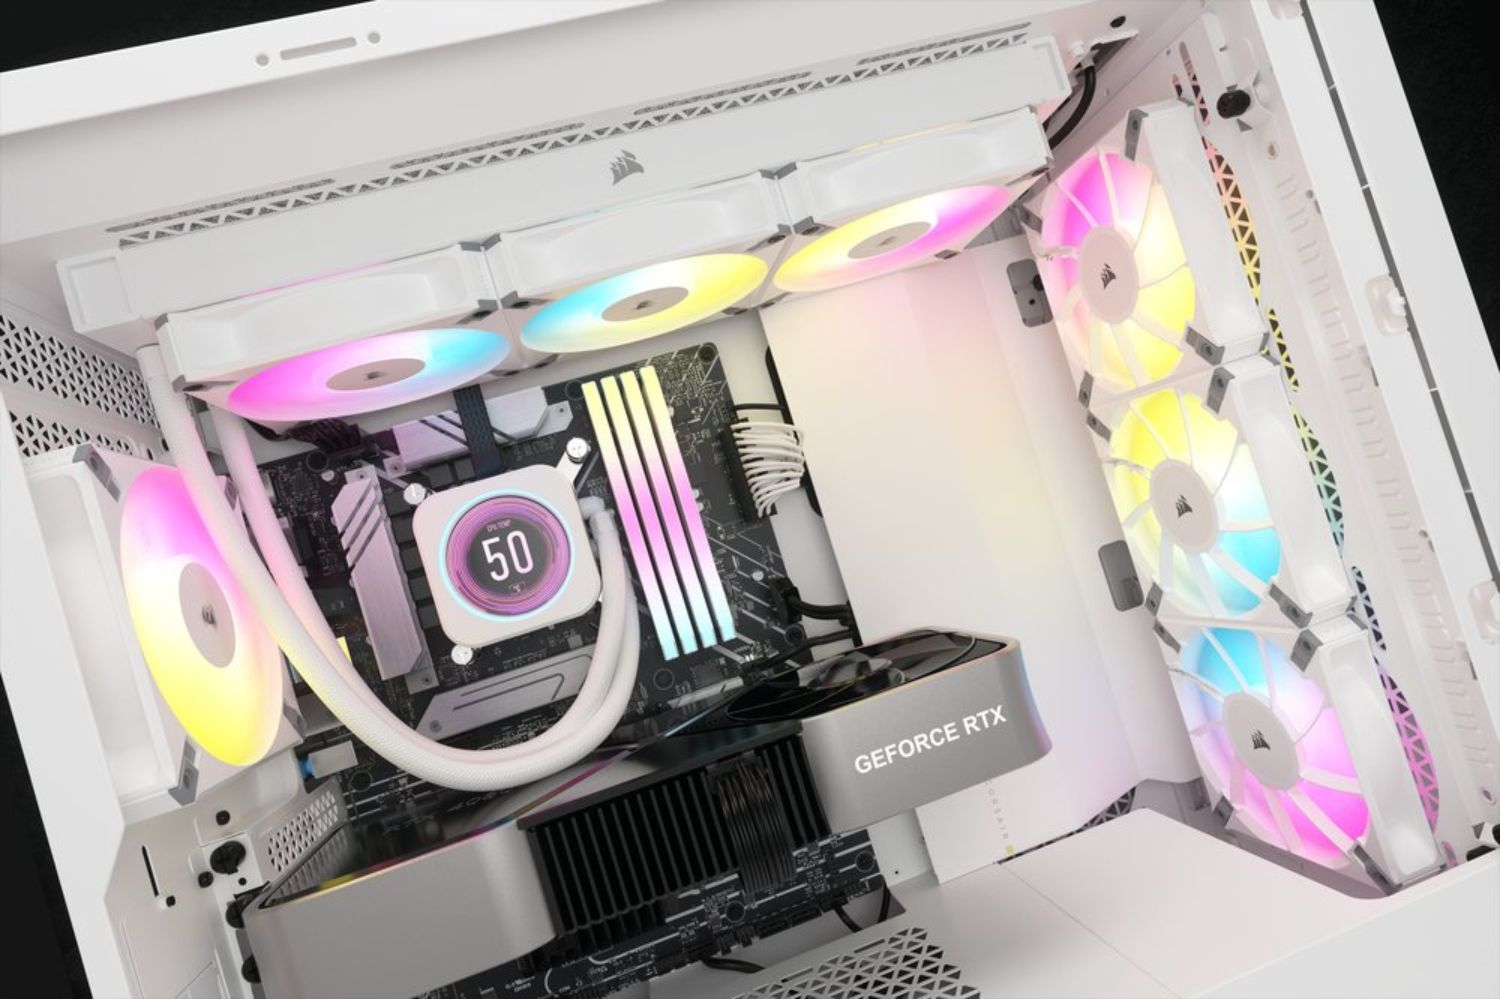
Step 6: Install the new liquid CPU cooler
Now that the CPU is clean and the thermal paste is applied, it’s time to install the new liquid CPU cooler. Follow these steps to ensure a proper and secure installation:
- Prepare the new liquid CPU cooler: Take out the new CPU cooler from its packaging. Make sure you have all the necessary components, including the pump, radiator, fans, and mounting brackets.
- Attach the mounting brackets: Depending on your cooler model, you may need to attach the appropriate mounting brackets to the pump or cooler unit. Consult the instructions provided with your cooler for specific steps.
- Align the cooler with the CPU: Carefully align the cooler’s pump or cold plate with the CPU. Ensure that the CPU is centered beneath the pump for optimal heat transfer.
- Secure the cooler: Once the cooler is properly aligned, fasten the mounting screws or clips to secure the cooler in place. Use a screwdriver or follow the instructions provided with your cooler for the proper installation method.
- Connect the power cables: Depending on your cooler, you may need to connect power cables to the pump or fans. Refer to the instructions provided with your cooler to determine the correct connections.
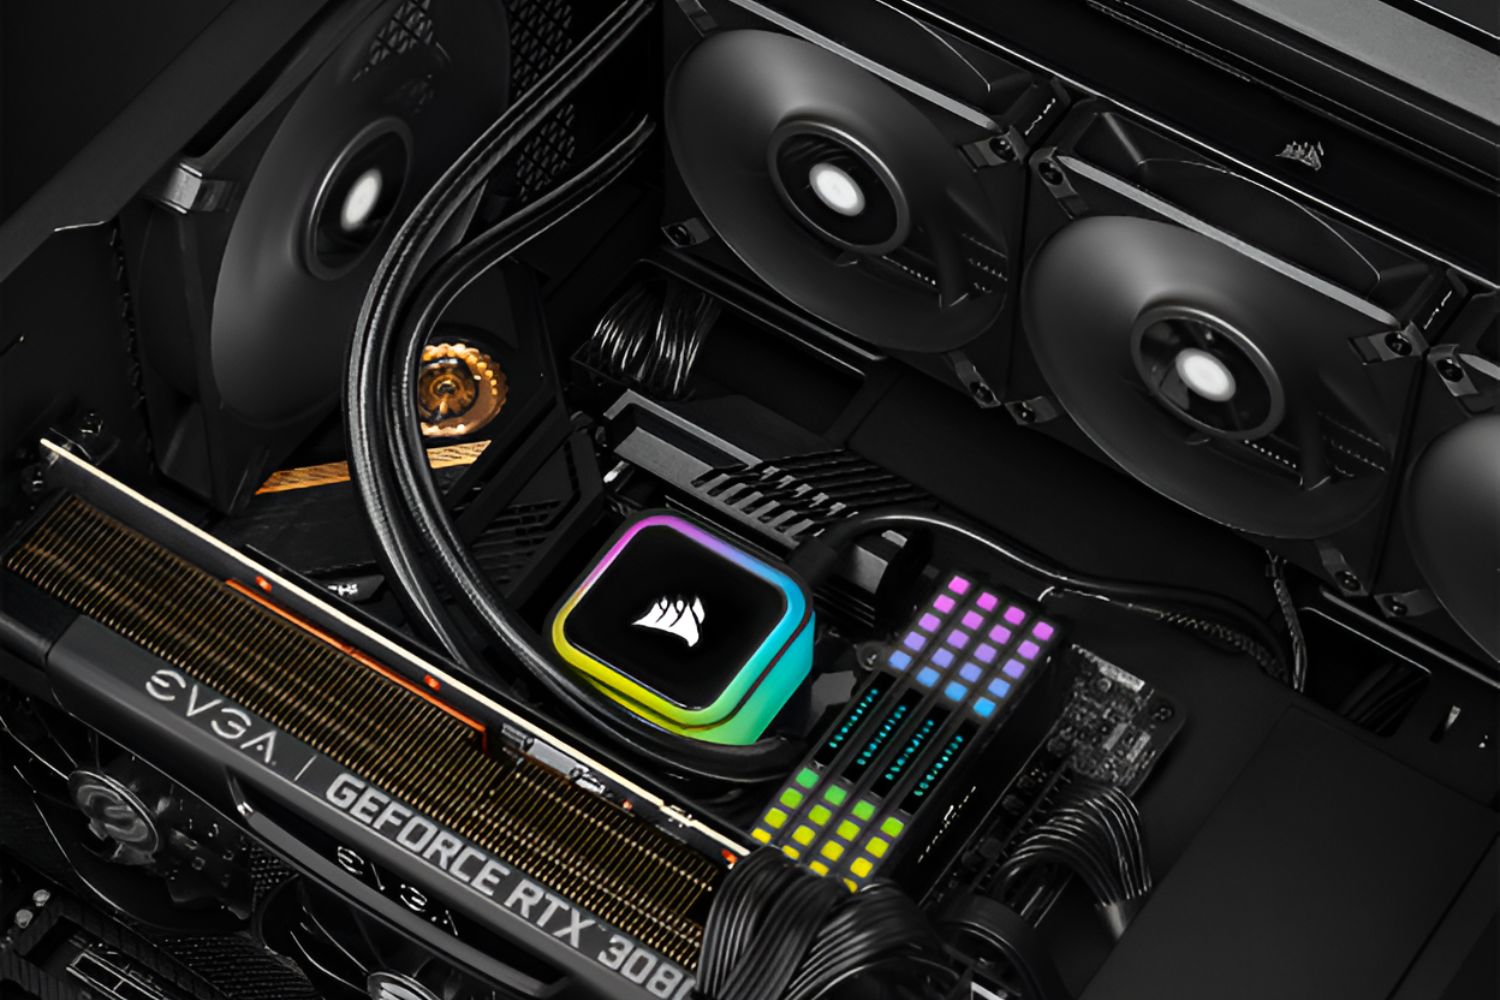
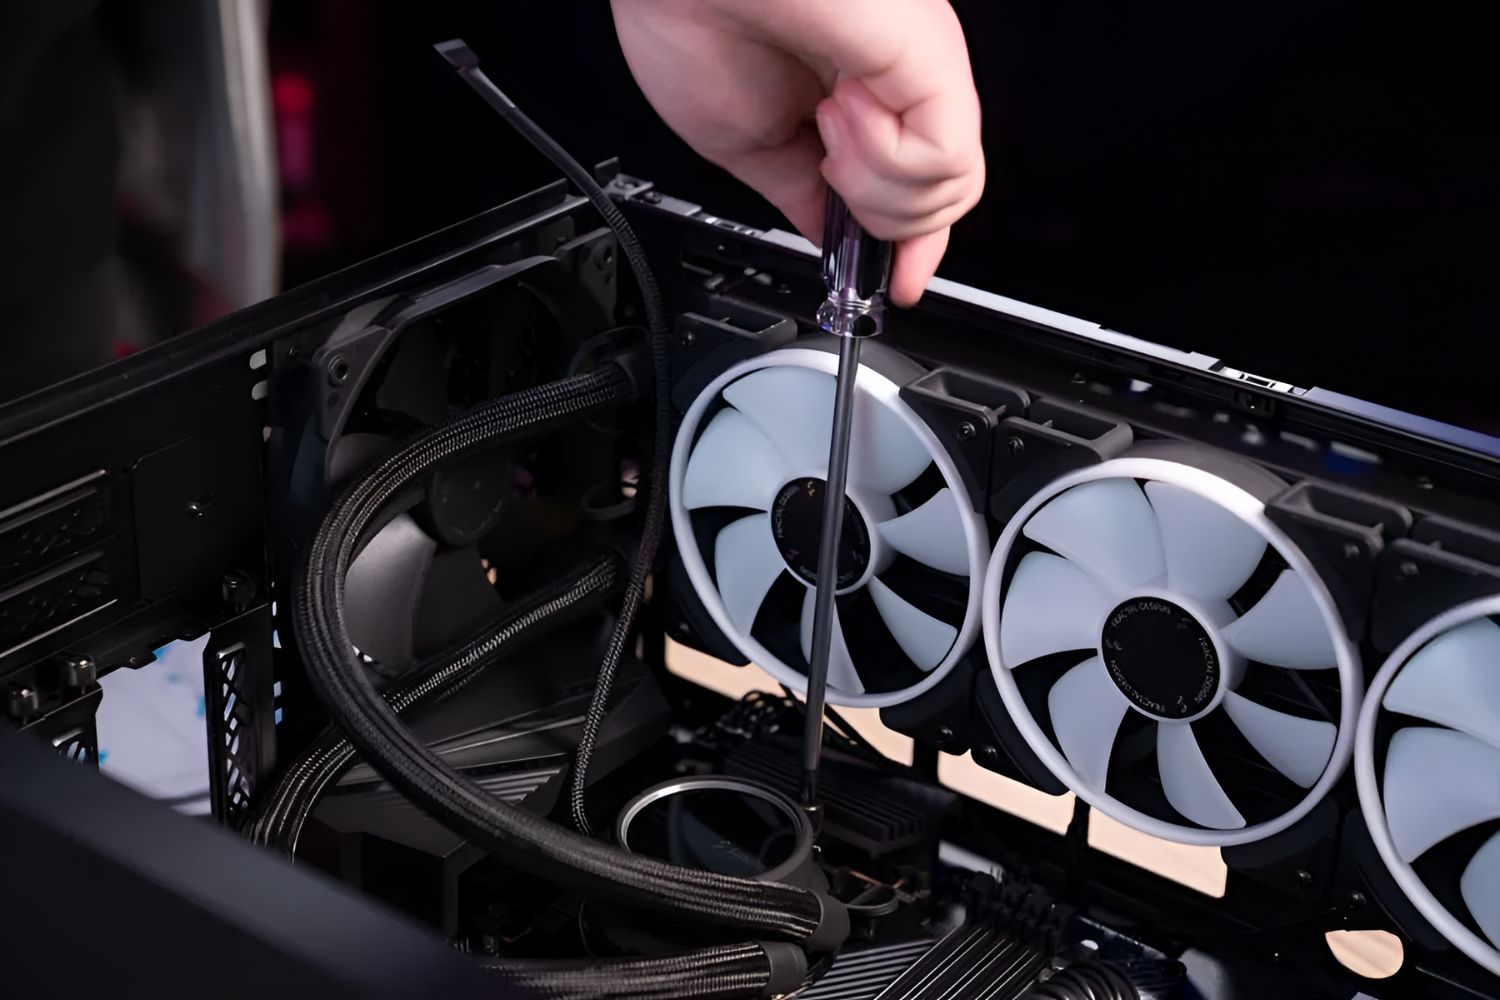
- Mount the radiator and fans: If your cooler includes a radiator, position it in a suitable location inside your case. Attach the fans to the radiator and secure them using the provided screws or clips.
By following these steps, you can successfully install the new liquid CPU cooler in your computer. Ensure that the cooler is firmly and securely attached to prevent any accidental damage or dislodging. Once the cooler is installed, you’re ready to move on to the next step: reconnecting and powering up your computer.
Step 7: Reconnect and power up your computer
With the new liquid CPU cooler installed, it’s time to reconnect and power up your computer. Follow these steps to ensure a successful restart:
- Reconnect the cables: Carefully reconnect all the cables that you disconnected earlier, including the power cable, monitor, keyboard, mouse, and any other peripherals.
- Double-check all connections: Take a moment to double-check that all cables are securely plugged in and properly connected. A loose connection can cause various issues, including power failures or component malfunctions.
- Place the side panel back on: Once all the connections are made, put the side panel of your computer case back on and secure it with the screws or clips provided.
- Power up your computer: Plug the power cable back into the power outlet and press the power button to start up your computer. The computer should boot up smoothly and without any issues.
- Monitor your temperatures: After powering up your computer, keep an eye on your CPU temperatures. Use monitoring software or the BIOS to ensure that the new liquid CPU cooler is effectively cooling your CPU.
- Run stress tests: To further test the performance of your new liquid CPU cooler, consider running stress tests or demanding applications that put a heavy load on the CPU. This will help you determine if the cooler is working efficiently and effectively.
By following these steps, you can successfully reconnect and power up your computer after replacing the liquid CPU cooler. Monitor your temperatures and run stress tests to ensure optimal performance and cooling efficiency. Congratulations on successfully completing the installation process!
Step 8: Test the new liquid CPU cooler
After installing the new liquid CPU cooler, it’s crucial to test its performance and ensure everything is functioning as expected. Follow these steps to effectively test your new cooler:
- Monitor CPU temperatures: During regular usage, keep an eye on the CPU temperatures using appropriate monitoring software. Monitor how the new liquid CPU cooler handles the heat generated by your CPU under different loads.
- Run stress tests: To push your CPU to its limits and assess the cooling capabilities of the new liquid CPU cooler, consider running stress tests. These tests simulate heavy workloads that stress the CPU and help evaluate the cooler’s efficiency.
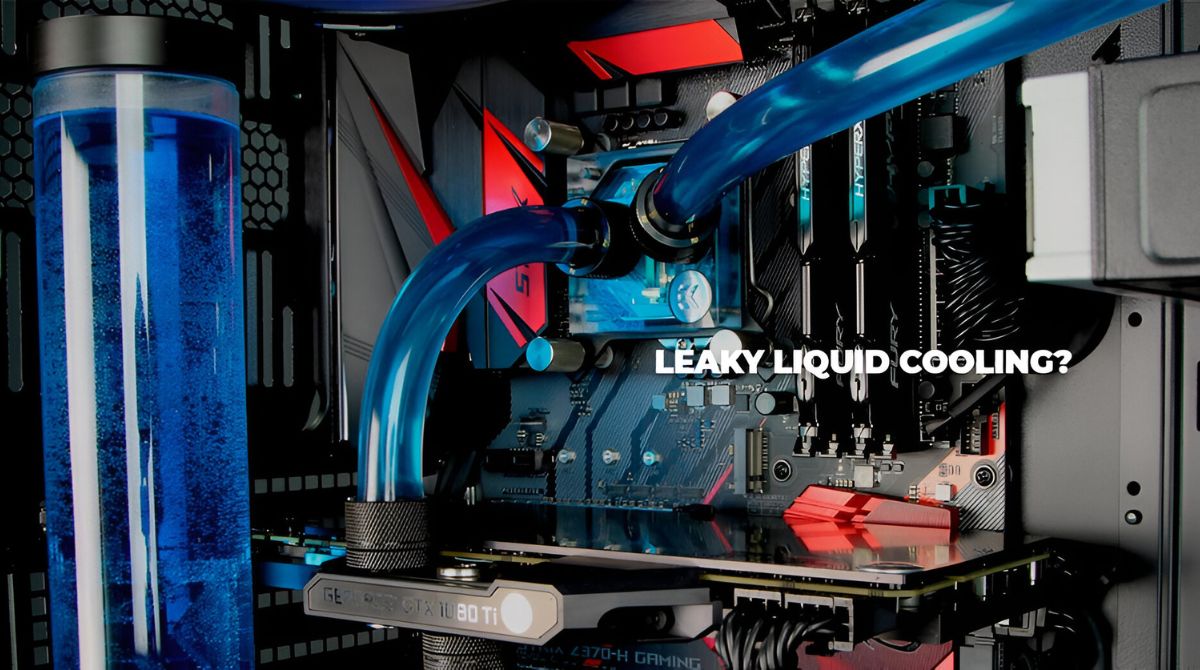
- Check for any leaks: After the installation, inspect the cooler and its connections for any signs of leakage. Look for any noticeable drips or wet spots around the cooler or on the motherboard. If you notice any leaks, immediately shut down your computer and take the necessary steps to address the issue.
- Listen for unusual noises: Pay attention to any unusual noises coming from the new liquid CPU cooler. An excessively loud or irregular noise could indicate a problem with the cooler’s pump or fan. Address any abnormal sounds to ensure proper functionality and longevity.
- Monitor system stability: Keep an eye on the overall stability of your system after installing the new cooler. If you notice any sudden crashes, freezes, or system instability, it could indicate a compatibility issue or improper installation of the cooler. Troubleshoot and address the problem promptly.
By following these steps, you can effectively test the performance of your new liquid CPU cooler. Monitoring temperatures, running stress tests, checking for leakage, listening for unusual noises, and monitoring system stability are essential in ensuring that the cooler is functioning optimally and providing adequate cooling for the CPU. Now that you have thoroughly tested your new cooler, you can enjoy improved cooling performance and peace of mind knowing that your CPU is well-protected.
Conclusion
Replacing a liquid CPU cooler is a task that requires careful consideration and attention to detail. By following the step-by-step guide outlined above, you can successfully replace your old liquid CPU cooler with a new one, ensuring optimal cooling performance for your CPU.
Throughout the process, we covered essential steps, including gathering the necessary tools and materials, preparing the workspace, powering down and disconnecting your computer, removing the old cooler, cleaning the CPU and applying thermal paste, installing the new cooler, reconnecting and powering up your computer, and testing the performance of the new cooler.
Remember to take your time, follow proper safety precautions, and refer to the instructions provided with your specific cooler model. Ensuring a clean workspace, proper installation, and adequate testing will help prevent any potential issues and provide the best cooling solution for your CPU.
With the new liquid CPU cooler in place, you can enjoy improved cooling efficiency, lower temperatures, and better overall performance for your computer. Regularly monitor temperatures, run stress tests, and conduct routine maintenance to ensure that your cooler continues to provide reliable and effective cooling for your CPU.
Now that you have completed the process of replacing your liquid CPU cooler, take a moment to appreciate the enhanced cooling capabilities of your computer. With a properly installed and efficiently functioning liquid CPU cooler, you are well-equipped to tackle demanding tasks, enjoy smoother operation, and extend the lifespan of your valuable CPU.