Introduction
Installing a CPU cooler is an important step in ensuring the optimal performance and longevity of your computer’s processor. The CPU cooler plays a crucial role in dissipating heat and keeping the processor within safe temperature limits. However, it’s not just about installing a CPU cooler – knowing how much pressure to apply during the installation process is equally important.
The pressure applied to the CPU cooler helps ensure a good thermal interface between the CPU and the cooler, allowing for efficient heat transfer. Applying too little pressure can result in poor contact, reducing cooling performance, while applying too much pressure can potentially damage the CPU or the motherboard.
In this article, we will explore the factors to consider before installing a CPU cooler and delve into the mechanics of applying the right amount of pressure. We will also discuss the different types of CPU coolers and their pressure requirements. Additionally, we will provide a step-by-step guide on how to install a CPU cooler with optimal pressure and highlight common mistakes to avoid during the process.
It’s crucial to understand the importance of monitoring temperatures after the installation as well. By keeping an eye on the CPU temperature, you can ensure that the cooler is properly functioning and maintaining the desired thermal levels. So, let’s dive into the intricacies of applying pressure when installing a CPU cooler and learn how to do it right.
Factors to consider before installing CPU cooler
Before diving into the installation process, there are several key factors to consider to ensure a successful CPU cooler installation. These factors will help determine the appropriate cooler for your specific needs and ensure compatibility with your computer system.
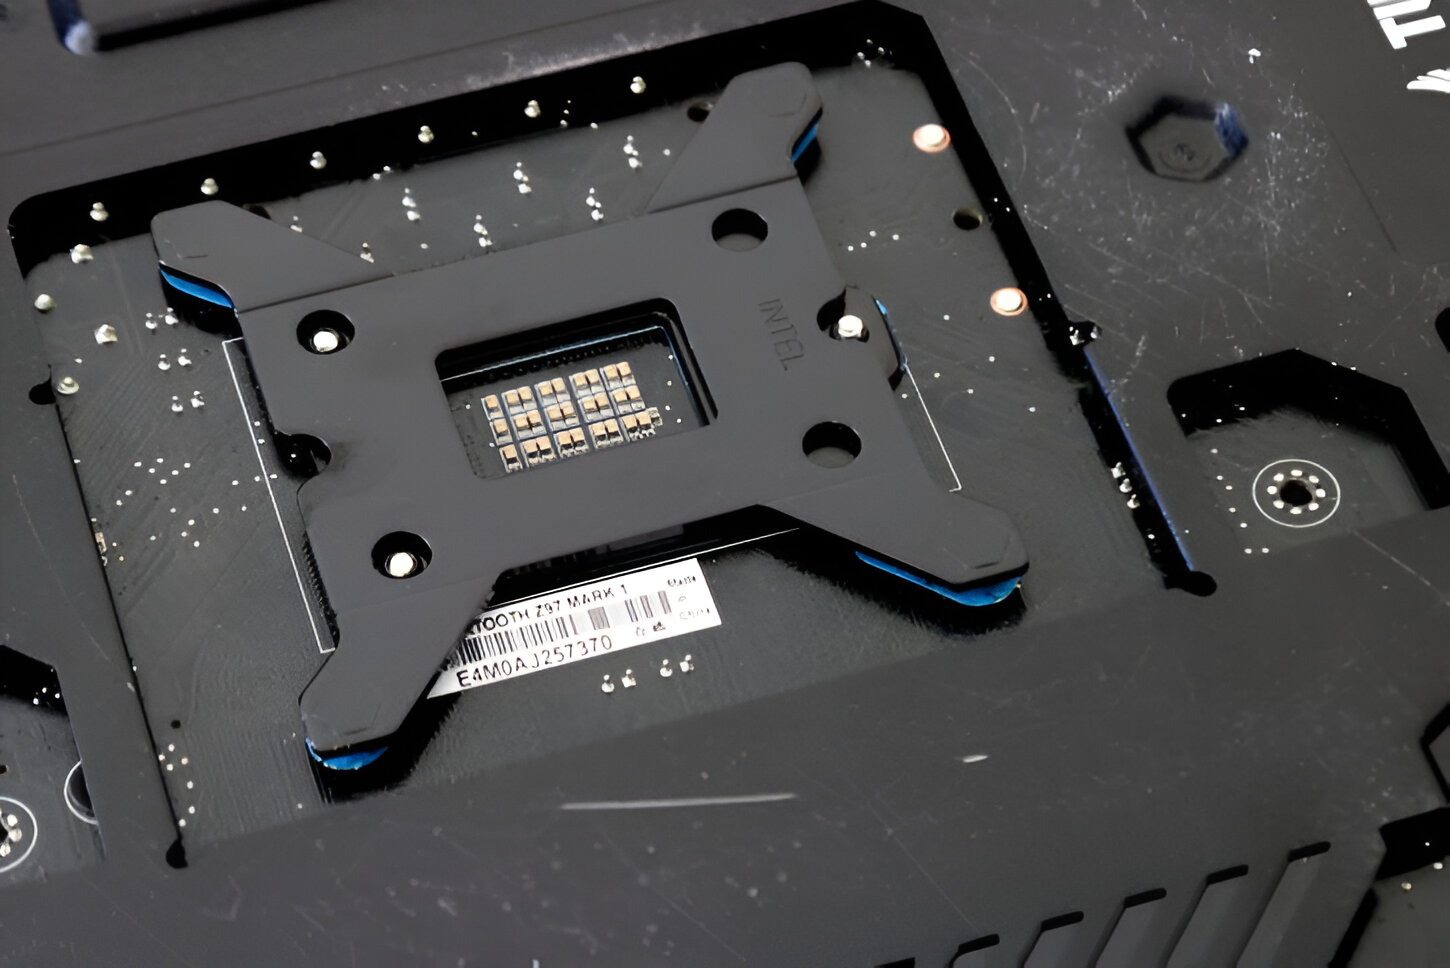
1. CPU Compatibility: The first step is to ensure that the CPU cooler you choose is compatible with your processor. Different CPU models have different socket types, so make sure to check the manufacturer’s specifications to find a cooler that supports your CPU socket.
2. Cooler Dimensions: Another crucial factor is the dimensions of the CPU cooler. It’s essential to ensure that there is enough clearance inside your computer case to accommodate the cooler and that it doesn’t interfere with other components such as RAM modules or the graphics card.
3. Thermal Design Power (TDP): The TDP rating of the CPU cooler indicates its ability to dissipate heat effectively. It is vital to select a cooler with a TDP rating that matches or exceeds the TDP of your CPU. This ensures that the cooler can handle the heat generated by the processor without causing thermal throttling or overheating.
4. Airflow and Case Cooling: Consider the overall airflow and cooling capabilities of your computer case. If your case has limited ventilation or lacks sufficient cooling fans, it may impact the effectiveness of the CPU cooler. In such cases, you may need to invest in additional case fans or a more powerful cooler to maintain optimal temperatures.
5. Noise Level: The noise level of the CPU cooler is an important aspect to consider, especially if you prioritize a quiet computing experience. Some coolers feature quieter fans or come with adjustable fan speeds, allowing you to strike a balance between cooling performance and noise levels.
6. Budget and Performance: Finally, consider your budget and the level of performance you require. CPU coolers come in various price ranges, with different cooling capabilities. Assess your needs and choose a cooler that strikes a suitable balance between affordability and performance.
By taking these factors into account, you can make an informed decision when selecting a CPU cooler that meets your requirements while ensuring compatibility with your system. Now that we’ve covered the factors to consider, let’s move on to understanding the mechanics of applying pressure during the CPU cooler installation process.
Understanding the mechanics of applying pressure
When it comes to installing a CPU cooler, applying the right amount of pressure is crucial for effective heat transfer between the processor and the cooler. Understanding the underlying mechanics of pressure application can help ensure optimal cooling performance and prevent any potential damage to the components.
The pressure applied during installation helps create a proper thermal interface between the CPU and the cooler. This interface is typically achieved through the use of thermal paste, which fills in microscopic imperfections and air gaps to maximize heat transfer. The pressure helps spread the thermal paste evenly and eliminate any air bubbles or gaps that can hinder thermal conductivity.
It’s important to note that the pressure should be evenly distributed across the entire surface of the CPU. Uneven pressure can lead to poor contact between the CPU and the cooler, resulting in hot spots and reduced cooling efficiency. This is why a balanced and consistent pressure level is essential.
When applying pressure to the CPU cooler, it’s crucial to use caution and avoid excessive force. Applying too much pressure can lead to several complications, including bending or cracking the delicate CPU pins, damaging the CPU socket, or warping the motherboard. On the other hand, insufficient pressure can result in inadequate contact, leading to higher temperatures and reduced cooling performance.
Another important consideration is the type of CPU cooler being installed. The mounting mechanism and design of the cooler can influence the amount of pressure required. Some coolers use a spring-loaded mounting system that automatically applies the right pressure, while others may require manual adjustment or the use of a specific tool.
It’s worth noting that different CPU cooler manufacturers may provide guidelines or specifications regarding the recommended pressure levels for their products. Following these guidelines can help ensure a proper installation and optimal cooling performance.
Overall, understanding the mechanics of applying pressure is crucial for a successful CPU cooler installation. By maintaining even pressure, avoiding excessive force, and adhering to manufacturer guidelines, you can create an effective thermal interface and optimize cooling performance for your processor.
Different types of CPU coolers and their pressure requirements
When it comes to CPU coolers, there are various types available, each with its unique design and pressure requirements. Understanding these different types can help you choose the right cooler for your specific needs and ensure that the correct amount of pressure is applied during installation.
1. Stock Coolers: Stock coolers are the CPU coolers that come bundled with your processor. These coolers are designed to provide adequate cooling for typical usage scenarios and often have a pre-applied thermal paste. The pressure requirements for stock coolers are generally specified by the CPU manufacturer, so it’s important to follow their guidelines during installation.
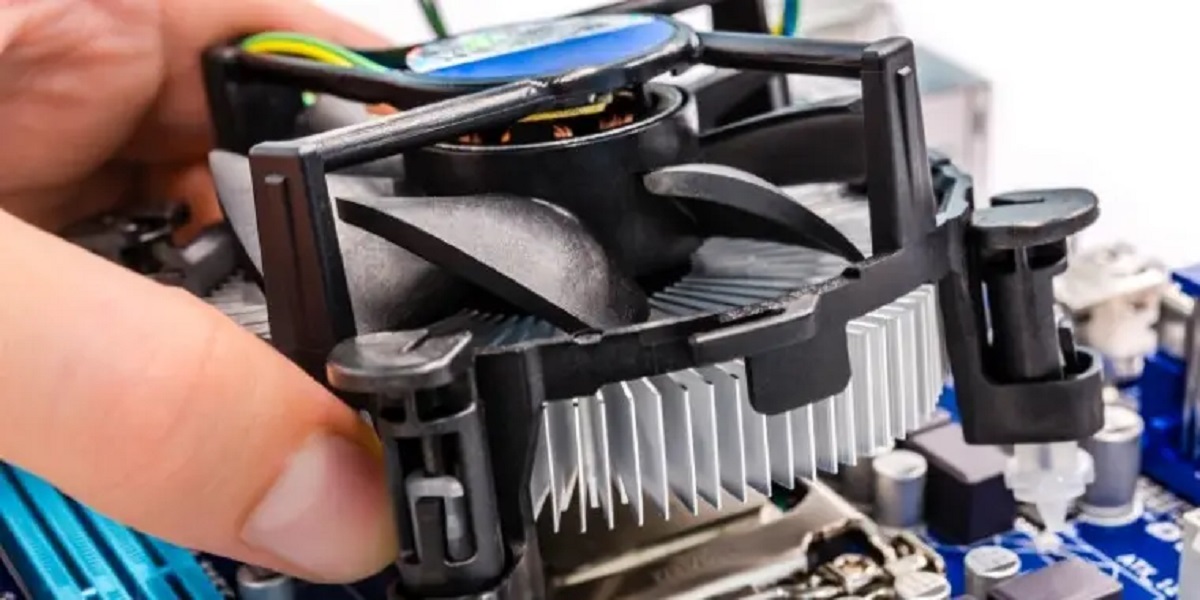
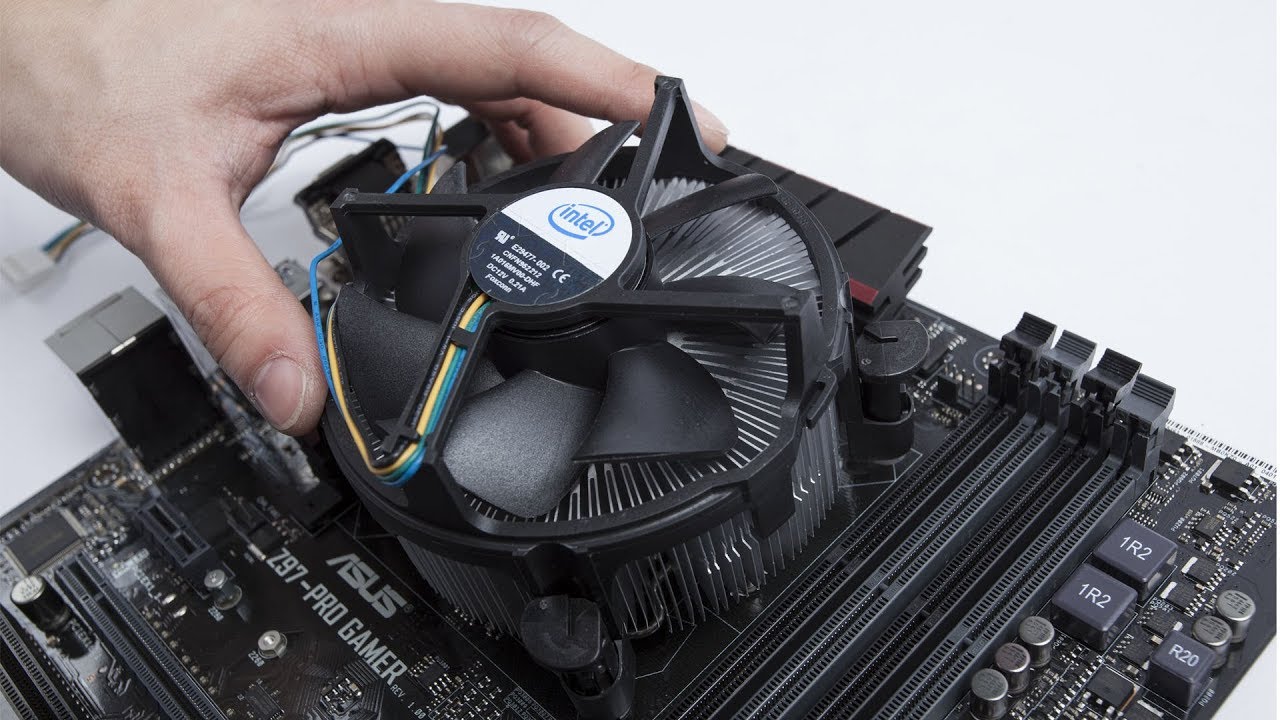
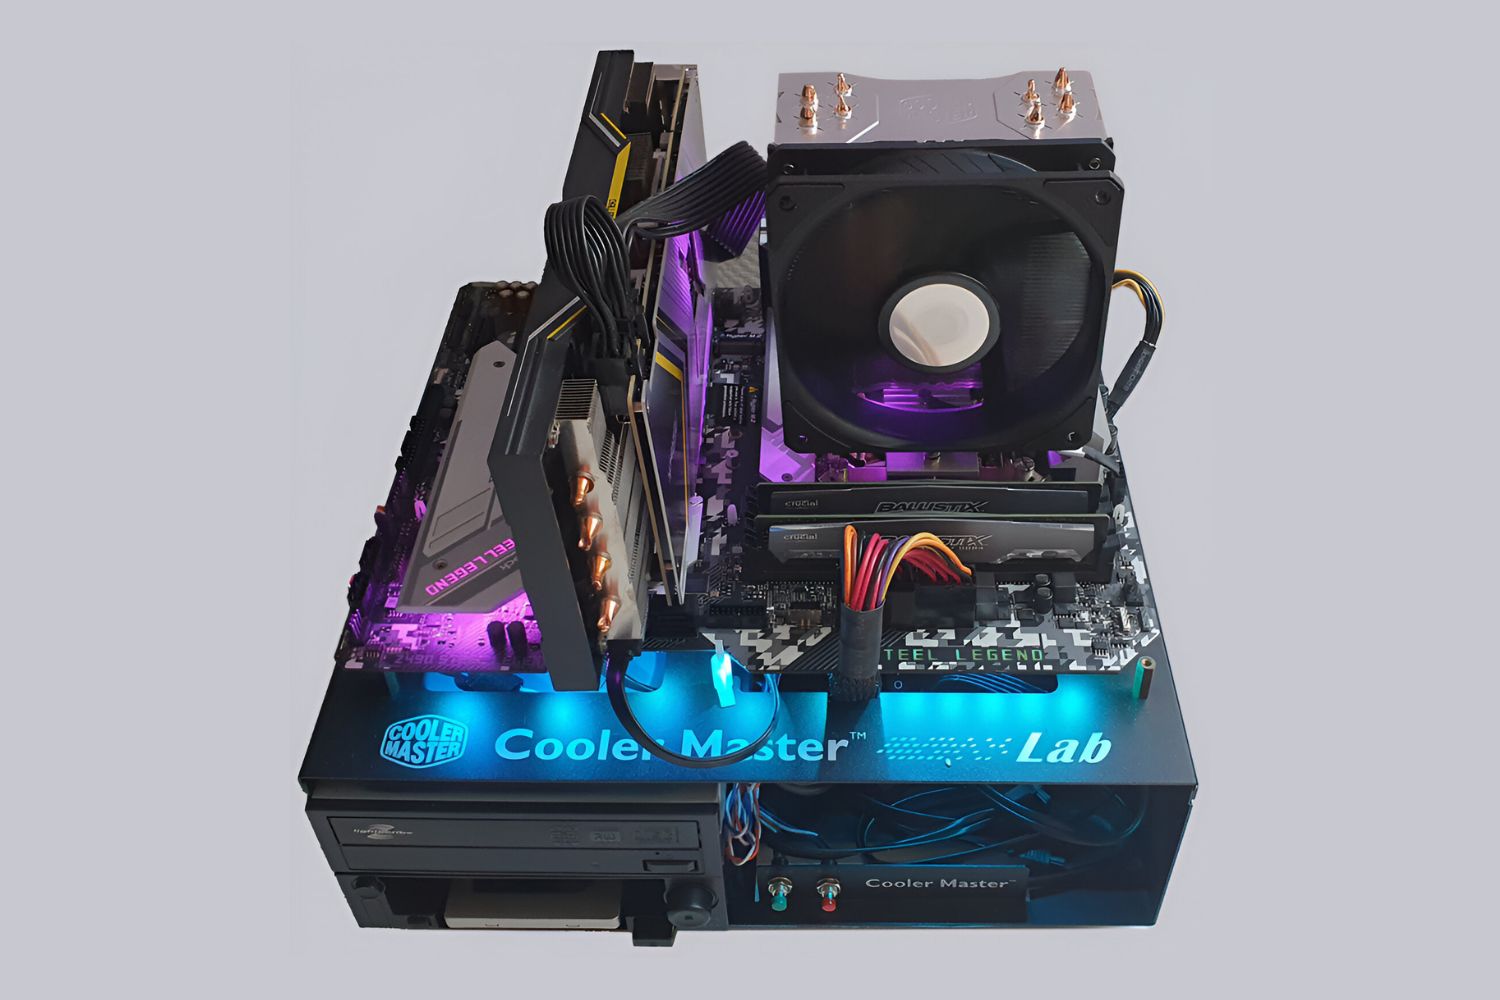
2. Air Coolers: Air coolers are the most commonly used type of CPU cooler. They consist of a heatsink with multiple heat pipes and a fan(s) that helps dissipate heat. Air coolers often use a mounting bracket system that requires manual adjustment of screws or clips to achieve the desired pressure. The pressure required for air coolers can vary depending on the specific model, so it’s essential to refer to the manufacturer’s instructions.
3. All-in-One Liquid Coolers (AIO): AIO liquid coolers are a popular choice for those seeking enhanced cooling performance. These coolers feature a radiator, tubes, and a pump, along with a water block that attaches to the CPU. AIO coolers typically utilize a mounting bracket system and require manual tightening of screws to achieve optimal pressure. It’s important to follow the manufacturer’s guidelines to prevent leaks and ensure proper cooling efficiency.
4. Custom Loop Liquid Coolers: Custom loop liquid coolers are advanced cooling solutions that involve individually selected components such as water blocks, radiators, pumps, and tubes. Custom loop coolers generally require careful consideration of pressure, with specific guidelines provided by the component manufacturers. It is crucial to ensure proper installation and maintenance to prevent leaks and achieve effective cooling.
Regardless of the type of CPU cooler, it’s essential to follow the provided instructions and specifications when it comes to pressure requirements. Applying the correct amount of pressure will help ensure optimal cooling performance, minimize the risk of component damage, and extend the lifespan of your processor.
Step-by-step guide on how to install CPU cooler with optimal pressure
Installing a CPU cooler with the correct amount of pressure is essential for efficient heat transfer and maintaining optimal temperatures. Follow this step-by-step guide to ensure a successful CPU cooler installation with optimal pressure:
Step 1: Gather the necessary tools: Before you begin, make sure you have all the tools and components required for the installation. This may include thermal paste, mounting brackets, screws, and a screwdriver.
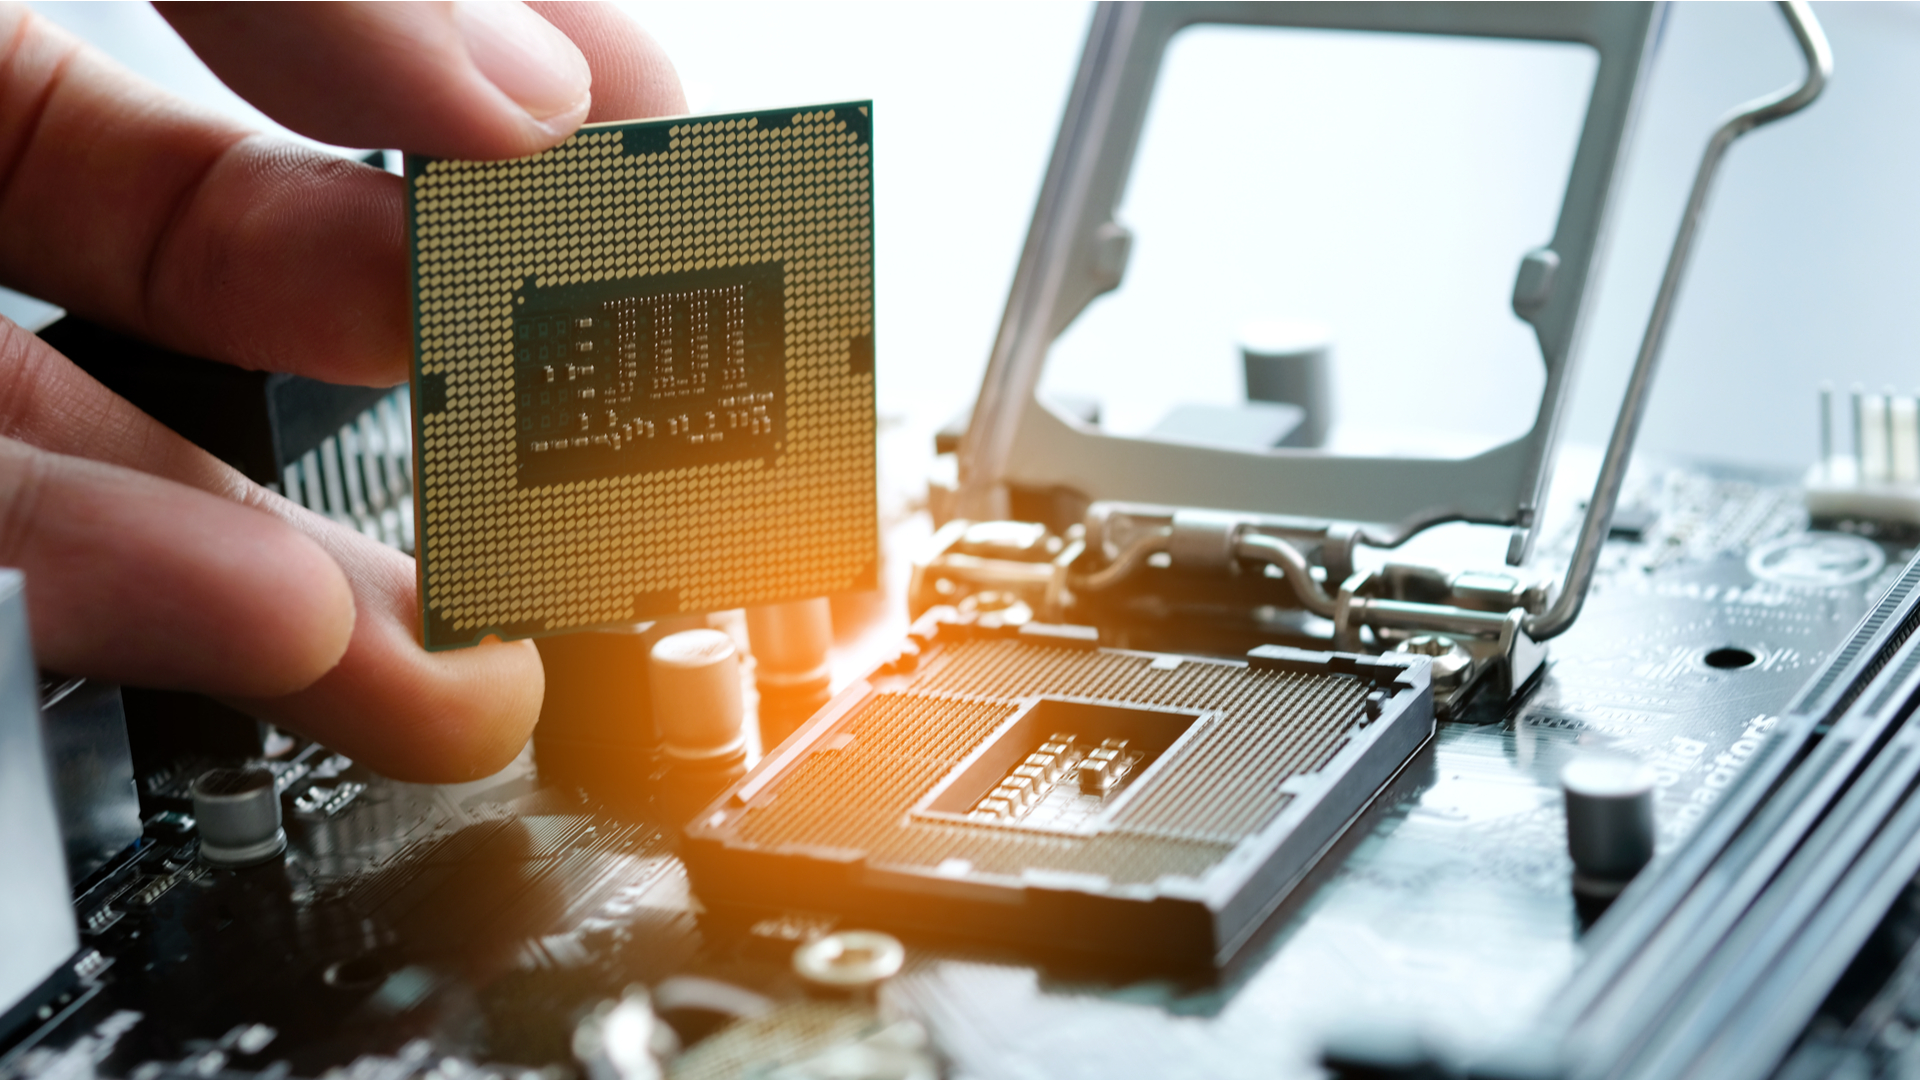
Step 2: Prepare the CPU and cooler: Start by preparing the CPU and cooler. Remove any previous thermal paste from the CPU surface using a clean cloth or isopropyl alcohol. Ensure that the CPU socket is clean and free from any debris.
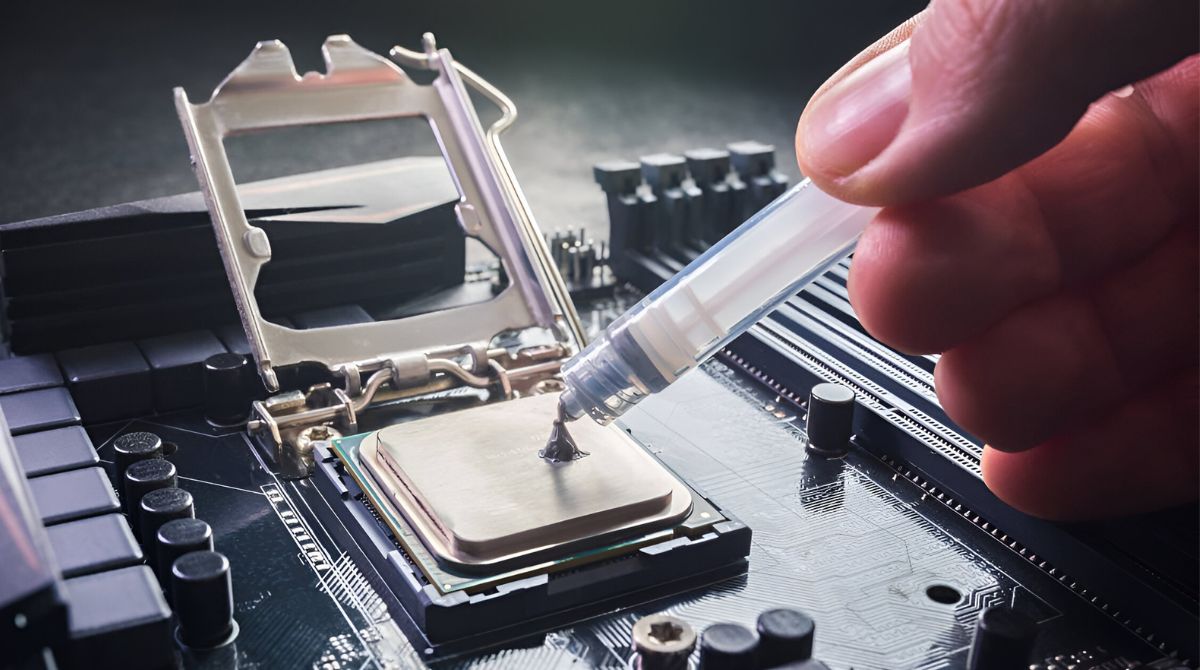
Step 3: Apply thermal paste: Apply a small amount of thermal paste to the center of the CPU surface. The paste will spread out naturally during installation to create an even layer between the CPU and the cooler.
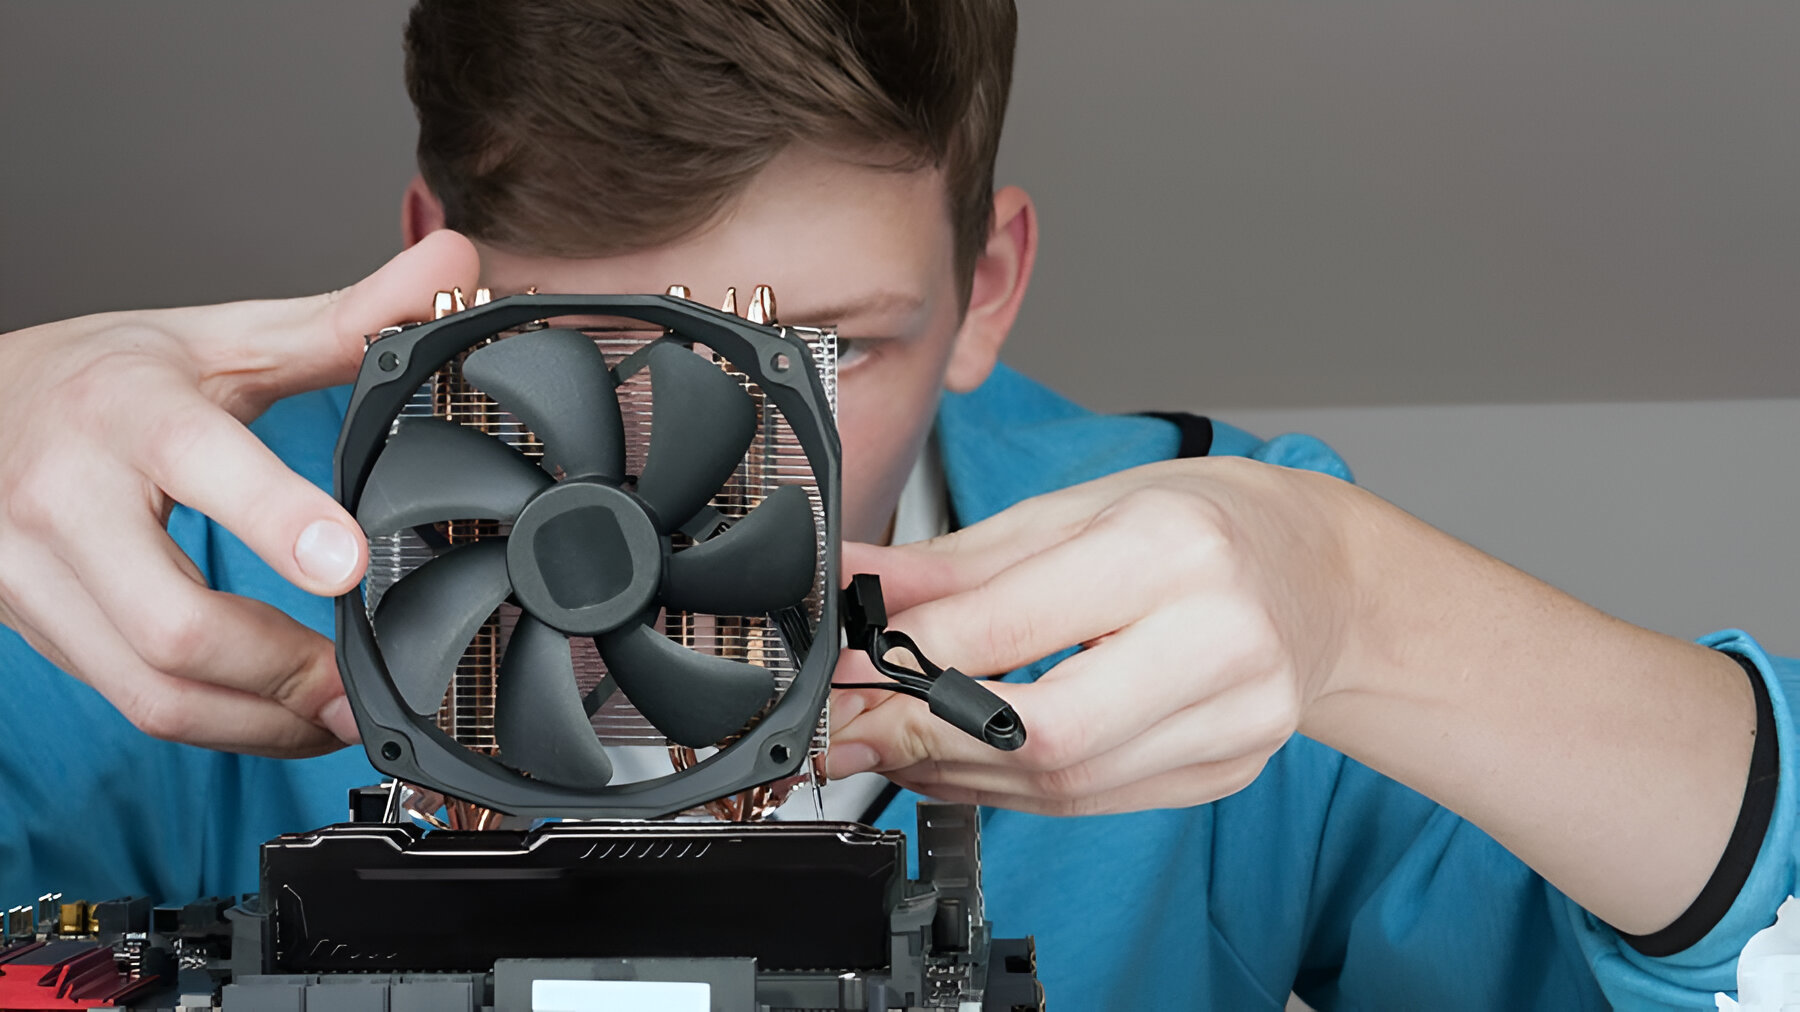
Step 4: Mount the cooler: Place the CPU cooler over the CPU, aligning it with the mounting holes on the motherboard. If there are mounting brackets or backplates, attach them securely to the cooler and motherboard as per the manufacturer’s instructions.
Step 5: Apply pressure in a balanced manner: Begin applying pressure to secure the cooler. If your cooler uses screws or clips, tighten them gradually and evenly in a diagonal pattern. This ensures that the pressure is evenly distributed across the CPU surface.
Step 6: Verify optimal pressure: While applying pressure, pay attention to the resistance felt during tightening. You want to apply enough pressure to ensure good contact without over-tightening. Consult the cooler’s manufacturer guidelines to determine the appropriate level of pressure for your specific model.
Step 7: Double-check for secure mounting: Once you have achieved the desired pressure, double-check that all screws or clips are securely tightened. This ensures that the cooler remains firmly in place and maintains proper contact with the CPU.
Step 8: Connect fan and power cables: After securing the CPU cooler, connect any required fan cables and make sure they are properly plugged into the motherboard’s fan headers. Also, connect the CPU fan power cable to the appropriate CPU fan header on the motherboard.
Step 9: Test and monitor temperatures: Power on your computer and monitor the CPU temperatures using software like the BIOS, motherboard utility, or third-party monitoring tools. Ensure that the temperatures stay within acceptable ranges, indicating that the cooler is functioning correctly.
Step 10: Regularly check and maintain: Periodically check the CPU cooler to ensure that it remains securely mounted and free from dust buildup. Clean the cooler and reapply thermal paste if necessary to maintain optimal cooling performance.
By following these step-by-step instructions, you can install a CPU cooler with optimal pressure, promoting efficient heat dissipation and ensuring the longevity of your processor.
Common mistakes to avoid while applying pressure
When it comes to applying pressure during the installation of a CPU cooler, there are several common mistakes that can be detrimental to the cooling performance and potentially damage your components. Avoiding these mistakes will help ensure a successful and safe installation process.
1. Applying too much pressure: One of the most common mistakes is applying excessive force when securing the CPU cooler. This can lead to bending or cracking of CPU pins, damaging the CPU socket, or warping the motherboard. Always follow the manufacturer’s guidelines for the recommended amount of pressure.
2. Applying too little pressure: On the other hand, failing to apply enough pressure can result in poor contact between the CPU and the cooler, leading to higher temperatures and reduced cooling efficiency. It’s crucial to strike a balance and achieve the optimal pressure required for proper heat transfer.
3. Uneven pressure distribution: Another common mistake is unevenly distributing pressure across the CPU surface while tightening the cooler. This can lead to uneven contact and hot spots, affecting cooling performance. Tighten the screws or clips gradually and in a diagonal pattern to ensure even pressure distribution.
4. Not cleaning the CPU surface: Failing to clean the CPU surface properly before applying thermal paste can hinder effective heat transfer. Remove any old thermal paste using a clean cloth or isopropyl alcohol to ensure a clean and smooth surface for proper contact with the cooler.
5. Over-tightening screws: Over-tightening the screws or clips used to secure the CPU cooler can cause damage to the motherboard and CPU socket. Follow the manufacturer’s recommended torque specifications and exercise caution when tightening the screws or clips.
6. Neglecting the thermal paste: Thermal paste is essential for creating a proper thermal interface between the CPU and the cooler. Neglecting or applying too much thermal paste can lead to ineffective heat transfer. Apply a small, pea-sized amount of thermal paste to the center of the CPU surface for optimal coverage.
7. Ignoring manufacturer guidelines: Each CPU cooler may have specific installation instructions and pressure requirements provided by the manufacturer. Ignoring these guidelines can lead to improper installation and suboptimal cooling performance. Always refer to the manufacturer’s instructions for the best results.
8. Rushing the installation process: Taking the time to carefully install the CPU cooler with the right amount of pressure is crucial. Rushing through the process can lead to mistakes and overlook critical details. Approach the installation process with patience and attention to detail.
By avoiding these common mistakes and following the proper techniques, you can ensure a successful CPU cooler installation with the right amount of pressure, maximizing the cooling performance and longevity of your system.
Importance of monitoring temperatures post-installation
Once you have successfully installed a CPU cooler with the correct pressure, it’s vital to monitor the temperatures of your processor to ensure optimal performance and prevent potential issues. Monitoring temperatures post-installation serves several important purposes and allows for necessary adjustments if needed.
1. Ensuring cooling efficiency: Monitoring CPU temperatures allows you to assess the effectiveness of the installed cooler. By observing the temperatures during different workloads or tasks, you can ensure that the cooler is adequately dissipating heat and maintaining the desired thermal range. If temperatures appear excessively high, it may indicate a potential issue with cooling performance that needs to be addressed.
2. Preventing thermal throttling: Excessive heat can lead to thermal throttling, a situation where the processor reduces its clock speed to prevent damage from overheating. This throttling can result in decreased system performance, affecting tasks that require high computational power. By monitoring temperatures, you can detect any signs of thermal throttling and take necessary actions, such as optimizing airflow or adjusting fan speeds, to avoid performance limitations.
3. Identifying cooling issues or improper pressure: Monitoring temperatures provides an opportunity to detect any cooling issues or potential problems with the CPU cooler installation. If temperatures are consistently high or exhibiting abnormal fluctuations, it may indicate improper pressure or insufficient contact between the CPU and the cooler. This information can help you diagnose and rectify the issue, ensuring optimal cooling performance.
4. Overclocking considerations: For users who engage in overclocking, monitoring temperatures is crucial. Overclocking increases the power and heat output of the CPU, requiring even more effective cooling. By regularly checking temperatures, you can determine if the installed cooler is capable of handling the increased heat generated by overclocking. Adjustments to cooling solutions may be necessary to maintain stability and prevent thermal issues.
5. Maintaining system stability and longevity: High operating temperatures for prolonged periods can diminish the lifespan and reliability of computer components. By monitoring temperatures and ensuring optimal cooling, you can safeguard the longevity and stability of your system. Cooler operating temperatures place less stress on the processor and other critical components, reducing the risk of premature failure and system instability.
Remember, CPU temperatures can vary depending on workload, ambient temperature, and other factors. Therefore, regular monitoring and analysis of temperature trends will allow you to establish a baseline and identify any significant deviations that may require attention or adjustments to the cooling system.
By monitoring temperatures post-installation, you can proactively address any cooling issues, optimize system performance, and maintain the longevity of your CPU and overall system.
Conclusion
Applying the right amount of pressure when installing a CPU cooler is crucial for optimal cooling performance and the longevity of your computer system. By considering factors such as CPU compatibility, cooler dimensions, TDP rating, airflow, and noise level, you can select a CPU cooler that suits your needs and ensure compatibility with your system.
Understanding the mechanics of pressure application is equally important. Applying even pressure across the CPU surface, using caution to avoid excessive force or uneven distribution, and adhering to manufacturer guidelines can result in effective heat transfer and prevent damage to your components.
Knowing the pressure requirements for different types of CPU coolers – whether stock coolers, air coolers, all-in-one liquid coolers, or custom loop liquid coolers – is essential for a successful installation. Following the step-by-step guide provided can help you install the cooler with optimal pressure, promoting efficient heat dissipation.
Avoiding common mistakes like applying too much or too little pressure, uneven pressure distribution, neglecting thermal paste, over-tightening screws, ignoring manufacturer guidelines, and rushing the installation process is key to a successful CPU cooler installation.
Once the CPU cooler is installed, monitoring temperatures post-installation is crucial. It ensures cooling efficiency, prevents thermal throttling, identifies cooling issues or improper pressure, addresses considerations for overclocking, and maintains system stability and longevity.
Overall, by carefully considering the factors, following proper installation techniques, and monitoring temperatures, you can ensure that your CPU cooler functions optimally, keeping your processor cool and your computer running at its best for years to come.