What is Thermal Paste?
Thermal paste, also known as thermal compound or thermal grease, is a heat-conductive substance applied between the CPU (Central Processing Unit) and the cooler. Its primary function is to improve heat transfer from the CPU to the cooler, allowing for efficient cooling and preventing overheating.
Thermal paste is made up of various compounds, such as silicone, zinc oxide, or silver, mixed with a thermal conductor like boron nitride or aluminum oxide. These ingredients help fill the microscopic imperfections between the CPU and the cooler, ensuring maximum surface contact for better heat dissipation.
As electronic components like CPUs generate heat during operation, the transfer of heat to the cooler is crucial to maintain safe operating temperatures. Besides the CPU, thermal paste can also be used on other components like GPUs (Graphics Processing Units) and northbridge chips to facilitate heat transfer.
Typically, the thermal paste comes pre-applied on stock coolers or aftermarket CPU coolers. However, as CPUs and coolers may require upgrades or replacements, knowing how to correctly apply thermal paste is essential.
It’s worth mentioning that thermal paste is not a permanent solution. Over time, it may dry out or become less effective due to temperature cycling or normal wear and tear. Therefore, periodically reapplying thermal paste is necessary to maintain optimal thermal conductivity.
In the next sections, we will cover why thermal paste is important, the materials you’ll need to apply it, and the step-by-step process of correctly applying thermal paste on your CPU.
Why is Thermal Paste Important?
Thermal paste plays a crucial role in the overall cooling performance of your CPU. Here are a few reasons why thermal paste is important:
- Improved Heat Transfer: The main function of thermal paste is to fill the microscopic gaps and imperfections between the CPU and the cooler. These gaps can inhibit efficient heat transfer. By applying thermal paste, you can ensure maximum surface contact between the two components, allowing heat to be transferred more effectively.
- Prevention of Overheating: CPUs operate at high temperatures, especially under heavy loads. If the CPU is unable to dissipate heat efficiently, it can lead to overheating. Overheating can cause CPU throttling, decreased performance, and potentially permanent damage to the CPU. Proper application of thermal paste helps to prevent overheating by facilitating better heat transfer to the cooler.
- Longer CPU Lifespan: Excessive heat can decrease the lifespan of your CPU. By using thermal paste and ensuring proper heat dissipation, you can help prolong the life of your CPU. This is particularly important for those who engage in demanding tasks such as gaming or video editing, which put a significant load on the CPU.
- Reduced Noise: When a CPU overheats, the cooling system, such as the CPU fan, will have to work harder to maintain a lower temperature. This can result in increased noise levels, as the fan spins faster to dissipate the heat. By ensuring effective heat transfer with thermal paste, the CPU can operate at lower temperatures, reducing the need for the fan to run at high speeds and decreasing noise levels.
Overall, thermal paste is a crucial component in maintaining optimal CPU performance and preventing potential damage caused by overheating. By applying thermal paste correctly, you can ensure efficient heat transfer, prolonged CPU lifespan, and quieter operation.
What You’ll Need to Apply Thermal Paste
Before getting started, it’s important to gather the necessary tools and materials for applying thermal paste. Here’s a list of what you’ll need:
- Isopropyl Alcohol (70% or higher): You’ll need isopropyl alcohol to clean the old thermal paste from the CPU and the cooler. Make sure to choose a high concentration to effectively remove any residue.
- Microfiber Cloth or Coffee Filter: Use a soft, lint-free cloth or a coffee filter to wipe the CPU and cooler surfaces clean after applying the isopropyl alcohol.
- Thermal Paste: Choose a high-quality thermal paste from reputable brands. There are various types available, such as silicone-based, metal-based, or ceramic-based. Research and select a thermal paste that is suitable for your CPU.
- Applicator Tool: While some thermal paste packages come with a small applicator, it’s advisable to have a separate applicator tool like a plastic spatula or a credit card. This will help evenly spread the thermal paste on the CPU surface.
- Lint-Free Gloves (Optional): Wearing lint-free gloves can prevent natural oils and fingerprints from getting onto the CPU and affecting thermal conductivity. While not necessary, it can be a good precautionary measure.
- Lint-Free Cloth or Q-Tips: Use a lint-free cloth or Q-Tips to apply the isopropyl alcohol to the surfaces of the CPU and cooler.
Ensure you have all the necessary tools and materials ready before starting the process of applying thermal paste. This will help ensure a smooth and efficient application. Remember to work in a clean and static-free environment to minimize the risk of any potential damage to your CPU.
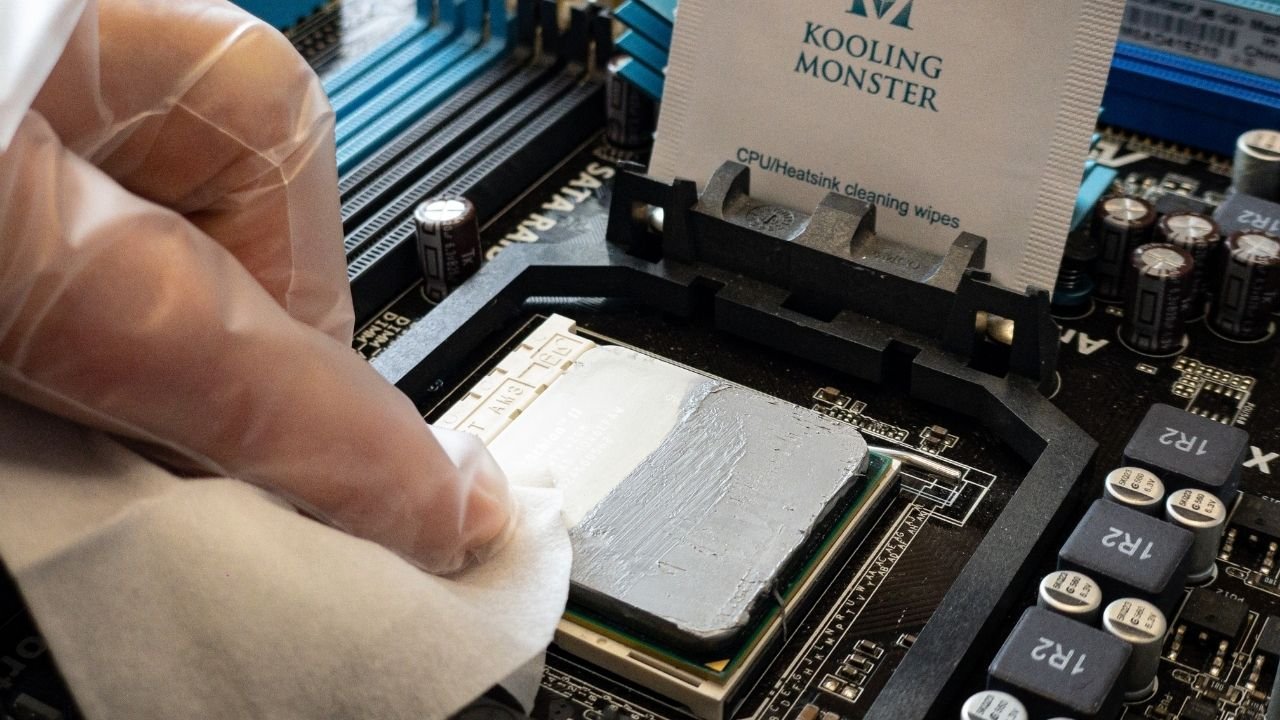
Step 1: Clean the CPU
Before applying thermal paste, it is crucial to clean the CPU surface and remove any old thermal paste or debris. Follow these steps to properly clean the CPU:
- Power Off and Disconnect: Make sure your computer is powered off and completely disconnected from any power source. This is important to prevent any electrical accidents or damage to the CPU during the cleaning process.
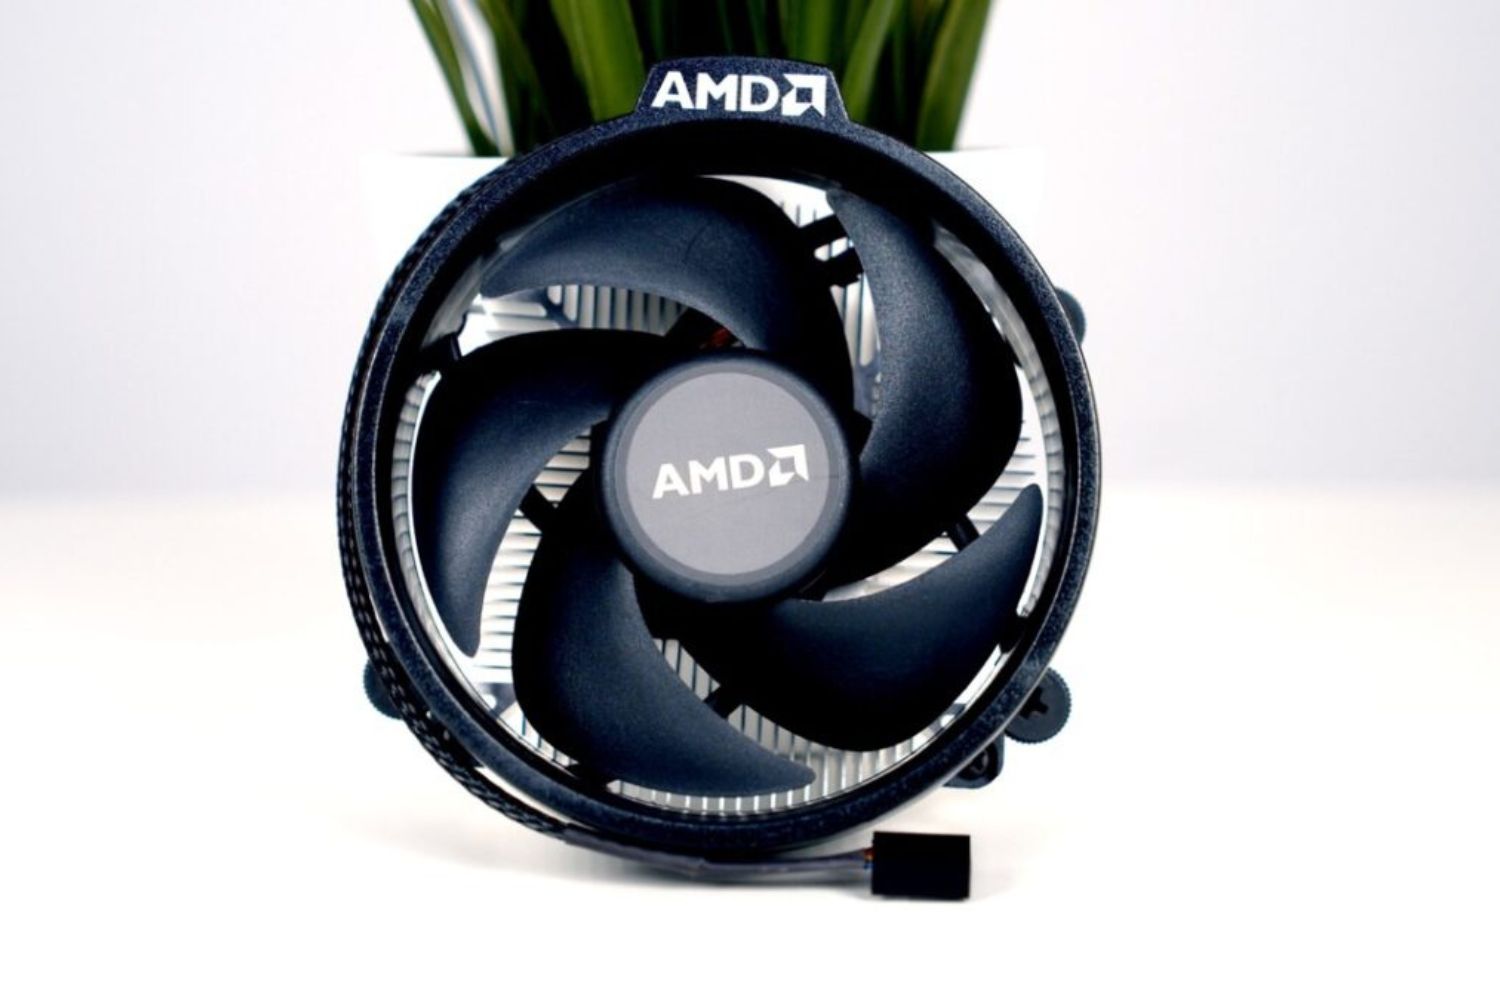
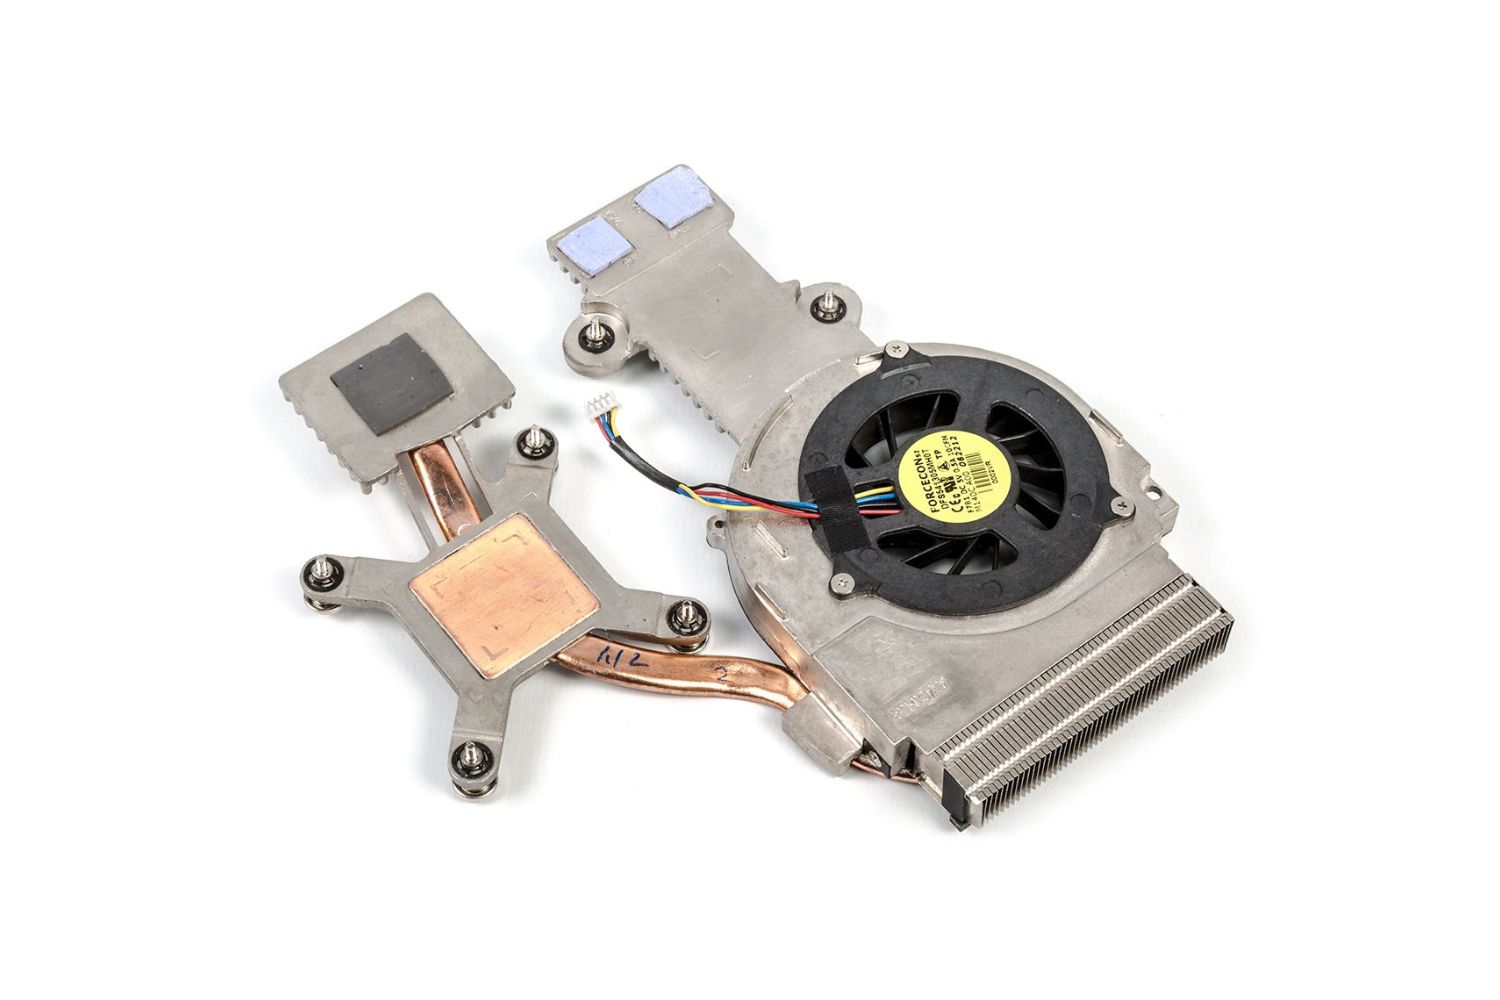
- Remove the CPU Cooler: Carefully remove the CPU cooler from the CPU socket. Different coolers may have different mechanisms, such as screws or clips, for attachment. Refer to the cooler’s instruction manual for proper removal.
- Prepare the Isopropyl Alcohol: Take your high-concentration isopropyl alcohol (70% or higher) and apply a small amount to a lint-free cloth or a Q-Tip. You want the cloth or Q-Tip to be moist but not dripping with alcohol.
- Clean the CPU Surface: Gently wipe the CPU surface with the alcohol-soaked cloth or Q-Tip. Be careful not to apply excessive pressure or scrub too hard, as you could damage the CPU pins or the thermal interface on the CPU. Continuously rotate the cloth or Q-Tip to ensure you’re using a clean section for each wipe. Repeat until the surface is clean and free of any thermal paste residue or debris.
- Clean the CPU Cooler: Similarly, clean the base of the CPU cooler with the alcohol-soaked cloth. Remove any traces of old thermal paste or dirt that may have accumulated. Make sure to clean the cooler thoroughly to ensure proper heat transfer when reattached to the CPU.
- Dry the Surfaces: After cleaning, give both the CPU surface and the cooler base enough time to air dry. Alternatively, use a lint-free cloth or microfiber cloth to gently dab and dry the surfaces. Ensure they are completely dry before proceeding to the next step. Moisture on the surfaces can affect the performance of the thermal paste.
Once you’ve completed these steps, the CPU and cooler surfaces should be properly cleaned and ready for the application of thermal paste. Properly cleaning the surfaces ensures optimal contact and improves the effectiveness of the thermal transfer when the thermal paste is applied.
Step 2: Apply Thermal Paste
Now that you have a clean CPU and cooler, it’s time to apply the thermal paste. Follow these steps to ensure proper application:
- Choose the Right Amount: The key to applying thermal paste is to use an appropriate amount. Too little or too much can negatively affect heat transfer. In general, a small pea-sized dot or a rice grain-sized amount in the center of the CPU is sufficient. However, it’s always best to refer to the thermal paste manufacturer’s instructions for specific guidelines.
- Using an Applicator Tool: If your thermal paste package comes with an applicator tool, follow the instructions provided to apply the paste evenly on the CPU surface. In some cases, the spatula-like tool can help ensure a consistent layer of paste. Spread the paste gently and avoid applying excessive pressure.
- Manual Application: If you don’t have an applicator tool, you can apply the thermal paste manually using a plastic spatula or the edge of a credit card. Take a small amount of thermal paste and place it in the center of the cleaned CPU surface. Using the edge of the spatula or card, carefully spread the paste in a thin, even layer. Try to cover the entire surface while avoiding excess paste.
- Avoid Spreading on the CPU Pins: Take extra caution not to get any thermal paste on the CPU pins. The paste should only be applied on the flat surface of the CPU itself. If any paste accidentally gets on the pins, use a clean cloth or Q-Tip to carefully remove it.
Remember, the goal is to apply a thin and even layer of thermal paste to create maximum contact between the CPU and the cooler. This will ensure efficient heat transfer and optimal cooling performance.
Once you have applied the thermal paste, move on to the next step to spread it evenly on the CPU surface for optimal distribution.
Step 3: Spreading the Thermal Paste
After applying the thermal paste on the CPU, the next step is to spread it evenly across the surface for optimal distribution. Follow these steps to ensure proper spreading of the thermal paste:
- Reattach the Cooler: Before spreading the thermal paste, reattach the CPU cooler to the CPU, making sure to align the mounting screws or clips properly. Gently press the cooler down to ensure even contact with the thermal paste.
- Apply Pressure: Applying gentle pressure to the cooler can help spread the thermal paste evenly. This pressure will help eliminate any air gaps and ensure optimal heat transfer. However, be cautious not to apply excessive force, as it can damage the CPU or create uneven pressure points.
- Rotational Method: To evenly spread the thermal paste, gently rotate the cooler back and forth or in a circular motion for a few seconds. This method helps distribute the paste in a thin and uniform layer, smoothing out any inconsistencies.
- Avoid Over-Spreading: Be careful not to over-spread the thermal paste. Spreading it too thin can reduce its effectiveness, as it may not adequately fill the microscopic gaps between the CPU and cooler. A thin, even layer is the goal, so avoid excessive spreading or smearing.
By spreading the thermal paste, you ensure that it covers the entire surface of the CPU and fills any imperfections. This promotes maximum contact between the CPU and the cooler, enhancing heat transfer efficiency.
Once you have evenly spread the thermal paste, you can proceed to the final step of installing the cooler firmly onto the CPU.
Step 4: Install the Cooler
Now that the thermal paste has been evenly spread on the CPU, it’s time to install the cooler to ensure proper heat dissipation. Follow these steps to securely attach the cooler:
- Align the Cooler: Carefully align the cooler with the mounting holes or brackets on the CPU socket. Make sure the cooler is positioned correctly and matches the orientation of the CPU socket.
- Secure the Cooler: Depending on the type of cooler you have, use the appropriate method to secure it in place. This may involve tightening screws, snapping clips into place, or locking a lever mechanism. Refer to the cooler’s instruction manual for guidance on the specific installation process.
- Apply Even Pressure: As you secure the cooler, apply even pressure on all sides to ensure it is firmly seated. This helps establish proper contact between the cooler and the CPU surface, promoting efficient heat transfer.
- Follow Manufacturer’s Instructions: Different coolers may have specific installation steps, so it’s essential to follow the manufacturer’s instructions carefully. This ensures a correct and secure installation, preventing any potential damage to the CPU or cooler.
- Double-Check the Connections: After installing the cooler, double-check that all connections are secure. Make sure the cooler is firmly attached to the CPU socket and that any power or fan cables are properly connected to the motherboard.
By securely installing the cooler, you ensure that it maintains direct contact with the CPU and that heat is efficiently transferred from the CPU to the cooler for effective cooling.
Once you have successfully installed the cooler, you can proceed to power on your computer and monitor the CPU temperatures to ensure that the thermal paste and cooling system are functioning correctly.
Common Mistakes to Avoid When Applying Thermal Paste
When applying thermal paste, it’s important to be aware of common mistakes that can affect the effectiveness of the paste and the cooling performance. Avoid these mistakes to ensure optimal thermal transfer:
- Applying Too Much or Too Little: Using an incorrect amount of thermal paste can hinder heat transfer. Applying too much paste can lead to excessive thermal resistance, while using too little may result in poor contact. Follow the thermal paste manufacturer’s guidelines for the recommended amount.
- Spreading Unevenly or Over-Spreading: Unevenly spread thermal paste may leave air pockets, reducing heat transfer efficiency. Similarly, over-spreading the paste can result in a thin layer that doesn’t fill the microscopic gaps properly. Take care to evenly spread the paste without excessive smearing or over-spreading.
- Getting Thermal Paste on CPU Pins: Accidentally getting thermal paste on CPU pins can cause connectivity issues and potentially damage your CPU. Always be cautious when applying and spreading the paste, ensuring it only covers the flat surface of the CPU.
- Not Cleaning the CPU Surface Properly: Failing to clean the CPU surface thoroughly before applying thermal paste can compromise the paste’s performance. Residual thermal paste or debris can create barriers to effective heat transfer. Clean the CPU surface diligently using isopropyl alcohol and a lint-free cloth or Q-Tip.
- Over-Tightening the Cooler: Applying excessive force when tightening the cooler can lead to uneven pressure distribution or even damage to the CPU. Follow the manufacturer’s recommendations for the appropriate tightening torque or pressure to ensure a secure but not overly tight attachment.
- Using Expired or Low-Quality Thermal Paste: The quality and effectiveness of thermal paste can deteriorate over time or when exposed to heat fluctuations. Using expired or low-quality thermal paste may compromise its ability to facilitate proper heat transfer. Make sure to use fresh, high-quality thermal paste from reputable manufacturers.
- Not Monitoring CPU Temperatures: After applying thermal paste and attaching the cooler, it’s important to monitor the CPU temperatures to ensure that the paste and cooling system are functioning correctly. Use software monitoring tools or the motherboard’s BIOS to verify that the CPU temperatures are within safe limits.
By avoiding these common mistakes, you can ensure that the thermal paste is applied correctly and that it effectively facilitates heat transfer from the CPU to the cooler, leading to optimal cooling performance and CPU longevity.
Conclusion
Applying thermal paste correctly is essential for maintaining optimal CPU temperatures and preventing overheating. By following the steps outlined in this guide and avoiding common mistakes, you can ensure proper heat transfer and maximize the cooling performance of your CPU.
Remember to gather all the necessary tools and materials before starting the process. Clean the CPU and cooler surfaces thoroughly with isopropyl alcohol to remove any residue or debris. Apply the thermal paste in the recommended amount and spread it evenly across the CPU surface. Be mindful of not getting any paste on the CPU pins.
When installing the cooler, align it properly and securely attach it to the CPU, ensuring even pressure for optimal contact. Double-check all connections and make sure the cooler is firmly seated in place.
Avoid common mistakes such as using too much or too little thermal paste, uneven spreading, getting paste on CPU pins, over-tightening the cooler, using expired or low-quality thermal paste, and not monitoring CPU temperatures.
By properly applying thermal paste and maintaining efficient cooling, you can extend the lifespan of your CPU, prevent damage caused by overheating, and enjoy smoother and more reliable performance from your computer.
Following these guidelines will help ensure that your CPU operates at its best, delivering optimal performance while staying within safe temperature limits.