Introduction
Welcome to our guide on how to clean your CPU! If you’re a computer enthusiast or someone who relies on their computer for work or play, it’s crucial to keep your CPU (Central Processing Unit) clean and functioning optimally. A dirty or dusty CPU can lead to overheating, reduced performance, and even hardware damage. So, to ensure the longevity and smooth operation of your computer, regular CPU cleaning is essential.
A CPU is the brain of your computer, responsible for executing instructions and performing calculations. It’s where all the processing power lies, making it a critical component. Over time, dust, dirt, and other particles accumulate on the CPU’s surface and its cooling components, such as the heat sink and fan. This buildup hampers the CPU’s ability to dissipate heat, leading to increased temperatures and potential performance issues.
By learning how to properly clean your CPU, you can maintain optimal cooling efficiency, prevent overheating, and ensure the smooth functioning of your computer. In this guide, we’ll walk you through the step-by-step process of cleaning your CPU, discuss the tools you’ll need, and provide essential tips and precautions to take during the cleaning process.
Before we dive into the cleaning procedure, it’s important to note that every computer is different. Therefore, it’s crucial to consult your computer’s manufacturer or documentation for specific instructions on cleaning your CPU. Our guide serves as a general overview, but it’s always a good idea to double-check for any unique considerations or precautions for your particular system.
So, whether you’re a novice computer user or an experienced tech enthusiast, let’s roll up our sleeves and get ready to give your CPU the cleaning it deserves. With some basic tools and a little bit of patience, you’ll be well-equipped to maintain an optimal and clean CPU, improving your computer’s performance and extending its lifespan.
What is a CPU?
A CPU, or Central Processing Unit, is the primary component of a computer responsible for executing instructions and performing calculations. It is often referred to as the “brain” of the computer, as it carries out the majority of the processing tasks that allow the system to function.
The CPU is comprised of various components, including the control unit, arithmetic logic unit (ALU), and registers. The control unit manages the flow of data and instructions, while the ALU performs mathematical and logical operations. Registers, on the other hand, store temporary data and instructions for quick access.
The CPU works in conjunction with other hardware components, such as the RAM (Random Access Memory) and storage devices, to carry out tasks requested by the user or running applications. It fetches instructions from memory, decodes them, and then executes them by performing the necessary calculations or operations.
CPU performance is measured in terms of its clock speed, which is typically expressed in gigahertz (GHz). A higher clock speed generally indicates faster processing capabilities. However, it’s important to note that other factors, such as the number of cores and cache size, also play a significant role in determining CPU performance.
Modern CPUs are designed to handle a wide range of tasks, from basic computing activities like web browsing and word processing to resource-intensive tasks such as gaming, video editing, and 3D rendering. With advances in technology, CPUs have become smaller, faster, and more power-efficient, enabling computers to perform complex tasks more efficiently.
While CPUs are built to withstand the demands of everyday use, they are not impervious to issues. Over time, dust and debris can accumulate on the CPU heatsink and fan, inhibiting proper heat dissipation and leading to increased temperatures. This can result in performance degradation, system instability, and even hardware failure if left unaddressed.
Regular cleaning and maintenance of the CPU can help alleviate these issues and extend its lifespan. In the next section, we will discuss why it’s important to clean your CPU and the benefits it provides.
Why is it important to clean your CPU?
Keeping your CPU clean is essential for maintaining optimal performance, prolonging the lifespan of your computer, and preventing potential hardware damage. Here are a few reasons why cleaning your CPU is important:
- Preventing overheating: The accumulation of dust, dirt, and other debris on the CPU and its cooling components can hinder proper heat dissipation. This can lead to increased temperatures and cause the CPU to overheat. Overheating can result in performance issues, system instability, and even permanent damage to the CPU.
- Improving system performance: A clean CPU allows for efficient heat dissipation, preventing thermal throttling. Thermal throttling is a mechanism that reduces CPU performance to prevent overheating. By cleaning the CPU, heat sink, and fan, you can ensure optimal cooling, allowing the CPU to function at its intended performance levels.
- Extending CPU lifespan: Excessive heat can accelerate the degradation process of electronic components. By keeping your CPU clean and cool, you can reduce the risk of premature wear and tear, thus extending the lifespan of your CPU.
- Preventing hardware damage: When a CPU overheats, it can cause damage not only to the CPU itself but also to other components in the system, such as the motherboard and memory modules. Regular cleaning helps prevent these issues, preserving the overall health of your computer.
- Reducing fan noise: A buildup of dust on the fan blades can cause unbalanced rotation, resulting in increased noise levels. Cleaning the CPU fan and removing accumulated dust can help reduce fan noise and create a quieter computing experience.
Ultimately, keeping your CPU clean is an investment in the longevity and performance of your computer system. It allows the CPU to function optimally, reduces the risk of overheating and hardware damage, and ensures a smoother and quieter computing experience.
Now that we understand the importance of cleaning the CPU, let’s move on to the tools you’ll need for the cleaning process.
Tools needed for cleaning your CPU
Before you embark on cleaning your CPU, it’s important to gather the necessary tools to ensure a thorough and safe cleaning process. Here is a list of essential tools you’ll need:
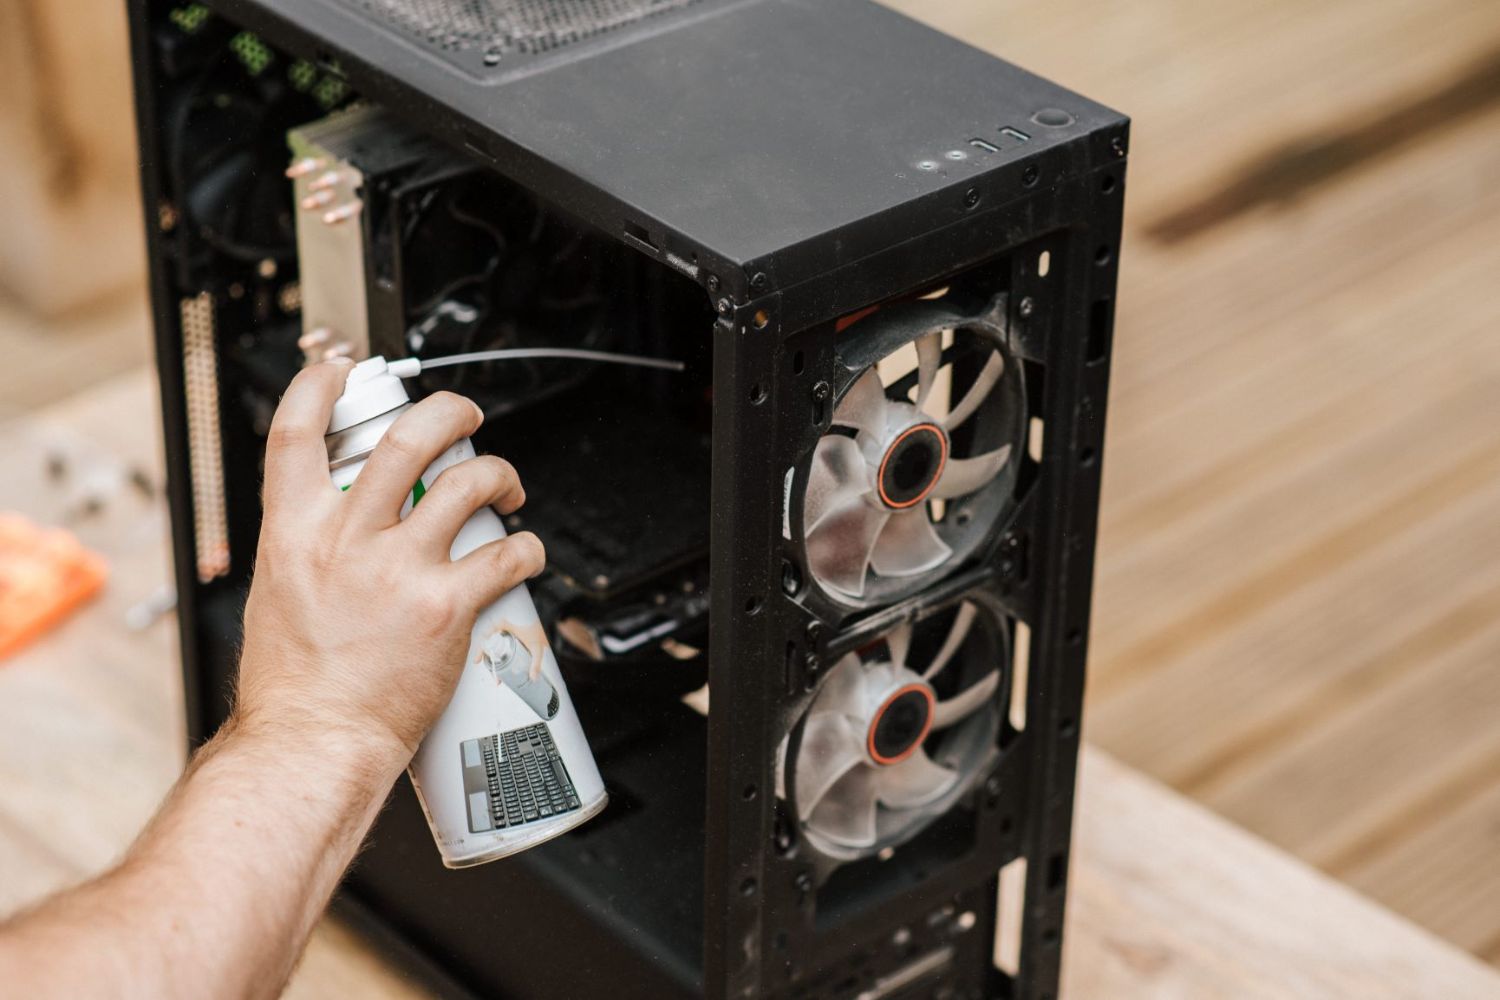
- Compressed Air: Compressed air is an invaluable tool for removing dust and debris from your CPU. It comes in a canister with a thin nozzle that allows for focused and controlled airflow. It’s crucial to use non-flammable compressed air designed specifically for electronics.
- Soft Brush: A soft-bristled brush, such as a clean and dry paintbrush or a makeup brush, can be useful for dislodging stubborn dust particles. Use the brush gently to avoid damaging delicate components.
- Isopropyl Alcohol: Isopropyl alcohol is an excellent cleaning solution for removing thermal paste and other stubborn residues. It’s important to use a high purity (90% or higher) isopropyl alcohol and a lint-free cloth or cotton swabs for application.
- Lint-Free Cloths or Microfiber Cloth: These cloths are perfect for wiping down surfaces and ensuring a clean and residue-free finish. Avoid using paper towels or abrasive materials, as they can scratch or leave fibers behind.
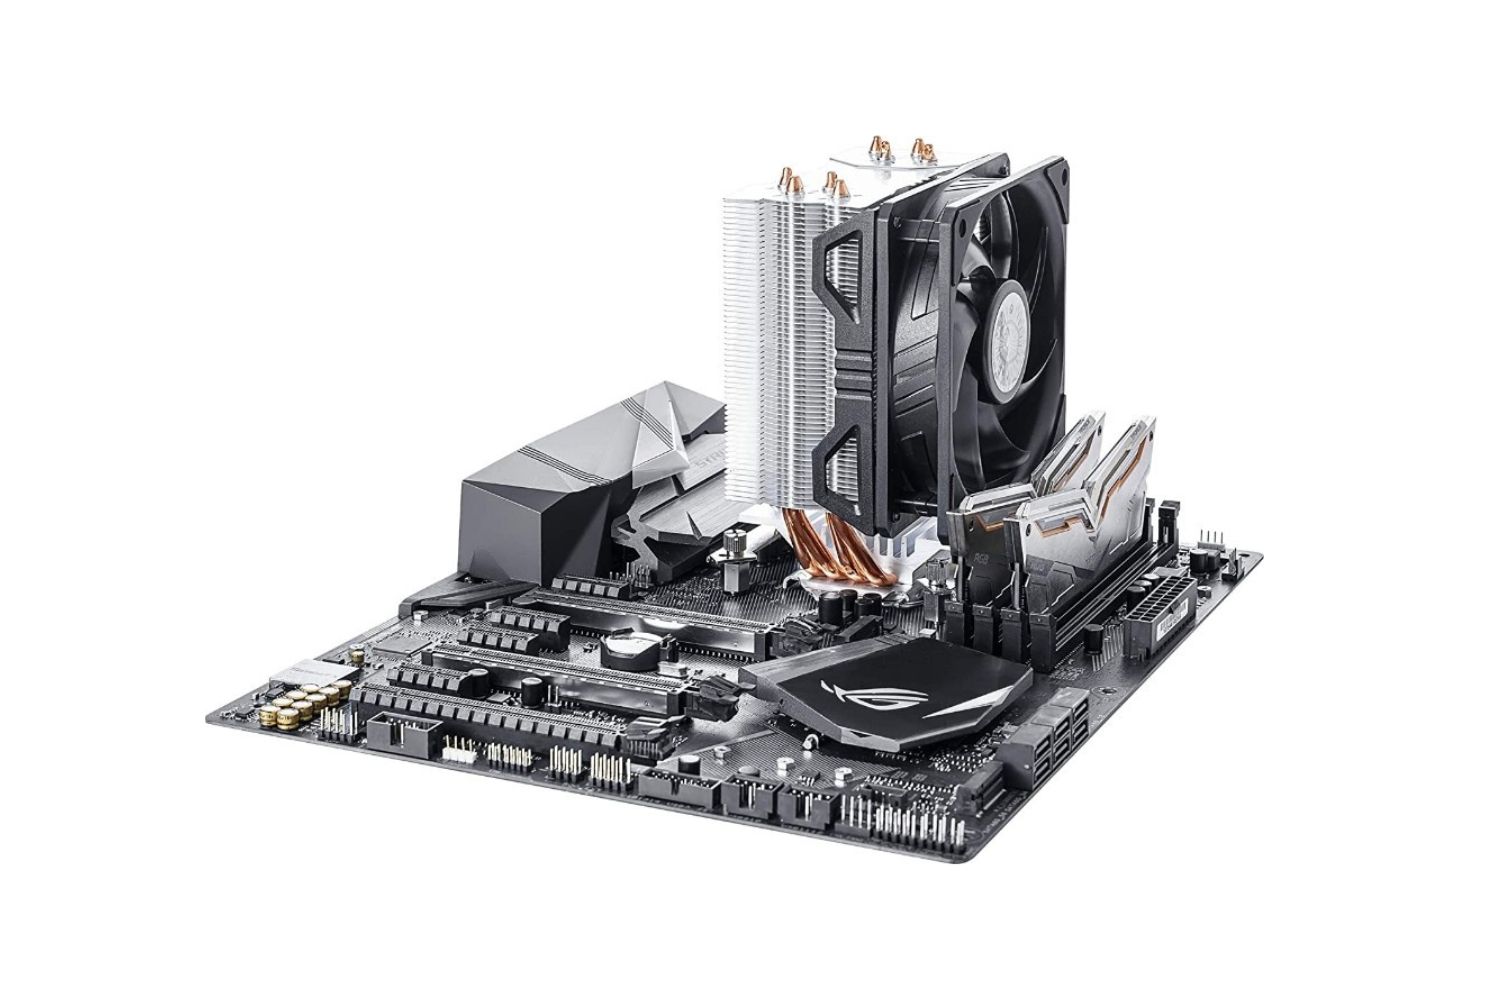
- Thermal Paste: If you’re planning to remove the CPU cooler or heat sink, you will need thermal paste to reapply after cleaning. Thermal paste helps ensure efficient heat transfer between the CPU and the cooling components. Choose a high-quality thermal paste recommended for your CPU type.
- Screwdriver: Some CPUs may require the removal of screws to access the cooling components. A screwdriver with the appropriate head size will be necessary for this step. Ensure that you have the correct screwdriver type for your computer model.
Having these tools readily available will help you perform a thorough and effective cleaning of your CPU. It’s important to note that some computer models may have specific requirements or variations in terms of tools needed. Always consult the manufacturer’s documentation or support resources for any specific tools recommended for your system.
Now that you’re equipped with the necessary tools, it’s time to delve into the step-by-step guide on how to clean your CPU.
Step-by-step guide on how to clean your CPU
Now that you have gathered the necessary tools, let’s walk through the step-by-step process of cleaning your CPU:
- Prepare your workspace: Start by shutting down your computer and disconnecting all cables. Find a clean, well-lit, and static-free workspace to perform the cleaning process. You may want to place a soft cloth or an anti-static mat on the surface to protect your computer from scratches or static discharge.
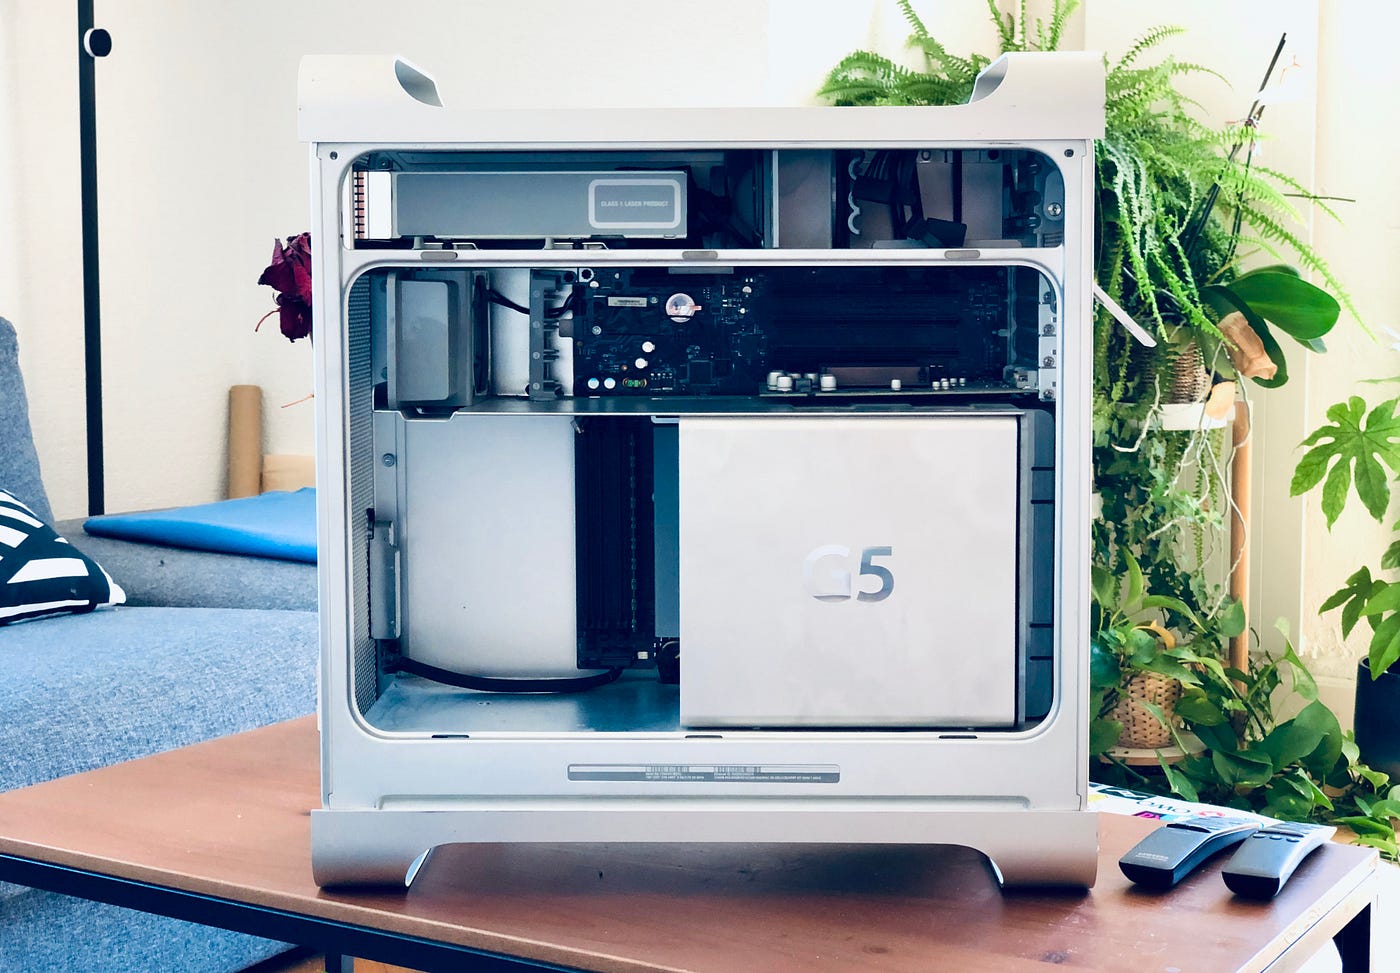
- Open your computer case: Depending on your computer model, you may need to remove a side panel or access cover to reach the internal components. Refer to your computer’s documentation for specific instructions on accessing the CPU area.
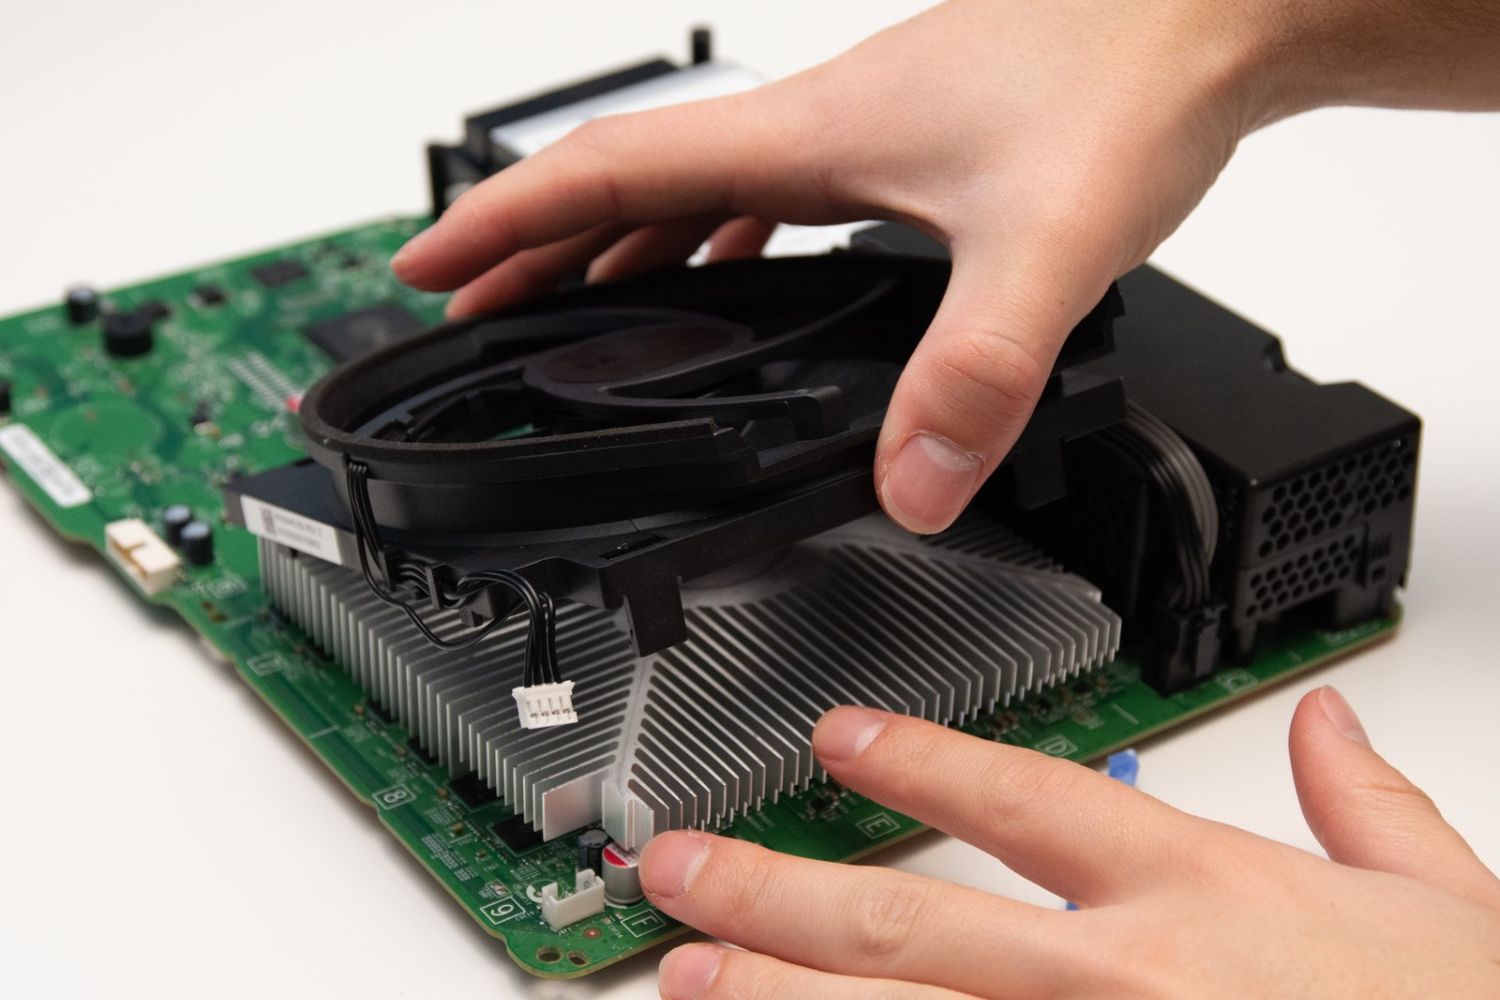
- Clean the CPU heatsink and fan: Use a can of compressed air to blow away any loose dust or debris from the heatsink and fan. Hold the can upright and use short bursts of air to avoid liquid or excessive pressure. Use a soft brush to gently remove any stubborn dust particles. Be careful not to apply too much pressure or touch any delicate components.
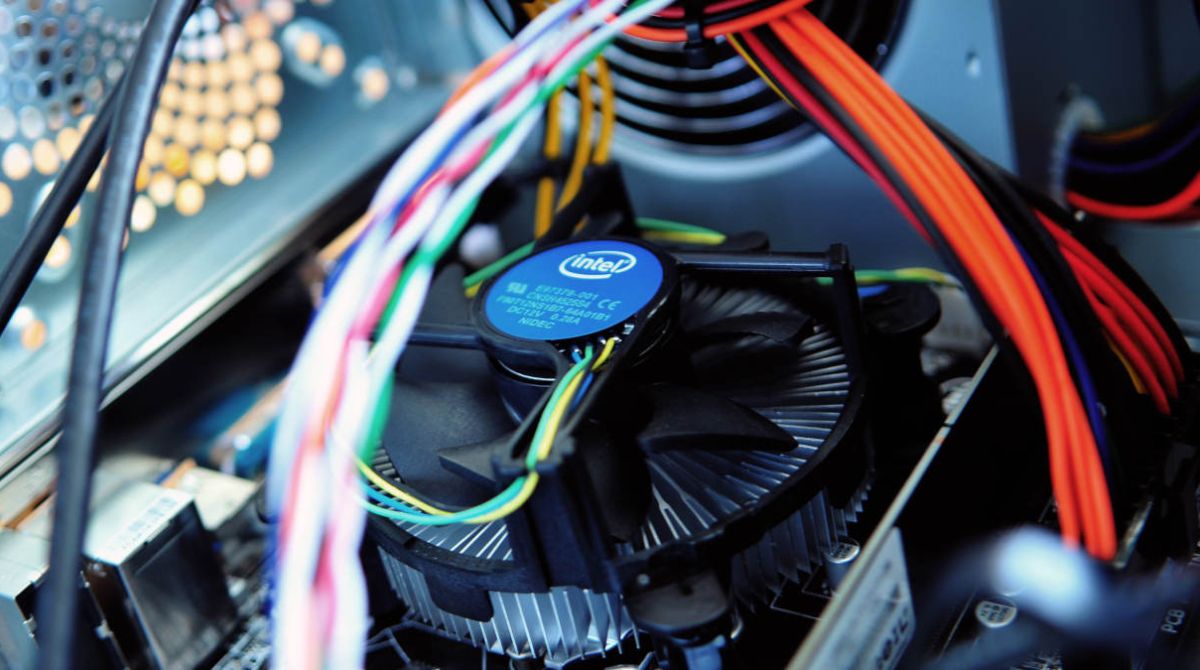
- Remove the CPU cooling fan (if necessary): Some CPU coolers may require removing screws or clips to detach the fan from the heatsink. Use a screwdriver to carefully remove the screws or release the clips. Place the fan aside for cleaning.
- Clean the CPU fan: With the fan detached, use compressed air to blow away any dust and debris. Pay special attention to the fan blades and the area surrounding the fan motor. Use a soft brush to dislodge any stubborn particles. If necessary, you can also wipe the fan blades gently with a lint-free cloth slightly dampened with isopropyl alcohol.
- Clean the CPU heatsink: Focus on the fins of the heatsink, as this is where dust and debris often accumulate. Use compressed air to blow away the dust, making sure to remove any buildup between the fins. If necessary, use a soft brush to dislodge stubborn particles. Avoid using excessive force that could damage the fins.
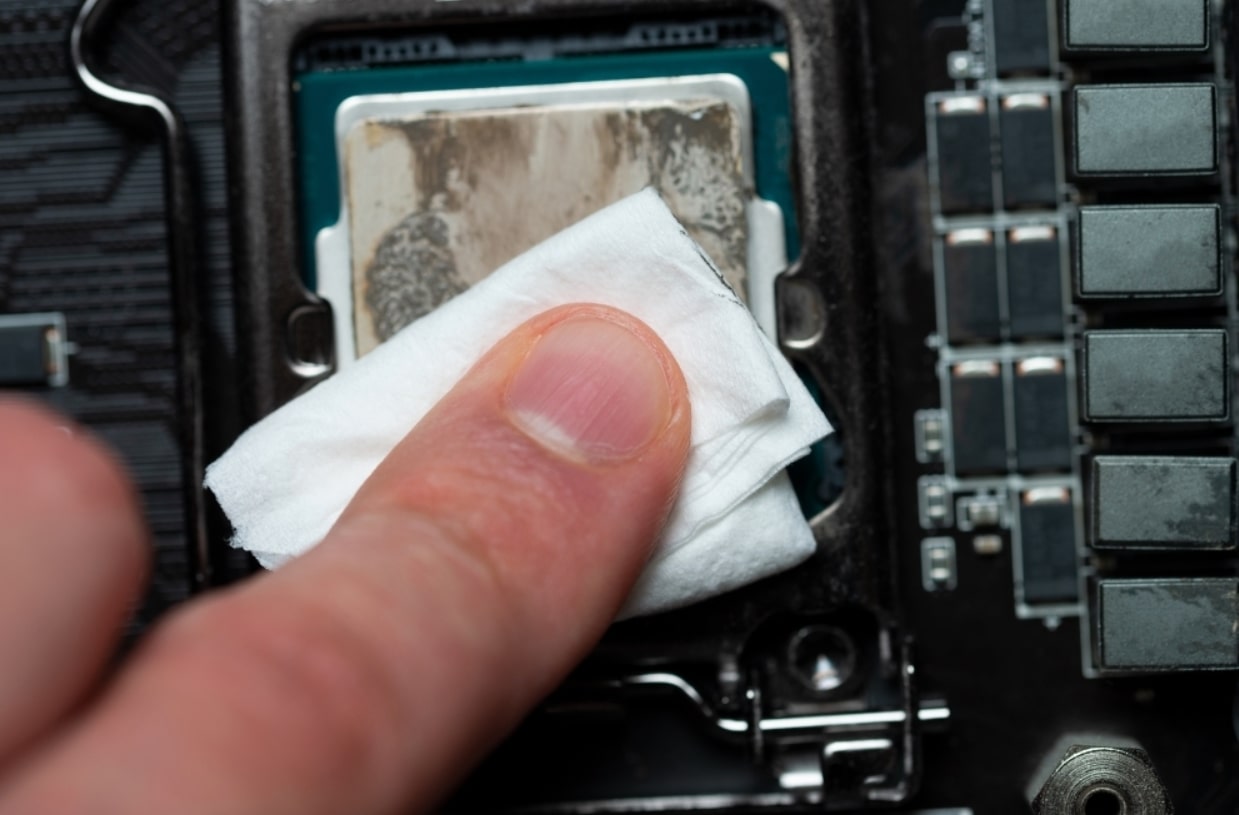
- Clean the CPU surface: Ensure the CPU’s surface is free of dust and thermal paste residue. Use a lint-free cloth slightly moistened with isopropyl alcohol to gently wipe the surface, taking care not to leave behind lint or fibers. Remove any thermal paste remnants from both the CPU and the heatsink using isopropyl alcohol and a lint-free cloth or cotton swabs. Allow the surfaces to dry completely.
- Reapply thermal paste (if necessary): If you removed the CPU cooler or heatsink, apply a small dab of thermal paste to the center of the CPU. The paste should spread evenly when the cooler is reattached, helping to ensure efficient heat transfer. Consult the thermal paste manufacturer’s instructions for specific guidance on application methods.
- Reassemble your computer: Once you have cleaned the CPU, fan, and heatsink, carefully reattach the fan to the heatsink and secure it in place with screws or clips. Close the computer case, making sure all connections are secure. Reconnect the cables and power up your computer.
Following these step-by-step instructions will help you effectively clean your CPU and maintain its optimal performance. However, it’s important to emphasize that computer models and configurations may vary, so always refer to your manufacturer’s documentation for specific cleaning instructions.
In the next section, we’ll discuss some precautions to keep in mind while cleaning your CPU to ensure a safe and successful cleaning experience.
Precautions to take while cleaning your CPU
While cleaning your CPU is a relatively straightforward process, it’s important to take certain precautions to ensure your safety and avoid damaging any components. Here are some essential precautions to keep in mind:
- Power off and unplug your computer: Before beginning the cleaning process, make sure your computer is completely shut down and disconnected from any power source. This ensures your safety and prevents any accidental damage to the components.
- Avoid static discharge: Static electricity can harm sensitive computer components, so it’s crucial to discharge any static buildup before working on your CPU. You can do this by touching a grounded object, such as a metal table or a grounded outlet cover, before handling any internal components. Additionally, consider wearing an anti-static wrist strap during the cleaning process.
- Use proper cleaning tools: Always use the appropriate tools recommended for CPU cleaning, such as compressed air, soft brushes, lint-free cloths, and isopropyl alcohol. Avoid using rough or abrasive materials that can scratch or damage delicate components.
- Handle components with care: When removing or handling the CPU cooling fan, heatsink, or any other components, be gentle and avoid applying excessive force. Delicate pins, wires, or connectors can easily be damaged if mishandled.
- Mind the liquids: When using isopropyl alcohol, ensure you use a lint-free cloth or cotton swab and apply the alcohol sparingly. Avoid spilling liquids or allowing excess liquid to come into contact with the components.
- Maintain proper airflow: After cleaning, ensure that all fans, including the CPU fan, are properly reattached and functioning correctly. Improperly reassembled or obstructed fans can lead to reduced airflow and overheating.
- Refer to manufacturer instructions: It’s essential to consult your computer manufacturer’s documentation or support resources for specific cleaning instructions and any unique considerations for your particular system. Different computer models may have specific requirements or variations that need to be addressed.
- Consider professional assistance if uncertain: If you’re unsure about your technical abilities or uncomfortable with performing the cleaning yourself, it’s wise to seek professional assistance. Computer repair shops or specialized technicians can provide expert cleaning services to ensure your CPU is properly maintained.
By following these precautions, you can minimize the risk of damaging your CPU or other internal components and ensure a safe and successful cleaning process.
Now that we’ve covered the precautions, let’s move on to some tips for maintaining a clean CPU after the cleaning process.
Tips for maintaining a clean CPU
Once you have cleaned your CPU, it’s important to establish good practices for maintaining a clean and dust-free environment. Here are some helpful tips to keep your CPU running smoothly:
- Regularly clean your computer: Schedule regular cleaning sessions for your entire computer system, not just the CPU. Dust and debris can accumulate in other areas, such as the case, vents, and fans. Use compressed air to blow away dust and gently wipe surfaces with a soft cloth.
- Keep your computer in a clean area: Place your computer in a clean and dust-free environment. Avoid high-dust areas or near open windows, where airborne particles can easily enter the system. Using a computer case with dust filters can also help prevent dust buildup.
- Position your computer properly: Ensure that your computer is placed on a stable surface, away from potential hazards such as liquids, excessive heat sources, or direct sunlight. Adequate airflow around the computer also helps prevent overheating and dust accumulation.
- Maintain effective cable management: Organize and manage the cables inside your computer case to promote proper airflow and reduce the buildup of dust. Using cable ties or cable management tools can help keep cables neat and prevent them from obstructing fans or airflow.
- Replace thermal paste periodically: Over time, thermal paste can deteriorate or dry out, compromising its efficiency in transferring heat. It’s recommended to replace the thermal paste between the CPU and the heatsink every two to three years to maintain optimal cooling performance.
- Monitor your CPU temperatures: Install software that allows you to monitor your CPU’s temperature. Keeping an eye on the temperatures can help detect any abnormal spikes or signs of overheating, allowing you to take appropriate action before any serious damage occurs.
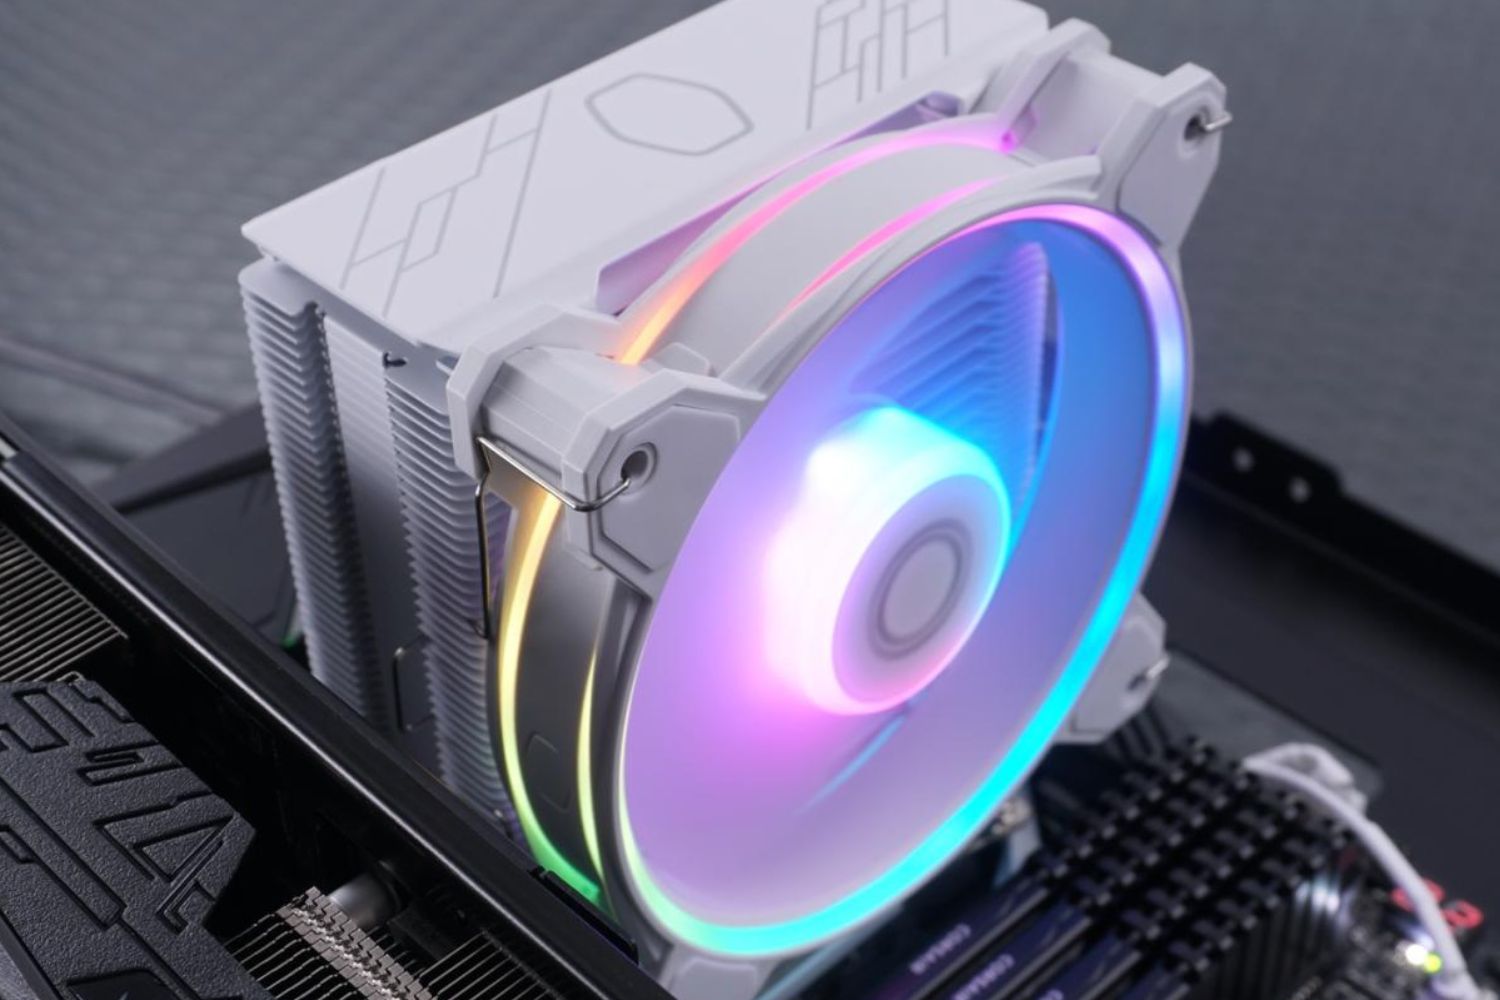
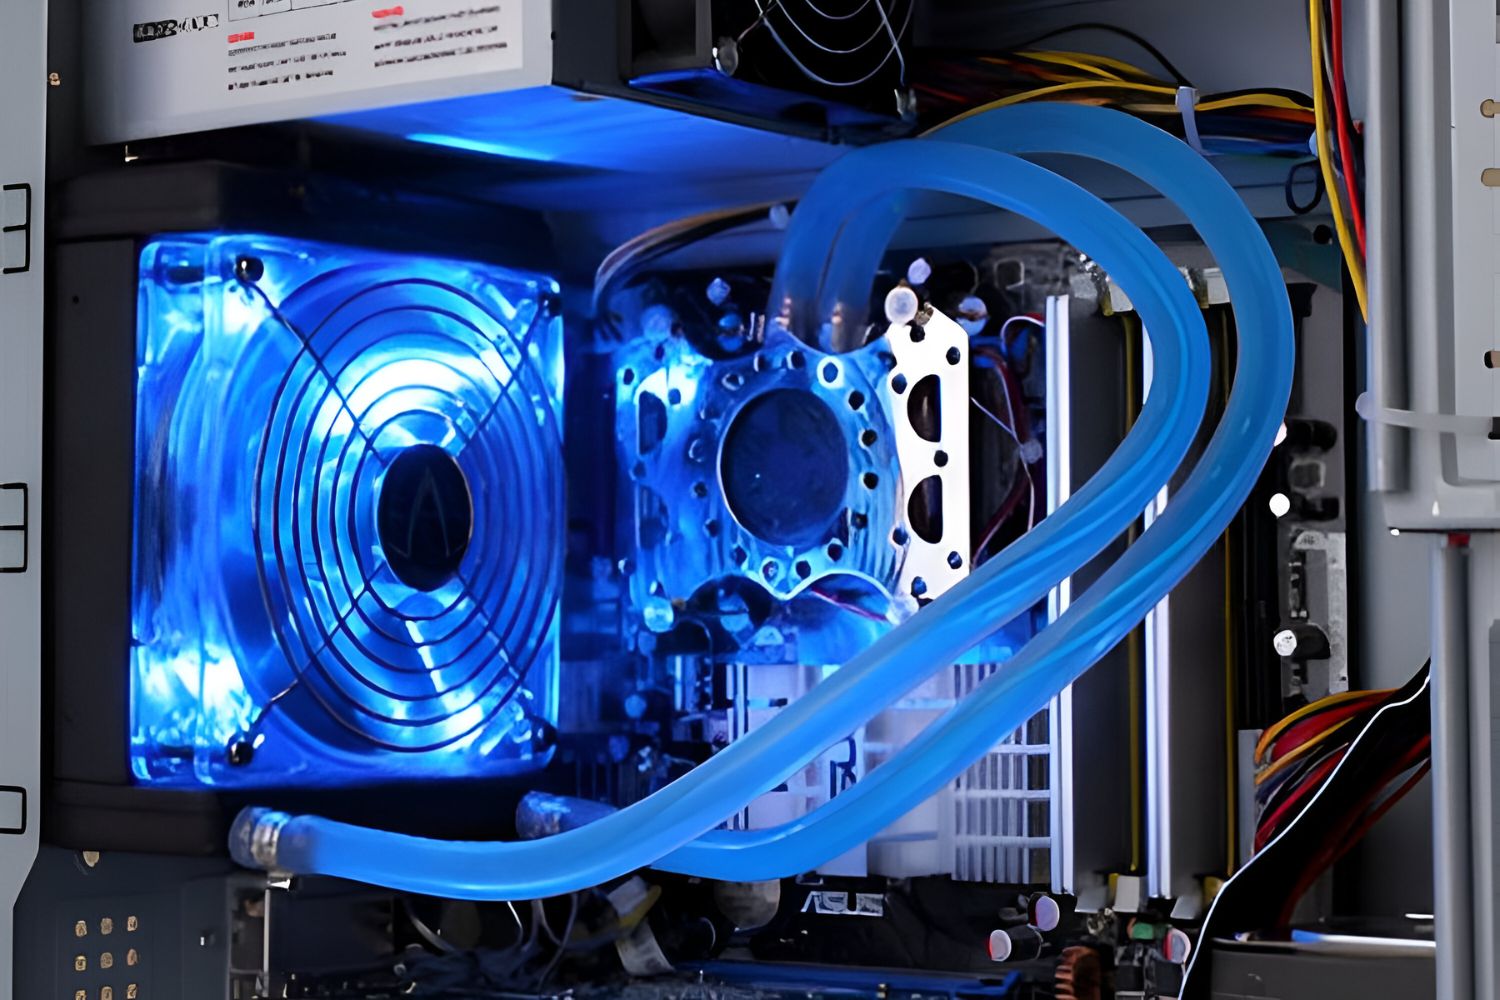
- Consider additional cooling solutions: If you live in a particularly warm or dusty environment, or if you engage in resource-intensive tasks like gaming or video editing, you may want to invest in additional cooling solutions such as aftermarket CPU coolers or case fans. These can help improve ventilation and keep your CPU temperatures in check.
- Perform routine maintenance: Along with regular cleaning, perform routine maintenance tasks such as updating your operating system and drivers, running virus scans, and removing unnecessary files. Keeping your system optimized contributes to its overall health and longevity.
By implementing these tips, you can maintain a clean CPU and prevent dust and debris from causing performance issues or component damage. A well-maintained CPU will ensure optimal performance and prolong the lifespan of your computer system.
Next, let’s conclude our guide on cleaning your CPU.
Conclusion
Cleaning your CPU is a vital part of maintaining a healthy and efficient computer system. By following the step-by-step guide, gathering the necessary tools, and taking the necessary precautions, you can effectively remove dust and debris to prevent overheating, improve performance, and extend the lifespan of your CPU.
Remember, the CPU is the heart of your computer, responsible for executing instructions and performing calculations. Over time, dust and dirt can accumulate on the CPU’s surface and cooling components, hindering proper heat dissipation and leading to potential performance issues. Regular cleaning ensures optimal cooling efficiency and prevents hardware damage.
Throughout this guide, we discussed the importance of cleaning your CPU, the tools needed for the cleaning process, a detailed step-by-step guide on how to clean your CPU, and precautions to consider. We also provided tips for maintaining a clean CPU and promoting overall system health.
Keeping your CPU clean is an investment in the longevity and performance of your computer. It not only helps prevent overheating and hardware damage but also improves system performance and provides a smoother computing experience.
Remember to consult your computer’s manufacturer documentation or support resources for specific cleaning instructions and any unique considerations for your system. If you’re unsure about the process, seeking professional assistance is always a viable option.
With regular cleaning and proper maintenance, your CPU will continue to operate smoothly, allowing you to make the most of your computer and enjoy optimal performance for years to come.