Introduction
Welcome to this guide on how to upgrade a CPU cooler! If you’re experiencing high temperatures or loud fan noises coming from your computer, it might be time to consider upgrading your CPU cooler. Upgrading your CPU cooler can improve overall system performance and ensure that your processor stays cool, even under heavy workloads.
Choosing the right CPU cooler is crucial for the efficient and effective cooling of your processor. There are various types of CPU coolers available in the market, including air coolers and liquid coolers. In this guide, we will walk you through the steps to upgrade your CPU cooler, regardless of the type you choose.
Before we begin, it’s important to gather the necessary tools for this upgrade. You will need a screwdriver, thermal paste, a lint-free cloth, and rubbing alcohol. These tools will help you remove the old CPU cooler, clean the CPU and heatsink, and install the new cooler.
Preparing your computer for the upgrade is the next step. Turn off your computer and unplug it from the power source. It’s also a good idea to ground yourself by touching a metal object to prevent any static electricity from damaging your components.
The process of removing the old CPU cooler can vary depending on the type you currently have, whether it be a stock cooler or an aftermarket cooler. We will guide you through the steps specific to your situation in the following sections.
Before installing the new CPU cooler, it’s crucial to clean the CPU and heatsink thoroughly. Any residue from the old thermal paste can hinder optimal heat transfer. Apply a small amount of rubbing alcohol to a lint-free cloth and gently clean the surfaces.
Once the cleaning process is completed, it’s time to apply a fresh layer of thermal paste. This compound ensures better heat conductivity between the CPU and the cooler. Make sure to apply an appropriate amount to avoid any excess or insufficient coverage.
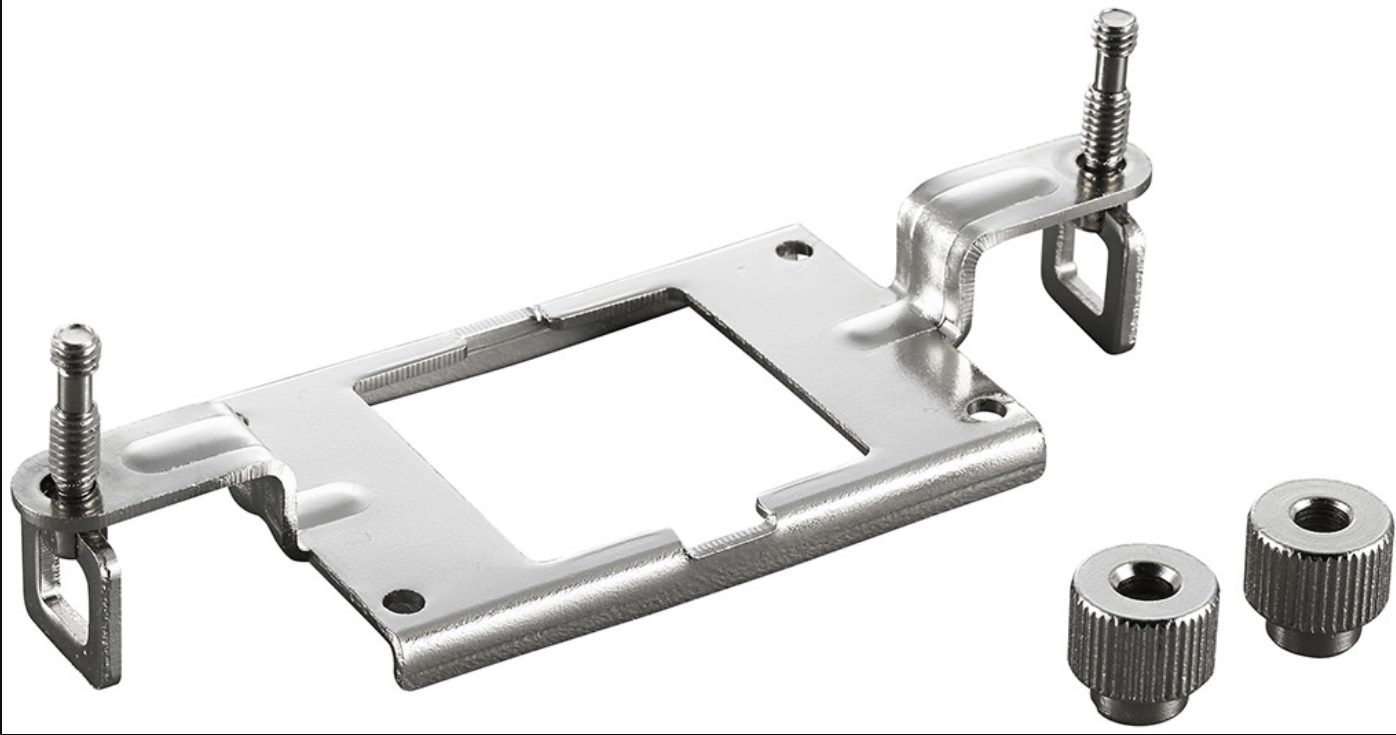
Installing the new CPU cooler is the final step. Secure the cooler in place using the provided screws or mounting brackets. Ensure a tight fit but avoid overtightening. After securing the cooler, reconnect any cables you disconnected earlier, such as the CPU fan cable.
After completing the upgrade, it’s essential to test your computer to ensure everything is functioning correctly. Power on your computer and monitor the temperatures to ensure that they remain within acceptable ranges. If any issues arise, we will cover common troubleshooting steps later in this guide.
Now that we have covered the introduction to upgrading a CPU cooler, let’s move on to the specifics of choosing the right cooler and the step-by-step process of upgrading your CPU cooler.
Choosing the Right CPU Cooler
When it comes to upgrading your CPU cooler, selecting the right one for your needs is crucial. The cooler you choose should effectively dissipate heat, fit within your computer’s case, and align with your budget. Here are a few factors to consider when making your decision.
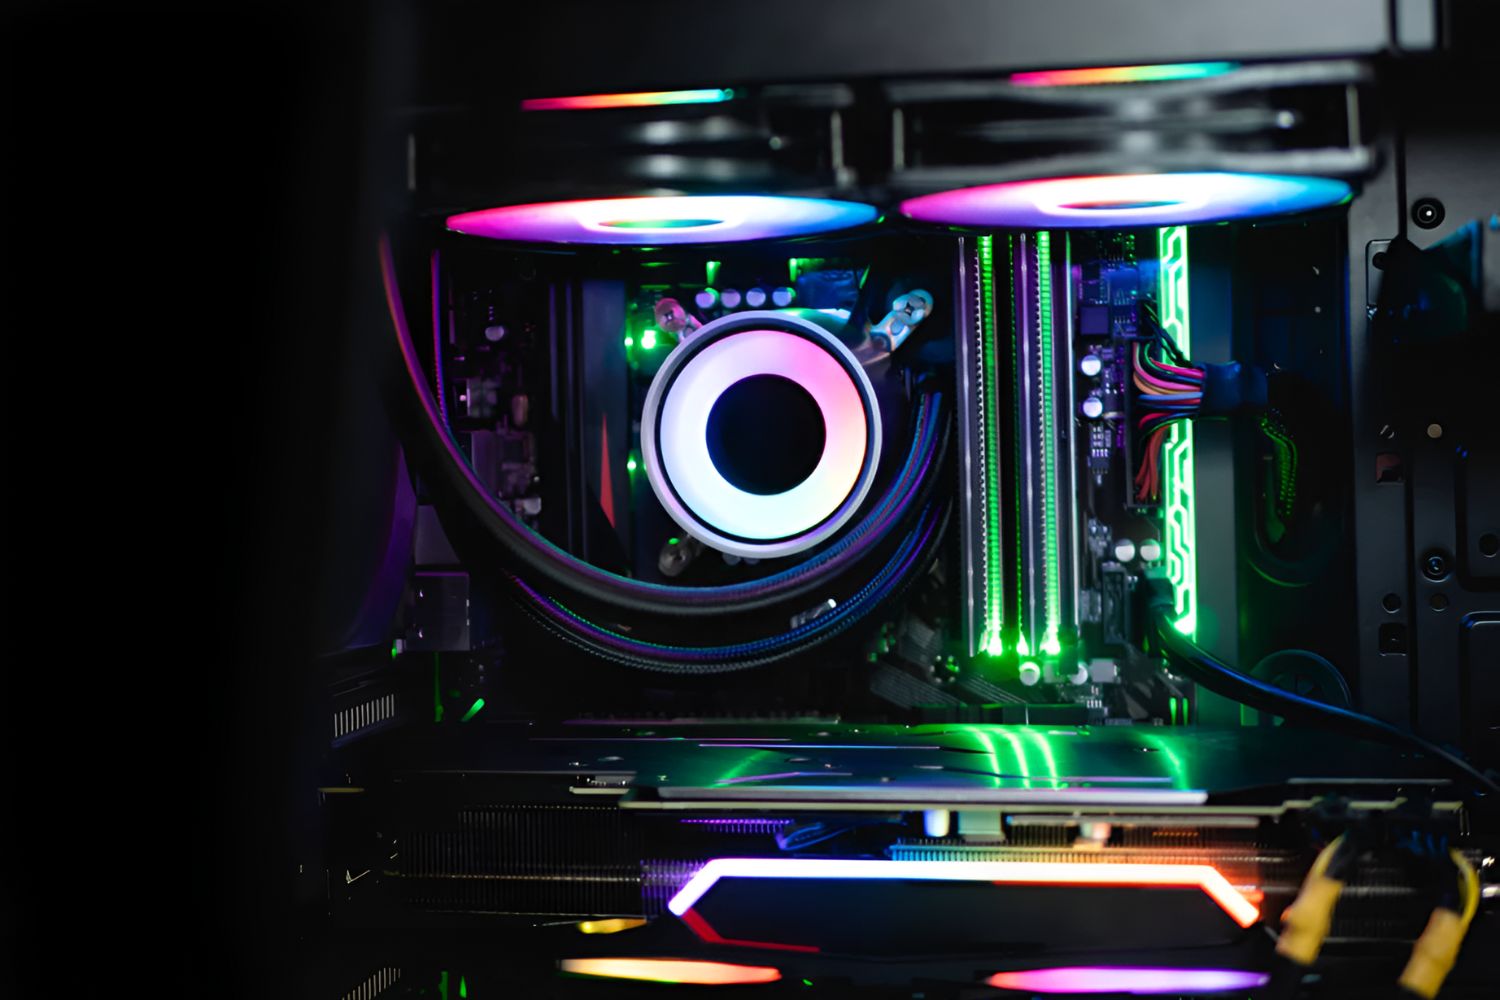
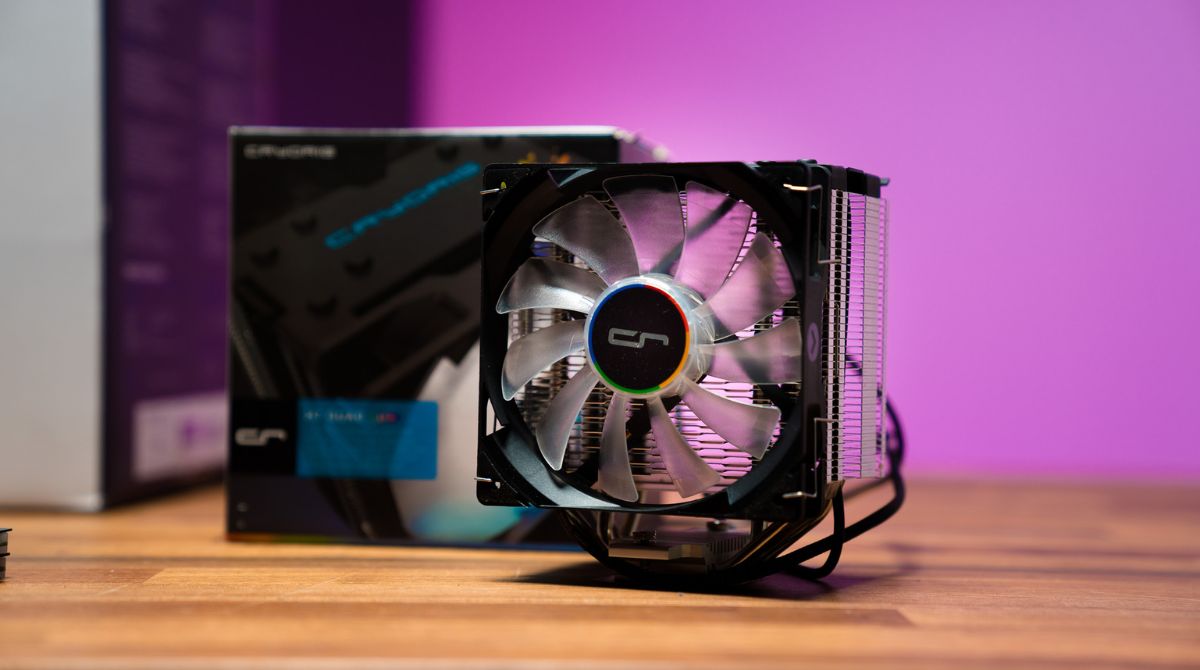
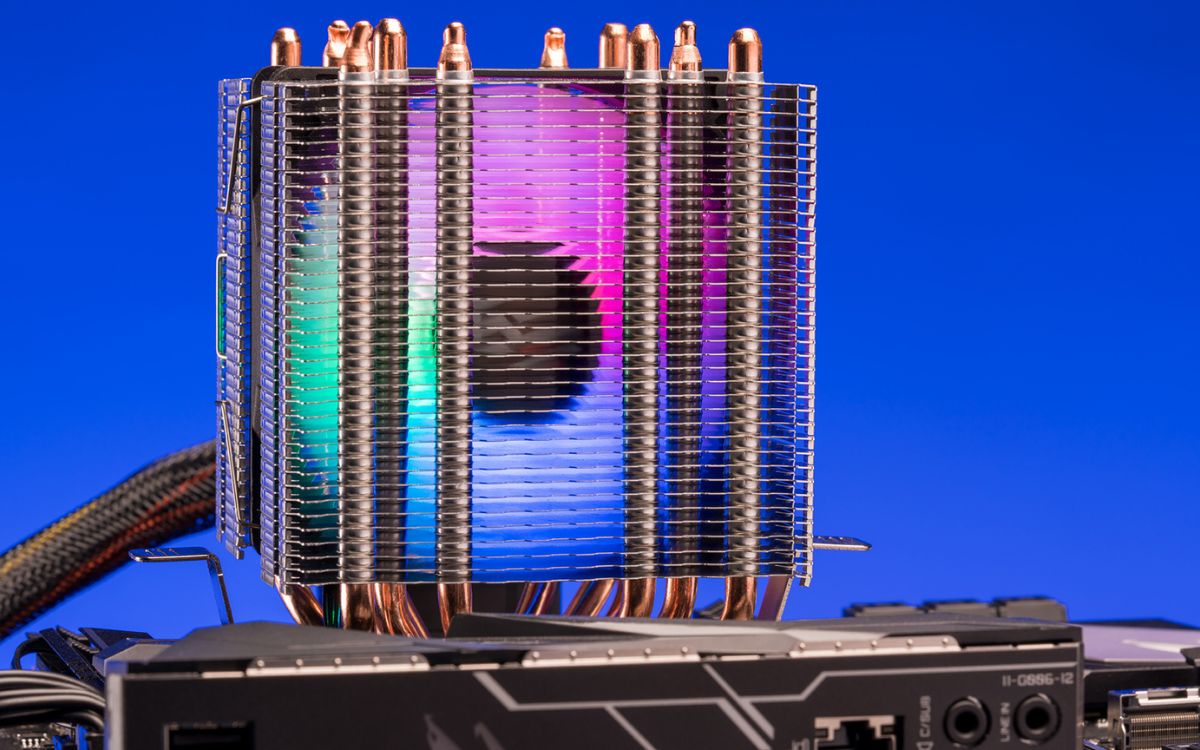
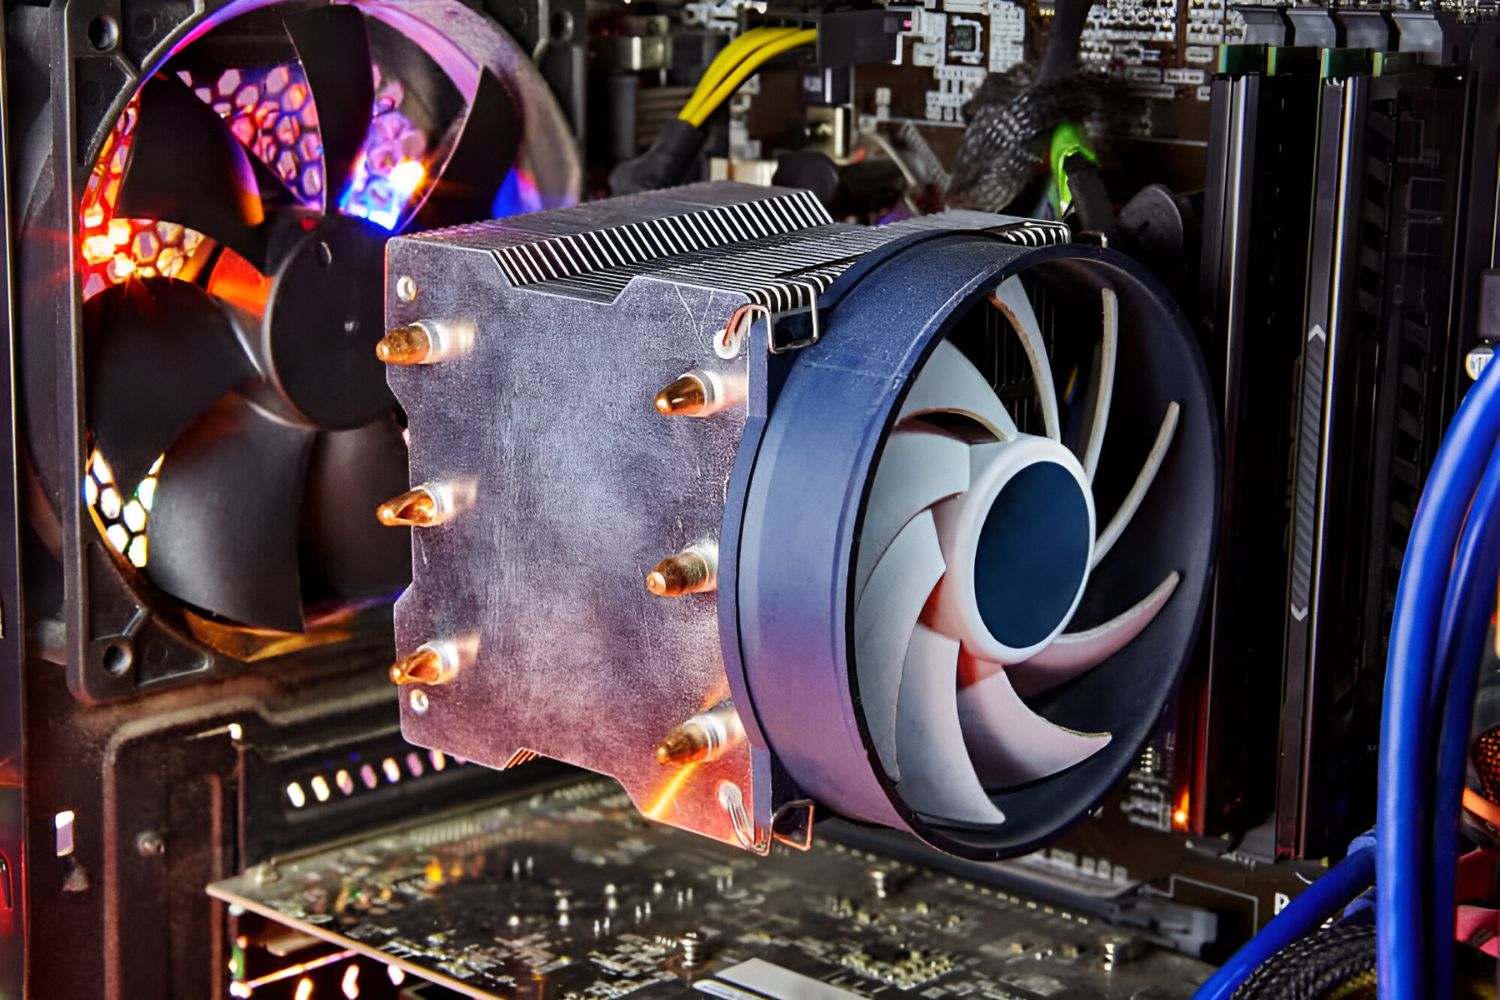
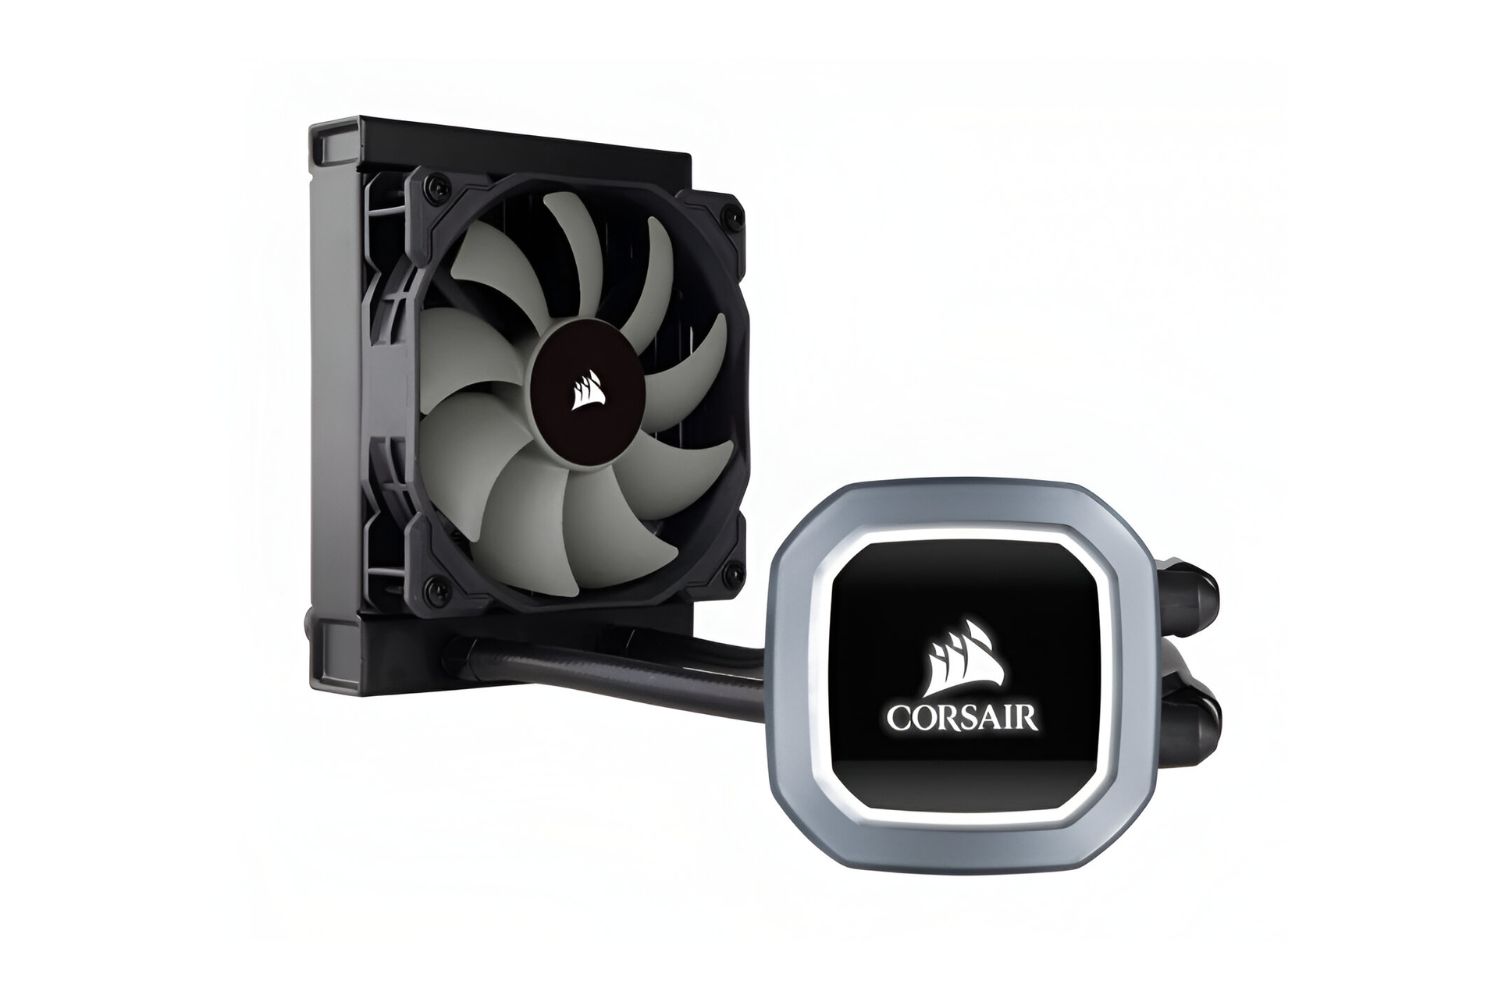
Type of Cooler: There are two main types of CPU coolers: air coolers and liquid coolers. Air coolers use metal heatsinks with fans to cool the CPU, while liquid coolers use a combination of a radiator, pump, and fan to cool the CPU. Air coolers are generally more budget-friendly and easier to install, while liquid coolers offer more efficient cooling performance, especially for overclocking enthusiasts.
Cooler Height and Clearance: Check the dimensions of the cooler to ensure it fits within your computer case. Besides height, also consider compatibility with the motherboard, RAM modules, and graphics card. Some larger coolers might obstruct nearby components, preventing you from using certain RAM or PCIe slots.
Noise Level: Consider the noise level of the CPU cooler, especially if you value a quiet computing experience. Check the manufacturer’s specifications for the noise level in decibels (dB). Lower dB values indicate quieter operation.
Cooling Performance: Look for the cooling performance of the CPU cooler, typically expressed in terms of thermal resistance or cooling capacity. Higher values indicate better cooling, allowing your CPU to operate at lower temperatures, which is beneficial for overall system stability and longevity.
Price and Budget: CPU coolers come in various price ranges, so it’s important to consider your budget. While it’s tempting to go for the most expensive option, keep in mind that a high-priced cooler might not be necessary unless you’re planning to overclock your CPU extensively.
Reviews and Recommendations: Before making a final decision, read reviews and recommendations from trusted sources or fellow users. Pay attention to factors like installation ease, build quality, cooling performance, and customer support. User reviews can provide valuable insights into long-term reliability and performance.
Keeping these factors in mind, narrow down your choices to a few CPU coolers that meet your requirements. Research each cooler thoroughly and compare them based on the factors above. By carefully weighing your options, you can ensure that you choose the right CPU cooler for your specific needs and preferences.
Gathering the Necessary Tools
Before you can begin the process of upgrading your CPU cooler, it’s essential to gather all the necessary tools. Having these tools at your disposal will ensure a smooth and efficient upgrade process. Here are the tools you will need:
Screwdriver: You will need a screwdriver to remove and secure screws during the CPU cooler installation process. The specific type of screwdriver you’ll need will depend on the type of screws used in your case. Most often, a Phillips screwdriver is suitable for these tasks.
Thermal Paste: Thermal paste is a heat-conductive compound that is applied between the CPU and the cooler to improve thermal transfer. It ensures that heat generated by the CPU is efficiently dissipated by the cooler. Make sure to choose a high-quality thermal paste for optimal performance.
Lint-Free Cloth: A lint-free cloth, such as a microfiber cloth, is essential for cleaning the CPU and heatsink surfaces. It helps remove any dust, debris, or old thermal paste residue, ensuring a clean and smooth surface for the new cooler installation.
Rubbing Alcohol: Rubbing alcohol with a high percentage of isopropyl alcohol is used to clean the CPU and heatsink. It helps remove thermal paste residue and ensures proper adhesion of the new thermal paste. Make sure to use a lint-free cloth dampened with rubbing alcohol for cleaning.
Anti-Static Wrist Strap (Optional): An anti-static wrist strap is used to prevent static electricity buildup and discharge, which can potentially damage sensitive computer components. While not mandatory, using an anti-static wrist strap can provide added protection during the installation process.
Additional Tools: Depending on your specific case and cooler, you may require additional tools such as a small socket wrench, pliers, or cable ties. It’s a good idea to consult the CPU cooler installation manual or online resources for any specific tools recommended by the manufacturer.
Ensure that you have all the necessary tools ready and easily accessible before starting the CPU cooler upgrade process. This will help streamline the installation and minimize any potential delays or interruptions. Having the right tools on hand will also ensure that you can properly secure the new cooler and avoid any damage to your computer components.
Preparing the Computer
Before diving into the process of upgrading your CPU cooler, it’s important to properly prepare your computer. Taking these precautionary steps will help ensure a smooth and safe installation process. Here’s what you need to do:
Shut Down and Disconnect: Start by shutting down your computer and disconnecting it from the power source. This step is crucial to prevent any electrical accidents or damage to your components during the upgrade process. Make sure to unplug the power cable from the wall outlet or power strip.
Ground Yourself: It’s essential to ground yourself before handling any computer components. This helps discharge any static electricity that you may have accumulated, preventing potential damage to sensitive parts. Touching a metal object, such as the computer case, for a few seconds should be sufficient to ground yourself.
Clear the Workspace: Clear your workspace of any unnecessary items or clutter that might hinder your movement or access to the computer. Having a clean and organized workspace will make it easier to handle and install the new CPU cooler.
Refer to the User Manual: Consult your computer’s user manual or manufacturer’s website for any specific instructions or precautions related to upgrading the CPU cooler. Each computer model may have unique considerations, and it is important to follow the manufacturer’s guidelines to avoid damage or voiding the warranty.
Prepare a Static-Free Surface: Find a suitable surface to work on that is static-free. Ideally, use an anti-static mat or a non-conductive surface such as a wooden table to prevent static electricity build-up that could harm your components.
Take Note of Component Placement: Take note of the current placement and connection of components, especially cables. This will make it easier to reconnect everything correctly after the CPU cooler upgrade. Consider taking pictures or labeling cables to maintain a clear reference.
Label Cables (Optional): If you find it challenging to remember the specific connections and cables, it can be helpful to label them using stickers or markers. This will ensure a seamless reconnection process later on.
Prepare an Emergency Kit: As a precautionary measure, it’s wise to have an emergency kit on hand that includes spare thermal paste, extra cables, and commonly needed tools for computer repairs. This kit will come in handy should you encounter any unforeseen issues during the CPU cooler upgrade process.
By following these steps to prepare your computer, you will create a safe and organized environment for upgrading your CPU cooler. Taking the time to properly prepare will enhance your overall experience and increase the chances of a successful installation without any mishaps. Now that your computer is ready, it’s time to move on to removing the old CPU cooler.
Removing the Old CPU Cooler
Once you have prepared your computer, it’s time to remove the old CPU cooler. Before you begin this process, ensure that your computer is powered off and disconnected from the power source. Follow these steps to safely remove the old CPU cooler:
Step 1: Locate the CPU Cooler: Identify the location of the CPU cooler on your motherboard. It is usually positioned on top of the CPU socket and secured by screws or mounting brackets.
Step 2: Disconnect the Fan Cable: Locate the fan cable that is connected to the motherboard or a fan header. Gently disconnect the cable by releasing the tab or clip that secures it in place. Take note of the orientation for reconnection later.
Step 3: Remove the Retention Mechanism: Depending on the type of CPU cooler you have, there may be a retention mechanism that holds it in place. This can be in the form of screws, brackets, or a latch system. Unscrew or unlock the mechanism to release the cooler.
Step 4: Lift the Cooler: Once the retention mechanism is released, carefully lift the CPU cooler away from the motherboard. Take care not to exert excessive force or twist the cooler, as this could damage the CPU or motherboard.
Step 5: Detach the Cooler from CPU: If the CPU cooler is secured to the CPU with thermal paste, it may stick when lifting. Gently twist and wiggle the cooler to detach it from the CPU. Avoid using excessive force to prevent any damage.
Step 6: Clean the CPU Socket: After removing the CPU cooler, inspect the CPU socket for any debris or leftover thermal paste. Use a lint-free cloth or compressed air to carefully clean the socket, removing any dirt or residue that may affect the installation of the new cooler.
Step 7: Carefully Store the Old Cooler: If you plan to repurpose or sell the old CPU cooler, store it in a safe place to prevent any damage. Keep it in an anti-static bag or box to protect it from electrostatic discharge.
By following these steps, you can safely remove the old CPU cooler from your computer. Remember to handle all components with care and avoid excessive force. With the old cooler removed, you can now proceed to clean the CPU and heatsink surfaces in preparation for the installation of the new CPU cooler.
Cleaning the CPU and Heatsink
After removing the old CPU cooler, it’s essential to clean the CPU and heatsink surfaces before installing the new cooler. This step is crucial to ensure proper adhesion of the thermal paste and optimal heat transfer. Follow these steps to clean the CPU and heatsink:
Step 1: Prepare Cleaning Supplies: Gather a lint-free cloth and a small amount of rubbing alcohol. Avoid using paper towels or tissues, as they can leave residue or lint on the surfaces.
Step 2: Clean the CPU Surface: Dampen the lint-free cloth with a small amount of rubbing alcohol. Gently wipe the surface of the CPU, applying light pressure to remove any thermal paste residue or dirt. Be careful not to scrub too hard, as this can damage the delicate surface of the CPU.
Step 3: Clean the Heatsink Surface: Similarly, clean the surface of the heatsink using the lint-free cloth dampened with rubbing alcohol. Ensure that you remove any thermal paste residue or debris that may have accumulated on the heatsink fins or base.
Step 4: Inspect for Proper Cleaning: After cleaning both the CPU and heatsink, inspect the surfaces to ensure that they are free from any dirt, residue, or lint. If necessary, repeat the cleaning process to achieve a clean and smooth surface.
Step 5: Allow the Surfaces to Dry: Give the cleaned surfaces some time to air dry before continuing with the installation. This will ensure that there is no residual moisture that could affect the adhesion of the thermal paste.
By taking the time to properly clean the CPU and heatsink surfaces, you ensure optimal heat transfer and thermal performance for your new CPU cooler. Cleaning these surfaces removes any residual thermal paste, dirt, or debris that may hinder proper contact between the CPU and heatsink. Once the surfaces are clean and dry, you can proceed to apply a fresh layer of thermal paste in preparation for installing the new CPU cooler.
Applying Thermal Paste
Now that you have cleaned the CPU and heatsink surfaces, it’s time to apply thermal paste. Thermal paste is a heat-conductive compound that helps fill in microscopic gaps between the CPU and the cooler, ensuring efficient heat transfer. Follow these steps to apply thermal paste correctly:
Step 1: Gather the Thermal Paste: Ensure that you have a high-quality thermal paste that is compatible with your CPU and cooler. Thermal pastes come in various forms, such as syringes or pre-applied pads. If using a syringe, make sure to have a small amount ready for application.
Step 2: Apply a Small Amount: The goal is to apply a thin and even layer of thermal paste. Using the syringe or appropriate method, place a small drop of thermal paste onto the center of the CPU surface. The size of the drop should be similar to a grain of rice or a pea, depending on the specific instructions provided by the thermal paste manufacturer.
Step 3: Spread the Thermal Paste: This step is only necessary if you are applying the thermal paste manually. Using a plastic card, credit card, or a clean and small plastic spatula, carefully spread the thermal paste evenly across the CPU surface. Ensure that the entire surface is covered by a thin layer of thermal paste. Be gentle to avoid air bubbles or excessive spreading.
Step 4: Reinstall the CPU Cooler: Once the thermal paste is applied, it’s time to reattach the CPU cooler. Ensure that the cooler is aligned correctly with the CPU socket and gently lower it onto the CPU, aligning the mounting holes or brackets with the corresponding screw holes.
Step 5: Secure the CPU Cooler: Use the appropriate screws or brackets to secure the CPU cooler to the motherboard. Tighten the screws in a diagonal pattern to ensure even pressure distribution. Be careful not to overtighten, as this can damage the motherboard or CPU socket.
By following these steps, you can apply thermal paste correctly. The thermal paste helps eliminate any air gaps between the CPU and cooler, ensuring maximum heat transfer. A well-applied thermal paste layer will assist in keeping your CPU cool and optimized for performance. With the thermal paste applied, you are now ready to proceed with the installation of the new CPU cooler.
Installing the New CPU Cooler
With the thermal paste applied, it’s time to install the new CPU cooler. Proper installation ensures that the cooler is securely attached to the CPU and provides efficient cooling. Follow these steps to install the new CPU cooler:
Step 1: Align the Cooler: Position the new CPU cooler over the CPU socket, aligning the screw holes or mounting brackets with the corresponding holes on the motherboard. Ensure that the CPU cooler is oriented correctly, with the fan facing the desired direction for optimal airflow.
Step 2: Secure the Cooler: Use the provided screws or mounting brackets to secure the CPU cooler to the motherboard. Start by hand-tightening each screw in a diagonal pattern to ensure even pressure distribution. Once all screws are in place, use a screwdriver to tighten them further, applying moderate pressure. Be careful not to overtighten, as it can damage the motherboard or CPU socket.
Step 3: Connect the Fan Cable: Locate the fan cable coming from the CPU cooler and connect it to the appropriate fan header on the motherboard. Ensure that the connection is secure and that the fan cable is routed away from any other components that could obstruct its movement.
Step 4: Check Clearance: Verify that the new CPU cooler does not obstruct any nearby components such as RAM modules or PCIe slots. Ensure that there is sufficient clearance for proper airflow and easy access to other components for future upgrades or maintenance.
Step 5: Double-Check Connections: Before proceeding, double-check all connections, including the fan cable and any additional cables that may have been disconnected earlier in the process. Ensure that all cables are properly secured and connected to the appropriate ports or headers.
Step 6: Reinstall Other Components: If you had to remove any components, such as graphics cards or RAM modules, during the CPU cooler installation process, now is the time to reinstall them. Ensure that they are correctly aligned and securely attached.
By following these steps, you can successfully install the new CPU cooler. Proper installation is crucial for optimum cooling performance and stability. Once you have completed the installation, proceed to the next section to reconnect cables and perform a test to ensure that everything is functioning correctly.
Securing the Cooler in Place
Once you have installed the new CPU cooler onto your motherboard, it’s essential to properly secure it in place. Properly securing the cooler ensures a stable and reliable connection, allowing for optimal heat dissipation. Follow these steps to secure the cooler in place:
Step 1: Verify Screw Alignment: Double-check that the screw holes on the CPU cooler align with the corresponding mounting holes on the motherboard. Ensure that the cooler is aligned correctly and sits evenly on the CPU.
Step 2: Begin Hand-Tightening Screws: Start by hand-tightening the screws in a diagonal pattern. This helps to evenly distribute pressure across the cooler and prevents any unnecessary strain on the motherboard. Hand-tighten each screw until you feel slight resistance.
Step 3: Tighten Screws in a Cross Pattern: Using a screwdriver, continue tightening the screws in a cross pattern. Start with a screw in one corner and move diagonally to the screw in the opposite corner. Repeat this pattern until all screws are tightened securely.
Step 4: Avoid Overtightening: It’s important not to overtighten the screws, as this can damage the CPU cooler, motherboard, or CPU socket. Stop tightening the screws once they are firmly in place, ensuring that the cooler is evenly and securely attached.
Step 5: Check for Stability: After tightening the screws, gently rock the CPU cooler back and forth to check for any movement. The cooler should be securely attached without any excessive play. If you notice any significant movement, double-check the screws to ensure they are properly tightened.
Step 6: Confirm Firm Attachment: Confirm that the CPU cooler is firmly attached by visually inspecting all connections. Ensure that there are no visible gaps between the CPU cooler and the CPU socket or motherboard. A proper connection ensures efficient heat transfer and optimal cooling performance.
By following these steps, you can securely attach the CPU cooler to your motherboard. A secure attachment is crucial for ensuring that the cooler effectively dissipates heat and keeps your CPU temperatures within acceptable ranges. With the cooler securely in place, you can now proceed to reconnect any disconnected cables and perform a test to ensure that everything is functioning correctly.
Reconnecting Cables and Testing
After securing the CPU cooler in place, it’s time to reconnect any cables that were disconnected during the installation process and perform a test to ensure that everything is functioning correctly. Follow these steps to reconnect cables and test your system:
Step 1: Reconnect the Fan Cable: Locate the fan cable coming from the CPU cooler and reconnect it to the appropriate fan header on the motherboard. Ensure that the connection is secure and that the fan cable is properly routed to avoid any obstruction.
Step 2: Reconnect the CPU Power Cable: If you disconnected the CPU power cable during the installation process, locate the appropriate connector on the motherboard and reconnect it. This cable supplies power to the CPU and is essential for system operation.
Step 3: Reconnect Other Cables: If you had to disconnect any other cables, such as SATA cables or front panel connectors, during the CPU cooler installation, carefully reconnect them to their respective ports on the motherboard. Ensure that all connections are secure.
Step 4: Test the System: Power on your computer and monitor the temperatures to ensure that they remain within acceptable ranges. Use monitoring software or enter the BIOS to check CPU temperature readings. If the temperatures are within normal range, it indicates that the new CPU cooler is functioning effectively.
Step 5: Listen for Unusual Noises: While the system is running, listen for any unusual noises, such as loud fan rattling or clicking sounds. These noises could indicate a problem with the CPU cooler or fan and may require further investigation or adjustment.
Step 6: Monitor System Stability: While testing, ensure that your system remains stable and functional. Run CPU-intensive tasks or applications to put the CPU under load and monitor if the temperatures remain within safe limits. Additionally, check for any unexpected system crashes or performance issues that may indicate an installation problem.
If everything appears to be operating smoothly without any temperature or stability issues, congratulations! You have successfully upgraded your CPU cooler. However, if you encounter any unexpected problems or abnormalities during the testing process, refer to the troubleshooting section or consult with a professional for further assistance.
Remember that it’s normal for CPU temperatures to fluctuate depending on system usage, but they should generally stay within safe operating limits. By reconnecting all necessary cables and thoroughly testing your system, you can ensure that the new CPU cooler is installed correctly and your computer is ready to perform optimally under varying workloads.
Troubleshooting Common Issues
While upgrading your CPU cooler, you may encounter certain issues that can affect the overall performance and functionality of your system. Here are a few common issues that may arise during or after the installation process and how to troubleshoot them:
High CPU Temperatures: If you notice unusually high CPU temperatures after installing the new cooler, double-check the thermal paste application. Ensure that you used an appropriate amount and spread it evenly on the CPU surface. If the thermal paste is applied correctly, verify that the CPU cooler is properly secured and making good contact with the CPU. Additionally, check that the fans on the CPU cooler are functioning correctly and are not obstructed by any cables or debris.
Loud Fan Noises: If you hear excessively loud fan noises after installing the new CPU cooler, check the fan settings in the BIOS or any related software. Ensure that the fan speed is set to an appropriate level. Sometimes, the default settings may be too aggressive, causing the fans to spin faster and produce more noise. If the noise persists, check for any obstructions or loose fan blades that may be causing the issue.
Computer Not Powering On: If your computer does not power on after installing the new CPU cooler, double-check all the connections. Ensure that the CPU power cable, main power cable, and other essential cables are securely plugged into the appropriate ports on the motherboard. If all connections are correct, verify that the CPU cooler is correctly installed and not causing any unintended contact or short circuits on the motherboard.
Interference with Other Components: If the new CPU cooler obstructs other components like RAM modules or PCIe slots, consider adjusting the orientation or positioning of the cooler. You may need to move the cooler to a different location if space permits or choose a more compact cooler that does not interfere with other components. Ensure that the cooler is still securely attached after making any adjustments.
System Instability: If you notice system crashes, freezing, or other performance issues after installing the new CPU cooler, double-check all connections and ensure that the cooler is securely attached. Make sure that the cooler is not applying excessive pressure on the CPU or causing any instability. If the installation seems fine, monitor CPU temperatures under load to ensure they are within acceptable ranges. High temperatures can cause system instability and may indicate a cooling issue.
If you encounter any other issues during or after the CPU cooler installation that are not mentioned above, refer to your computer’s documentation or seek assistance from a professional. It’s important to address and troubleshoot any problems promptly to ensure the optimal performance and longevity of your system.
By carefully troubleshooting common issues, you can resolve any problems that may arise during the CPU cooler upgrade process and ensure that your computer operates smoothly with efficient cooling.
Conclusion
Congratulations on successfully upgrading your CPU cooler! By following the steps outlined in this guide, you now have a better understanding of how to choose the right CPU cooler, gather the necessary tools, prepare your computer, remove the old CPU cooler, clean the CPU and heatsink, apply thermal paste, install the new CPU cooler, reconnect cables, and test your system. Additionally, you have learned how to troubleshoot common issues that may arise during or after the installation process.
Upgrading your CPU cooler is crucial for maintaining optimal temperature levels and maximizing the performance and lifespan of your processor. An efficient and effective cooling solution ensures that your CPU operates within safe temperature limits, preventing overheating and potential system failures.
Remember to choose a CPU cooler that suits your specific needs, considering factors such as type, cooling performance, noise levels, price, and the recommendations of trusted sources. Take the time to gather the necessary tools and properly prepare your computer before starting the upgrade process. By carefully following the steps and guidelines provided in this guide, you can ensure a successful and smooth CPU cooler upgrade.
Pay attention to proper application of thermal paste, secure attachment of the new CPU cooler, and correct reconnection of all cables. Testing your system after the installation is essential to ensure everything is functioning correctly. Monitoring temperatures, listening for unusual noises, and checking for system stability are all part of the testing process.
If any issues arise during or after the installation, consult the troubleshooting section for guidance. High temperatures, loud fan noises, power issues, compatibility problems, and system instability are some common problems that can be addressed using the troubleshooting tips provided.
By taking the time to upgrade your CPU cooler and following the steps outlined in this guide, you have successfully improved the cooling capabilities and performance of your computer. Enjoy the benefits of a cooler and more efficient system, whether you’re engaging in intensive tasks, gaming, or simply browsing the web.
Thank you for choosing this guide as your resource for upgrading your CPU cooler. If you have any further questions or require additional assistance, don’t hesitate to seek advice from knowledgeable professionals or online communities. Happy computing!