Introduction
When it comes to maintaining and upgrading your PC, understanding how to safely remove a CPU cooler is essential. Whether you’re experiencing overheating issues, planning to upgrade your CPU, or simply want to clean your current cooler, knowing the proper steps to take will ensure a smooth and hassle-free process.
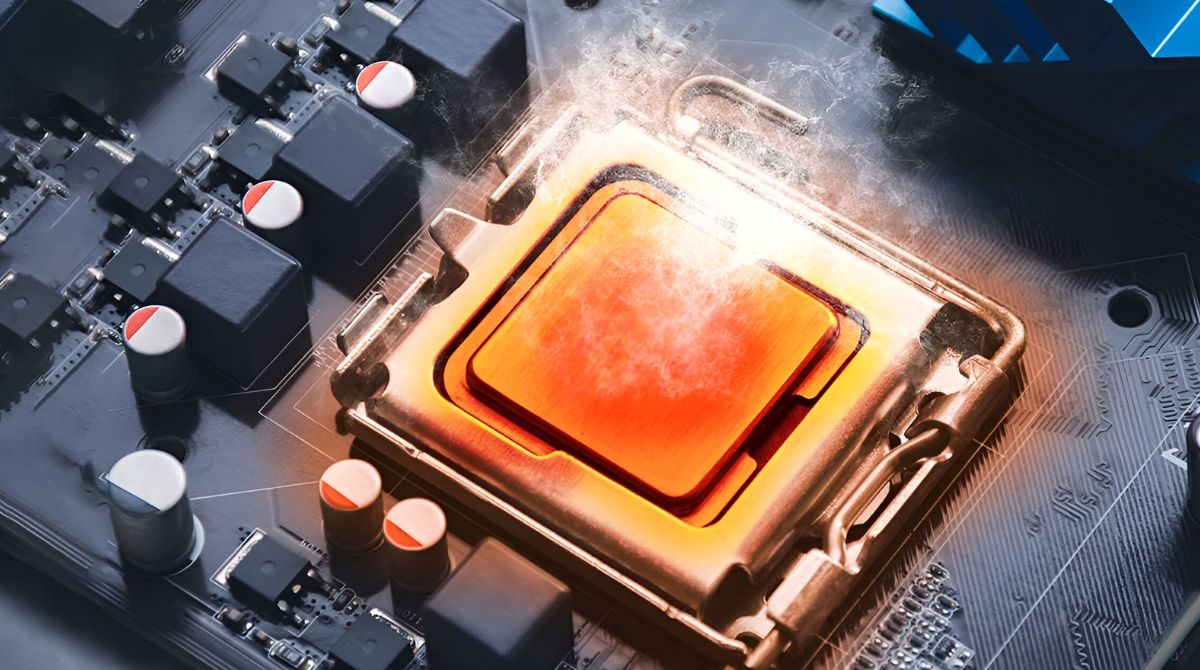
The CPU cooler is a crucial component that keeps your processor cool by dissipating the heat generated during operation. Over time, dust and debris can accumulate in the cooler, hindering its performance and potentially causing your CPU to overheat. Additionally, if you’re planning to upgrade your CPU, you’ll need to remove the existing cooler before installing a new one.
This guide will walk you through the necessary steps to safely remove a CPU cooler from your PC. Before we begin, it’s important to note that handling computer hardware requires caution and precision. Make sure to follow each step carefully and consult your CPU cooler’s manufacturer documentation if needed.
Now, let’s gather the necessary tools and materials to get started.
Step 1: Gather the necessary tools and materials
Before you begin the process of removing a CPU cooler, it’s important to ensure you have the right tools and materials on hand. This will help make the task easier and prevent any potential damage to your components. Here’s what you’ll need:
- Flathead screwdriver or Phillips screwdriver (depending on the CPU cooler)
- Isopropyl alcohol (optional, for cleaning thermal paste)
- Clean cloth or lint-free wipes (optional, for cleaning thermal paste)
- Thermal paste (optional, for reapplying if necessary)
The type of screwdriver you’ll need will depend on the CPU cooler design. Some coolers use flathead screws, while others use Phillips screws. Check your cooler’s documentation or examine the screws on the cooler to determine which screwdriver is required.
Isopropyl alcohol and a clean cloth or lint-free wipes are typically used to clean off old thermal paste from the CPU and cooler surface. This step is optional, but recommended if you plan to reapply thermal paste when reinstalling the cooler.
Lastly, thermal paste is a heat-conductive compound that helps improve heat transfer between the CPU and the cooler. If you are removing the cooler to clean or replace the thermal paste, you’ll need to have some on hand for reapplication.
Once you have gathered all the necessary tools and materials, you’re ready to proceed to the next step: shutting down and unplugging your computer.
Step 2: Shut down and unplug the computer
Before you start working on removing the CPU cooler, it is crucial to shut down your computer properly and disconnect it from the power source. This step is necessary to ensure your safety and prevent any potential damage to the components.
To shut down your computer, follow these simple steps:
- Save any unsaved work and close any open applications or programs.
- Click on the “Start” button in the bottom left corner of your screen.
- Select “Shutdown” or “Power off” from the options provided.
Once you have initiated the shutdown process, wait for your computer to power off completely. You can verify this by checking that all lights and fans have stopped running.
Next, it is crucial to unplug your computer from the power source. Simply locate the power cord connected to the back of the computer tower and carefully remove it from the power outlet.
Ensuring that your computer is shut down and unplugged not only protects you from electrical hazards but also prevents accidental damage to the internal components during the CPU cooler removal process.
Now that you have safely shut down and disconnected your computer, it’s time to move on to the next step: removing the side panel of the computer case.
Step 3: Remove the side panel of the computer case
Now that your computer is shut down and unplugged, you can safely access the internals of your PC by removing the side panel of the computer case. Removing the side panel provides easy access to the CPU cooler and other components inside the case.
Here are the steps to remove the side panel:
- Take a moment to identify the side panel of your computer case. It is typically located on the left or right side of the case, depending on the design.
- Use your screwdriver to remove the screws securing the side panel to the case. Most cases have thumb screws that can be easily loosened by hand, allowing you to remove the panel without any tools.
- Once the screws are removed, gently slide or lift off the side panel from the case. Be cautious not to force it or apply excessive pressure.
Some cases might have specific mechanisms to remove the side panel, such as latches or clips. Refer to your computer case’s documentation if you encounter any difficulties during this step.
With the side panel successfully removed, you now have clear access to the internal components of your computer. Take a moment to inspect the inside of the case and locate the CPU cooler before moving on to the next step.
In the next step, we will focus on locating the CPU cooler, which is essential in order to proceed with removing it safely.
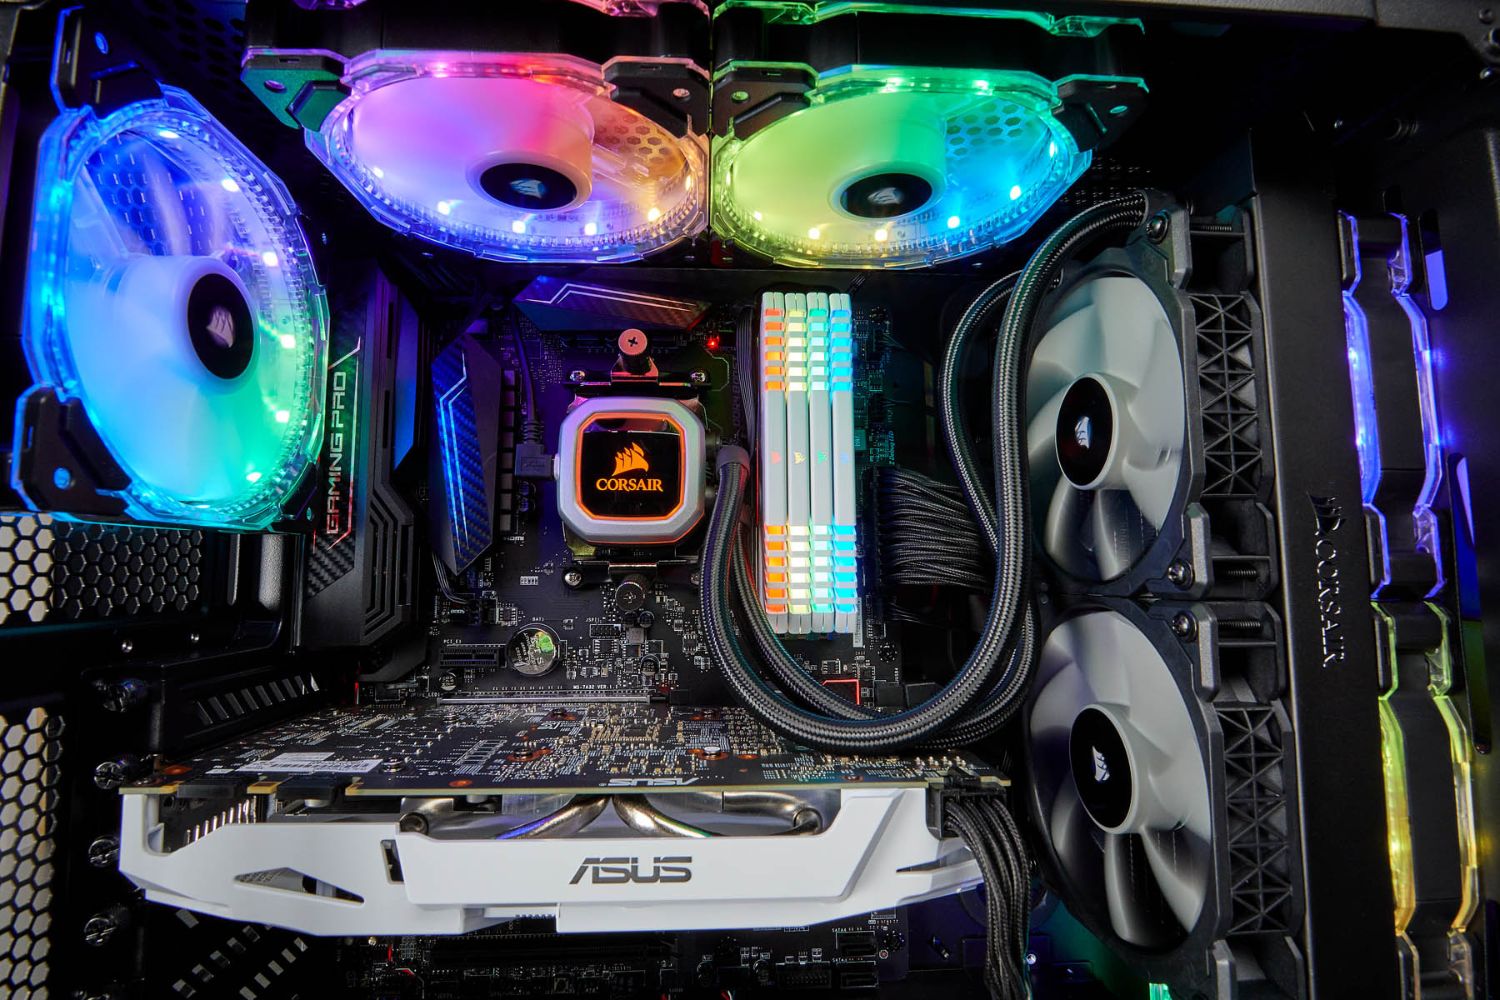
Step 4: Locate the CPU cooler
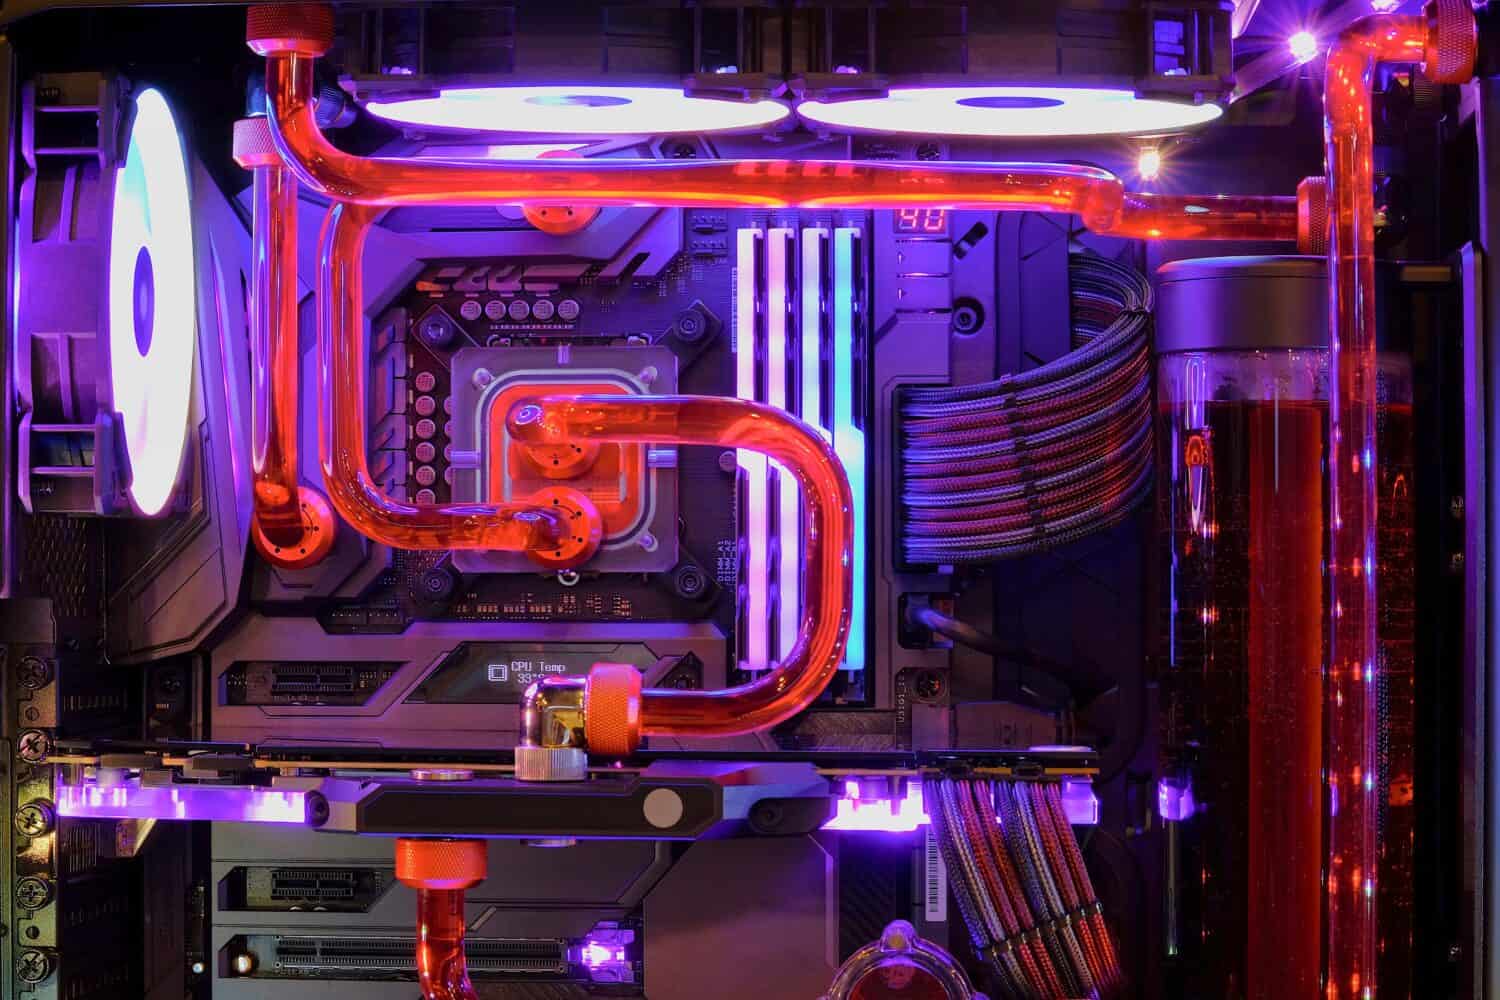
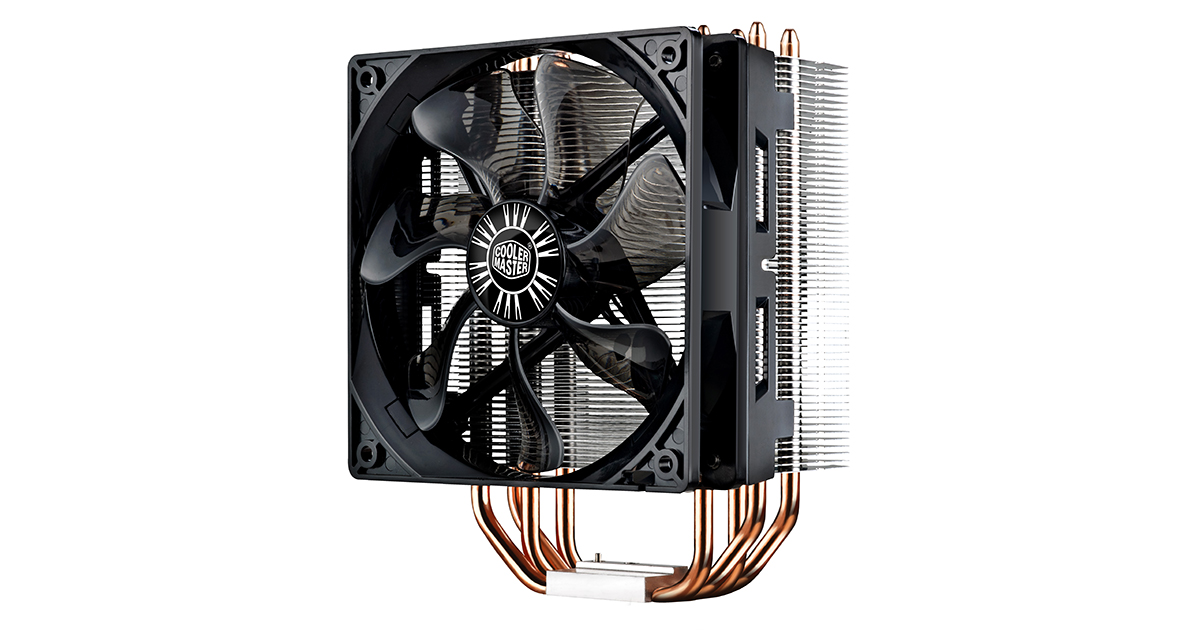
Now that you have removed the side panel of the computer case, it’s time to locate the CPU cooler. The CPU cooler is typically a large heatsink with a fan attached to it, situated directly on top of the CPU.
Here’s how you can locate the CPU cooler:
- Look at the center of the motherboard, where the CPU socket is located. The CPU socket is a square or rectangular opening where the CPU is inserted.
- Directly on top of the CPU socket, you should see the CPU cooler. It will typically be larger than other components and will have a fan mounted on top of a metal heatsink. The heatsink is responsible for dissipating heat generated by the CPU.
If you’re having trouble locating the CPU cooler, consult your computer’s motherboard manual or refer to the manufacturer’s documentation for assistance.
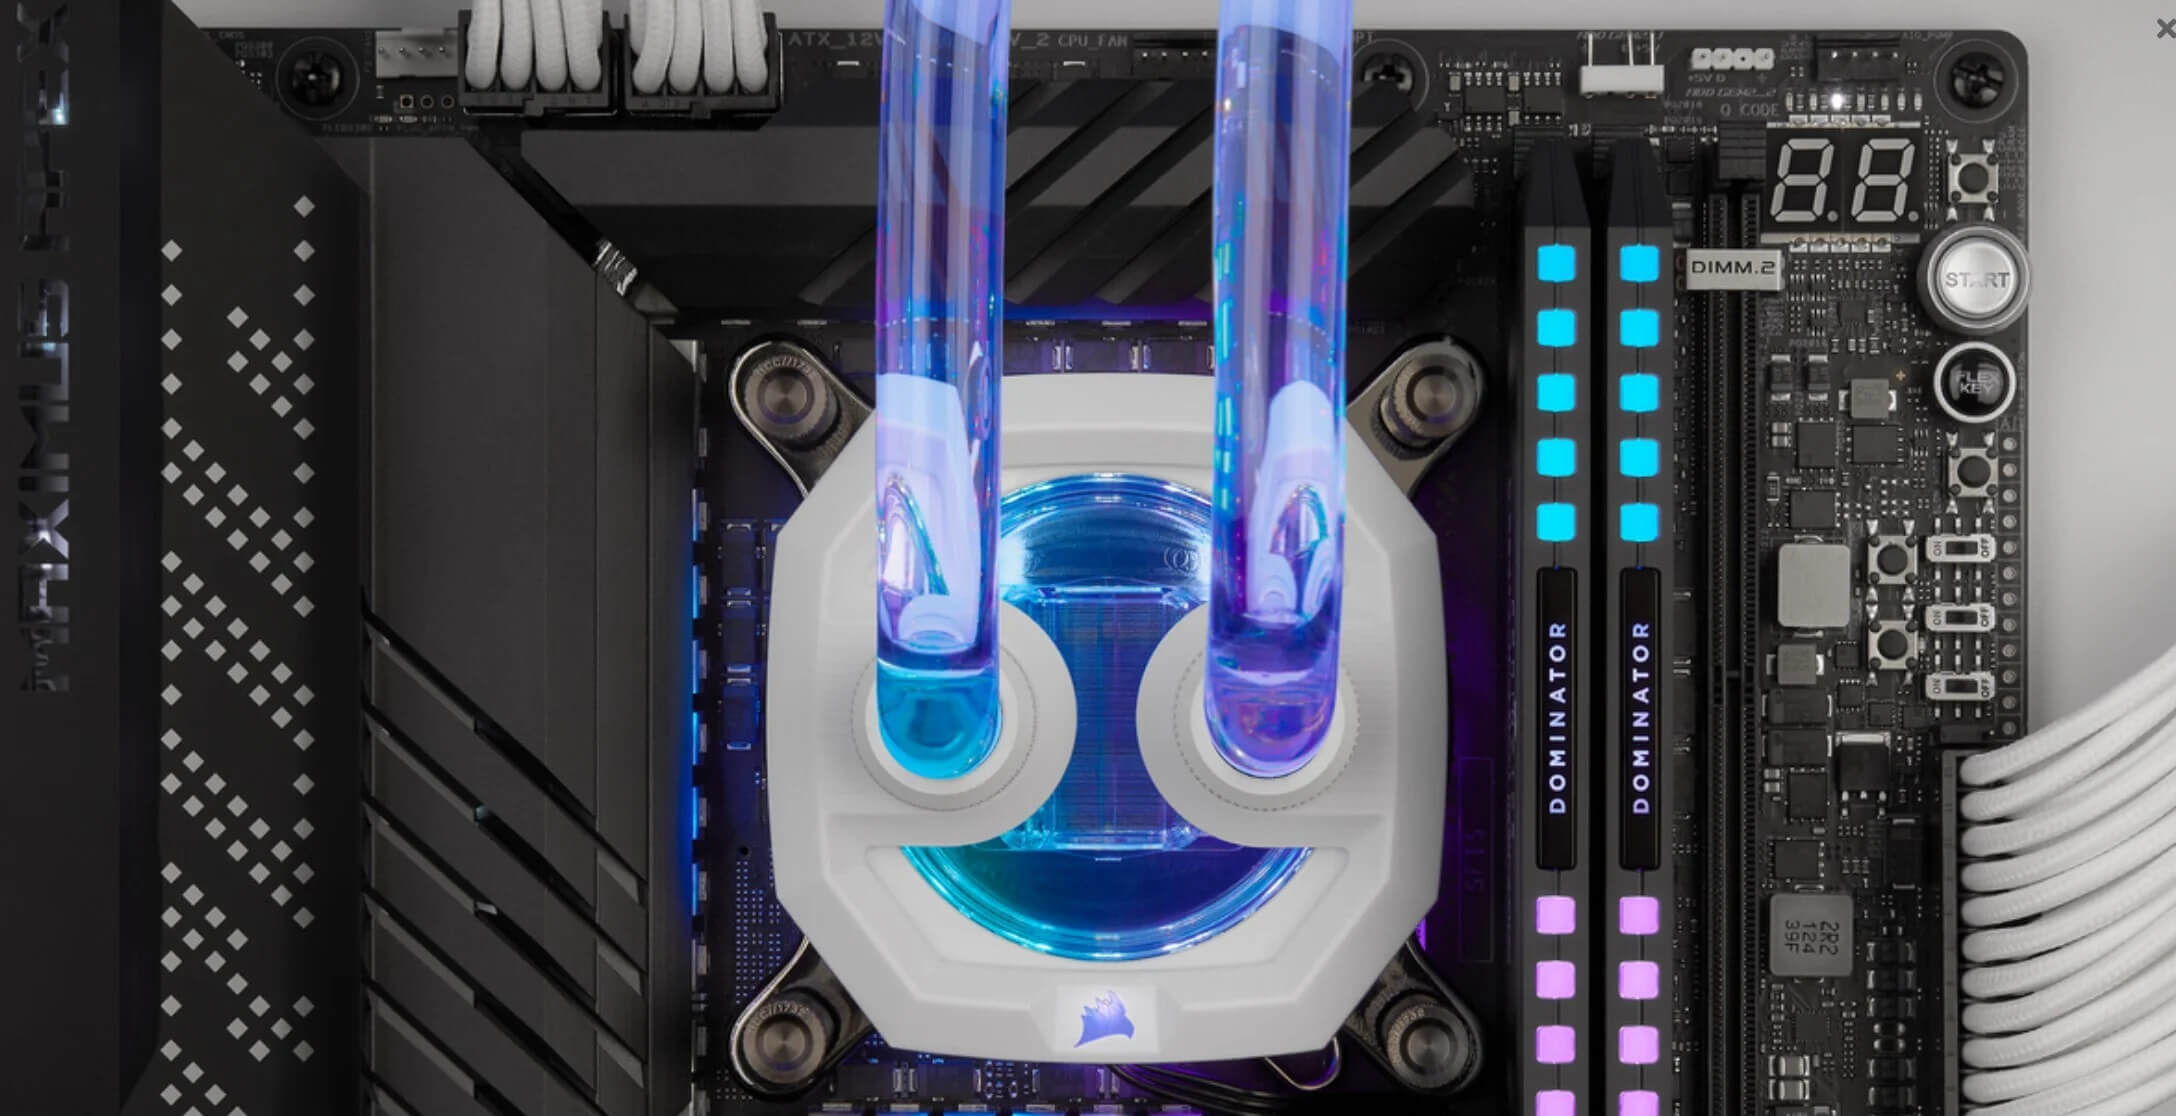
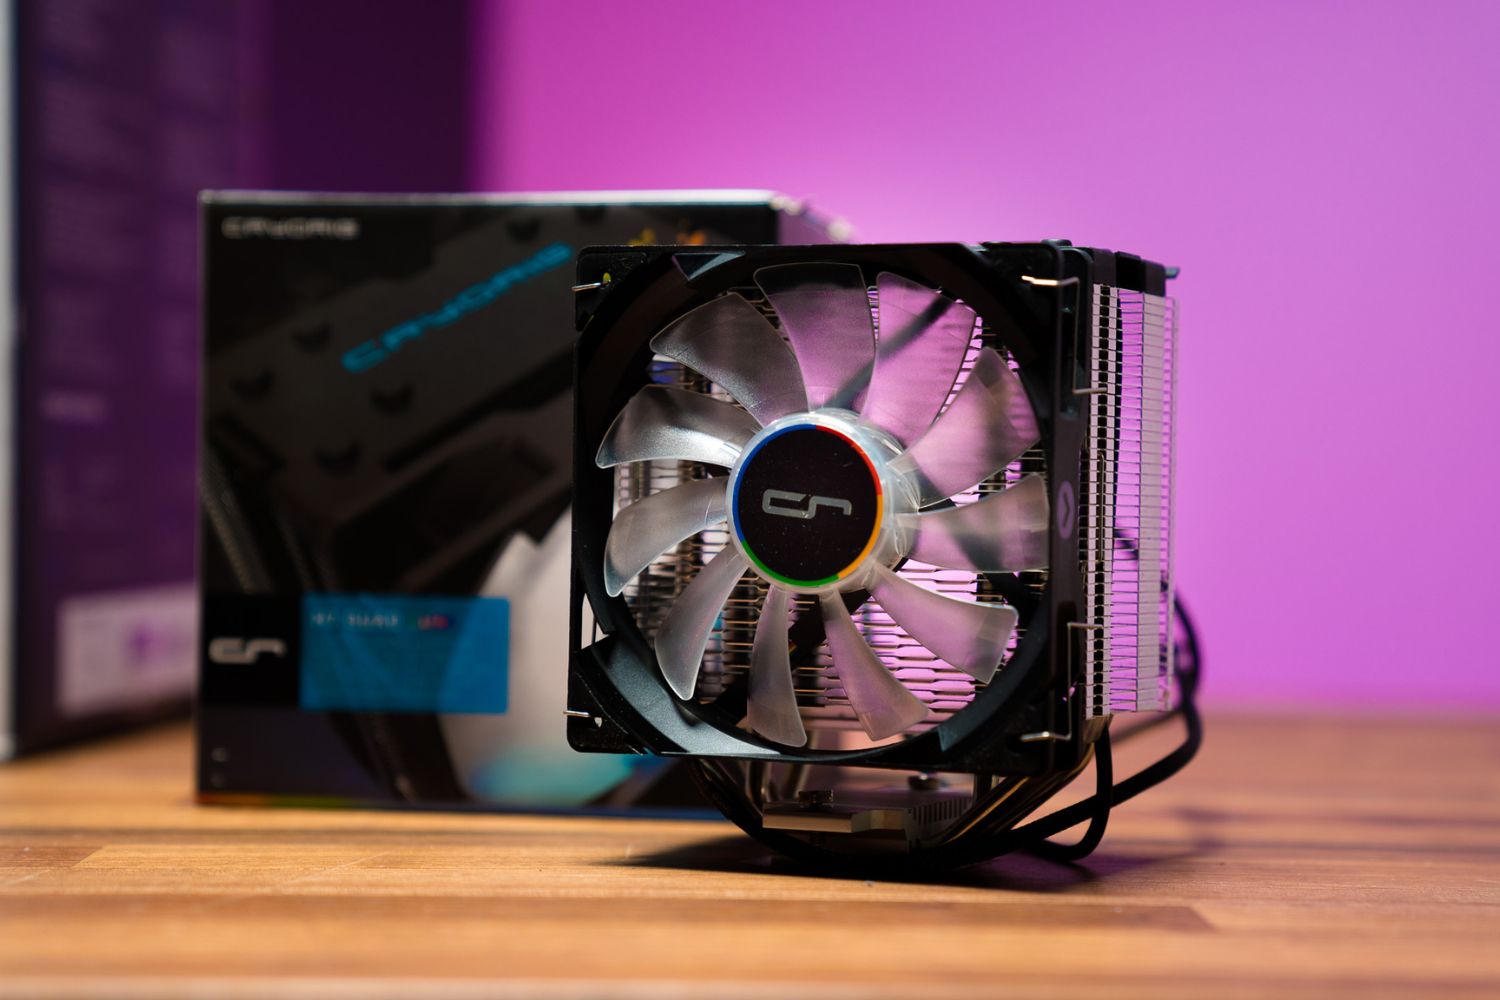
It’s important to note that CPU coolers can vary in design and type. Some coolers may use different mounting mechanisms or have additional features like RGB lighting. Familiarize yourself with your specific CPU cooler model before proceeding with the removal process.
Now that you know where the CPU cooler is located, the next step will guide you on disconnecting the CPU fan cables.
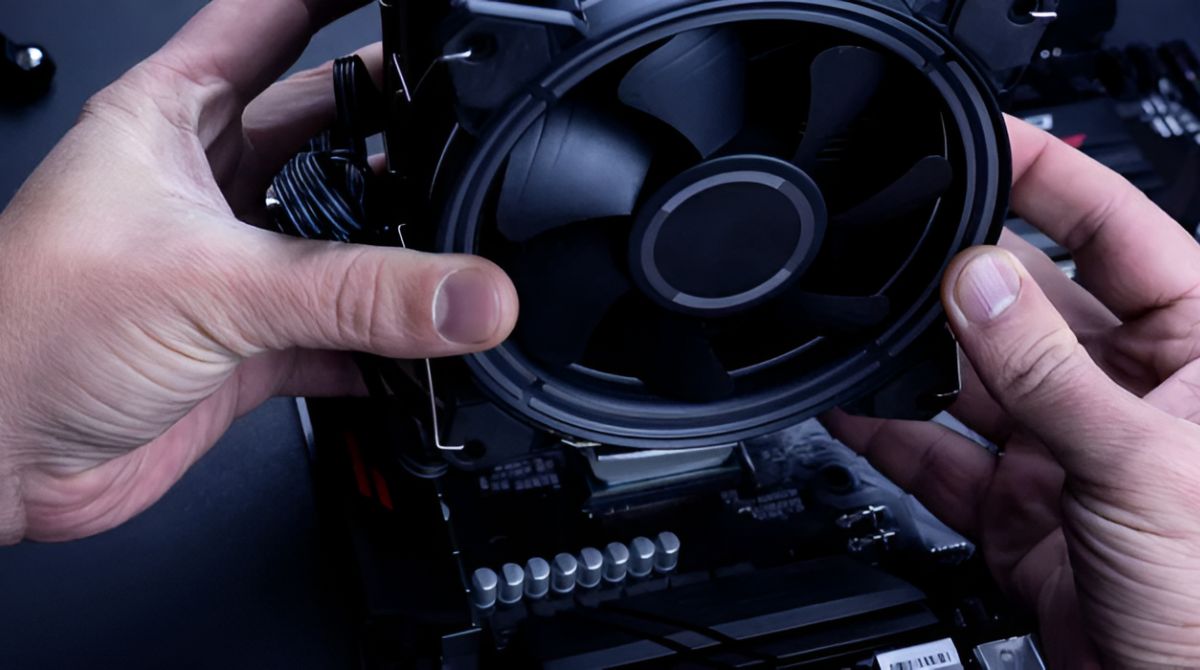
Step 5: Disconnect the CPU fan cables
Before removing the CPU cooler, you need to disconnect the CPU fan cables. These cables provide power to the CPU cooler’s fan and may also be responsible for controlling its speed and monitoring its performance.
To disconnect the CPU fan cables, follow these steps:
- Locate the CPU fan cables connected to the motherboard. These cables are typically thin and have a four-pin or three-pin connector.
- Gently grip the connector and carefully pull it straight up or outwards to disconnect it from the motherboard. Avoid pulling on the wires themselves, as this may cause damage.
- If there are multiple CPU fan cables connected to the motherboard, repeat the process for each one.
It’s essential to handle the CPU fan cables with care to prevent damage to the connectors, wires, or motherboard. Take note of the cable routing as you disconnect them to ensure a smoother reconnection process later.
Once all the CPU fan cables are disconnected, you are ready to move on to the next step: loosening the screws or mounting clips that secure the CPU cooler to the CPU socket.
Step 6: Loosen the screws or mounting clips
Now that you have disconnected the CPU fan cables, it’s time to loosen the screws or mounting clips that secure the CPU cooler to the CPU socket. This step will allow you to remove the cooler from the CPU socket.
Here’s how you can loosen the screws or mounting clips:
- Identify the screws or mounting clips that secure the CPU cooler to the CPU socket. These are typically located on the four corners of the cooler or may be positioned differently depending on the design.
- If your CPU cooler uses screws, use a screwdriver (either flathead or Phillips, depending on the type of screws) to loosen them in a counterclockwise direction. Loosen each screw gradually in a diagonal pattern to ensure even release of pressure.
- If your CPU cooler uses mounting clips, locate the tabs or levers on each clip. Gently lift or push the tabs or levers inwards or upwards to release the clips from the CPU socket.
Take care not to overtighten or forcefully loosen the screws or clips, as this may damage the CPU cooler, CPU socket, or motherboard.
Once the screws or mounting clips are sufficiently loosened, you are now ready to proceed to the next step: removing the CPU cooler from the CPU socket.
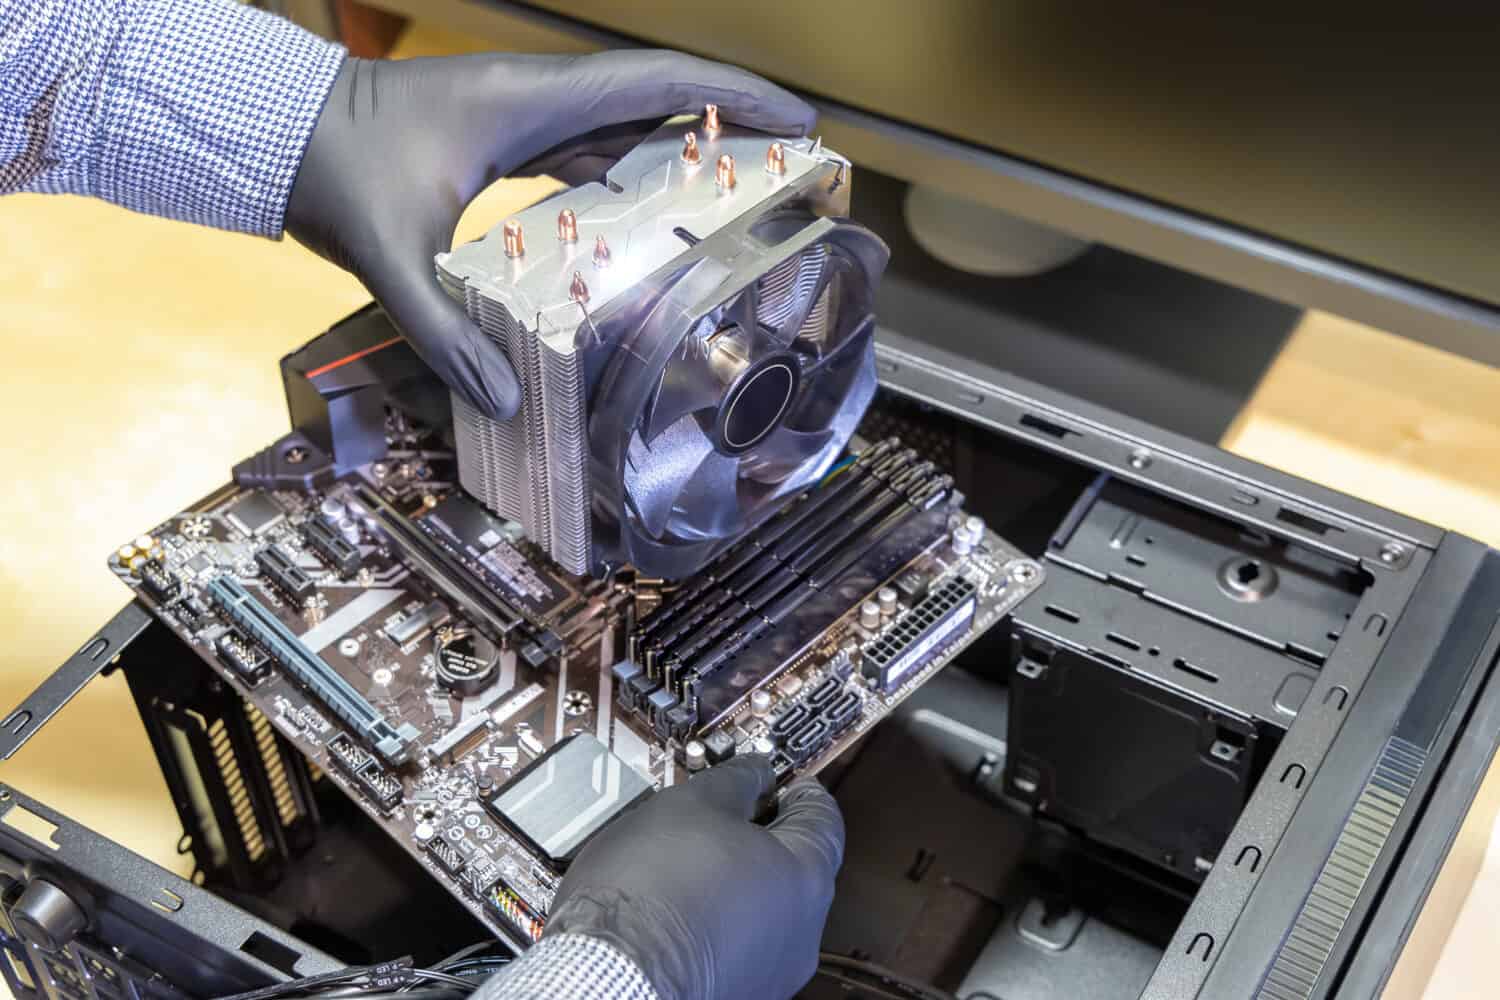
Step 7: Remove the CPU cooler from the CPU socket
With the screws or mounting clips loosened, it’s time to carefully remove the CPU cooler from the CPU socket. This step requires gentle handling to avoid any potential damage to the CPU and other components.
Follow these steps to safely remove the CPU cooler:
- Holding the CPU cooler by its sides or by a designated handle (if available), gently lift the cooler straight up, ensuring that it is free from any obstructions.
- As you lift the cooler, you may feel some resistance due to the thermal paste that bonds the cooler to the CPU. Gently wiggle the cooler from side to side to loosen it if necessary, being careful not to twist or apply excessive force.
- Once the cooler is free, set it aside on a clean and static-free surface with the fan facing up. Avoid placing it directly on the motherboard or other sensitive components.
Inspect the CPU and the cooler’s base for any excess thermal paste residue. If you plan to reuse the same CPU cooler, it’s recommended to clean off the old thermal paste using isopropyl alcohol and a lint-free cloth before reapplying new thermal paste.
Removing the CPU cooler exposes the CPU socket, which is a delicate part of the motherboard. Take care not to touch or damage the pins on the CPU socket during this process.
With the CPU cooler successfully removed, you have completed an important step. The next section will address an optional step: cleaning or replacing the thermal paste.
Step 8: Clean or replace thermal paste (optional)
At this stage, you have the option to clean or replace the thermal paste between the CPU and the CPU cooler. This step is recommended if the thermal paste appears dried out, or if you want to ensure optimal heat transfer between the two components.
Follow these steps to clean or replace the thermal paste:
- If you decide to clean the old thermal paste, use isopropyl alcohol and a lint-free cloth or cotton swab. Apply a small amount of the alcohol to the cloth and gently wipe away the old thermal paste from the CPU and the cooler’s base.
- Ensure that both the CPU and the cooler’s base are completely clean and free from any residue. Be careful not to smear the old thermal paste on the surrounding components.
- If you are replacing the thermal paste, apply a small pea-sized dot or a thin line of new thermal paste onto the center of the CPU. Avoid using excessive amounts, as it can lead to improper heat distribution.
- Once the thermal paste is applied, carefully place the CPU cooler back onto the CPU, aligning the screw holes or mounting clips with their respective positions.
- Tighten the screws or secure the mounting clips in a diagonal pattern, gradually and evenly, ensuring that the cooler is firmly attached to the CPU socket. Avoid overtightening, as it may lead to damage.
If you choose not to clean or replace the thermal paste, simply skip this step and proceed to the next section.
Cleaning or replacing the thermal paste can help improve the cooling efficiency of the CPU cooler and prevent overheating issues. It is especially recommended when upgrading to a new CPU cooler or after a substantial period of use.
With the thermal paste cleaned or replaced (if applicable), you are now ready to move on to the next step: installing a new CPU cooler (optional).
Step 9: Install a new CPU cooler (optional)
If you are replacing your existing CPU cooler with a new one, this step will guide you through the process of installing the new cooler onto the CPU socket. Installing a new CPU cooler is optional and is typically done when upgrading to a more efficient or higher-performance cooling solution.
Follow these steps to install a new CPU cooler:
- Ensure that the CPU socket area is clean and free from any residual thermal paste or debris.
- Remove the new CPU cooler from its packaging, making sure to handle it by the sides or with any designated handles, if provided.
- Depending on the design of the new CPU cooler, it may require a different installation method. Refer to the manufacturer’s instructions for specific guidance.
- Align the screw holes or mounting brackets of the new CPU cooler with the corresponding positions on the CPU socket.
- Secure the cooler in place by tightening the screws or attaching the mounting brackets as instructed. Be cautious not to overtighten, as it may damage the CPU cooler, CPU socket, or motherboard.
- If the new CPU cooler requires the installation of fan cables, connect them to the appropriate headers on the motherboard.
Ensure that the CPU cooler is securely attached and that all connections are properly made. Double-check that there is no excessive wobbling or loose components that may interfere with the cooler’s performance.
Installing a new CPU cooler can provide better thermal management, improved cooling efficiency, and potentially lower operating temperatures for your CPU.
Once the new CPU cooler is properly installed (if applicable), you’re ready for the final step: reassembling your computer.
Step 10: Reassemble the computer
With the CPU cooler successfully removed or replaced, it’s time to reassemble your computer. This step involves putting the components back together and ensuring that everything is properly connected and secured.
Follow these steps to reassemble your computer:
- Place the side panel back onto the computer case and secure it with the screws or clips you removed earlier.
- Connect any necessary cables and peripherals, such as the power cord, monitor, keyboard, mouse, and any other devices you may have.
- Double-check that all connections are secure and that no cables are pinched or tangled within the case.
- Plug your computer back into the power source and turn it on.
- As your computer boots up, pay attention to the CPU temperatures to ensure that the new or reinstalled CPU cooler is functioning correctly.
- If you notice any abnormal temperatures or irregularities, such as loud or erratic fan noises, ensure that the cooler is properly attached and the fan cables are securely connected.
Now that your computer is reassembled, take a moment to verify that everything is functioning as expected. Monitor the CPU temperature and performance to ensure that the new or reinstalled CPU cooler is effectively cooling the processor.
By properly reassembling your computer, you can now enjoy the benefits of a clean and functional CPU cooler, whether you were cleaning, replacing, or upgrading it.
Congratulations! You have successfully completed the process of removing and/or installing a CPU cooler in your computer. Your CPU and system should now be operating optimally with efficient cooling.
Conclusion
Removing or replacing a CPU cooler is an essential task for PC owners who want to maintain optimal cooling for their processors. Whether you’re experiencing overheating issues, upgrading your CPU, or simply performing routine maintenance, understanding the steps involved ensures a successful and safe process.
In this guide, we covered the step-by-step process of removing a CPU cooler from your PC. We began by gathering the necessary tools and materials, followed by shutting down and unplugging the computer. We then moved on to removing the side panel of the computer case and locating the CPU cooler.
After locating the CPU cooler, we disconnected the CPU fan cables and proceeded to loosen the screws or mounting clips. With the screws or clips loosened, we carefully removed the CPU cooler from the CPU socket. We also discussed the optional steps of cleaning or replacing the thermal paste and installing a new CPU cooler.
Finally, we covered the crucial step of reassembling the computer, ensuring that all the components are properly connected and secured. By following these steps, you can maintain a well-cooled and stable CPU environment, helping to prolong the lifespan and improve the performance of your computer.
As always, it’s essential to exercise caution and refer to your CPU cooler’s manufacturer documentation if you encounter any difficulties or have specific instructions for your particular model.
With this guide, you now have the knowledge and confidence to safely remove a CPU cooler from your PC. Remember to observe proper safety precautions, handle your hardware with care, and enjoy a cooler and more efficient computing experience!