Introduction
Upgrading your CPU cooler is a crucial step in ensuring optimal performance and longevity of your computer. Whether you’re a tech enthusiast or simply looking to improve the cooling efficiency of your system, installing a new CPU cooler can make a significant difference in overall temperature and system stability.
A CPU cooler is responsible for dissipating the heat generated by your processor during operation. Over time, the stock cooler that comes bundled with your CPU may become less effective, resulting in increased temperatures and potentially causing performance issues or even hardware damage.
In this step-by-step guide, we will walk you through the process of installing a new CPU cooler. From gathering the necessary tools and materials to the final steps of testing and adjusting the cooler, we will cover everything you need to know to successfully complete the installation.
It’s important to note that each computer and CPU cooler may have slight variations in the installation process. Therefore, always refer to the manufacturer’s instructions specific to your cooler for detailed guidance. Without further ado, let’s dive into the exciting world of upgrading your CPU cooler!
Step 1: Gathering the necessary tools and materials
Before you begin the installation process, it’s essential to gather all the required tools and materials to ensure a smooth and hassle-free experience. Here’s a list of what you’ll need:
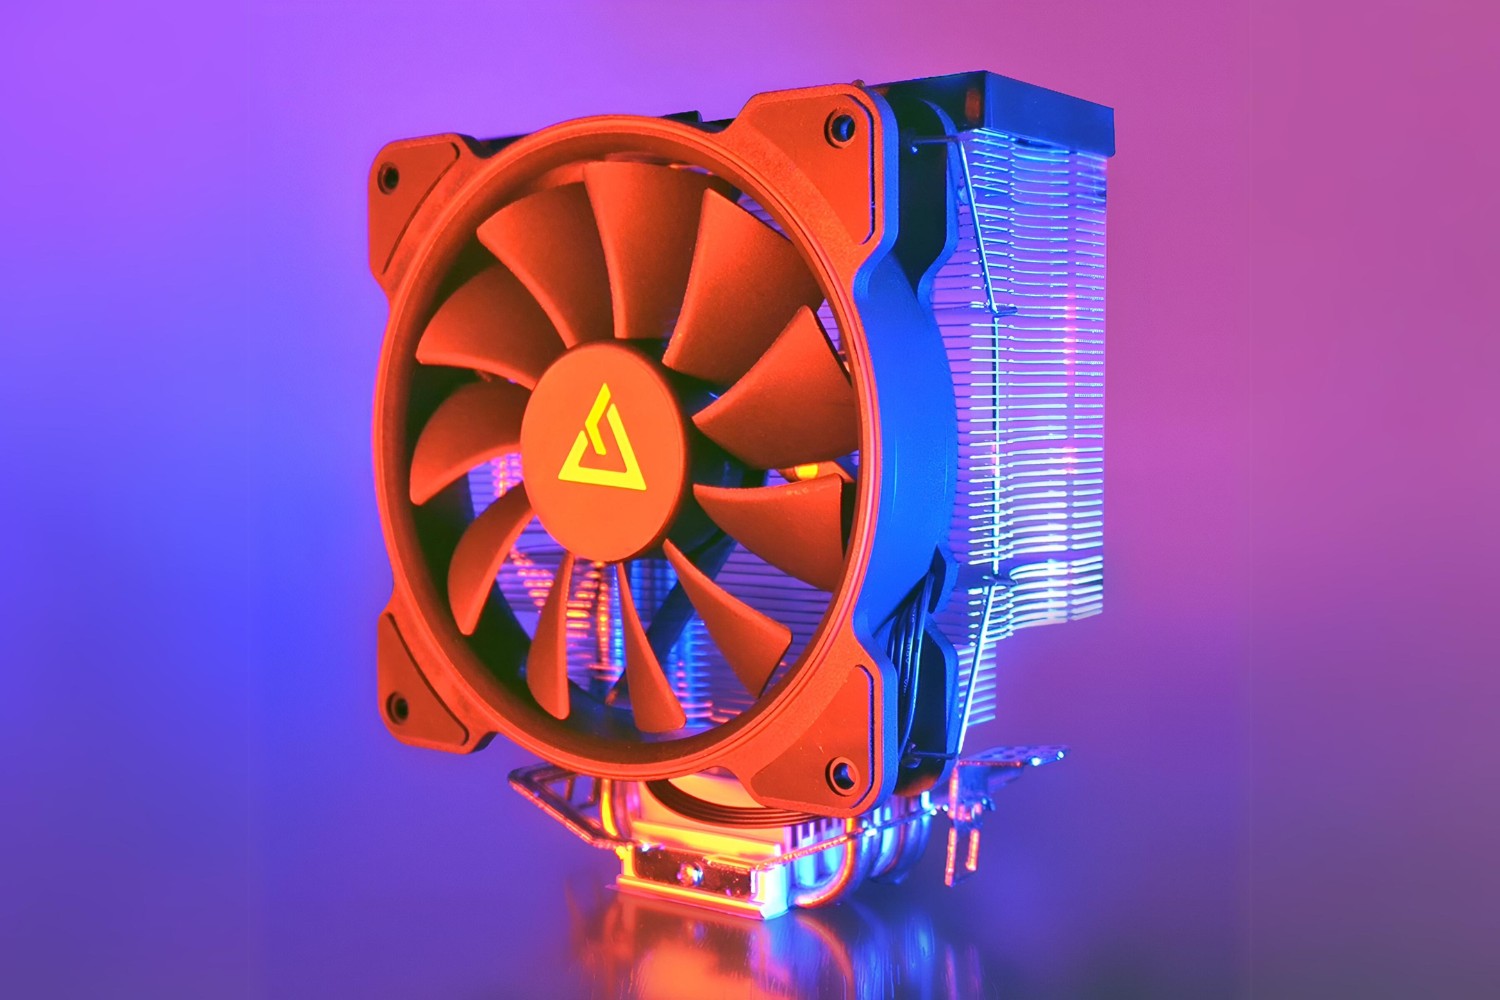
- CPU cooler: Choose a cooler that is compatible with your CPU socket type and provides sufficient cooling performance for your needs. Research and select a reputable brand or model that suits your budget and requirements.
- Screwdriver: Depending on the type of cooler you’re installing, you may need a Phillips or flat-head screwdriver. Check the manufacturer’s instructions to determine the type of screwdriver required.
- Thermal paste: A small tube of high-quality thermal paste is crucial for optimal heat transfer between the CPU and the cooler. Ensure you have a fresh supply, as the effectiveness of thermal paste can diminish over time.
- Rubbing alcohol and lint-free cloth: Before applying the new CPU cooler, it’s essential to remove any existing thermal paste from the CPU’s surface. Use rubbing alcohol and a lint-free cloth to clean the CPU and achieve a smooth installation.
- Anti-static wrist strap: To prevent damaging your computer components with static electricity, it’s recommended to use an anti-static wrist strap during the installation process. This ensures that you remain grounded while handling sensitive hardware.
- User manual and instructions: Each CPU cooler comes with its own set of instructions. Make sure to have the user manual on hand to reference throughout the installation process. Familiarize yourself with the steps and precautions outlined in the manual.
Once you have gathered the necessary tools and materials, you’ll be well-prepared for the rest of the installation process. It’s always better to have everything organized and within reach to avoid delays or frustration during the installation.
Now that you have all the required items at your disposal, let’s move on to the next step: preparing your computer for the installation.
Step 2: Preparing your computer for installation
Before diving into the installation process, it’s crucial to properly prepare your computer to ensure a successful installation of your new CPU cooler. Follow these steps to get your system ready:
- Power off your computer: Before starting any hardware installation, it’s important to shut down your computer completely. This will prevent any potential damage to the system or components.
- Unplug the power cable: To ensure your safety and avoid any electrical mishaps, unplug the power cable from the back of your computer or from the power outlet.
- Ground yourself: Avoid damaging sensitive computer components with static electricity by grounding yourself. Use an anti-static wrist strap, and if available, connect it to a grounded surface or touch a grounded metal object to discharge any static buildup.
- Open the computer case: Locate the screws or latches securing your computer case and remove them. Gently slide off the side panel to access the internal components. Keep the screws or latches in a safe place, as you will need them to secure the case later.
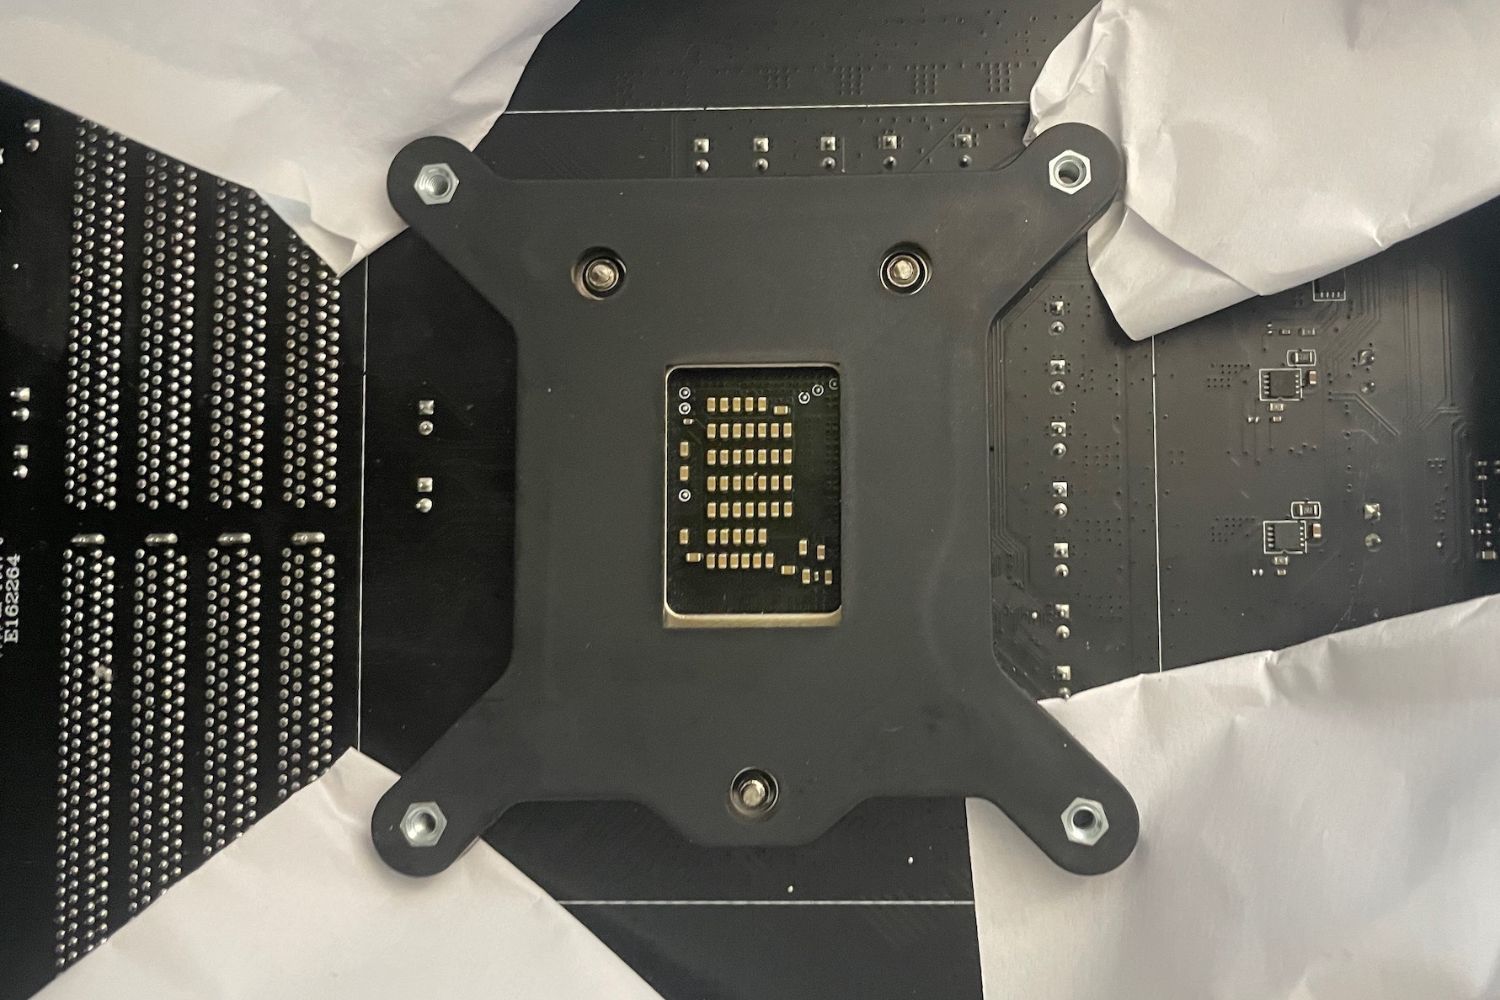
- Identify the CPU socket: Inside the computer case, locate the CPU socket on the motherboard. Take note of its orientation and the type of socket, as it will determine the compatibility of the new CPU cooler.
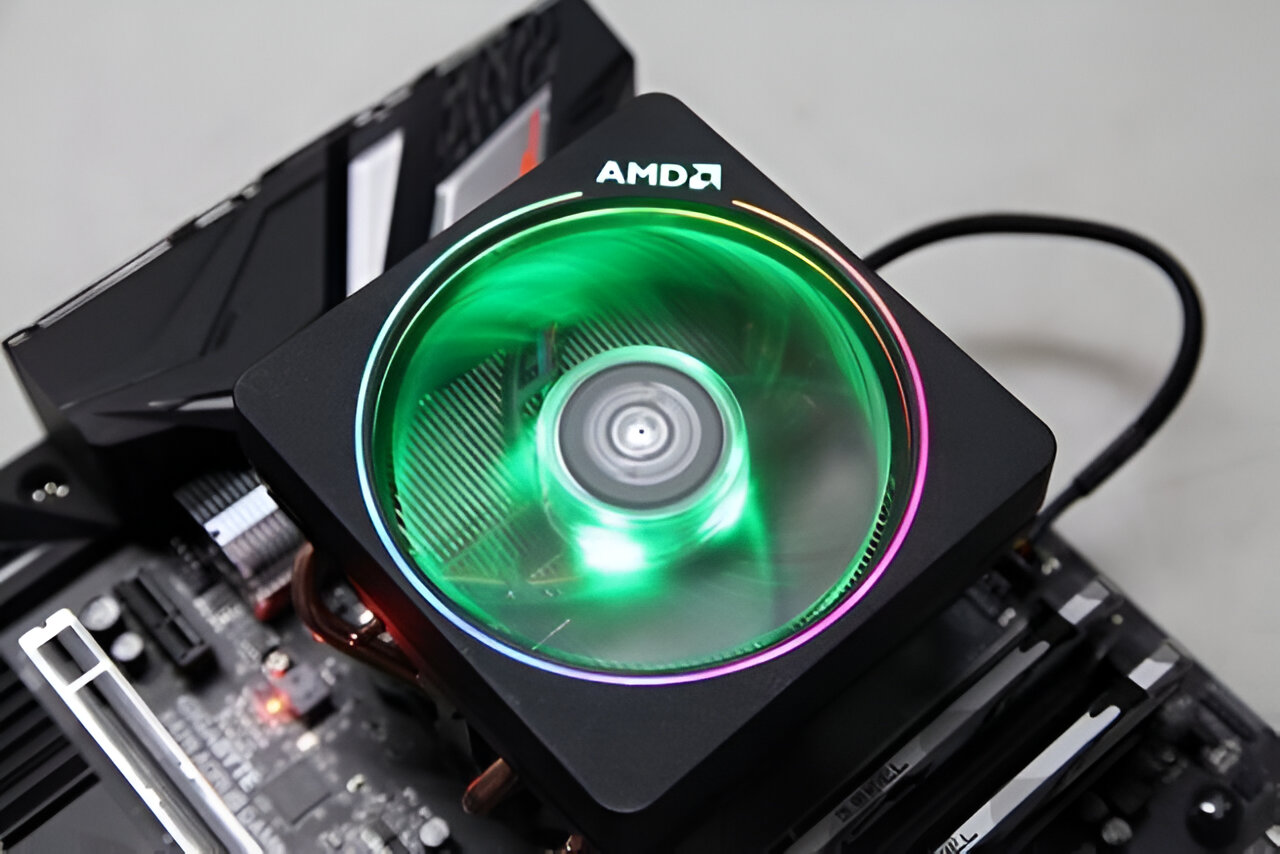
- Remove any existing cooler: If you already have a CPU cooler installed, you’ll need to remove it before installing the new one. Detach any fans, unclip the heatsink, and carefully disconnect the cooler from the CPU socket. Refer to the manufacturer’s instructions for the specific removal process.
By following these steps, you’ll ensure a solid foundation for the installation of your new CPU cooler. Taking the time to properly prepare your computer will minimize any risks and improve the overall efficiency of the installation process.
Now that your computer is ready, it’s time to move on to the next step: removing the old CPU cooler.
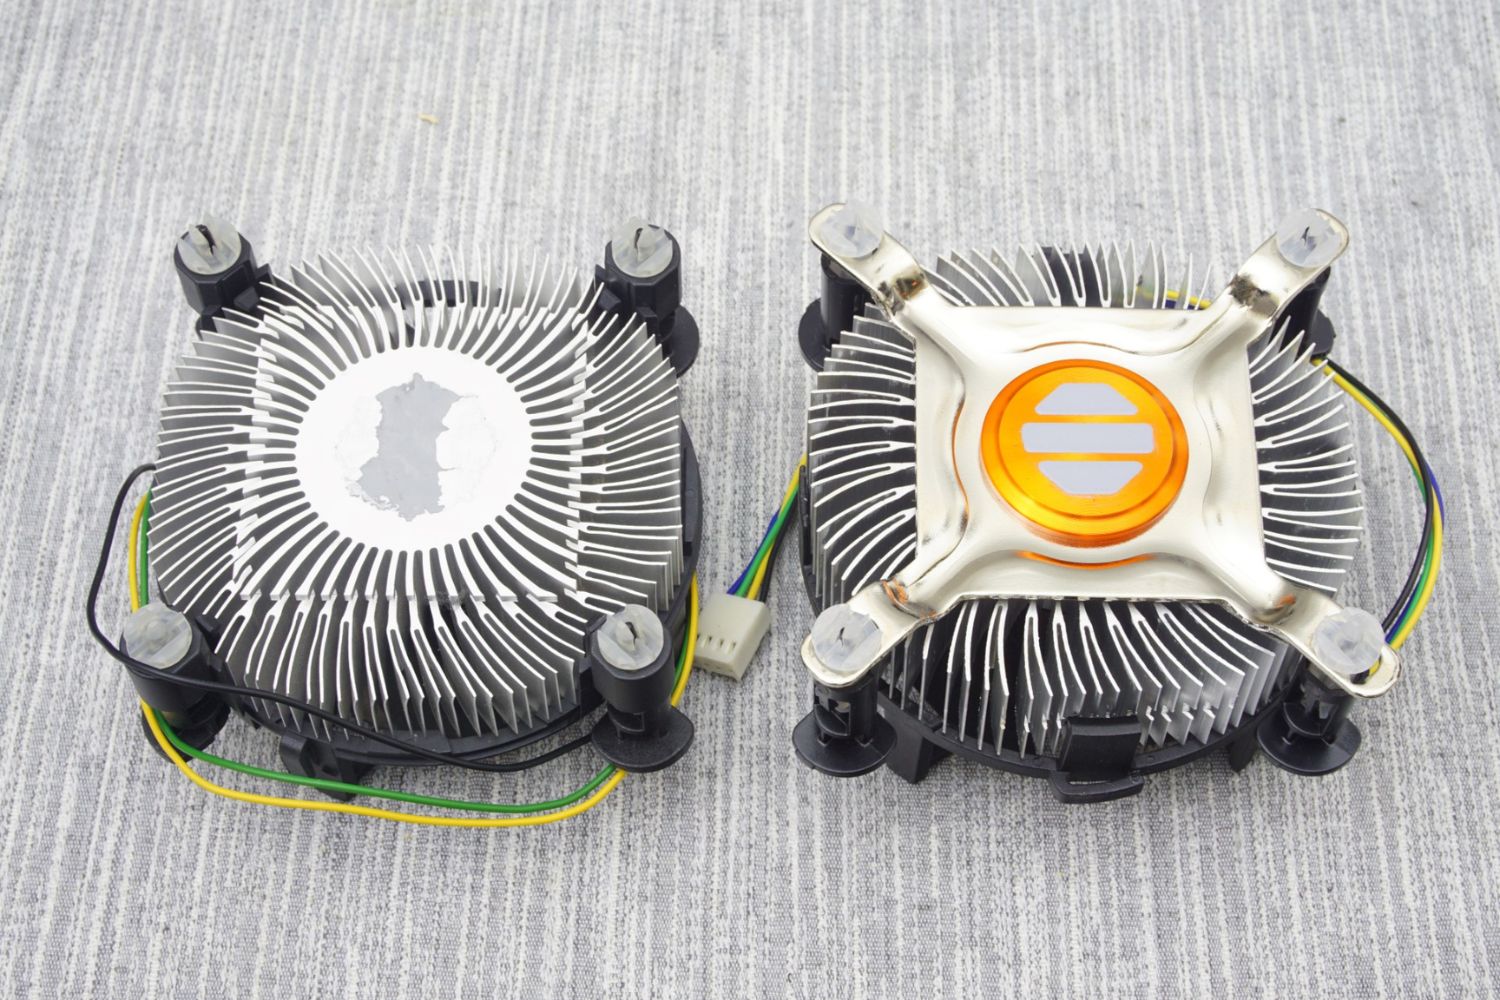
Step 3: Removing the old CPU cooler
With your computer prepared for the installation, it’s time to remove the old CPU cooler. Removing the existing cooler requires careful handling to avoid damage to the motherboard or CPU. Follow these steps to safely remove the old CPU cooler:
- Disconnect the cooling fan: If your CPU cooler has a fan, detach it by unplugging the connector from the motherboard. Gently lift the fan off the cooler and set it aside.
- Unscrew the heatsink: Locate the screws or clips securing the heatsink to the CPU socket. Depending on the cooler, there may be two or four screws to remove. Use the appropriate screwdriver to loosen and remove the screws.
- Detach the heatsink from the CPU: Once the screws are removed, carefully lift the heatsink straight up to separate it from the CPU. Be cautious not to pull or twist the cooler excessively to prevent any damage to the CPU or motherboard.
- Remove any residue or thermal paste: After removing the cooler, inspect the CPU surface and the heatsink for any remaining thermal paste. Use a lint-free cloth and rubbing alcohol to clean both surfaces thoroughly. Ensure that they are dry before proceeding.
- Keep the old cooler components: If you plan to reuse the old CPU cooler, safely store all the components, including the fan, heatsink, and screws. Store them in a secure place to avoid misplacing or damaging them during the installation process.
By following these steps, you will successfully remove the old CPU cooler without damaging any crucial components. Remember to handle the cooler and motherboard with care, as they can be quite delicate.
Now that the old CPU cooler is removed and everything is clean, it’s time to move on to the next step: applying thermal paste.
Step 4: Applying thermal paste
Applying thermal paste is a critical step in ensuring proper heat transfer between the CPU and the new cooler. Thermal paste fills in any microscopic gaps between the two surfaces, allowing for optimal thermal conductivity. Follow these steps to apply thermal paste correctly:
- Prepare the thermal paste: Before applying thermal paste, ensure that both the CPU and the new cooler are clean and dry. Squeeze a small pea-sized dot of thermal paste onto the center of the CPU surface. Be careful not to use too much as it can lead to poor heat transfer.
- Spread the paste: Gently spread the thermal paste using a clean plastic card or the spatula provided with the paste. Ensure that the paste covers the entire surface of the CPU but remains in a thin and even layer. Avoid applying excessive pressure or smearing the paste beyond the CPU’s outer edges.
- Align the new CPU cooler: Position the new cooler above the CPU, aligning the mounting holes or screws with those of the CPU socket. Lower the cooler onto the CPU, allowing the thermal paste to make contact with the CPU surface.
- Secure the cooler: Once the CPU cooler is in position, carefully align the screws or mounting clips with the corresponding holes on the motherboard. Gently tighten the screws, alternating between each screw in a diagonal pattern, to ensure even pressure and an optimal fit.
- Do not overtighten: Be cautious not to overtighten the screws, as this can lead to damage to the CPU or motherboard. Tighten the screws until they are snug, but avoid excessive force.
By following these steps, you will have successfully applied thermal paste to ensure efficient heat transfer between your CPU and the cooler. Remember, the goal is to create a thin and even layer of thermal paste for optimal performance.
Now that the thermal paste is applied, it’s time to move on to the next step: installing the new CPU cooler.
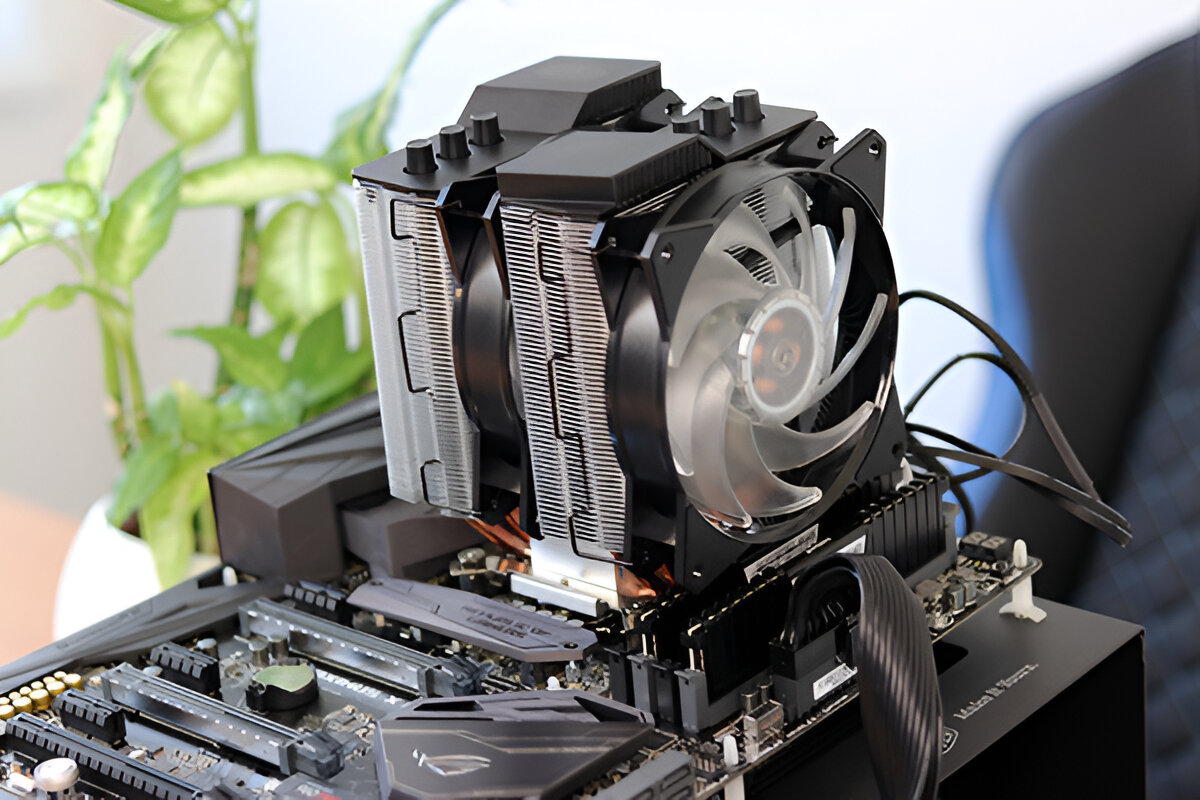
Step 5: Installing the new CPU cooler
With the thermal paste applied, it’s time to install the new CPU cooler. Proper installation ensures secure and efficient cooling of your CPU. Follow these steps to correctly install the new CPU cooler:
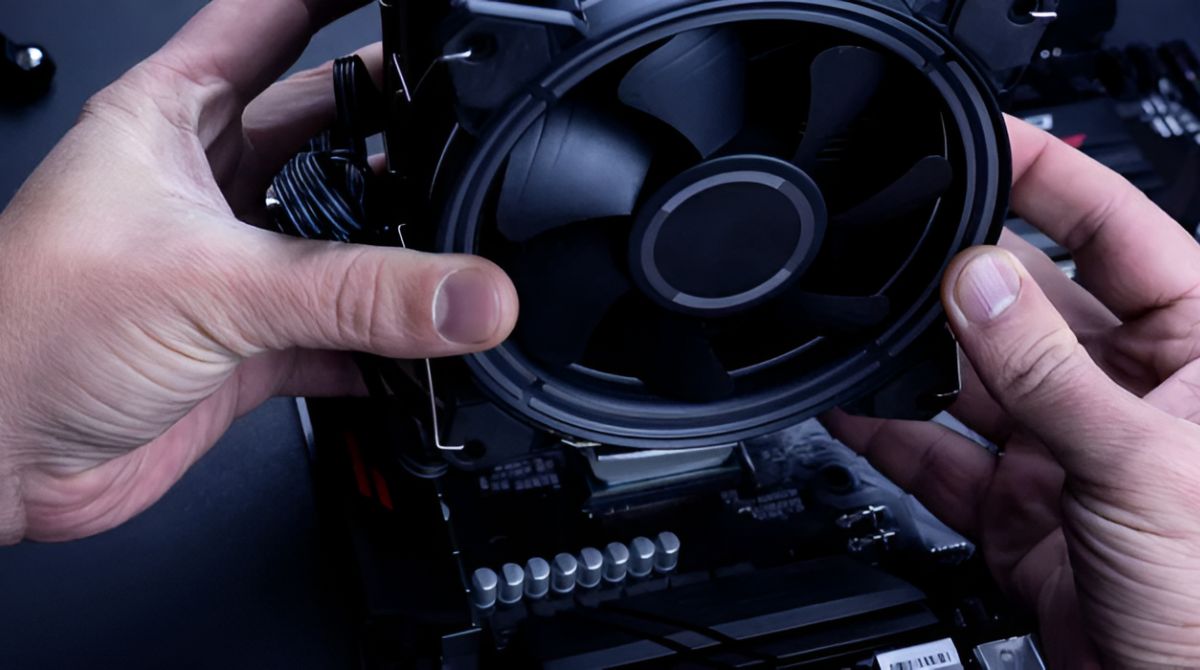
- Align the cooler with the mounting holes: Position the new CPU cooler above the CPU, aligning the mounting holes or screws with those of the CPU socket. Ensure that the cooler is oriented properly according to the manufacturer’s instructions.
- Lower the cooler onto the CPU: Carefully lower the cooler onto the CPU surface, ensuring that it makes full contact with the thermal paste. Make sure the cooler is evenly seated on the CPU to ensure proper heat transfer.
- Secure the cooler: Depending on the type of cooler, you may need to use screws, a mounting plate, or clips to secure it in place. Follow the manufacturer’s instructions to properly secure the cooler to the CPU socket. Tighten the screws or fasteners until they are snug but avoid overtightening.
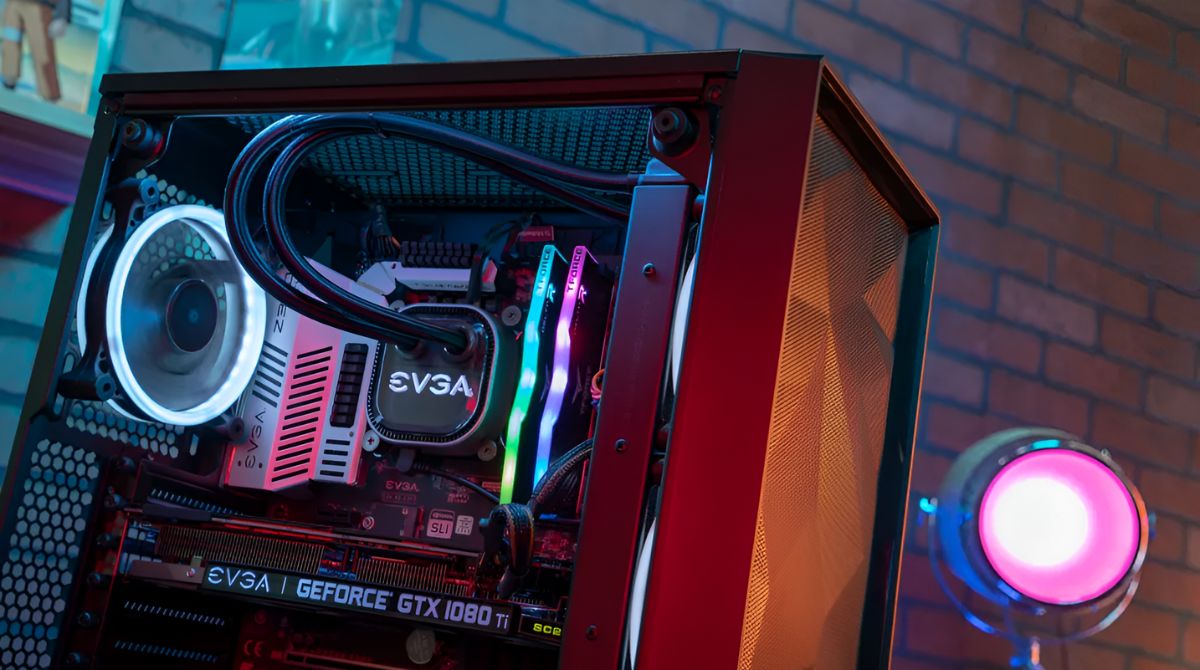
- Connect any additional fan or RGB cables: If your CPU cooler has an additional fan or RGB lighting, now is the time to connect the corresponding cables to the appropriate connectors on the motherboard. Refer to the cooler’s manual for specific instructions on cable connections.
Once you have successfully installed the new CPU cooler, make sure it is firmly and securely attached to the CPU socket. This will ensure proper contact with the thermal paste and effective heat dissipation.
Now that the new CPU cooler is installed, it’s time to move on to the next step: connecting the cooler to the power supply.
Step 6: Connecting the cooler to the power supply
After successfully installing the new CPU cooler, the next step is to connect it to the power supply to ensure proper functioning. Follow these steps to connect the cooler to the power supply:
- Locate the fan connector: On the CPU cooler, find the fan connector cable. It is typically a small, three or four-pin connector.
- Find the corresponding motherboard fan header: Locate the fan header on the motherboard where you will connect the CPU cooler. The fan header is usually labeled “CPU_FAN” or something similar.
- Connect the cables: Align the connector on the fan cable with the motherboard’s fan header. Insert the connector into the header, ensuring a secure connection. The pins on the connector should line up correctly with the pins in the fan header.
- Secure the cable: Once the connection is made, secure the cable using any cable management options provided in the case. This will help keep the cables organized and prevent them from blocking airflow or interfering with other components.
By connecting the CPU cooler to the power supply, you ensure that the cooler’s fan will receive the necessary power to operate and provide optimal cooling for your CPU.
Now that the cooler is connected to the power supply, it’s time to move on to the next step: testing and adjusting the cooler.
Step 7: Testing and adjusting the cooler
After completing the installation and connecting the CPU cooler, it is essential to test and make any necessary adjustments to ensure optimal performance. Follow these steps to test and adjust the cooler:
- Power on your computer: Plug in the power cable and turn on your computer. Ensure that all fans, including the CPU cooler fan, are spinning properly.
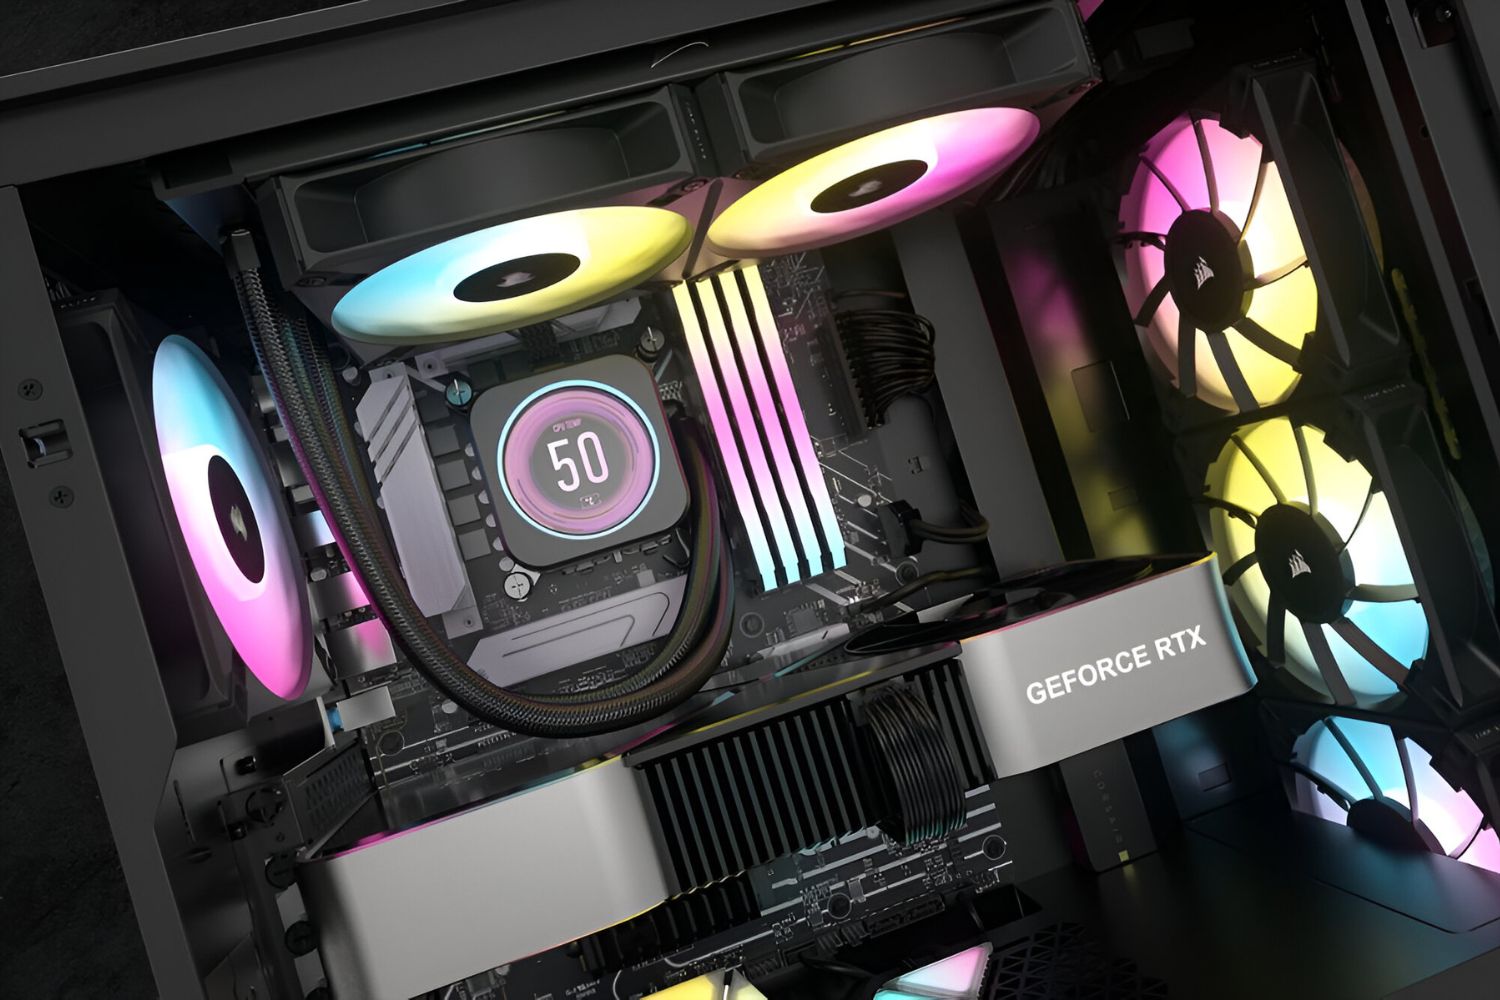
- Monitor temperatures: Use monitoring software or BIOS settings to check the temperatures of your CPU. Monitor the temperature readings while the computer is idle and under load to check for any irregularities.
- Check fan speed: Verify that the CPU cooler fan is running at an appropriate speed. You can adjust the fan speed in the BIOS or by using third-party software. Ensure that the fan speed is sufficient to keep the CPU temperature within acceptable limits.
- Listen for any unusual noises: Pay attention to any unusual noises coming from the CPU cooler. Grinding, rattling, or excessive noise may indicate an improper installation or a faulty fan. If you notice any abnormal sounds, revisit the installation process and check for any loose connections.
- Perform stress tests: To further assess the CPU cooler’s performance, you can run stress tests or demanding tasks that push your CPU to its limits. Monitor the temperatures during these tests to ensure that they remain stable and within safe operating ranges.
- Make adjustments if necessary: If you notice high temperatures or inadequate cooling, consider making adjustments. This may include reseating the cooler, reapplying thermal paste, or adjusting fan speeds. Refer to the manufacturer’s instructions or perform further research for specific troubleshooting steps.
By testing and making any necessary adjustments, you can ensure that the new CPU cooler is functioning optimally and effectively cooling your CPU.
Now that you have tested and adjusted the cooler, it’s time for the final step: finalizing the installation.
Step 8: Finalizing the installation
With the installation and testing of your new CPU cooler complete, it’s time to finalize the process and ensure that everything is set for optimal performance. Follow these final steps to wrap up the installation:
- Double-check the connections: Take a moment to review all the connections, including the power supply cables and the CPU cooler fan connector. Ensure that everything is securely connected and properly fastened.
- Close the computer case: Slide the side panel back onto the computer case and secure it with the screws or latches that you removed earlier. Make sure that the case is closed properly and all screws are tightened.
- Power on your computer: Plug in the power cable and turn on your computer. Verify that the CPU cooler fan is running and that your computer is booting up correctly.
- Monitor system performance: Once your computer is up and running, keep an eye on the CPU temperature during regular usage and intensive tasks. Ensure that the temperature remains within safe limits, avoiding any overheating issues.
- Enjoy improved cooling: With the new CPU cooler installed, you can relish in the benefits of improved cooling performance. Your system should now be running quieter and more efficiently, ensuring optimal CPU operation.
By following these final steps, you can confidently conclude the installation of your new CPU cooler and begin to enjoy the benefits of enhanced cooling for your computer.
Congratulations! You have successfully completed the installation of your new CPU cooler. With proper cooling in place, your computer’s performance and longevity will be optimized.
Conclusion
Upgrading your CPU cooler is a crucial step in maintaining optimal performance and prolonging the lifespan of your computer. By following the step-by-step guide outlined in this article, you have successfully installed a new CPU cooler, ensuring better heat dissipation and improved overall system stability.
From gathering the necessary tools and materials to testing and adjusting the cooler, each step played a vital role in the successful installation. By taking the time to properly prepare your computer, remove the old cooler, apply thermal paste, and properly install and connect the new cooler, you have taken important measures to enhance your computer’s cooling capabilities.
Remember to carefully monitor the temperature and performance of your CPU after the installation. If necessary, make any adjustments to fan speeds, reseat the cooler, or reapply thermal paste to ensure maximum cooling efficiency.
By installing a new CPU cooler, you can experience several benefits, including lower temperatures, reduced noise levels, improved system stability, and potentially enhanced overclocking capabilities.
Now that you have completed the installation, you can enjoy a cooler and more efficient computer, whether you’re a gaming enthusiast, a content creator, or simply use your computer for everyday tasks.
Thank you for following this guide. We hope it has provided you with valuable information and guidance throughout the installation process. If you have any further questions or concerns, don’t hesitate to consult the manufacturer’s instructions or seek assistance from a professional.
Happy computing!