Introduction
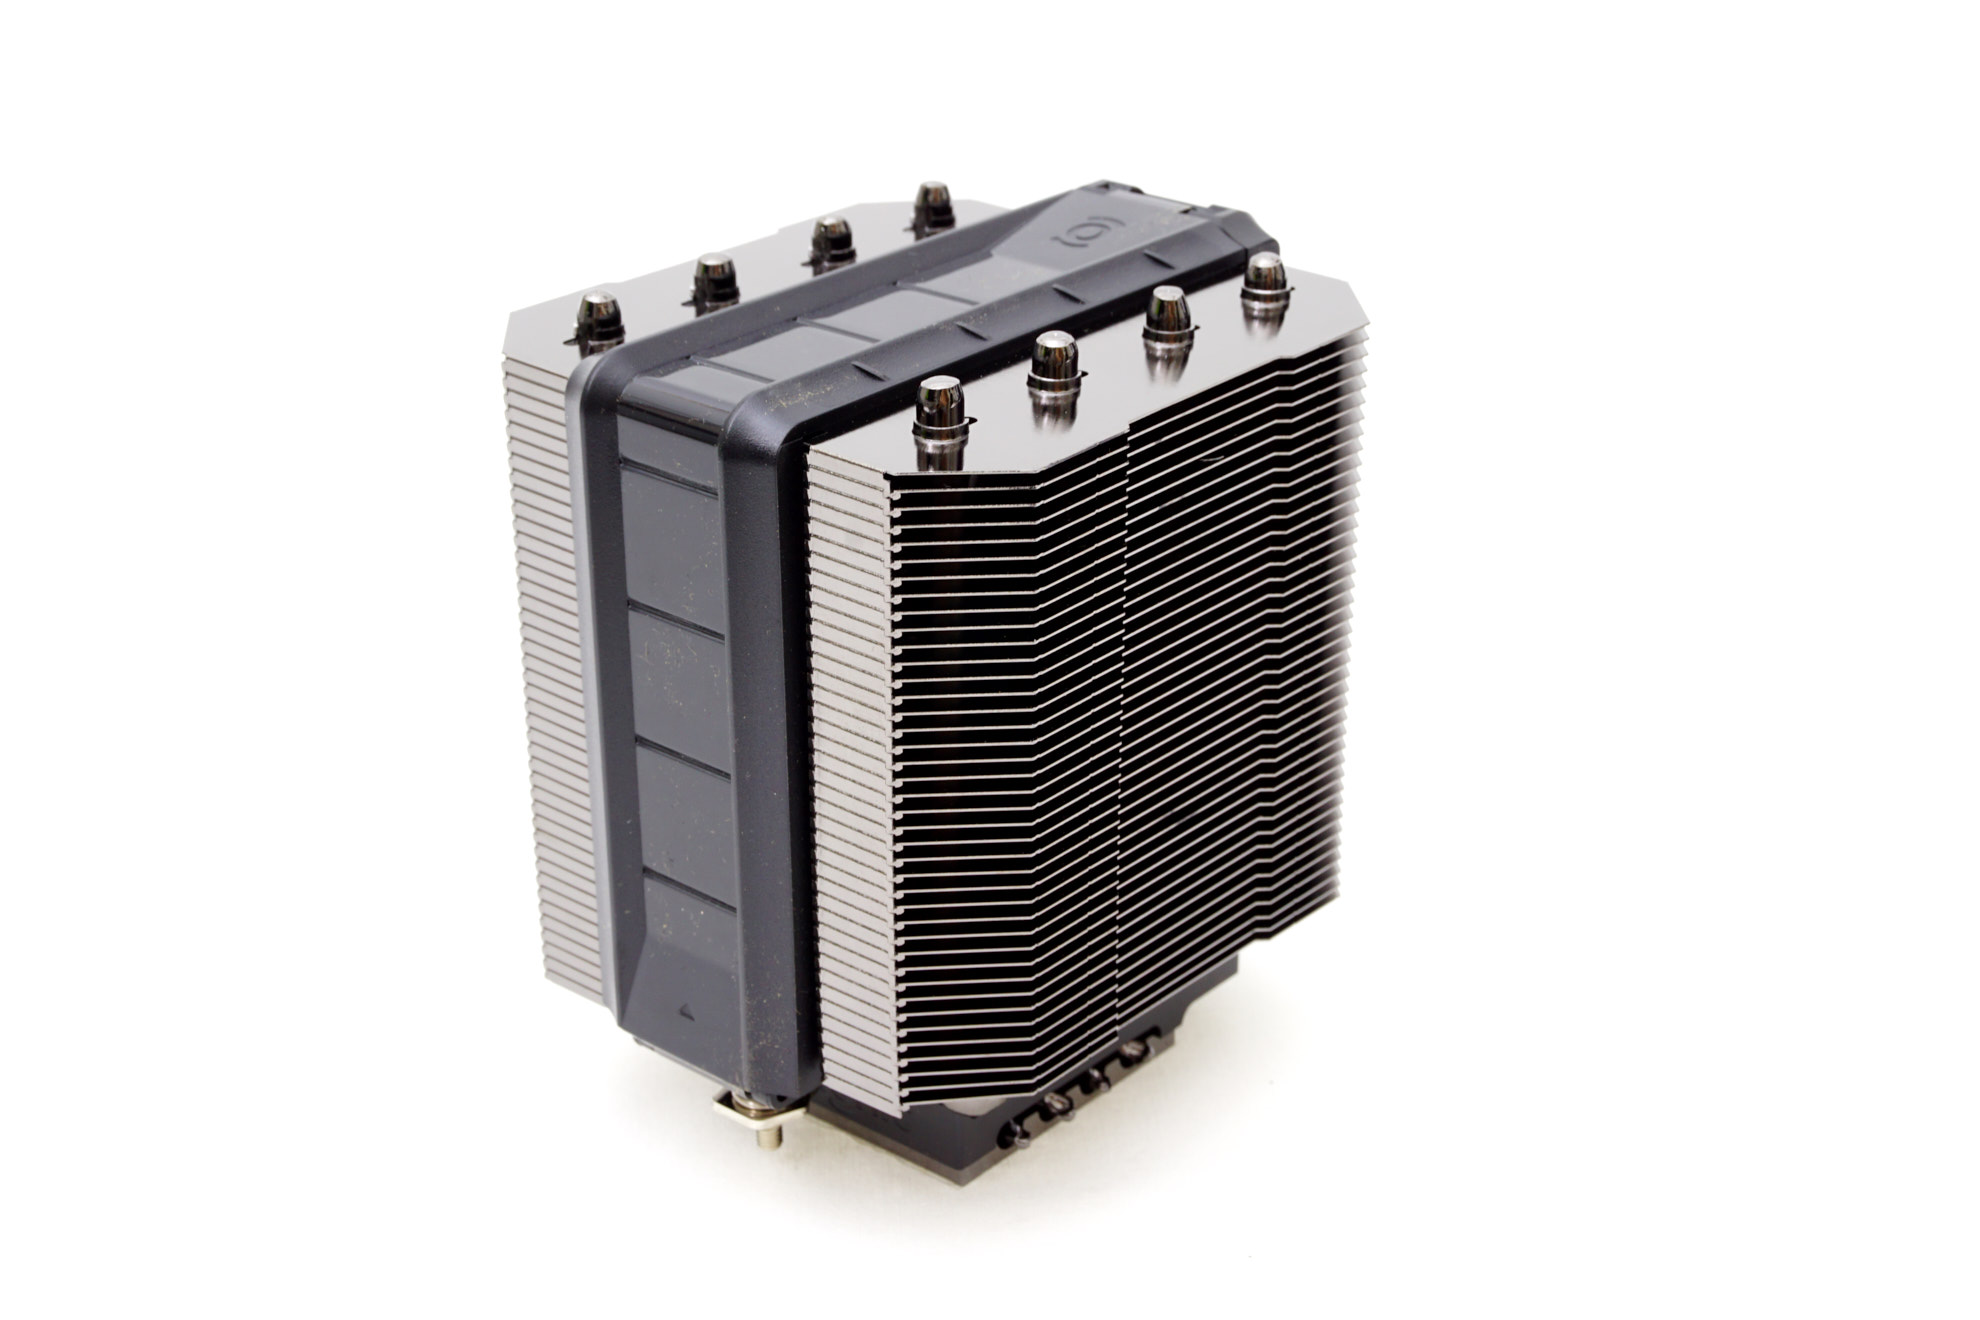
The S90 CPU Cooler PC Cooler Slim is an efficient cooling system designed to dissipate heat from your computer’s processor. Over time, you may need to replace the CPU cooler due to wear and tear or if you want to upgrade to a more powerful cooling solution. Removing the S90 CPU Cooler requires a few simple steps, but it’s important to follow them carefully to avoid damaging your computer components.
In this guide, we will walk you through the process of removing the S90 CPU Cooler and replacing it with a new one. Whether you’re a seasoned computer enthusiast or a beginner, this step-by-step tutorial will help you complete the task with ease.
Before we delve into the details, it’s essential to gather all the necessary tools and materials to ensure a smooth and hassle-free removal process. Having everything ready beforehand will save you time and prevent any potential complications.
Tools and Materials
Before you begin removing the S90 CPU Cooler, make sure you have the following tools and materials ready:
- Screwdriver set
- Thermal paste
- Isopropyl alcohol
- Cotton swabs or lint-free cloth
- Anti-static wrist strap (optional, but recommended)
The screwdriver set should include the necessary sizes to remove the screws holding the CPU cooler in place. Ensure that you have both flat-head and Phillips-head screwdrivers to accommodate different screw types.
Thermal paste is essential for ensuring proper heat transfer between the CPU and the cooler. If you don’t have any thermal paste, make sure to purchase some before starting the removal process.
Isopropyl alcohol is used to clean the CPU surface and remove any residual thermal paste. It should have a high percentage of alcohol (preferably 90% or above) for effective cleaning.
Cotton swabs or a lint-free cloth will help you apply the isopropyl alcohol to the CPU surface and remove any residue. Make sure they are clean and free of lint to avoid introducing any contaminants.
An anti-static wrist strap is optional but highly recommended. It helps prevent static electricity from damaging your computer components during the removal process. If you don’t have one, make sure to ground yourself by touching a grounded metal object before handling any sensitive components.
Once you have gathered all the necessary tools and materials, you’re ready to proceed with the S90 CPU Cooler removal process.
Step 1: Preparing for the Removal
Before you begin removing the S90 CPU Cooler, it’s crucial to take some preparatory steps to ensure a smooth and safe removal process. Here’s what you need to do:
- Turn off your computer: Shut down your computer and unplug it from the power source. This will prevent any accidental power surges or damage to your computer components.
- Ground yourself: Touch a grounded metal object, such as a metal faucet or the metal casing of your computer case, to discharge any static electricity from your body. This will help protect your computer components from electrostatic discharge (ESD) damage.
- Open your computer case: Remove the side panel of your computer case. Most cases will have screws holding the panel in place. Use the appropriate screwdriver from your set to remove them and gently slide off the panel.
- Locate the CPU Cooler: Identify the CPU cooler unit. It is usually situated on top of the CPU and is secured in place by screws or brackets. Take a moment to familiarize yourself with its location and how it is attached to the CPU.
- Disconnect any cables: Check if there are any cables connected to the CPU cooler, such as the fan power cable or any RGB lighting cables. Gently unplug these cables before proceeding with the removal.
By following these preparatory steps, you will ensure that your computer is safely powered off and protected from static electricity. Taking the time to properly prepare will help prevent any accidental damage to your computer components during the removal process.
Step 2: Removing the CPU Cooler
Now that you have prepared your computer for the removal process, it’s time to remove the S90 CPU Cooler. Follow these steps carefully:
- Identify the mounting mechanism: Look for the screws or brackets that hold the CPU cooler in place. The exact method of attachment may vary depending on the cooler model. Refer to the manufacturer’s instructions if you’re unsure.
- Loosen the screws or brackets: Use the appropriate screwdriver from your set to loosen the screws or remove the brackets. Start from the corners and work your way towards the center in a diagonal pattern. This will help ensure even pressure when removing the CPU cooler.
- Gently lift the CPU cooler: Once the screws or brackets are loosened, carefully lift the CPU cooler from the CPU surface. It may be secured with thermal paste, so make sure to lift it slowly and avoid any sudden movements.
- Inspect for any resistance: If you encounter any resistance while lifting the CPU cooler, do not force it. Check if there are any remaining screws or brackets that need to be removed. Take your time to ensure a safe and smooth removal.
Remember, the CPU cooler may still be connected to the CPU by thermal paste, so be cautious when lifting it. Avoid any twisting or pulling motions that could potentially damage the CPU or the motherboard.
Once you have successfully removed the S90 CPU Cooler, proceed to the next step for cleaning the thermal paste.
Step 3: Detaching the Cooler from the CPU
After removing the S90 CPU Cooler from the CPU surface, the next step is to detach the cooler completely. Follow these steps to safely detach the cooler:
- Inspect the cooler: Take a close look at the CPU cooler and locate any additional brackets or screws that may be holding it in place. These may vary depending on the cooler model, so refer to the manufacturer’s instructions if needed.
- Remove any remaining brackets or screws: Use your screwdriver to carefully remove any remaining brackets or screws, ensuring not to damage the cooler or the surrounding components.
- Disconnect the cooler from the fan header: If the CPU cooler is equipped with a fan, check for a cable connecting it to the fan header on the motherboard. Gently unplug the cable to detach the cooler from the fan header.
- Set aside the CPU cooler: Once all brackets, screws, and cables are disconnected, set aside the CPU cooler in a safe location. Avoid placing it on any conductive surfaces or exposing it to excessive heat or dust.
By following these steps, you will be able to detach the S90 CPU Cooler from the CPU and prepare it for cleaning. Take your time and be gentle to avoid any damage to the cooler or other components.
Now that the cooler is detached, proceed to the next step for clearing the thermal paste.
Step 4: Clearing the Thermal Paste
Once the CPU cooler is detached, it’s important to clear the thermal paste from both the cooler and the CPU surface. Follow these steps to ensure a clean and smooth transition:
- Prepare the isopropyl alcohol and cotton swabs: Dampen a cotton swab or lint-free cloth with isopropyl alcohol, ensuring it is not dripping wet. The alcohol will help dissolve the thermal paste and facilitate its removal.
- Clean the CPU cooler: Gently rub the damp cotton swab or cloth over the base of the CPU cooler, removing any thermal paste residue. Ensure that the entire surface is clean and free from any residue.
- Clear the CPU surface: Hold the CPU carefully and use a fresh cotton swab or cloth dampened with isopropyl alcohol to clean the thermal paste from its surface. Be gentle and avoid applying excessive pressure to prevent any damage to the CPU pins or the CPU surface.
- Repeat if necessary: If there is still visible thermal paste residue, repeat the cleaning process until the CPU cooler and the CPU surface are completely clean. It’s essential to have a clean and dry surface for applying new thermal paste.
Take your time and be thorough in cleaning both the CPU cooler and the CPU surface. Any remaining thermal paste residue can impact the effectiveness of the new thermal paste and affect the cooling performance.
Now that the thermal paste is cleared, proceed to the next step for cleaning the CPU surface before installing the new CPU cooler.
Step 5: Cleaning the CPU Surface
Cleaning the CPU surface is a crucial step before installing the new CPU cooler. Follow these steps to ensure a clean and debris-free surface:
- Prepare the isopropyl alcohol and cotton swabs: Dampen a fresh cotton swab or lint-free cloth with isopropyl alcohol. Make sure it is not soaking wet, as excess moisture can cause damage to the CPU.
- Clean the CPU surface: Gently rub the damp cotton swab or cloth over the CPU surface, removing any dust, debris, or residual thermal paste. Pay attention to the edges and corners of the CPU, ensuring thorough cleaning.
- Inspect for any leftover debris: After cleaning, inspect the CPU surface to ensure there are no remaining debris or lint. If necessary, use a can of compressed air to blow away any stubborn particles.
- Allow the CPU surface to dry: After cleaning, let the CPU surface air dry for a few minutes. This will ensure that any moisture from the isopropyl alcohol evaporates completely before applying the new thermal paste.
It’s essential to have a clean and dry CPU surface to ensure proper thermal paste adhesion and optimal heat transfer. Taking the time to clean the CPU surface thoroughly will help you achieve effective cooling performance.
With the CPU surface cleaned, you’re now ready to move on to the next step, which is installing the new CPU cooler.
Step 6: Installing the New CPU Cooler
With the old CPU cooler removed and the CPU surface cleaned, it’s time to install the new CPU cooler. Follow these steps to ensure a successful installation:
- Apply thermal paste: Squeeze a small pea-sized amount of thermal paste onto the center of the CPU surface. Be careful not to use too much, as excess thermal paste can lead to poor heat transfer and inefficient cooling.
- Align the new CPU cooler: Carefully align the new CPU cooler with the mounting holes on the motherboard. Ensure that any brackets or screws line up correctly with the corresponding holes.
- Secure the CPU cooler: Use the appropriate screwdriver from your set to tighten the screws or attach the brackets, securing the CPU cooler in place. Start from the corners and work your way towards the center, applying even pressure.
- Connect any cables: If the new CPU cooler has a fan or any other components that require power, connect the necessary cables to the appropriate headers on the motherboard. Ensure a secure connection.
- Replace the computer case panel: Once the CPU cooler is securely installed, carefully slide the computer case panel back into place. Use the screws to fasten it securely, but avoid overtightening to prevent damage to the case or the components.
- Power on your computer: Plug in your computer and power it on. Monitor the CPU temperatures and ensure that the new CPU cooler is working correctly. If you notice any irregularities or high temperatures, double-check the installation steps to ensure everything is correctly set up.
By following these steps, you should be able to install the new CPU cooler effectively. Remember to double-check all connections, especially the power cables, to ensure optimal performance and cooling.
Congratulations! You have successfully completed the process of removing the old CPU cooler and installing the new one. Enjoy the improved cooling performance for your computer!
Conclusion
Removing and replacing the S90 CPU Cooler is a straightforward process that can greatly contribute to the overall performance and longevity of your computer. By following the step-by-step guide outlined in this article, you can successfully complete the task with confidence.
Throughout the process, it’s essential to take precautionary measures to ensure the safety of your computer components. Remember to power off your computer, ground yourself, and handle the CPU and CPU cooler with care to avoid any damage or static electricity discharge.
Gathering the necessary tools and materials beforehand will save you time and prevent any unnecessary complications during the removal and installation process. Make sure you have the correct screwdrivers, thermal paste, isopropyl alcohol, cotton swabs, and an anti-static wrist strap if possible.
Each step of the process, from preparing for the removal to installing the new CPU cooler, requires attention to detail and careful execution. Take your time, follow the manufacturer’s instructions (if available), and be gentle when handling delicate components.
By properly removing the old thermal paste, cleaning the CPU surface, and installing the new CPU cooler, you can ensure optimal heat dissipation and maintain stable temperatures for your processor. This will contribute to improved performance and longevity of your computer.
Remember to monitor the CPU temperatures after installing the new cooler to ensure it’s functioning properly. If you encounter any issues or notice unusually high temperatures, double-check the installation steps to ensure everything is correctly set up.
With the S90 CPU Cooler successfully replaced, you can now enjoy better cooling performance for your computer. Sit back, relax, and experience the benefits of a properly cooled CPU while engaging in your favorite tasks and applications.