Introduction
Welcome to this comprehensive guide on how to remove the PC CPU cooler Noctua. Whether you’re looking to upgrade your CPU cooler or simply need to clean out dust and debris, this step-by-step tutorial will guide you through the process.
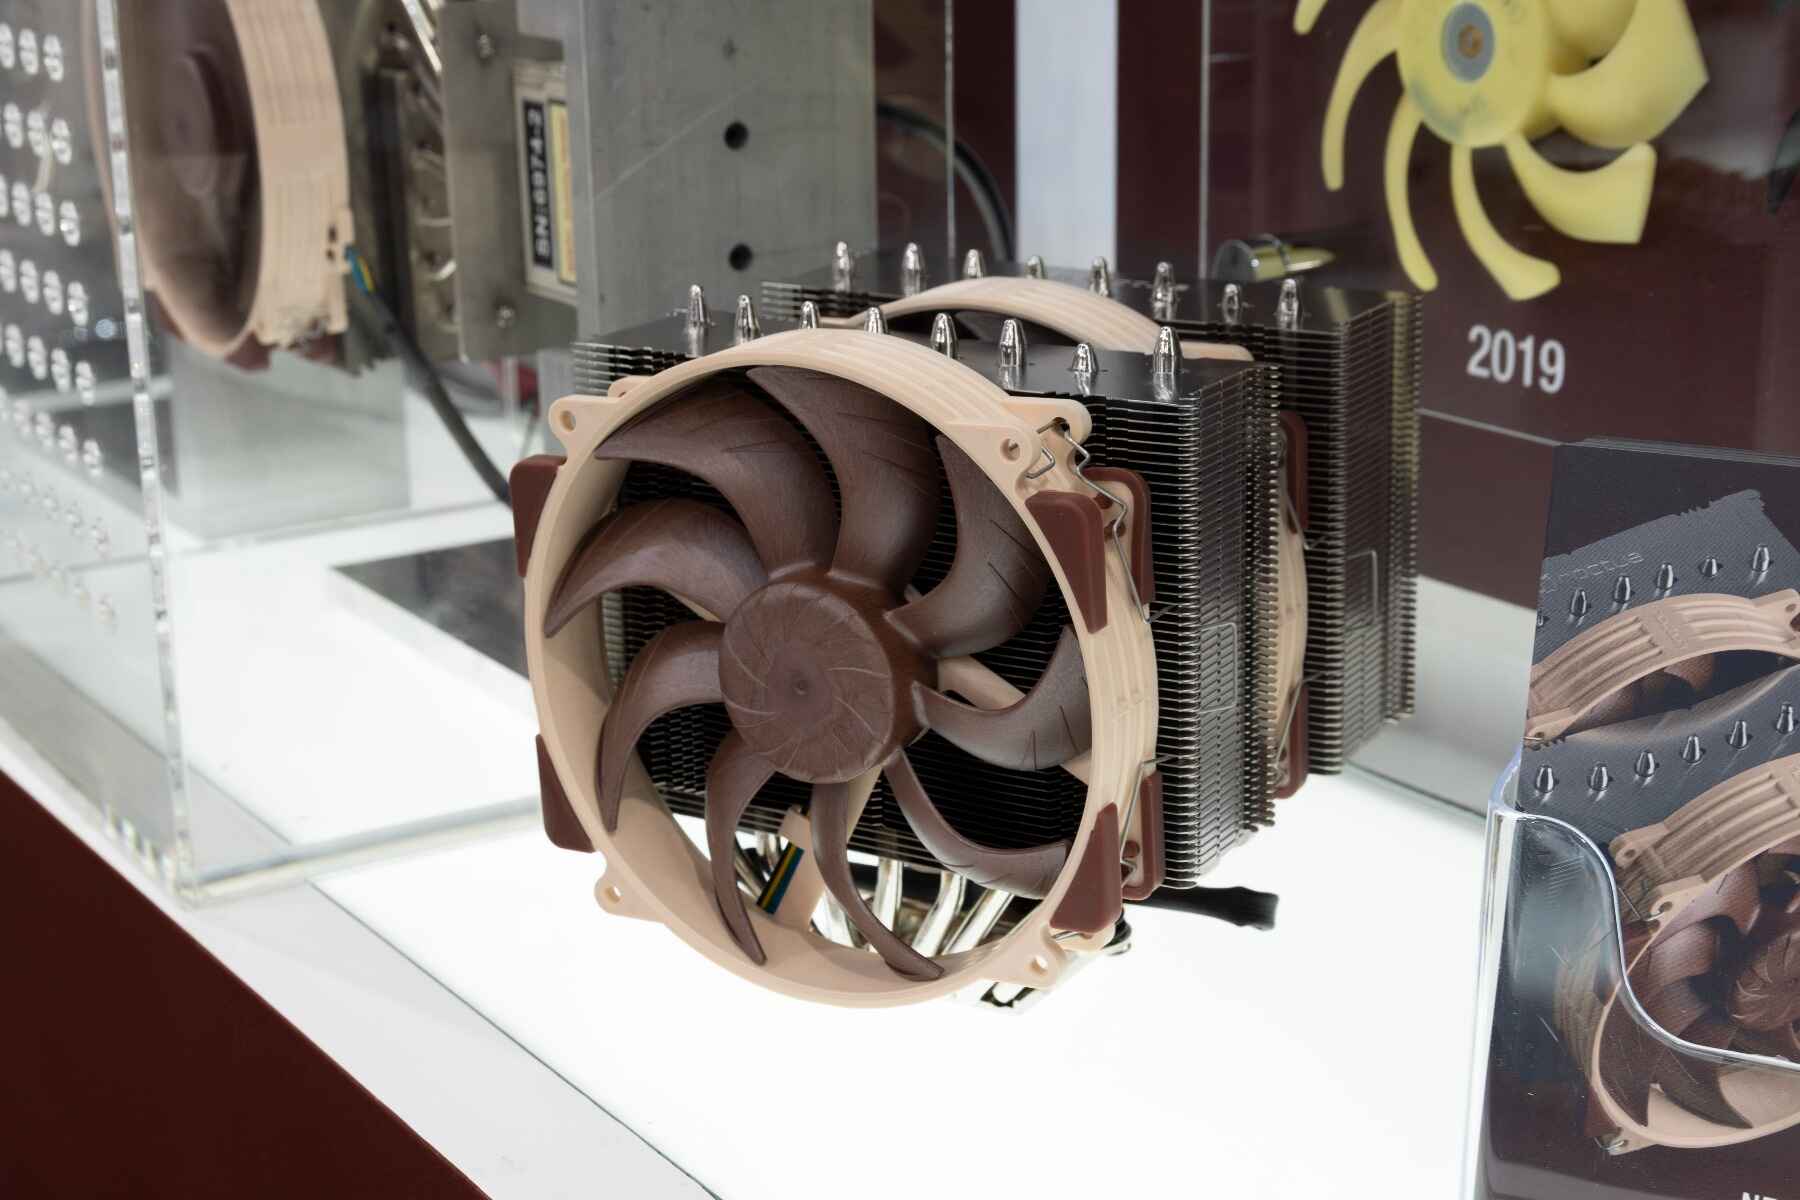
Noctua is a reputable brand known for its high-performance CPU coolers that offer excellent heat dissipation and low noise levels. However, there may come a time when you need to remove the Noctua cooler to apply new thermal paste, install a different cooler, or perform maintenance on your PC.
Removing the CPU cooler can seem intimidating, especially if you’re new to PC building or maintenance. But fear not! With the right tools and careful execution, you can safely remove the Noctua CPU cooler and complete the task with ease.
In this guide, we will walk you through the step-by-step process of removing the Noctua CPU cooler. We will provide detailed instructions, along with helpful tips and precautions to ensure a smooth and successful removal process.
Before we dive into the steps, it’s crucial to note that removing the CPU cooler requires delicate handling to avoid damage to the motherboard or other components. It’s always a good idea to consult your PC manufacturer’s manual or Noctua’s documentation for specific instructions related to your CPU cooler model.
Now, let’s gather the necessary tools and get started on removing the PC CPU cooler Noctua!
Step 1: Gathering the necessary tools
Before we begin the process of removing the PC CPU cooler Noctua, make sure you have the following tools at hand:
- Screwdriver set: You’ll need a Phillips head screwdriver or a set of screwdrivers with different tip sizes. Make sure you have the appropriate screwdriver to fit the screws securing the CPU cooler.
- Thermal paste remover: If you plan on reapplying thermal paste or cleaning the CPU surfaces, it’s essential to have thermal paste remover on hand. This will help in effectively removing the old thermal paste without damaging the CPU or cooler surfaces. Isopropyl alcohol or a dedicated thermal paste remover solution can be used for this purpose.
- Clean, lint-free cloth: To clean the surfaces of the CPU and cooler, you’ll need a soft, lint-free cloth. Microfiber cloths or coffee filters work well in this regard. Avoid using paper towels as they can leave residue or fibers behind.
- Antistatic wrist strap (optional): While not mandatory, wearing an antistatic wrist strap can help prevent static electricity from damaging sensitive PC components. If you have one, it’s a good idea to wear it during the removal process.
- Cable ties (optional): If your CPU cooler has cables that are obstructing the removal process, having cable ties on hand can help manage the wires and keep them out of the way.
Ensure that you have all these tools within easy reach before proceeding with the CPU cooler removal. Having the right tools at hand will make the process efficient and prevent any unnecessary delays or frustrations.
Once you have gathered the necessary tools, we can move on to the next step – powering off and disconnecting the PC.
Step 2: Powering off and disconnecting the PC
Before we begin the process of removing the PC CPU cooler Noctua, it is important to power off your computer and disconnect it from the power source to ensure your safety and prevent any potential damage to the components.
Follow these steps to power off and disconnect your PC:
- Save any open files and close all applications running on your computer.
- Shut down your computer by clicking on the Windows Start menu, selecting “Power,” and then choosing “Shut down.” If you are using a different operating system, follow the appropriate shutdown procedure.
- Once your computer has completely shut down, unplug the power cord from the wall outlet or power strip.
- Next, it is important to discharge any residual electrical charge in the system. To do this, press and hold the power button on your computer for about 5 seconds. This will help ensure that there is no remaining power in the system.
- Locate the side panel or panels of your computer case. Most cases have a removable side panel that provides access to the internal components.
- Using a screwdriver, carefully remove the screws securing the side panel of the case. Set the screws aside in a safe place as you will need them later to reattach the panel.
- Remove the side panel(s) by gently sliding them towards the back of the case and then lifting them away.
- With the side panel removed, you now have access to the internal components of your PC. Take a moment to familiarize yourself with the layout and locate the CPU cooler.
By following these steps, you have successfully powered off your computer and disconnected it from the power source. In the next step, we will identify the Noctua CPU cooler and prepare for its removal.
Step 3: Identifying the Noctua CPU cooler
Now that your computer is powered off and disconnected from the power source, it’s time to identify the Noctua CPU cooler among the various components inside your PC. This step is crucial to ensure that you work on the correct cooler and avoid any accidental damage to other parts.
Follow these steps to identify the Noctua CPU cooler:
- Locate the CPU socket on your motherboard. The CPU socket is a square or rectangular area usually located near the center of the motherboard. It is where the CPU is installed.
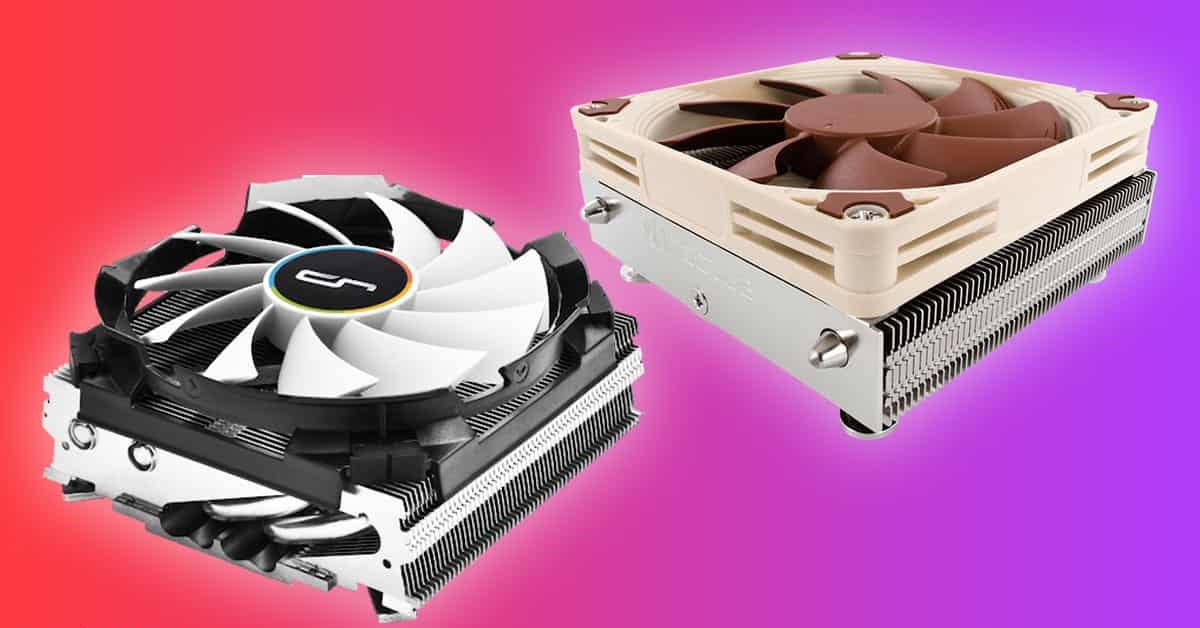
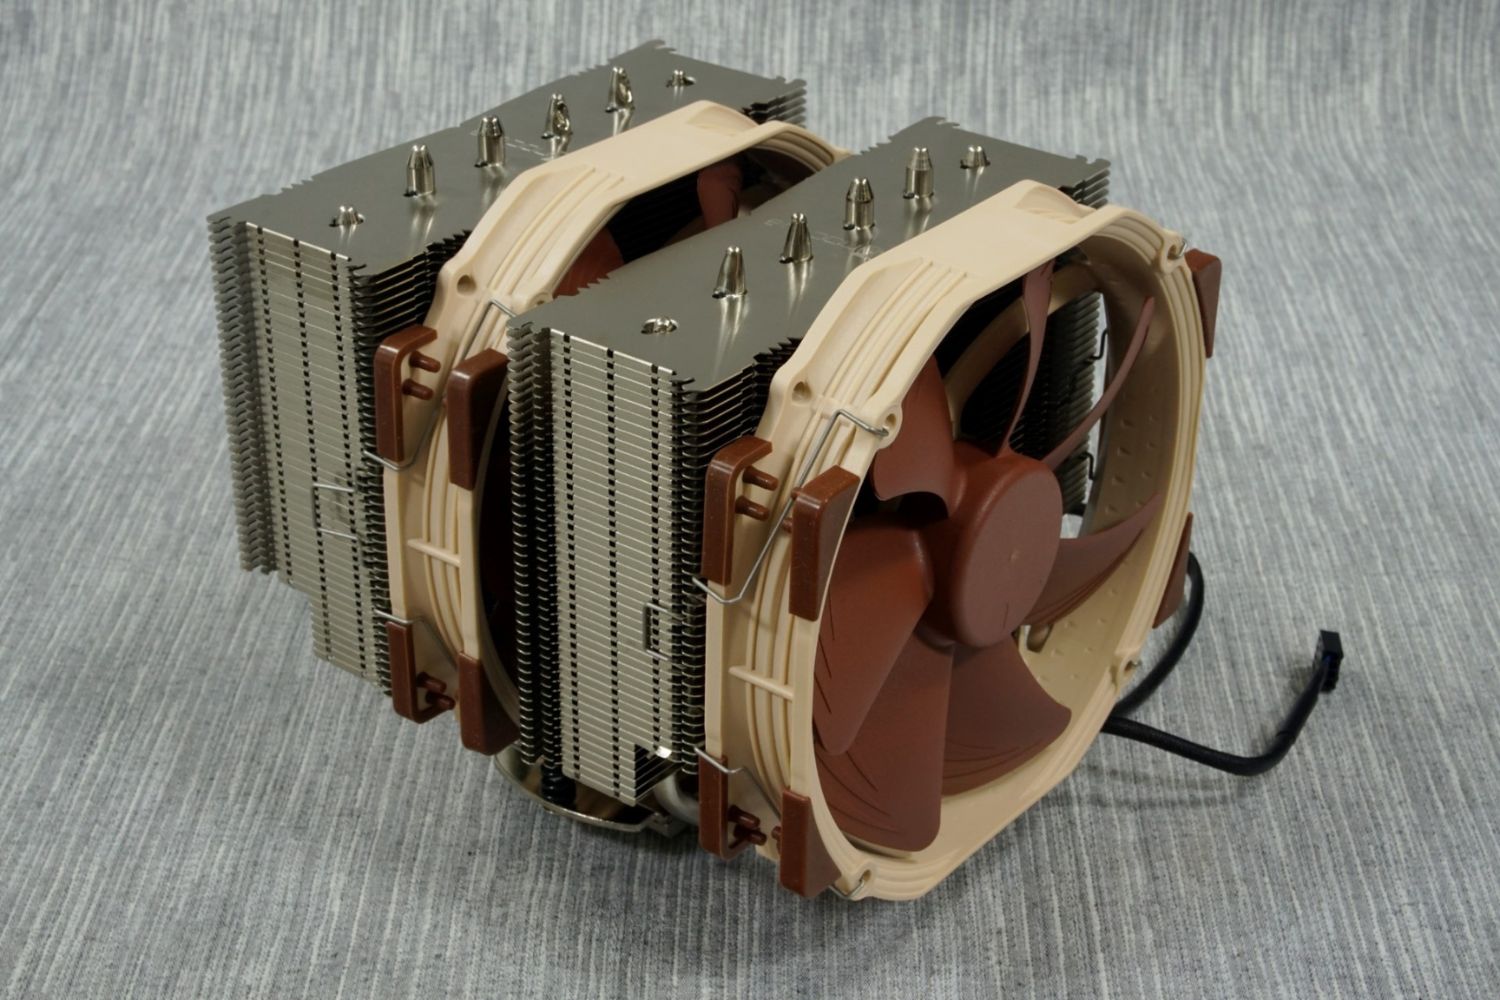
- Once you have located the CPU socket, look for the large heatsink and fan assembly attached to it. This is the Noctua CPU cooler. Noctua coolers are known for their distinctive color scheme, which usually consists of a brown heatsink and fan.
- Take note of any cables connected to the CPU cooler, such as the fan power cable or RGB lighting cable. These will need to be disconnected in the following steps.
- Observe how the CPU cooler is secured to the motherboard. Noctua coolers typically use mounting brackets or screws to attach to the CPU socket and ensure proper contact with the CPU surface.
- Make sure to inspect the surrounding area and components to avoid accidentally removing the wrong cooler or damaging other parts. It’s always a good idea to refer to your PC manufacturer’s manual or Noctua’s documentation for reference images or additional guidance specific to your motherboard model and CPU cooler.
By following these steps, you should now have a clear understanding of where the Noctua CPU cooler is located within your PC. In the next step, we will proceed with removing the CPU cooler fan.
Step 4: Removing the CPU cooler fan
Now that we have identified the Noctua CPU cooler, it’s time to remove the CPU cooler fan. Removing the fan will allow us to access the heatsink and detach the cooler from the motherboard. Follow these steps to safely remove the CPU cooler fan:
- Locate the fan wire connected to the CPU cooler. This wire is responsible for providing power to the fan and is usually connected to the motherboard’s fan header.
- Gently disconnect the fan wire by firmly but carefully pulling on the connector. Be sure not to pull the wire itself, as this can cause damage. If the connector feels tight, you may need to use a gentle wiggling motion while pulling to release it.
- Once the fan wire is disconnected, locate the screws or clips securing the CPU cooler fan to the heatsink. Noctua coolers typically use screws for this purpose. Use a screwdriver to remove the screws in a counterclockwise direction.
- If your Noctua CPU cooler uses clips instead of screws, gently press on the clips to release them from the heatsink. Some clips may require a slight twisting motion to unlock them before removing the fan.
- With the screws or clips removed, carefully lift the CPU cooler fan away from the heatsink. Slow and steady movements are crucial to prevent any accidental damage to the motherboard or other components.
- Set the CPU cooler fan aside in a safe and clean place. You can use compressed air or a soft brush to remove any dust or debris from the fan before storing it.
By following these steps, you have successfully removed the CPU cooler fan from the Noctua CPU cooler. In the next step, we will proceed with detaching the CPU cooler from the motherboard.
Step 5: Detaching the CPU cooler from the motherboard
With the CPU cooler fan removed, we can now proceed with detaching the Noctua CPU cooler from the motherboard. This step involves disconnecting any mounting brackets or screws that secure the cooler in place. Follow these steps to safely detach the CPU cooler from the motherboard:
- Inspect the area around the CPU socket to locate the mounting brackets or screws that secure the CPU cooler. Noctua CPUs are typically attached using a mounting system that consists of brackets and screws.
- Using a screwdriver, carefully unscrew the screws in a counterclockwise direction to release the mounting brackets or screws. Ensure that you remove all screws, as leaving any in place can prevent the cooler from being detached completely.
- If your Noctua CPU cooler uses a different mounting system, refer to the manufacturer’s manual or documentation for specific instructions on how to detach it from the motherboard. Each CPU cooler model may have slight variations in the mounting mechanism.
- Once the screws or mounting brackets are removed, gently lift the CPU cooler away from the motherboard. Again, slow and steady movements are crucial to prevent any accidental damage.
- Check if there is any resistance or stickiness when removing the CPU cooler. If it feels stuck, double-check the mounting brackets or screws to ensure that they have been completely released.
- Set the CPU cooler aside on a clean and safe surface. You can use compressed air or a soft brush to remove any dust or debris from the cooler before storing or reusing it.
By following these steps, you have successfully detached the Noctua CPU cooler from the motherboard. In the next step, we will move on to cleaning the CPU and cooler surfaces.
Step 6: Cleaning the CPU and cooler surfaces
Now that the Noctua CPU cooler is detached from the motherboard, it’s essential to clean the surfaces of both the CPU and the cooler before installing a new cooler or reattaching the Noctua cooler. This step ensures optimal contact and heat transfer between the components. Follow these steps to clean the CPU and cooler surfaces:
- Start by cleaning the CPU surface. Use a clean, lint-free cloth and apply a small amount of thermal paste remover or isopropyl alcohol to the cloth. Gently wipe the surface of the CPU in a circular motion to remove any residual thermal paste or debris. Avoid using excessive force to prevent damaging the CPU pins or surface. Allow the CPU surface to dry completely before moving on to the next step.
- Next, clean the cooler’s heatsink surface. Use the same clean, lint-free cloth and apply a small amount of thermal paste remover or isopropyl alcohol. Wipe the heatsink surface in a similar circular motion to remove any thermal paste residue or dust. Ensure that the heatsink surface is clean and free from any debris.
- Inspect both the CPU and the cooler surfaces for any remaining residue. If needed, repeat the cleaning process until the surfaces are clean and free from any contaminants.
- Allow both the CPU and cooler surfaces to air dry completely. Avoid using any heat source or blowing air directly onto the surfaces to speed up the drying process.
- Once the surfaces are dry, you can optionally apply a thin layer of thermal paste to the CPU surface. Thermal paste helps to improve heat transfer between the CPU and the cooler. Use a pea-sized amount of thermal paste in the center of the CPU and spread it evenly using a plastic card or thermal paste spreader. Be cautious not to use too much thermal paste, as it can lead to inefficient heat transfer or spills onto the motherboard.
- Double-check that both the CPU and cooler surfaces are clean, dry, and ready for the next step of installing a new cooler or reattaching the Noctua cooler.
By following these steps, you have successfully cleaned the CPU and cooler surfaces. In the next step, we will move on to installing a new CPU cooler or reattaching the Noctua cooler.
Step 7: Installing a new CPU cooler or reattaching the Noctua cooler
After cleaning the CPU and cooler surfaces, you are now ready to install a new CPU cooler or reattach the Noctua cooler. The specific installation process may vary depending on the cooler model and its mounting mechanism. Follow these general steps to guide you through the process:
- If you are installing a new CPU cooler, refer to the manufacturer’s instructions for specific installation steps. Each cooler may have its own unique mounting system or requirements.
- If you are reattaching the Noctua cooler, carefully align the mounting brackets or screws with the corresponding holes on the motherboard. Ensure a secure fit and double-check that all necessary screws or brackets are in place.
- If your cooler uses a backplate, position it on the backside of the motherboard while aligning the mounting holes with the CPU socket. Ensure that it sits flush against the motherboard.
- Slowly lower the CPU cooler onto the CPU surface, aligning it with the mounting brackets, screws, or backplate. Apply even pressure to ensure a snug and secure fit.
- If your Noctua cooler uses screws, carefully tighten them in a diagonal pattern to ensure even and secure pressure. If your cooler uses clips or other mounting mechanisms, follow the manufacturer’s instructions for securing them in place.
- Check that the cooler is firmly attached and does not wobble. Ensure that all necessary connections, such as the fan power cable or RGB cable, are reconnected to their respective ports on the motherboard.
- If you have removed any cables or wires during the removal process, such as fan cables or cable ties, make sure to reattach or reorganize them to minimize clutter and maintain proper airflow within your PC.
- With the CPU cooler securely installed or reattached, refer to your PC manufacturer’s documentation or the Noctua manual for specific steps on reassembling the computer case. This usually involves reattaching the side panel, securing it with the screws you removed earlier, and connecting any necessary cables.
By following these general steps, you have successfully installed a new CPU cooler or reattached the Noctua cooler. Ensure that all connections are secure and the cooler is properly seated before proceeding to power on your PC.
Congratulations! You have now completed the process of removing and replacing the PC CPU cooler Noctua. Proper cooling is essential for maintaining optimal performance and longevity of your computer components. Remember to regularly clean your CPU cooler and monitor temperatures to ensure efficient cooling in the future.
Conclusion
Removing and replacing the PC CPU cooler, specifically the Noctua cooler, may seem like a daunting task, but with the right tools, precautions, and step-by-step guidance, it can be accomplished with ease. By following this comprehensive guide, you have learned how to gather the necessary tools, power off and disconnect your PC, identify the Noctua CPU cooler, remove the CPU cooler fan, detach the CPU cooler from the motherboard, clean the CPU and cooler surfaces, and install a new CPU cooler or reattach the Noctua cooler.
Remember, throughout the process, it’s essential to handle the components with care, avoid using excessive force, and consult the manufacturer’s documentation or manuals for any specific instructions related to your CPU cooler model or motherboard. Proper cleaning and installation techniques will ensure optimal performance, efficient heat dissipation, and longevity of your CPU and the cooler.
It’s important to note that if you’re uncertain about any step or uncomfortable with performing the CPU cooler removal and installation yourself, it is always advisable to seek professional help or assistance from an experienced technician. A professional can guide you through the process and ensure everything is handled correctly.
Now that you have successfully removed and replaced the PC CPU cooler Noctua, you can enjoy improved cooling performance, reduced noise levels, and better overall efficiency in your computing experience. Regularly clean and maintain your CPU cooler to keep it functioning at its best and protect your PC components from overheating.
Thank you for following this guide and taking the necessary steps to remove and replace the PC CPU cooler Noctua. We hope this tutorial has been helpful in your PC maintenance journey.