Introduction
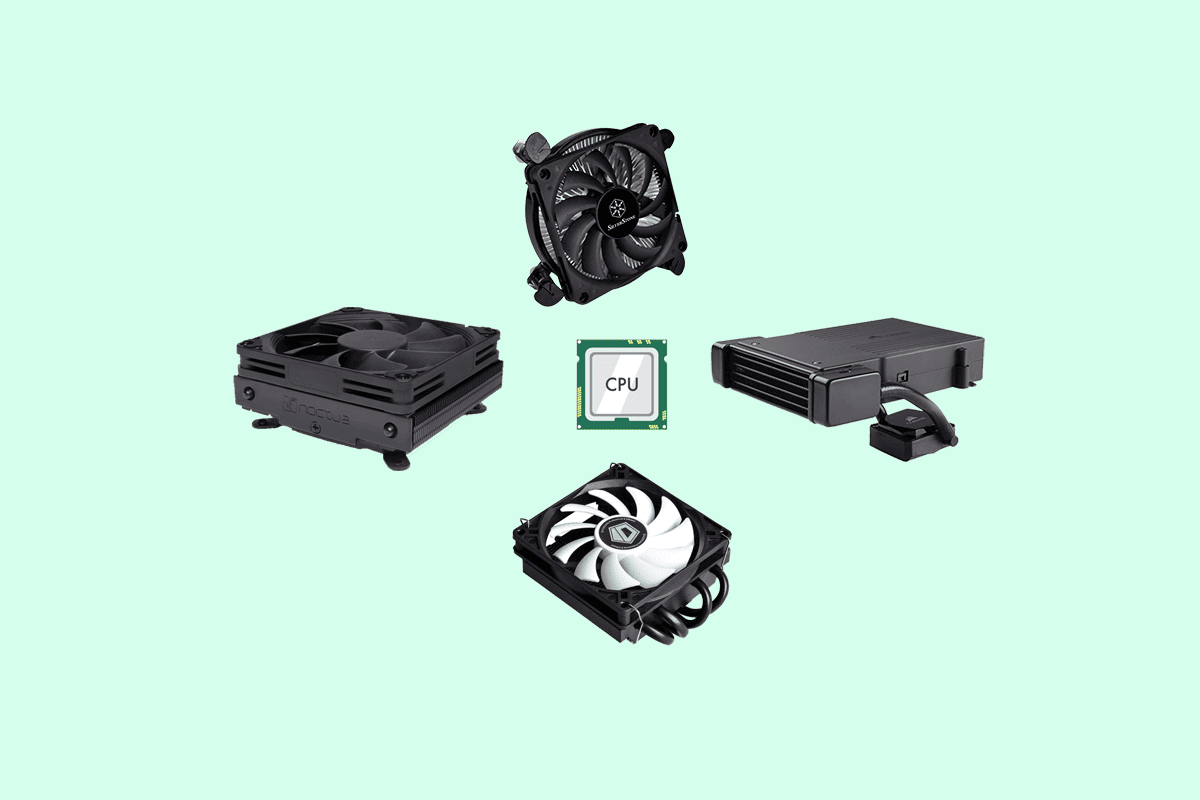
Installing a new CPU cooler can greatly improve the performance and lifespan of your computer. If you have an AMD board and want to fit an Intel CPU cooler onto it, this guide will walk you through the process step by step.
Many users prefer Intel CPU coolers due to their efficient cooling capabilities and quiet operation. While Intel coolers are typically designed to be compatible with Intel boards, it is possible to adapt them for use with AMD boards as well.
Before you start the installation process, it is essential to gather all the necessary tools and materials. This will ensure a smooth and successful installation. Additionally, make sure to read through the instructions provided by the CPU cooler manufacturer, as they may have specific guidelines or recommendations for installation.
In the following steps, we will guide you through the process of fitting an Intel CPU cooler onto an FM2 AMD board. This guide assumes that you have a basic understanding of computer hardware and are comfortable working inside your computer.
Step 1: Gathering the necessary tools and materials
Before you begin the installation process, it’s important to gather all the necessary tools and materials. This will ensure that you have everything you need on hand and can complete the installation without any interruptions. Here’s a checklist of what you’ll need:
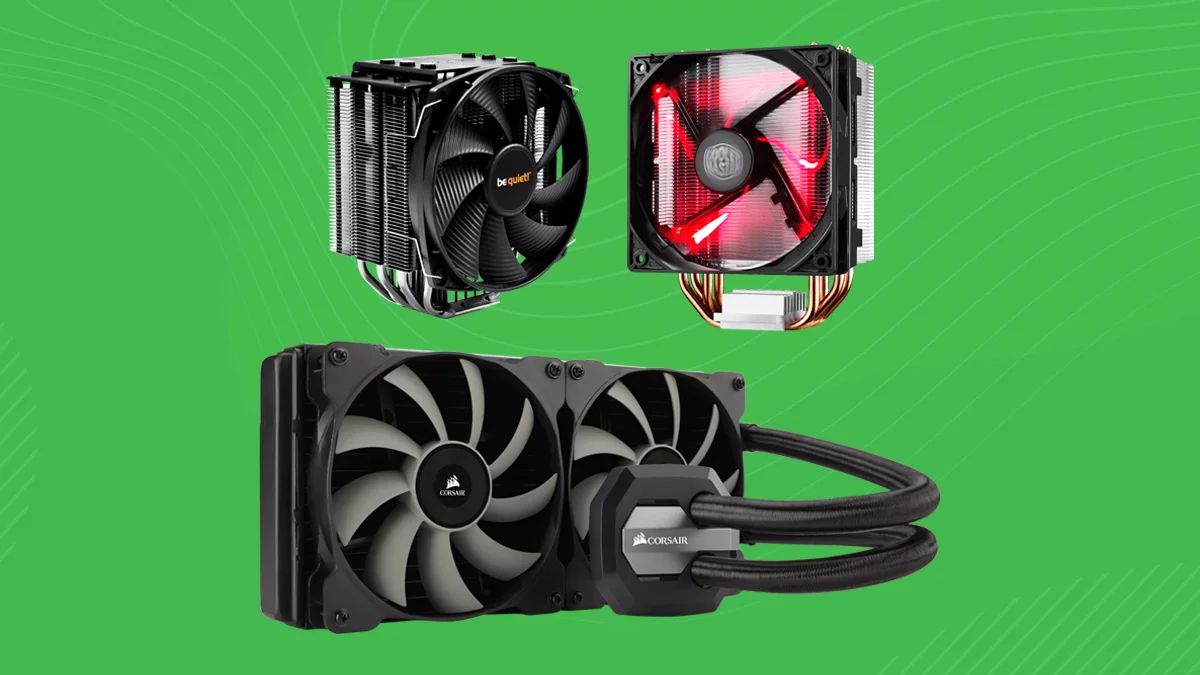
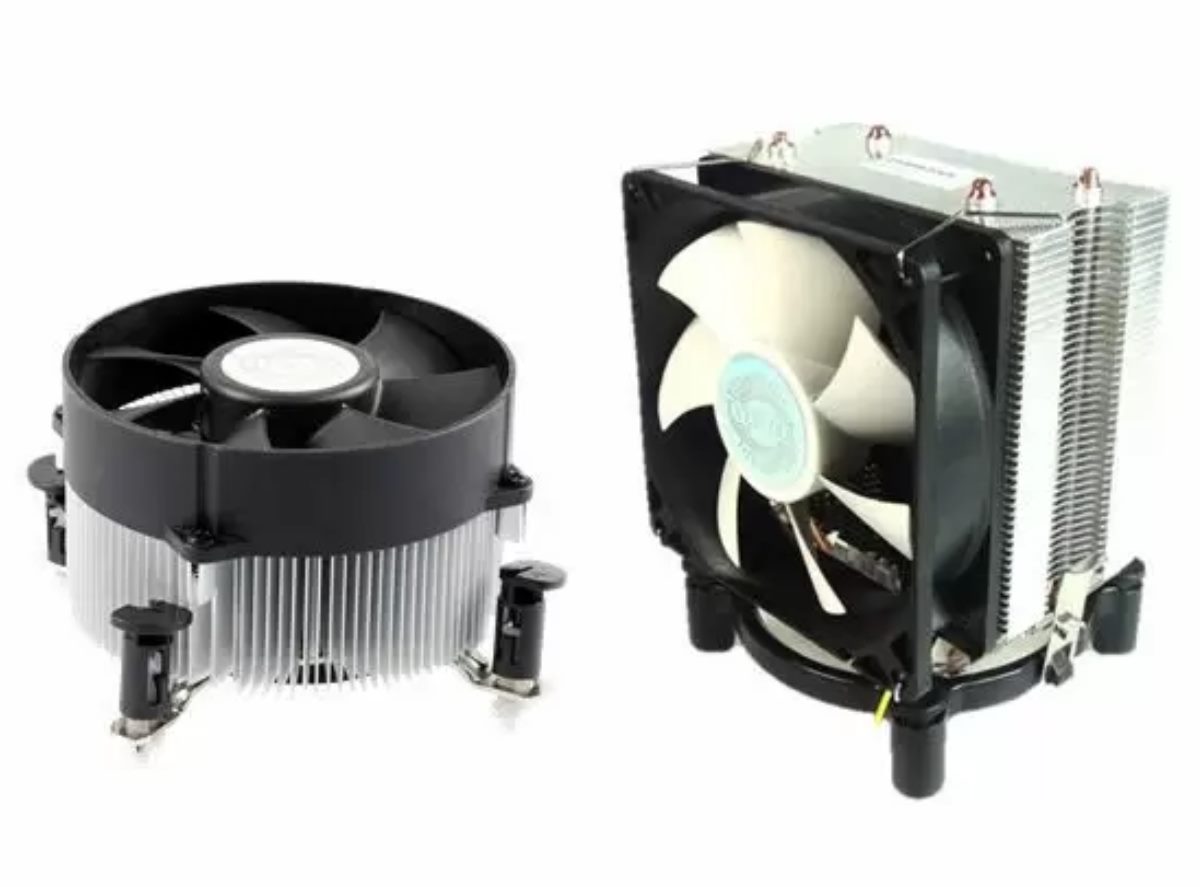
- An Intel CPU cooler (compatible with the FM2 socket)
- An FM2 AMD board
- Thermal paste
- A screwdriver (compatible with the screws on your CPU cooler)
- Clean cloth or thermal paste remover
- Anti-static wrist strap (recommended to prevent damage from static electricity)
Make sure that the Intel CPU cooler you have is compatible with the FM2 socket. It’s essential to check the compatibility before proceeding with the installation, as using an incompatible cooler can lead to performance and stability issues.
Thermal paste is a crucial component in the installation process, as it ensures proper heat transfer between the CPU and the cooler. If your Intel CPU cooler doesn’t come with pre-applied thermal paste, make sure to get a reputable brand and apply an appropriate amount to achieve optimal cooling performance.
A screwdriver is needed to secure the cooler in place. Depending on the type of screws used by your Intel CPU cooler, you may need either a Phillips or a flathead screwdriver. Check the cooler’s manual or manufacturer’s instructions to determine the correct screwdriver type.
To remove any existing thermal paste from your CPU and heatsink, you’ll need a clean cloth or thermal paste remover. It’s essential to have a clean surface on both the CPU and the cooler to ensure proper heat transfer.
While not mandatory, using an anti-static wrist strap during the installation process can help prevent any damage caused by static electricity. This is especially important when working with sensitive computer components such as CPUs and motherboards.
Once you have gathered all the necessary tools and materials, you’re ready to proceed to the next step: removing the old cooler (if applicable).
Step 2: Removing the old cooler (if applicable)
If you already have a cooler installed on your AMD board, you’ll need to remove it before installing the new Intel CPU cooler. This step is crucial to ensure a proper and secure fit for the new cooler. Here’s how you can remove the old cooler:
- Start by powering off your computer and unplugging it from the power source. This will prevent any accidental damage or electrical shock during the removal process.
- Open your computer case by removing the side panel. This will give you access to the internal components of the computer.
- Locate the CPU cooler on the AMD board. It will be attached to the CPU socket and held in place with screws or brackets.
- Using a screwdriver, carefully unscrew the screws or unclip the brackets that hold the cooler in place. Be gentle during this process to avoid any damage to the AMD board or surrounding components.
- Once all the screws or brackets are removed, gently lift the old cooler off the AMD board. You may need to apply a slight twisting motion to loosen it from the thermal paste.
- Place the removed cooler aside, ensuring it’s in a safe and clean location where it won’t get damaged or contaminate other components.
- Inspect the CPU and socket for any remnants of thermal paste. If you notice any residue, use a clean cloth or thermal paste remover to wipe it off.
Removing the old cooler may vary depending on the specific model and mounting mechanism. It’s crucial to refer to the manufacturer’s instructions or manual for guidance if you encounter any difficulties during the removal process.
Once the old cooler is successfully removed, you’re now ready to move on to the next step: preparing the AMD board for the new cooler.
Step 3: Preparing the AMD board for the new cooler
Now that you have removed the old cooler, it’s time to prepare your AMD board for the installation of the new Intel CPU cooler. This step ensures that the board is clean and ready to provide optimal cooling performance. Here’s what you need to do:
- Inspect the CPU socket on the AMD board and ensure that it is clean and free from any dust or debris. Use compressed air or a soft brush to remove any particles that may have accumulated.
- Check the backplate behind the CPU socket. Make sure it is securely in place and properly aligned with the mounting holes. Adjust or reinstall the backplate if necessary, following the instructions provided by the motherboard manufacturer.
- If your new Intel CPU cooler comes with a bracket or mounting mechanism specific to AMD boards, refer to the manufacturer’s instructions to install it. Ensure that it is correctly aligned with the CPU socket and firmly secured.
- Apply a small amount of thermal paste in the center of the CPU. The paste acts as a conduit for heat transfer between the CPU and the cooler. Be careful not to apply too much, as it can lead to inefficient cooling or even interfere with the CPU socket.
It’s important to note that different CPU coolers may have varying installation requirements. Some coolers may have a built-in bracket that doesn’t require any additional installation steps, while others may utilize a specific bracket or backplate for AMD compatibility.
Refer to the CPU cooler’s manual or manufacturer’s instructions for the precise steps to prepare the AMD board for the new cooler. Following the provided guidelines will ensure a secure and effective installation.
Once you have prepared the AMD board for the new Intel CPU cooler, you’re ready to move on to the next step: applying thermal paste.
Step 4: Applying thermal paste
Applying thermal paste is a crucial step in the installation process, as it ensures proper heat transfer between the CPU and the cooler. This helps to prevent overheating and ensures optimal cooling performance. Here’s how you can apply thermal paste:
- Start by preparing the thermal paste. Make sure you have a reputable brand and that it’s within its expiration date. Thermal paste comes in various forms, such as syringes or small tubes.
- If your Intel CPU cooler comes with pre-applied thermal paste, skip to the next step. Otherwise, carefully open the thermal paste packaging and squeeze out a small amount, roughly the size of a pea, onto the center of the CPU. Avoid applying too much paste, as it can lead to a messy and inefficient application.
- Using a clean and dry applicator, such as a plastic spreader or the provided thermal paste applicator, gently spread the paste evenly across the surface of the CPU. Be careful not to apply excessive pressure that might damage the CPU or cause the paste to spread beyond the CPU surface.
- Ensure that the thermal paste covers the entire surface of the CPU, creating a thin and even layer. This will ensure maximum heat transfer between the CPU and the cooler.
Remember that the goal is to achieve a thin and even layer of thermal paste without any air bubbles or gaps. A proper application will optimize the contact between the CPU and the cooler, enhancing heat dissipation.
If you make a mistake during the application process, don’t worry. You can gently clean off the thermal paste using a clean cloth or thermal paste remover and start again. Just be sure to thoroughly clean and dry both the CPU and the cooler before reapplying the paste.
With the thermal paste properly applied, you’re now one step closer to completing the installation. The next step will guide you through the process of installing the Intel CPU cooler onto the AMD board.
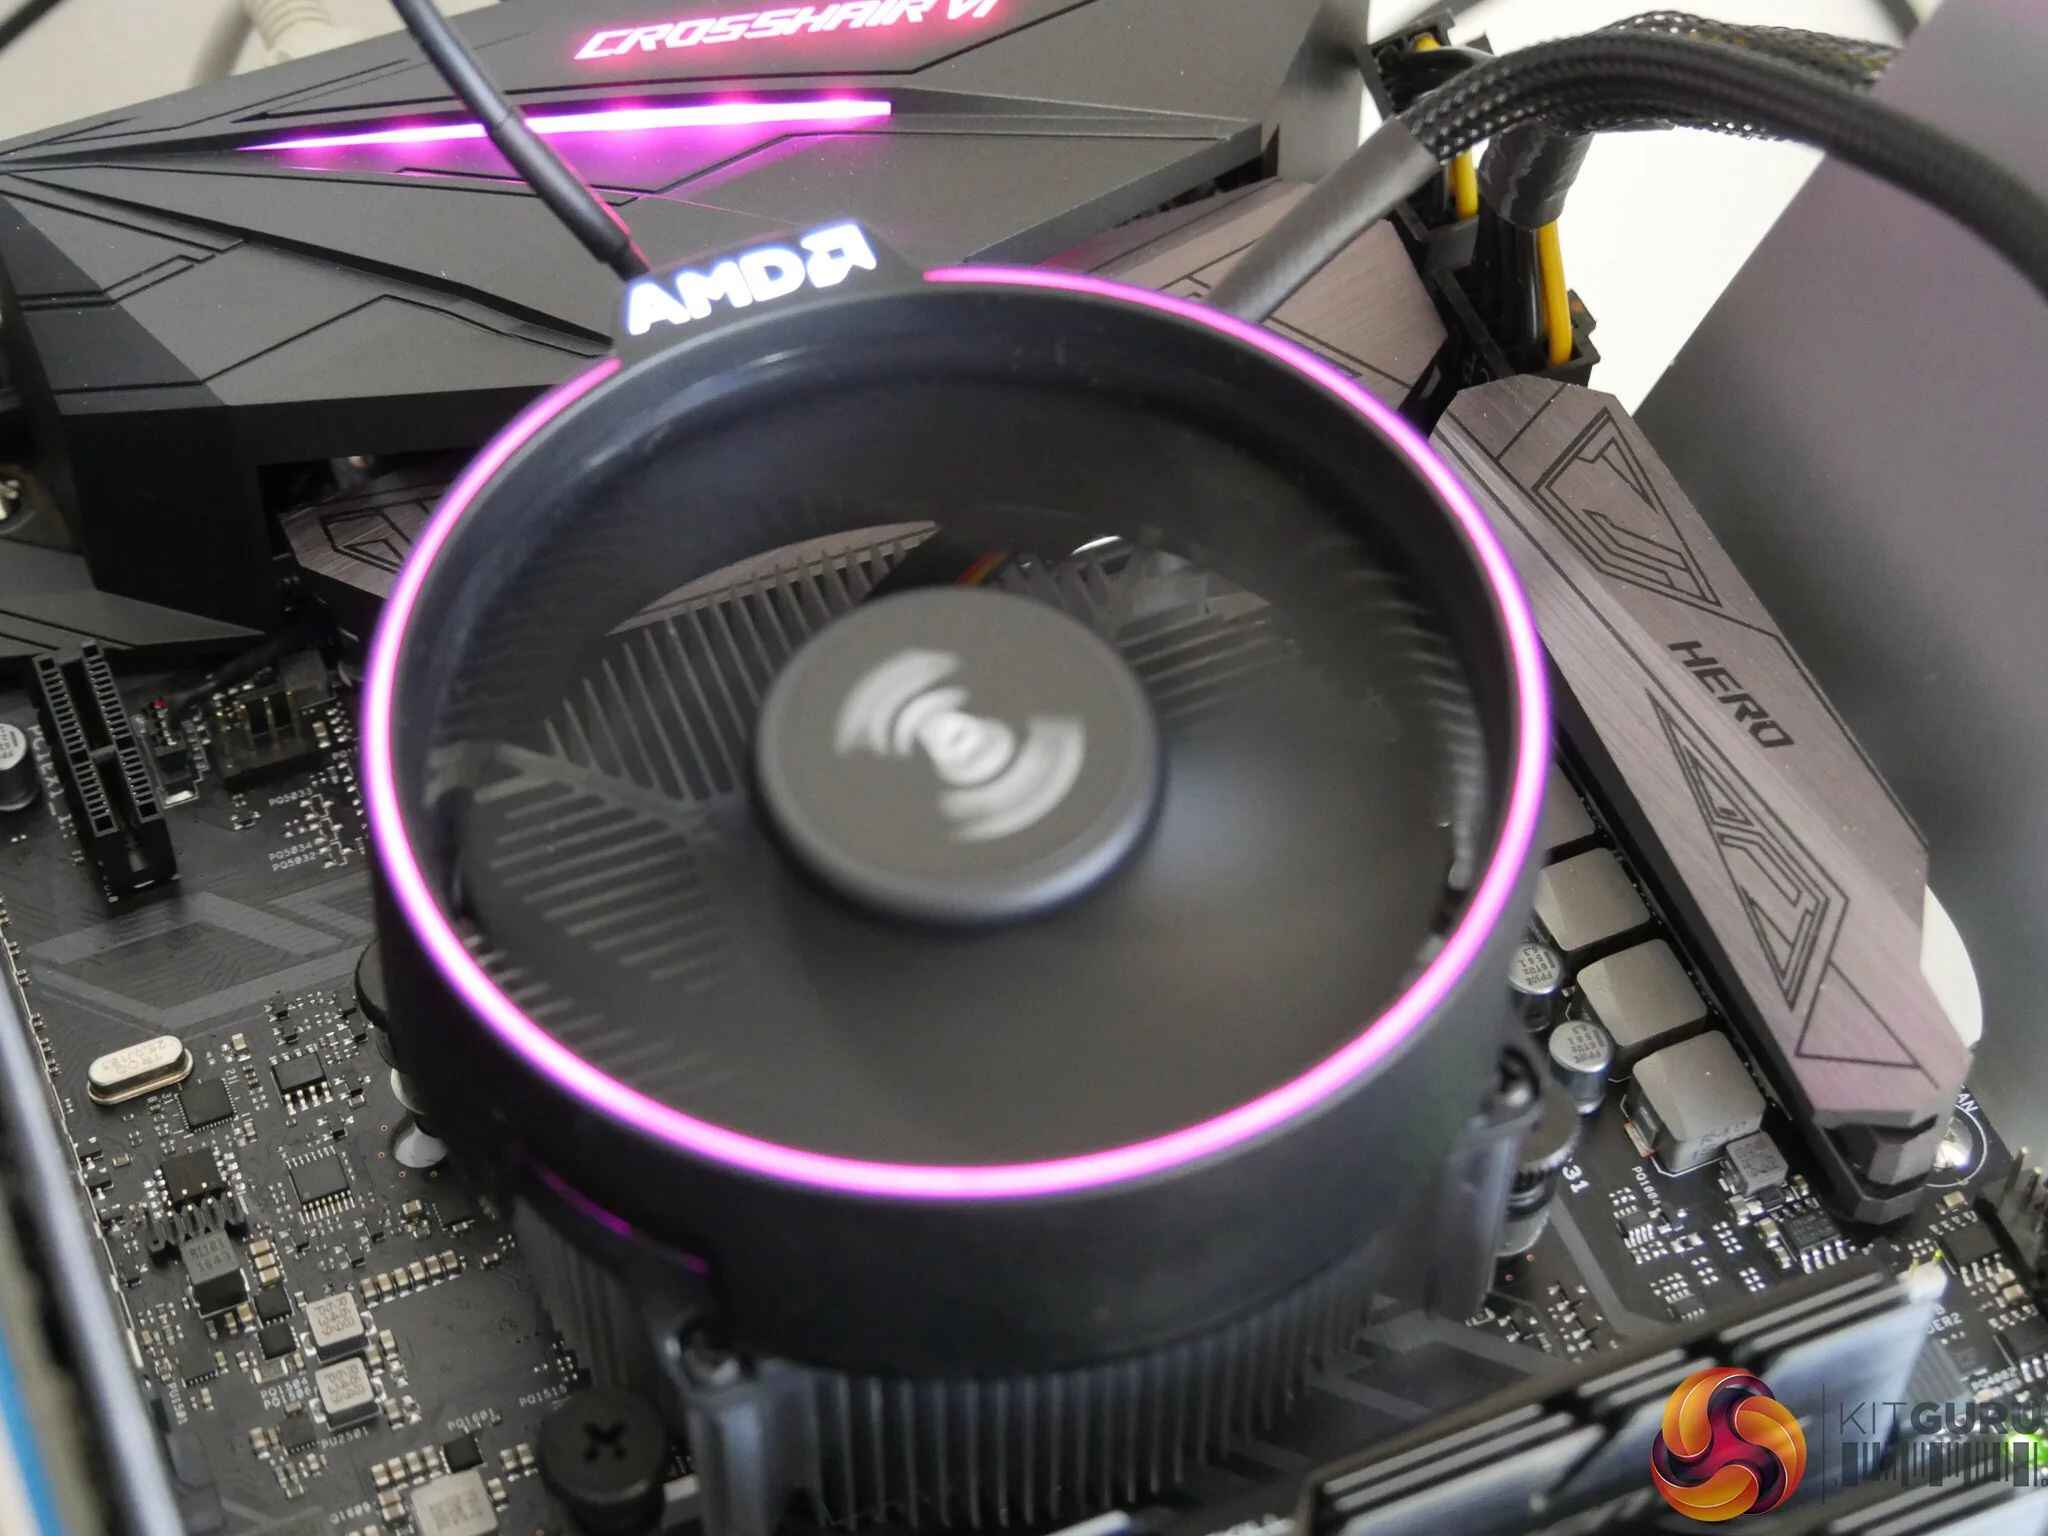
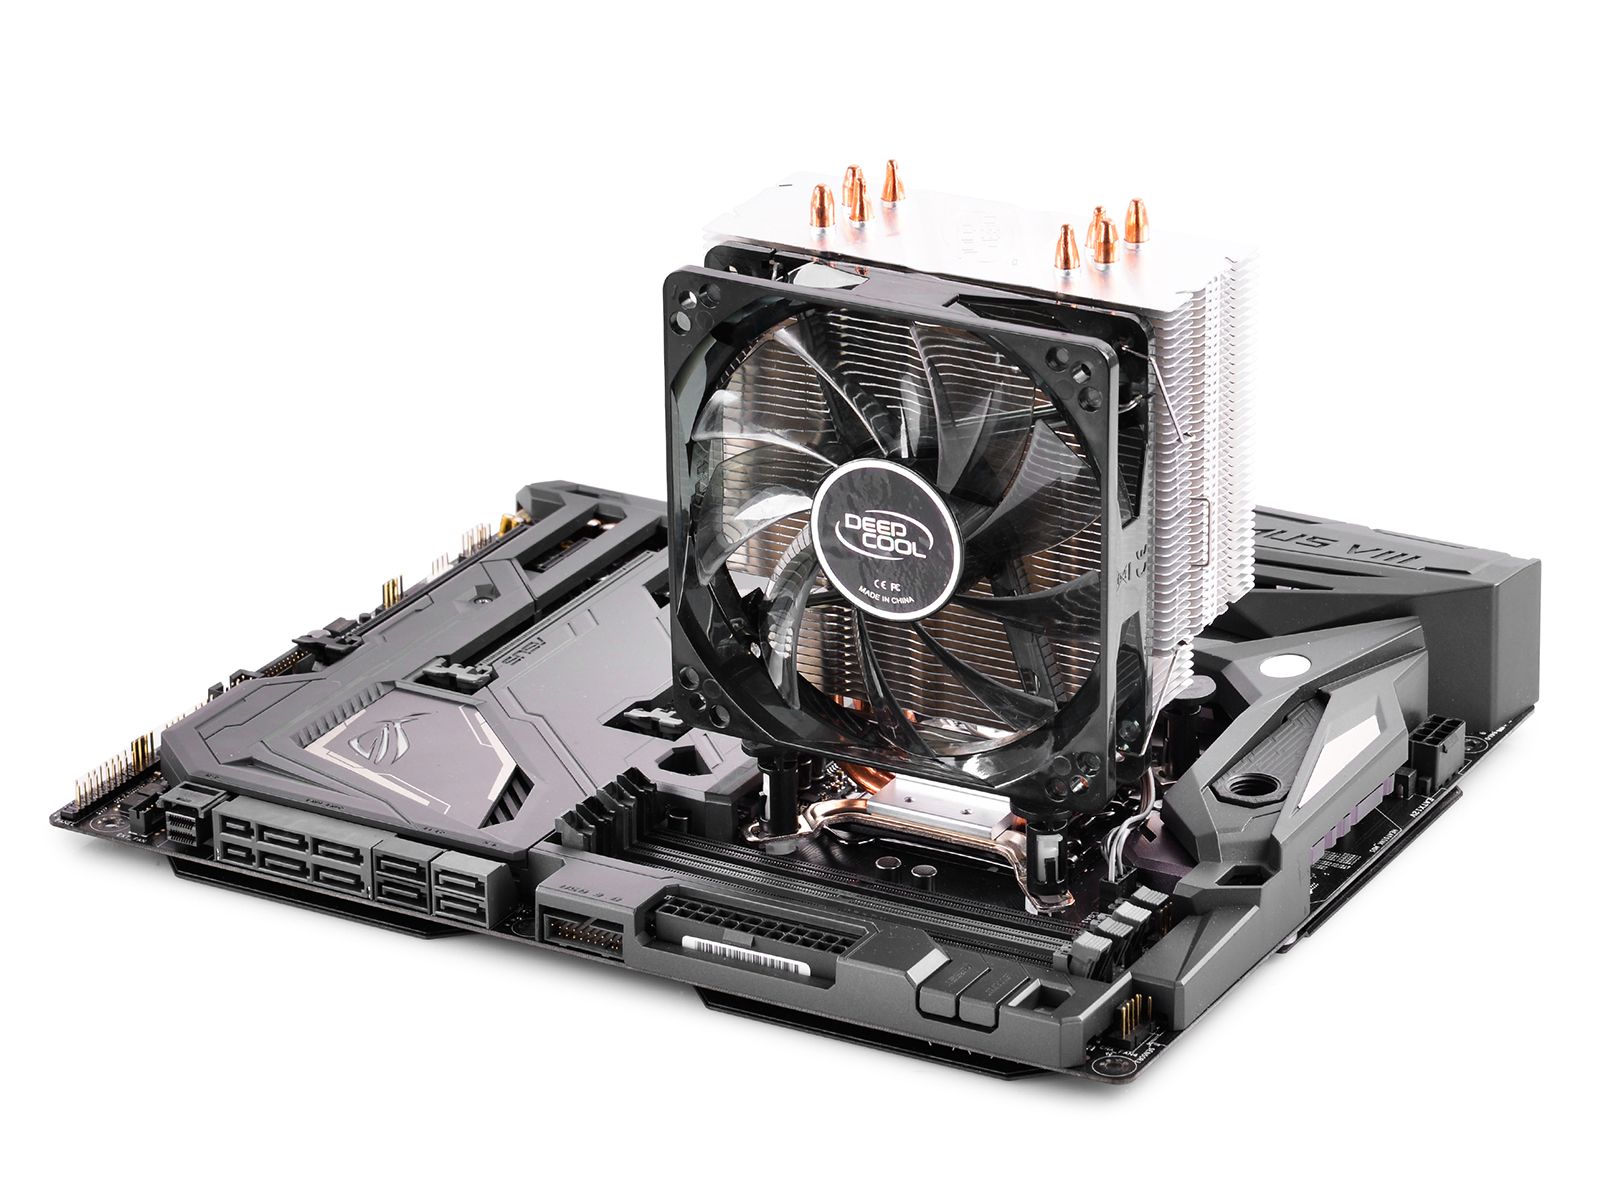
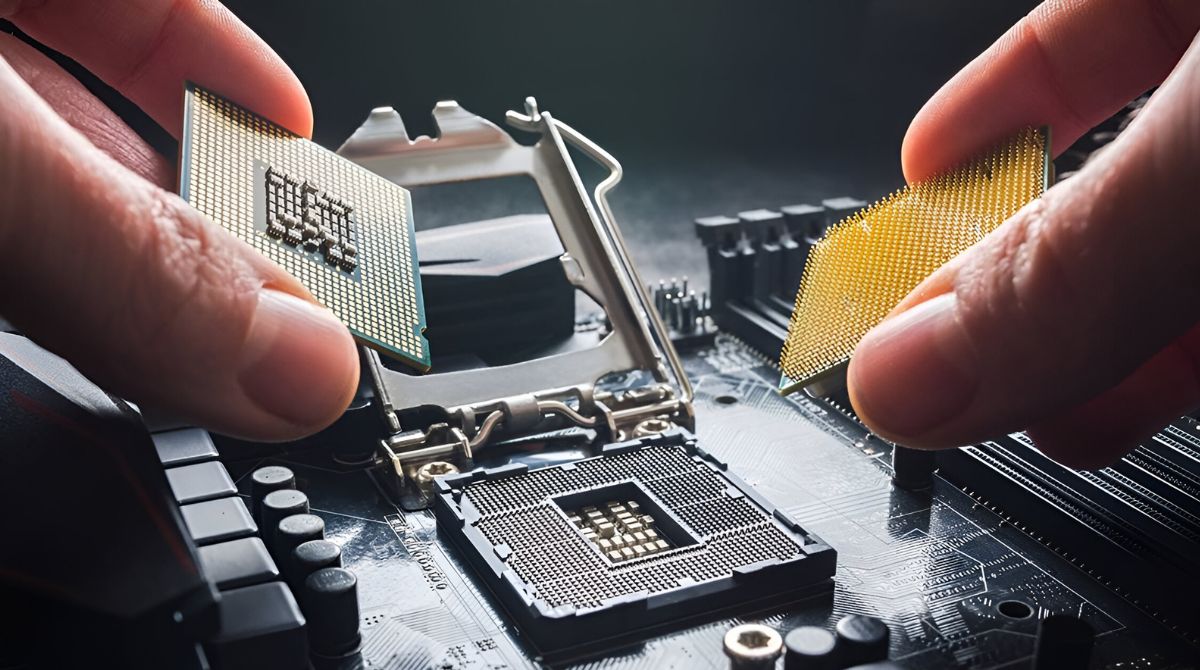
Step 5: Installing the Intel CPU cooler onto the AMD board
Now that you have prepared the AMD board and applied the thermal paste, it’s time to install the Intel CPU cooler onto the board. Follow these steps to ensure a secure and proper installation:
- Take the Intel CPU cooler and align it with the mounting holes on the AMD board. Ensure that the cooler is oriented correctly, with the fan facing towards the outside of the computer case.
- Gently lower the cooler onto the CPU, making sure that the screws or mounting brackets align with the corresponding holes on the board. Be careful not to apply excessive force, as it may damage the CPU or the board.
- Once the cooler is properly aligned, begin screwing in the screws or securing the mounting brackets, depending on the mounting mechanism used by your Intel CPU cooler. Make sure to tighten them evenly in a diagonal pattern to ensure a balanced and secure installation.
- Be mindful not to overtighten the screws, as it may damage the CPU or cause uneven pressure distribution. Refer to the manufacturer’s instructions for the recommended tightness level.
During this step, it’s important to be cautious and handle the cooler with care to prevent any damage to the components. Take your time and double-check the alignment before proceeding to tighten the screws or brackets.
Remember that different Intel CPU coolers may have different mounting mechanisms, so it’s crucial to refer to the cooler’s manual or manufacturer’s instructions for specific installation guidelines.
With the Intel CPU cooler securely installed, you’re now one step away from completing the installation process. The next step will guide you through securing the cooler in place.
Step 6: Securing the cooler in place
After successfully installing the Intel CPU cooler onto the AMD board, your next step is to secure the cooler in place. Properly securing the cooler ensures stability and prevents any unwanted movement that could affect cooling performance. Follow these steps to secure the cooler:
- Check that all screws or brackets are tightened properly but not excessively. Make sure each screw or bracket is secure but don’t overtighten them, as it may damage the CPU socket or cooler.
- Double-check the alignment of the cooler to ensure it is centered over the CPU and not tilted or off-balanced.
- If your Intel CPU cooler comes with additional retention clips or brackets, ensure they are securely attached to the cooler and fit snugly into the corresponding slots on the AMD board. This will provide added stability and prevent any accidental movement.
- Inspect the surrounding area around the cooler to ensure that no cables or components are obstructing the fan or the heat sink. Clear any obstructions to allow proper airflow and cooling efficiency.
Once the cooler is securely in place, give it a gentle shake or press down lightly to ensure it’s stable and doesn’t shift. If you notice any movement or instability, double-check the mounting screws or brackets and make any necessary adjustments.
It’s important to note that every CPU cooler will have its own unique mounting mechanism and instructions. Therefore, it’s crucial to refer to the manufacturer’s instructions or manual for specific guidance on securing the cooler in place.
With the cooler securely fastened, you’re ready to move on to the next step: connecting the fan cables.
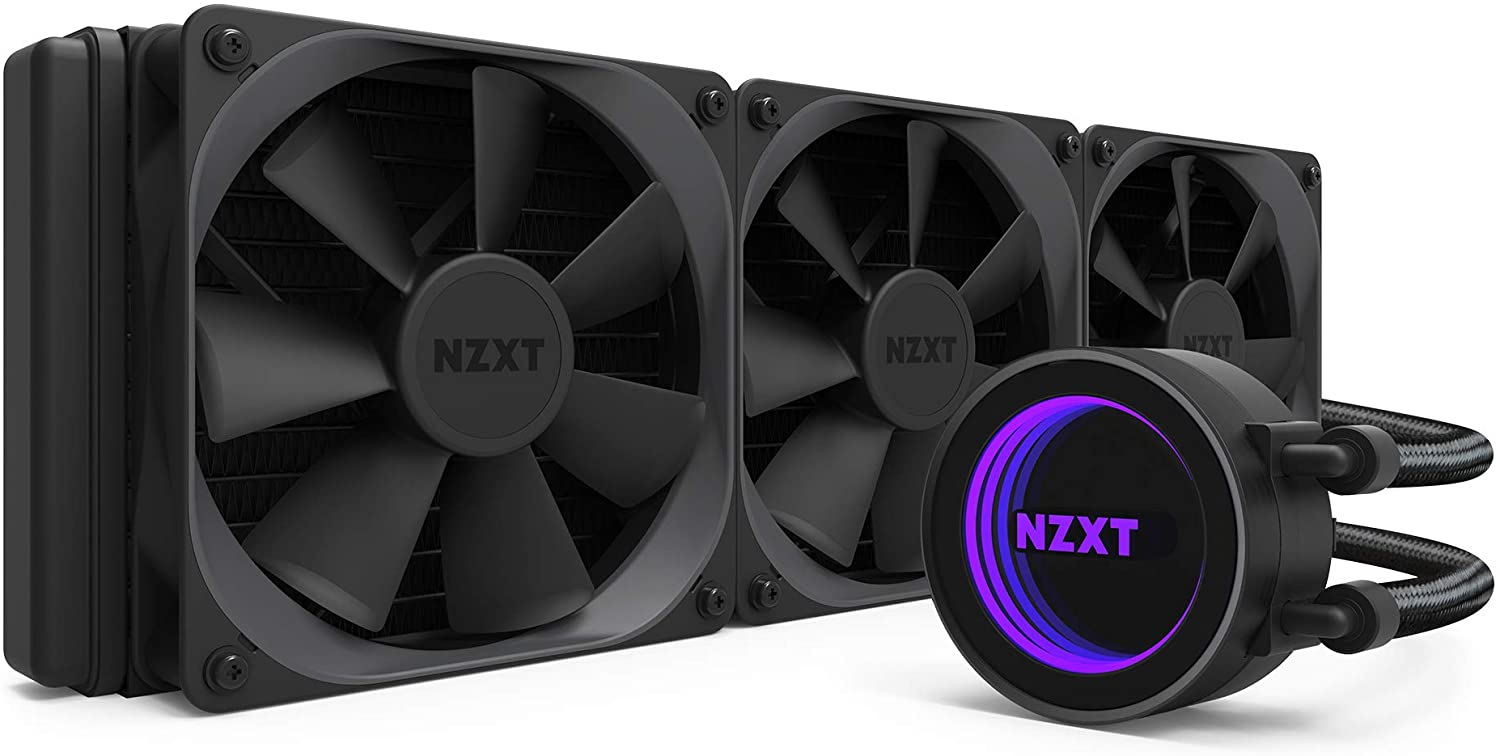
Step 7: Connecting the fan cables
Once the Intel CPU cooler is securely installed and in place, the next step is to connect the fan cables. This step ensures that the cooler’s fan is properly powered and able to provide efficient cooling to the CPU. Follow these steps to connect the fan cables:
- Locate the fan header on the AMD board where you will connect the Intel CPU cooler’s fan. This header is often labeled “CPU_FAN” or similar.
- Take the fan cable from the Intel CPU cooler and locate the corresponding connector. It is usually a three- or four-pin connector.
- Align the pins on the connector with the holes on the fan header and gently push the connector onto the header. Make sure it fits snugly and is fully seated.
- Ensure that the cable is positioned such that it does not obstruct any other components or cables in the case. Proper cable management helps maintain an organized and efficient airflow within the computer.
Connecting the fan cables ensures that the cooler’s fan can operate and provide cooling as intended. The fan will automatically adjust its speed based on the CPU’s temperature, allowing for optimal cooling performance.
It’s important to note that some Intel CPU coolers may have additional cables or features, such as RGB lighting or fan control options. If your cooler has any additional cables, consult the manufacturer’s instructions or manual for specific guidance on connecting and configuring them.
Once the fan cables are properly connected, you’re almost done with the installation process. The next step will guide you through testing the installation to ensure everything is functioning correctly.
Step 8: Testing the installation
After completing the installation of the Intel CPU cooler on your AMD board, it’s crucial to test the installation to ensure that everything is functioning correctly. This step will help you verify that the cooler is effectively cooling the CPU and that there are no issues that need to be addressed. Follow these steps to test the installation:
- Close the computer case and secure the side panel with the appropriate screws.
- Connect the power cable to your computer and turn it on.
- Enter the BIOS or UEFI settings by pressing the designated key during the boot process. The key to access the BIOS or UEFI settings varies depending on the motherboard manufacturer (common keys include F2, Del, or Esc).
- Once in the BIOS or UEFI settings, navigate to the hardware or monitor section to check the CPU temperature readings. Different motherboard models and BIOS versions may have varying menus and options, so refer to the motherboard’s manual for specific guidance.
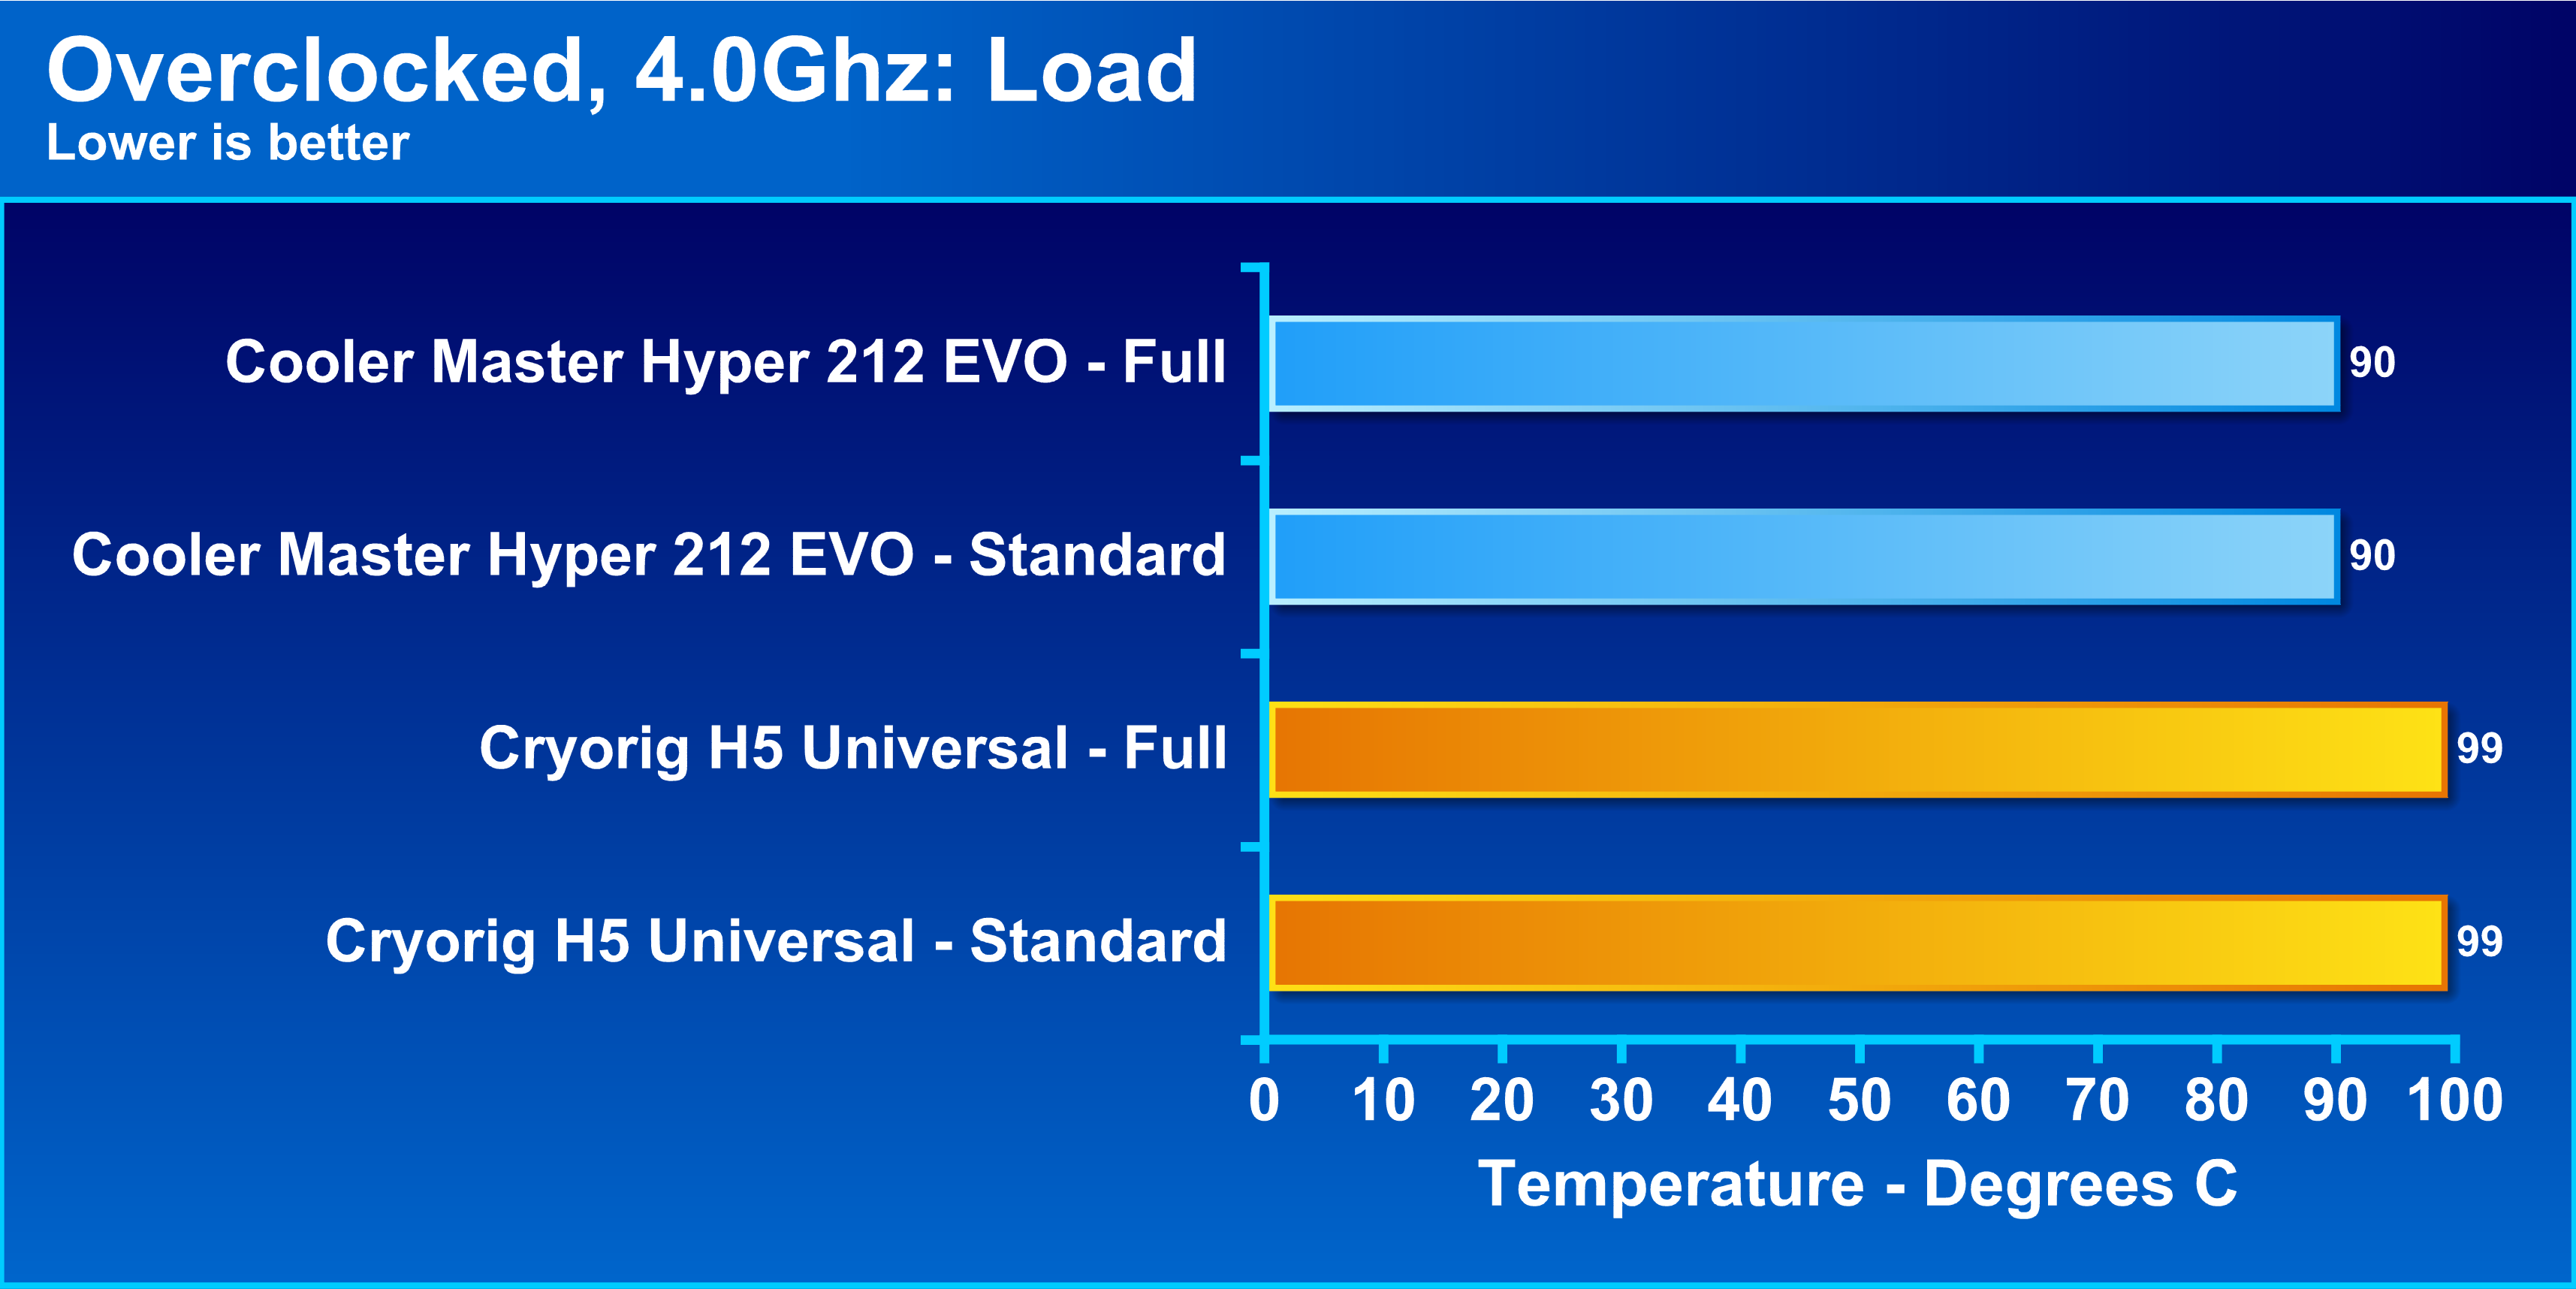
- Observe the CPU temperature readings and ensure they are within normal operating range. Normal temperatures vary depending on the CPU model, but generally, temperatures below 80°C are considered acceptable under load.
- Monitor the CPU temperature for a few minutes to ensure it remains stable and doesn’t rapidly increase or fluctuate excessively. This will indicate that the cooler is effectively dissipating heat from the CPU.
- If you notice high CPU temperatures or significant temperature fluctuations, double-check the mounting of the Intel CPU cooler, ensuring it is properly seated, and the thermal paste is applied correctly. It’s also important to verify that the fan on the cooler is spinning and functioning properly.
By testing the installation and monitoring the CPU temperatures, you can ensure that the Intel CPU cooler is effectively cooling the CPU, which is vital for optimal performance and longevity.
If you encounter any issues or notice abnormal temperature readings, consult the CPU cooler’s manual or the manufacturer’s support for troubleshooting steps. They can provide specific guidance tailored to your particular model.
Once you have tested the installation and confirmed that everything is functioning as expected, congratulations! You have successfully installed an Intel CPU cooler on your AMD board.
Conclusion
Installing an Intel CPU cooler on an FM2 AMD board may seem like a daunting task, but with the right tools, materials, and following the step-by-step instructions provided in this guide, it can be a smooth and successful process.
Gathering all the necessary tools and materials, removing the old cooler (if applicable), preparing the AMD board, applying thermal paste, installing the Intel CPU cooler, securing it in place, connecting the fan cables, and testing the installation are the crucial steps involved in this process.
Remember to refer to the manufacturer’s instructions or manual specific to your Intel CPU cooler model, as there may be slight variations in the installation procedure.
Throughout the installation, exercise caution, pay attention to details, and take your time to ensure a proper and secure fit. Be mindful of the CPU temperatures during the testing phase to ensure effective cooling and optimal performance.
By successfully installing an Intel CPU cooler on your AMD board, you can experience improved cooling efficiency, which can lead to better overall system performance and longevity.
If you encounter any difficulties or are unsure about any step, it is recommended to seek assistance from a professional or reach out to the manufacturer’s support for further guidance.
Now that you have completed the installation, enjoy the benefits of a properly cooled CPU and a smoother computing experience.