Introduction
Welcome to the ultimate guide on how to screw in a CPU cooler! Whether you’re a seasoned computer enthusiast or a beginner looking to tackle your first PC build, understanding the process of installing a CPU cooler is essential. A properly installed and efficient CPU cooler plays a crucial role in maintaining the temperature and overall performance of your processor.
In this guide, we will take you through a step-by-step process, ensuring that you can confidently and correctly install your CPU cooler. From gathering the necessary tools to securing the cooler in place, we will cover all the essential details.
Before we dive into the installation process, it’s important to note that CPU cooler installation might slightly vary depending on the type of cooler and motherboard you have. Therefore, we recommend referring to the manufacturer’s instructions specific to your CPU cooler model for any additional guidance.
Now, without further ado, let’s get started on the journey of screwing in a CPU cooler!
Step 1: Gather the necessary tools
Before you begin the installation process, it’s important to gather all the necessary tools and materials. Having everything within reach will make the installation process smoother and more efficient. Here’s a list of essential tools you will need:
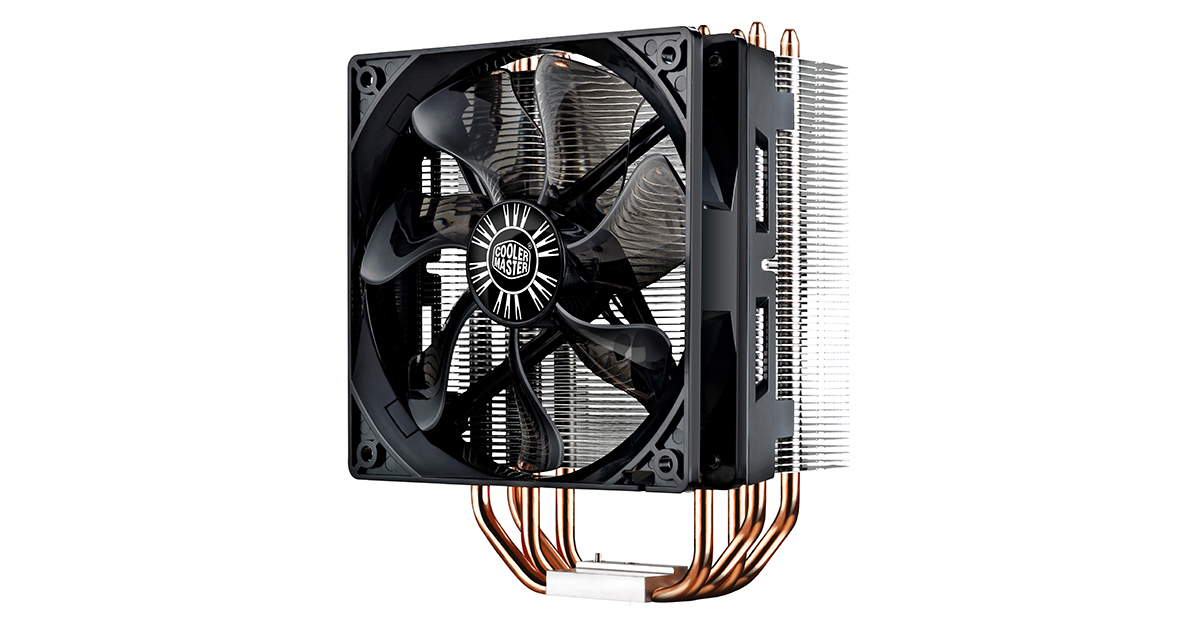
- A CPU cooler – Make sure you have a compatible CPU cooler that fits your processor socket.
- Thermal paste – This is crucial for ensuring proper heat transfer between the CPU and the cooler. Most coolers come with pre-applied thermal paste, but it’s always a good idea to have some on hand.
- Screwdriver – Depending on your CPU cooler, you may need a specific type of screwdriver, such as a Phillips or hex key driver.
- Lint-free cloth or microfiber cloth – This will be used to clean the CPU and remove any old thermal paste residue.
- Isopropyl alcohol – To clean the CPU and remove any oil or debris.
- CPU cooler mounting brackets or backplate – Some CPU coolers may require additional mounting brackets or a backplate to secure the cooler in place.
- User manual – The user manual that comes with your CPU cooler will provide detailed instructions specific to your cooler model.
Once you have gathered these tools, ensure that your workstation is clean and well-lit. Having a clutter-free and organized workspace will make the installation process much easier. It’s also a good idea to ground yourself to prevent any accidental damage to sensitive electronic components.
Now that you have all the necessary tools, it’s time to move on to the next step: removing the old CPU cooler.
Step 2: Removing the old CPU cooler
Before you can install a new CPU cooler, you’ll need to remove the old one. Removing the old CPU cooler requires careful handling to avoid any damage to the processor or other components. Here’s how you can safely remove the old CPU cooler:
- Power off your computer – Start by shutting down your computer and unplugging it from the power source. This step is crucial to ensure your safety and prevent any electrical damage.
- Remove the side panel – Open the computer case by removing the side panel. Depending on the case design, you may need to remove screws or use a latch mechanism. Refer to your case manual for specific instructions.
- Disconnect the fan cable – Locate the fan cable connected to the CPU cooler. Gently unplug the cable from the motherboard. If there is a fan shroud or any clips holding the cable, carefully release them.
- Unscrew the CPU cooler – Identify the screws or mounting mechanism securing the CPU cooler to the motherboard. Use the appropriate screwdriver to slowly and evenly unscrew the screws in a diagonal pattern. This helps to prevent any pressure imbalances.
- Remove the CPU cooler – Once all the screws are removed, carefully lift the CPU cooler away from the motherboard. Be cautious as there might still be some resistance due to the thermal paste.
- Clean the CPU – Take a lint-free cloth or microfiber cloth and dip it in isopropyl alcohol. Gently wipe the CPU surface to remove any thermal paste residue or debris. Ensure that the surface is clean and dry before proceeding to the next step.
Once you have successfully removed the old CPU cooler and cleaned the CPU surface, you’re now ready to move on to the next step: preparing the CPU for the new cooler.
Step 3: Preparing the CPU for the new cooler
Now that the old CPU cooler has been removed and the CPU surface is clean, it’s time to prepare the CPU for the new cooler. This step involves a few important considerations to ensure a secure and effective installation. Let’s dive into the details:
- Inspect the CPU socket and pins – Take a moment to inspect the CPU socket to ensure that there are no damaged pins or debris. Any bent or broken pins could cause issues during installation, so it’s crucial to address them before proceeding.
- Check the compatibility – Ensure that the new CPU cooler is compatible with your motherboard and CPU socket. Refer to the manufacturer’s instructions or specifications to confirm compatibility.
- Identify the CPU socket lever – Locate the lever on the CPU socket that secures the CPU in place. It’s important to have a clear understanding of how the lever functions for smooth installation.
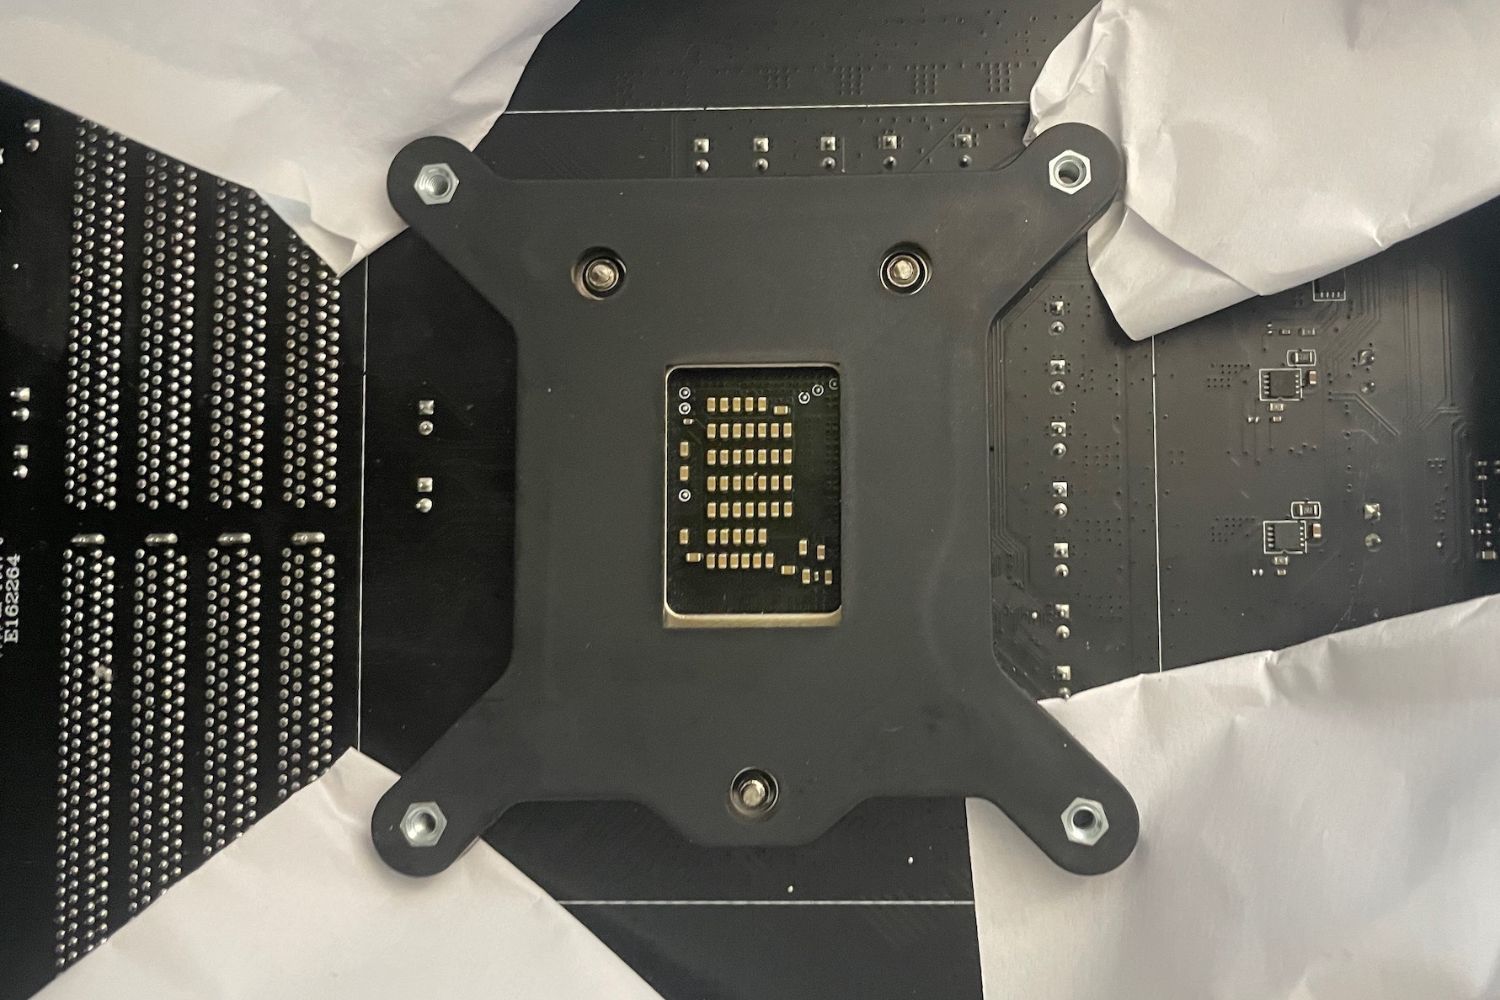
- Apply the CPU cooler mounting brackets or backplate – Some CPU coolers may require additional mounting brackets or a backplate for proper installation. Attach the appropriate mounting hardware according to the manufacturer’s instructions.
- Ensure proper orientation – Examine the CPU cooler and identify any markings or indicators that indicate the correct orientation. Improper alignment can hinder performance and potentially damage the CPU.
- Double-check the thermal paste – If your CPU cooler doesn’t come with pre-applied thermal paste, now is the time to apply it. Use a small, pea-sized amount of thermal paste on the center of the CPU, ensuring that it will spread evenly when the cooler is installed.
By carefully preparing the CPU for the new cooler, you set the foundation for a successful installation. With these steps completed, you’re now ready to move on to the next important phase: applying thermal paste.
Step 4: Applying thermal paste
Applying thermal paste is a critical step in the CPU cooler installation process. Thermal paste helps facilitate heat transfer between the CPU and the cooler, ensuring optimal cooling performance. Here’s how you can apply thermal paste correctly:
- Prepare the thermal paste – If your CPU cooler comes with pre-applied thermal paste, you can skip this step. However, if you need to apply thermal paste yourself, squeeze a small amount (about the size of a pea) onto the center of the CPU surface.
- Spread the thermal paste – Using a thermal paste spreading tool or the cooler itself, gently spread the thermal paste in a thin, even layer over the CPU surface. Be careful not to apply too much pressure, as it can cause an uneven application.
- Ensure full coverage – The goal is to have the thermal paste cover the entire surface of the CPU. Check for any areas that might be missed or unevenly covered and adjust as necessary.
- Avoid excess thermal paste – It’s important not to use an excessive amount of thermal paste, as this can lead to overheating or spillage. A thin layer is sufficient for optimal heat transfer.
- Double-check alignment – Before proceeding to the next step, double-check that the CPU cooler is properly aligned with the CPU and ready for installation.
Properly applying thermal paste ensures that there are no air gaps between the CPU and the cooler, maximizing heat dissipation. With the thermal paste applied, it’s time to move on to the next step: installing the new CPU cooler.
Step 5: Installing the new CPU cooler
The installation of the new CPU cooler is a crucial step in ensuring proper cooling performance for your processor. This step requires careful alignment and secure attachment to the motherboard. Follow these steps to install your new CPU cooler:
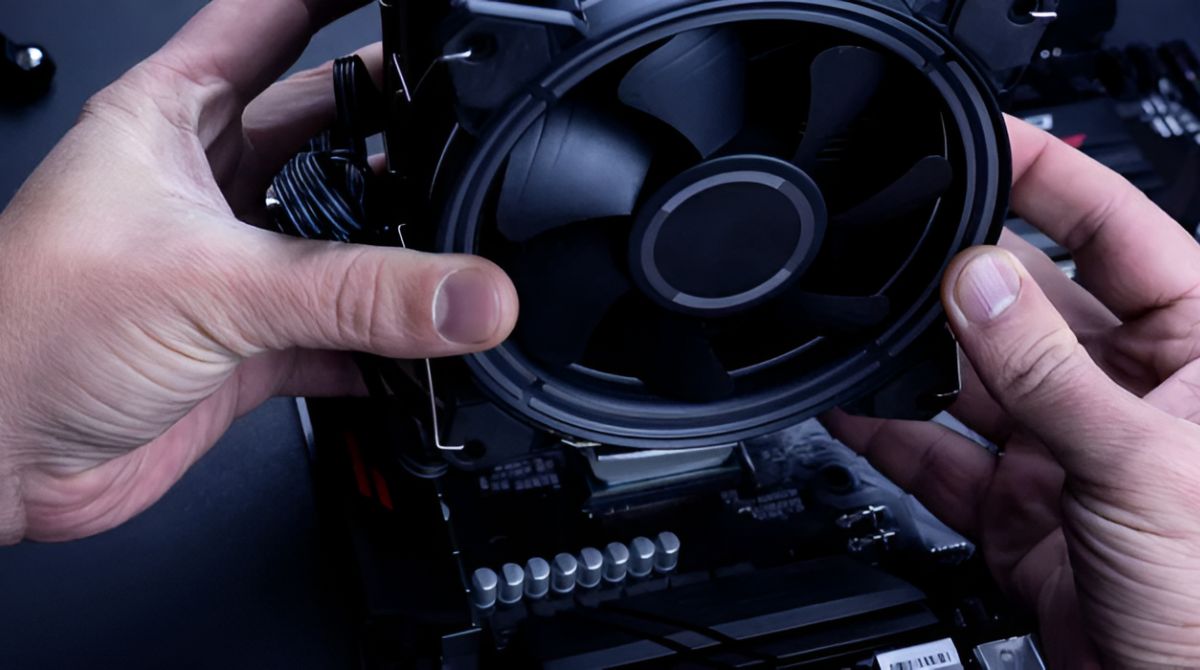
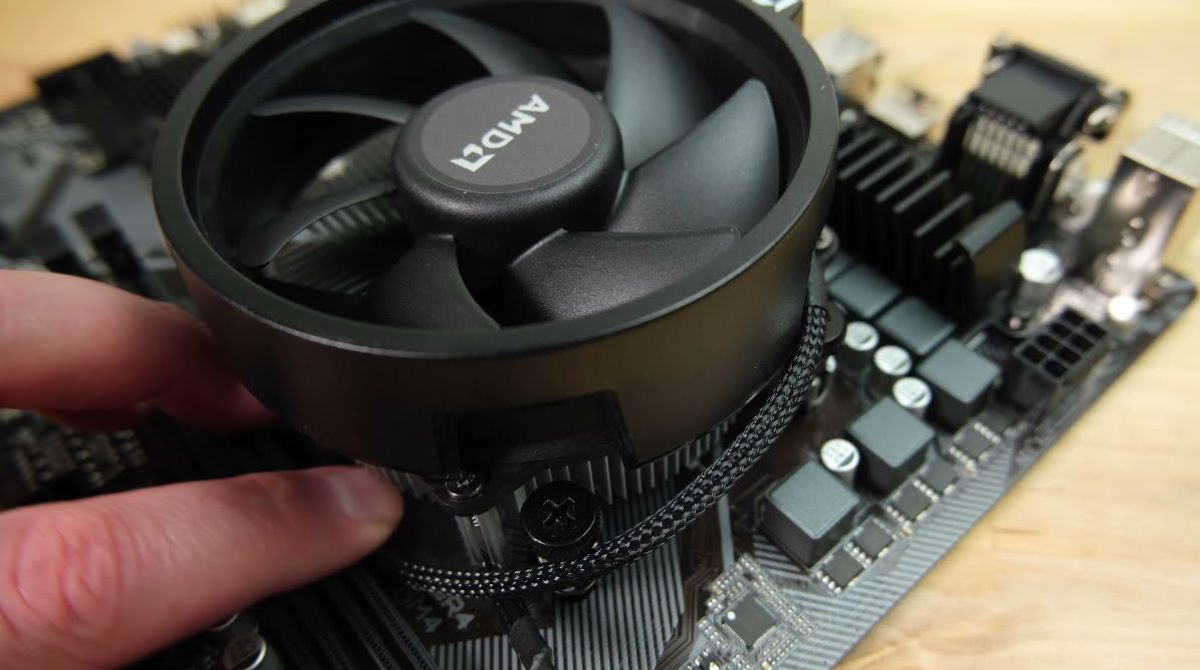
- Align the CPU cooler – Gently place the CPU cooler onto the CPU, ensuring that it aligns correctly with the CPU socket. Take note of any notches or markings on the cooler that indicate the correct orientation.
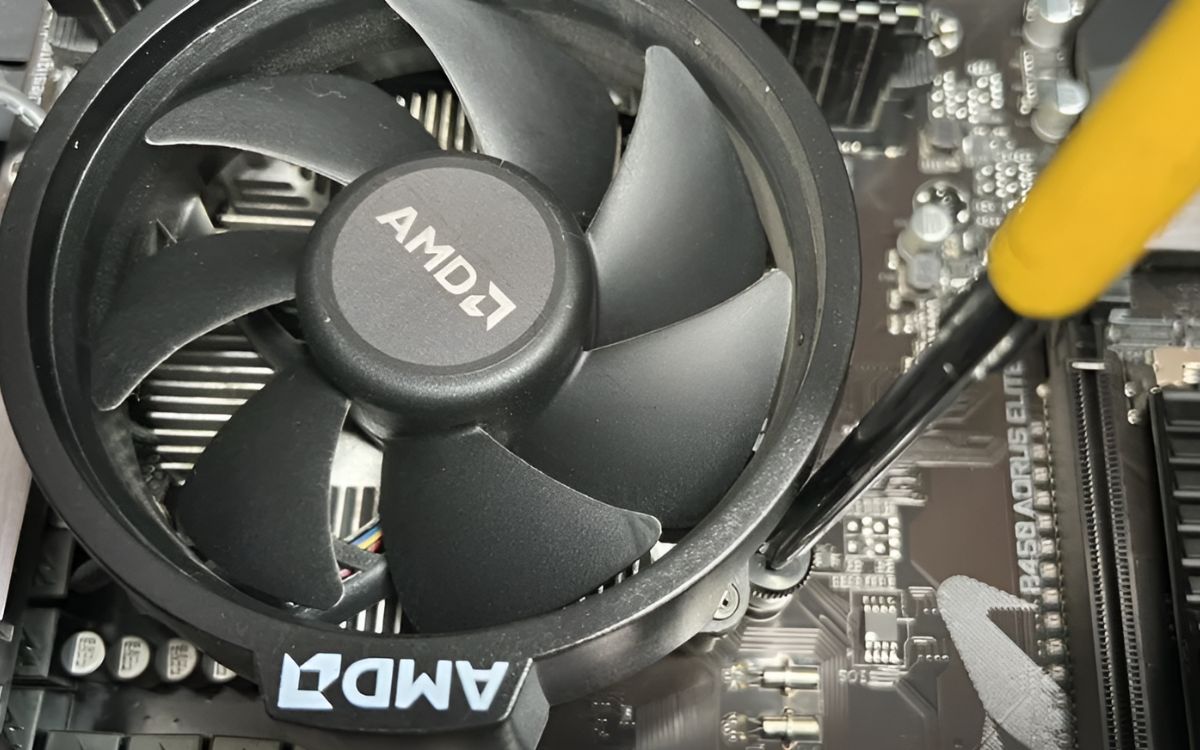
- Secure the CPU cooler – Depending on the type of CPU cooler you have, there may be different mounting mechanisms. Follow the manufacturer’s instructions to secure the cooler in place. This may involve attaching screws, fastening clips, or tightening brackets.
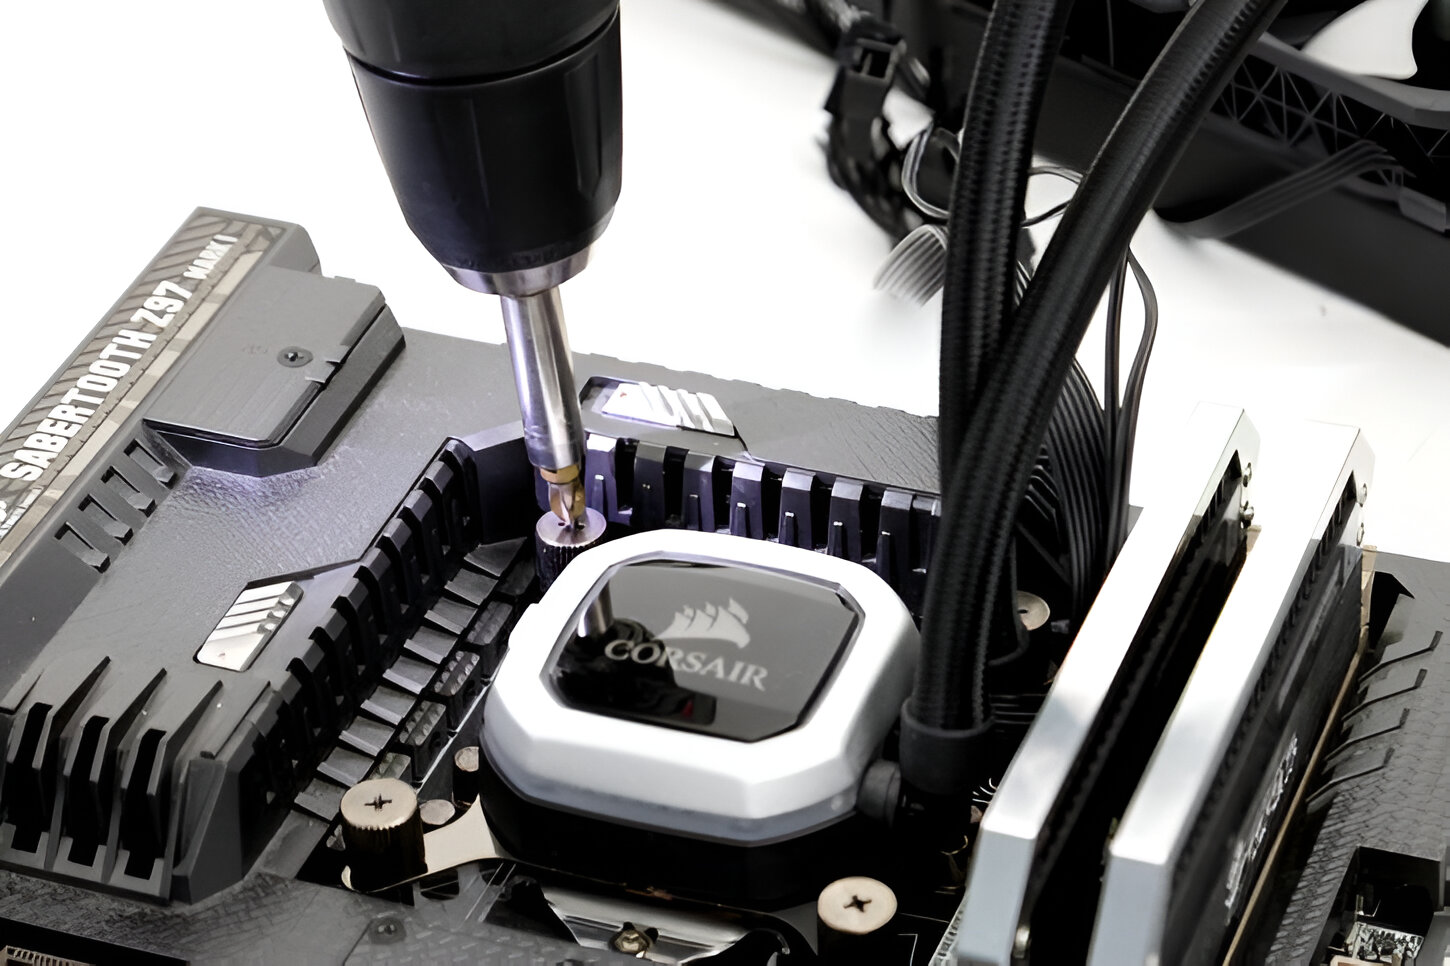
- Screw in the CPU cooler – Starting with one corner, gradually and evenly tighten the screws or clips in a diagonal pattern. This helps to ensure even pressure distribution and prevent any damage to the CPU or motherboard.
- Avoid over-tightening – While it’s important to secure the CPU cooler firmly, be cautious not to over-tighten the screws or clips. Over-tightening can lead to stress on the motherboard and potential damage.
Throughout the installation process, make sure to handle the CPU cooler with care and avoid any unnecessary movements or pressure on the motherboard. By following these steps, you will successfully install the new CPU cooler and move closer to completing your PC build.
Now that the CPU cooler is securely installed, it’s time to proceed to the next step: securing the CPU cooler in place.
Step 6: Securing the CPU cooler
Now that you have installed the new CPU cooler, it’s important to ensure that it is securely fastened in place. This step involves double-checking the tightness of screws, clips, or brackets to prevent any accidental dislodgment or movement. Let’s dive into the details of securing the CPU cooler:
- Tighten the screws or clips – Once the CPU cooler is attached, use a screwdriver or any appropriate tool to verify that all screws or clips are tightened securely. Be sure to follow the manufacturer’s recommendations for torque specifications, if provided.
- Double-check for stability – Gently give the CPU cooler a slight shake to check for any wobbling or loose connections. If you notice any movement, re-tighten the screws or clips until the CPU cooler feels stable.
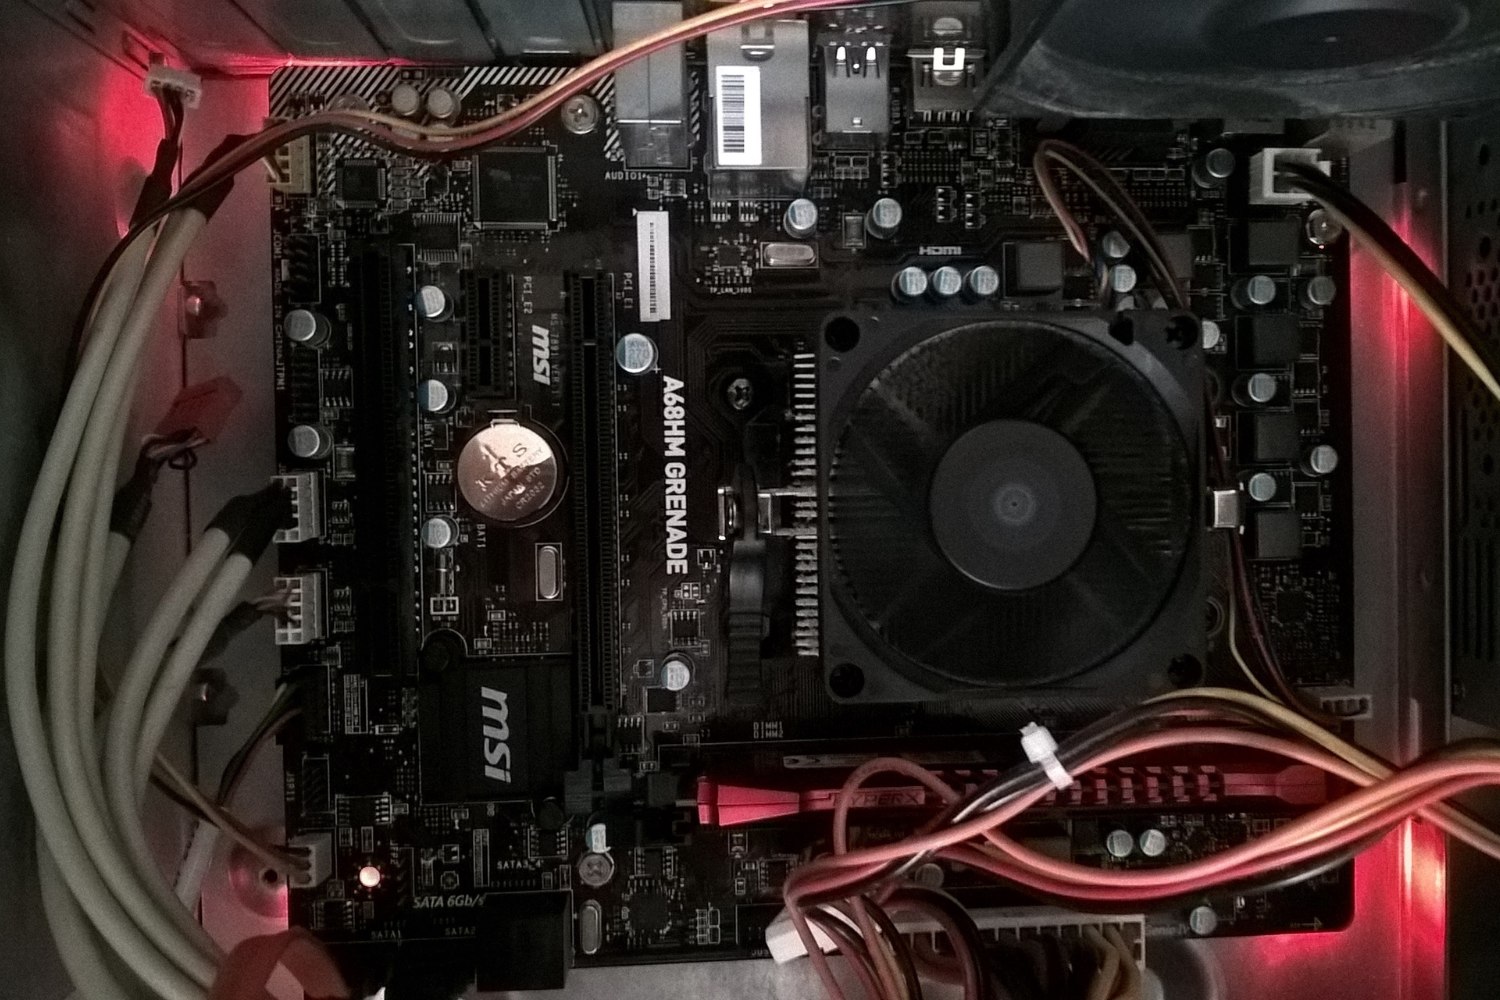
- Inspect for unwanted contact – Check that the CPU cooler is not making contact with any nearby components, such as RAM modules or motherboard heatsinks. If necessary, adjust the position of the cooler to avoid any interference.
- Consider using anti-vibration measures – If your CPU cooler comes with rubber grommets or anti-vibration pads, make sure they are properly installed. These measures help reduce noise and prevent any unwanted vibrations.
By ensuring that the CPU cooler is securely fastened, you minimize the risk of any potential damage or disruption to its functionality. Take your time during this step to meticulously check all connections and make necessary adjustments.
With the CPU cooler now securely in place, it’s time to move on to the next step: connecting the fan cables.
Step 7: Connecting fan cables
Now that the CPU cooler is properly secured, it’s time to connect the fan cables to ensure proper cooling functionality. Properly connecting the fan cables ensures that the fans run at the correct speed and provide efficient cooling. Follow these steps to connect the fan cables:
- Locate the fan headers – Locate the fan headers on the motherboard that correspond to the CPU cooler. These headers are usually labeled and can be found near the CPU socket area.
- Identify the fan cables – Identify the cables coming from the CPU cooler fans. Most CPU coolers have one or more fans attached to them.
- Connect the fan cables – Align the connector pins on the fan cables with the fan headers on the motherboard. Gently push the cables onto the headers until they click into place. Ensure a secure and snug connection, but be careful not to apply excessive force.
- Organize the cables – Neatly arrange and manage the fan cables to avoid any interference with other components or fans in your system. Utilize cable ties or clips to secure the cables in place and keep them tidy.
By connecting the fan cables properly, you enable the CPU cooler fans to operate at their optimal speed, ensuring efficient cooling and maintaining a stable temperature for your processor.
With the fan cables connected, you’re almost done! The next step involves checking for proper installation to ensure everything is functioning as it should.
Step 8: Checking for proper installation
After completing the CPU cooler installation process, it’s important to perform a final check to ensure everything is properly installed and functioning as intended. This step will help you identify any potential issues and make any necessary adjustments. Here’s what you need to do:
- Power on your computer – Plug in your computer and power it on to start the boot-up process. Listen for any unusual or loud noises, which could indicate a misalignment or issue with the CPU cooler.
- Monitor temperature and fan speeds – Use monitoring software or access the BIOS to check the CPU temperature and fan speeds. Ensure that the CPU temperature is within normal limits and that the fan speeds are adjusting appropriately based on the workload.
- Check for proper airflow – Feel the airflow around the CPU cooler and ensure that there is consistent and sufficient airflow. Make sure that the CPU cooler fans are spinning and pushing air away from the CPU heatsink.
- Verify CPU cooler contact – Double-check that the CPU cooler has proper contact with the CPU and that the thermal paste has spread evenly. Uneven contact or gaps can lead to suboptimal cooling performance.
- Inspect for any loose connections – Carefully inspect all the connections, including the CPU cooler screws, fan cables, and any other components attached to the system. Ensure that everything is tightly secured.
By performing these checks, you can ensure that the CPU cooler is functioning properly and that the installation was successful. If you notice any issues or abnormalities during this check, take the necessary steps to address them, such as reseating the CPU cooler or adjusting fan speeds in the BIOS.
With the final check complete, you have successfully installed and validated the proper installation of your new CPU cooler. Congratulations!
Conclusion
Congratulations! You have successfully completed the process of installing a CPU cooler. By following the step-by-step guide outlined in this article, you can ensure that your processor remains cool and performs optimally.
Throughout the installation process, it’s important to remain cautious and handle all components with care to avoid any damage. Remember to refer to your specific CPU cooler’s manual for any additional instructions or guidelines that may apply to your particular model.
By gathering the necessary tools, removing the old CPU cooler, preparing the CPU for the new cooler, applying thermal paste correctly, and securely installing the new CPU cooler, you have completed the foundation of a well-cooled system.
After connecting the fan cables and performing a thorough check for proper installation, it’s time to sit back, power on your computer, and enjoy the benefits of a well-functioning CPU cooler. Monitor your CPU temperatures periodically to ensure optimal cooling performance.
Remember, a properly installed and efficient CPU cooler not only helps maintain low temperatures but also extends the lifespan and performance of your processor. So, take pride in your accomplishment and revel in the knowledge that your CPU is in good hands.
Thank you for following this guide, and happy computing!