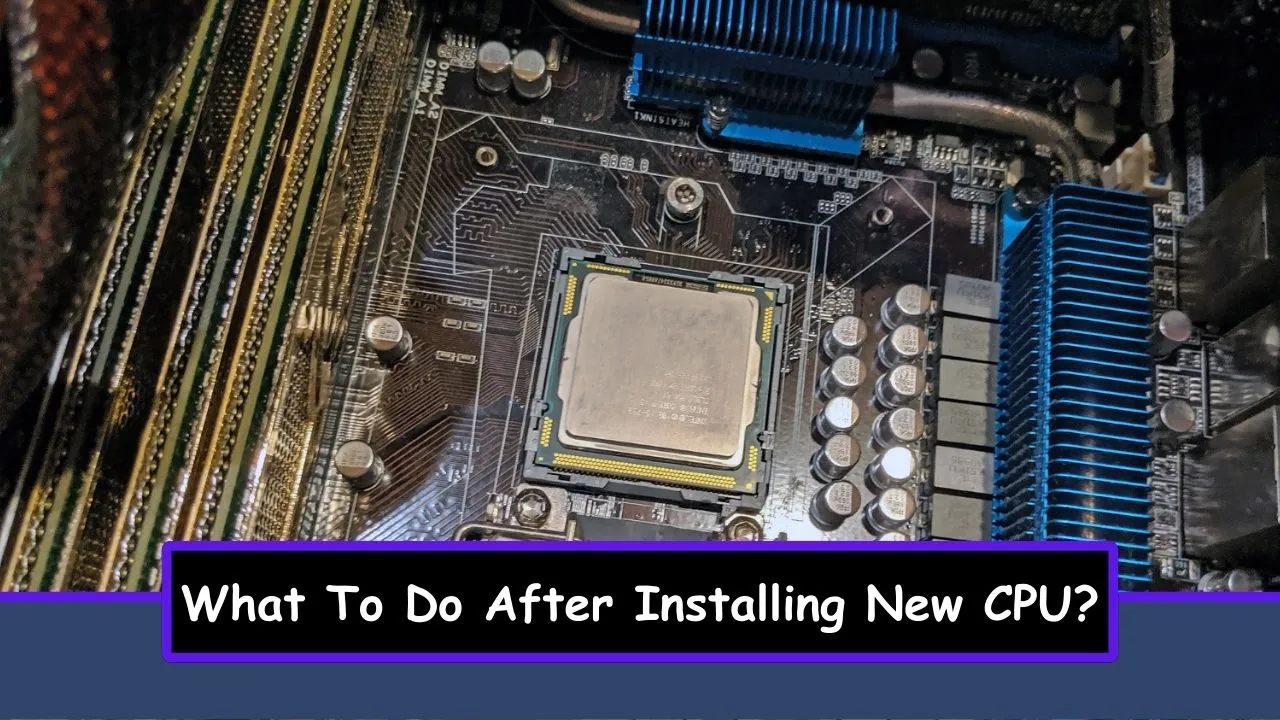
After installing new CPU, your first priority is a clean, successful boot, not benchmarking. This means verifying your cooler is powered and your motherboard recognizes the processor before you install any software, which prevents common post-upgrade panic and hardware damage.
First power-on after installing a new CPU: Immediate physical verification
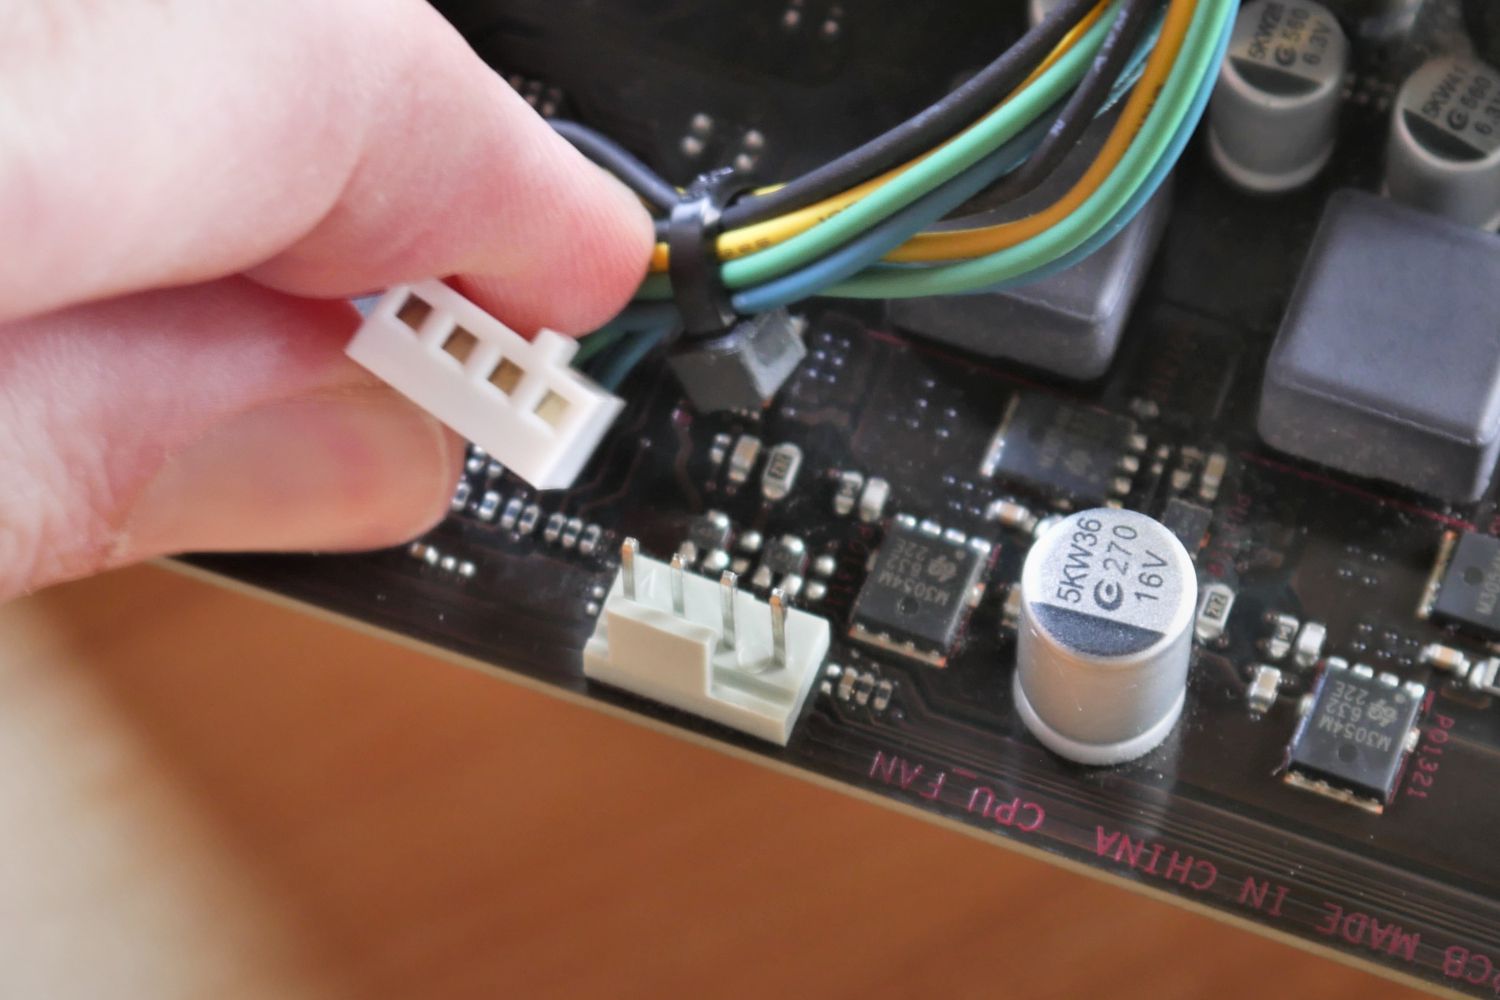
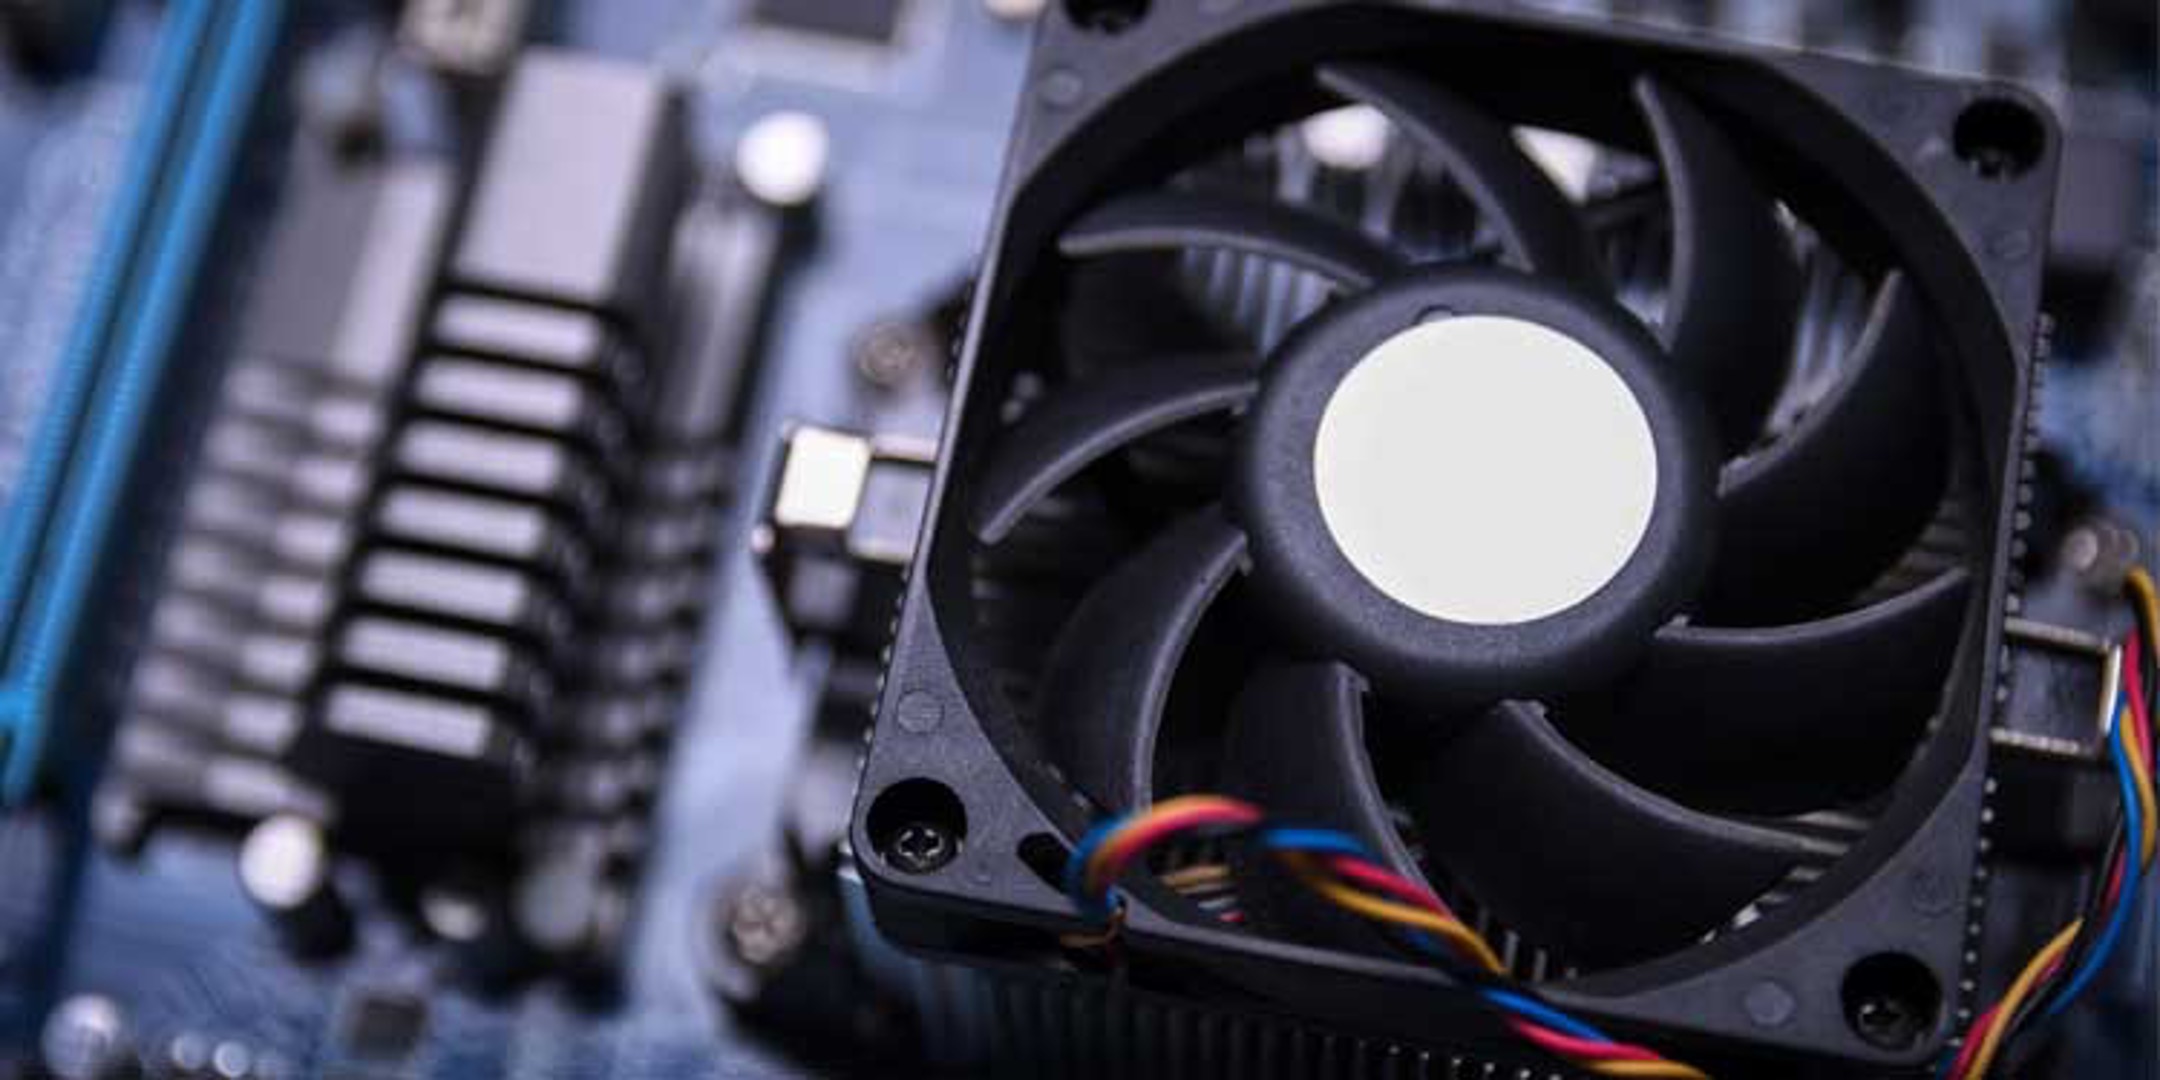
Before you press the power button, do one final physical check: confirm the CPU cooler's fan cable is plugged into the CPU_FAN header on the motherboard. This header is specifically designed to power the cooler and is often required by the system to boot. If your cooler isn't connected there, the system may refuse to start or immediately shut down to protect the CPU from overheating. Once you've confirmed the connection, power on the system. You should see the motherboard's logo screen or a BIOS splash screen. If the system posts successfully, meaning it displays the BIOS or a boot device selection screen, you're in good shape. This is normal; press the designated key (usually Del, F2, or F12) to enter BIOS on MSI gaming laptop and proceed.
Clear CMOS if the system won't boot
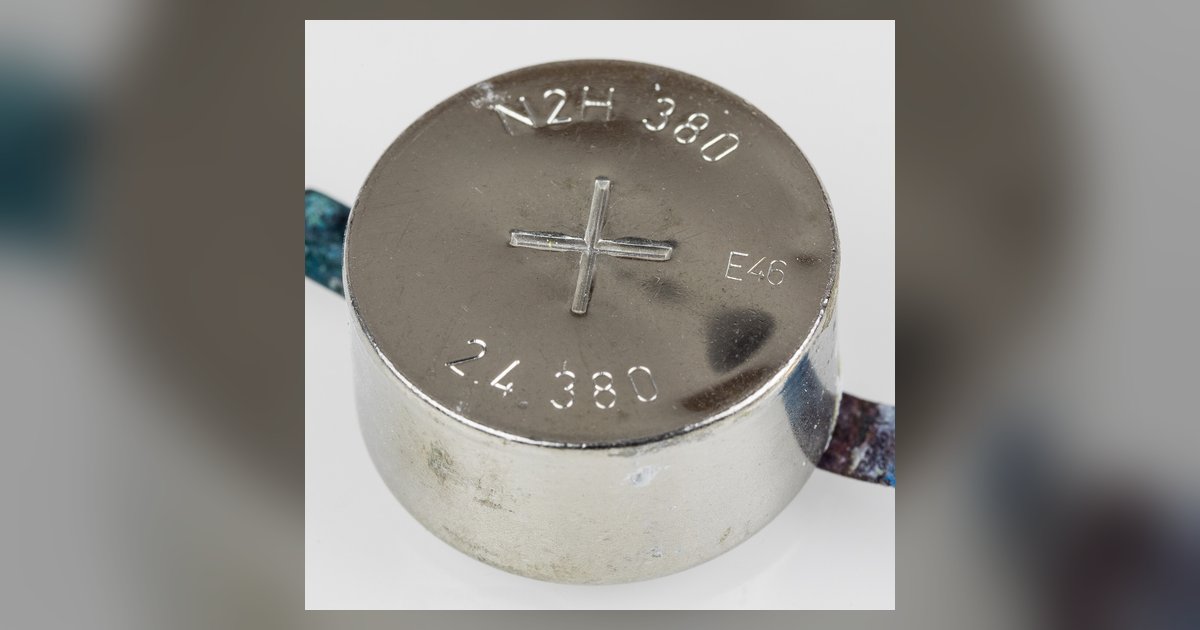
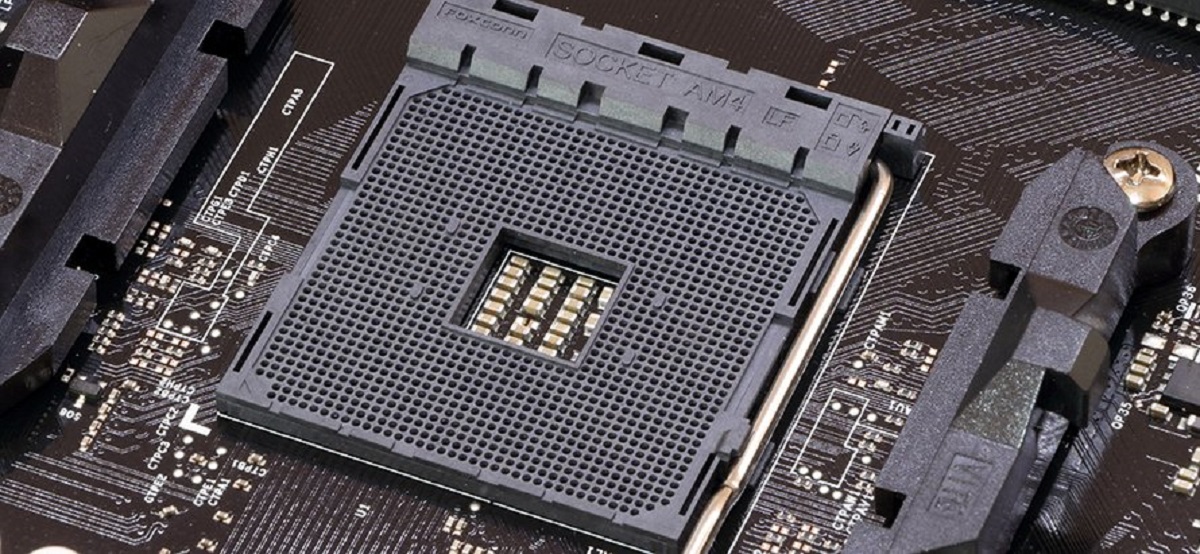
If the system powers on but shows no display, beeps, or repeatedly restarts, the most likely fix is to clear the CMOS. This resets the BIOS to factory defaults, clearing any leftover settings from your old CPU that may conflict with the new processor. You can do this using a motherboard jumper, a dedicated clear CMOS button on the rear I/O panel, or by temporarily removing the round CMOS battery for about a minute. After clearing, power on again. This resolves most boot failures or instability that occur immediately after a CPU swap, because it forces the motherboard to re-detect all hardware from scratch. If the system still won't boot after this, double-check that the CPU is seated correctly and that no bent pins or misaligned notches exist.
Update your motherboard BIOS
Once you can enter the BIOS, the next step is to update your motherboard BIOS to the latest version. This is critical because older BIOS versions may not have the microcode needed to properly recognize and run your new CPU model. Go to the motherboard manufacturer's website, find your exact motherboard model under the support/downloads section, and download the latest BIOS file. Place the file on a USB drive formatted as FAT32. Then, enter the BIOS and use its built-in flashing utility (often called EZ Flash, Q-Flash, or M-Flash) to select the file from the USB drive. Follow the on-screen prompts exactly, do not power off or unplug the system during the flash. After the flash completes, the system will restart. Enter the BIOS again and verify that the new CPU model is correctly listed in the system information or processor section. If the model name and clock speed appear correctly, the update was successful.
Monitor CPU temperatures and cooling
With the BIOS updated and the CPU recognized, you now need to confirm your cooling solution is working effectively. Install a real-time monitoring tool like HWMonitor or Core Temp to track your CPU temperatures. These tools show you the temperature of each core, and you should check them both at idle and under load. Under heavy load, such as during a stress test, temperatures will rise, but they should stay below the maximum operating temperature specified by your CPU manufacturer. If you see temperatures climbing rapidly or hitting high values at idle, the cooler likely isn't making good contact with the CPU. Re-mount the cooler if necessary, ensuring even pressure and a thin, even layer of thermal paste.
Stress test to confirm stability
Before you return to normal use or consider overclocking, you must stress test the system to confirm the new CPU is stable. Tools like Cinebench or Prime95 are ideal for this. Watch the temperatures and clock speeds throughout the test. The CPU should maintain its advertised boost clock under load without crashing, restarting, or showing errors. If the system crashes, freezes, or throws a blue screen, it indicates an instability issue, often related to cooling, power delivery, or a BIOS setting. Stop the test immediately if temperatures exceed safe limits. A successful 30-minute run is a good baseline, but running it for a full hour gives you higher confidence that the system will remain stable during demanding tasks like gaming or video rendering.
Install chipset drivers and run Windows update
After confirming hardware stability, you need to ensure your software environment is fully optimized. Download the latest chipset drivers from your motherboard manufacturer's website. These drivers are essential because they manage communication between the CPU, memory, and other components, and they often include power management features that affect performance and efficiency. Install them and restart if prompted. Then, run Windows Update to pull in OS-level optimizations and other hardware drivers. Windows Update will automatically find and install drivers for devices like your network adapter, audio, and storage controllers. This step ensures that your operating system has all the necessary components to fully support your new CPU, eliminating potential compatibility issues that could cause slowdowns or errors later.
Understand automatic CPU boost features
Finally, you should understand that your new CPU's boost behavior is automatic. Intel Turbo Boost and AMD Precision Boost are built-in features that increase the clock speed when the CPU detects a workload that benefits from it, as long as thermal and power headroom allow. This means you don't need to manually overclock to see high clock speeds under load, the CPU does it itself. When you run a stress test or a demanding application, you'll see the clock speed rise above the base frequency. This is expected and indicates the CPU is functioning correctly. Manual overclocking is optional and only necessary if you want to push beyond the automatic boost limits, but it requires careful voltage management and additional cooling.
\nRelated reading: What Do The Numbers Mean On RAM Memory and How To Connect A PC Case Plug To Motherboard.