Introduction
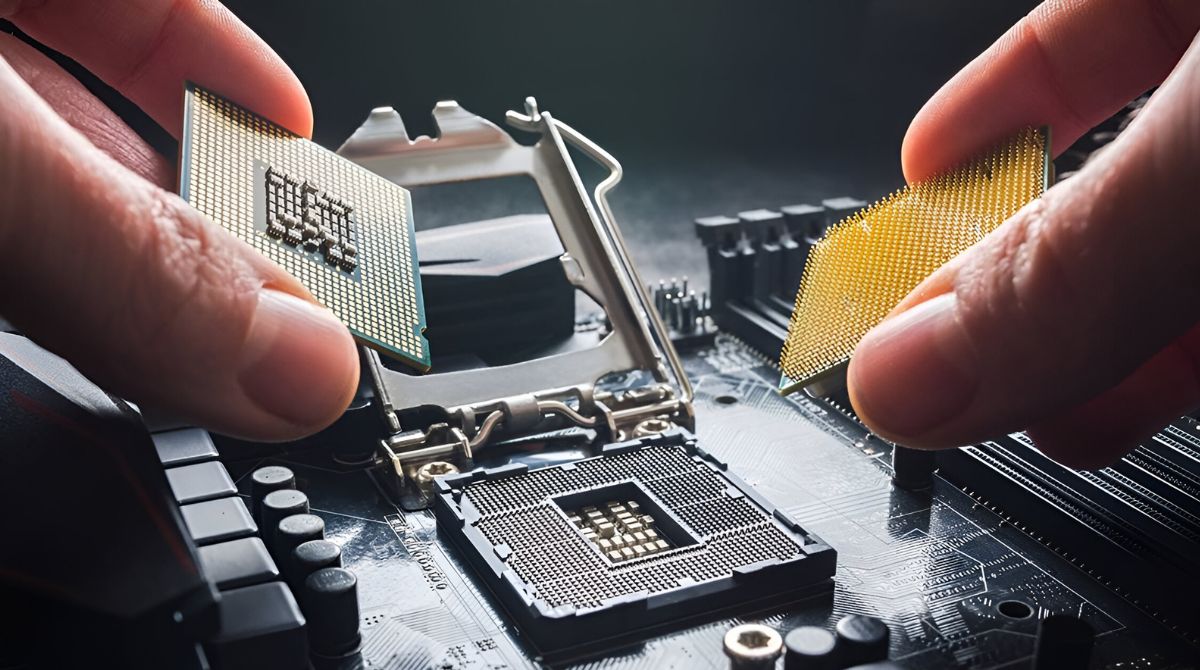
Installing a new AMD CPU cooler is an essential task for ensuring the optimal performance and longevity of your computer. Whether you are upgrading your system or replacing a faulty cooler, this step-by-step guide will walk you through the process of installing an AMD CPU cooler.
A CPU cooler is responsible for dissipating the heat generated by the CPU, preventing overheating and potential damage to your computer’s components. Choosing a suitable cooler for your AMD processor is crucial to maintain stable temperatures and ensure smooth operation.
This guide will provide you with detailed instructions on how to install an AMD CPU cooler, from gathering the necessary tools and materials to securing the cooler in place and connecting all the necessary cables. By following these steps, you will be able to safely and effectively install a new cooler for your AMD CPU.
Before we get started, it is important to note that each CPU cooler model may have slightly different installation procedures. Therefore, it is crucial to consult the manufacturer’s instructions specific to your cooler model.
Now, let’s dive into the steps required to install a new AMD CPU cooler, ensuring optimal cooling performance and smooth operation for your computer.
Step 1: Gather the necessary tools and materials
Before you begin the installation process, it is important to gather all the necessary tools and materials. This will ensure that you have everything you need within reach, saving you time and frustration during the installation.
Here are the tools and materials you will need for installing an AMD CPU cooler:
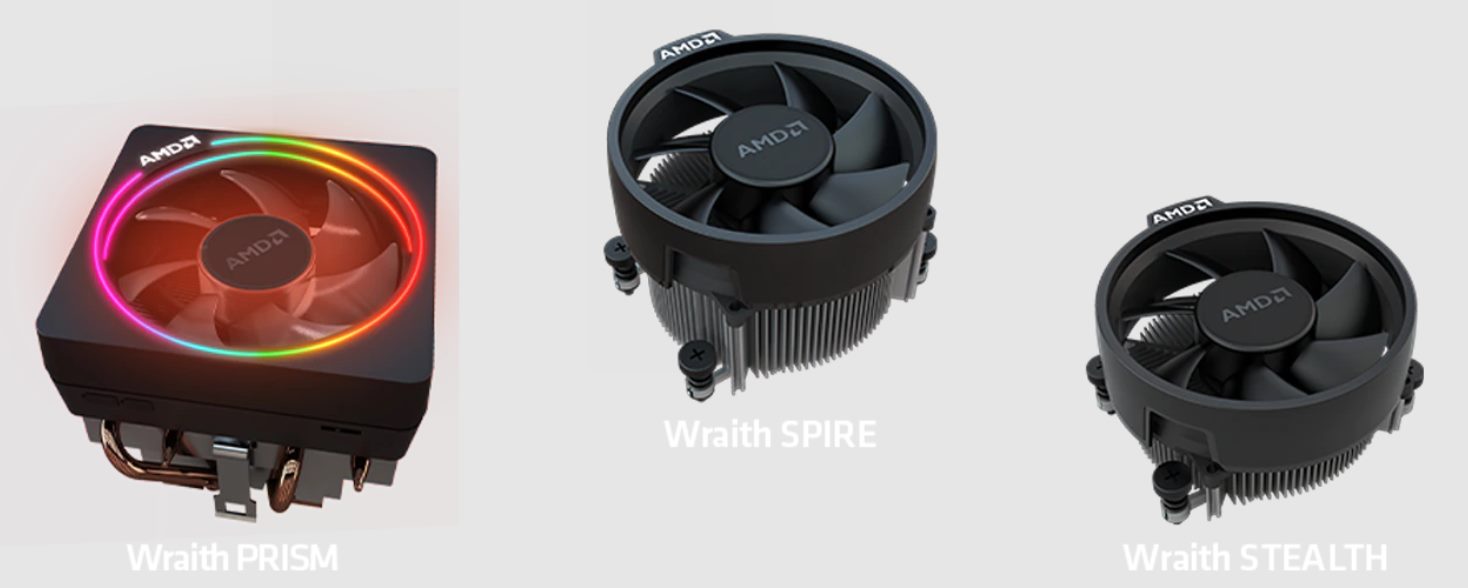
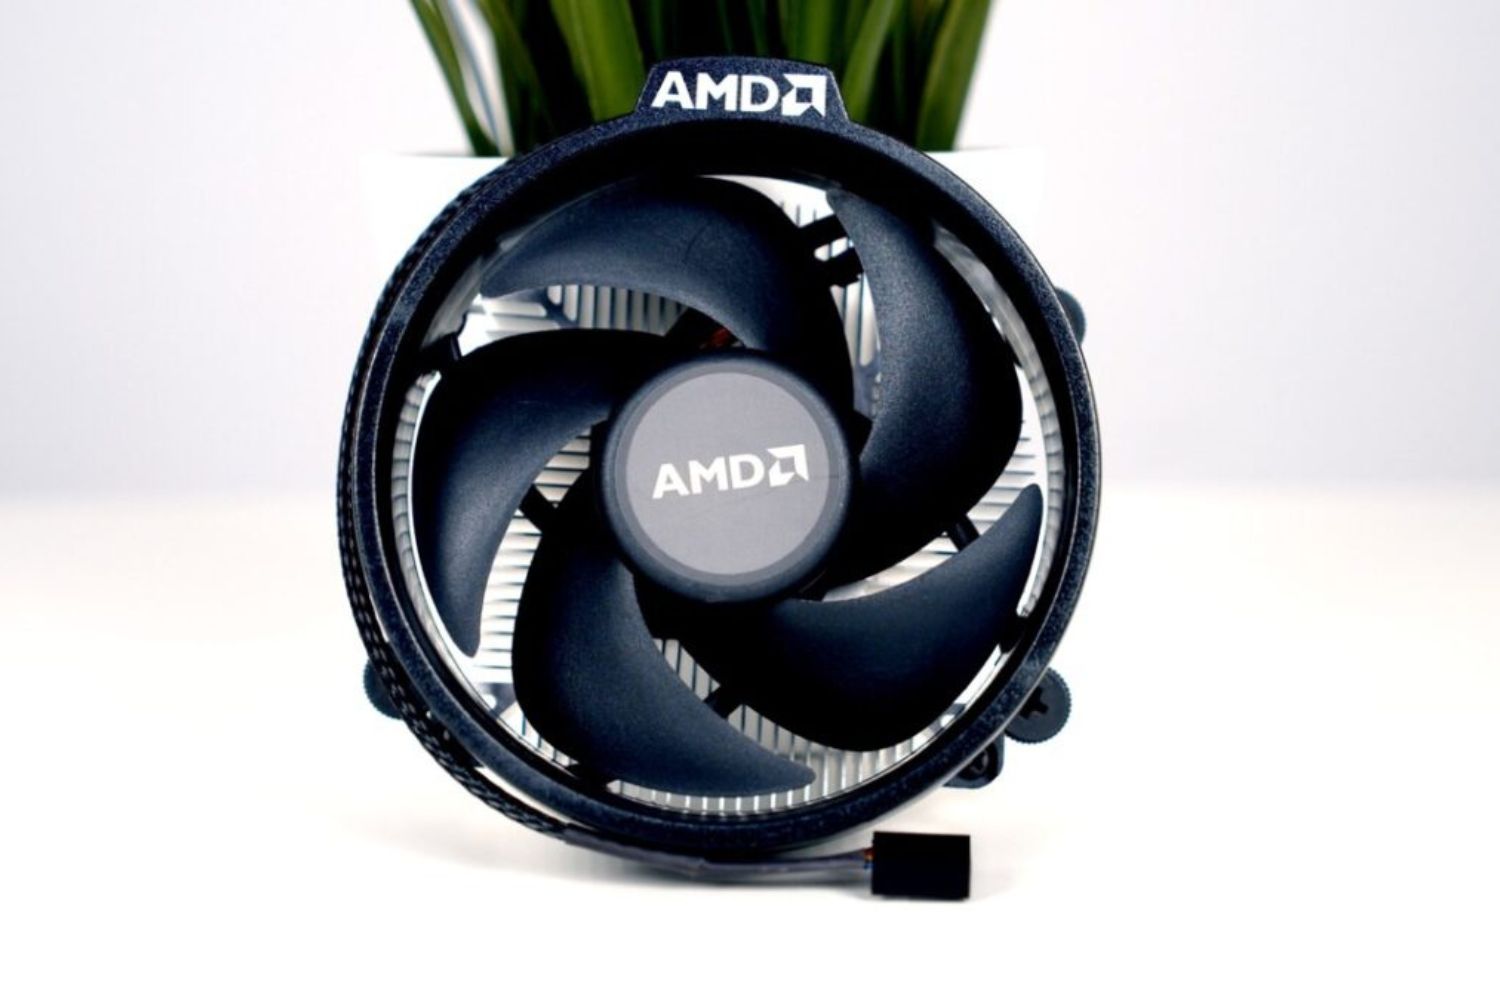
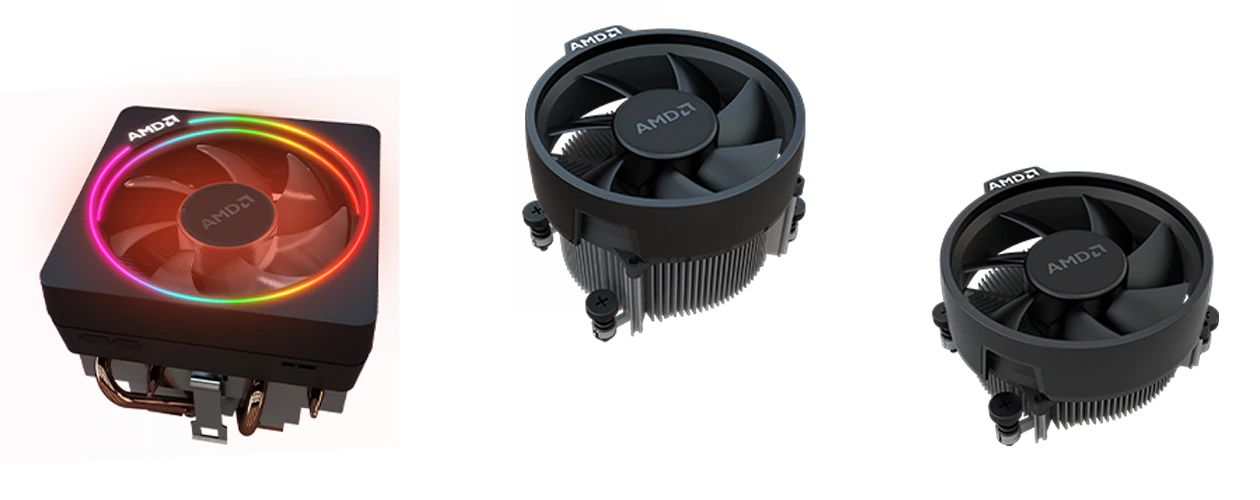
- AMD CPU cooler: Make sure you have a compatible AMD CPU cooler that is suitable for your processor model. Refer to your CPU’s specifications or the manufacturer’s website to find the appropriate cooler.
- Thermal paste: High-quality thermal paste helps to improve heat transfer between the CPU and the cooler. Make sure you have a small tube of thermal paste.
- Screwdriver: Depending on the type of cooler, you may need a Phillips or flat-head screwdriver to secure the cooler in place.
- Isopropyl alcohol and lint-free cloth: These items are essential for cleaning the old thermal paste from the CPU before applying a fresh layer.
- CPU cleaning solution: If you don’t have isopropyl alcohol, a dedicated CPU cleaning solution can be used to clean the CPU surface.
- Antistatic wrist strap: While not mandatory, using an antistatic wrist strap can prevent static electricity from damaging sensitive computer components during the installation process.
Note: Always ensure that you are working on a clean and stable surface, such as a desk or table. This will reduce the risk of accidental damage to your computer or its components.
By gathering all the necessary tools and materials beforehand, you will be well-prepared for the installation process and can proceed with confidence. Now that you have everything you need, let’s move on to the next step: preparing the computer for the installation.
Step 2: Preparing the computer for the installation
Before you can begin installing the new AMD CPU cooler, it is essential to properly prepare your computer. This involves shutting down the system, disconnecting all power sources, and removing any existing components that may obstruct the installation process.
Follow these steps to prepare your computer for the installation:
- Shutdown the computer: Save all your work and shut down the computer. Make sure it is completely powered off before proceeding.
- Disconnect the power source: Unplug the power cord from the wall outlet and disconnect any other power sources, such as battery packs or UPS systems. This will ensure your safety and prevent any accidental electrical discharge during the installation process.
- Ground yourself: To avoid damaging sensitive components, ground yourself by touching a grounded metal object or wearing an antistatic wrist strap. This will help dissipate any static electricity that could potentially harm your computer.
- Open the computer case: Remove the side panel of your computer case to access the internal components. Refer to your computer’s manual or the manufacturer’s instructions for guidance on how to open the case properly.
- Identify the CPU socket: Locate the CPU socket on the motherboard. It is usually a square or rectangular socket with delicate pins or contacts.
- Remove any obstructions: Check if there are any components, such as the existing CPU cooler or other cables, obstructing access to the CPU socket. If necessary, carefully disconnect and remove these components.
Note: Take extra care when removing any existing components, ensuring that you follow the manufacturer’s instructions and handle them with care to prevent damage.
By properly preparing your computer for the installation, you are creating a safe and accessible workspace. This will make the process of installing the new AMD CPU cooler more efficient and less prone to errors. Once you have completed these steps, you are ready to move on to the next section: removing the old CPU cooler.
Step 3: Removing the old CPU cooler
With your computer properly prepared, it’s time to remove the old CPU cooler. This step is crucial to ensure a clean and secure installation of the new cooler. Follow these steps to safely remove the old CPU cooler:
- Disconnect the fan cable: Locate the fan cable connected to the motherboard. Gently unplug the connector to disconnect it from the fan header.
- Remove the cooler mounting: Depending on the type of CPU cooler, there may be mounting brackets or screws securing it to the motherboard. Use a screwdriver to carefully remove these brackets or screws.
- Detach the heatsink: Once the mounting is removed, carefully detach the heatsink from the CPU. This may require a bit of wiggling or twisting to loosen it. Take your time and avoid applying excessive force.
- Clean the CPU surface: With the old cooler removed, it’s important to clean the CPU surface before installing the new one. Use isopropyl alcohol or a CPU cleaning solution along with a lint-free cloth to gently remove any remnants of the old thermal paste.
- Inspect the CPU socket: Take a moment to inspect the CPU socket for any dust or debris. If you notice any, use compressed air or a clean brush to carefully remove it. This will ensure a clean and secure contact between the new CPU cooler and the CPU.
Note: Be careful when handling the CPU and avoid touching the pins or contacts. Any damage to these delicate components could render the CPU unusable.
By following these steps, you will successfully remove the old CPU cooler from your system, leaving the CPU ready for the installation of the new AMD CPU cooler. Now that the old cooler has been removed and the CPU surface is clean, you can proceed to the next step: applying thermal paste.
Step 4: Applying thermal paste
In order to achieve efficient heat transfer between the CPU and the cooler, it is essential to apply thermal paste. Thermal paste helps fill in microscopic gaps and air pockets, enabling better conductivity and heat dissipation. Follow these steps to apply thermal paste properly:
- Choose the right amount: It’s important to use the right amount of thermal paste. Applying too much can lead to overheating, while applying too little can result in poor heat transfer. A pea-sized dot or a thin line along the center of the CPU is usually sufficient.
- Spread the paste: If you’re using a non-spreader cooler, you can let the pressure of the cooler spread the paste evenly. If you prefer to spread the paste manually, use a plastic spatula or a clean card to create a thin, even layer over the CPU surface.
- Take precautions: Avoid touching the thermal paste with your bare hands, as oils and dirt can affect its performance. Use gloves or apply the paste directly onto the CPU cooler for better cleanliness.
- Attach the cooler: Carefully place the AMD CPU cooler on top of the CPU, aligning the mounting holes with the corresponding motherboard holes. Apply gentle, even pressure to ensure proper contact between the CPU and the cooler.
Note: Always refer to the manufacturer’s instructions for specific guidelines on how to apply thermal paste for your particular CPU cooler model.
By applying thermal paste correctly, you are ensuring optimal heat dissipation and preventing the CPU from overheating. With the thermal paste applied, you can proceed to the next step: installing the new AMD CPU cooler.
Step 5: Installing the new AMD CPU cooler
Now that you have prepared the CPU and applied thermal paste, it’s time to install the new AMD CPU cooler. Follow these steps to ensure a secure and proper installation:
- Align the cooler: Carefully align the screw holes on the cooler base with the corresponding mounting holes on the motherboard. Ensure that the cooler is positioned correctly over the CPU.
- Attach the cooler brackets: Depending on your cooler model, you may need to attach brackets or mounting arms to the sides of the cooler. Use screws or clips provided by the manufacturer to secure the brackets in place.
- Screw in the cooler: Insert the screws into the appropriate mounting holes and hand-tighten them initially. Using a screwdriver, tighten the screws in a diagonal pattern to ensure even pressure across the cooler. Avoid over-tightening to prevent damage.
- Double-check the installation: Verify that the cooler is securely attached and that the base of the cooler is making full contact with the CPU. Ensure that there is no visible gap between the cooler and the CPU surface.
Note: Refer to the specific instructions provided by the manufacturer for your CPU cooler model, as installation methods may vary. It is always important to follow the recommended procedures and guidelines.
With the new AMD CPU cooler installed, you have taken a major step towards ensuring proper cooling for your CPU. The cooler will effectively dissipate heat generated by the CPU and help maintain optimal performance. In the next step, we will focus on securing the cooler in place.
Step 6: Securing the cooler in place
Once the new AMD CPU cooler is installed, it is important to secure it in place to ensure stability and prevent any movement that could disrupt the thermal interface between the CPU and the cooler. Follow these steps to properly secure the cooler:
- Tighten the mounting screws: Using a screwdriver, carefully tighten the mounting screws gradually and evenly. Be cautious not to over-tighten, as this can cause damage to the motherboard or CPU.
- Ensure proper contact: Verify that the cooler is making firm and full contact with the CPU surface. A slight bit of pressure is normal, but there should be no excessive force or gaps present.
- Check for movement: Gently wiggle the cooler to check for any movement. If the cooler feels loose or unstable, recheck the mounting screws and brackets to ensure they are properly secured.
- Inspect the clearance: Make sure there is adequate clearance around the CPU cooler. Ensure that there are no nearby components, cables, or obstruction that could impede airflow or cause contact issues.
Note: It is essential to follow the manufacturer’s guidelines and recommendations for mounting pressure and installation instructions specific to your AMD CPU cooler model. The steps outlined above are general guidelines, and the specific instructions may differ.
By securely fastening the CPU cooler in place, you are ensuring efficient heat transfer and a stable cooling solution for your AMD processor. Once you have completed this step, you can proceed to the next section: connecting the necessary cables.
Step 7: Connecting the necessary cables
After securing the AMD CPU cooler in place, you need to connect the necessary cables to ensure proper functionality. These cables will provide power to the cooler and enable the control of fan speeds. Follow these steps to connect the cables:
- Locate the fan header: Find the CPU fan header on the motherboard. It is usually labeled “CPU_FAN” or something similar. Refer to your motherboard’s manual if you are unsure about the specific location.
- Connect the fan cable: Take the fan cable from the CPU cooler and connect it to the CPU fan header. Make sure the connection is secure.
- Optional: Additional cables: Depending on the AMD CPU cooler model, you may have additional cables for features like RGB lighting or fan speed control. Follow the manufacturer’s instructions to connect these additional cables if desired.
- Cable management: To ensure a neat and organized system, carefully route and secure the cables using cable ties or clips. This will help improve airflow and prevent any cables from interfering with the CPU cooler or other components.
Note: It is essential to consult the manufacturer’s instructions specific to your AMD CPU cooler to ensure proper cable connections and management.
By connecting the necessary cables, you are powering the CPU cooler and allowing for the control of fan speeds. This enables efficient cooling and helps maintain optimal temperatures for your AMD processor. With the cables properly connected, you are now ready for the final step: testing and troubleshooting.
Step 8: Testing and troubleshooting
Once you have completed the installation of the new AMD CPU cooler and connected all the necessary cables, it is important to test its functionality and address any potential issues that may arise. Follow these steps to perform testing and troubleshooting:
- Power on your computer: Reconnect the power source and power on your computer. Listen for any unusual noises or vibrations coming from the CPU cooler.
- Monitor the temperatures: Use software tools or the BIOS to monitor the CPU temperatures. Ensure that the temperatures stay within safe ranges during idle and under load.
- Check for proper fan operation: Ensure that the CPU cooler fan(s) are spinning and that the speed is being properly controlled. Monitor fan speeds using software or the BIOS and adjust fan speed settings if necessary.
- Address any issues: If you notice high temperatures, excessive fan noise, or any other abnormalities, troubleshoot the issue. Check for proper installation, ensure proper contact between the CPU and cooler, and ensure that the thermal paste is applied correctly.
- Recheck connections: Double-check all cable connections, making sure they are secure. Loose or improperly seated cables can cause issues such as fan malfunctions or erratic operation.
- Seek professional help if needed: If you encounter persistent issues or are unsure about any aspect of the installation or troubleshooting process, seek assistance from a professional or consult the manufacturer’s support.
Note: It is normal for the CPU temperatures to fluctuate depending on the tasks performed. However, consistently high temperatures or abnormal fan behavior may indicate an underlying issue that needs to be addressed.
By conducting thorough testing and troubleshooting, you can ensure that your new AMD CPU cooler is functioning correctly and effectively cooling your processor. Addressing any potential issues will help prevent overheating and ensure the longevity and stability of your computer system.
Conclusion
Installing a new AMD CPU cooler can greatly improve the cooling performance and overall stability of your computer system. By following the step-by-step instructions outlined in this guide, you can confidently install a new cooler and ensure optimal temperatures for your AMD processor.
We began by gathering the necessary tools and materials to make the installation process smooth and efficient. Preparing the computer for the installation ensured a safe working environment and easy access to the CPU socket. Removing the old CPU cooler and applying thermal paste properly laid the groundwork for a successful installation of the new cooler.
With the new AMD CPU cooler in hand, we proceeded to install it securely, aligning the cooler and tightening the mounting screws to ensure proper contact with the CPU. Connecting the necessary cables, such as the fan cable, allowed for fan operation and control. Testing the cooler’s functionality and addressing any issues during troubleshooting ensured optimal performance and stability.
Remember to refer to the specific instructions provided by the manufacturer of your AMD CPU cooler for the best results. Each cooler may have slight variations in installation procedures.
With the installation complete, you can now enjoy improved cooling performance for your AMD processor. Proper cooling is essential for maintaining the longevity of your CPU and ensuring the optimal functioning of your computer system.
If you have any persistent issues or doubts during the installation process, it is always recommended to seek professional help or consult the support provided by the manufacturer. They can provide additional guidance specific to your CPU cooler model and address any concerns you may have.
By following this guide, you have taken a significant step towards upgrading your computer’s cooling system and enhancing its overall performance. Enjoy your newly installed AMD CPU cooler and the benefits it brings to your computing experience.