Introduction
Welcome to this step-by-step guide on how to install the Cooler Master Hyper 212 Evo CPU cooler with a 120mm PWM fan. If you’re looking to upgrade your computer’s cooling system and optimize its performance, the Hyper 212 Evo is a top choice.
Installing a CPU cooler might sound intimidating, but with the right tools and a little know-how, it can be a straightforward process. In this guide, we will walk you through the installation step by step, ensuring your CPU stays cool and running efficiently.
Before we dive into the installation process, let’s briefly discuss the importance of a reliable and effective CPU cooler. The CPU (central processing unit) is the brain of your computer, and it generates a significant amount of heat as it carries out various computations. If the CPU becomes too hot, it can lead to system instability, reduced performance, and even permanent damage to your hardware.
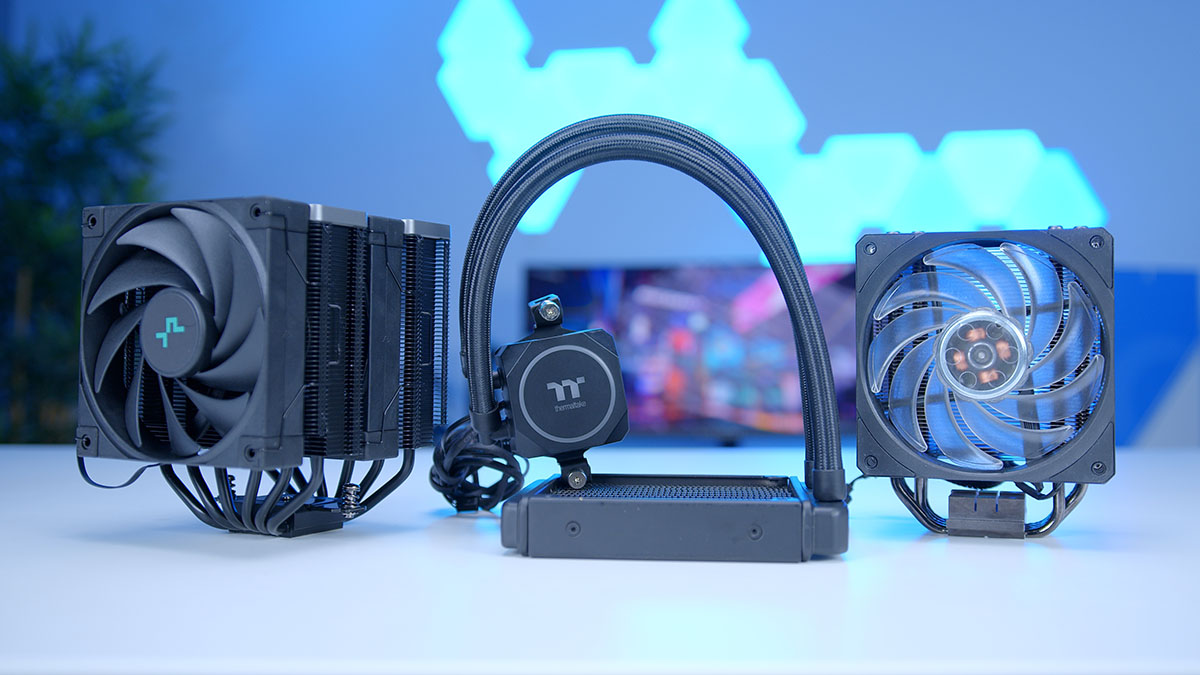
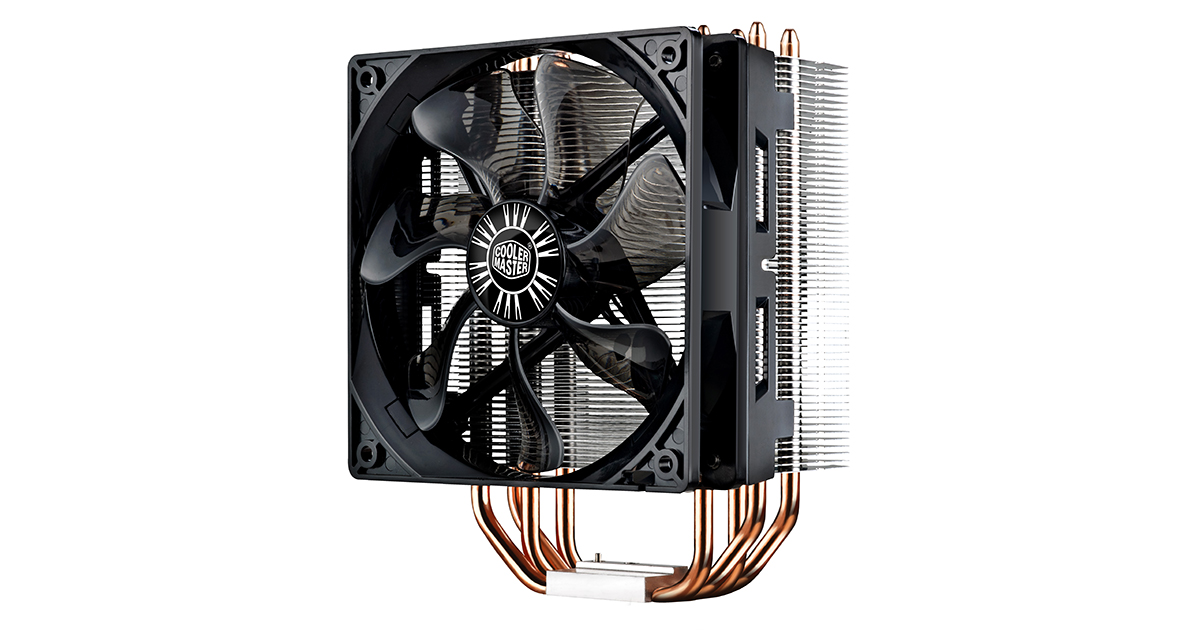
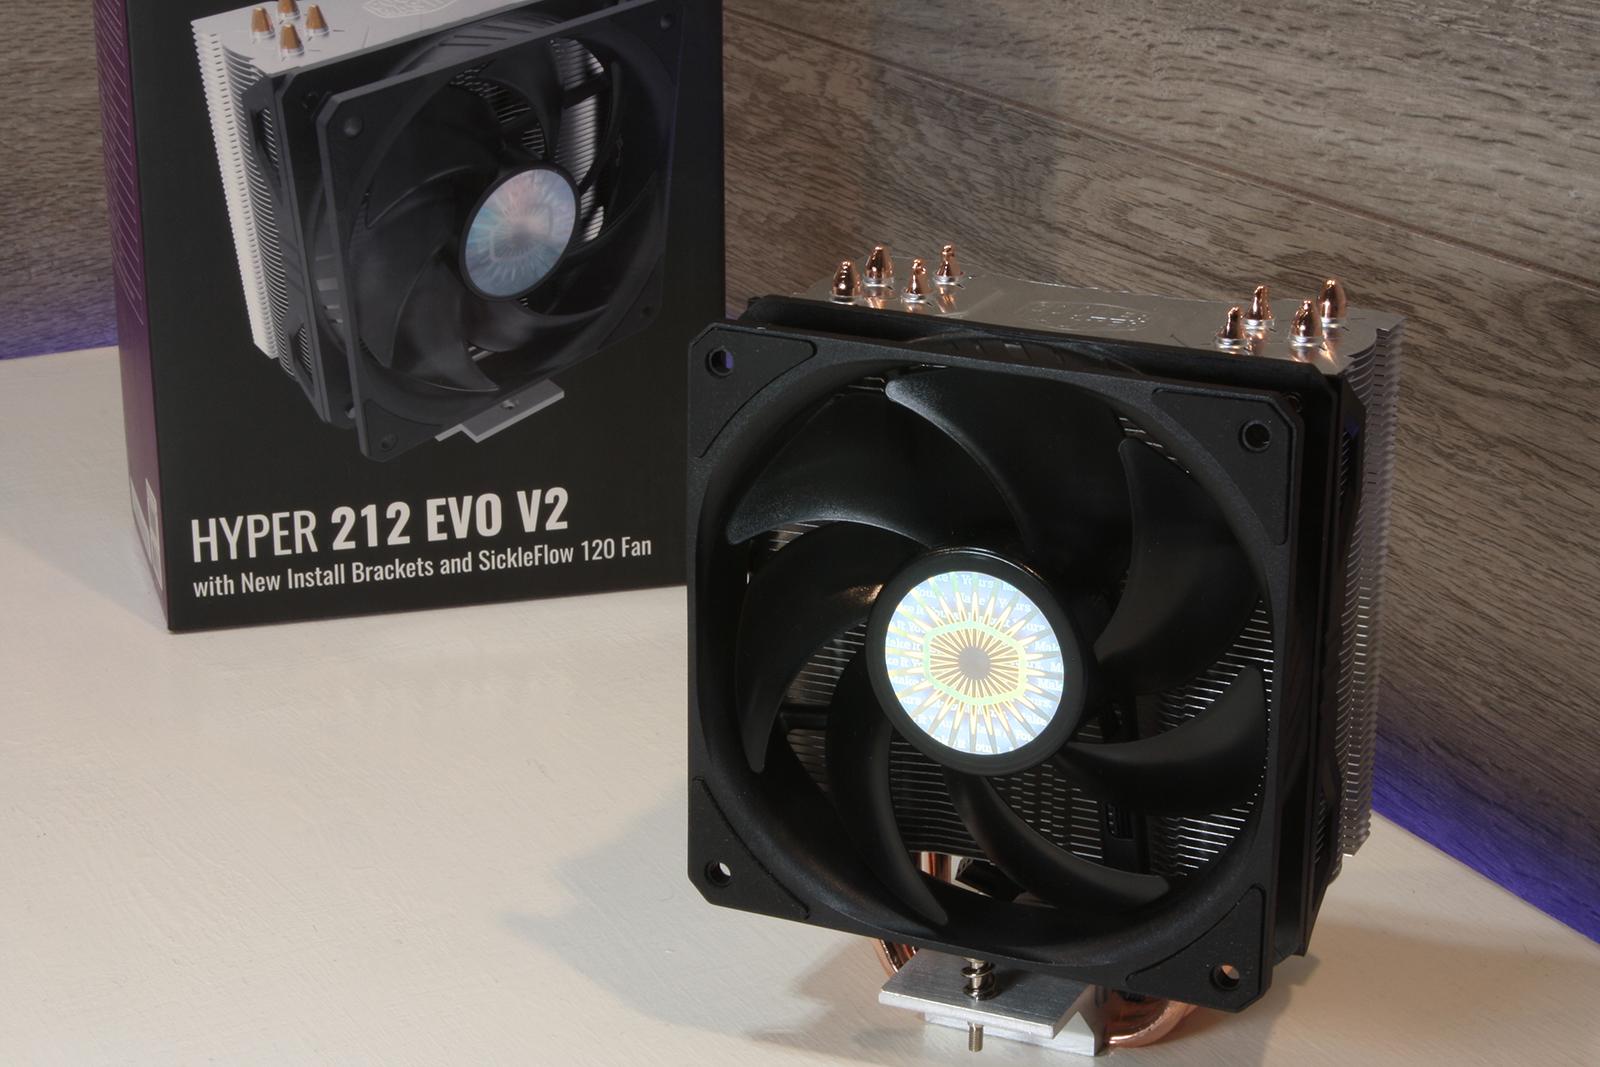
That’s where the Cooler Master Hyper 212 Evo comes in. It is an affordable and popular CPU cooler that offers excellent heat dissipation capabilities. With its high-quality aluminum fins and a powerful 120mm PWM fan, it effectively cools down your CPU, ensuring stable operation and enhanced performance.
Now that you understand the importance of a good CPU cooler and why we recommend the Cooler Master Hyper 212 Evo, it’s time to gather the necessary tools and materials. In the next section, we’ll outline everything you’ll need before getting started on the installation process.
Tools and Materials Needed
Before you begin installing the Cooler Master Hyper 212 Evo CPU cooler, make sure you have the following tools and materials readily available:
- Phillips-head screwdriver
- Isopropyl alcohol and lint-free cloth
- Thermal paste (typically included with the Hyper 212 Evo)
- Thermal paste applicator (optional, but recommended)
- CPU cooler mounting brackets (included with the Hyper 212 Evo)
- PC case manual and user guide (for reference)
The Phillips-head screwdriver will be used to remove any screws or mounting brackets from the existing CPU cooler. It’s essential to have a screwdriver of the correct size to avoid damaging any components.
To clean the CPU surface and remove any residual thermal paste, you’ll need isopropyl alcohol and a lint-free cloth. This ensures a clean and uniform application of the new thermal paste.
Thermal paste is a crucial component in the cooling process as it helps transfer heat from the CPU to the cooler more efficiently. The Cooler Master Hyper 212 Evo usually comes with a tube of thermal paste, but you can also purchase it separately if needed.
While not necessary, a thermal paste applicator can help achieve an even distribution of thermal paste, reducing the risk of air bubbles and improving heat transfer.
Lastly, referring to your PC case manual and user guide can be helpful if you encounter any specific challenges or have questions about your case’s compatibility with the Hyper 212 Evo.
Now that you have all the necessary tools and materials, let’s move on to the next step: Preparing for installation.
Step 1: Preparing for Installation
Before you start installing the Cooler Master Hyper 212 Evo CPU cooler, it’s crucial to prepare your workspace and ensure a safe and organized environment. Follow these steps to get ready:
- Turn off your computer: Shut down your computer and unplug it from the power source. This step is essential for your safety and to prevent any accidental damage to the components.
- Gather your tools: Make sure you have all the necessary tools and materials mentioned in the previous section readily available. Having everything within reach will make the installation process smoother.
- Clean your workspace: Clear off any clutter from your workspace. Wipe the surface with a clean cloth to remove any dust or debris that may interfere with the installation process.
- Read the instructions: Carefully read the installation instructions provided with the Cooler Master Hyper 212 Evo. Familiarize yourself with the steps and diagrams before proceeding further.
- Protect yourself from static discharge: Static electricity can damage sensitive computer components, so it’s important to discharge any static buildup from your body before handling any hardware. You can do this by grounding yourself with an anti-static wrist strap or by touching a grounded metal object.
By taking these preparatory steps, you ensure a smooth installation process and minimize the risk of accidents or damage to your computer components. Once you’ve completed these steps, you’re ready to move on to the next step: removing the old CPU cooler.
Step 2: Removing the Old CPU Cooler
Now that you’ve prepared your workspace, it’s time to remove the old CPU cooler. Follow these steps carefully:
- Disconnect the power: Before starting the removal process, ensure your computer is turned off and unplugged from the power source.
- Identify the CPU cooler: Locate the CPU cooler on your motherboard. It is typically situated on top of the CPU and secured by screws or mounting brackets.
- Disconnect the fan: If your old CPU cooler has a fan attached, disconnect it by gently unplugging the fan cable from the motherboard. Set the fan aside for now.
- Remove the screws/mounting brackets: Use a Phillips-head screwdriver to carefully remove the screws or mounting brackets holding the CPU cooler in place. Remember to keep track of these parts, as you may need them for installing the new cooler.
- Detach the CPU cooler: Once the screws or brackets are removed, gently lift the CPU cooler off the CPU. Be cautious not to exert excessive force, as this may damage the CPU or socket.
- Clean the CPU surface: With the old CPU cooler removed, take a moment to clean the CPU surface with isopropyl alcohol and a lint-free cloth. This will remove any residual thermal paste or debris, ensuring a clean surface for the new cooler.
By following these steps, you’ll successfully remove the old CPU cooler without causing any harm to the components. Remember to handle the CPU and cooler with care to avoid any damage. With the old cooler removed and the CPU surface cleaned, you’re now ready to move on to the next step: installing the backplate.
Step 3: Installing the Backplate
With the old CPU cooler removed and the CPU surface cleaned, it’s time to install the backplate for the Cooler Master Hyper 212 Evo. Follow these steps to ensure proper installation:
- Locate the backplate: Check the Cooler Master Hyper 212 Evo package for the backplate. It is a metal plate with holes that align with the CPU socket on your motherboard.
- Identify the correct orientation: Take note of the orientation of the backplate. Depending on your motherboard, it may have different mounting holes or cutouts. Ensure the backplate aligns with the CPU socket and fits securely.
- Align the backplate: Carefully align the holes in the backplate with the corresponding holes around the CPU socket. Make sure it rests flush against the motherboard without any obstructions.
- Secure the backplate: Once the backplate is properly aligned, press it firmly against the motherboard to keep it in place. If needed, you can use double-sided adhesive or foam pads to secure the backplate further.
- Inspect the backplate: Double-check the backplate to ensure it is securely attached and aligned correctly. This will provide a solid foundation for the CPU cooler and prevent any wobbling or instability during installation.
By following these steps, you will successfully install the backplate for the Cooler Master Hyper 212 Evo. Take your time to align and secure the backplate properly, as it forms the basis for the cooler’s stability. Once the backplate is securely in place, you’re ready to move on to the next step: applying thermal paste.
Step 4: Applying Thermal Paste
Now that the backplate is installed, it’s time to apply thermal paste to ensure optimal heat transfer between the CPU and the Cooler Master Hyper 212 Evo. Follow these steps to apply the thermal paste correctly:
- Prepare the thermal paste: Take the thermal paste tube provided with the Hyper 212 Evo. Gently squeeze a small amount of thermal paste onto the center of the CPU. The size of a pea is usually sufficient.
- Spread the thermal paste: Rather than leaving the thermal paste as a glob, it’s recommended to spread it evenly across the CPU surface. You can use a thermal paste applicator or a clean plastic card to carefully spread the paste in a thin, uniform layer. Avoid applying too much pressure, as this can cause air bubbles.
- Cover the entire CPU surface: Make sure the entire CPU surface is covered with a thin layer of thermal paste. This ensures maximum contact between the CPU and the cooler’s surface, facilitating efficient heat transfer.
- Do not overapply: It’s crucial not to overapply thermal paste, as excessive amounts can actually hinder heat dissipation. A thin, even layer is all that’s needed to fill in micro-imperfections and promote effective thermal conductivity.
- Inspect the application: After spreading the thermal paste, visually inspect the CPU surface. Ensure there are no gaps or uneven areas in the thermal paste layer. If necessary, correct any imperfections by adding a small amount of additional thermal paste and spreading it again.
By following these steps, you will have successfully applied thermal paste to your CPU. Remember, the goal is to have a thin, even layer that covers the entire surface. Proper application of thermal paste ensures efficient heat transfer, allowing the Cooler Master Hyper 212 Evo to effectively cool your CPU. With the thermal paste applied, you’re now ready to move on to the next step: mounting the cooler.
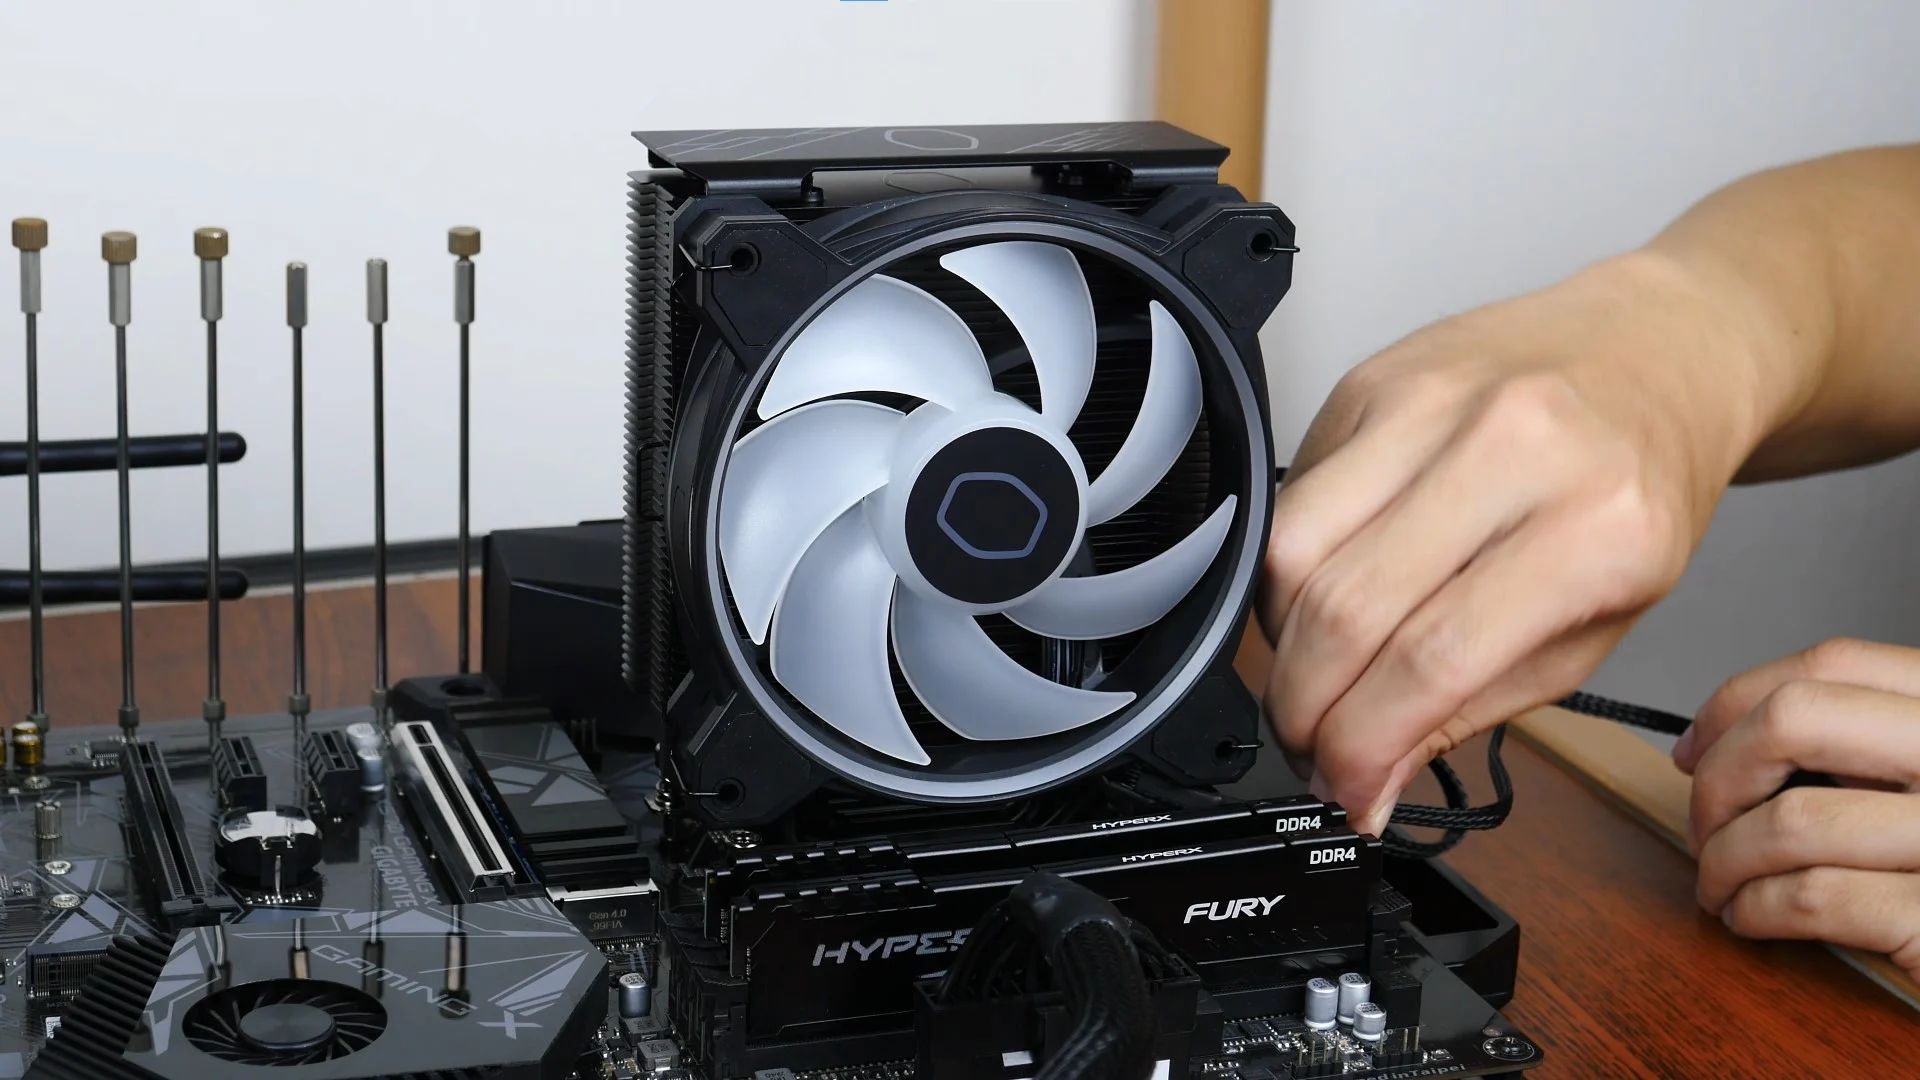
Step 5: Mounting the Cooler
After applying the thermal paste, it’s time to mount the Cooler Master Hyper 212 Evo CPU cooler onto your motherboard. Follow these steps carefully to ensure a secure and proper installation:
- Position the cooler: Hold the Cooler Master Hyper 212 Evo above the CPU socket, aligning the mounting brackets with the holes on the backplate. Ensure the cooler is positioned correctly, with the fan facing the direction you desire for optimal airflow.
- Attach the mounting brackets: Use the provided screws or clips to attach the mounting brackets of the Hyper 212 Evo to the backplate. Ensure the brackets are securely fastened, but be careful not to overtighten the screws, as this can damage the motherboard.
- Double-check the mounting: Verify that the cooler is firmly attached and there is no wobbling or loose connections. A stable and secure mount is crucial for optimal cooling performance.
- Connect the fan’s power cable: Locate the fan’s power cable and connect it to the appropriate fan header on the motherboard. Ensure a secure connection to provide power to the fan for proper cooling operation.
- Recheck the mounting: Take a final look at the cooler to confirm it is properly mounted and aligned. Ensure there is enough clearance around the cooler to avoid interference with other components or memory modules.
By following these steps, you will successfully mount the Cooler Master Hyper 212 Evo CPU cooler onto your motherboard. Secure attachment and proper alignment are essential for efficient heat dissipation and optimal cooling performance. With the cooler mounted securely, you’re now ready to move on to the next step: connecting the fan.
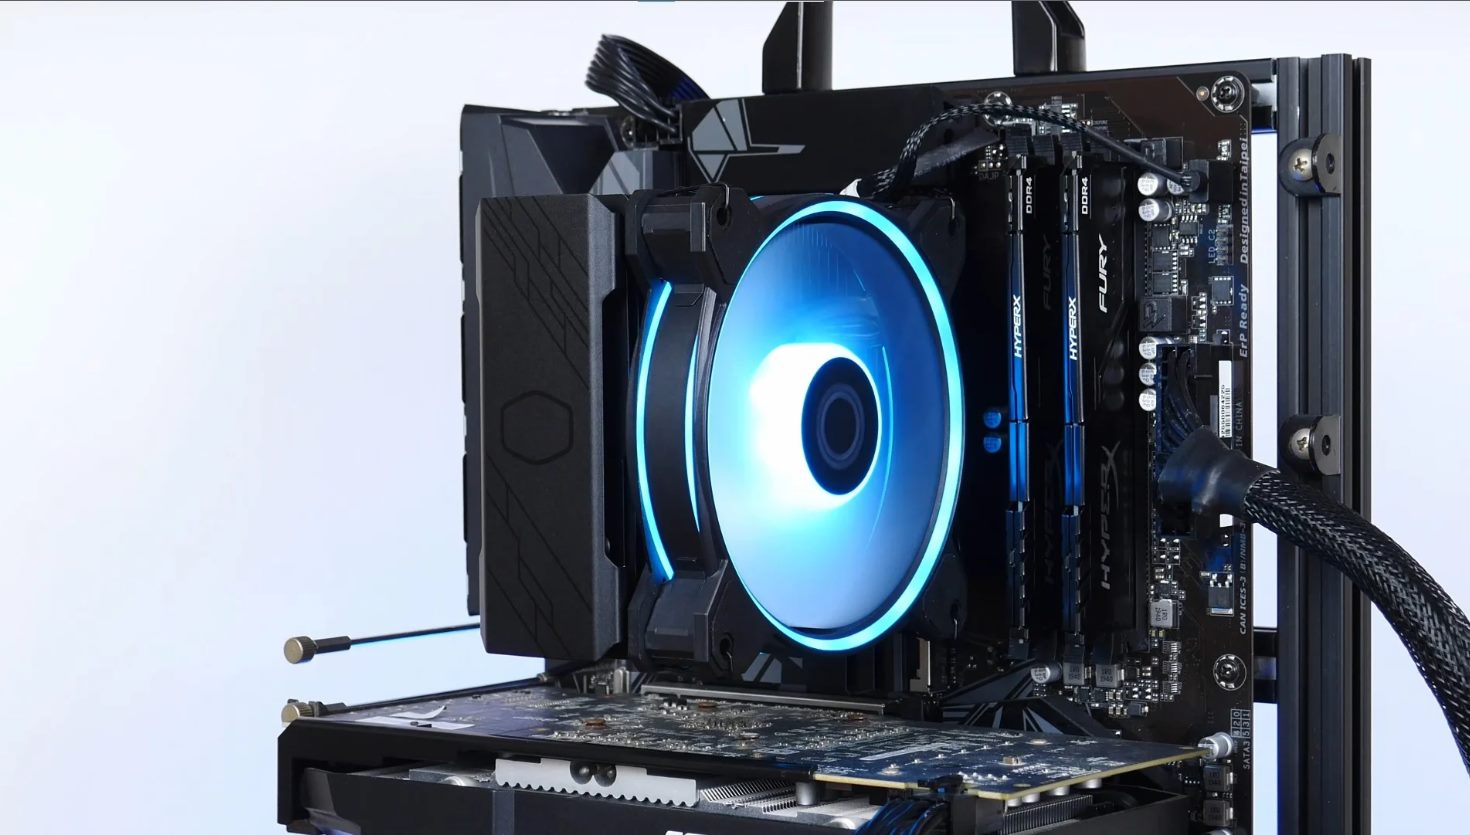
Step 6: Connecting the Fan
With the Cooler Master Hyper 212 Evo CPU cooler securely mounted, it’s time to connect the fan to ensure proper cooling operation. Follow these steps to connect the fan effectively:
- Locate the fan header: Identify the fan header on your motherboard where you will connect the Cooler Master Hyper 212 Evo fan. This header is typically labeled “CPU_FAN” or “SYS_FAN,” but refer to your motherboard manual for exact instructions.
- Connect the fan cable: Take the fan cable from the Hyper 212 Evo and plug it into the appropriate fan header on the motherboard. Ensure a secure connection, pressing the connector firmly into place.
- Confirm fan operation: Once the fan is connected, power on your computer and enter the BIOS or use software to check if the fan is running at the desired speed. Adjust the fan speed settings if necessary to achieve a balance between cooling performance and noise levels.
- Monitor fan performance: Regularly monitor the fan’s performance using monitoring software or BIOS settings. Ensure the fan is running smoothly and maintaining the desired temperature range for your CPU.
- Cable management: Take a moment to organize and manage the fan cable to ensure it does not obstruct airflow or interfere with other components. Use cable ties or routing channels in your PC case to keep the cables neat and tidy.
By following these steps, you will successfully connect the fan of the Cooler Master Hyper 212 Evo to provide efficient cooling for your CPU. Proper fan connection and monitoring ensure that your CPU remains cool and performs optimally. With the fan connected, you’re now ready to move on to the final step: testing and troubleshooting.
Step 7: Testing and Troubleshooting
After completing the installation of the Cooler Master Hyper 212 Evo CPU cooler, it’s essential to test for proper functionality and troubleshoot any potential issues. Follow these steps to ensure everything is running smoothly:
- Power on and monitor temperatures: Turn on your computer and monitor the CPU temperatures using monitoring software or BIOS. Check for a significant decrease in temperature compared to the previous cooling solution. This indicates that the Cooler Master Hyper 212 Evo is functioning effectively.
- Listen for unusual noises: While your computer is running, listen for any unusual noises coming from the CPU cooler. Squeaking, grinding, or rattling sounds could indicate a problem with the fan or the mounting. If you detect any unusual noises, double-check the mounting and ensure the fan is running smoothly.
- Monitor fan speed: Keep an eye on the fan speed using monitoring software or BIOS settings. Ensure the fan is running at the desired speed and adjust the settings if necessary to maintain a good balance between cooling performance and noise level.
- Check for proper airflow: Verify that there is proper airflow around the CPU cooler. Make sure there are no obstructions or cables blocking the airflow. Optimal airflow ensures efficient heat dissipation and prevents overheating.
- Troubleshoot if necessary: In the rare event that you encounter issues such as excessive temperatures or system instability after installation, recheck the mounting, fan connection, and thermal paste application. Ensure everything is correctly set up and contact Cooler Master customer support if needed.
By following these steps, you can test the functionality of the Cooler Master Hyper 212 Evo CPU cooler and troubleshoot any potential issues that may arise. Proper monitoring, careful observation of fan operation, and attention to airflow will help ensure optimal cooling performance for your CPU. Congratulations on successfully installing and setting up the Cooler Master Hyper 212 Evo!
Conclusion
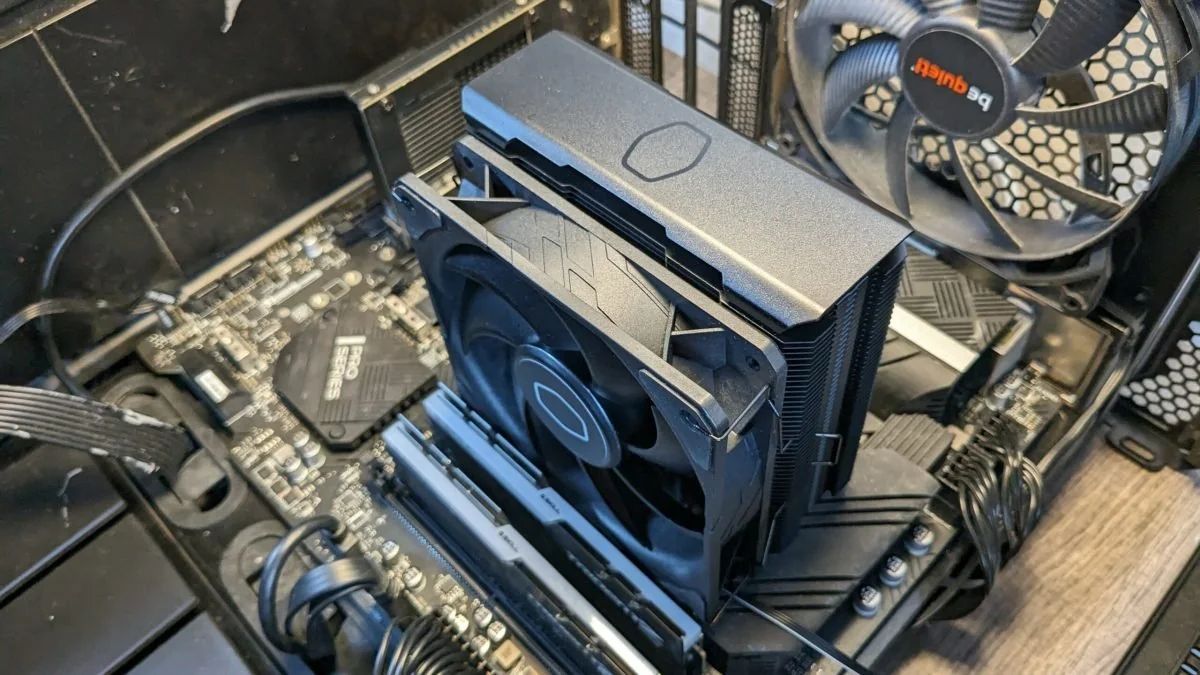
Congratulations on successfully installing the Cooler Master Hyper 212 Evo CPU cooler! By following this step-by-step guide, you have taken an important step toward maintaining the optimal performance of your computer.
The Cooler Master Hyper 212 Evo is a reliable and effective cooling solution that offers excellent heat dissipation and ensures stable operation of your CPU. With its high-quality aluminum fins and powerful 120mm PWM fan, this cooler provides efficient cooling and helps extend the lifespan of your CPU.
Throughout the installation process, you prepared your workspace, removed the old CPU cooler, installed the backplate, applied thermal paste, mounted the cooler, connected the fan, and performed thorough testing and troubleshooting. Each step plays a crucial role in the overall success of your cooler installation.
Remember to monitor your CPU temperatures and fan performance regularly to ensure the cooler is functioning optimally. Maintaining proper airflow and addressing any potential issues promptly will help you achieve the best cooling performance and protect your hardware.
If you ever need to remove or disassemble the cooler in the future, simply follow these steps in reverse order to safely uninstall it.
Once again, thank you for choosing the Cooler Master Hyper 212 Evo CPU cooler and for following this installation guide. Enjoy improved cooling performance and a smoother computing experience with your optimized system configuration!