Introduction
Installing an Intel CPU cooler is a crucial step when building or upgrading a computer. A CPU cooler helps dissipate heat generated by the processor, ensuring optimal performance and longevity of the system. However, the installation process may seem intimidating to newcomers or those unfamiliar with computer hardware.
In this article, we will guide you through the step-by-step process of installing an Intel CPU cooler. Whether you are upgrading to a more powerful cooler or starting with a brand new build, this guide will help you navigate through the installation process with ease.
Before we begin, it’s important to note that the specific installation steps may vary depending on the model of your CPU cooler and motherboard. Therefore, be sure to consult the manufacturer’s instructions for your specific components. Additionally, make sure to handle all computer components with care, placing them on a grounded surface and avoiding static electricity.
Now that we’ve covered the necessary precautions, let’s gather the tools and materials needed for the installation process.
Gathering the necessary tools and materials
Before starting the CPU cooler installation process, it’s important to gather all the necessary tools and materials. Having everything ready at hand will make the installation go smoothly and efficiently. Here are the essential items you will need:
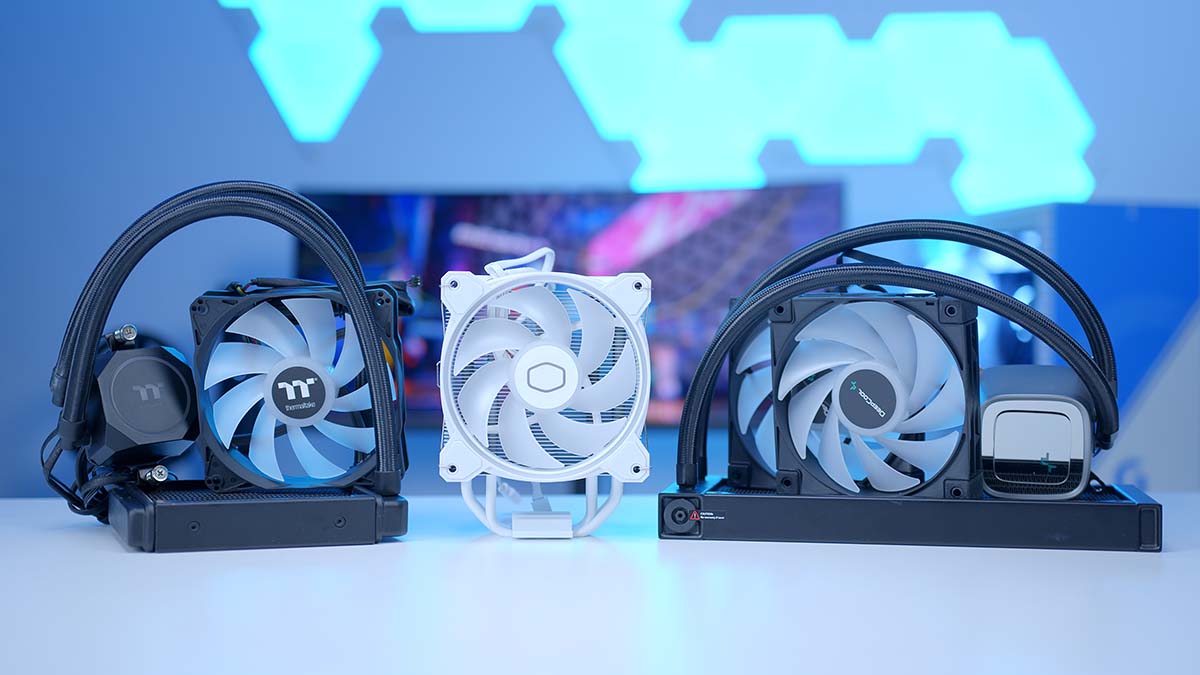
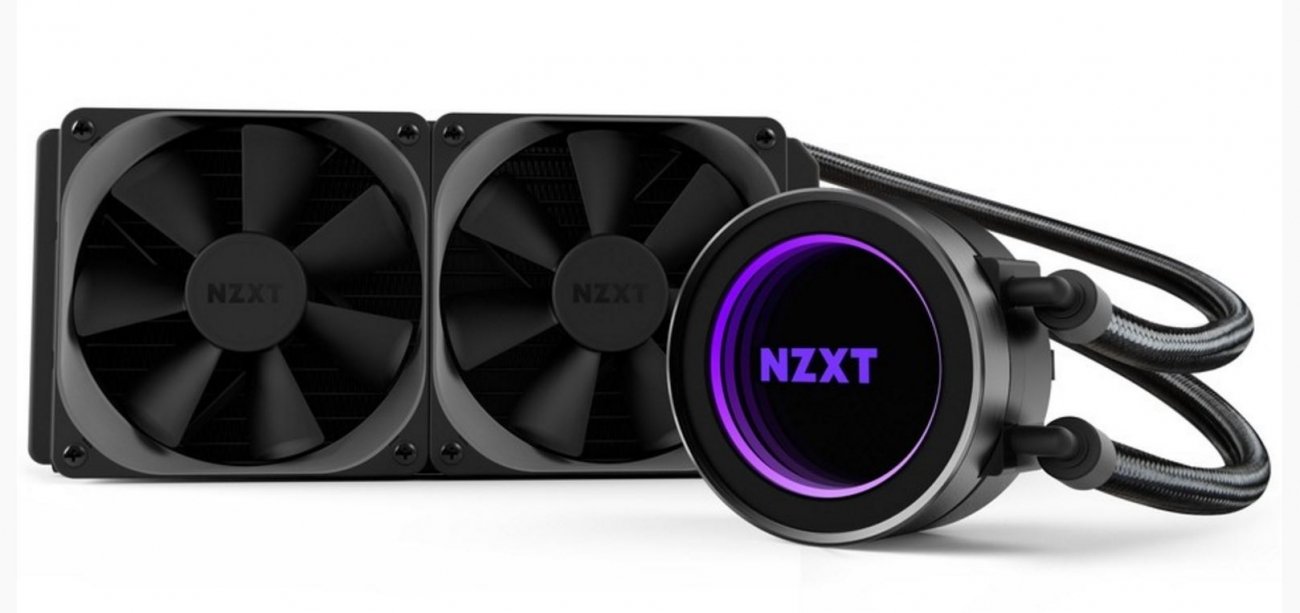
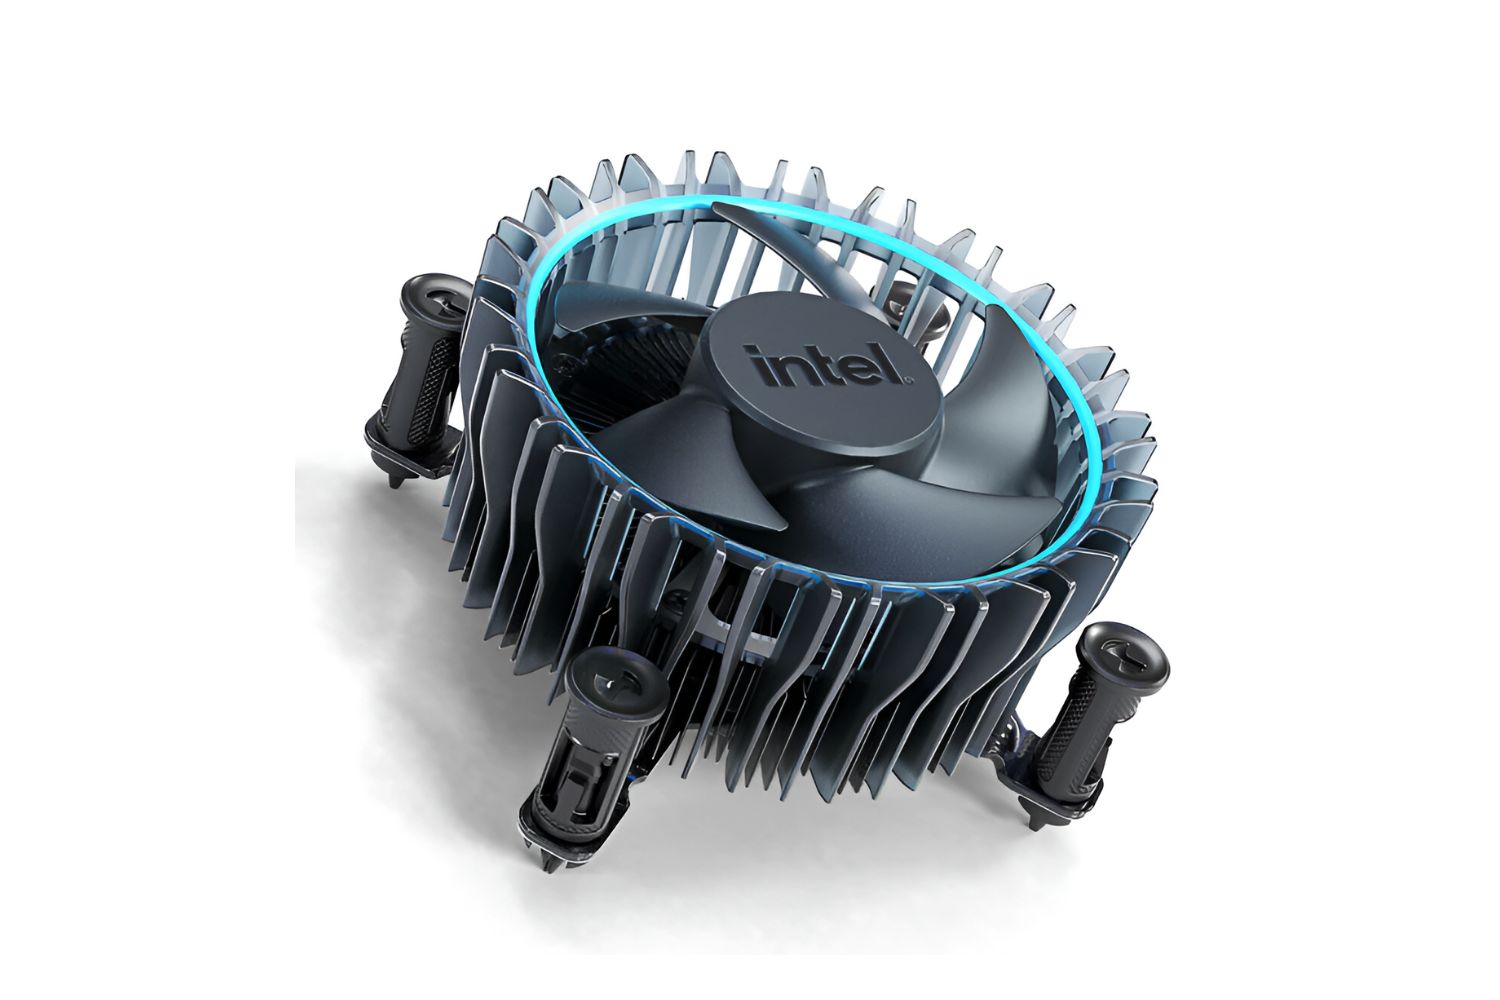
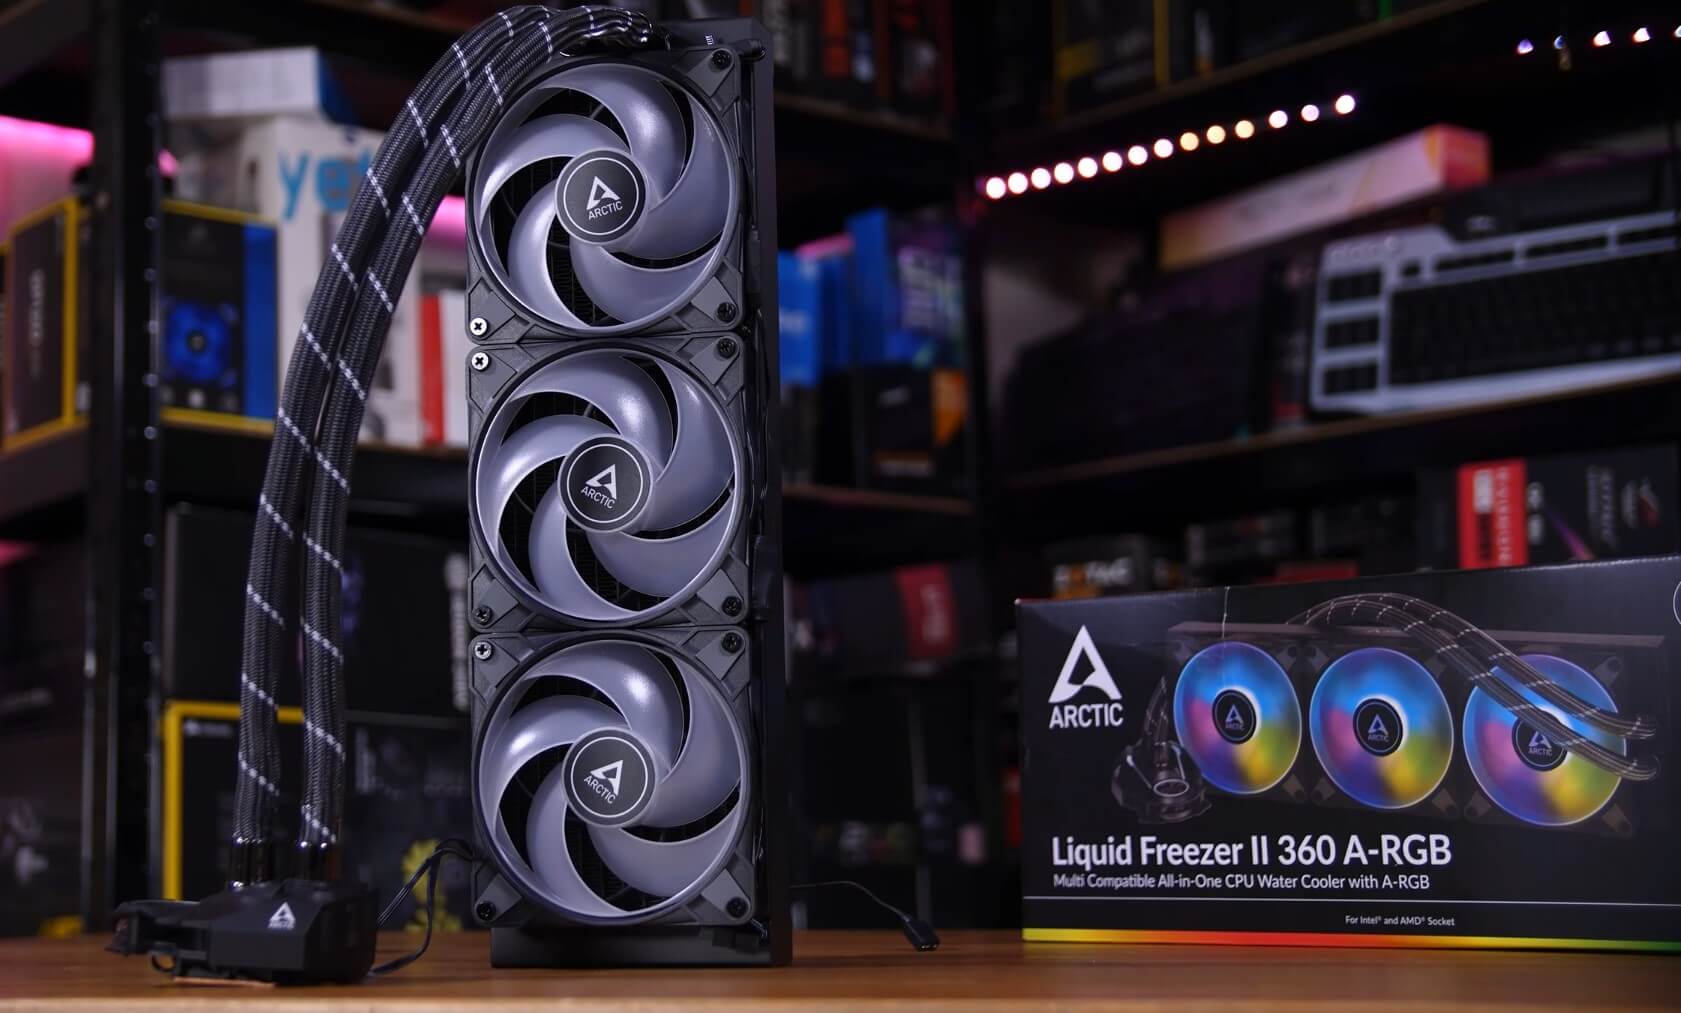
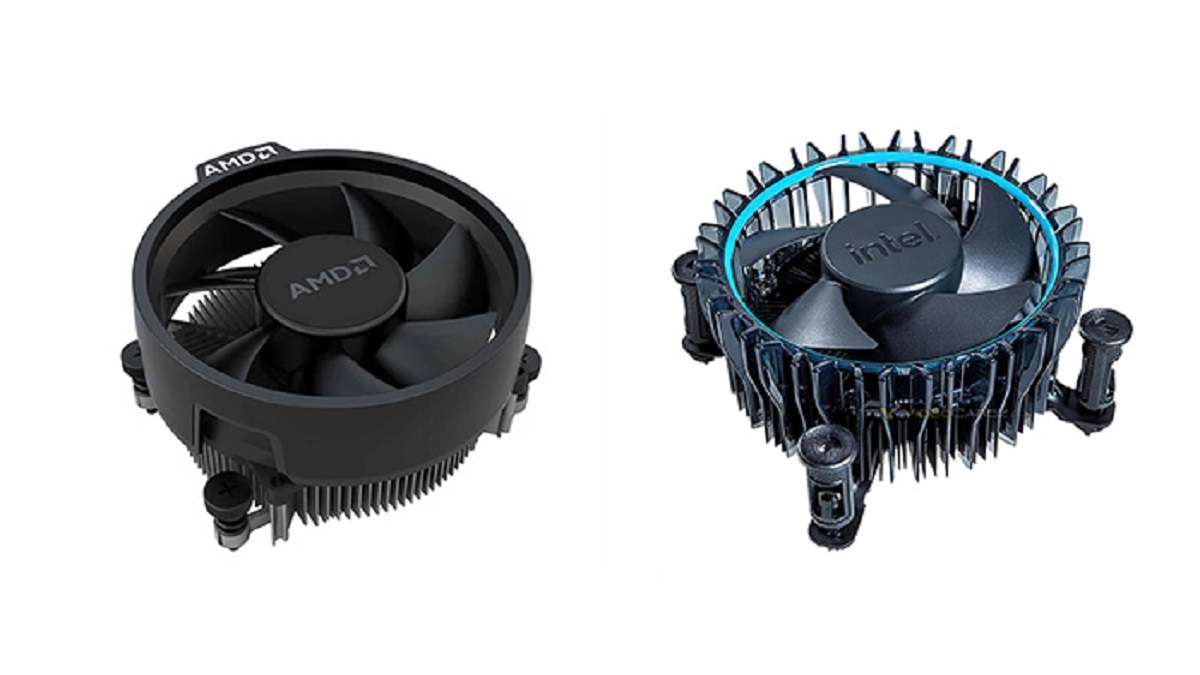
- CPU Cooler: Make sure you have the appropriate CPU cooler for your specific motherboard socket. It is recommended to use the cooler provided by Intel or a compatible third-party cooler.
- Thermal Paste: Thermal paste helps improve heat transfer between the CPU and the cooler. Depending on the CPU cooler you have, it may come with pre-applied thermal paste or require you to apply it separately.
- Screwdriver: You will need a screwdriver to attach the CPU cooler bracket and secure the cooler in place. Check the instructions provided by the CPU cooler manufacturer to determine the appropriate screwdriver size.
- Isopropyl Alcohol and Lint-Free Cloth: Before applying thermal paste, it’s essential to clean the CPU surface. Isopropyl alcohol and a lint-free cloth are ideal for removing any existing thermal paste residue.
- Antistatic Wrist Strap (Optional): To protect your computer components from static electricity, consider using an antistatic wrist strap during the installation process. This will help prevent any accidental damage caused by electrostatic discharge.
By gathering these tools and materials ahead of time, you will be well-prepared for the installation process. Once you have everything ready, you can proceed to prepare the motherboard for the CPU cooler installation.
Preparing the motherboard
Before installing the CPU cooler, it’s important to prepare the motherboard to ensure a smooth installation process. Here are the steps to follow:
- Power off and unplug your computer: Before working with any computer hardware, it’s crucial to power off your computer and unplug it from the power source. This will prevent any accidental damage and ensure your safety.
- Open the computer case: Depending on your computer case, you may need to remove a side panel to access the motherboard. Refer to your computer case manual for instructions on safely opening it.
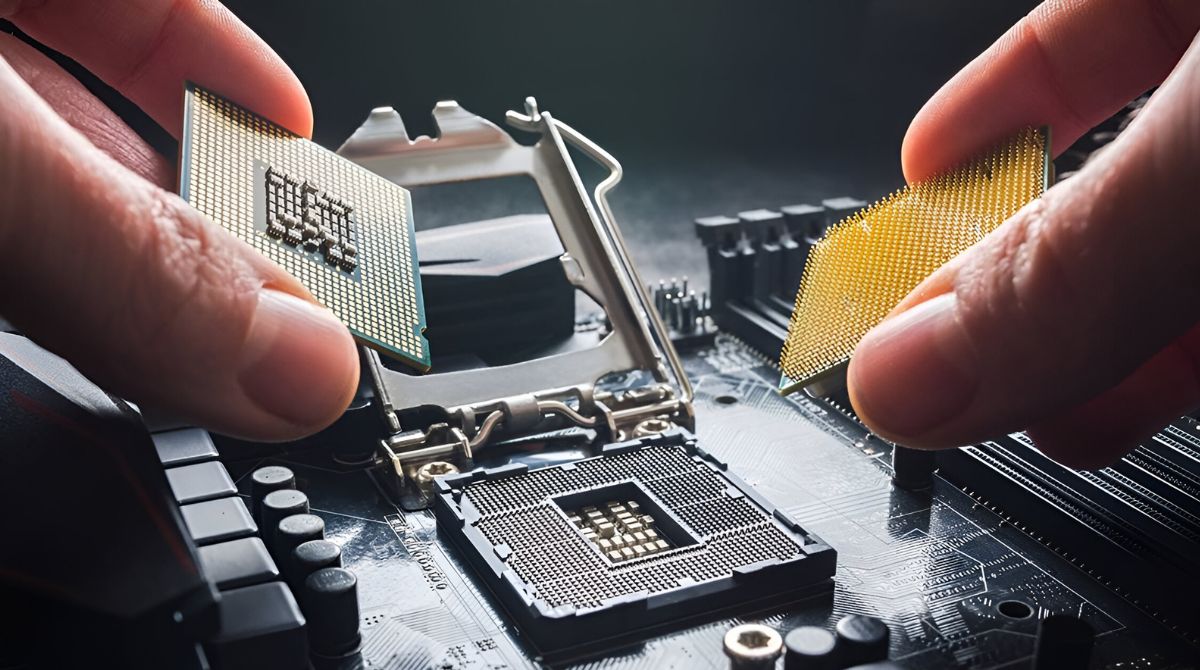
- Locate the CPU socket: The CPU socket is typically located towards the center of the motherboard. It is a square or rectangular socket with small holes or pins where the CPU will be installed.
- Remove any existing CPU cooler: If you are upgrading your CPU cooler or have an existing one installed, carefully remove it by unscrewing the retention mechanism or clips. Take note of any cables connected to the cooler and disconnect them as well.
- Clean the CPU surface: Use isopropyl alcohol and a lint-free cloth to clean the surface of the CPU. This will remove any thermal paste residue or debris, ensuring a clean and smooth installation.
- Inspect the CPU socket: Take a moment to inspect the CPU socket for any bent pins or damage. If you notice any issues, consult your motherboard manual or seek professional assistance.
- Review the motherboard manual: Review the motherboard manual to familiarize yourself with the CPU cooler installation guidelines specific to your motherboard model.
By following these steps, you will properly prepare your motherboard for the CPU cooler installation. Next, we will move on to attaching the CPU cooler bracket.
Attaching the CPU cooler bracket
Once you have prepared the motherboard, the next step in installing an Intel CPU cooler is attaching the CPU cooler bracket. The bracket helps secure the cooler in place and provides a stable base for optimal heat dissipation. Here are the steps to follow:
- Refer to the motherboard manual: Consult your motherboard manual to locate the specific CPU cooler bracket installation instructions. Different motherboards may have slightly different methods, so it’s important to follow the manufacturer’s guidelines.
- Identify the CPU cooler mounting holes: Locate the mounting holes on the motherboard around the CPU socket. These holes are usually labeled, making it easier to identify which ones to use for your specific cooler.
- Attach the brackets or retention mechanism: Depending on your CPU cooler, you may need to attach brackets or a retention mechanism to the mounting holes. Follow the manufacturer’s instructions to securely fasten these components in place.
- Ensure proper alignment: Make sure the brackets or retention mechanism are aligned correctly with the mounting holes. Double-check that they are firmly attached and stable.
- Check for any obstructions: Before proceeding, check for any obstructions near the mounting holes that could interfere with the installation. Clear away any debris or cables that may hinder the CPU cooler installation.
By carefully following these steps, you will successfully attach the CPU cooler bracket to the motherboard. In the next section, we will cover the important step of applying thermal paste.
Applying thermal paste
Applying thermal paste is a crucial step in the CPU cooler installation process. Thermal paste helps improve the transfer of heat between the CPU and the cooler, ensuring efficient cooling performance. Follow these steps to apply thermal paste properly:
- Prepare the thermal paste: If your CPU cooler comes with pre-applied thermal paste, skip to the next step. Otherwise, squeeze a small pea-sized amount of thermal paste onto the center of the CPU. Be careful not to use too much, as excess thermal paste can actually hinder heat transfer.
- Spread the thermal paste: Carefully spread the thermal paste across the CPU surface using a plastic card, such as an old credit card or a spatula specifically designed for thermal paste application. Gently glide the card in a horizontal or vertical motion to ensure even coverage while avoiding excessive pressure.
- Cover the entire CPU surface: Aim to cover the entire CPU surface with a thin, even layer of thermal paste. This will help ensure maximum heat transfer when the CPU cooler is attached.
- Avoid excessive spreading: While it’s important to cover the entire surface, avoid excessive spreading of the thermal paste. Over-spreading may lead to a thinner layer, which can negatively impact heat transfer.
- Clean up any excess paste: Once the thermal paste is applied, check for any excess around the CPU. Use a lint-free cloth or a cotton swab slightly moistened with isopropyl alcohol to carefully clean up any excess paste around the edges.
By following these steps, you will correctly apply thermal paste to ensure optimal heat transfer between the CPU and the cooler. In the next section, we will move on to attaching the heatsink and fan.
Attaching the heatsink and fan
Attaching the heatsink and fan is the next crucial step in installing an Intel CPU cooler. The heatsink helps cool the CPU by dissipating heat, while the fan provides active airflow. Here’s a step-by-step guide on attaching the heatsink and fan:
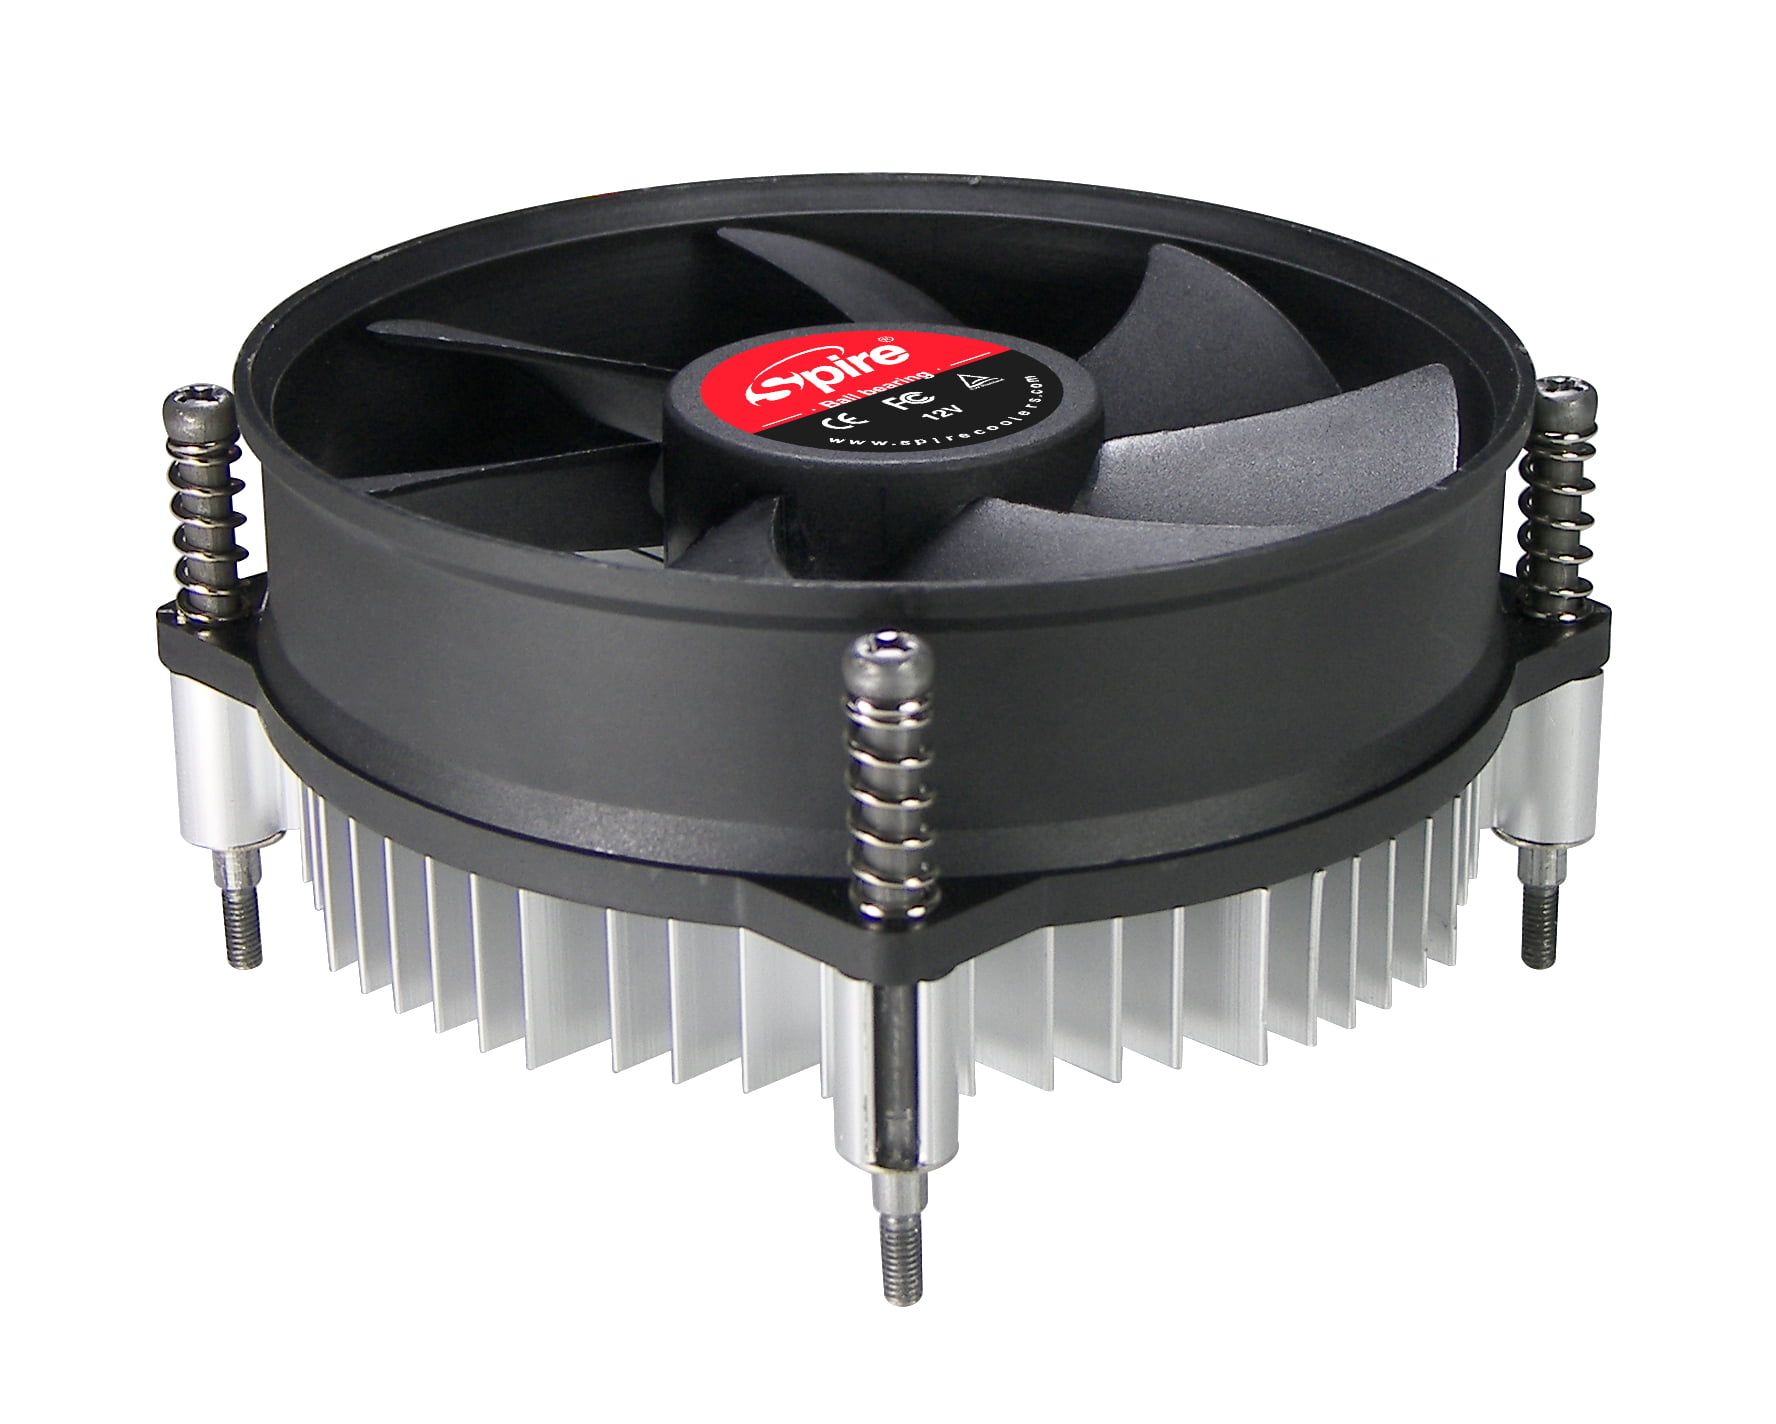
- Identify the heatsink and fan: Locate the heatsink and fan that came with your CPU cooler. Ensure they are clean and free from any dust or debris.
- Align the heatsink with the mounting holes: Carefully position the heatsink over the CPU, aligning it with the mounting holes or retention mechanism on the bracket you installed earlier. Take note of any screws or clips that will secure the heatsink in place.
- Secure the heatsink: Depending on your CPU cooler model, you may need to use screws or clips to secure the heatsink in place. Follow the manufacturer’s instructions to tighten the screws or fasten the clips firmly. Typically, you’ll need to tighten them in a diagonal pattern to ensure even pressure distribution.
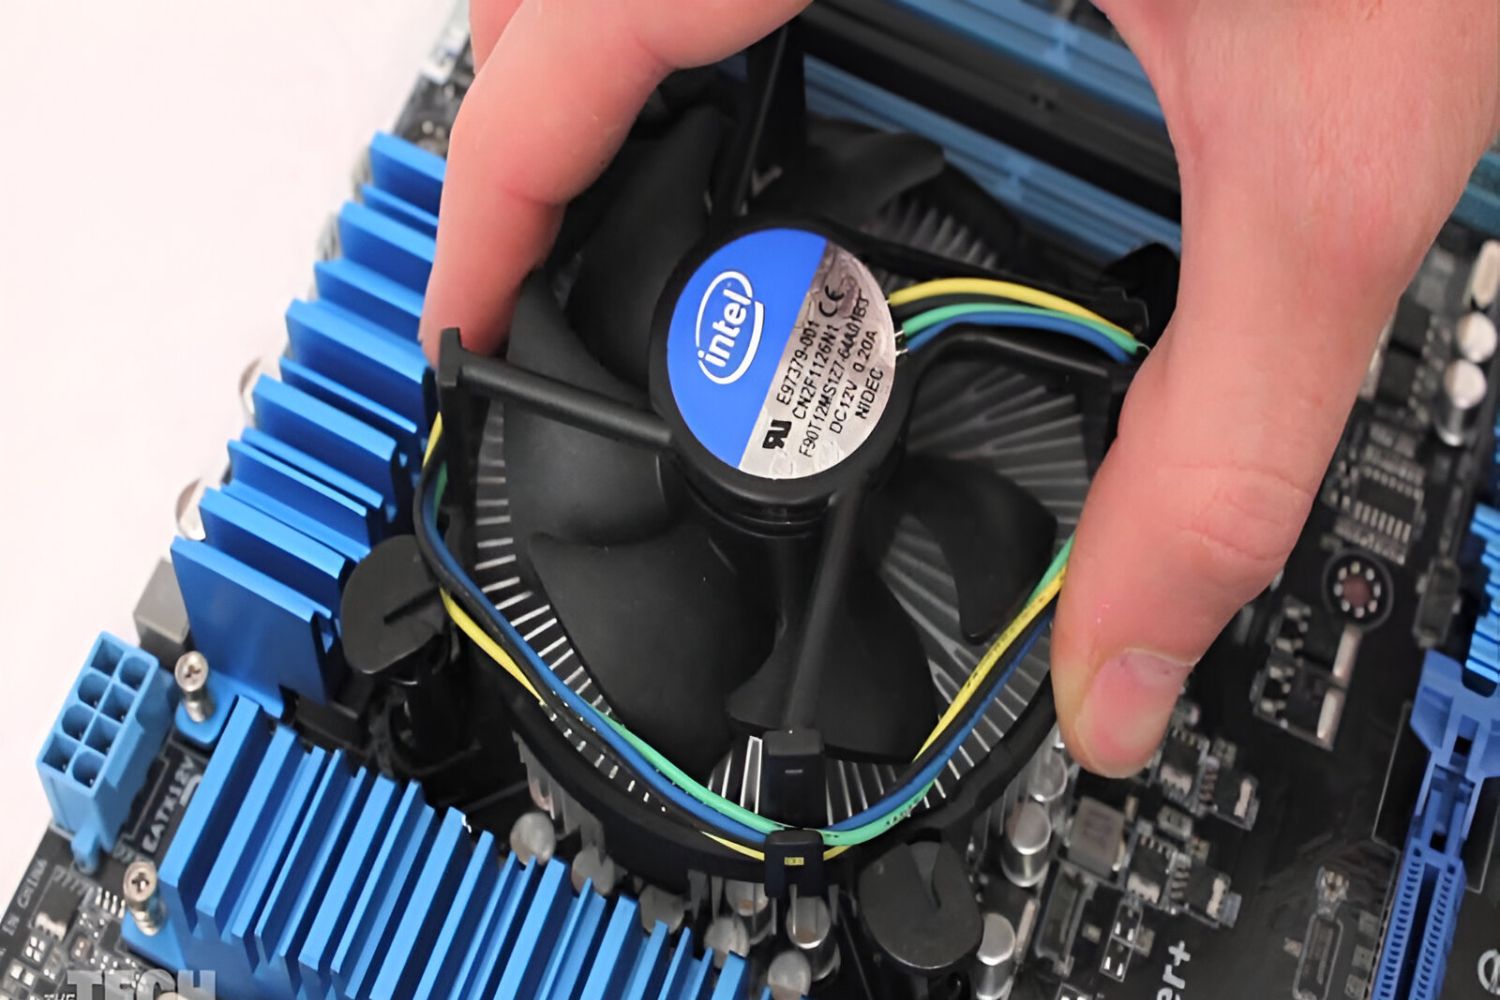
- Attach the fan to the heatsink: If your CPU cooler includes a fan, carefully attach it to the heatsink using the provided mounting clips or screws. Ensure the fan is aligned properly and securely fastened.
- Check for proper alignment and clearance: Once the heatsink and fan are attached, double-check that they are properly aligned with the CPU and there is enough clearance for the fan to operate without obstruction. Ensure that no cables or components are touching the fan blades.
By following these steps, you will successfully attach the heatsink and fan to your CPU cooler. In the next section, we will cover connecting the fan header to complete the installation process.
Connecting the fan header
After attaching the heatsink and fan to your CPU cooler, the final step is to connect the fan header. The fan header is a connector on the motherboard that powers the CPU fan and allows for control over its speed. Here’s how to connect the fan header:
- Locate the fan header: Refer to your motherboard manual to locate the specific fan header for the CPU cooler. It is usually labeled as “CPU_FAN” or something similar.
- Connect the fan cable: Take the cable from the CPU cooler fan and align it with the fan header on the motherboard. Ensure that the connector matches the orientation of the fan header pins.
- Securely plug in the cable: Gently press down on the connector to plug it into the fan header. Make sure it is securely in place to avoid any loose connections.
- Ensure proper cable management: Once the fan cable is connected, ensure that it is neatly routed and managed to avoid any interference with other components or cables inside the computer case.
- Power on the computer: With the CPU cooler installed and the fan cable connected, you can now power on your computer to test the installation.
By connecting the fan header, you will ensure that the CPU fan receives power and can be controlled for optimal cooling performance. In the next section, we will cover testing the installation to verify its success.
Testing the installation
After completing the installation of the Intel CPU cooler, it’s essential to test its functionality to ensure everything is working correctly. Testing the installation will help verify that the CPU is cooling properly and that the fan is functioning as expected. Here’s how you can test the installation:
- Power on the computer: Start by powering on your computer and allowing it to boot up normally. Keep an eye on the CPU temperature monitor or the BIOS screen to observe the initial temperature readings.
- Monitor CPU temperature: Once the computer is powered on, monitor the CPU temperature using monitoring software or the BIOS. Check for any drastic temperature increases that could indicate an improper installation.
- Listen for fan operation: Listen for the fan attached to the CPU cooler to ensure it is spinning properly. If the fan is not spinning or making unusual sounds, it may indicate a connection issue or a faulty fan.
- Perform stress tests: You can run stress tests or intensive tasks that put a load on the CPU to evaluate the cooling performance. Monitor the CPU temperature during these tests to ensure it remains within acceptable limits.
- Observe system stability: During the stress tests or intensive tasks, observe the overall stability of your system. Look out for any crashes, freezes, or abnormal behavior that could be attributed to an inadequate cooling solution.
By testing the installation, you can ensure that the CPU cooler is functioning properly and maintaining adequate cooling for your CPU. If you notice any issues during the testing process, it may be necessary to recheck the installation steps or seek professional assistance.
Once you are satisfied with the performance and stability of your system, you can close the computer case and continue using your computer with the newly installed CPU cooler.
Conclusion
Installing an Intel CPU cooler may seem daunting at first, but by following the step-by-step process outlined in this guide, you can successfully install it with confidence. By gathering the necessary tools and materials, preparing the motherboard, attaching the CPU cooler bracket, applying thermal paste, attaching the heatsink and fan, and connecting the fan header, you can ensure proper installation and optimal cooling performance for your CPU.
Remember to consult your specific motherboard and CPU cooler instructions for any variations or additional steps that may be required. Take your time during each step, ensuring proper alignment, secure fastening, and cable management. Testing the installation is crucial to ensure proper functionality, monitor CPU temperature, and verify the stability of your system.
With a properly installed Intel CPU cooler, you can enjoy improved performance, efficient heat dissipation, and peace of mind knowing that your CPU is operating within optimal temperature ranges.
By following this guide and taking the necessary precautions, you can confidently install an Intel CPU cooler and enhance the longevity and performance of your computer system.