Introduction
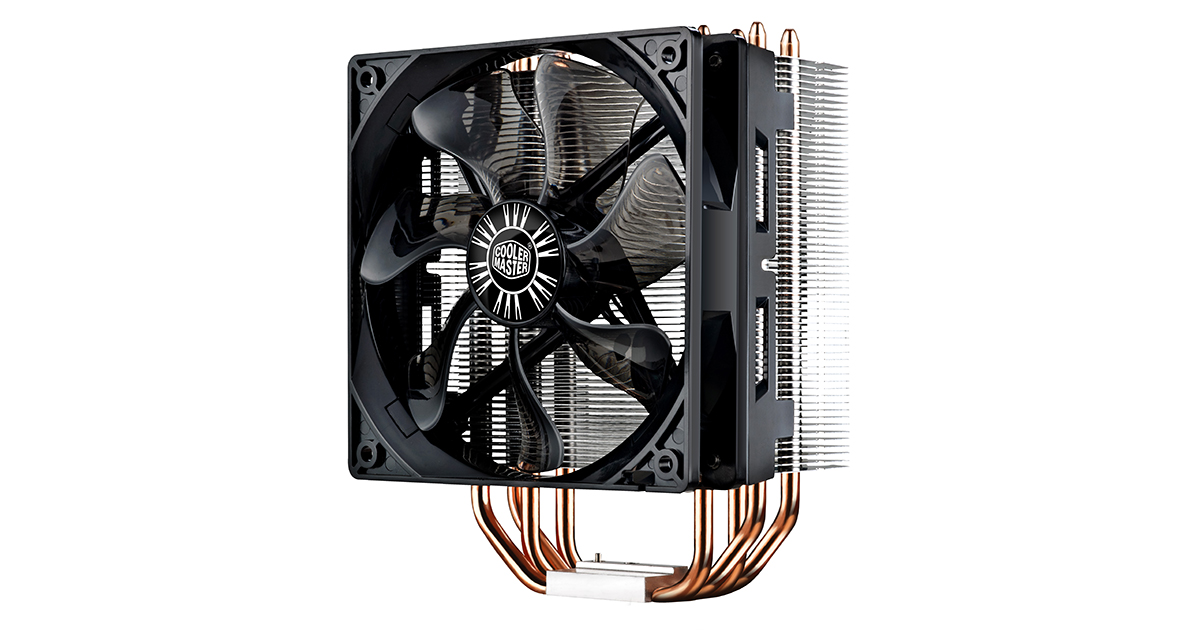
Welcome to this step-by-step guide on how to install the Cooler Master Hyper 212 Evo RR-212E-20PK-R2 CPU Cooler with 120mm PWM Fan. If you’re looking to upgrade the cooling system of your computer, the Hyper 212 Evo is a popular choice known for its excellent performance and affordability.
Installing a CPU cooler may seem like a daunting task, especially if you’re new to computer hardware. However, with the right tools, instructions, and a little patience, you can easily complete the installation process and enjoy the benefits of improved cooling for your CPU.
In this guide, we will walk you through each step of the installation process, providing clear instructions and tips along the way. Whether you’re a seasoned computer builder or a beginner, our aim is to ensure that even the most inexperienced users can successfully install the Cooler Master Hyper 212 Evo CPU Cooler.
Before we begin, it’s worth noting that every computer build is unique, and it’s important to consult your specific motherboard’s manual for any additional instructions or differences in the installation process. Additionally, make sure you have a well-lit workspace, proper tools, and take necessary precautions to prevent any damage to your computer components.
Now, let’s get started with the installation process of the Cooler Master Hyper 212 Evo CPU Cooler and take your computer’s cooling efficiency to the next level!
What You’ll Need
Before you begin the installation of the Cooler Master Hyper 212 Evo CPU Cooler, it’s important to gather all the necessary tools and components. This will ensure a smooth and efficient installation process. Here’s a list of what you’ll need:
- A Cooler Master Hyper 212 Evo RR-212E-20PK-R2 CPU Cooler with 120mm PWM Fan.
- A computer case with sufficient clearance for the CPU cooler.
- A compatible motherboard with an available CPU socket for installation.
- A thermal compound or thermal paste.
- A screwdriver (typically a Phillips-head screwdriver).
- Cotton swabs or a lint-free cloth for cleaning purposes.
- Isopropyl alcohol or a suitable cleaner for removing any existing thermal compound.
- An anti-static wrist strap (optional, but recommended).
Before you start the installation, double-check that you have all the necessary components on hand. It’s essential to ensure compatibility between your CPU and the Cooler Master Hyper 212 Evo, as well as verify the available space within your computer case for proper installation. Additionally, make sure you have a clean and well-organized workspace, which can help to prevent any damage to your computer components.
By having all the required tools and components ready, you’ll be well-prepared to tackle the installation process and ensure a successful upgrade to your computer’s cooling system.
Step 1: Preparing Your PC
Before you dive into installing the Cooler Master Hyper 212 Evo CPU cooler, it’s important to prepare your PC for the installation process. This step will help ensure a smooth and hassle-free experience. Follow these guidelines to get your PC ready:
- Turn off and unplug your computer: Before you start working on your PC’s internal components, it’s crucial to shut down your computer and disconnect it from the power source. This will minimize the risk of any electrical accidents and protect your system from damage.
- Ground yourself: Static electricity can be detrimental to computer components. To prevent any static discharge from damaging your hardware, it’s recommended to wear an anti-static wrist strap or touch a grounded metal surface before handling any internal components.
- Open the computer case: Remove the side panel of your computer case to gain access to the internal components. The exact method of opening the case may vary depending on your case model, so consult the case manual or manufacturer’s website for specific instructions.
- Clean the CPU: Take a moment to inspect the CPU for any dust or debris. If necessary, use a can of compressed air or a soft brush to gently clean the surface. This will ensure optimal contact between the CPU and the cooler’s heat sink.
- Verify socket compatibility: Check if your motherboard’s CPU socket is compatible with the Cooler Master Hyper 212 Evo. Refer to the motherboard manual or the manufacturer’s website for information on socket compatibility. Additionally, ensure that your motherboard supports the TDP (thermal design power) of your CPU.
By following these preparatory steps, you’ll ensure that your PC is ready for the Cooler Master Hyper 212 Evo installation process. Furthermore, taking the time to prepare your PC will help prevent any potential issues and make the subsequent steps smoother and easier to execute.
Step 2: Removing the Existing CPU Cooler
Before installing the Cooler Master Hyper 212 Evo CPU cooler, you’ll need to remove the existing CPU cooler from your computer. Here’s a step-by-step guide to help you through the process:
- Unplug the fan connector: Locate the fan connector attached to the CPU cooler and gently unplug it from the motherboard. Take note of its position for future reference.
- Remove any additional fan connectors: If there are any additional fans connected to the CPU cooler, such as case fans or radiator fans, disconnect them as well.
- Detach the heat sink: Carefully loosen and remove any screws or clips that secure the heat sink to the CPU socket. Hold the heat sink firmly to prevent it from accidentally detaching and damaging other components.
- Remove the thermal compound: If there’s thermal compound or thermal paste applied on the CPU or heat sink, clean it with isopropyl alcohol and a lint-free cloth or cotton swabs. Make sure to remove all traces of the previous thermal compound for optimal thermal conductivity.
- Clean the CPU and heat sink: Inspect the CPU and heat sink for any residual thermal compound. Use isopropyl alcohol and lint-free cloths or cotton swabs to clean both surfaces. Ensure they are completely dry before proceeding.
- Inspect mounting bracket: Check the mounting bracket on your motherboard. If it’s compatible with the Cooler Master Hyper 212 Evo, you may be able to reuse it. However, if it’s not compatible, remove the existing mounting bracket and prepare to install the one that came with the Hyper 212 Evo.
By following these steps, you’ll successfully remove the existing CPU cooler and prepare the way for the installation of the Cooler Master Hyper 212 Evo. Take your time and be cautious when handling delicate components to avoid any accidental damage.
Step 3: Preparing the Cooler Master Hyper 212 Evo
Now that you’ve removed the existing CPU cooler, it’s time to prepare the Cooler Master Hyper 212 Evo for installation. This step involves attaching additional components and ensuring proper compatibility with your system. Follow these steps to get the Hyper 212 Evo ready:
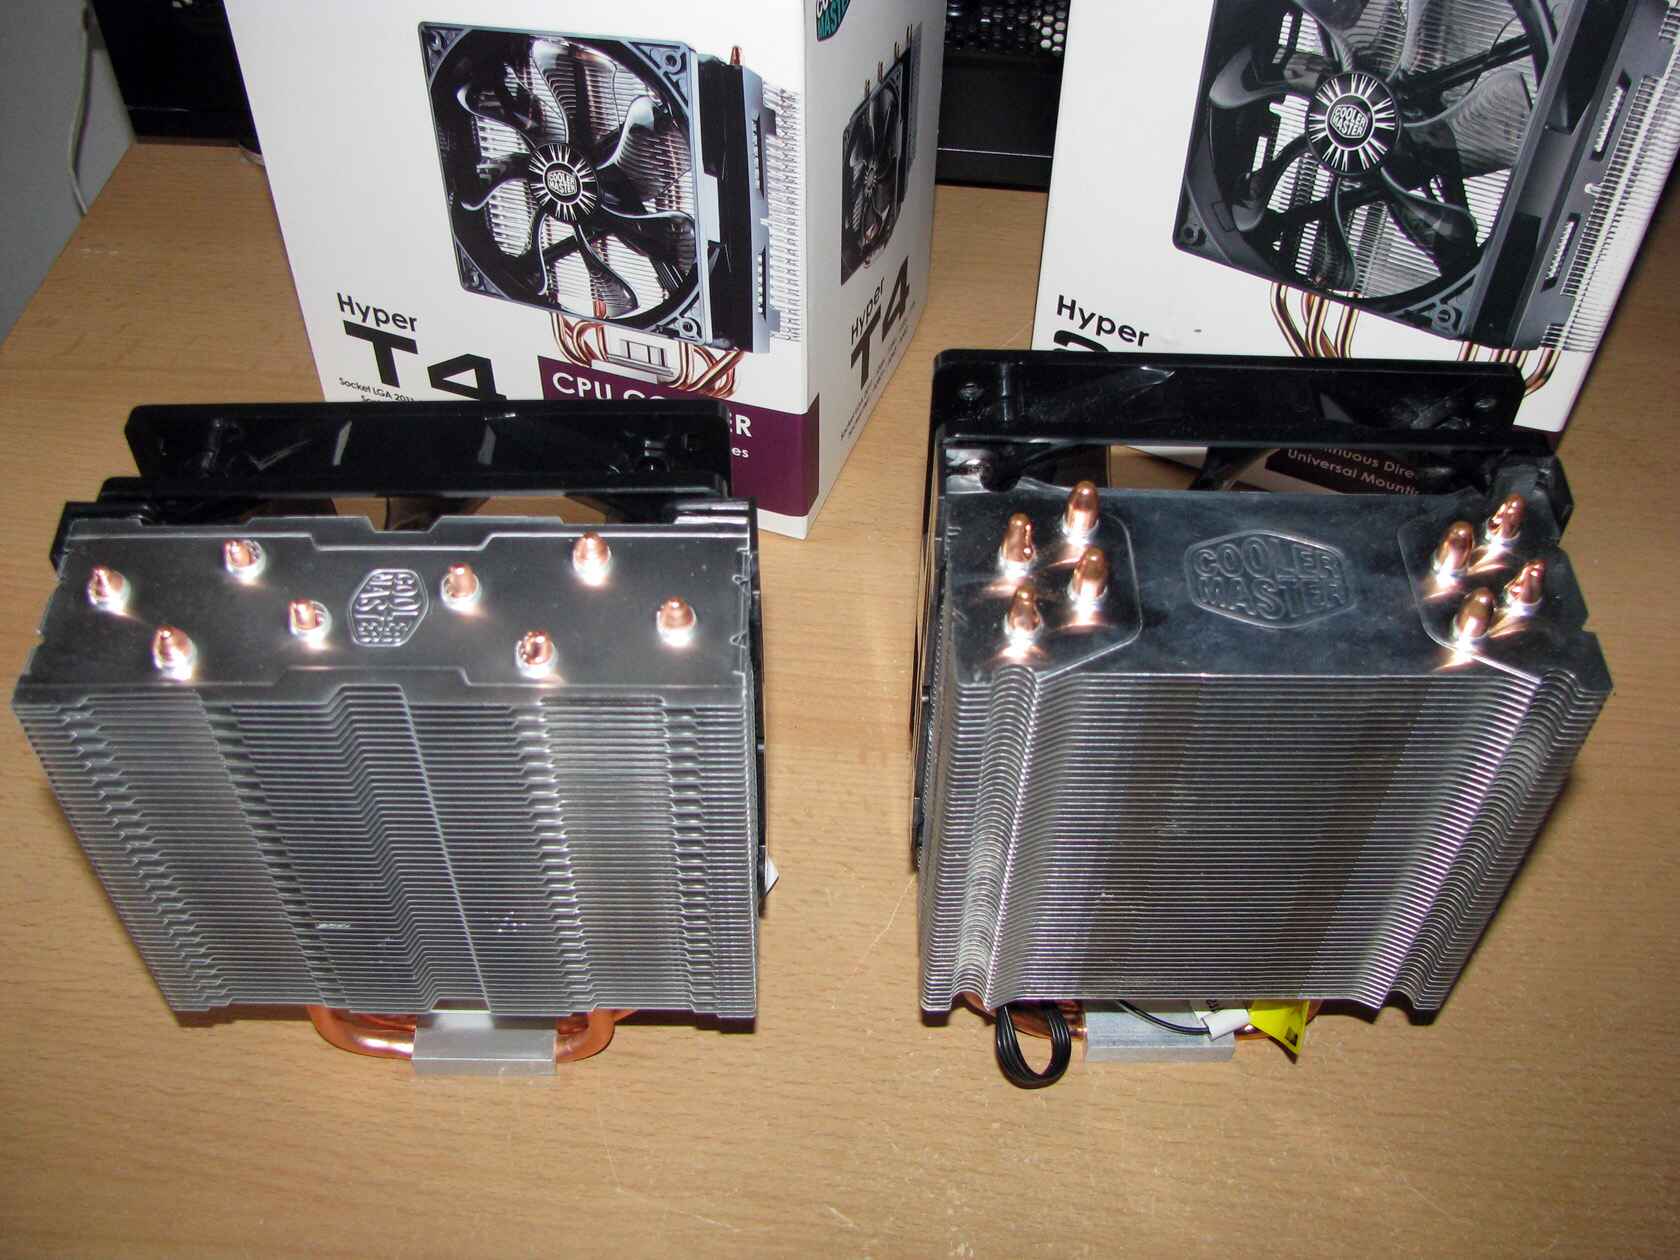
- Check the package contents: Before proceeding, verify that you have all the necessary components that came with the Cooler Master Hyper 212 Evo. This typically includes the heat sink, fan, mounting brackets, screws, and any additional accessories.
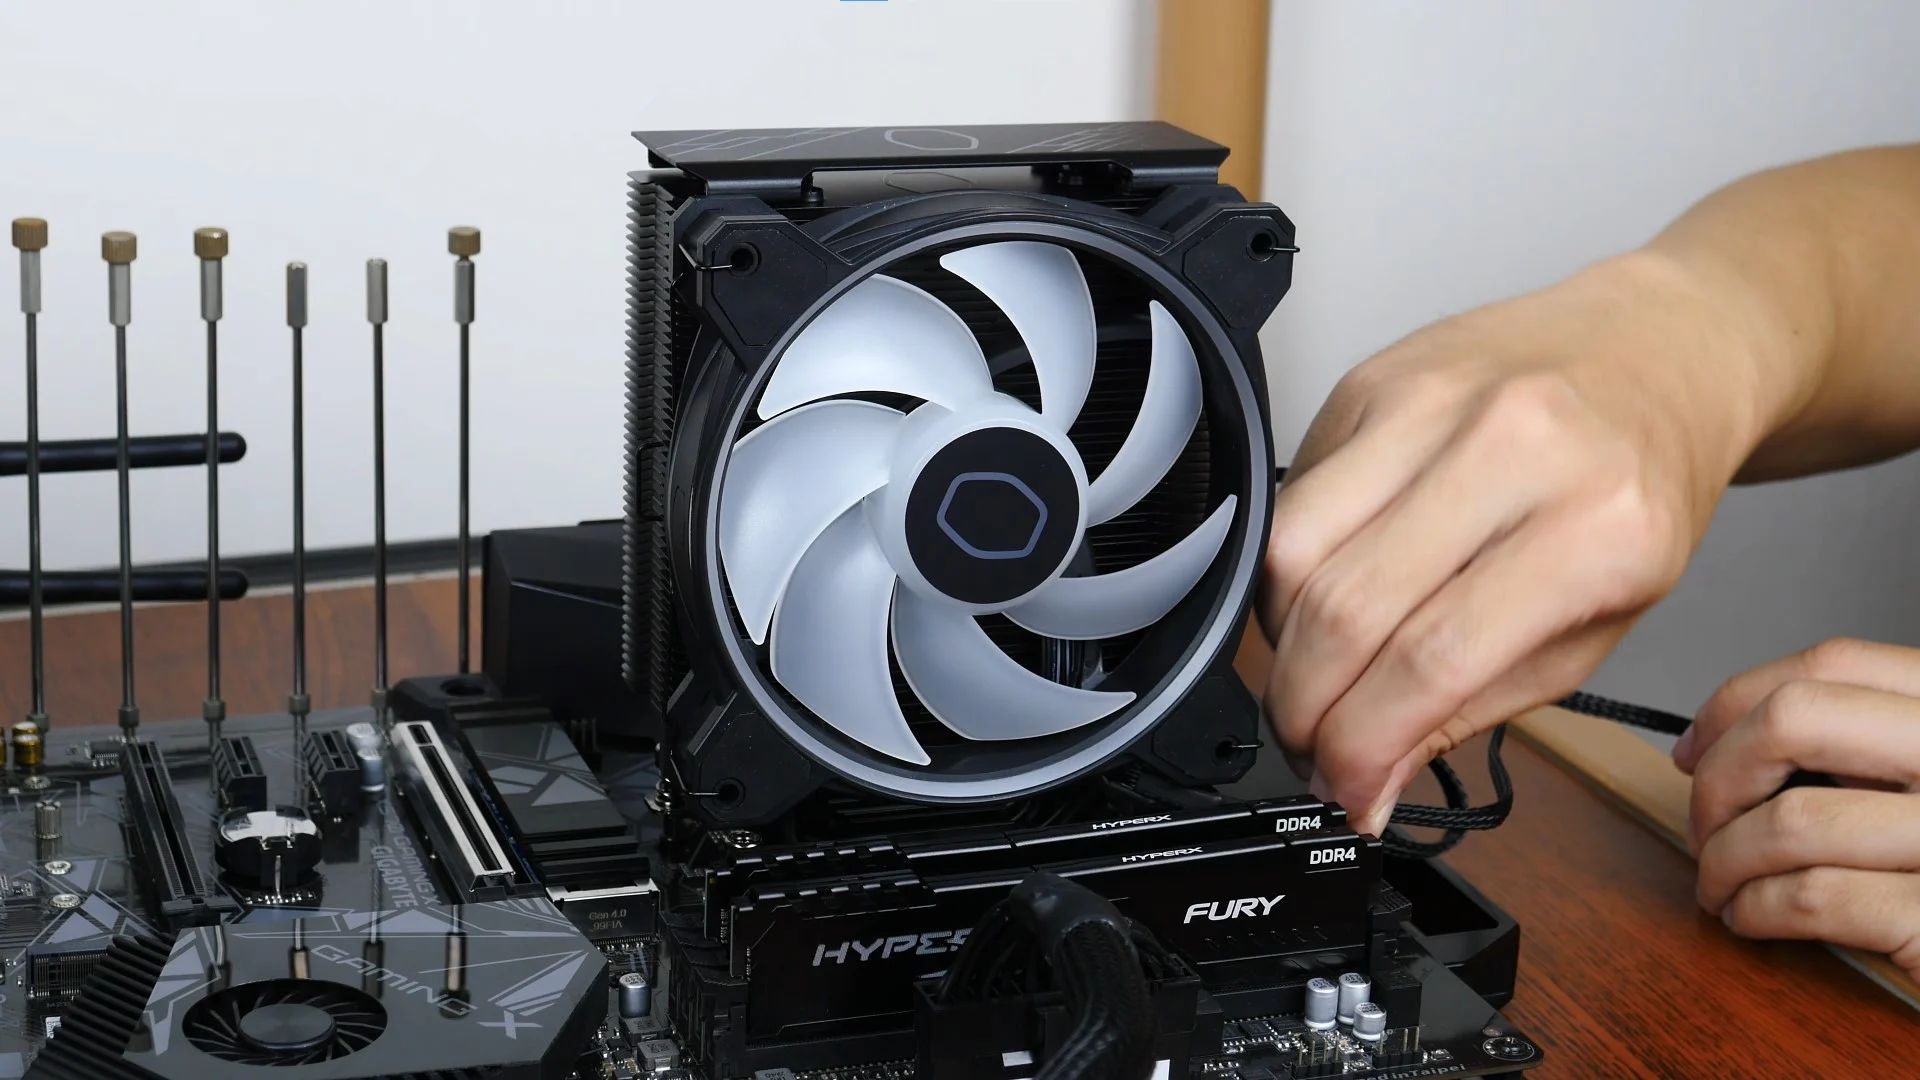
- Attach the fan to the heat sink: Take the 120mm PWM fan that came with the Hyper 212 Evo and align the mounting holes with the corresponding holes on the heat sink. Use the provided screws to secure the fan to the heat sink. Ensure that the fan is oriented correctly to ensure proper airflow.
- Apply thermal compound: Apply a small amount of thermal compound or thermal paste onto the center of the CPU. Spread it evenly using a plastic spatula or a credit card, ensuring that the entire CPU surface is covered. Be cautious not to use too much compound, as it may interfere with heat transfer.
- Attach the mounting brackets: Depending on your motherboard’s socket type, attach the appropriate mounting brackets to the Cooler Master Hyper 212 Evo. Refer to the Hyper 212 Evo manual for detailed instructions on specific socket installations. Ensure that the brackets are securely fastened to the heat sink.
It’s crucial to carefully follow these steps to properly prepare the Cooler Master Hyper 212 Evo for installation. Ensure that all components are securely attached, and take care to apply the thermal compound evenly for optimal heat transfer. By completing this step, you’ll be ready to proceed with the installation of the Hyper 212 Evo onto your CPU.
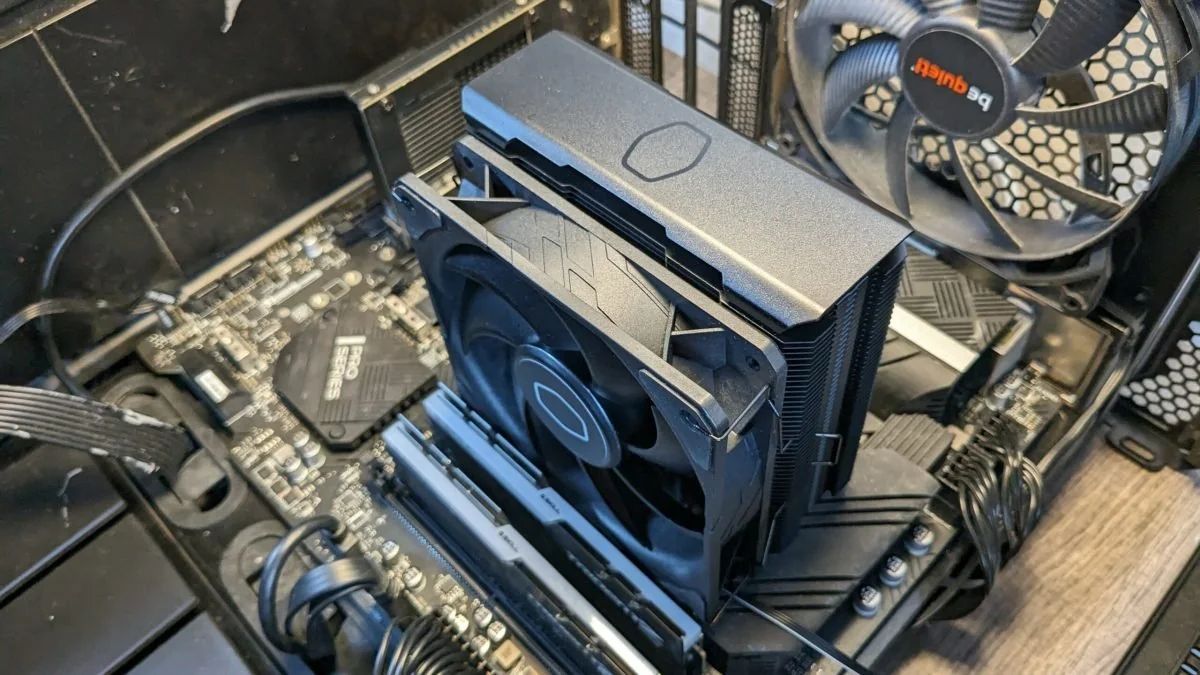
Step 4: Installing the CPU Cooler
With the Cooler Master Hyper 212 Evo and your CPU prepared, it’s time to install the CPU cooler onto your motherboard. Proper installation is crucial for optimal cooling performance and system stability. Follow these steps to ensure a successful installation:
- Identify the correct orientation: Locate the CPU socket on your motherboard and identify the correct orientation for mounting the Cooler Master Hyper 212 Evo. The heat pipes should be positioned vertically or horizontally, depending on the socket.
- Position the cooler over the CPU: Carefully place the Cooler Master Hyper 212 Evo onto the CPU, aligning the mounting brackets with the corresponding holes on the motherboard. Make sure the cooler is centered over the CPU to ensure proper contact.
- Apply even pressure: Apply gentle and even pressure to the cooler, pressing it down onto the CPU. This will help the thermal compound spread evenly and create good thermal contact between the CPU and the cooler.
- Check the mounting mechanism: Depending on the Hyper 212 Evo version, there will be different mounting mechanisms to secure the cooler. Follow the instructions provided in the manual to fully secure the cooler onto the CPU socket. Ensure that all screws or mounting brackets are tightened securely but avoid over-tightening, as it could damage the motherboard.
- Ensure proper clearance: Make sure that the Cooler Master Hyper 212 Evo does not interfere with any nearby components, such as RAM modules or the graphics card. Check the clearance and adjust the position of the cooler if necessary.
By carefully following these steps, you’ll successfully install the Cooler Master Hyper 212 Evo CPU cooler onto your motherboard. Ensure that all screws and brackets are properly secured, and pay attention to any clearance requirements to avoid any potential issues. With the cooler installed, you’re one step closer to improving the overall cooling performance of your system.
Step 5: Securing the CPU Cooler
After installing the Cooler Master Hyper 212 Evo onto your motherboard, it’s essential to properly secure the CPU cooler in place. This step ensures stability, optimal thermal conductivity, and minimizes the risk of any accidental damage. Follow these steps to securely fasten the CPU cooler:
- Tighten the mounting screws: Using a screwdriver, tighten the mounting screws in a diagonal pattern. Gradually tighten each screw, alternating between opposite corners, until they are securely fastened. Be cautious not to overtighten the screws to avoid damaging the motherboard or the CPU cooler itself.
- Double-check the screws: Once all screws are tightened, double-check them to ensure they are securely fastened. Check for any wobbling or loose screws, and tighten them if necessary.
- Inspect the mounting brackets: Verify that the mounting brackets are properly attached and aligned. Ensure that they are seated correctly and securely fastened to the CPU cooler.
- Check for any interference: Confirm that the CPU cooler does not interfere with other components, such as the RAM modules or the graphics card. Adjust the position of the cooler, if needed, to provide sufficient clearance.
- Ensure proper cable management: Organize the cables from the fan and any additional fans connected to the CPU cooler. Proper cable management will improve airflow and prevent any cable interference with the CPU cooler’s operation.
By properly securing the CPU cooler in place, you’ll ensure that it functions optimally and maintains a secure connection with the CPU. Take your time to tighten the mounting screws evenly and check for any interference or loose components. With the CPU cooler securely fastened, you’re one step closer to completing the installation process.
Step 6: Connecting the Fan
With the Cooler Master Hyper 212 Evo securely in place, it’s time to connect the fan to your motherboard to ensure proper cooling functionality. The fan plays a vital role in dissipating heat from the CPU, and it’s important to connect it correctly. Follow these steps to connect the fan:
- Locate the fan header: Identify the CPU fan header on your motherboard. This header is specifically designed to power and control the CPU cooler fan.
- Align the connector: Take the fan connector, which is attached to the Cooler Master Hyper 212 Evo, and align it with the CPU fan header on the motherboard. The connector should fit snugly into the header.
- Secure the connection: Gently press the connector into the fan header until it is securely connected. Ensure that the connection is tight to prevent any accidental detachment during operation.
- Manage the fan cable: Organize the fan cable to ensure it doesn’t interfere with any other components inside the computer case. Use cable ties or clips to secure the fan cable along the available cable management routes.
- Configure fan settings: Access your PC’s BIOS or motherboard software to configure the fan settings. You can adjust the speed control settings or enable any specialized cooling features that your motherboard provides.
By properly connecting the fan to the CPU fan header on your motherboard, you’ll ensure that it receives power and can be controlled according to your system’s requirements. Take care to align and secure the connection, and manage the fan cable to maintain a tidy and unobstructed system. With the fan connected, your Cooler Master Hyper 212 Evo setup will be complete and ready for operation.
Step 7: Testing and Finalizing the Installation
After completing the installation of the Cooler Master Hyper 212 Evo, it’s crucial to perform thorough testing to ensure that everything is functioning as intended. This step involves checking for proper functionality and conducting a final inspection. Follow these steps to test and finalize the installation:
- Power on your computer: Reconnect the power cable to your PC and power it on. Observe the booting process and listen for any unusual noises coming from the CPU cooler.
- Monitor CPU temperatures: Use monitoring software or the BIOS to check the CPU temperatures. Ensure that the temperatures remain within acceptable limits during idle and under load conditions. Elevated temperatures may indicate improper installation or insufficient thermal compound application.
- Inspect for any physical issues: Perform a visual inspection, checking for any visible issues such as loose screws, misaligned components, or interference with nearby components. If you notice anything out of the ordinary, ensure that the CPU cooler is correctly installed and troubleshoot any potential issues.
- Run stress tests: In order to ensure stability and proper cooling performance, consider running stress tests or CPU-intensive applications to determine how well the CPU cooler handles increased workloads. Monitor the temperatures to ensure they stay within acceptable ranges.
- Finalize cable management: Take the time to organize and secure any loose cables within your computer case. Proper cable management improves airflow and reduces the risk of cables interfering with the CPU cooler’s operation.
By thoroughly testing and finalizing the installation, you’ll ensure that the Cooler Master Hyper 212 Evo is functioning optimally and providing efficient cooling for your CPU. Monitor temperatures, inspect for any physical issues, and address any concerns that arise during testing. With these steps completed, you can enjoy improved cooling performance and enhanced system stability.
Conclusion
Congratulations! You have successfully installed the Cooler Master Hyper 212 Evo RR-212E-20PK-R2 CPU Cooler with 120mm PWM Fan. By following the step-by-step guide, you have upgraded your computer’s cooling system and can enjoy improved thermal performance for your CPU.
Throughout the installation process, you prepared your PC, removed the existing CPU cooler, and properly prepared and installed the Cooler Master Hyper 212 Evo. You secured the cooler, connected the fan, and conducted thorough testing to ensure everything was functioning as intended.
With the Cooler Master Hyper 212 Evo installed, your CPU will benefit from better heat dissipation, resulting in lower temperatures and potentially increased overclocking capabilities. This can lead to improved system stability and longevity.
Remember, proper maintenance and regular cleaning of the CPU cooler are essential to maintain its performance over time. Dust and debris can accumulate on the heat sink and fan, hindering airflow and reducing efficiency. Regularly checking and cleaning the cooler will help keep your system running smoothly.
Thank you for following this installation guide. We hope it has been informative and helpful in your journey to upgrade your computer’s cooling system. Enjoy the improved cooling performance provided by the Cooler Master Hyper 212 Evo CPU cooler!