Introduction
Installing a quality CPU cooler is crucial for maintaining optimal performance and preventing overheating of your processor. The AMD Wraith CPU Cooler RGB is a popular choice among computer enthusiasts due to its excellent cooling capabilities and eye-catching RGB lighting effects. If you’re looking to upgrade your stock CPU cooler to the AMD Wraith and add some flair to your PC, this guide will walk you through the installation process step by step.
Before proceeding with the installation, it’s essential to ensure that your motherboard is compatible with the AMD Wraith CPU Cooler RGB. Most modern motherboards support this cooler, but it’s always a good idea to double-check the compatibility list provided by AMD or consult your motherboard’s documentation.
In this guide, we’ll cover everything you need to know to successfully install the AMD Wraith CPU Cooler RGB, including gathering necessary tools, preparing your motherboard, applying thermal paste, mounting the cooler, and connecting the RGB cable. By following these steps carefully, you’ll be able to enjoy enhanced cooling performance and a dazzling visual experience.
Whether you’re a seasoned PC builder or a beginner looking to upgrade your cooling solution, this guide will provide you with the information and guidance you need to successfully install the AMD Wraith CPU Cooler RGB. So, let’s get started and transform your computer’s cooling performance while adding a touch of visual appeal!
Things You’ll Need
Before you begin the installation process, make sure you have the following tools and components ready:
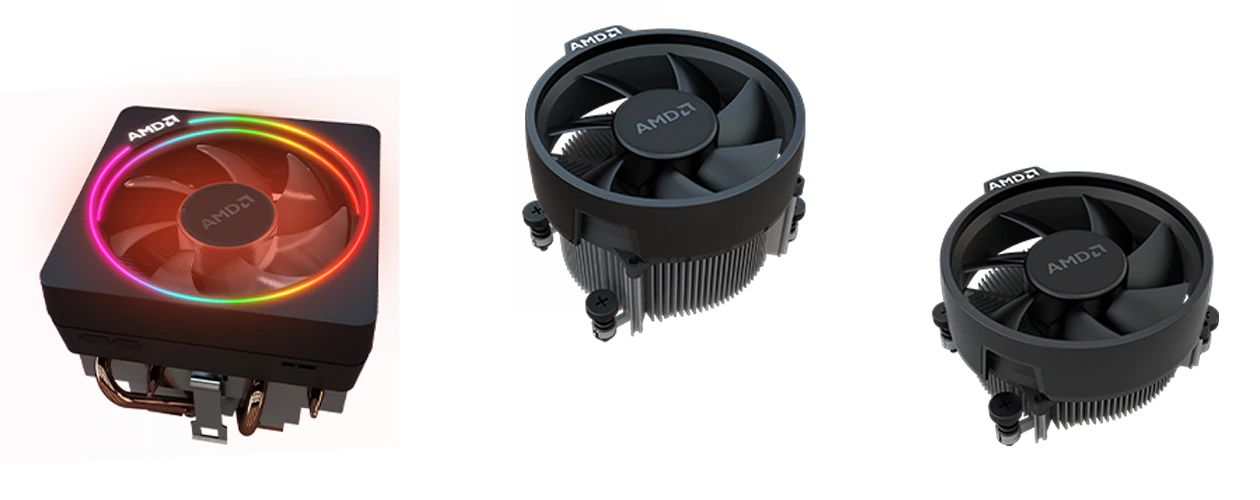
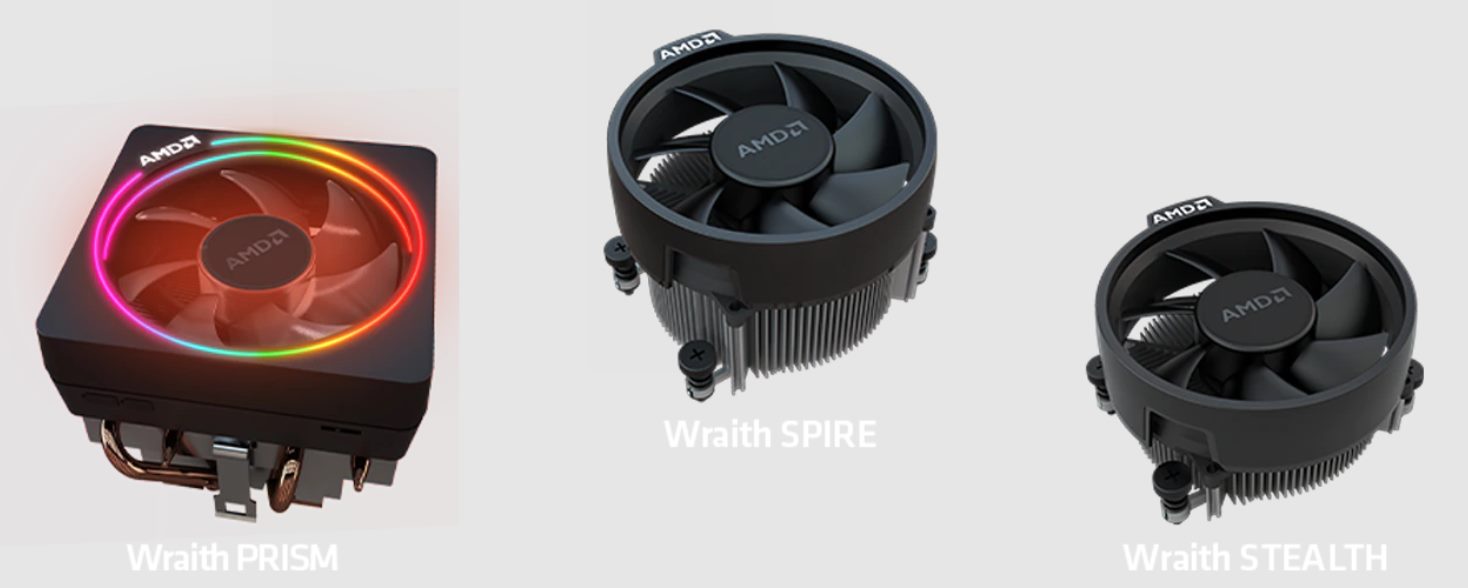
- AMD Wraith CPU Cooler RGB: This includes the cooler itself, the fan, and the mounting brackets.
- Thermal Paste: High-quality thermal paste is necessary to ensure proper heat transfer between the CPU and the cooler.
- Screwdriver: Depending on the cooler model, you may need a Phillips or flathead screwdriver to secure the cooler in place.
- Isopropyl Alcohol and Cleaning Cloth: These will be useful for cleaning the CPU surface and removing any existing thermal paste before applying a new layer.
- CPU Socket Compatibility: Make sure the AMD Wraith CPU Cooler RGB is compatible with your specific CPU socket. Check the AMD website or the cooler’s documentation for compatibility details.
- Static-Free Workspace: Find a clean, static-free surface to work on, preferably grounded or equipped with an anti-static mat to prevent any damage to the computer components.
Having these tools and components readily available will help streamline the installation process and ensure a smooth experience. Remember to read the AMD Wraith CPU Cooler RGB manual for any specific instructions or additional items required for your particular setup.
Step 1: Check Compatibility
Prior to starting the installation process, it’s crucial to verify the compatibility of the AMD Wraith CPU Cooler RGB with your motherboard and CPU socket. This step ensures a hassle-free installation and prevents any potential compatibility issues. Here’s how you can check the compatibility:
1. Consult your motherboard’s documentation: Look for the CPU socket compatibility list in the motherboard user manual or on the manufacturer’s website. This will identify whether the AMD Wraith CPU Cooler RGB is supported.
2. Visit the AMD website: AMD provides a comprehensive list of supported CPU sockets for their coolers. Access their website and check if your motherboard’s socket is listed as compatible with the AMD Wraith CPU Cooler RGB.
By following these steps, you can ensure that your motherboard and CPU socket are compatible with the AMD Wraith CPU Cooler RGB. If your motherboard is not compatible, you may need to consider an alternative cooling solution or upgrade your motherboard to accommodate the cooler.
Remember, compatibility is essential to ensure proper installation and optimal performance of the cooler. Skipping this step could lead to potential damage to your components or ineffective cooling. Take the time to double-check compatibility before moving on to the next steps.
Step 2: Gather Tools
Before starting the installation process, it’s important to gather all the necessary tools and components. Having everything at your disposal will save you time and help ensure a smooth installation of the AMD Wraith CPU Cooler RGB. Here are the tools you’ll need:
- Screwdriver: Depending on the specific cooler model, you may need a Phillips or flathead screwdriver to secure the cooler in place. Check the manual or the manufacturer’s instructions for the appropriate screwdriver type.
- Thermal Paste: High-quality thermal paste is crucial for ensuring proper heat transfer between the CPU and the cooler. Make sure you have a tube of thermal paste ready for the installation.
- Isopropyl Alcohol and Cleaning Cloth: Before applying new thermal paste, it’s essential to clean the CPU surface of any existing residue. Prepare isopropyl alcohol and a soft, lint-free cloth to thoroughly clean the CPU.
- Anti-Static Wrist Strap: While not mandatory, an anti-static wrist strap can be beneficial to prevent electrostatic discharge (ESD) from damaging sensitive components during the installation process. If you don’t have a wrist strap, make sure to touch a grounded metal surface periodically to discharge any static electricity.
By gathering these tools in advance, you’ll have everything you need within reach, minimizing the chances of pausing the installation process to search for missing items.
Before proceeding to the next step, take a moment to ensure that you have all the necessary tools and components available. This will make the installation process smoother and more efficient.
Step 3: Prepare your Motherboard
Before installing the AMD Wraith CPU Cooler RGB, it’s important to prepare your motherboard to ensure a successful installation. Follow these steps to prepare your motherboard:
1. Power Off and Disconnect: Start by powering off your computer and disconnecting it from the power source. This will ensure your safety and prevent any damage to the components during the installation process.
2. Remove Existing Cooler: If you previously had a different CPU cooler installed, carefully remove it by unfastening the screws or clips that secure it to the motherboard. Take care not to damage any other components in the process and set aside the removed cooler in a safe place.
3. Clean the CPU Surface: The CPU surface needs to be clean and free from any previous thermal paste residue. Use a small amount of isopropyl alcohol and a lint-free cloth or cotton swab to gently wipe the CPU surface until it is completely clean. Allow it to dry before proceeding to the next step.
4. Locate the CPU Socket: Identify the CPU socket on your motherboard. Refer to the motherboard manual if you’re unsure about the socket’s location. Ensure there are no dust or debris particles inside the socket or surrounding area. Use compressed air or a soft brush to clean if necessary.
5. Inspect Mounting Holes: Carefully inspect the mounting holes around the CPU socket. Ensure that they are clean and free from any obstructions that could hinder the installation of the cooler’s mounting brackets.
By preparing your motherboard ahead of time, you’ll have a clean and ready surface to install the AMD Wraith CPU Cooler RGB. This step helps ensure optimal contact between the cooler and the CPU, maximizing heat transfer and cooling efficiency.
Step 4: Mount the Backplate
Mounting the backplate is an important step in the installation process of the AMD Wraith CPU Cooler RGB. The backplate provides stability and support for the cooler, ensuring proper contact with the CPU. Follow these steps to mount the backplate:
1. Identify the Correct Backplate: Locate the backplate included with your AMD Wraith CPU Cooler RGB. It should have pre-drilled holes that align with the mounting holes around the CPU socket on the motherboard. Refer to the cooler’s manual or documentation for the specific backplate model.
2. Position the Backplate: Position the backplate on the backside of the motherboard, aligning it with the mounting holes around the CPU socket. Make sure the backplate is oriented correctly, with any additional screw holes matching up with the motherboard’s holes.
3. Secure the Backplate: Gently hold the backplate in place with one hand while using the other hand to secure it with the provided screws through the mounting holes. Tighten the screws evenly but avoid over-tightening, as it may damage the motherboard.
4. Double-Check Alignment: After securing the backplate, double-check its alignment. Ensure that it is centered around the CPU socket and that all holes align properly. An incorrect or misaligned backplate can cause issues during the cooler installation process.
Once the backplate is securely mounted, you have laid the foundation for installing the AMD Wraith CPU Cooler RGB. The backplate ensures stability and proper contact between the cooler and the CPU, resulting in efficient heat transfer and reliable cooling performance.
Step 5: Install Standoffs
Installing standoffs is a crucial step in the installation process of the AMD Wraith CPU Cooler RGB. Standoffs provide support and ensure proper alignment of the cooler on the motherboard. Follow these steps to install the standoffs:
1. Identify the Standoffs: Locate the standoffs that came with your AMD Wraith CPU Cooler RGB. These are small, threaded cylinders that will be used to secure the cooler in place.
2. Determine the Correct Standoff Location: Check the cooler’s manual or documentation to identify the specific holes on the motherboard where the standoffs should be installed. These holes are typically labeled around the CPU socket.
3. Insert the Standoffs: Place the standoffs into the corresponding holes on the motherboard, aligning them with the holes on the backplate. Gently press down and screw them in clockwise until they are securely in place.
4. Check for Proper Alignment: After installing all the standoffs, double-check that they are aligned correctly, and none of them are loose. Proper alignment ensures that the cooler will fit securely over them during the next step.
Installing the standoffs is a critical step in ensuring the stability and proper positioning of the AMD Wraith CPU Cooler RGB. These standoffs act as anchors, securely holding the cooler in place and ensuring proper contact between the cooler and the CPU for optimal cooling performance.
Step 6: Apply Thermal Paste
Applying thermal paste is a crucial step in the installation process of the AMD Wraith CPU Cooler RGB. Thermal paste facilitates efficient heat transfer between the CPU and the cooler. Follow these steps to apply thermal paste:
1. Clean the CPU Surface: Before applying new thermal paste, ensure that the surface of the CPU is clean. Use isopropyl alcohol and a lint-free cloth to remove any existing thermal paste residue. Allow it to dry before proceeding.
2. Apply the Thermal Paste: Take a small amount of thermal paste, approximately the size of a pea, and place it in the center of the CPU surface. Avoid applying too much paste as it can lead to excess heat insulation or spillage when mounting the cooler.
3. Spread the Thermal Paste: Gently spread the thermal paste using a plastic or rubber spatula. Make sure to spread it evenly across the entire surface of the CPU, ensuring complete coverage. The layer should be thin and uniform, without any visible gaps or excess paste.
4. Avoid Tools or Fingers: It’s recommended to use a spatula or thermal paste applicator to spread the paste. Avoid using your fingers or any metal tools, as they can introduce contaminants or cause uneven spreading.
Once you’ve applied the thermal paste, the CPU is ready to establish optimal heat transfer with the AMD Wraith CPU Cooler RGB. Properly applied thermal paste ensures efficient cooling and prevents overheating of the processor during operation.
Step 7: Attach the AMD Wraith CPU Cooler
Attaching the AMD Wraith CPU Cooler is a crucial step in the installation process to ensure effective cooling of your processor. Follow these steps to securely attach the cooler:
1. Position the Cooler: Carefully align the AMD Wraith CPU Cooler over the CPU, ensuring that the mounting holes on the cooler align with the standoffs installed on the motherboard.
2. Lower the Cooler: Slowly lower the cooler onto the CPU, making sure that the thermal paste comes into contact with the CPU surface. Apply gentle pressure to ensure proper seating.
3. Fasten the Cooler: Once the cooler is in place, use the provided screws or mounting brackets to secure it to the standoffs on the motherboard. Start by tightening each screw or bracket in a diagonal pattern, gradually applying equal pressure to ensure even mounting.
4. Follow the Manual: It’s important to follow the instructions provided in the AMD Wraith CPU Cooler manual or documentation. The specific installation process may vary depending on your cooler model.
By attaching the AMD Wraith CPU Cooler correctly, you ensure a secure and optimal cooling solution for your processor. A properly mounted cooler promotes efficient heat transfer and prevents any potential overheating issues during operation.
Step 8: Connect the RGB Cable
Connecting the RGB cable is an important step in the installation process of the AMD Wraith CPU Cooler RGB. This cable allows you to control and customize the RGB lighting effects of the cooler. Follow these steps to connect the RGB cable:
1. Locate the RGB Header: Identify the RGB header on your motherboard. It is usually labeled as “RGB” or “LED” and is typically found near the top or bottom of the motherboard.
2. Connect the RGB Cable: Take the RGB cable attached to the AMD Wraith CPU Cooler RGB and connect it to the RGB header on the motherboard. The cable typically has a 4-pin connector that aligns with the pins on the RGB header.
3. Ensure Proper Alignment: Double-check that the connector is aligned correctly with the pins on the RGB header. Take care not to force the connection, as it should slide in smoothly without excessive pressure.
4. Secure the Connection: Once the connector is aligned, gently press it down until it is securely connected to the RGB header. Make sure it is firmly seated, but be careful not to damage the pins or the cable.
By connecting the RGB cable, you can unlock the full potential of the AMD Wraith CPU Cooler RGB. Customizing the lighting effects not only adds visual appeal to your PC but also allows you to match it with your preferred color scheme or synchronize it with other RGB components.
Step 9: Secure the Cooler
Securing the cooler is the final step in the installation process of the AMD Wraith CPU Cooler RGB. This step ensures that the cooler remains firmly in place, providing optimal cooling performance. Follow these steps to secure the cooler:
1. Check Screw Tightness: Double-check the screws or mounting brackets that fasten the cooler to the standoffs. Ensure that they are tightened securely but avoid over-tightening, as it may damage the motherboard.
2. Follow the Manual: Always refer to the AMD Wraith CPU Cooler manual or documentation for specific instructions on securing the cooler. Different models may have variations in the mounting mechanism.
3. Verify Proper Alignment: Confirm that the cooler sits evenly and flat on the CPU surface. It should cover the entire CPU and make full contact with the thermal paste. This ensures efficient heat transfer and optimal cooling performance.
4. Resist Extra Pressure: While it’s important to secure the cooler, be cautious not to apply excessive pressure. Applying too much force can damage the CPU or motherboard, leading to potential performance or stability issues.
By securely fastening the cooler, you ensure that it remains stable during operation, preventing any risks of overheating or damage to your processor. Take care to follow the manufacturer’s instructions to ensure a proper and secure installation.
Step 10: Test and Check
The final step in the installation process of the AMD Wraith CPU Cooler RGB is to test and check its functionality. This step ensures that the cooler is properly installed and functioning as intended. Here’s what you need to do:
1. Power On Your Computer: Turn on your computer and let it boot up. Pay attention to any unusual noises or vibrations coming from the cooler. A slight hum is normal, but loud or rattling sounds may indicate an installation issue.
2. Monitor Temperatures: Use monitoring software to check the CPU temperatures. Idle temperatures should be within a normal range, and under load, the temperatures should remain stable and not exceed the safe limits recommended for your specific CPU model.
3. Monitor Fan Speeds: Ensure that the AMD Wraith CPU Cooler RGB fan is spinning and operating at the appropriate speed. Monitor the fan speed using system monitoring software or the BIOS settings. A non-functioning or improperly spinning fan may lead to inadequate cooling.
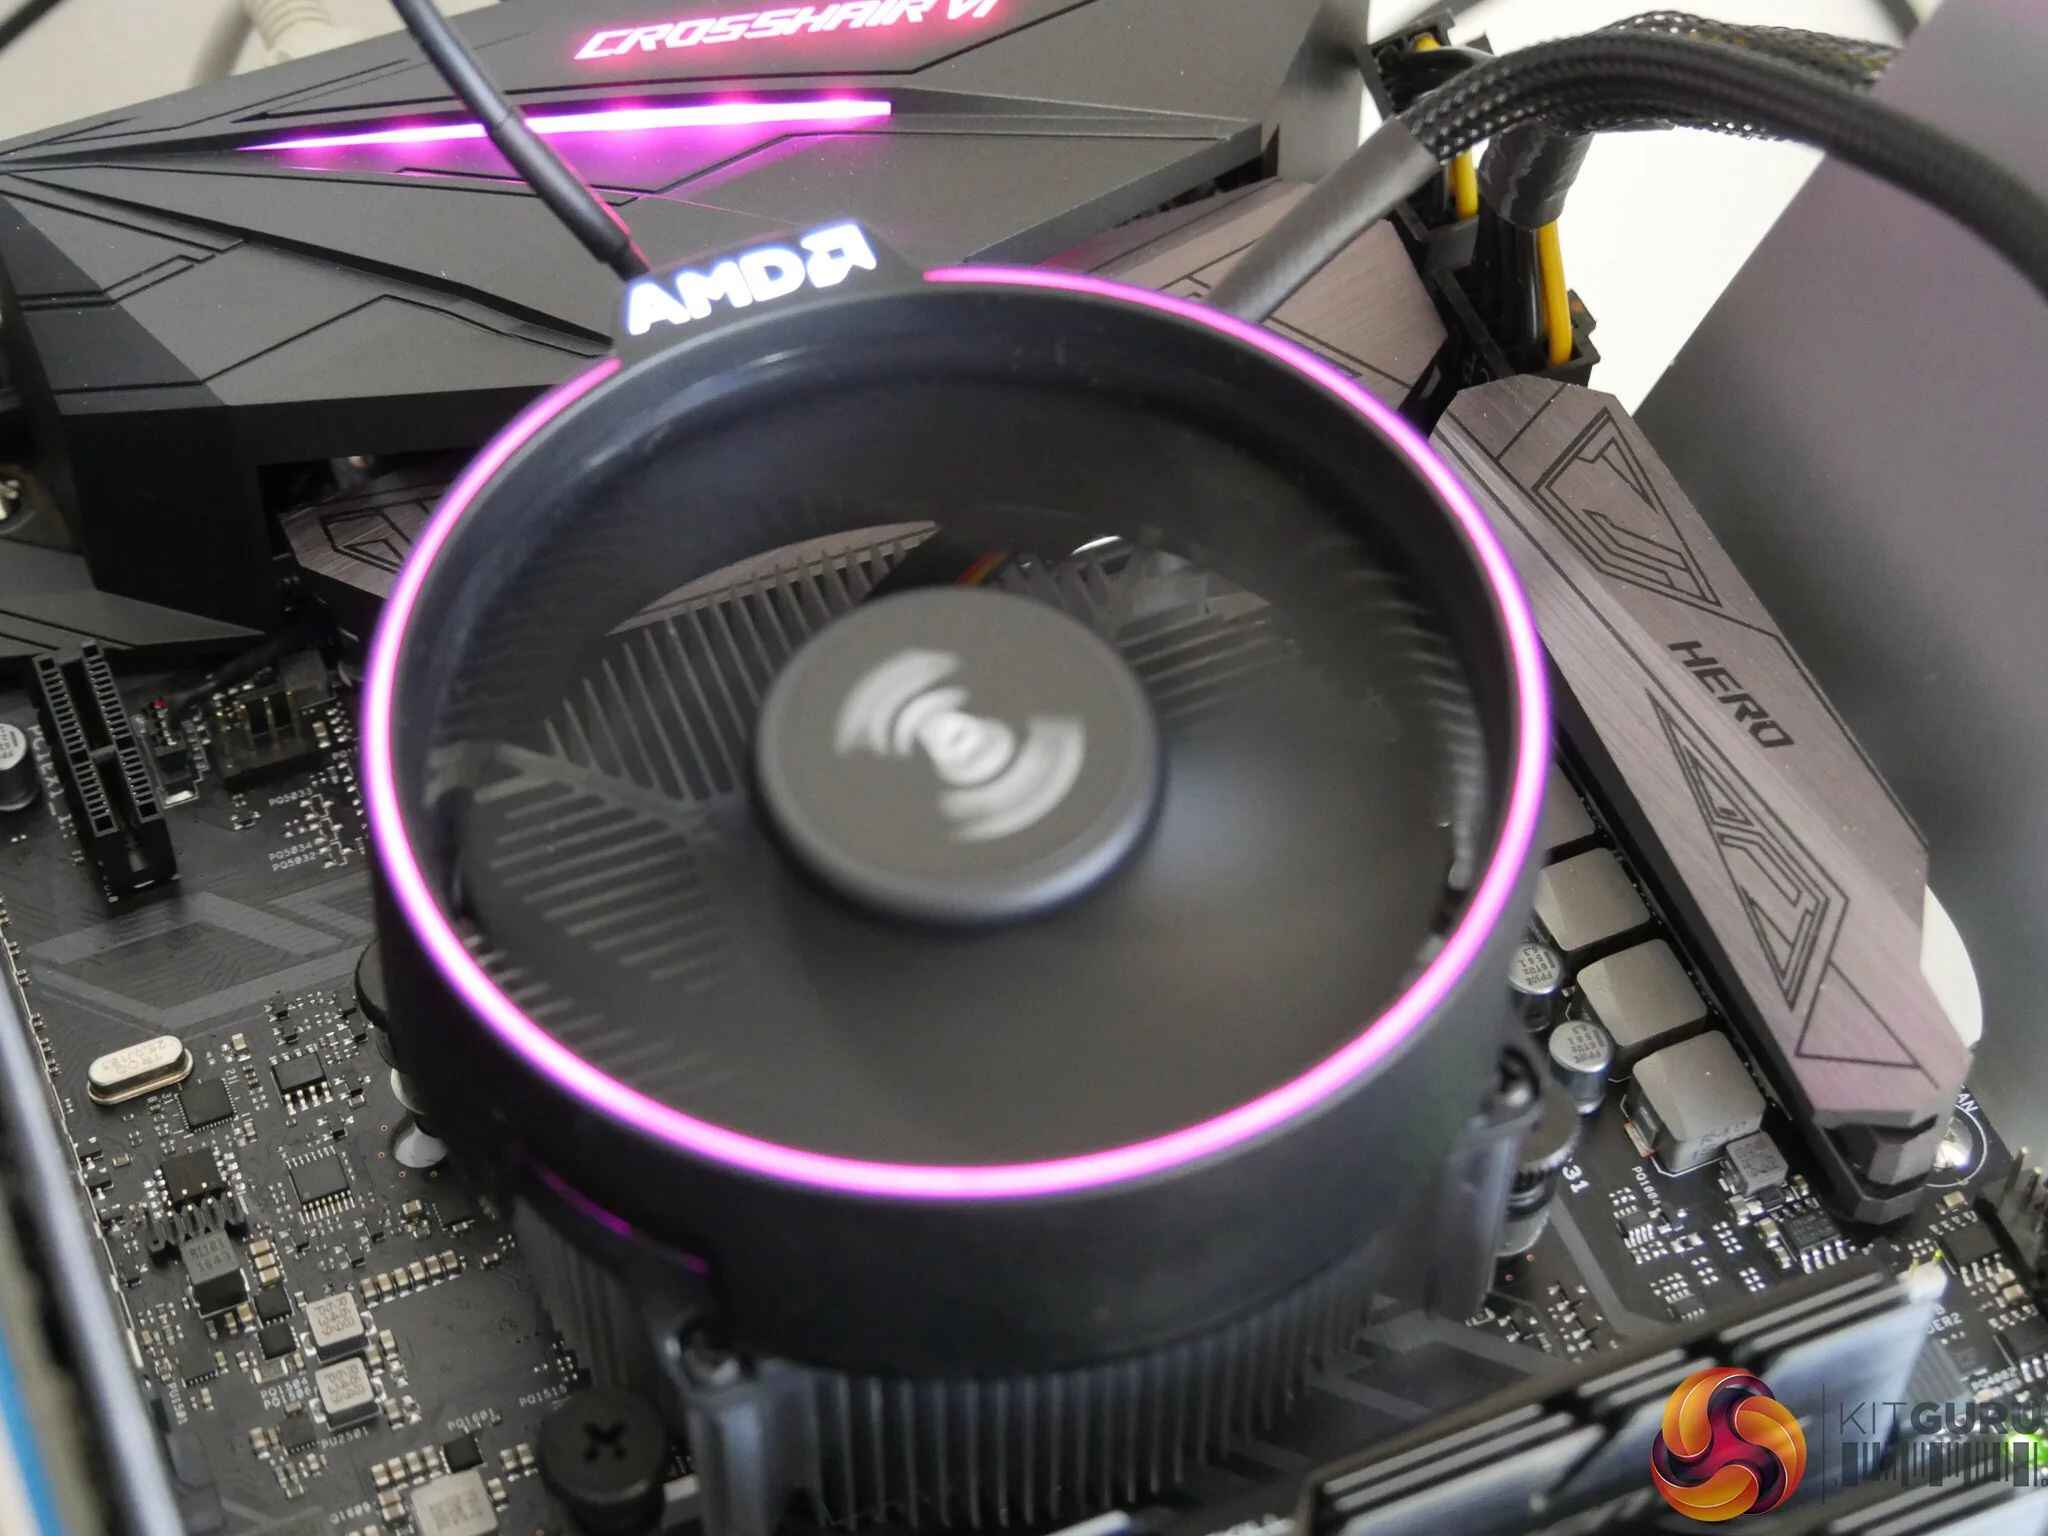
4. Verify RGB Lighting: If you have customized RGB lighting effects, check that they are working as expected. Use any provided software or motherboard controls to adjust the color, brightness, and effects of the RGB lighting on the cooler.
5. Check CPU Cooler Clearance: Confirm that the installed cooler does not interfere with other components in your system. Ensure that there is sufficient clearance between the cooler and components such as RAM modules, graphics cards, or system fans.
By testing and checking these aspects, you can ensure that your installed AMD Wraith CPU Cooler RGB is operating properly, providing reliable cooling, and displaying the desired RGB lighting effects.
Conclusion
Installing the AMD Wraith CPU Cooler RGB can greatly enhance the cooling performance of your PC while adding a touch of visual appeal. By following the step-by-step guide outlined in this article, you can successfully install the cooler and enjoy efficient cooling for your processor.
Throughout the installation process, it’s important to ensure compatibility with your motherboard and CPU socket. Take the time to gather the necessary tools and components before starting the installation to streamline the process.
Prepare your motherboard by removing any existing cooler, cleaning the CPU surface, and mounting the backplate and standoffs. Apply thermal paste evenly onto the CPU surface to facilitate optimal heat transfer.
A secure attachment of the AMD Wraith CPU Cooler and proper connection of the RGB cable will provide the foundation for reliable cooling and customizable lighting effects. Finally, verify the cooler’s functionality by testing CPU temperatures, fan speeds, and RGB lighting.
Remember, always refer to the AMD Wraith CPU Cooler manual or documentation for specific instructions applicable to your cooler model. Pay attention to any particular details mentioned by the manufacturer to ensure a successful installation.
With the installation of the AMD Wraith CPU Cooler RGB completed, you can enjoy improved cooling performance and vibrant RGB lighting effects. Sit back, relax, and enjoy the enhanced performance and visual experience of your newly installed cooler!