Introduction
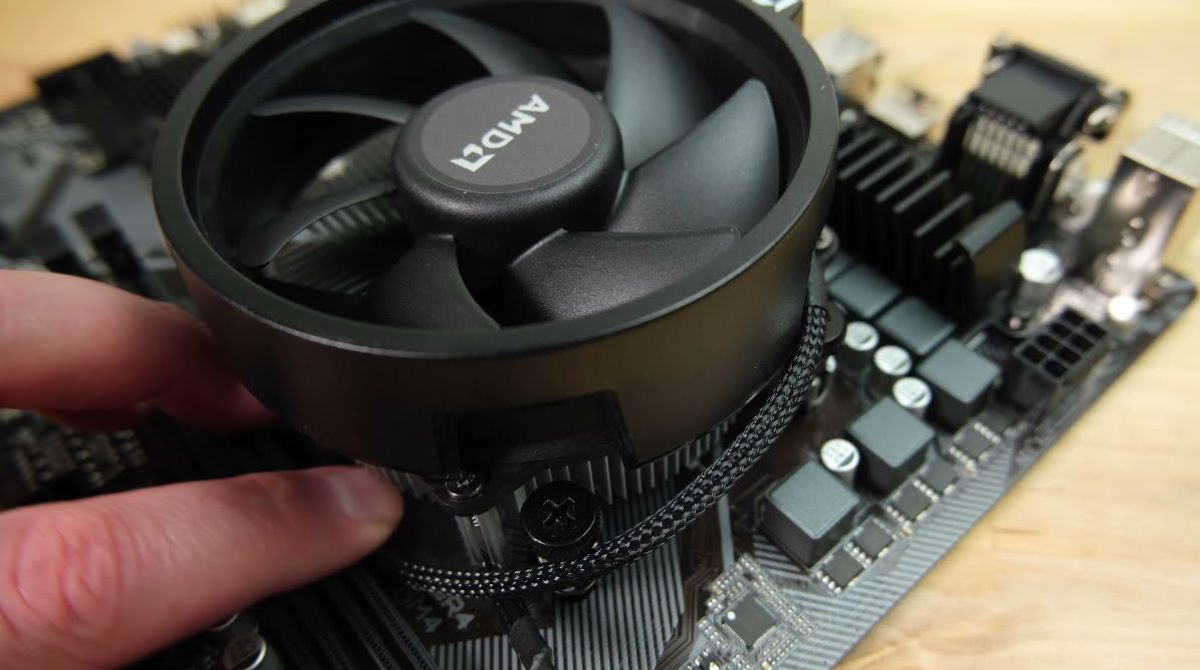
When it comes to assembling a computer, the CPU cooler plays a critical role in maintaining optimal operating temperatures. One common question that arises during this process is how tight should CPU cooler screws be? While it may seem like a trivial matter, the tightness of these screws can have a significant impact on the overall performance and lifespan of your CPU.
Properly tightened CPU cooler screws ensure a secure and stable connection between the cooler and the CPU, allowing for efficient heat dissipation. On the other hand, if the screws are either over-tightened or under-tightened, it can lead to a range of problems, from inadequate cooling and potential heat damage to the CPU and motherboard, to reduced overall system performance.
Understanding the ideal tightness for CPU cooler screws is crucial for PC builders and enthusiasts. In this article, we will explore the importance of properly tightened CPU cooler screws, the consequences of over-tightening and under-tightening these screws, as well as provide guidelines on how to determine the correct tightness and best practices to follow.
By the end of this article, you will have a clear understanding of the role that properly tightened CPU cooler screws play in maintaining optimal system performance and temperature regulation.
Importance of Properly Tightened CPU Cooler Screws
The tightness of CPU cooler screws is crucial for maintaining proper contact between the cooler and the CPU. When the screws are tightened correctly, the cooler is securely fastened to the CPU, facilitating efficient heat transfer. This ensures that the CPU remains within its operating temperature limits, preventing thermal throttling and potential damage to the processor.
Properly tightened CPU cooler screws also help decrease the risk of the cooler becoming loose over time due to vibrations or movements. A loose cooler can lead to uneven contact between the cooler and the CPU, resulting in hotspots and reduced cooling efficiency. By ensuring the screws are tightened appropriately, you can prevent these issues and maintain consistent cooling performance for your CPU.
In addition to temperature regulation, properly tightened CPU cooler screws also contribute to the overall stability of the system. Without secure fastening, the cooler may shift during operation, potentially causing damage to other components or interfering with the airflow within the case. By tightening the screws correctly, you can minimize the risk of these complications and ensure that your system operates reliably and safely.
Furthermore, improperly tightened CPU cooler screws can have a negative impact on system performance. If the screws are too loose, the cooler may not make sufficient contact with the CPU, leading to poor thermal conductivity and increased operating temperatures. This can result in reduced CPU performance, as the processor may throttle its speed to prevent overheating. On the other hand, if the screws are overtightened, excessive pressure can be applied to the CPU, potentially causing damage or instability.
To sum it up, the importance of properly tightened CPU cooler screws cannot be overstated. They not only contribute to effective heat dissipation and temperature control but also ensure system stability and optimum performance. Taking the time to ensure that the CPU cooler screws are tightened correctly is a crucial step in building a reliable and efficient computer system.
The Consequences of Over-tightening CPU Cooler Screws
While it is important to tighten CPU cooler screws adequately, over-tightening them can lead to a host of problems. When subjected to excessive force or pressure, the consequences can range from immediate issues to long-term damage to both the CPU and the motherboard.
One of the immediate consequences of over-tightening CPU cooler screws is the potential for uneven pressure distribution. Excessive tightening can cause the cooler to warp or bend, leading to an uneven contact surface between the cooler and the CPU. As a result, certain areas of the processor may experience poor heat transfer, leading to hotspots and inefficient cooling. This can result in higher CPU temperatures, which can lead to reduced performance and even system instability.
Another risk associated with over-tightening CPU cooler screws is the possibility of damaging the delicate components on the motherboard. The excessive pressure exerted on the CPU socket can cause the pins to bend or break, rendering the motherboard unusable. Repairing or replacing a damaged motherboard can be costly and time-consuming.
Over-tightening CPU cooler screws can also cause long-term damage to the CPU itself. The excessive pressure can warp the CPU substrate or cause the delicate electrical connections within the processor to break, leading to permanent damage. This damage may not be immediately apparent but can manifest in the form of unstable performance, system crashes, or even complete failure of the CPU over time.
Additionally, over-tightened CPU cooler screws can make it challenging to remove the cooler in the future. When the screws are tightened too tightly, they can become stuck or strip the threads on the mounting hardware, making it difficult to uninstall or replace the cooler. This issue can be particularly problematic if you need to upgrade or replace your CPU or cooler in the future.
To avoid the consequences of over-tightening CPU cooler screws, it is important to follow the manufacturer’s recommended guidelines for tightening torque. These guidelines typically specify a specific amount of force to apply or recommend using a torque wrench to achieve the appropriate tightness. By adhering to these guidelines, you can prevent the potential damage associated with over-tightening and ensure the longevity and stability of your computer system.
The Consequences of Under-tightening CPU Cooler Screws
While over-tightening CPU cooler screws can lead to various issues, under-tightening them can also have detrimental consequences. Failing to secure the cooler adequately can result in poor heat dissipation, inadequate cooling, and potential damage to the CPU and other system components.
One of the main consequences of under-tightening CPU cooler screws is the compromised contact between the cooler and the CPU. Insufficiently tightened screws can cause the cooler to be loose or have uneven contact with the processor, resulting in reduced thermal conductivity. This can lead to hotspots on the CPU, which can negatively impact its performance and longevity.
When the CPU cooler is not secured tightly enough, heat dissipation becomes inefficient. The cooler may not be in direct contact with the CPU’s heat spreader, causing heat to linger and build up around the processor. This can result in higher temperatures, leading to thermal throttling, reduced performance, and potential system instability.
Furthermore, inadequate tightening of CPU cooler screws can lead to vibrations and movements during operation. This can cause the cooler to gradually shift or become dislodged, resulting in an uneven cooling distribution and potential damage to other components. Movement of the cooler can also disrupt airflow within the case, further impacting cooling efficiency and potentially leading to higher overall temperatures in the system.
Under-tightening CPU cooler screws can also pose challenges when transporting or moving the computer. The loose cooler can easily shift or detach from the CPU, increasing the risk of physical damage to the processor or other sensitive components. Additionally, if the computer is jostled, bumped, or subjected to vibrations during transit, the loose cooler can amplify the impact, potentially causing even more severe damage to the system.
To avoid the consequences of under-tightening CPU cooler screws, it is essential to ensure that the screws are tightened according to the manufacturer’s recommendations. Adhering to the specified torque or force guidelines can help achieve proper contact and secure attachment between the cooler and the CPU. Regularly checking the tightness of the screws and addressing any looseness promptly can also help prevent long-term damage to the CPU and ensure effective heat dissipation.
How to Determine the Correct Tightness for CPU Cooler Screws
Determining the correct tightness for CPU cooler screws is essential to ensure optimal contact between the cooler and the CPU, promoting efficient heat transfer and cooling performance. While the specific guidelines may vary depending on the manufacturer and cooling solution, there are general steps you can follow to determine the correct tightness:
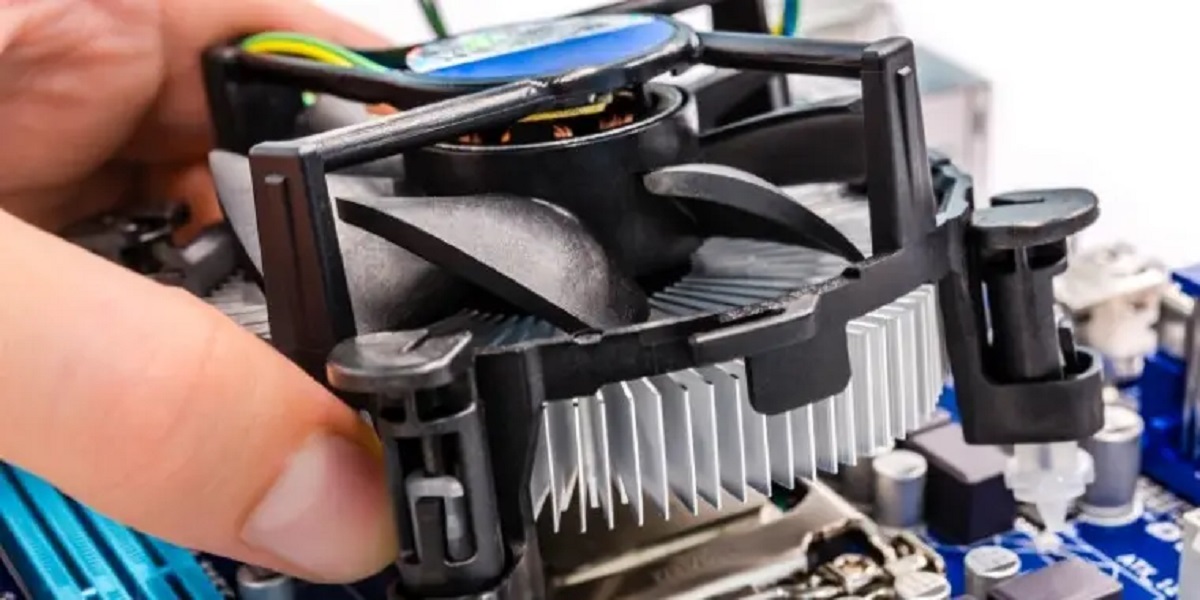
- Refer to the manufacturer’s recommendations: Start by consulting the documentation provided by the CPU cooler manufacturer. They will often provide specific instructions and recommended torque or force values for tightening the screws. Following these guidelines is crucial to avoid over-tightening or under-tightening the screws.
- Use a torque wrench: If the manufacturer specifies a specific torque value, consider using a torque wrench to ensure consistent and accurate tightening. A torque wrench allows you to apply the correct amount of force, preventing the risk of over-tightening and potential damage to the CPU or motherboard.
- Apply firm but gentle pressure: If the manufacturer does not provide specific torque requirements, use the “firm but gentle” principle. Apply enough pressure to ensure a secure connection between the cooler and the CPU while avoiding excessive force. This approach ensures proper contact and reduces the chances of under-tightening or over-tightening.
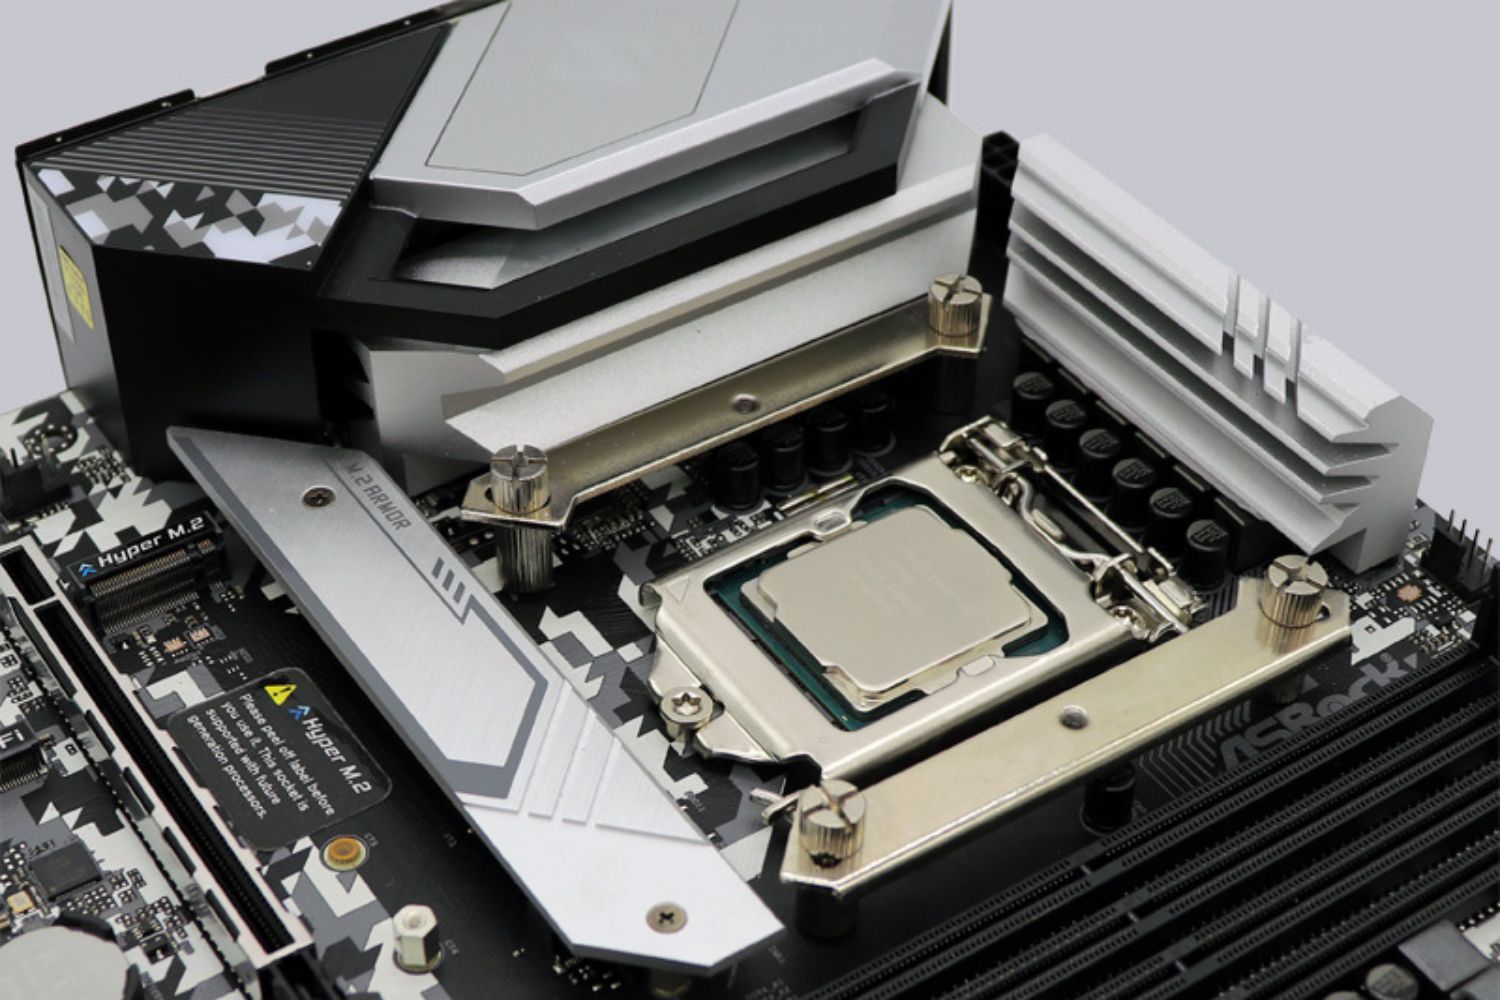
- Follow a diagonal tightening pattern: When tightening the screws, it is essential to follow a diagonal pattern rather than tightening them sequentially. This technique helps distribute the pressure evenly across the cooler, ensuring better contact and reducing the risk of warping or uneven contact between the cooler and the CPU.
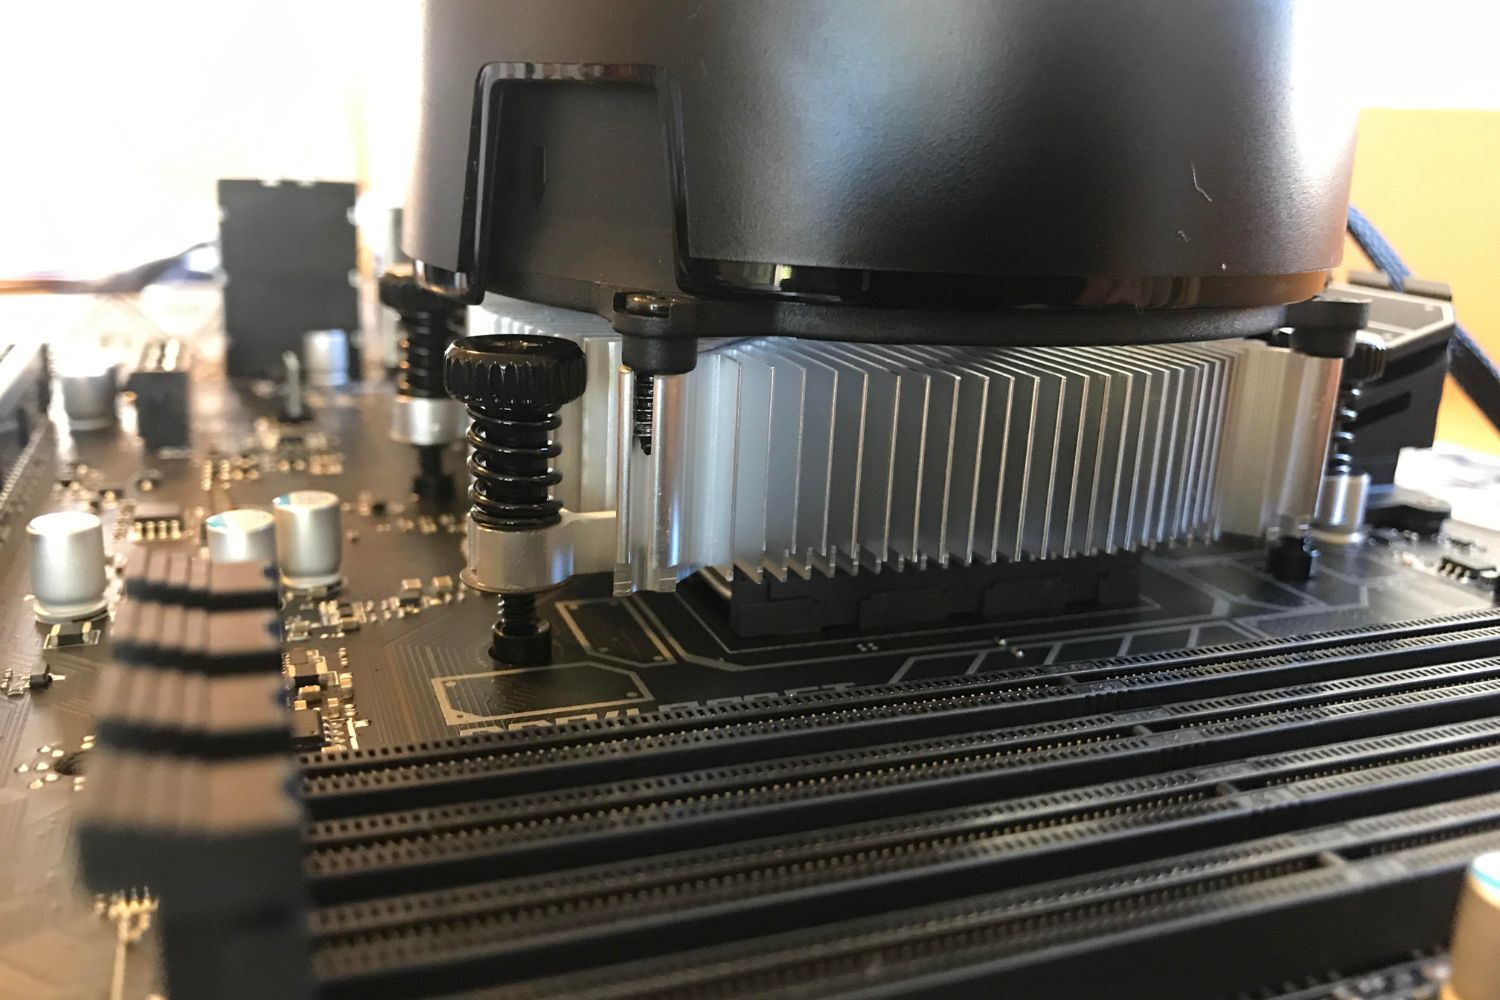
- Check for even contact: After tightening the screws, visually inspect the CPU cooler to ensure that it is making even contact with the CPU. Look for any visible gaps or uneven pressure distribution. A consistent and uniform contact surface is crucial for efficient heat transfer.
Remember that different CPU cooler designs and mounting mechanisms may have specific requirements, so always refer to the manufacturer’s guidelines for the best results. Taking the time to determine the correct tightness for CPU cooler screws will ensure optimal cooling performance, prevent damage to the components, and promote the longevity of your computer system.
Best Practices for Tightening CPU Cooler Screws
When it comes to tightening CPU cooler screws, following certain best practices can help ensure a secure and optimal installation. By adhering to these guidelines, you can avoid common issues such as over-tightening, under-tightening, or uneven pressure distribution:
- Read the instructions: Start by thoroughly reading the manufacturer’s instructions and guidelines for your specific CPU cooler. This will provide important information on the recommended tightening procedure and any specific considerations for your particular cooler model.
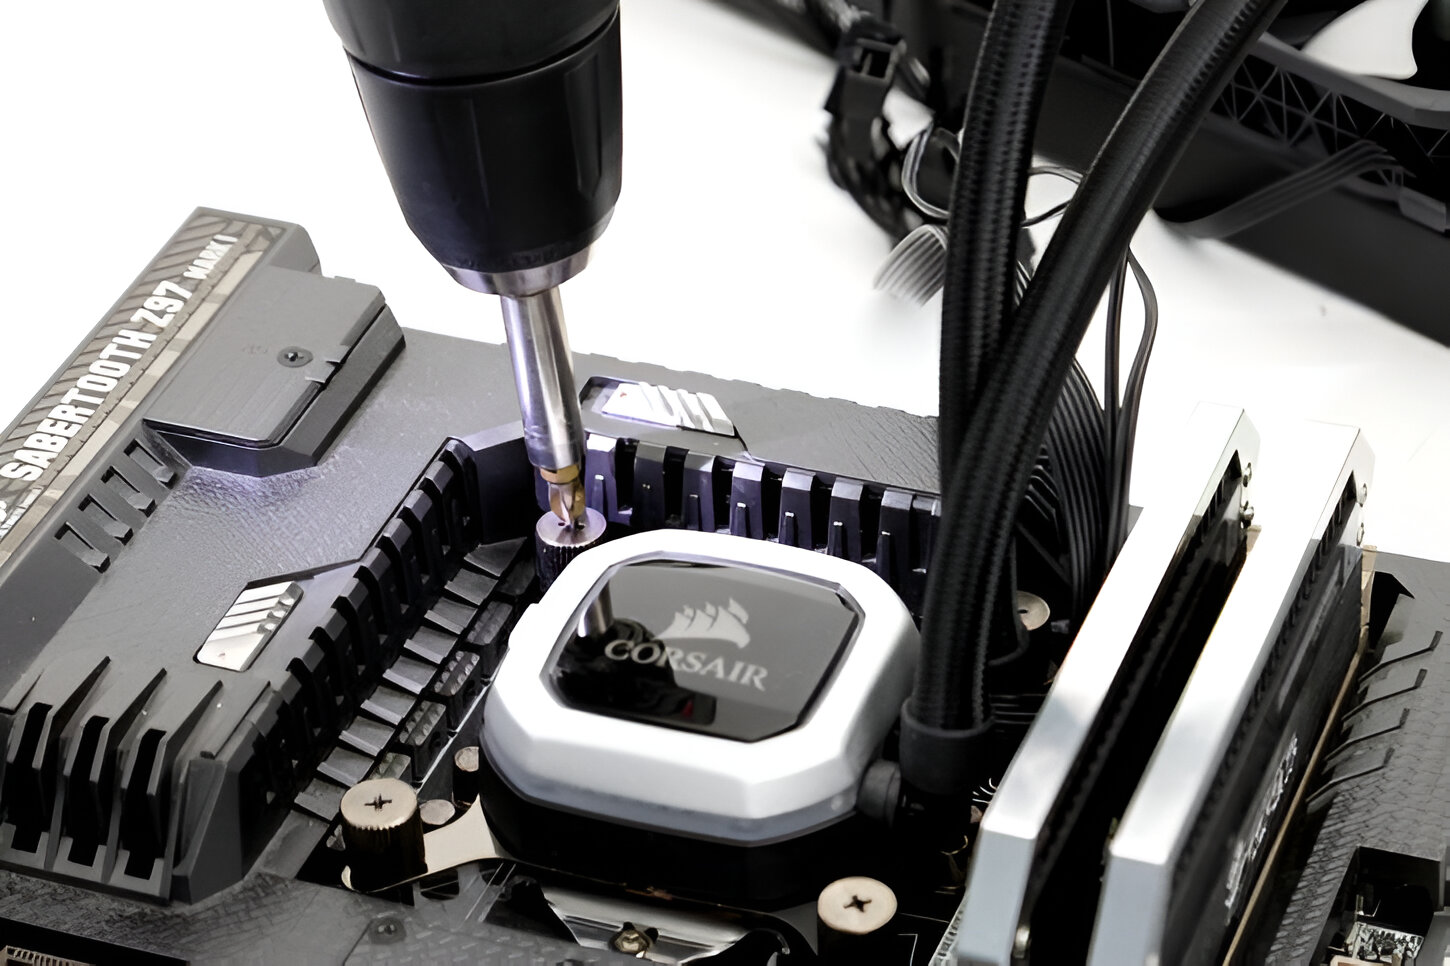
- Use the appropriate tools: Make sure you have the proper tools on hand for the installation. This may include a screwdriver or a torque wrench, depending on the manufacturer’s recommendations. Using the correct tools will help you achieve the desired tightness without damaging the hardware.
- Apply thermal paste correctly: Before installing the CPU cooler, ensure that the thermal paste is applied properly. Follow the manufacturer’s instructions for applying the right amount and evenly spreading it on the CPU’s heat spreader. This will ensure better thermal conductivity and heat transfer between the CPU and the cooler.
- Tighten in a diagonal pattern: When tightening the CPU cooler screws, follow a diagonal tightening pattern instead of tightening them sequentially. This technique helps evenly distribute the pressure across the cooler and prevents warping or uneven contact with the CPU.
- Avoid excessive force: While it is important to tighten the screws adequately, avoid applying excessive force. Over-tightening can cause damage to the CPU or motherboard, while under-tightening can result in poor heat dissipation. Apply firm and even pressure to achieve the correct tightness, as recommended by the manufacturer.
- Double-check tightness: After tightening the CPU cooler screws, double-check the tightness to ensure that all screws are properly secured. This can help prevent any potential loosening or movement of the cooler, ensuring consistent cooling performance.
- Maintain regular maintenance: It’s good practice to periodically check the tightness of the CPU cooler screws, especially after transporting or moving the computer. Over time, vibrations or temperature changes may cause the screws to loosen. Regularly maintaining the tightness can help avoid any potential issues and ensure reliable cooling performance.
By following these best practices, you can achieve the correct tightness for CPU cooler screws, ensuring a secure and efficient installation. Proper tightening promotes better heat transfer, prevents damage to the components, and results in optimal performance and temperature regulation for your computer system.
Conclusion
Ensuring the correct tightness of CPU cooler screws is paramount for maintaining optimal performance, temperature regulation, and longevity of your computer system. Over-tightening can lead to uneven pressure distribution, potential damage to the CPU and motherboard, and disrupt overall system stability. Under-tightening, on the other hand, can result in inadequate heat dissipation, reduced cooling efficiency, and potentially compromise the lifespan of the components.
By referring to the manufacturer’s recommendations, using the appropriate tools, and applying the right amount of pressure, you can achieve the correct tightness for CPU cooler screws. Employing a diagonal tightening pattern, regularly checking for even contact, and practicing good maintenance habits further contribute to effective heat transfer and cooling performance.
Ultimately, taking the time to determine and apply the correct tightness will ensure that your CPU cooler maintains a secure and stable connection, facilitating efficient heat dissipation and preventing thermal throttling. It will also minimize the risk of damage to the CPU, motherboard, and other system components. By following these best practices, you can build a reliable, high-performance computer system that remains cool under heavy workloads and extends the lifespan of your valuable hardware.


