Introduction
Welcome to this step-by-step guide on how to put on an AMD CPU cooler. If you’ve recently acquired a new AMD processor or you’re planning to upgrade your existing cooler, this tutorial will walk you through the process. Installing a CPU cooler is essential for keeping your processor cool and preventing overheating.
Before we dive into the steps, it’s important to note that every CPU cooler model may have slightly different installation methods. Therefore, this guide will provide you with a general overview of the installation process, but it’s always a good idea to refer to the manufacturer’s instructions specific to your CPU cooler model.
Properly installing an AMD CPU cooler not only helps maintain optimal operating temperatures but also ensures long-term stability and performance for your processor. It’s a relatively straightforward process, and with a few basic tools and a little bit of patience, you’ll have your new CPU cooler installed in no time.
Throughout this guide, we’ll cover each step in detail, from gathering the necessary equipment to testing the cooler’s installation. So let’s get started and equip ourselves with the knowledge needed to put on an AMD CPU cooler.
Step 1: Gather the necessary tools and equipment
Before diving into the installation process, it’s essential to gather the necessary tools and equipment. Having everything prepared beforehand will streamline the installation and prevent any delays or hiccups along the way. Here are the tools and equipment you’ll need:
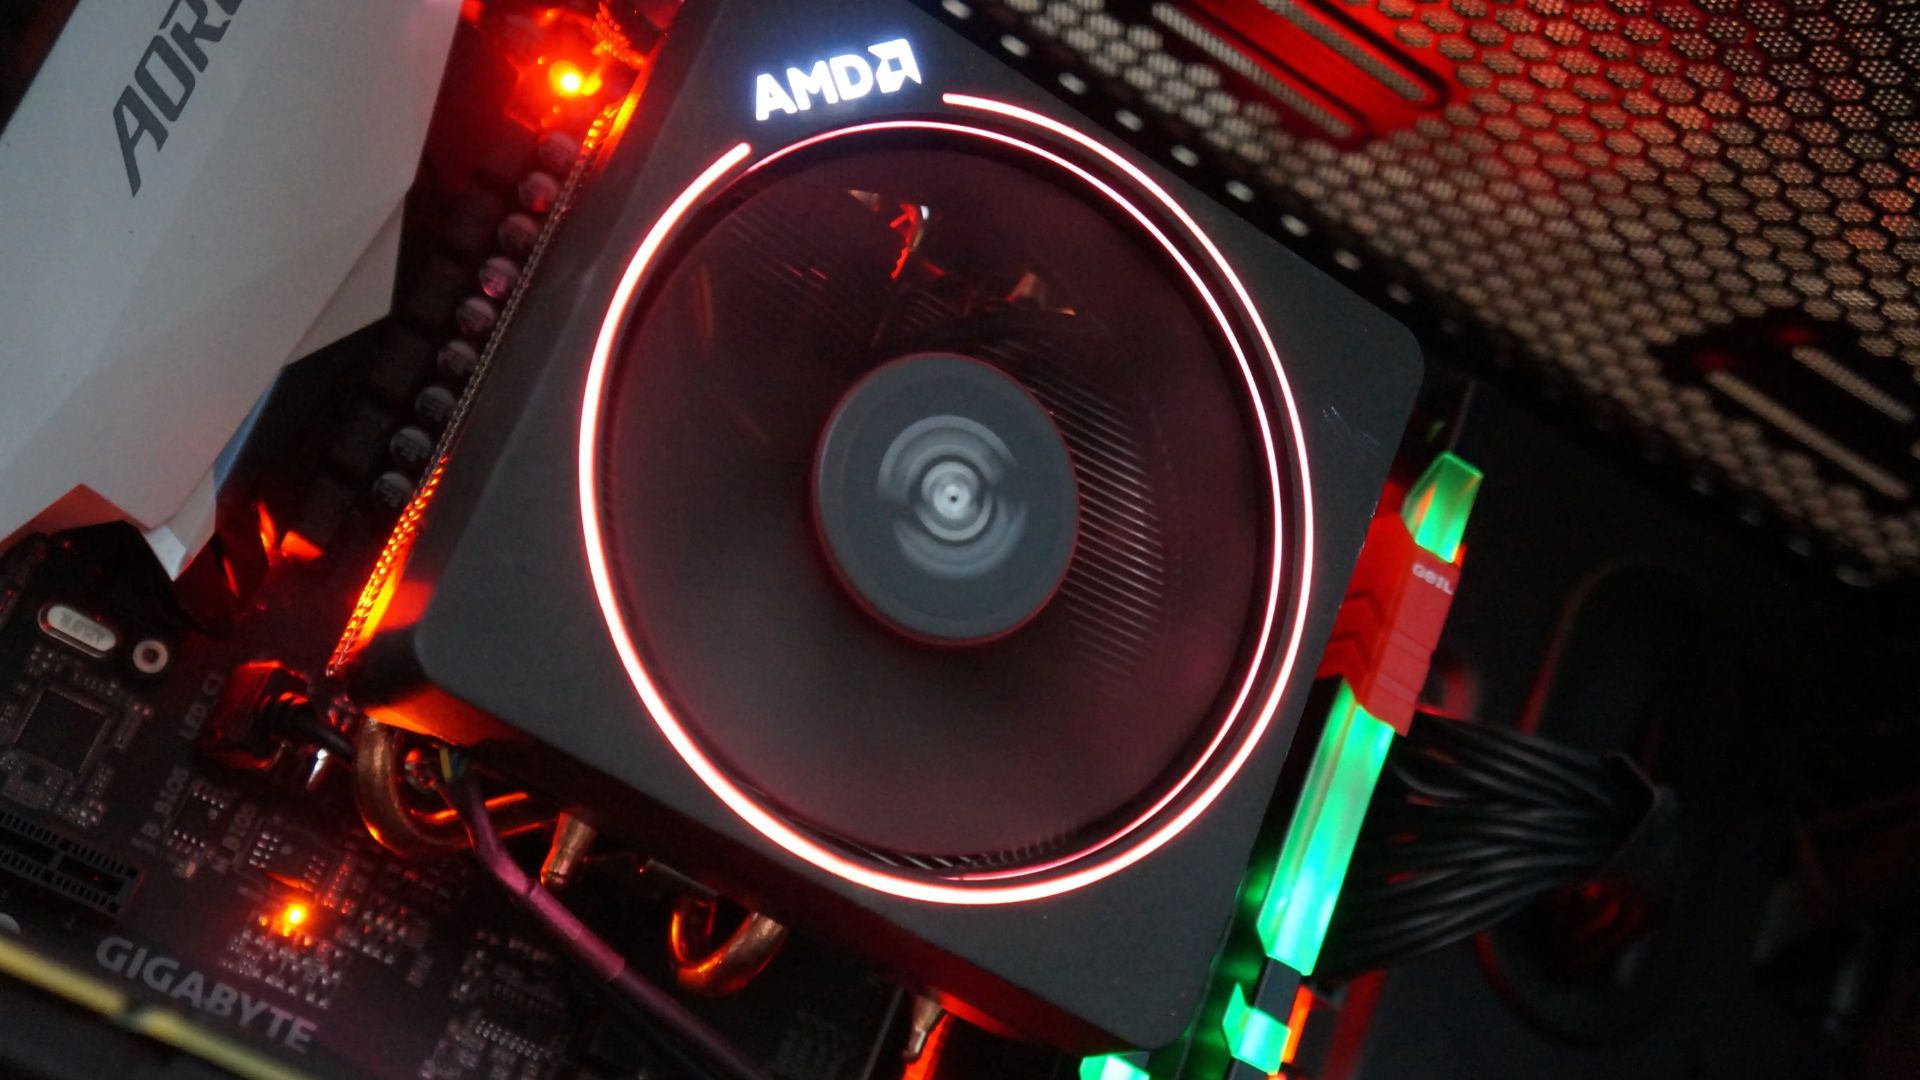
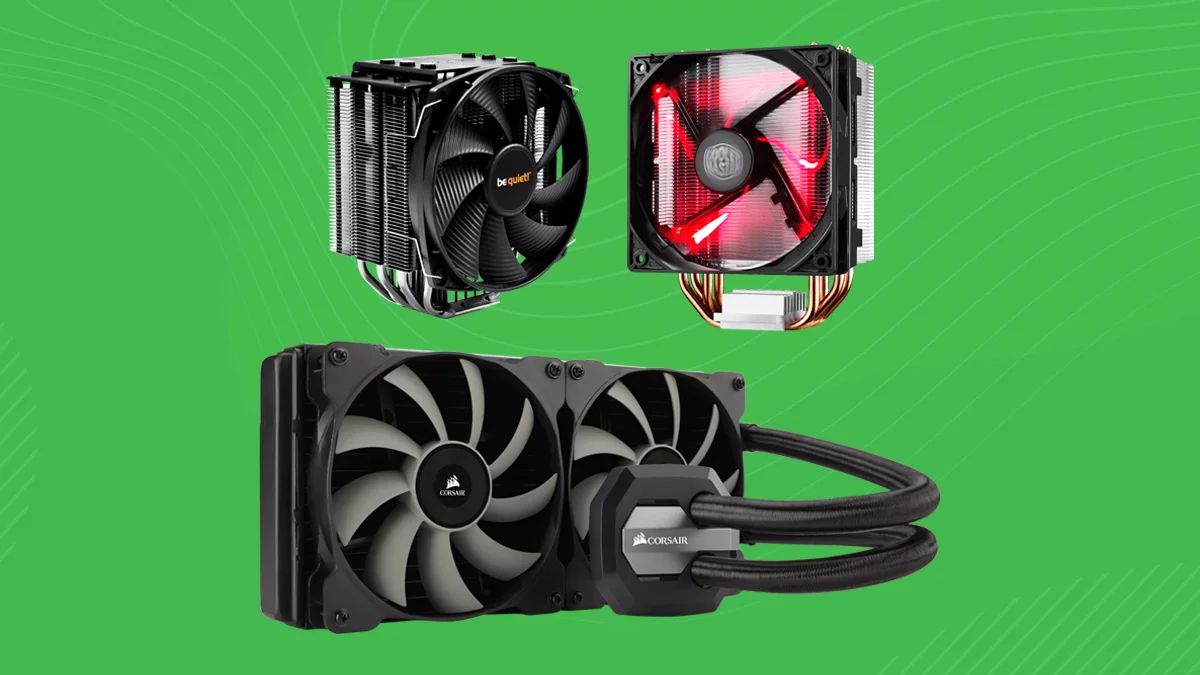
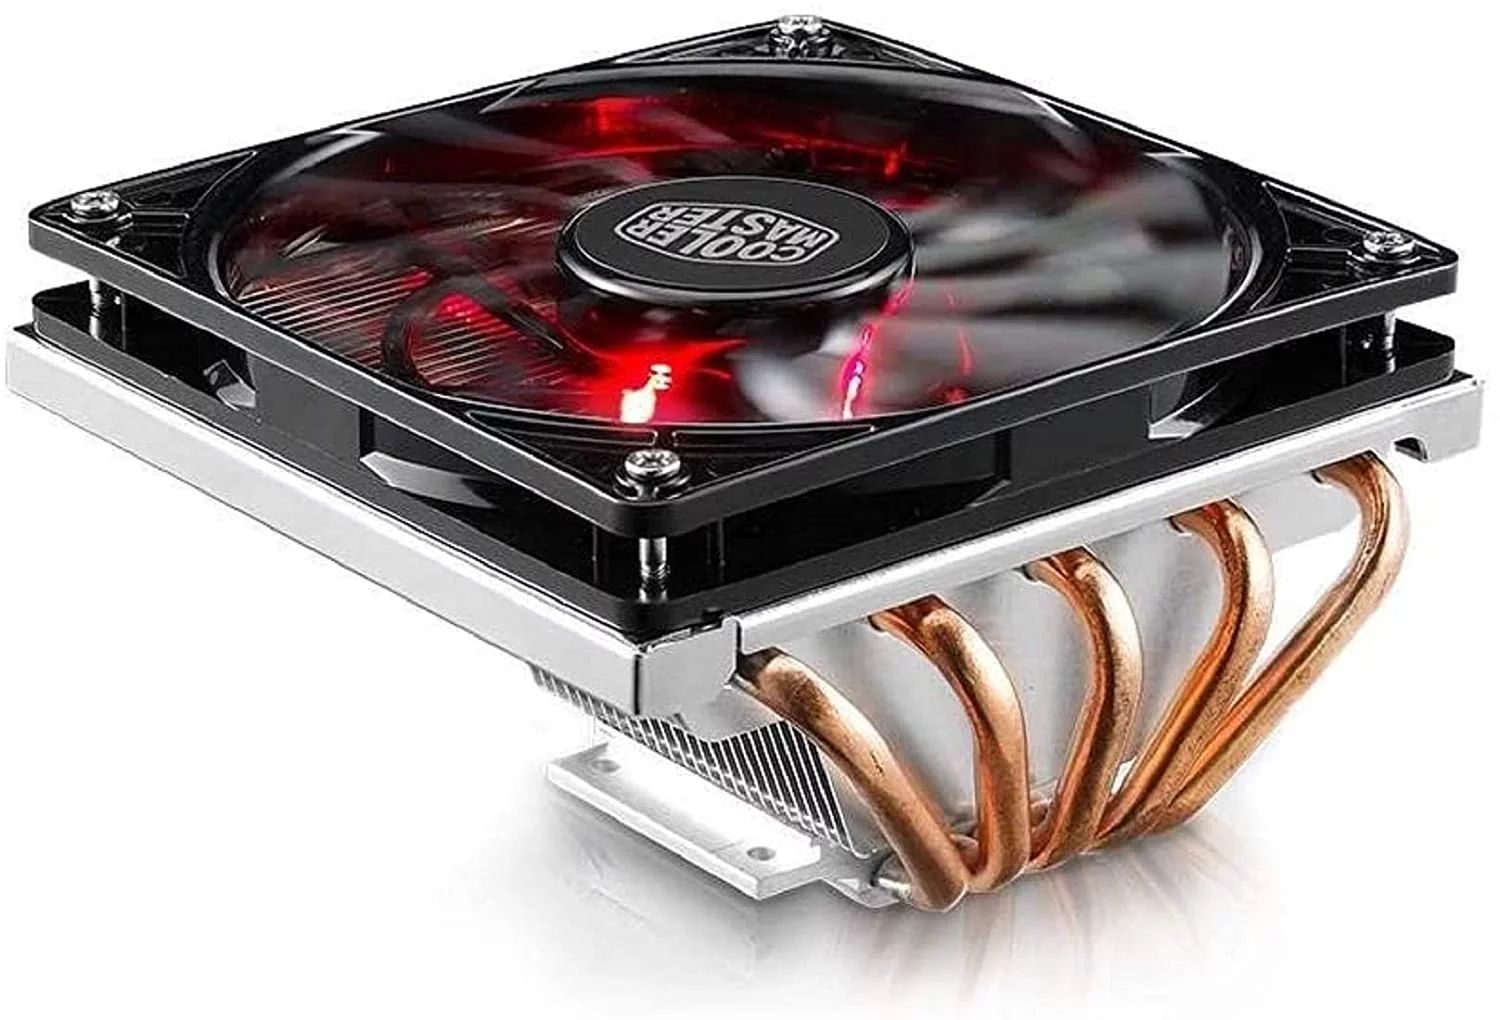
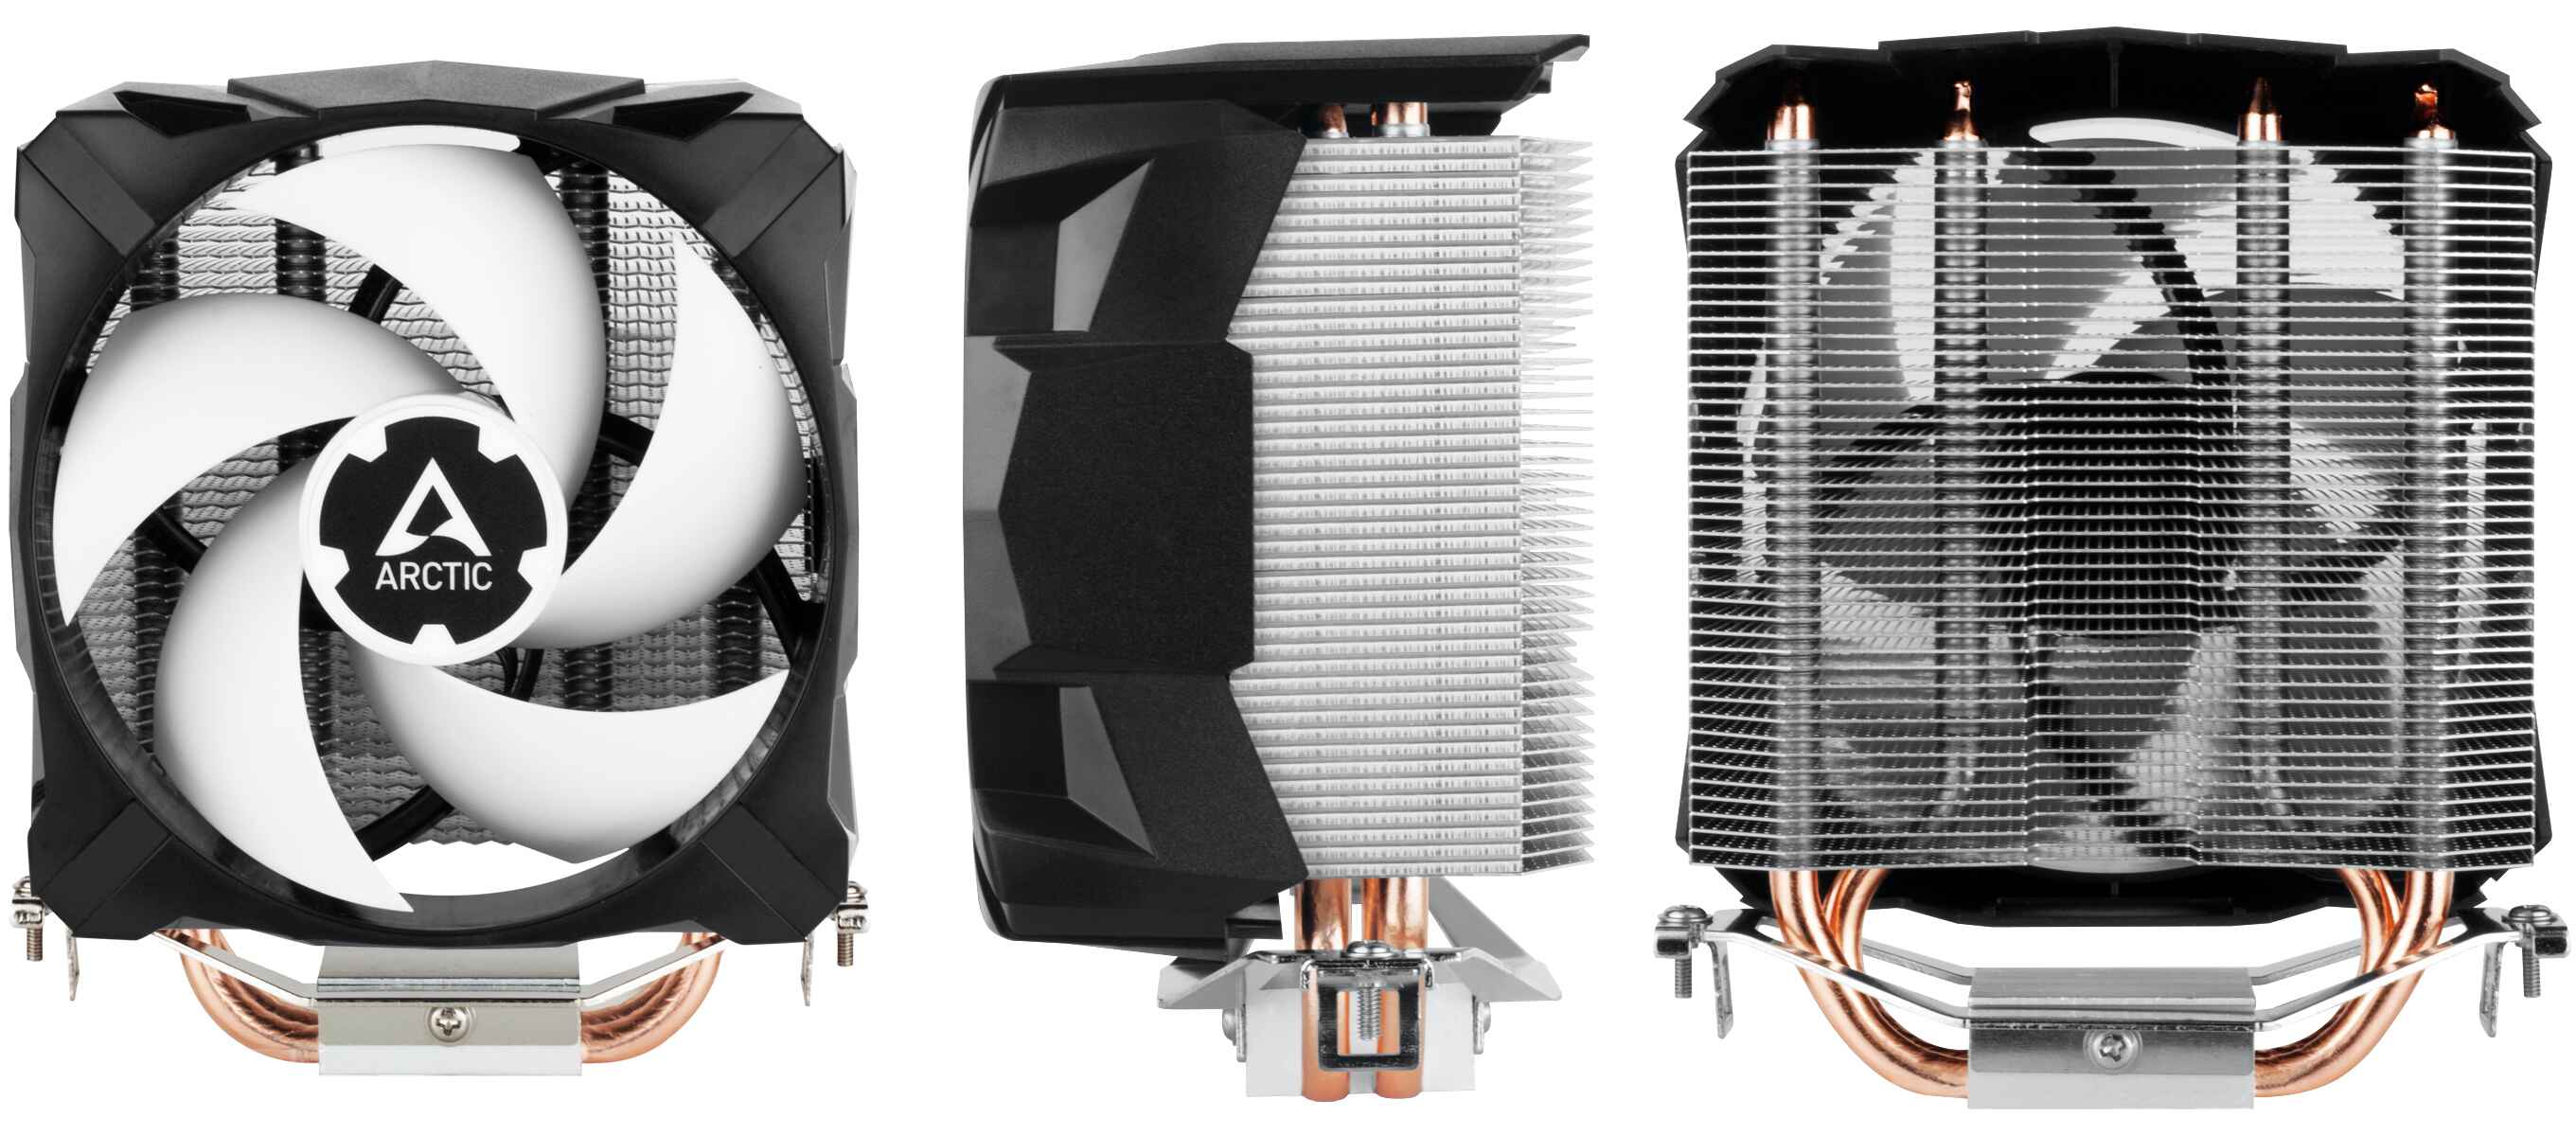
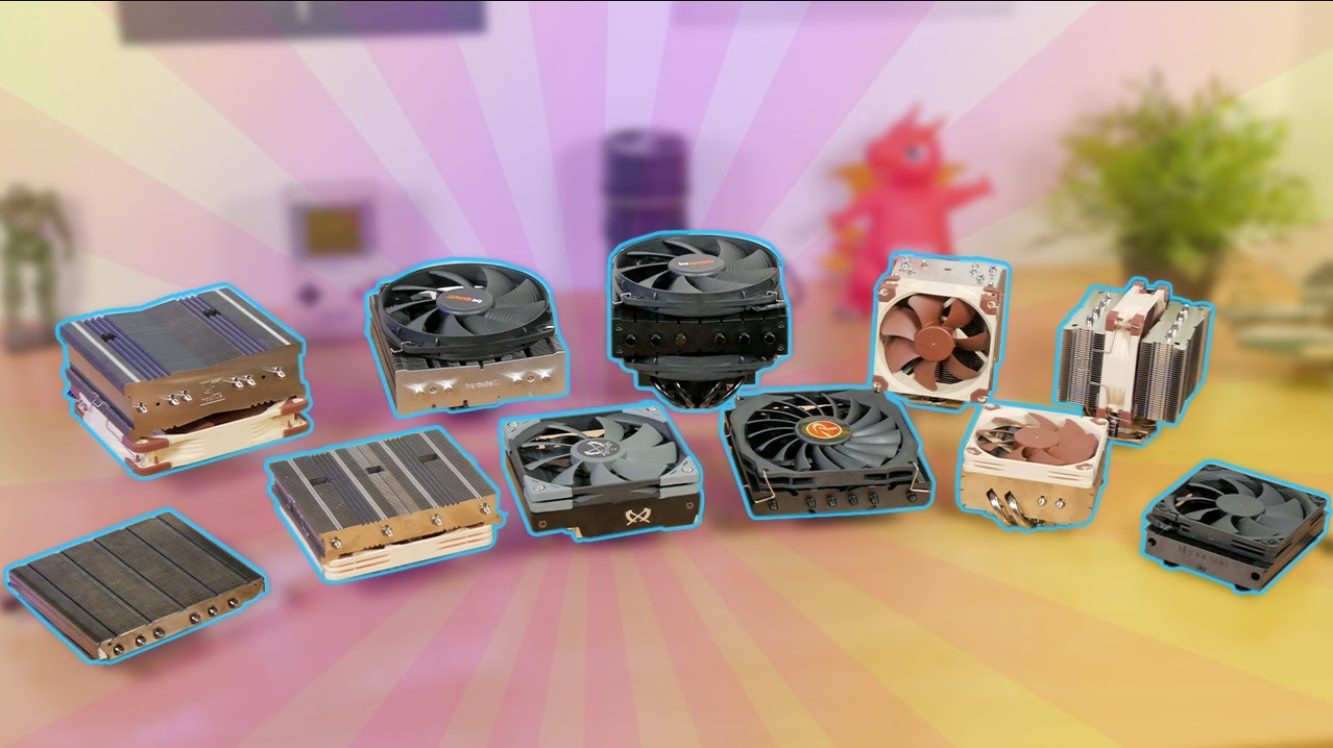
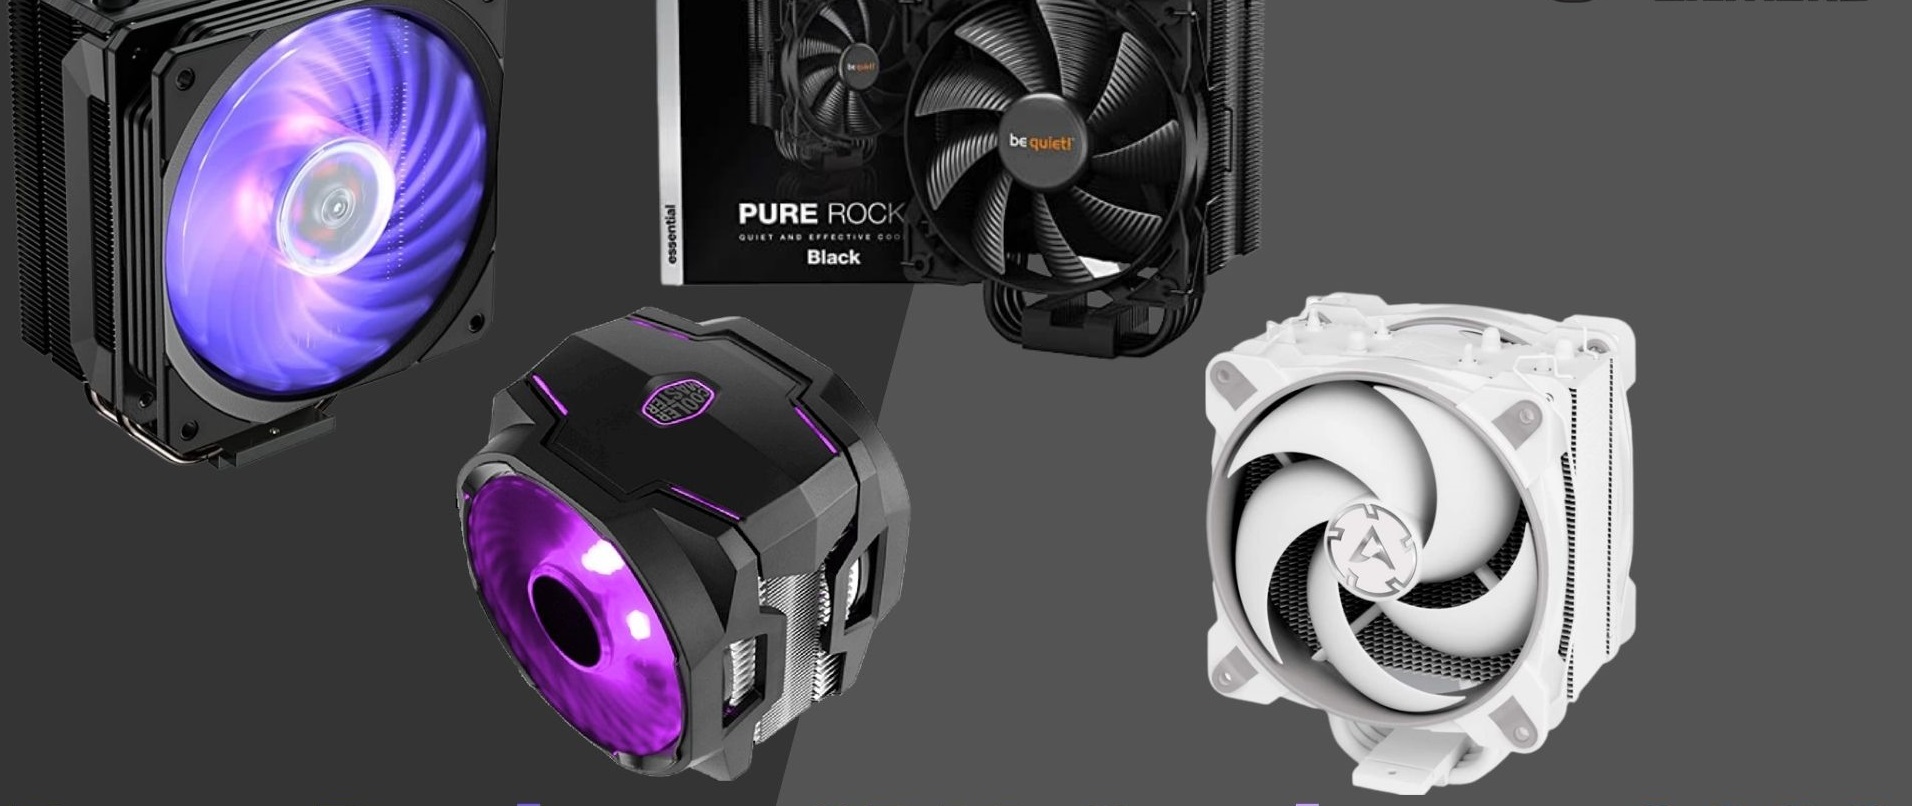
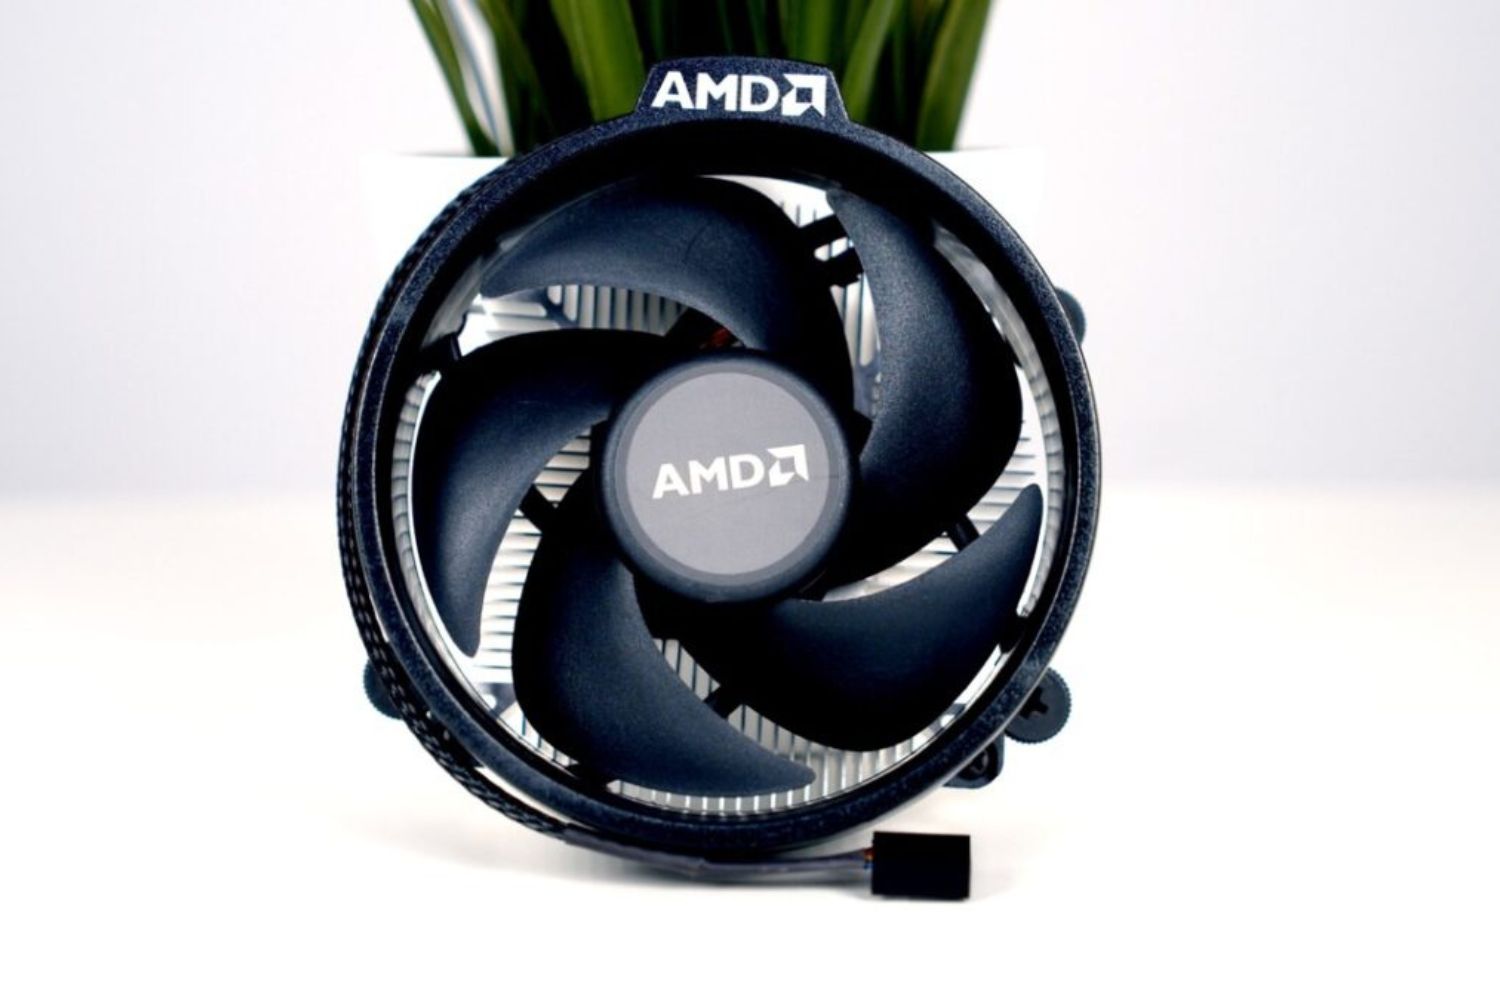
- AMD CPU cooler: Make sure you have a compatible cooler specifically designed for your AMD processor. Check the specifications to ensure a proper fit.
- Thermal paste: High-quality thermal paste is crucial for effective heat transfer. If your cooler doesn’t come with pre-applied paste, you’ll need to have some on hand.
- Screwdriver: Most CPU coolers require a screwdriver for installation. Make sure you have the appropriate type and size, typically a Phillips-head screwdriver.
- Isopropyl alcohol and cotton swabs: These are handy for cleaning the CPU and removing any residual thermal paste from previous installations.
- Antistatic wristband (optional): If you have one, wearing an antistatic wristband can help prevent electrostatic discharge, minimizing the risk of damaging sensitive components.
- Clean workspace: Find a clean, well-lit area to work on your motherboard. Having ample space and good lighting will make the installation process much easier.
Once you’ve gathered all the necessary tools and equipment, you’re ready to move on to the next step: preparing the CPU and motherboard.
Step 2: Preparing the CPU and motherboard
Now that you have all the tools and equipment ready, it’s time to prepare the CPU and motherboard for the installation of the AMD CPU cooler. Follow these steps to ensure a smooth installation:
- Power off and unplug your computer: Before working on any internal components, it’s crucial to power off your computer and unplug it from the electrical outlet. This ensures your safety and prevents any accidental damage to the system.
- Remove the side panel: Open your computer case by removing the side panel. This will provide access to the motherboard and CPU socket area. Refer to your computer case manual if you’re unsure how to remove the side panel.
- Locate the CPU socket: Look for the CPU socket on the motherboard. It’s a square or rectangular area with an array of small pins or contacts. Take note of any additional clips, brackets, or covers that may be present around the socket.
- Unlock and open the CPU socket: Depending on your motherboard design, there may be a lever or locking mechanism near the socket. Gently lift or push the lever to unlock the socket. Check your motherboard manual for specific instructions.
- Remove the protective cover (if applicable): Some motherboards come with a plastic protective cover over the socket. If present, carefully remove it, being cautious not to touch the delicate pins or contacts on the CPU socket.
- Prepare the CPU: Remove the AMD CPU from its packaging, being mindful of any handling instructions. Hold the CPU by its edges, avoiding contact with the pins or the contact surface. Take a moment to familiarize yourself with the orientation of the CPU and the gold arrow or triangle indicating the correct alignment.
- Align and insert the CPU: Gently align the CPU’s pins or contacts with the corresponding holes on the motherboard’s CPU socket. Ensure the CPU is inserted correctly, matching the orientation indicated by the arrow or triangle. Apply gentle pressure to seat the CPU firmly into place.
- Secure the CPU socket: If there is a lever or locking mechanism, gently lower it to secure the CPU in place. The lever should move smoothly and lock the CPU without significant force. Refer to your motherboard manual for specific instructions.
With the CPU and motherboard prepared, you’re now ready to move on to the next step: applying thermal paste.
Step 3: Applying thermal paste
Applying thermal paste is an important step in ensuring proper heat transfer between the CPU and the AMD CPU cooler. The thermal paste helps fill in microscopic gaps and air pockets, allowing for efficient heat dissipation. Follow these steps to apply thermal paste correctly:
- Clean the CPU surface: Before applying thermal paste, it’s essential to ensure that the CPU surface is clean and free of any residual thermal paste or debris. Use isopropyl alcohol and a cotton swab to gently clean the surface. Allow it to dry completely.
- Extract a small amount of thermal paste: Squeeze a small pea-sized amount of thermal paste onto the center of the CPU surface. Remember, a little goes a long way. Using too much thermal paste can lead to excess heat buildup and poor heat transfer.
- Spread the thermal paste: Using a plastic spreader or the edge of a credit card, carefully spread the thermal paste evenly across the CPU surface. Apply a thin, uniform layer that covers the entire surface of the CPU. Be cautious not to apply too much pressure or distort the CPU pins.
- Avoid excessive spreading: It’s important not to over-apply or excessively spread the thermal paste. A thin and even layer is sufficient to achieve optimal heat transfer. Excessive thermal paste can create air pockets and impede heat dissipation.
Once you’ve applied the thermal paste, you’re now ready to move on to the next step: mounting the AMD CPU cooler onto the CPU.
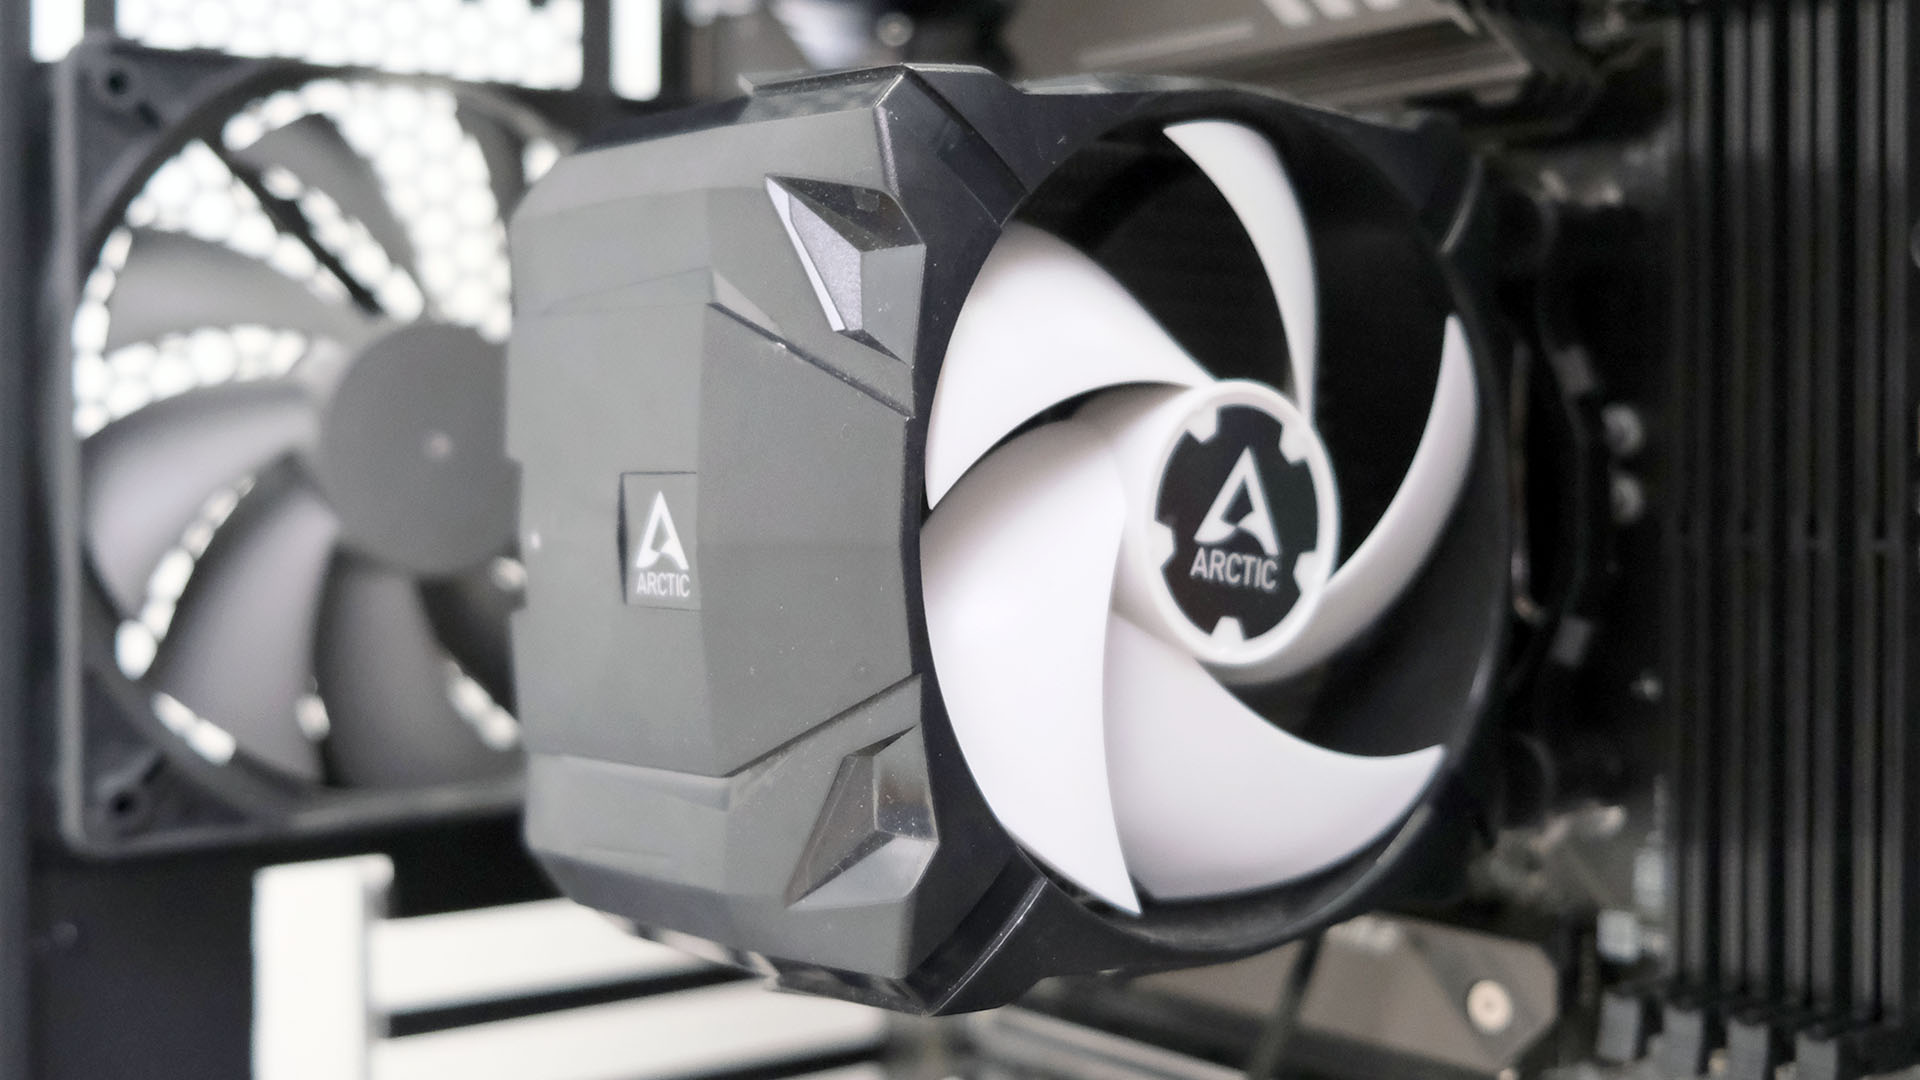
Step 4: Mounting the AMD CPU cooler
Mounting the AMD CPU cooler is a crucial step in ensuring proper heat dissipation and cooling for your processor. Follow these steps to securely attach the CPU cooler:
- Locate the CPU cooler mounting brackets: Refer to the instructions provided with your AMD CPU cooler to identify the appropriate mounting brackets for your specific model. These brackets are typically included in the cooler’s packaging.
- Attach the mounting brackets: Place the mounting brackets on the cooler’s base, aligning them with the holes or slots provided. Make sure to secure them tightly using the screws or clips provided. The method of attachment may vary depending on your specific cooler model.
- Position the cooler over the CPU: Carefully position the CPU cooler over the CPU, aligning the screw holes on the cooler with the mounting holes on the motherboard surrounding the CPU socket.
- Secure the cooler onto the motherboard: Using the appropriate screws or clips provided with the CPU cooler, tighten them in a diagonal or cross pattern. This ensures even distribution of pressure and proper mounting of the cooler. Be careful not to overtighten the screws.
- Check for proper alignment and contact: After securing the cooler, check if it is sitting flush on the CPU. Ensure that all four corners of the cooler have even contact with the CPU surface. This promotes optimal heat transfer.
- Double-check mounting stability: Give the cooler a gentle shake to ensure it is securely attached to the motherboard. If the cooler feels loose or wobbly, double-check the mounting screws or clips for proper tightness.
Once you have successfully mounted the AMD CPU cooler onto the CPU, you’re now ready to move on to the next step: connecting the cooler to the motherboard.
Step 5: Connecting the cooler to the motherboard
Connecting the CPU cooler to the motherboard is an important step in ensuring proper operation and control of the cooling system. Follow these steps to connect the cooler to the motherboard:
- Locate the CPU fan header: Look for the CPU fan header on your motherboard. It is usually labeled as “CPU_FAN” or something similar. Refer to your motherboard’s manual if you’re unsure about the location.
- Identify the CPU cooler’s power connector: Check the CPU cooler for a power connector, typically a 3-pin or 4-pin connector. This connector is responsible for providing power to the cooler and allowing the motherboard to control its fan speed.
- Align and connect the power connector: Align the power connector on the CPU cooler with the CPU fan header on the motherboard. Ensure that the pins on the connector match the holes on the header. Gently push the connector onto the header until it clicks into place.
- Verify the connection: Double-check the connection to ensure that it is secure. Give the cable a slight tug to confirm that it is firmly attached. A loose connection can lead to improper cooling and fan operation.
By connecting the CPU cooler to the motherboard, you enable the system to monitor the temperature and control the fan speed accordingly. This ensures efficient cooling and prolongs the lifespan of your CPU.
Once you have successfully connected the cooler to the motherboard, you’re now ready to move on to the next step: securing the cooler in place.
Step 6: Securing the cooler in place
Securing the CPU cooler in place is essential to ensure its stability and prevent any accidental dislodging. Follow these steps to secure the cooler firmly:
- Inspect the mounting screws: Take a moment to check the mounting screws to ensure they are securely tightened. If any of the screws feel loose, use the appropriate screwdriver to tighten them, but be careful not to overtighten.
- Check for clearance and obstruction: Ensure that the CPU cooler does not obstruct any nearby components on the motherboard, such as RAM modules or PCIe slots. The cooler should be positioned in a way that allows for proper airflow and clearance.
- Reattach the side panel: Once you are satisfied with the positioning and security of the CPU cooler, reattach the side panel of your computer case. Make sure it is properly aligned and securely fastened.
- Connect power supply cables (if necessary): Some CPU coolers may require additional power supply cables for proper operation. Refer to the cooler’s manual for instructions on connecting any necessary power cables.
- Reconnect the power and start the computer: Plug in your computer and reconnect the power cable. Start your computer and enter the BIOS or UEFI settings to make sure that the CPU cooler is detected and functioning correctly.
- Monitor CPU temperatures: After booting up your computer, monitor the CPU temperatures using appropriate software or the BIOS/UEFI settings. Ensure that the temperatures are within the acceptable range for your specific CPU model.
By securing the CPU cooler in place, you can prevent any accidental movement or disconnection that could lead to inadequate cooling or system instability.
Now that you have successfully secured the CPU cooler, you’re ready to move on to the final step: testing the cooler’s installation.
Step 7: Testing the cooler’s installation
After completing the installation of the AMD CPU cooler, it’s important to test its functionality and ensure that it is working as intended. Follow these steps to test the cooler’s installation:
- Boot up your computer: Start your computer and allow it to boot into the operating system. Pay attention to any error messages or notifications related to the CPU temperature or cooling system.
- Monitor CPU temperatures: Use software or monitoring tools to keep an eye on the CPU temperatures. You can use programs like Core Temp, HWMonitor, or your motherboard’s built-in utility to monitor the temperatures in real-time.
- Perform CPU-intensive tasks: To put the CPU under a heavier load, you can run CPU-intensive tasks such as video rendering, gaming, or stress-testing software. Monitor the temperatures during these tasks to ensure that they stay within safe limits.
- Listen for abnormal noises: Pay attention to any unusual or loud noises coming from the CPU cooler. Grinding, rattling, or loud fan noises could indicate a problem with the cooler’s installation or fan operation.
- Verify proper fan speed: Check that the fan speed is adjusted appropriately. The AMD CPU cooler should handle fan speed control automatically based on the CPU temperature. Ensure that the fan speeds up when the CPU gets hotter and slows down when it cools down.
- Observe system stability: Watch for any signs of system instability, such as frequent crashes or unexpected shutdowns. While the cooler’s installation may not be the sole cause of these issues, improper cooling can contribute to system instability.
By testing the cooler’s installation, you can ensure that it is effectively cooling your CPU and maintaining safe operating temperatures. If you encounter any issues or suspect a problem, double-check the installation steps or consult with the manufacturer’s support or technical forums for assistance.
Congratulations! You’ve successfully installed and tested your AMD CPU cooler. Enjoy efficient cooling and optimal performance for your processor.
Conclusion
Installing an AMD CPU cooler is a crucial step in ensuring proper cooling for your processor, which directly impacts its performance and longevity. By following the step-by-step guide outlined in this tutorial, you’ve learned how to put on an AMD CPU cooler with ease. Let’s summarize the key points:
In Step 1, we emphasized the importance of gathering all the necessary tools and equipment before starting the installation process. This ensures a smooth and efficient experience.
In Step 2, we guided you through the process of preparing the CPU and motherboard, including properly aligning and inserting the CPU into the socket.
Next, in Step 3, we discussed the significance of applying thermal paste. Proper application of thermal paste promotes superior heat transfer between the CPU and the cooler.
In Step 4, we explained how to mount the AMD CPU cooler onto the CPU and secure it tightly in place. This step is crucial to maintain a stable connection and prevent any movement or dislodging.
With the CPU cooler mounted, Step 5 focused on connecting the cooler to the motherboard, specifically the CPU fan header. This step allows for proper control of the cooler and its fan speed.
In Step 6, we highlighted the importance of securing the CPU cooler in place to ensure stability and prevent any accidental dislodging during regular use.
Finally, in Step 7, we discussed the significance of testing the cooler’s installation, including monitoring CPU temperatures, observing system stability, and checking fan operation.
By following these steps, you can ensure proper installation and operation of your AMD CPU cooler, resulting in optimal cooling performance and a well-functioning system.
Remember, while this guide provides general instructions, it’s always wise to refer to the manufacturer’s specific instructions for your CPU cooler model. If you encounter any issues or have further questions, consult the manufacturer’s support or seek assistance from technical forums.
Now that you have successfully installed your AMD CPU cooler, enjoy the benefits of efficient cooling and enhanced performance for your processor.