Introduction
Upgrading your motherboard and CPU can greatly enhance the performance and capabilities of your computer. Whether you’re a hardcore gamer looking for better graphics and faster processing, or a professional seeking improved multitasking and performance in demanding applications, this article will guide you through the process of upgrading your motherboard and CPU.
Before embarking on this upgrade, it’s important to consider a few key factors. First, ensure that your new motherboard is compatible with your existing computer case and power supply. Check the form factor of your case (ATX, Micro ATX, etc.) and make sure it matches the form factor of the new motherboard. Also, ensure that the new CPU is compatible with the socket type of the motherboard.
It’s crucial to have a clear understanding of the features and specifications you’re seeking in your new motherboard and CPU. Determine if you need support for multiple graphics cards, M.2 slots for fast storage, USB 3.0 or 3.1 ports, or any other specific features that suit your requirements.
Now that you have a grasp of the considerations, let’s proceed to the actual upgrade process. We’ll start by disconnecting and removing the old motherboard and CPU, then move on to installing the new components. Throughout this guide, we’ll provide step-by-step instructions and tips to ensure a smooth transition.
Please note that upgrading your motherboard and CPU requires technical skills and careful handling of delicate components. If you’re not confident in your abilities, it’s advisable to seek professional assistance.
So, without further ado, let’s dive into the exciting world of upgrading your motherboard and CPU. Get ready to unlock the full potential of your computer and take your computing experience to new heights!
Things to Consider Before Upgrading
Before diving into the process of upgrading your motherboard and CPU, there are several important factors to consider. Making informed decisions at this stage will help ensure a successful and satisfying upgrade experience. Let’s explore the key things you need to keep in mind before proceeding.
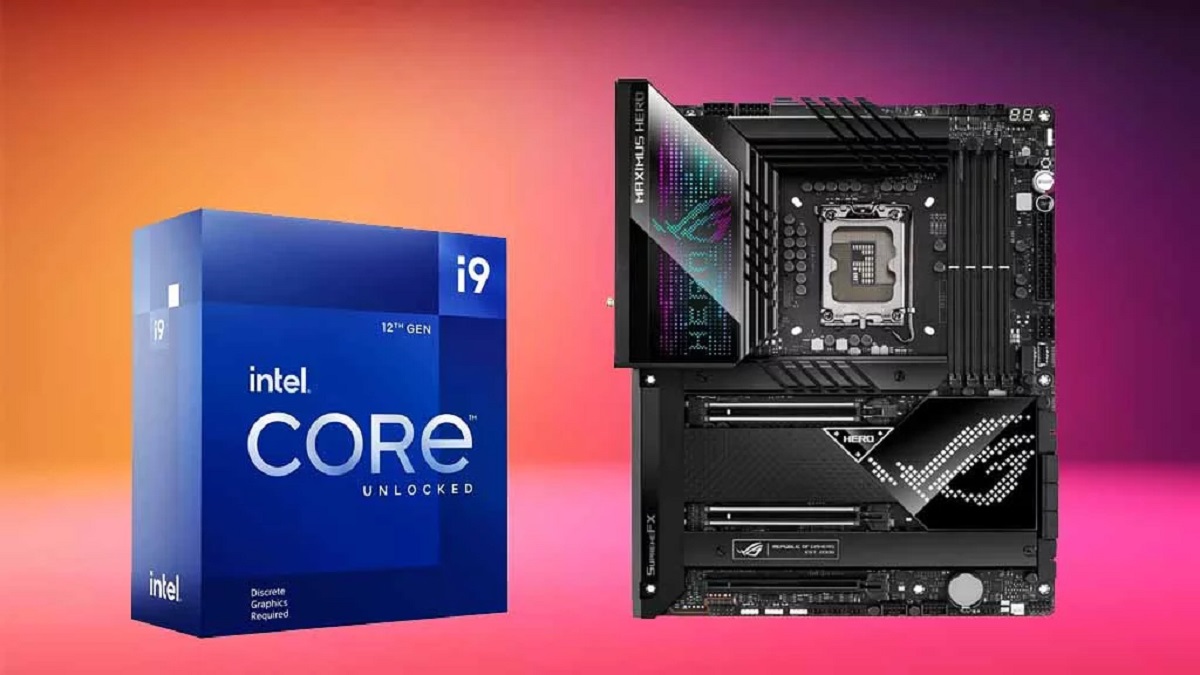
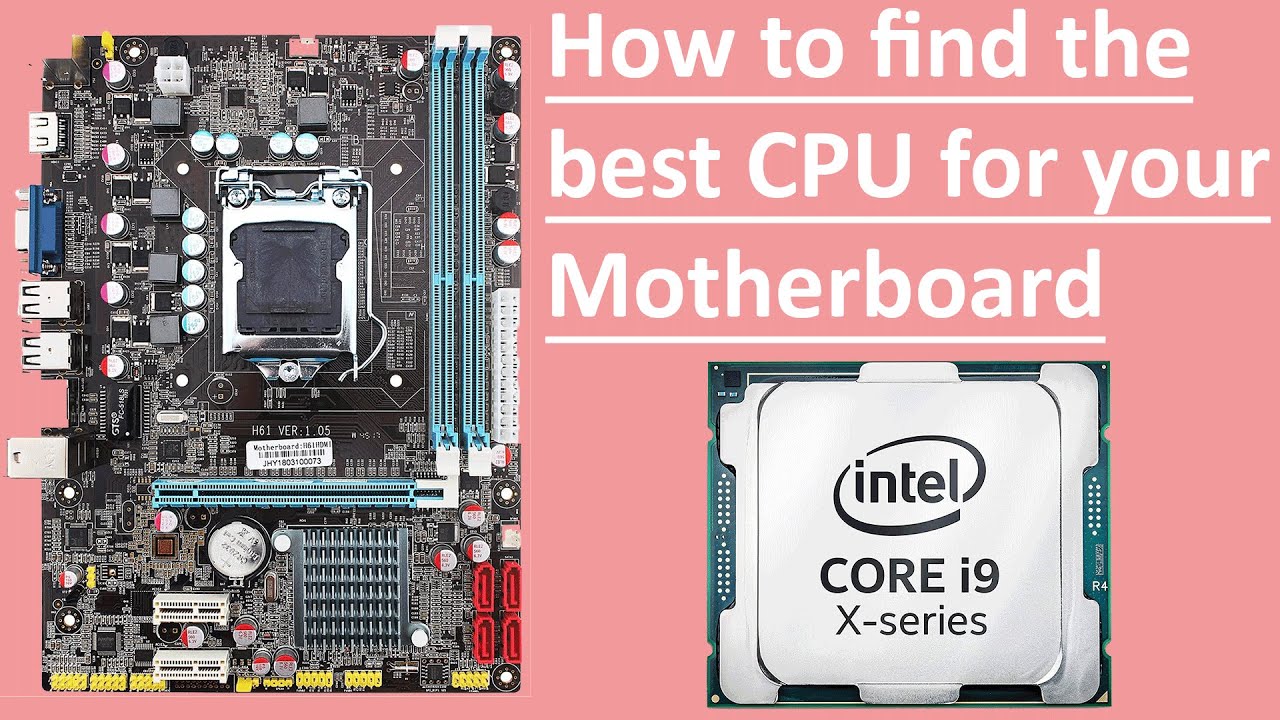
1. Compatibility: Ensure that the new motherboard and CPU are compatible with your existing components. Check the socket type and form factor compatibility between the motherboard and CPU. Verify if your RAM modules, graphics card, storage drives, and other peripherals are supported by the new motherboard.
2. Power Supply: Before upgrading, check if your power supply can handle the power requirements of the new motherboard and CPU. Higher-end components often have increased power demands, so ensure that your power supply has sufficient wattage and the necessary connectors to support the new hardware.
3. Form Factor: Consider the form factor of the new motherboard and whether it will fit properly in your current computer case. Common form factors include ATX, Micro ATX, and Mini ITX. Make sure that the new motherboard matches the form factor of your case or be prepared to switch to a new case if necessary.
4. Features and Expansion: Assess what features and expansion options you need from your new motherboard. Consider the number of RAM slots, connectivity ports, expansion slots, and storage options (SATA, M.2) you require. Determine if you need support for multiple graphics cards, Thunderbolt, or USB 3.0/3.1 ports. Choosing a motherboard that meets your specific requirements will ensure optimal performance and convenience.
5. Budget: Set a budget for your upgrade and consider the value for money offered by different options. Determine the performance gain you expect from the new components and narrow down your choices accordingly. Don’t overspend on features you won’t utilize or skimp on crucial aspects that align with your computing needs.
6. Software Considerations: Upgrading your motherboard and CPU may require reinstalling your operating system and drivers. Take note of software licenses, driver compatibility, and data backup requirements. Prepare a plan for reinstalling your operating system and transferring your important files to ensure a smooth transition.
By carefully evaluating these factors, you will be well-equipped to make informed decisions and choose the right motherboard and CPU for your needs. Ensuring compatibility, considering power requirements, and assessing the features that align with your computing needs will set the stage for a successful motherboard and CPU upgrade.
Now that you have a solid understanding of the key considerations, let’s move on to disconnecting and removing the old motherboard and CPU to make way for the new components.
Disconnecting and Removing the Old Motherboard and CPU
Before you can install the new motherboard and CPU, you need to disconnect and remove the old components from your computer. Follow these step-by-step instructions to safely remove the old motherboard and CPU.
1. Power down and disconnect: Start by shutting down your computer and disconnecting it from the power source. Unplug all cables from the back of the computer case, including the power cord, peripherals, and monitor cables.
2. Ground yourself: Grounding yourself is essential to protect the components from static electricity. Touch a grounded metal object, such as a doorknob or the metal part of your case, to discharge any static electricity buildup before proceeding.
3. Remove the case side panel: Open your computer case by removing the side panel. This is usually done by loosening the screws or sliding a latch, depending on your case design. Set the panel aside in a safe place.
4. Disconnect cables and peripherals: Take note of the connections on the motherboard and carefully disconnect all cables and peripherals, including the power cables, SATA cables, USB cables, and front panel connectors. Take a picture or make a note of the connections for reference during the installation of the new components.
5. Remove expansion cards: Remove any expansion cards, such as graphics cards or sound cards, by carefully unscrewing them from the case and gently pulling them out of their slots. Set the cards aside in an anti-static bag or on a non-static surface.
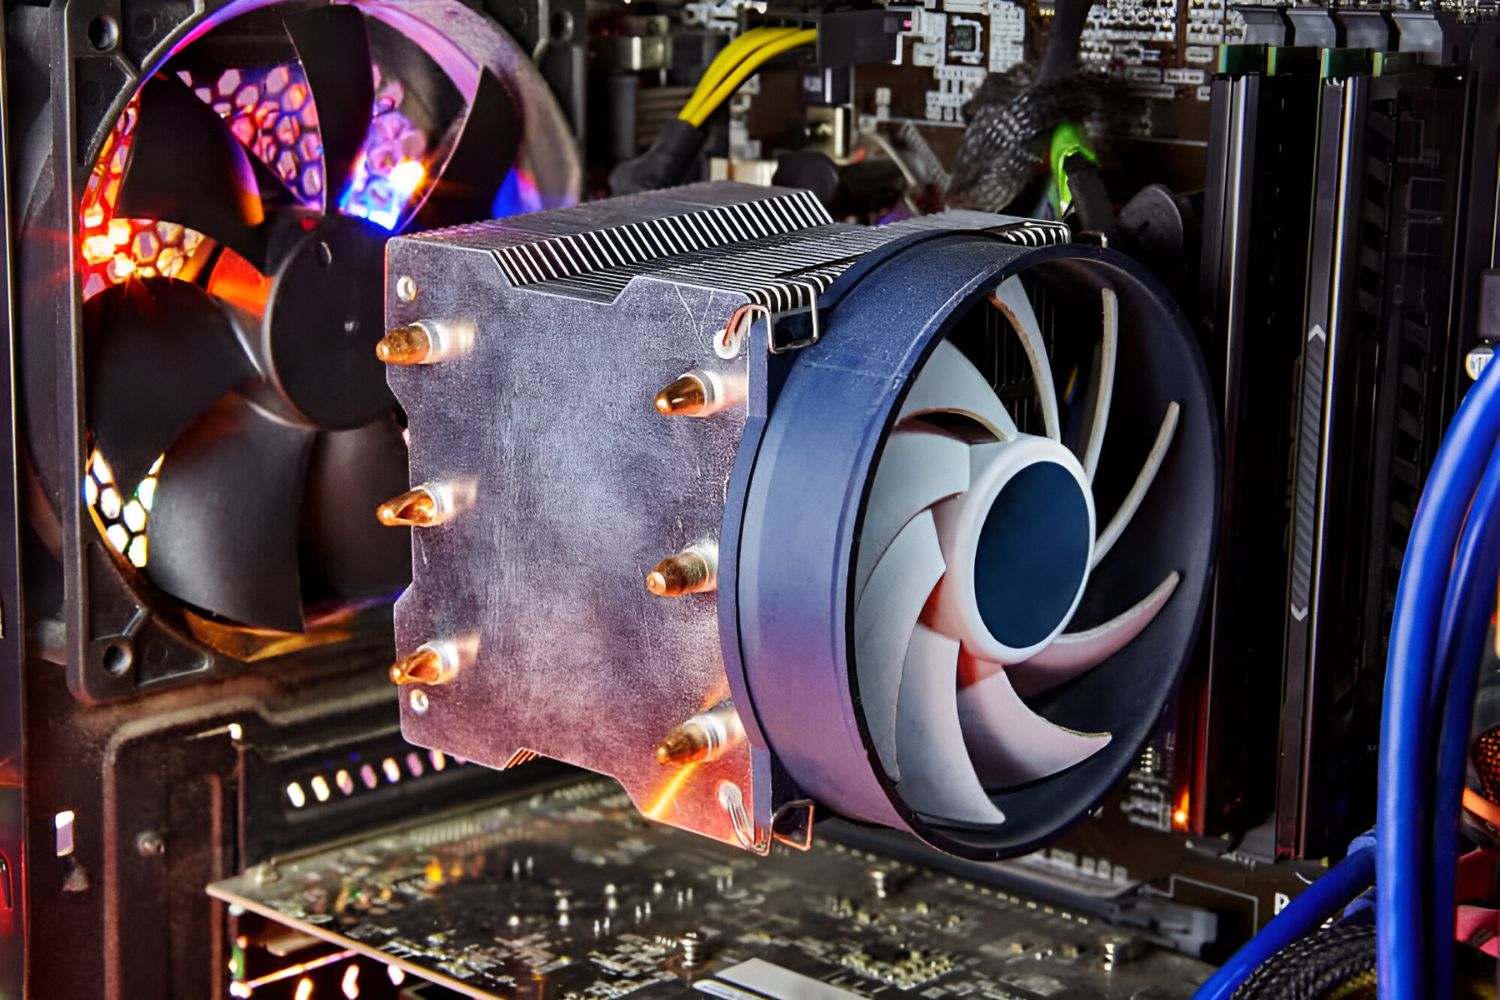
6. Remove the CPU cooler: If you have an aftermarket CPU cooler, carefully unscrew it from the CPU socket, following the manufacturer’s instructions. Gently lift the cooler off the CPU, taking care not to bend any processor pins or damage the CPU.
7. Uninstall the RAM: Push the retaining clips on either side of the RAM slots to release the RAM sticks. Carefully remove the RAM modules one by one, pulling them straight out from the slot. Place the RAM sticks in an anti-static bag or on a non-static surface.
8. Remove the old motherboard: Locate the screws or standoffs securing the motherboard to the case. Unscrew these carefully and lift the motherboard out of the case, ensuring you support it from underneath to avoid bending or flexing.
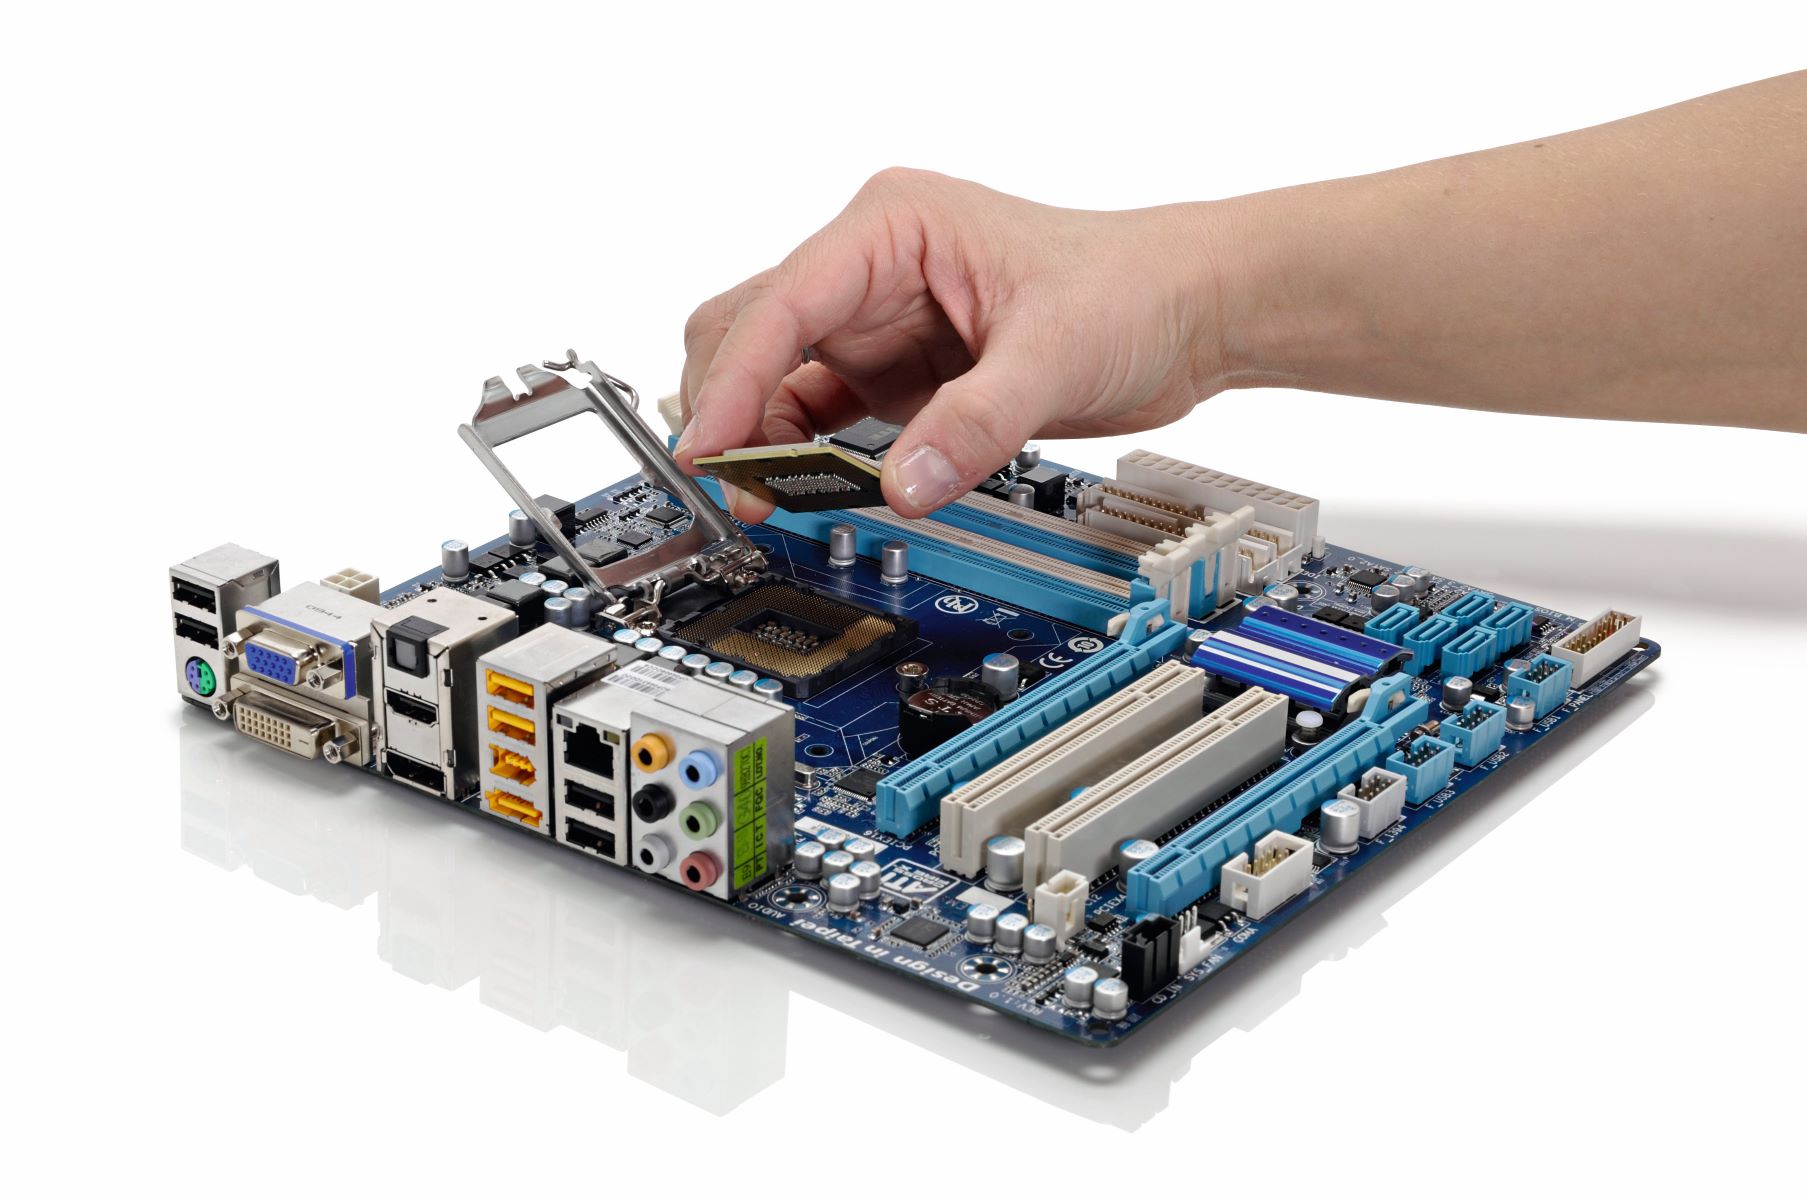
9. Remove the CPU: Lift the CPU retention arm to release the CPU from its socket. Gently remove the CPU, holding it by the edges or using an anti-static wrist strap, and place it in a protective case.
By following these steps, you have successfully disconnected and removed the old motherboard and CPU from your computer. Set the components aside in a safe and static-free location as you prepare for the installation of the new motherboard and CPU.
Next, we’ll walk you through the process of installing the new motherboard and CPU to give your computer a powerful upgrade.
Installing the New Motherboard and CPU
Now that you have successfully disconnected and removed the old motherboard and CPU, it’s time to install the new components. Follow these step-by-step instructions to ensure a smooth installation process.
1. Prepare the case: Start by preparing the computer case for the new motherboard. Remove any dust or debris from the case and ensure that the standoffs, which keep the motherboard elevated from the case, are correctly aligned with the mounting holes in the new motherboard. Check the motherboard’s manual to determine the correct standoff positions for your specific motherboard.
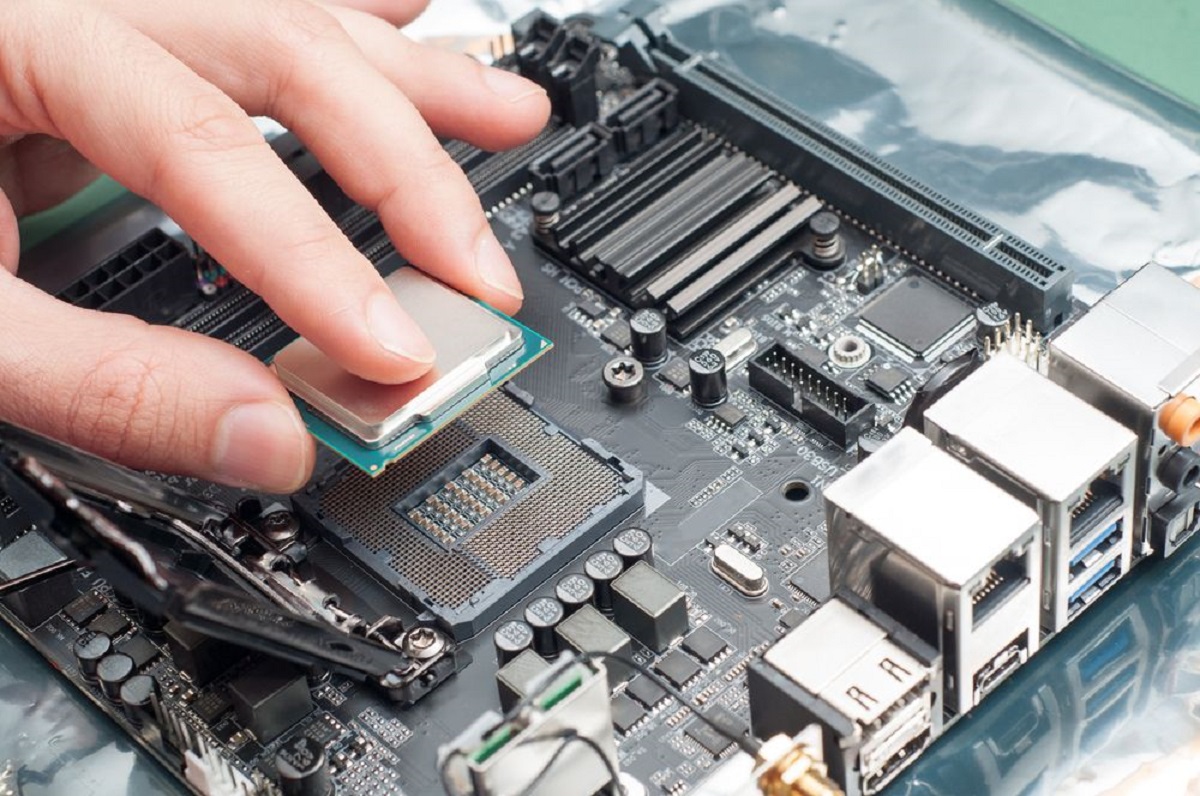
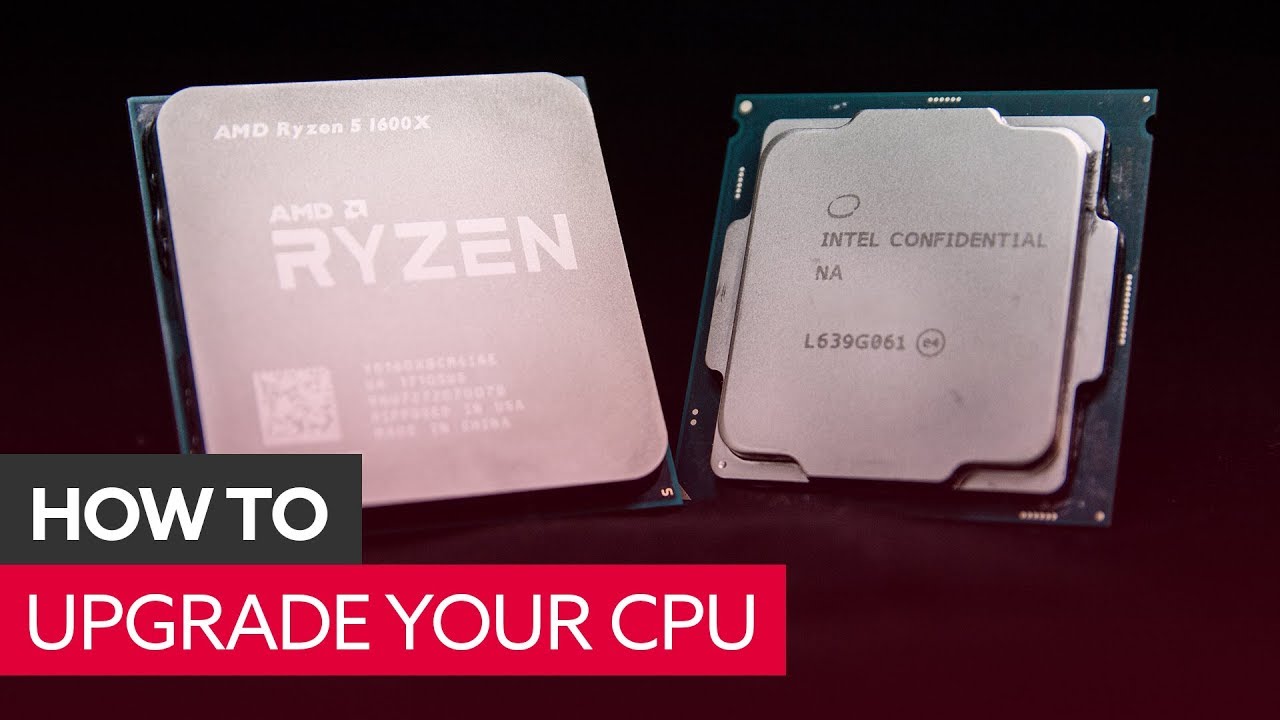
2. Install the CPU: Carefully remove the new CPU from its protective packaging and align it with the socket on the motherboard. Ensure that the CPU aligns with the socket notches and pins. Gently place the CPU into the socket, being cautious not to apply excessive force. Once properly aligned, close the CPU retention arm.
3. Apply thermal paste: If your CPU cooler does not have pre-applied thermal paste, apply a small pea-sized amount to the center of the CPU. This will ensure proper heat transfer between the CPU and the cooler. Be careful not to apply too much paste, as it can cause overheating.
4. Install the CPU cooler: Attach the CPU cooler following the manufacturer’s instructions. This typically involves aligning the cooler with the mounting brackets around the CPU socket and securing it in place using screws or clips. Make sure the cooler is firmly positioned on the CPU and ensure that all screws or clips are tightened evenly.
5. Install the motherboard: Carefully lower the new motherboard into the case, aligning the mounting holes with the standoffs. Gently press the motherboard down until it rests comfortably on the standoffs. Double-check that the I/O panel aligns with the case cutout, and secure the motherboard to the case using the screws provided.
6. Connect power and data cables: Reconnect the power cables, including the 24-pin ATX power connector and the CPU power connector (usually 4 or 8 pins), to the corresponding ports on the motherboard. Connect the SATA cables from your storage drives to the SATA ports on the motherboard. Refer to the motherboard manual for specific connector locations.
7. Install the RAM: Insert the RAM modules into the corresponding slots on the motherboard. Push the RAM sticks firmly until the retaining clips on either side click into place. Ensure that the RAM is fully seated and locked in position.
8. Connect case fans and front panel connectors: Connect the case fans and any other internal components, such as USB headers or audio connectors, to the appropriate headers on the motherboard. Consult the motherboard manual for the exact locations and orientations of these connectors.
9. Double-check connections: Before closing the case, double-check all the connections to ensure that everything is properly secured. Verify that the CPU cooler is tightly attached, cables are firmly connected, and all components are properly seated.
Congratulations! You have successfully installed the new motherboard and CPU in your computer. In the next section, we will cover the process of connecting the power supply and cooling system to ensure optimal performance and stability.
Connecting the Power Supply and Cooling System
Now that you have installed the new motherboard and CPU, it’s time to connect the power supply and cooling system to ensure proper operation and optimal performance. Follow these steps to complete the connections:
1. Power supply connections: Locate the 24-pin power connector on the motherboard and plug in the corresponding 24-pin connector from the power supply. Ensure that it is firmly seated and properly aligned. Connect the CPU power connector (usually a 4 or 8-pin connector) to the corresponding port on the motherboard.
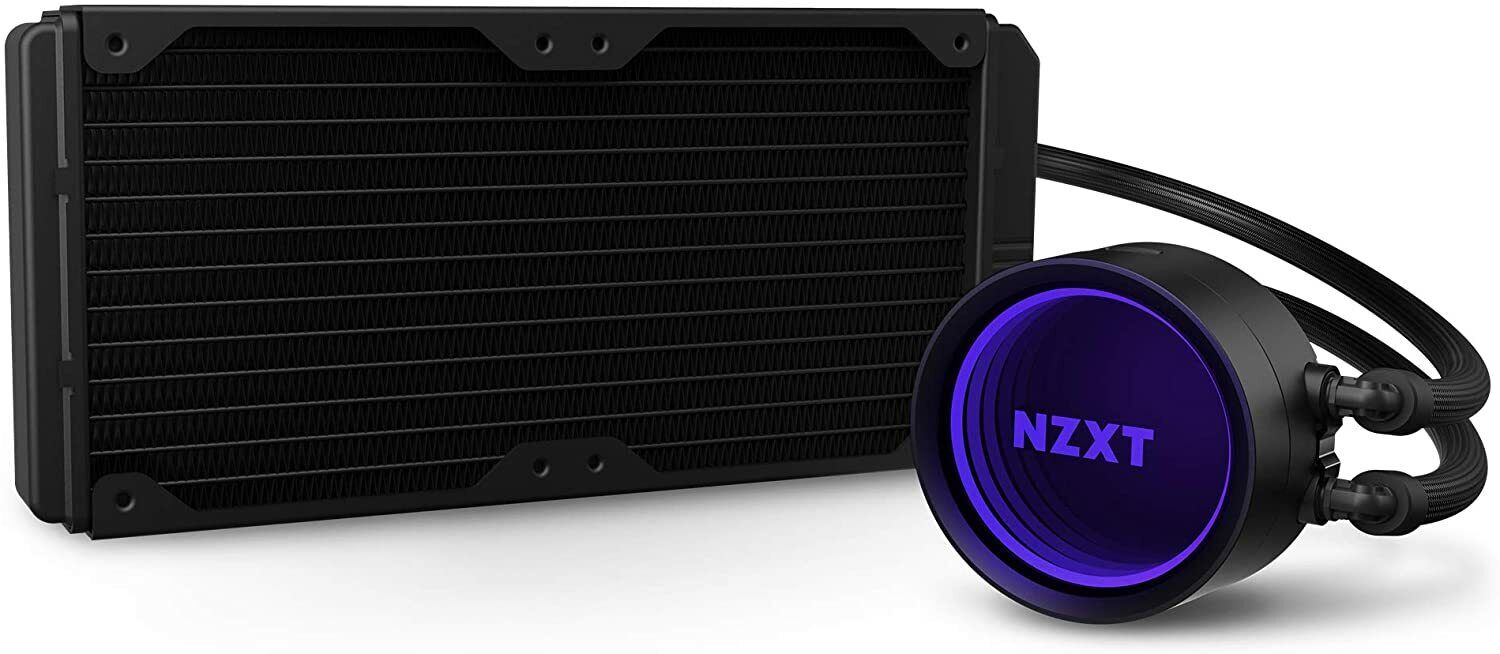
2. Cooling system installation: If you are using an aftermarket CPU cooler, ensure that the fan is properly connected to the CPU fan header on the motherboard. Depending on the type of cooler, the connection may involve plugging in the fan cable or attaching it to a specific header using screws or clips. Consult the cooler’s manual for specific instructions.
3. Case fans: Connect any case fans to the appropriate headers on the motherboard. Make sure to align the connectors correctly and secure them in place. If your motherboard does not have enough fan headers, you can use fan splitter cables or fan controllers to accommodate additional fans.
4. CPU cooler fan control: Check if your motherboard supports CPU fan control. If enabled, it allows the motherboard to adjust the speed of the CPU fan based on CPU temperature. Enable this feature in the BIOS or through a dedicated software utility provided by the motherboard manufacturer.
5. Additional power cables: Depending on your components, you may need to connect additional power cables. Graphics cards, for example, often require dedicated power connections. Consult the manuals of your components to identify any additional power cables that need to be connected.
6. Cable management: Ensure that the power cables and fan cables are neatly organized and routed to avoid obstruction of airflow or interference with other components. Use cable ties or cable management solutions to keep the cables tidy and secure.
7. Double-check: Before you close the case, double-check all connections to ensure that everything is properly connected and secure. Verify that all power cables are plugged in, the cooling system is properly installed, and all fans are functioning correctly.
By following these steps, you have successfully connected the power supply and cooling system to your newly upgraded motherboard and CPU. This ensures that your system receives the necessary power and cooling for optimal performance and stability.
In the next section, we will cover the process of connecting other components, such as storage drives, graphics cards, and peripherals, to complete the upgrade process.
Connecting Other Components
With the power supply and cooling system connected, it’s time to connect the other components that complete your computer setup. Follow these steps to ensure a seamless integration of storage drives, graphics cards, and peripherals.
1. Storage drives: Connect your storage drives, such as SSDs or HDDs, to the appropriate SATA ports on the motherboard. Insert one end of the SATA cable into the drive and the other end into an available SATA port on the motherboard. Make sure the connections are secure. If you have an M.2 drive, consult the motherboard manual for the specific installation steps.
2. Graphics card: If you have a dedicated graphics card, insert it into the appropriate expansion slot on the motherboard. Align the card with the slot and firmly push it down until it is seated. Secure the card to the case using screws or clips, if necessary. Connect the necessary power cables from the power supply to the graphics card, if required.
3. Peripherals: Connect your peripherals, such as the keyboard, mouse, monitor, and speakers, to the appropriate ports. USB peripherals can be connected to the USB ports on the motherboard. Ensure that the monitor is connected to the graphics card to utilize its full capabilities.
4. Audio and network connections: Connect your speakers or headphones to the audio output on the motherboard or sound card, depending on your setup. If you have an Ethernet cable for a wired network connection, plug it into the Ethernet port on the rear I/O panel of the motherboard.
5. Front panel connectors: Connect the front panel connectors from your computer case to the appropriate headers on the motherboard. These connectors include power button, reset button, HDD LED, power LED, and front USB ports. Refer to the motherboard manual for the specific pin layouts and connection instructions.
6. Wi-Fi and Bluetooth adapters: If your motherboard supports Wi-Fi and Bluetooth, you may need to install the included antennas and connect them to the designated ports on the rear I/O panel. Consult the motherboard manual for any specific instructions related to these adapters.
7. Cable management: Take a moment to organize and secure the cables inside your case to improve airflow and maintain a tidy appearance. Use cable ties or Velcro straps to bundle and route cables away from fans and other components.
8. Final checks: Before closing the case, double-check all connections to ensure everything is properly connected. Verify that all cables are secure and components are fitted correctly. This will help prevent any potential issues caused by loose connections.
By following these steps, you have successfully connected the other components to your upgraded motherboard and CPU. Your computer is now ready for the next step, which involves configuring the BIOS and updating drivers to optimize performance and ensure compatibility.
In the next section, we will guide you through the BIOS configuration and driver update processes.
BIOS Configuration and Driver Updates
After connecting all the components, it’s important to configure the BIOS settings and update drivers to optimize performance and ensure compatibility with your new motherboard and CPU. Follow these steps to complete the BIOS configuration and driver update process.
1. Access the BIOS: Restart your computer and enter the BIOS setup by pressing the designated key during the boot process. Common keys to access the BIOS include Delete, F2, or F12. Consult your motherboard manual if you are unsure which key to use.
2. Configure BIOS settings: Navigate through the BIOS menu using the arrow keys. Pay attention to important settings such as boot priority, CPU settings, RAM frequency and timings, and fan control. Adjust these settings according to your preferences and the recommendations provided by your motherboard manufacturer.
3. Save and exit BIOS: Once you have made the necessary changes, save the settings and exit the BIOS setup. Confirm the changes if prompted, and the system will reboot.
4. Update drivers: It is crucial to update device drivers to ensure optimal performance and compatibility with your new motherboard and CPU. Visit the website of your motherboard manufacturer and locate the support or downloads section. Identify and download the latest drivers for your specific motherboard model, including chipset drivers, audio drivers, LAN drivers, and any other necessary drivers.
5. Install drivers: Once the drivers are downloaded, run the installer and follow the on-screen instructions to install them. Restart your computer if prompted.
6. Windows updates: After driver installation, check for Windows updates to ensure that your operating system is up-to-date. Go to the Windows Update settings and install any available updates, including important security patches and bug fixes.
7. Additional software: Install any additional software or utilities provided by your motherboard manufacturer, such as overclocking or monitoring tools. These tools can help you fine-tune your system’s performance and monitor its health.
8. Performance testing: Finally, run performance tests or benchmarking software to ensure that your upgraded system is performing optimally. Monitor the temperatures, voltages, and overall stability of your system during these tests to ensure everything is functioning as expected.
By following these steps, you have successfully configured the BIOS settings and updated the necessary drivers for your upgraded motherboard and CPU. Your system is now ready to deliver the best performance and compatibility possible.
In the next section, we will cover troubleshooting techniques and testing methodologies to address any potential issues that may arise during or after the motherboard and CPU upgrade.
Troubleshooting and Testing
While upgrading your motherboard and CPU, you may encounter certain issues or face challenges. Don’t worry! This section will guide you through troubleshooting techniques and testing methodologies to address any potential issues that may arise during or after the upgrade.
1. Power-related issues: If your computer fails to power on or if you hear beeping noises, ensure that all power connections are secure. Double-check the 24-pin motherboard power connector, CPU power connector, and any additional power cables connected to components such as graphics cards. If the issue persists, consult the motherboard manual for troubleshooting guidance.
2. BIOS issues: If you experience any instability or compatibility issues, check for the latest BIOS update provided by your motherboard manufacturer. Install the update following the manufacturer’s instructions carefully. Updating the BIOS can address many compatibility and performance issues.
3. Driver conflicts: If you encounter driver-related problems, such as device malfunctions or system crashes, try reinstalling the drivers. Uninstall the problematic drivers from the Control Panel or Device Manager, and then reinstall the latest drivers downloaded from the motherboard manufacturer’s website.
4. RAM compatibility: If you experience instability or boot failures, consider reseating the RAM modules or using different RAM slots. Ensure that the RAM modules are compatible with the motherboard and properly seated. Try testing each RAM module individually to identify any faulty modules.
5. Testing software: Utilize software tools such as CPU stress tests and benchmarking utilities to stress-test your system and verify its stability and performance. Tools like Prime95, Memtest86, and 3DMark can help identify potential issues with the CPU, RAM, and graphics card.
6. Temperature monitoring: Keep an eye on the temperature of your CPU and other components using monitoring software. High temperatures can lead to instability. Ensure that your CPU cooler is properly installed, and consider reapplying thermal paste if necessary.
7. Component compatibility: Verify that all components are compatible with each other, including the motherboard, CPU, RAM, and graphics card. Check the manufacturer’s specifications and ensure that all components meet the necessary requirements.
8. Diagnostic LEDs: Many modern motherboards have diagnostic LEDs that can help pinpoint issues. Refer to the motherboard manual to understand the meaning of the different LED status codes and troubleshoot accordingly.
9. Seek professional help: If you encounter persistent issues or are unsure about specific troubleshooting steps, consider seeking professional assistance or contacting the technical support of the motherboard manufacturer for guidance.
By following these troubleshooting techniques and testing methodologies, you can identify and address any issues that may arise during or after the motherboard and CPU upgrade. With persistence and careful analysis, you can ensure that your upgraded system is running smoothly and efficiently.
In the final section, we will summarize the key steps covered in this guide to conclude your journey of upgrading the motherboard and CPU.
Conclusion
Congratulations on successfully upgrading your motherboard and CPU! By following the step-by-step instructions and considering various factors throughout the process, you have unlocked the full potential of your computer, enjoying improved performance and enhanced capabilities.
In this guide, we covered the essential steps to upgrade your motherboard and CPU, including disconnecting and removing the old components, installing the new motherboard and CPU, connecting the power supply and cooling system, connecting other components, configuring the BIOS, updating drivers, troubleshooting, and testing.
We emphasized the importance of considering compatibility, power supply capabilities, form factors, features, and budget before making your choices. We also highlighted the significance of grounding yourself, handling delicate components with care, and ensuring proper cable management to maintain a neat and efficient setup.
Throughout the upgrade process, we stressed the importance of testing your system’s stability and performance, as well as addressing any potential issues that may arise, such as power-related problems, BIOS conflicts, driver compatibility, RAM concerns, and temperature management.
Remember, if at any point you feel unsure or uncomfortable, it’s always wise to seek professional assistance to ensure a smooth and successful upgrade process.
Upgrading your motherboard and CPU provides an opportunity to enhance your computer’s performance, expand its capabilities, and future-proof your system. By carefully selecting compatible components and following proper installation and troubleshooting practices, you can enjoy a seamless computing experience.
Now that you have completed the upgrading process, take some time to explore your system’s capabilities, customize your settings, and enjoy the improved performance and features that your upgraded motherboard and CPU offer.
Thank you for following this guide. We hope it was informative, and we wish you many productive and enjoyable hours with your newly upgraded computer!