Introduction
Choosing the right CPU for your motherboard is crucial when building or upgrading your computer. The compatibility between the CPU and motherboard ensures optimal performance and functionality. However, with the wide variety of CPUs and motherboards available on the market, it can be overwhelming to determine which CPU is compatible with your specific motherboard.
In this article, we will guide you through the process of understanding motherboard compatibility and help you identify the key factors to consider when determining which CPU will work with your motherboard. By following these guidelines, you can avoid compatibility issues and make a well-informed decision.
Whether you are a gaming enthusiast, a video editor, or simply someone looking to build a reliable and efficient computer, knowing how to choose a compatible CPU and motherboard combination is essential. Upgrading your CPU can significantly enhance your computer’s speed and capabilities, ensuring a smoother and more enjoyable user experience.
Throughout this article, we will explore various criteria to consider, such as the socket type, chipset compatibility, BIOS version, power requirements, TDP (Thermal Design Power), RAM compatibility, and overclocking capabilities. By understanding these factors, you can confidently select a compatible CPU for your motherboard and unlock the full potential of your computer.
So, without further ado, let’s delve into the world of CPU and motherboard compatibility and discover how to choose the perfect CPU for your specific motherboard.
Understanding Motherboard Compatibility
Before we dive into the specifics of CPU compatibility, it’s important to have a basic understanding of how motherboards work and their role in computer systems. A motherboard is the main circuit board that connects various components, including the CPU, RAM, storage devices, and expansion cards.
When it comes to CPU compatibility, there are several key factors to consider. These include the socket type, chipset compatibility, BIOS version, power requirements, TDP (Thermal Design Power), RAM compatibility, and overclocking capabilities. Let’s explore each of these factors in more detail.
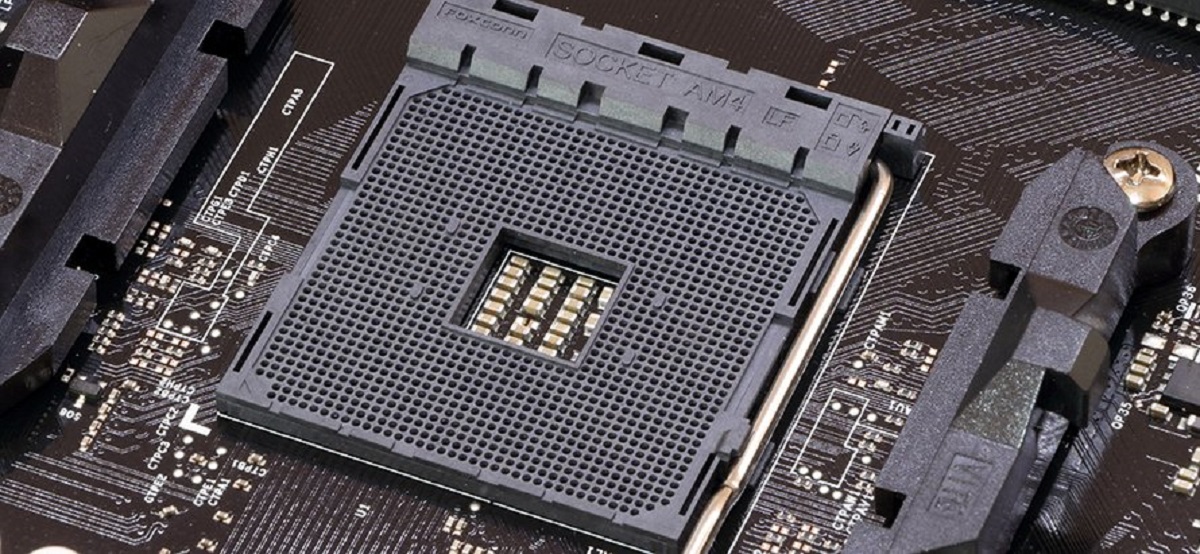
The socket type is one of the most critical aspects of CPU compatibility. The CPU socket is the physical slot on the motherboard where the CPU is installed. Different CPUs require specific socket types to function properly. For example, Intel processors typically use LGA (Land Grid Array) sockets, while AMD processors use PGA (Pin Grid Array) or AM (Accelerated Processing Unit) sockets.
Chipset compatibility is another important consideration. The chipset determines the motherboard’s features and functionality, such as the number of USB ports, PCI slots, and supported RAM speeds. It’s essential to ensure that the chipset supports the CPU you plan to use.
The BIOS (Basic Input/Output System) is firmware that initializes the hardware components of the system. It’s important to check the motherboard’s BIOS version and make sure it supports the CPU you intend to install. In some cases, a BIOS update may be required before installing a new CPU.
Power requirements play a crucial role in CPU compatibility. Different CPUs have varying power requirements, which are specified by their TDP (Thermal Design Power). It’s important to ensure that your motherboard’s power connectors and power supply unit can provide enough power for the CPU.
RAM compatibility is another crucial consideration. The motherboard’s chipset and BIOS determine the supported RAM types, speeds, and capacities. Make sure that your chosen CPU is compatible with the RAM modules you plan to use.
Finally, if you’re interested in overclocking your CPU to achieve higher performance, you’ll need to consider the motherboard’s overclocking capabilities. Not all motherboards support overclocking, and some may have specific limitations.
Understanding motherboard compatibility is essential when choosing the right CPU for your computer. By considering factors like the socket type, chipset compatibility, BIOS version, power requirements, RAM compatibility, and overclocking capabilities, you can ensure a smooth and hassle-free CPU upgrade or build process.
Check the Socket Type
When it comes to compatibility between the CPU and motherboard, the socket type plays a vital role. The CPU socket is the physical slot on the motherboard where the CPU is installed.
Each CPU requires a specific socket type to function properly. For example, Intel processors use different socket types, such as LGA 1151, LGA 1200, or LGA 2066, depending on the generation and series.
Similarly, AMD processors use different socket types like AM4 or TR4. It’s crucial to ensure that the CPU socket on the motherboard matches the socket type required by the CPU you plan to install.
Checking the socket type is relatively straightforward. First, identify the CPU model you intend to use. Then, refer to the motherboard’s specifications or documentation to find the compatible socket types.
Most motherboard manufacturers provide detailed information about the supported socket types on their websites or in the product manuals. You can also consult online resources or forums dedicated to PC building and hardware compatibility.
It’s important to note that different CPU generations may require different socket types, even within the same brand. For example, Intel’s 9th generation CPUs are not compatible with motherboards that only support 8th generation processors, despite using the same LGA socket.
Additionally, some motherboards support multiple socket types, allowing you to upgrade to a newer CPU without replacing the entire motherboard. This can provide flexibility and future-proofing for your system.
While it’s technically possible to physically install a CPU into an incompatible socket, doing so can lead to irreparable damage to both the CPU and motherboard. Always double-check the socket type before making a purchase to avoid compatibility issues.
By ensuring the socket type of your motherboard matches the socket type required by your chosen CPU, you can be confident that they are compatible and will function properly together, providing optimal performance for your computer.
Check the Chipset Compatibility
Another crucial factor to consider when determining CPU compatibility with your motherboard is the chipset compatibility. The chipset is a set of integrated circuits on the motherboard that controls communication between various components, including the CPU, memory, storage devices, and peripherals.
Each chipset is designed to work with specific CPU models and generations. The chipset determines the motherboard’s features, functionality, and compatibility with certain CPUs.
When checking the chipset compatibility, you need to ensure that the chipset on your motherboard supports the CPU you plan to use. This information can usually be found in the motherboard’s specifications or documentation.
For example, if you’re using an Intel CPU, you’ll typically find chipset names like Z490, B460, or H410. If you’re using an AMD CPU, common chipset names include B550, X570, or A520.
It’s essential to note that some older motherboards may require a BIOS update to support newer generation CPUs. In such cases, you may need to check the motherboard manufacturer’s website for any available BIOS updates or consult their customer support for guidance.
Keep in mind that even if the CPU physically fits into the motherboard, it may not operate correctly or utilize all of its features if the chipset is not compatible.
Chipset compatibility also affects the motherboard’s connectivity and expansion options. Different chipsets offer varying numbers of USB ports, SATA ports, PCI slots, M.2 slots, and other features. Make sure the chipset provides the connectivity you need for your peripherals and expansion cards.
Additionally, consider any specific requirements you may have, such as support for multiple GPUs in SLI or CrossFire configurations, RAID configurations, or specialized features like Thunderbolt ports.
By checking the chipset compatibility, you can ensure that your CPU and motherboard are compatible at a fundamental level. This compatibility will not only ensure proper functionality but also maximize the potential of your hardware, allowing you to fully utilize the features and benefits offered by the CPU and motherboard combination.
Check the BIOS Version
When considering CPU compatibility with your motherboard, one important aspect to check is the BIOS version. The BIOS (Basic Input/Output System) is firmware embedded in the motherboard that initializes and controls hardware components during the computer’s startup process.
The BIOS also plays a crucial role in CPU compatibility, as it contains the necessary instructions and configurations for the motherboard to recognize and communicate with the CPU.
Before purchasing or installing a new CPU, it’s essential to verify that the current BIOS version on your motherboard supports the CPU you plan to use.
Start by identifying the specific CPU model you want to install. Then, check the motherboard manufacturer’s website or product documentation for a list of supported CPUs and their corresponding BIOS versions.
In some cases, you may find that your existing BIOS version is not compatible with the CPU you want to install. This happens when a new CPU is released after the motherboard’s initial launch, requiring a BIOS update to ensure compatibility.
If your motherboard’s BIOS version is not compatible, you will need to update it before installing the new CPU. Most motherboard manufacturers provide BIOS updates on their websites, along with instructions on how to perform the update.
It’s important to note that BIOS updates should be performed with caution, as any mistakes or interruptions during the update process can render your motherboard inoperable. Follow the manufacturer’s instructions carefully and, if unsure, seek assistance from a knowledgeable source or professional.
Alternatively, if your motherboard supports a feature called “BIOS flashback” or “USB BIOS Flashback,” you may be able to update the BIOS without a CPU installed, offering more straightforward compatibility updates.
Before updating the BIOS, it’s crucial to ensure that the update is specifically designed for your exact motherboard model. Installing an incorrect or incompatible BIOS version can lead to severe issues and potentially damage the motherboard.
By checking the BIOS version and updating if necessary, you can ensure that your motherboard is compatible with the CPU you plan to install. This compatibility ensures proper communication between the CPU and motherboard, allowing for optimal performance and stability.
Consider Power Requirements
When it comes to CPU compatibility, it’s crucial to consider the power requirements. Different CPUs have varying power needs, which must be supported by both the motherboard’s power connectors and the power supply unit (PSU) in your system.
To determine the power requirements of your CPU, look for its Thermal Design Power (TDP) rating. TDP represents the maximum amount of heat generated by the CPU, which directly correlates to its power consumption.
Review your motherboard’s specifications or documentation to ensure that it supports CPUs within the TDP range of your chosen processor. Most motherboards provide a TDP range or a specific TDP limit in their compatibility lists.
It’s important to note that excessive power consumption can overload your motherboard’s power delivery system, leading to instability, crashes, or even hardware damage. Insufficient power, on the other hand, can result in degraded CPU performance or the system failing to boot.
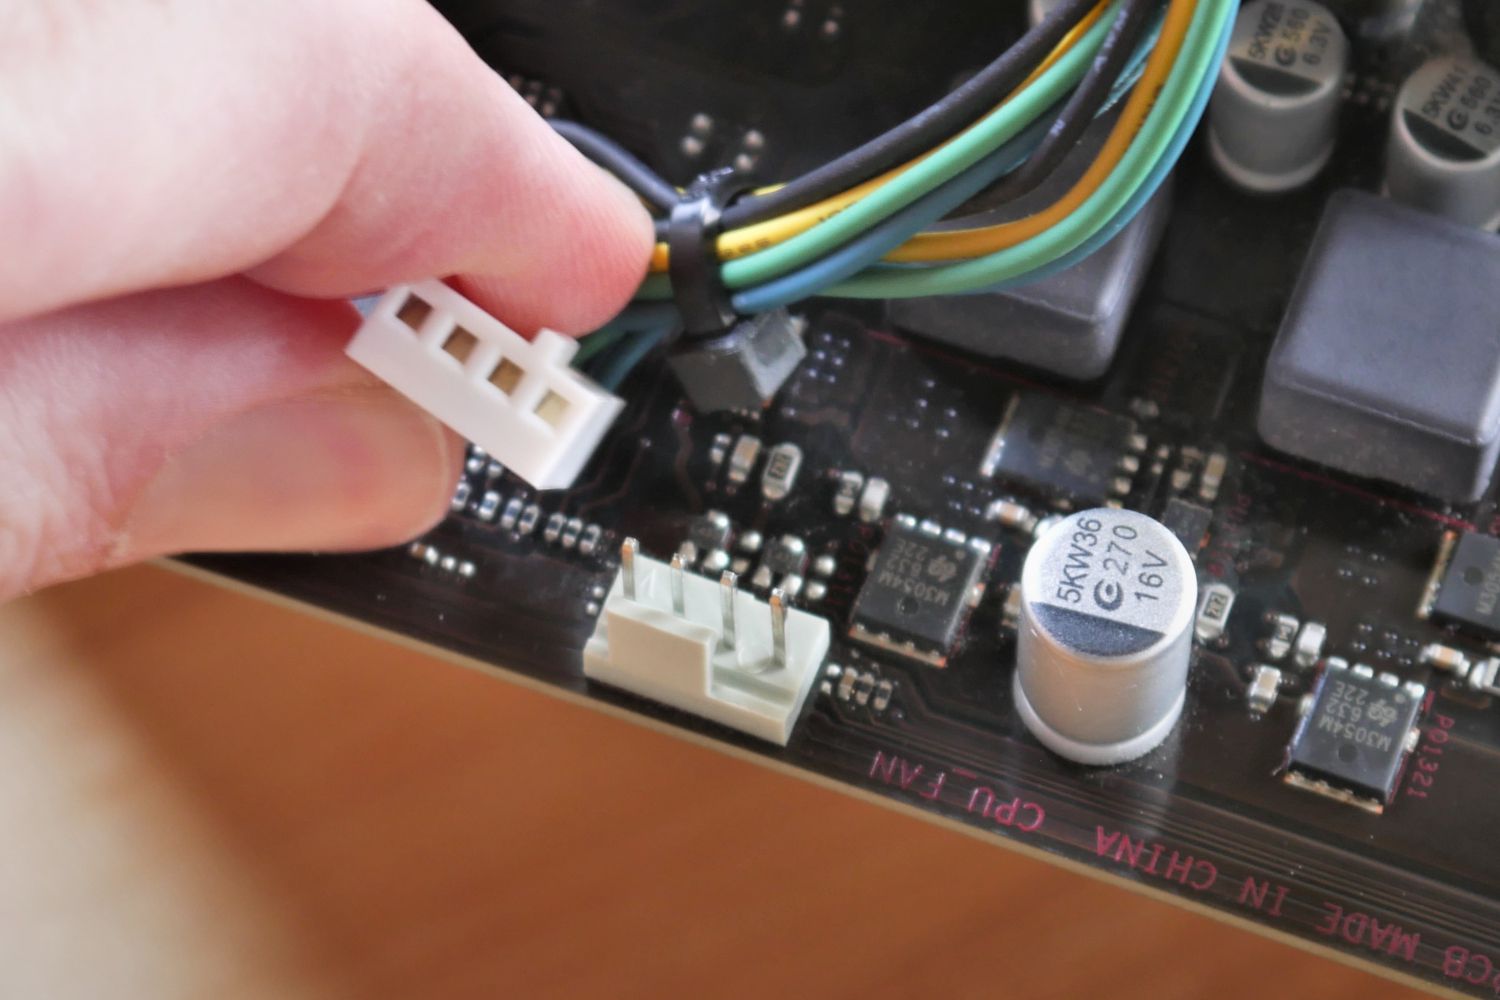
Verify that your motherboard has the necessary power connectors required by your CPU. For example, high-end CPUs may require an 8-pin or even a 4-pin supplementary power connector, in addition to the main 24-pin ATX power connector.
Ensure that your power supply unit (PSU) offers sufficient wattage and the necessary power connectors to support both the CPU and other components in your system. PSUs typically have multiple cables and connectors for CPUs, such as 4-pin (P4) or 8-pin (EPS) connectors.
If you’re upgrading your CPU and encounter power supply limitations, you may need to upgrade your PSU to ensure compatibility. Choose a reputable brand and select a PSU with adequate wattage, taking into account the power requirements of your CPU and other components.
Moreover, consider the power efficiency of your PSU. Higher efficiency PSUs not only help reduce energy consumption but also generate less heat, leading to better overall system performance and longevity.
By considering the power requirements of your CPU and ensuring compatibility with your motherboard and PSU, you can guarantee stable and reliable performance while minimizing the risk of power-related issues.
Consider TDP (Thermal Design Power)
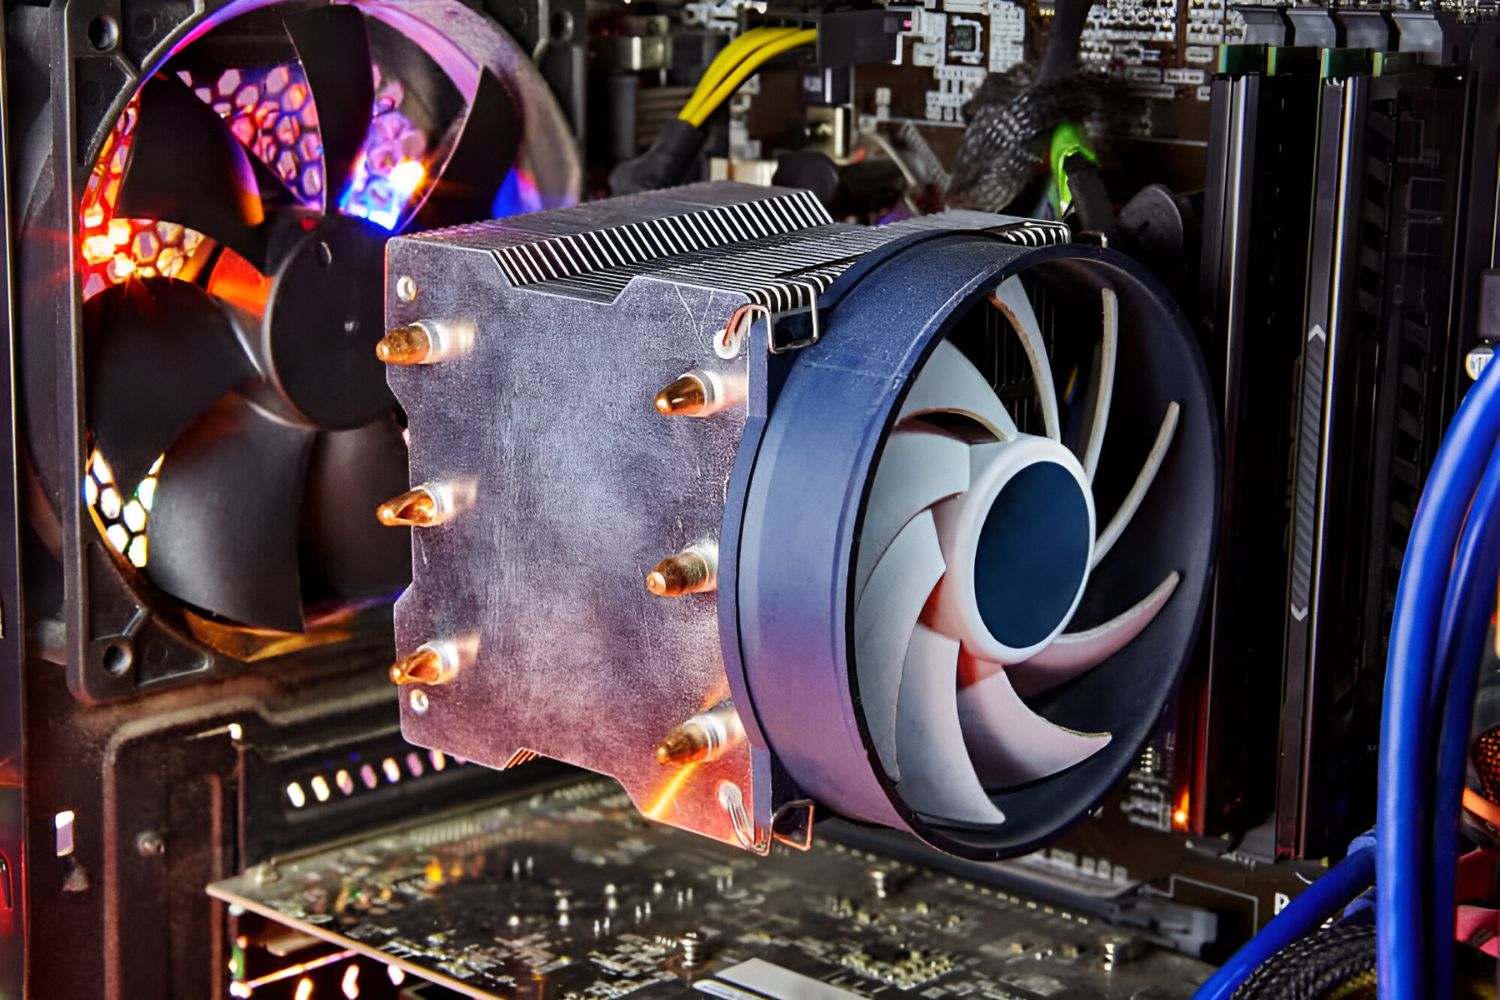
When selecting a CPU for your motherboard, it’s important to consider the Thermal Design Power (TDP) rating of the processor. TDP represents the maximum amount of heat generated by the CPU and is a crucial factor in determining the cooling requirements and overall system stability.
The TDP rating is typically measured in watts and provides an estimation of the amount of power needed to keep the CPU within its operating temperature range. Higher TDP CPUs tend to consume more power and generate more heat compared to lower TDP CPUs.
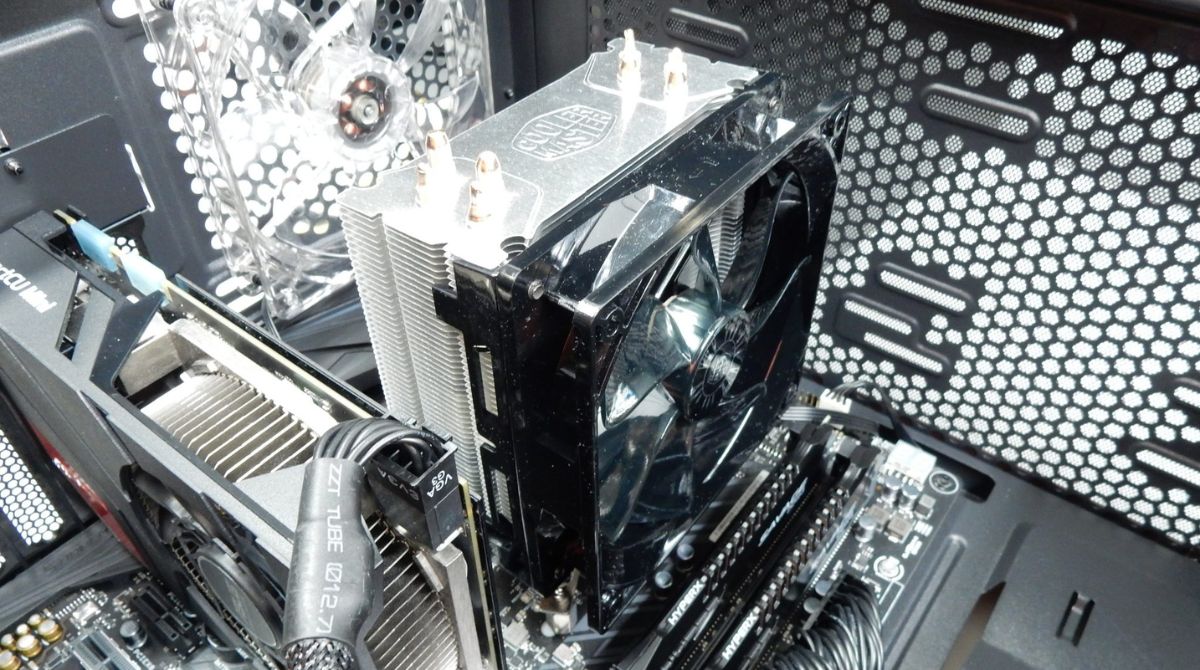
It’s important to ensure that your motherboard’s cooling system, including heat sinks and fans, can handle the TDP of the CPU you plan to use. Insufficient cooling can result in the CPU running hot, leading to performance throttling, system instability, and even hardware damage.
Review your motherboard’s specifications or documentation to verify the TDP range of supported CPUs. This will help you determine if your chosen CPU falls within the compatible range. Motherboard manufacturers often provide this information along with compatibility lists for CPUs of various TDP ratings.
Additionally, consider that some high-end CPUs may require more advanced cooling solutions, such as liquid cooling or larger heat sinks, to effectively dissipate the heat generated. Make sure your motherboard has provisions for these cooling options if necessary.
It’s important to note that even if a CPU has a higher TDP rating, it doesn’t necessarily mean it will perform better than a CPU with a lower TDP rating. TDP mainly indicates the power consumed and heat generated by the CPU under maximum load conditions.
Choosing a CPU with an appropriate TDP for your intended usage is essential for maintaining system stability and maximizing performance. For example, if you plan to use your computer for demanding tasks like gaming or video editing, a CPU with a higher TDP may be necessary to handle the increased workload.
On the other hand, if you’re building a small form factor or energy-efficient system, a CPU with a lower TDP can help reduce power consumption and keep the system cooler without sacrificing performance.
By considering the TDP rating of your CPU and ensuring compatibility with your motherboard’s cooling system, you can build a stable and efficient system that can handle the demands of your computing needs.
Check RAM Compatibility
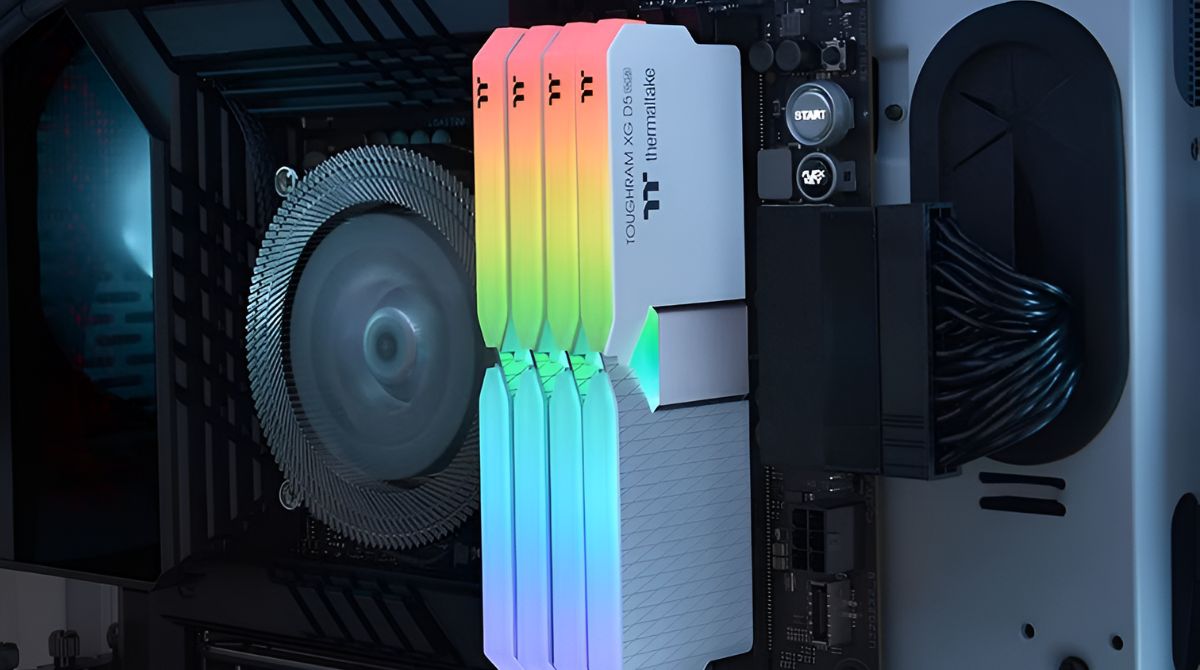
In addition to CPU compatibility, it’s crucial to consider RAM compatibility when selecting a CPU for your motherboard. RAM (Random Access Memory) is an essential component that determines the system’s overall performance and multitasking capabilities.
When it comes to RAM compatibility, there are several factors to consider, including the type, speed, capacity, and configuration of RAM that your motherboard supports.
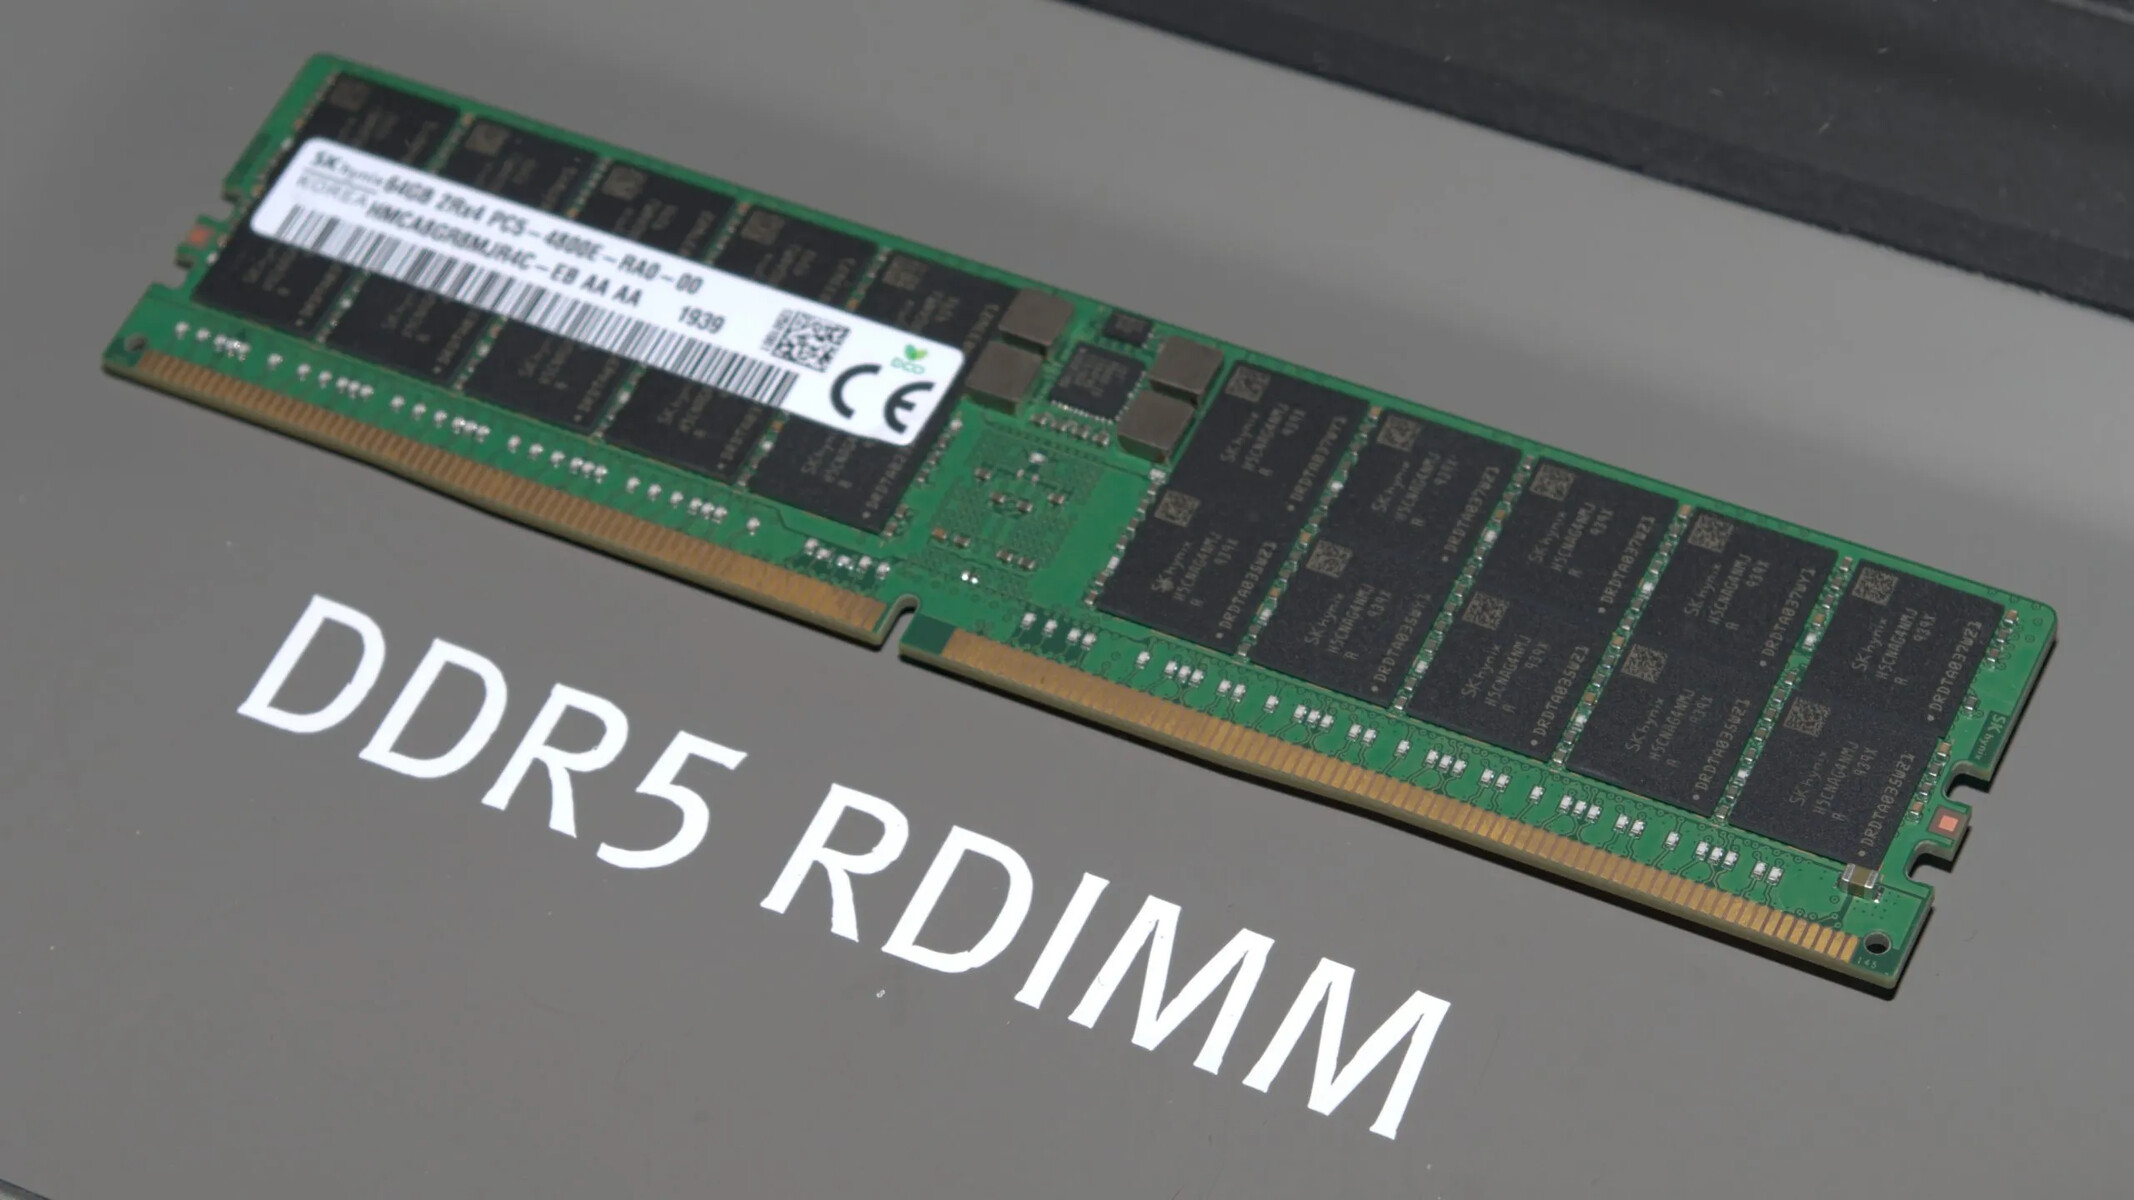
First, check the motherboard’s specifications or documentation to verify the RAM type supported. The most common types of RAM include DDR4, DDR3, and DDR2. Ensure that the motherboard supports the specific RAM type that you plan to use.
The speed of the RAM modules is another critical consideration. Motherboards have specific supported RAM speeds, which are often indicated in the form of a range (e.g., DDR4 2133 MHz – 3200 MHz). Make sure that the RAM speed matches or is within the supported range of the motherboard.
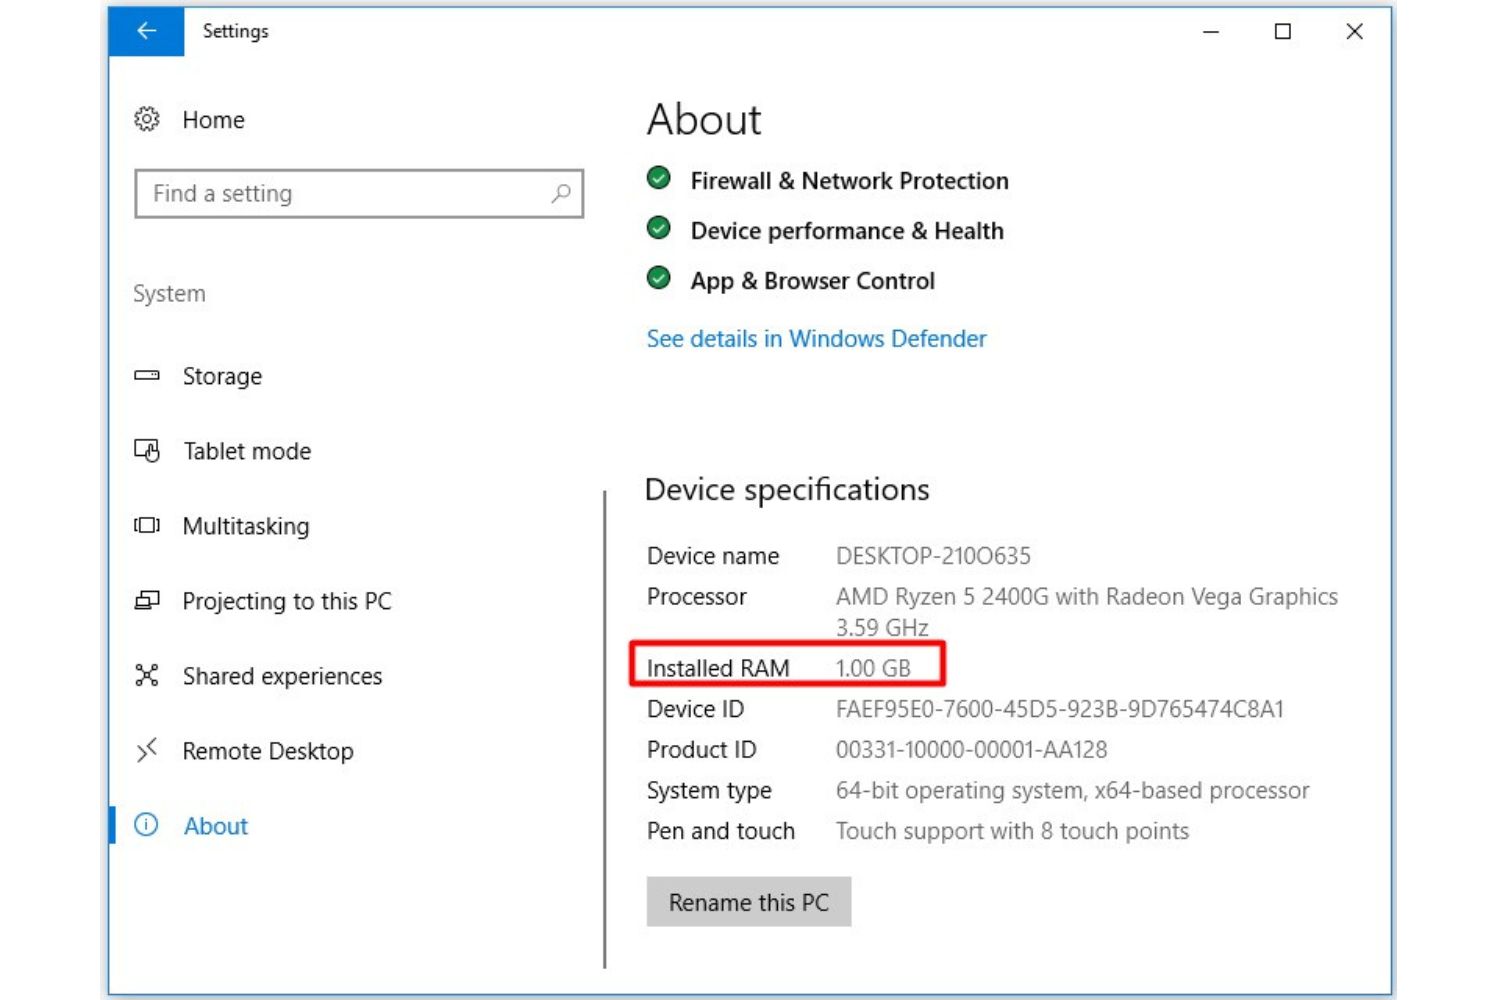
Capacity is another important factor to consider. Determine the maximum RAM capacity supported by your motherboard. Some motherboards have limitations on the total amount of RAM that can be installed or supported per slot.
It’s worth noting that the total RAM capacity can also be influenced by the CPU. Some CPUs have memory controllers that limit the maximum supported RAM capacity. Check the CPU specifications to ensure compatibility with the desired RAM capacity.
Furthermore, consider the RAM configuration supported by the motherboard. This includes the number of RAM modules and the configuration (single-channel, dual-channel, quad-channel, etc.). Ensure that your intended RAM configuration is compatible with the motherboard’s capabilities.
It’s essential to match the RAM compatibility requirements to ensure stable and optimal performance. Mismatched or incompatible RAM can result in system instability, crashes, or even failure to boot.
If you’re unsure about the RAM compatibility or want to ensure compatibility with your chosen CPU and motherboard, consult the motherboard manufacturer’s specifications, online resources, or forums dedicated to PC building. Additionally, many RAM manufacturers provide compatibility tools on their websites, allowing you to search for compatible RAM modules based on your motherboard and CPU.
By checking the RAM compatibility and ensuring it aligns with the motherboard’s supported RAM type, speed, capacity, and configuration, you can build a reliable and efficient system that takes full advantage of the CPU and motherboard performance.
Consider Overclocking Capabilities
If you’re interested in pushing the performance limits of your CPU, considering the overclocking capabilities of both the CPU and motherboard is essential. Overclocking involves increasing the clock speed and voltage of the CPU to achieve higher performance levels.
When choosing a CPU and motherboard combination, it’s important to ensure that both components support overclocking, as not all CPUs and motherboards offer this feature.
First, check the specifications or documentation of the CPU to determine if it is unlocked for overclocking. Unlocked CPUs, often denoted by a “K” or “X” in the model name (e.g., Intel Core i7-10700K or AMD Ryzen 9 5950X), are designed to be overclocked and offer greater flexibility for performance tuning.
Next, consider the motherboard’s overclocking capabilities. Look for motherboards that are specifically designed or marketed as “overclocking-friendly” or “enthusiast-grade.” These motherboards typically offer robust power delivery systems, enhanced cooling features, and BIOS options necessary for overclocking.
The BIOS (Basic Input/Output System) or UEFI (Unified Extensible Firmware Interface) of the motherboard plays a crucial role in overclocking. Ensure that the motherboard provides advanced overclocking options and features within its BIOS or UEFI interface.
It’s also important to note that not all CPUs or motherboards overclock to the same extent. Some CPUs may have better overclocking potential due to higher power capabilities or architectural design. Proper cooling, such as high-performance air or liquid cooling, is also essential for maintaining stable overclocked performance.
When overclocking, it’s crucial to proceed with caution and follow proper overclocking techniques. Overclocking can increase heat output, power consumption, and stress on components, potentially reducing their lifespan or causing stability issues if not done correctly.
Before attempting to overclock, thoroughly research and understand the process. Consult resources such as user manuals, overclocking guides, or online communities dedicated to overclocking to learn about safe voltage and temperature ranges for your specific CPU and motherboard combination.
It’s worth noting that overclocking may void warranties and can carry inherent risks. If you’re uncertain or uncomfortable with overclocking, it’s best to stick with stock speeds and allow the CPU and motherboard to operate within their default specifications.
By considering the overclocking capabilities of both the CPU and motherboard, you can build a system that allows for potential performance improvements and customization. However, always prioritize stability, proper cooling, and understanding the limits of your components when engaging in overclocking endeavors.
Conclusion
Choosing the right CPU that is compatible with your motherboard is crucial for building or upgrading your computer. By considering various factors such as the socket type, chipset compatibility, BIOS version, power requirements, TDP, RAM compatibility, and overclocking capabilities, you can ensure a seamless and optimized system.
Understanding motherboard compatibility is the foundation for selecting the right CPU. Checking the socket type ensures that your CPU physically fits into the motherboard. Verifying chipset compatibility guarantees that the CPU and motherboard can communicate effectively.
Checking the BIOS version ensures that the motherboard supports the CPU and that necessary firmware updates are applied. Considering power requirements and TDP compatibility ensures stable and reliable performance without overloading the motherboard or underpowering the CPU.
Checking RAM compatibility and considering overclocking capabilities enable you to further enhance your system’s performance. Ensuring that the motherboard supports your desired RAM type, speed, capacity, and configuration results in optimal memory performance. Evaluating overclocking capabilities enables you to push your CPU to higher performance levels, provided you have appropriate cooling and understand the associated risks.
By paying attention to these compatibility factors, you can avoid compatibility issues, maximize performance, and prolong the lifespan of your system. It’s essential to research, consult available resources, and consult the manufacturer’s specifications to ensure a successful CPU and motherboard combination.
Remember, selecting a compatible CPU and motherboard is just the first step in building a high-performing computer. Considering other components such as the GPU, storage devices, and power supply, alongside proper cooling and maintenance, will result in a well-balanced and efficient system.
So, whether you’re a gaming enthusiast, a content creator, or a professional in need of a reliable workstation, understanding CPU and motherboard compatibility will help you make informed decisions and create a powerful and reliable computer.