Introduction
Testing a motherboard without a CPU may seem like an unusual request, but there are times when it can be necessary. Whether you are troubleshooting a faulty motherboard, checking compatibility, or simply want to ensure that all components are functioning properly before installing a CPU, knowing how to test a motherboard without a CPU is a valuable skill for any computer enthusiast or technician.
The motherboard is a vital component of any computer system, serving as the main circuit board that connects all hardware components together. It provides power, establishes communication between different parts, and houses essential components such as the memory slots, expansion slots, and connectors for peripherals. Therefore, ensuring the functionality of the motherboard is crucial to the overall performance and stability of the computer.
In this article, we will provide you with a step-by-step guide on how to test a motherboard without a CPU. We will also discuss the reasons why you might want to do this and the precautions you need to take during the process. Please note that testing a motherboard without a CPU should only be done by individuals with experience and proper understanding of computer hardware. If you are unsure or uncomfortable with performing these steps, it is recommended to seek professional assistance.
Before we delve into the details of testing a motherboard without a CPU, it is important to highlight that this method is primarily used for diagnostic purposes. It is not a substitute for testing the motherboard with a CPU installed. The CPU is a critical component that plays a significant role in the overall performance and functionality of a computer. Therefore, it is essential to properly install a compatible CPU and follow the manufacturer’s guidelines to ensure optimal performance.
Why would you want to test a motherboard without a CPU?
You may be wondering why someone would want to test a motherboard without a CPU. Well, there are several reasons why you might find this process useful:
1. Troubleshooting: If you are experiencing issues with your computer, such as random crashes or no display, it is important to identify whether the problem lies with the motherboard or the CPU. By testing the motherboard without a CPU, you can isolate the issue and determine if it is solely related to the motherboard or if the CPU needs to be replaced.
2. Compatibility check: Before purchasing a new CPU for your computer, it is crucial to ensure that it is compatible with your motherboard. Testing the motherboard without a CPU allows you to verify if the socket, power requirements, and other specifications align with the CPU you plan to install. This can save you from the hassle of purchasing an incompatible CPU.
3. Pre-installation verification: Another reason to test a motherboard without a CPU is to verify the functionality of other components, such as RAM, storage drives, and expansion cards. By eliminating the CPU from the equation, you can focus solely on testing these components and ensuring they are working correctly before installing the CPU.
4. System assembly and testing: For computer enthusiasts who enjoy building their own systems or technicians assembling computers, testing the motherboard without a CPU allows them to ensure that all components are working properly before the CPU is installed. This can help prevent potential issues and save time troubleshooting after the CPU is in place.
It is important to note that testing a motherboard without a CPU should only be done as a temporary measure and not as a permanent solution. The CPU is an essential part of the computer’s functioning, and proper testing and installation with a CPU are necessary for optimal performance.
Disclaimer: Be cautious when testing a motherboard without a CPU
When testing a motherboard without a CPU, it is crucial to exercise caution and follow proper procedures. Here are some important points to keep in mind before you proceed:
1. Safety first: Ensure that you have unplugged the power cord from the wall outlet and discharged any stored power by pressing the power button on the computer. This will help prevent any accidental damage or electric shock while working with the motherboard.
2. Static electricity protection: Static electricity can potentially damage sensitive electronic components. To prevent this, make sure to ground yourself by wearing an anti-static wrist strap or by touching a grounded metal surface before handling the motherboard.
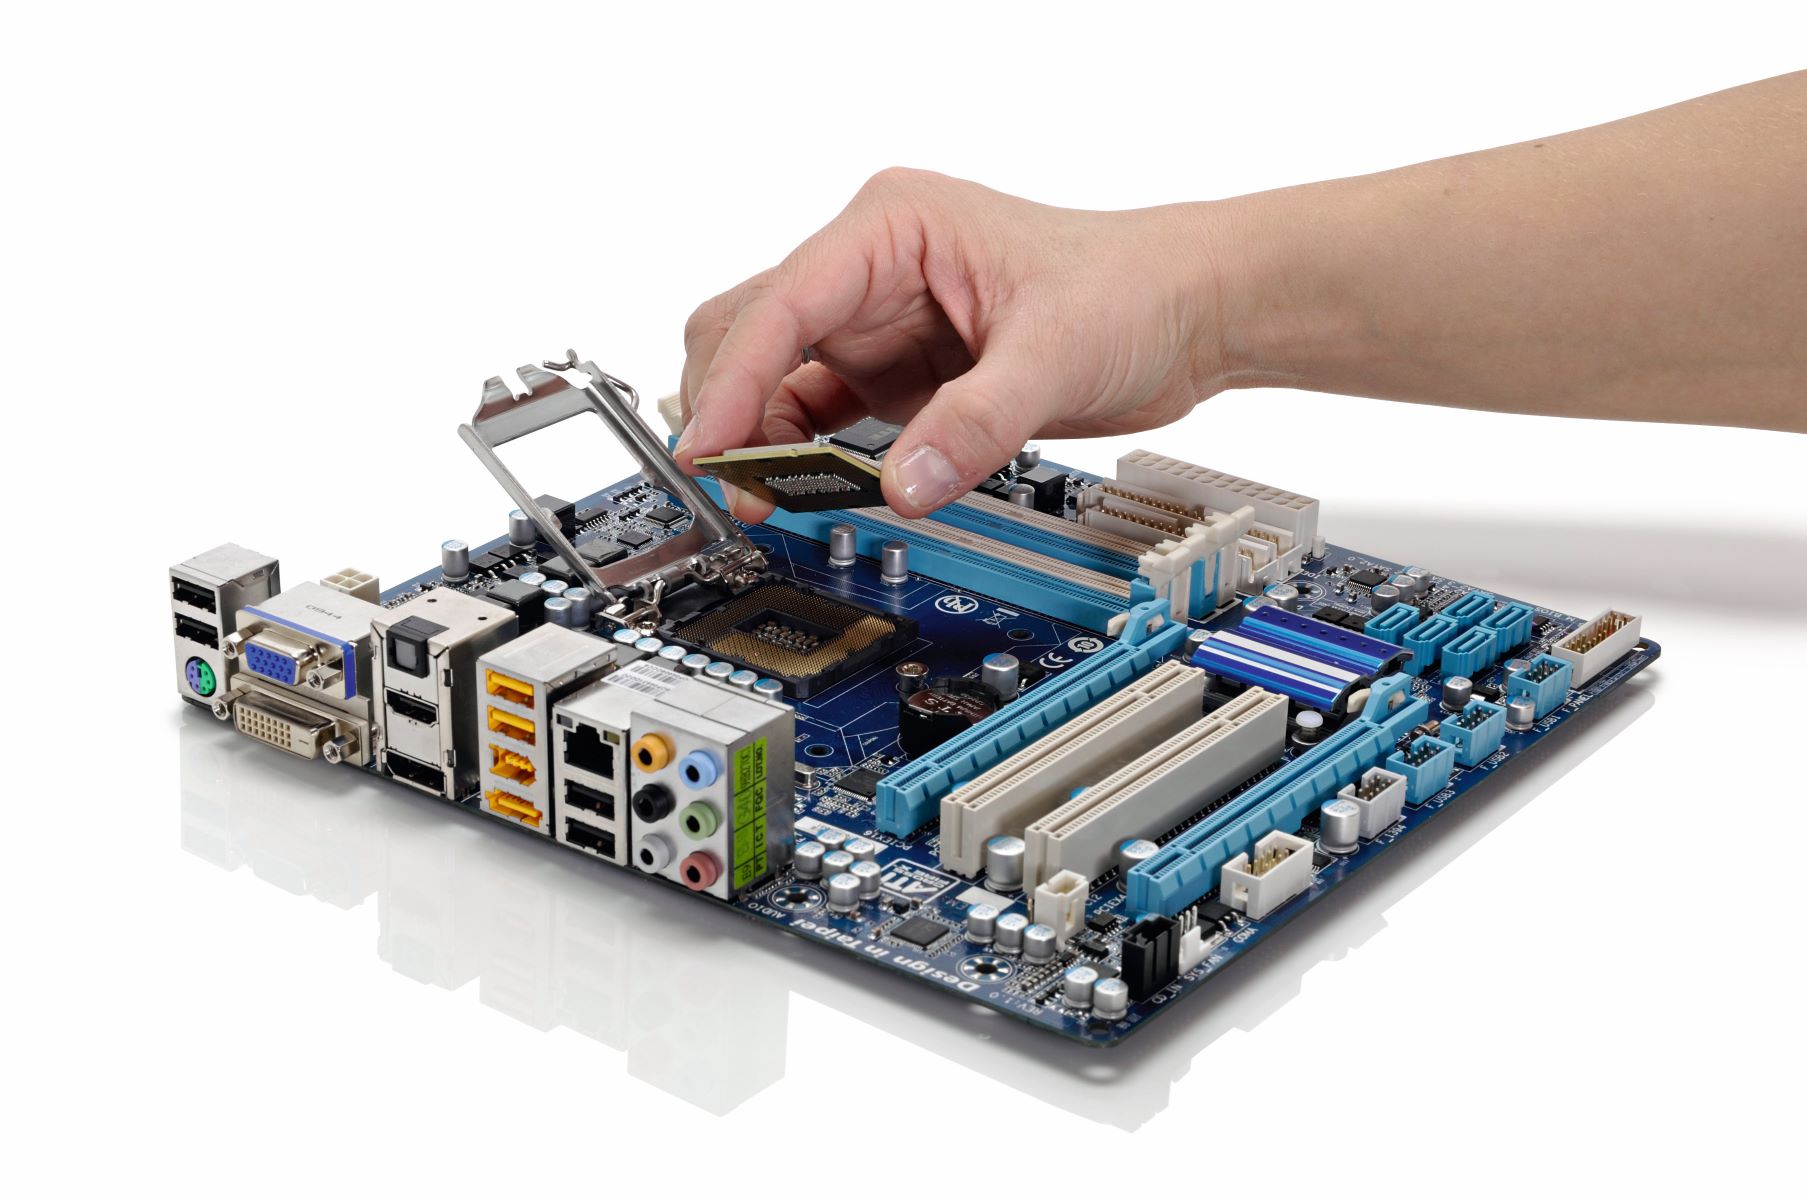
3. Compatibility and compatibility: Before proceeding, double-check that the motherboard and components you are using are compatible. Ensure that the motherboard’s socket supports the same CPU socket type, and that other components such as RAM and storage drives are compatible with the motherboard.
4. Handle with care: When removing or installing any components on the motherboard, be gentle and avoid excessive force. Improper handling can lead to damage to the motherboard or other components.
5. Follow manufacturer guidelines: Always refer to the motherboard’s user manual for specific instructions on how to install and test components. The manufacturer’s guidelines will provide you with the most accurate and reliable information for your specific motherboard model.
6. Only for diagnostic purposes: Remember that testing a motherboard without a CPU is primarily meant for diagnostic purposes. It should not be a substitute for properly installing a compatible CPU and testing the system as a whole. Without a CPU, the motherboard cannot function at its full capacity, and certain features and functionalities may not be available during the testing process.
By following these precautions and guidelines, you can minimize the risk of damage and ensure a smooth and safe testing process. If you are unsure or uncomfortable with completing these steps, it is always recommended to seek the assistance of a professional technician.
Tools and equipment you will need
Before you start testing a motherboard without a CPU, it is important to gather the necessary tools and equipment. Here are the items you will need for the process:
1. Screwdriver: A small screwdriver set with various sizes of bits will be essential for removing screws holding the motherboard in place or accessing certain components.
2. Anti-static wrist strap: This will help prevent the buildup and discharge of static electricity, protecting sensitive electronic components from damage.
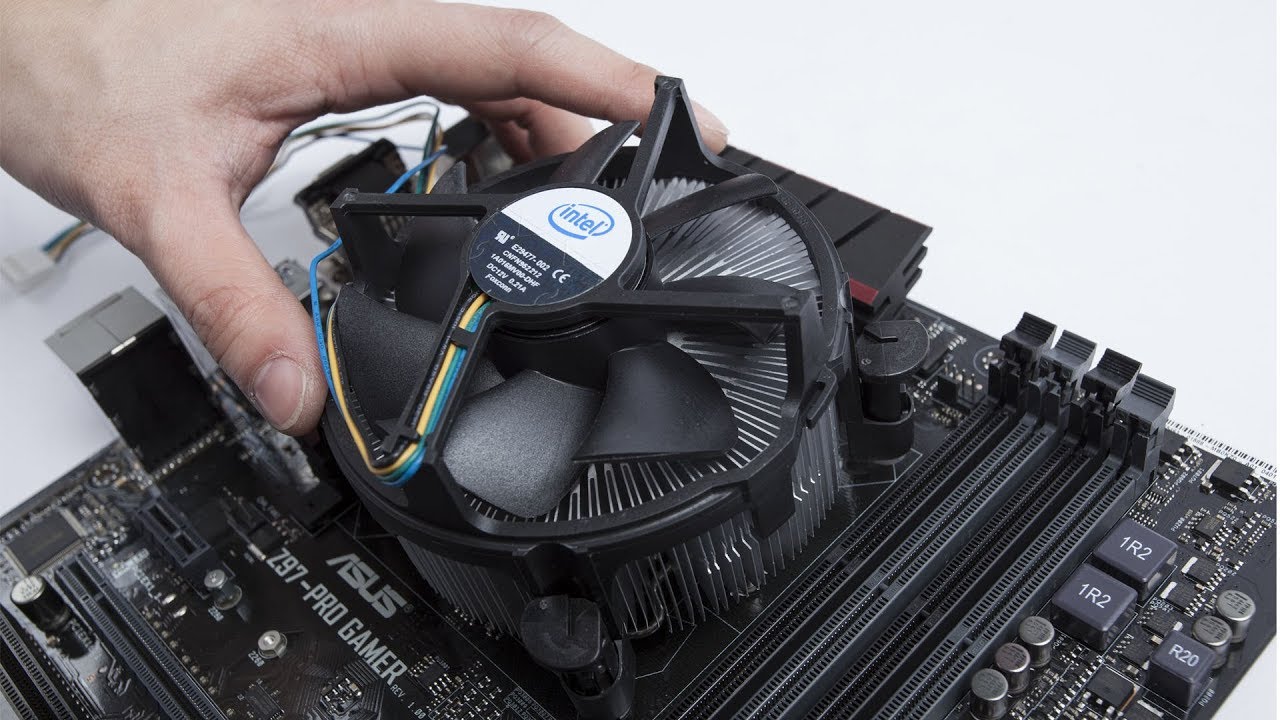
3. Thermal paste (optional): If you plan on removing and reinstalling the CPU at a later time, you may need thermal paste to ensure proper heat transfer between the CPU and the heatsink.
4. Diagnostic card (optional): A diagnostic card, also known as a post card or motherboard analyzer, can provide valuable information about the motherboard’s status and any error codes during the testing process.
5. External display monitor: Having an external display monitor will help you verify that the motherboard is functioning and sending signals properly, as you won’t have access to the computer’s built-in display without a CPU.
6. Power supply unit (PSU): You will need a functional PSU to power the motherboard during testing. Ensure that the PSU is compatible with the motherboard and has the necessary connectors for power supply, such as the 24-pin ATX connector and 4/8-pin CPU power connector.
7. RAM modules: Install at least one compatible RAM module to test the memory slots on the motherboard. This will help verify if the RAM slots are working correctly.
8. Storage drive (optional): If you want to test the storage drive connectors on the motherboard, you can connect a storage drive (such as a hard drive or SSD) to the SATA or M.2 slots.
Remember to refer to the motherboard’s user manual for specific details about the tools and equipment required, as they may vary depending on your motherboard model and the components you plan to test. By having these tools and equipment prepared, you will be ready to proceed with testing the motherboard without a CPU.
Step-by-step guide to testing a motherboard without a CPU
Now that you have gathered the necessary tools and equipment, let’s walk through the step-by-step process of testing a motherboard without a CPU:
Step 1: Preparing the workspace
Before you begin, ensure that you are working in a clean and well-lit environment. Make sure to follow proper safety precautions, such as wearing an anti-static wrist strap and disconnecting the power cord from the wall outlet. This will help prevent any accidental damage or injury.
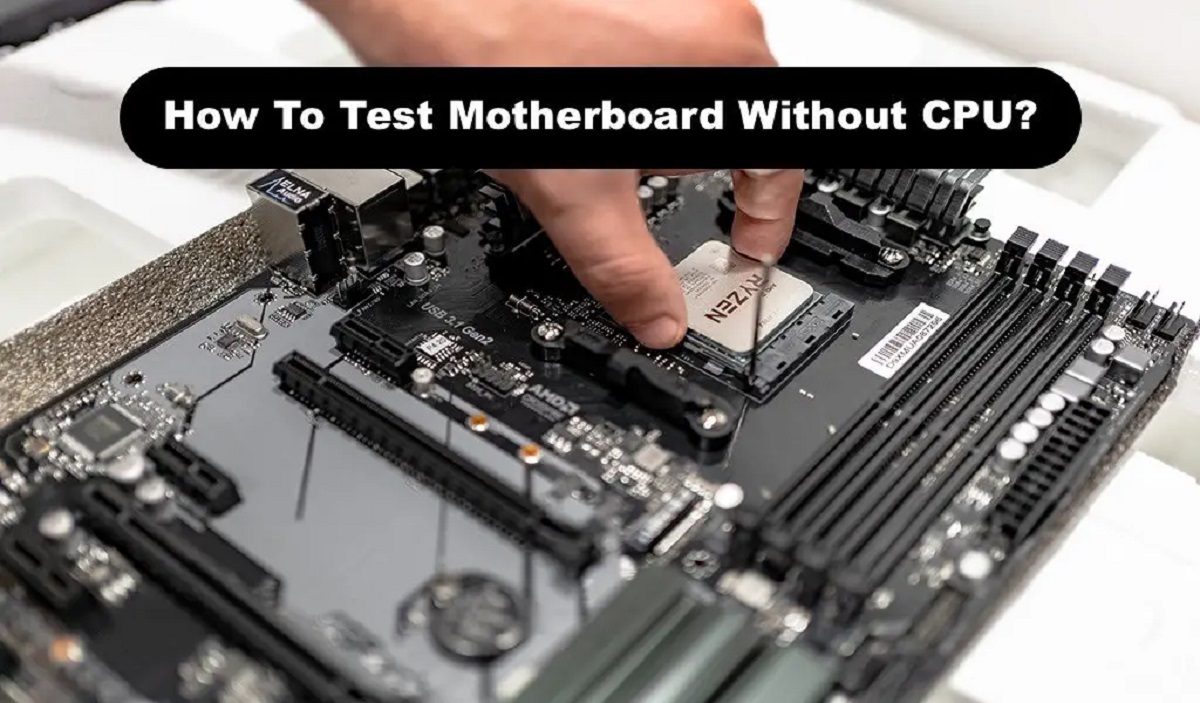
Step 2: Removing the motherboard from the case
Using a screwdriver, carefully remove the screws that secure the motherboard to the case. Gently lift the motherboard out of the case and place it on a non-conductive surface, such as a cardboard box or an anti-static mat.
Step 3: Connecting the power supply
Connect the power supply unit (PSU) to the motherboard’s 24-pin ATX power connector and the 4/8-pin CPU power connector. Ensure that the power supply is switched off and not plugged into an outlet.
Step 4: Installing RAM modules
If you have RAM modules, insert them into the appropriate memory slots on the motherboard. Follow the manufacturer’s guidelines for proper installation, such as aligning the notch on the RAM module with the slot and applying even pressure to seat the module securely.
Step 5: Connecting an external display
Connect an external display monitor to the appropriate video output on the motherboard, such as HDMI, DisplayPort, or VGA. This will allow you to check for any display signals sent by the motherboard during the testing process.
Step 6: Powering on the motherboard
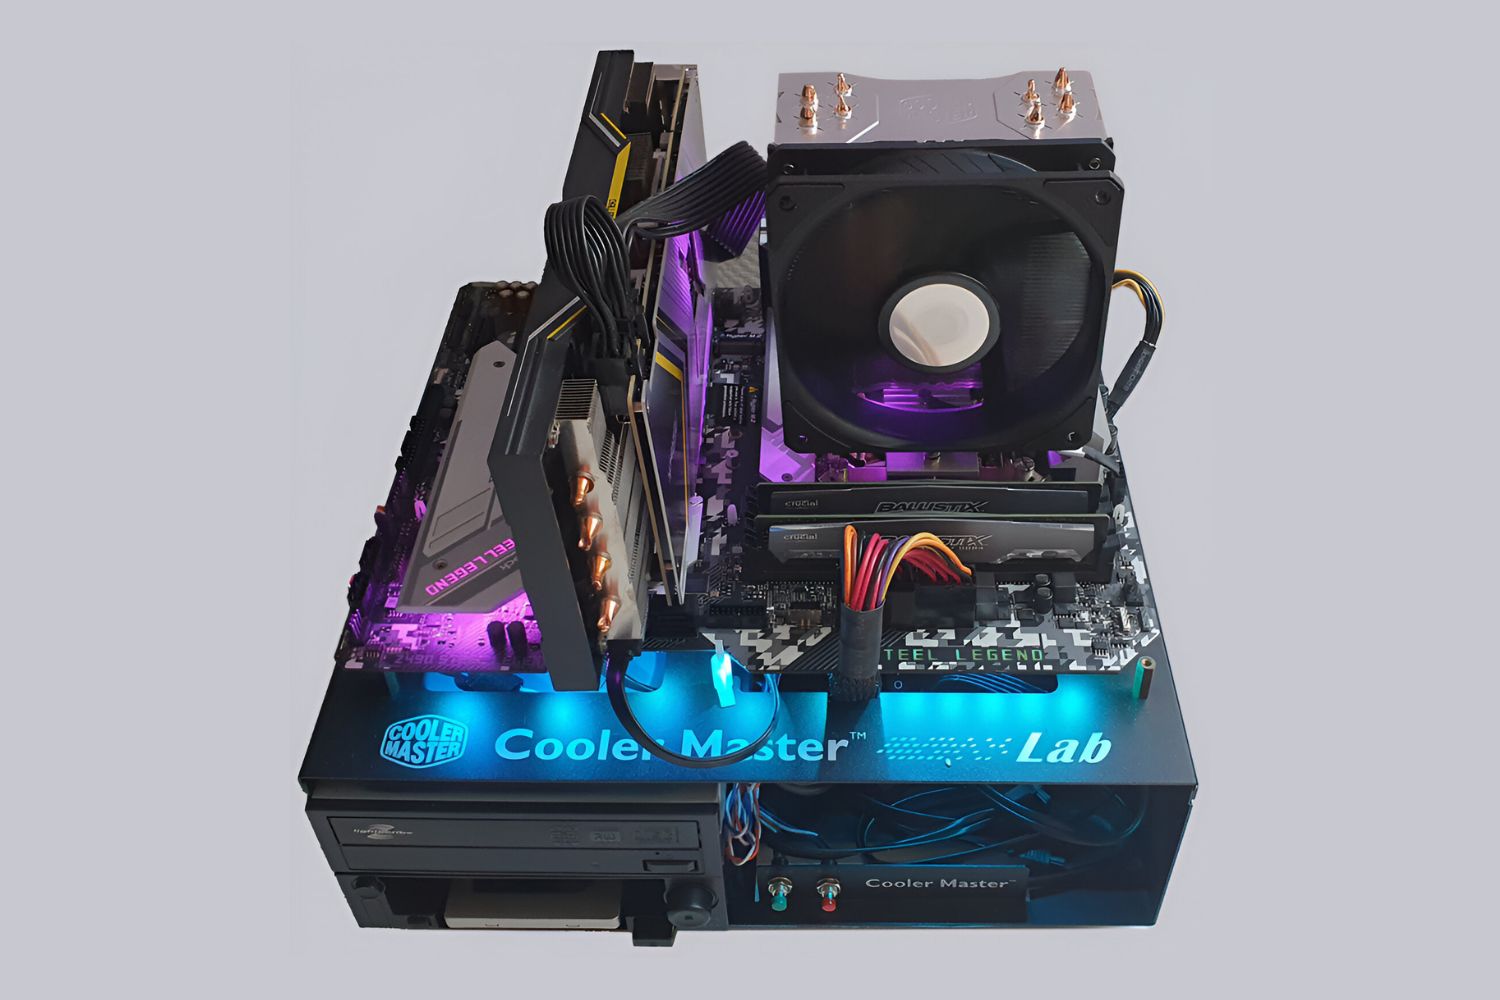
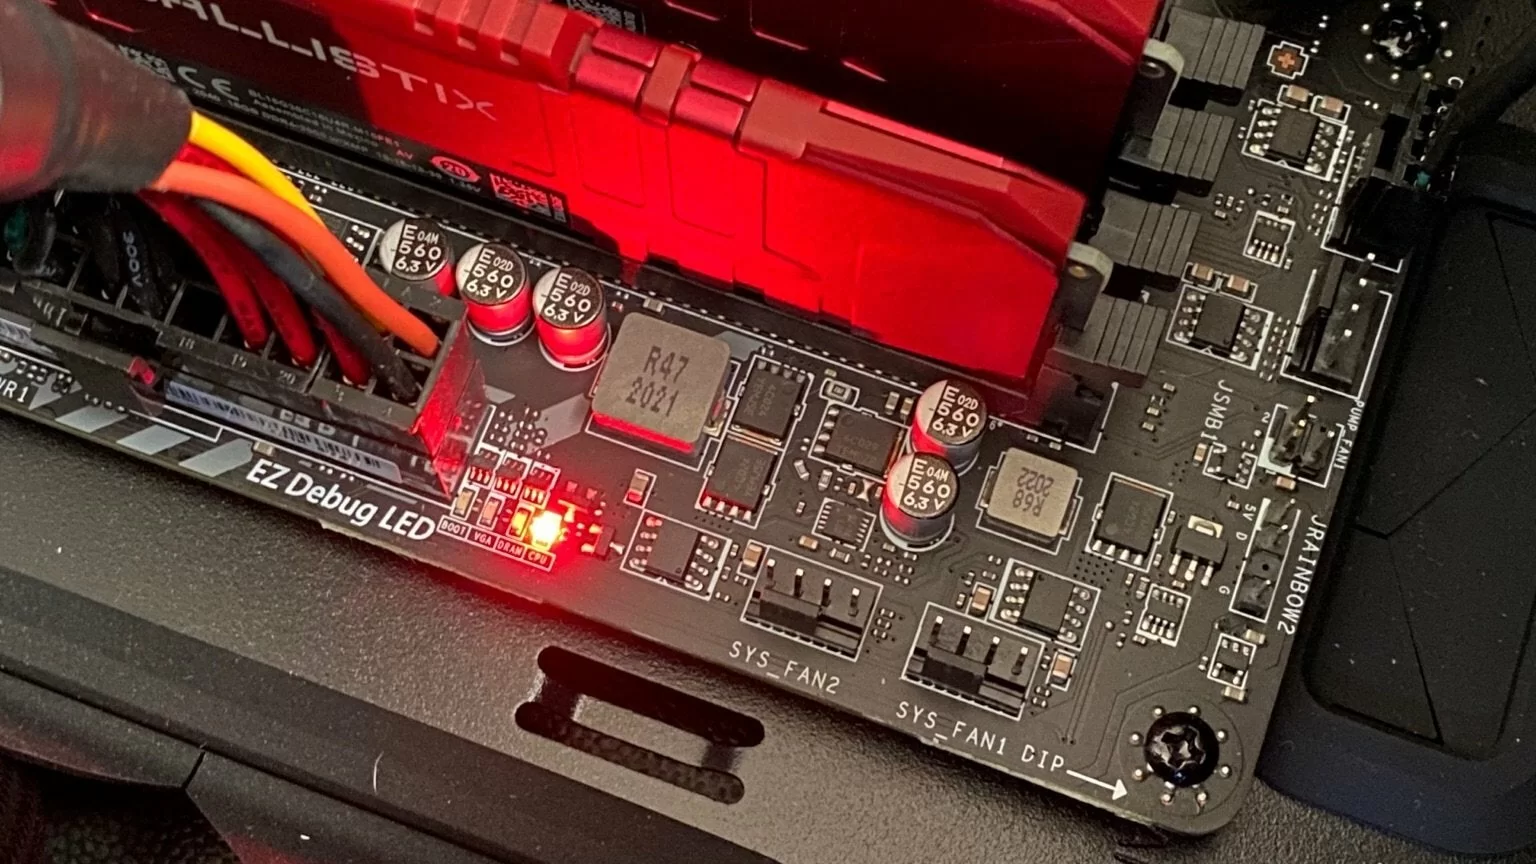
Turn on the power supply unit and check if the motherboard receives power. Look for any indicator lights or signs of activity, such as fans spinning or LEDs lighting up. The motherboard might display error codes or beep sounds if there are any issues.
Step 7: Checking peripheral connections
If you have connected any storage drives or other peripherals, ensure that they are properly connected to the corresponding slots or connectors on the motherboard. This will help you verify the functionality of these components during testing.
Step 8: Observing the diagnostic card (if used)
If you are using a diagnostic card, observe any error codes or messages displayed. This can provide valuable information about the motherboard’s status and assist in troubleshooting potential issues.
Remember that without a CPU, the motherboard will have limited functionality. It is important to note any observed issues or error codes during the testing process. Once you have completed the testing, carefully remove the RAM modules (if necessary), disconnect the external display, and power off the PSU before reinstalling the motherboard back into the computer case.
By following these step-by-step instructions, you can effectively test a motherboard without a CPU and identify any potential issues or compatibility concerns. Always refer to the motherboard’s user manual for specific instructions related to your motherboard model, and exercise caution throughout the process to ensure a safe and successful testing experience.
Conclusion
Testing a motherboard without a CPU can be a valuable tool in identifying issues, checking compatibility, and ensuring the functionality of various components before installing a CPU. While this process should only be undertaken by individuals with experience and understanding of computer hardware, it can provide important insights into the status of your motherboard.
Throughout this article, we discussed the reasons why you might want to test a motherboard without a CPU, emphasizing troubleshooting, compatibility verification, pre-installation validation, and system assembly purposes. We also highlighted the need for caution and attention to safety when conducting this type of testing.
By following the step-by-step guide outlined in this article, you can effectively perform the testing process. Remember to gather the necessary tools and equipment, be mindful of safety precautions, and refer to the manufacturer’s guidelines for your specific motherboard model.
Testing a motherboard without a CPU is a temporary measure and should not be seen as a permanent solution. The CPU is an essential component that plays a significant role in the overall performance and functionality of a computer. Properly installing a compatible CPU and testing the system as a whole are necessary for optimal performance.
If you are uncertain or uncomfortable with performing these steps, it is recommended to seek the assistance of a professional technician. They have the expertise and knowledge to properly diagnose and resolve any issues with your motherboard and CPU.
With careful attention to safety, compatibility, and the step-by-step instructions provided, you can successfully test a motherboard without a CPU and ensure the smooth functioning of your computer system.