Introduction
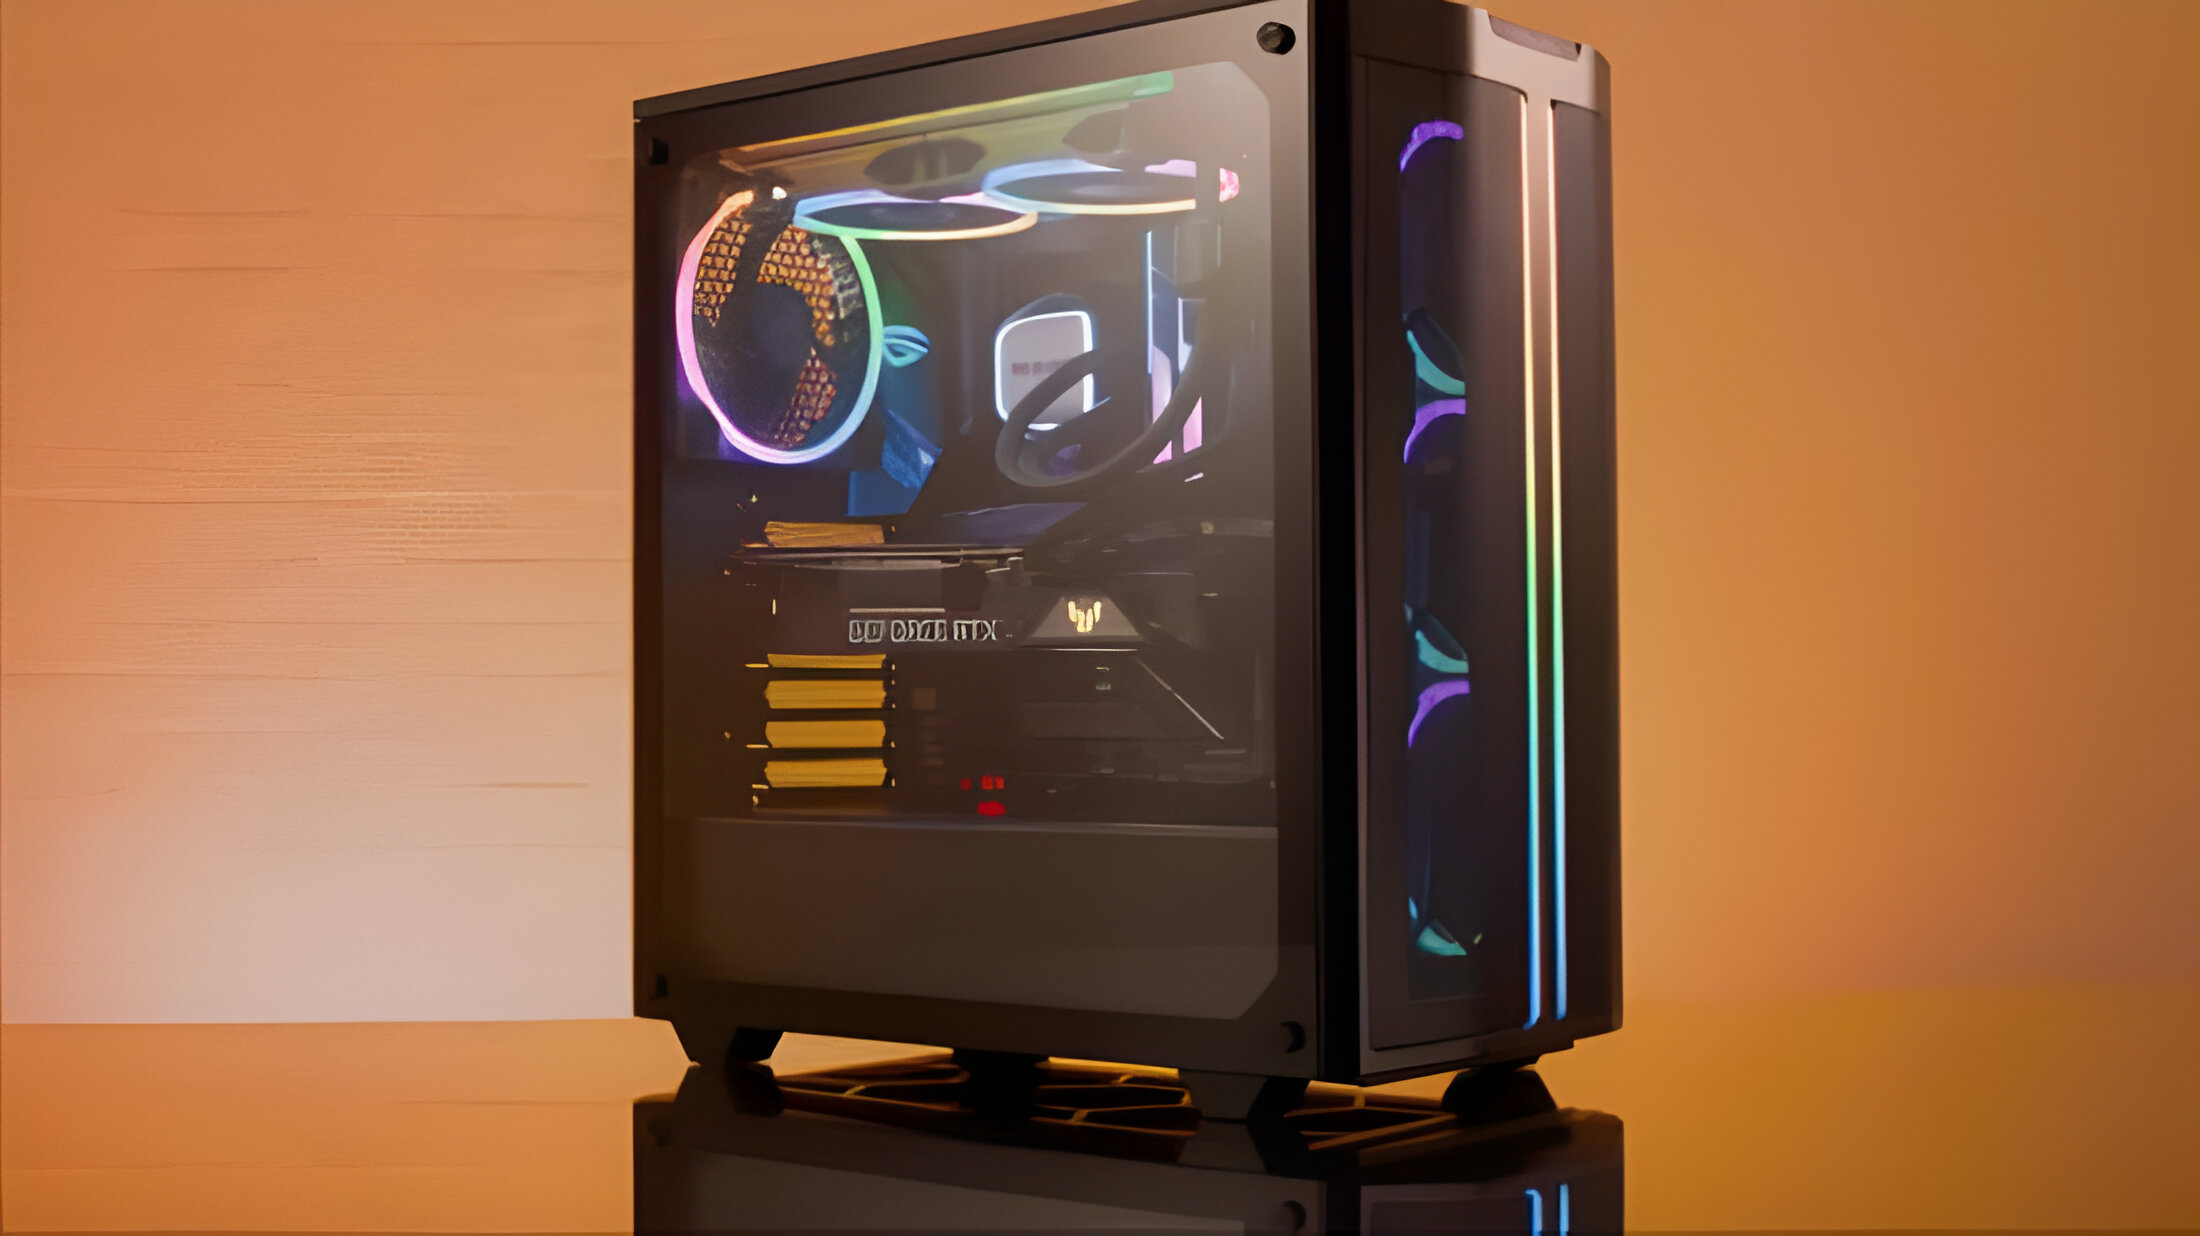
A push-pull CPU cooler is a popular cooling solution that effectively dissipates heat from the central processing unit (CPU) of a computer. It consists of two fans mounted on either side of the heatsink, working in tandem to improve airflow and enhance cooling performance. This configuration creates a balanced and efficient cooling system by pushing fresh air into the heatsink while simultaneously pulling hot air away.
The importance of a proper cooling system for your CPU cannot be underestimated. When the CPU operates at high temperatures, it can affect its performance, stability, and even its lifespan. Overheating can lead to system crashes, throttling, and reduced overall performance. To prevent these issues, it is crucial to invest in an effective cooling solution, such as a push-pull CPU cooler.
In this guide, we will take you step-by-step through the process of installing a push-pull CPU cooler. Whether you are a seasoned computer enthusiast or a novice builder, this guide will help you ensure optimal cooling for your CPU. We will discuss the benefits of a push-pull configuration, the tools and materials needed for the installation, and provide detailed instructions on how to properly install and connect the CPU cooler.
By the end of this guide, you will have a thorough understanding of how to install a push-pull CPU cooler, allowing you to maximize the cooling capabilities of your computer system. So, let’s dive in and get started!
What is a Push Pull CPU Cooler?
A push-pull CPU cooler is a cooling configuration that utilizes two fans to enhance the cooling performance of a computer’s CPU. It involves mounting one fan on the front side of the heatsink, pulling air through the heatsink, and another fan on the backside, pushing fresh air toward the heatsink. This setup creates a continuous airflow through the heatsink, maximizing heat dissipation and maintaining lower CPU temperatures.
The primary purpose of a CPU cooler is to prevent the CPU from overheating during intense usage. As the CPU performs complex calculations, it generates heat. Without proper cooling, the CPU’s temperature can rise to dangerous levels, which can lead to performance throttling or system instability. This is where a push-pull CPU cooler comes into play.
In a push-pull configuration, the two fans work in harmony to enhance the overall cooling efficiency. The front fan pulls cool air from the outside and pushes it through the heatsink, while the back fan pushes out the hot air that has been passed over the heatsink. This dual-fan setup ensures continuous airflow, minimizing heat buildup and maintaining optimal CPU temperatures.
Push-pull CPU coolers are commonly used in high-performance gaming rigs, overclocked systems, or workstations that experience heavy CPU loads. By employing this cooling configuration, the heat dissipation capabilities are significantly improved compared to single-fan coolers.
It’s worth noting that not all CPU coolers are compatible with a push-pull configuration. Before purchasing a cooler, ensure that it supports dual fans and that your case has enough space to accommodate them. Also, make sure to check the fan sizes supported by the CPU cooler to ensure compatibility.
Now that you have a basic understanding of what a push-pull CPU cooler is and its purpose, let’s explore the benefits of using this configuration in the next section.
Benefits of a Push Pull CPU Cooler
A push-pull CPU cooler offers several key benefits that make it a popular choice among computer enthusiasts and professionals. Let’s explore some of the advantages of utilizing this cooling configuration:
- Enhanced Heat Dissipation: The primary benefit of a push-pull CPU cooler is its ability to enhance heat dissipation. By utilizing two fans, it creates a balanced airflow through the heatsink, which effectively removes hot air from the CPU. This results in improved cooling performance and allows the CPU to maintain lower temperatures even under heavy workloads.
- Improved Airflow: The dual-fan setup of a push-pull CPU cooler ensures a steady and uninterrupted airflow. The front fan pulls fresh, cool air into the heatsink, while the rear fan pushes hot air out. This constant airflow helps to prevent hot spots and maintains a consistent cooling environment around the CPU.
- Better Cooling Efficiency: Due to the increased airflow and improved heat dissipation, a push-pull CPU cooler can offer better cooling efficiency compared to single-fan coolers. This is especially beneficial for overclocked systems or computers that experience heavy CPU loads, as it helps to keep the temperatures under control and maintain stable performance.
- Reduced Fan Noise: Despite having two fans, a well-designed push-pull CPU cooler can actually operate at a lower RPM (revolutions per minute), resulting in reduced noise levels. The dual-fan configuration allows each fan to work at a lower speed while still maintaining the same amount of airflow, resulting in a quieter computing experience.
- Compatibility with High-Profile Memory Modules: Some CPU coolers can be bulky and may interfere with the installation of high-profile memory modules. However, with a push-pull setup, one fan can be mounted on the front side of the heatsink, leaving ample space for accommodating taller memory modules. This allows for flexibility in component selection.
Overall, a push-pull CPU cooler provides improved cooling performance, efficient heat dissipation, reduced fan noise, and compatibility with high-profile memory modules. It is an excellent choice for users who prioritize system stability, longevity, and enhanced performance.
Now that we’ve discussed the benefits of a push-pull CPU cooler, let’s move on to the next section and learn about the tools and materials you’ll need for the installation process.
Tools and Materials Needed
Before you begin installing a push-pull CPU cooler, it’s important to gather all the necessary tools and materials. Having everything on hand will ensure a smooth installation process. Here’s a list of what you’ll need:
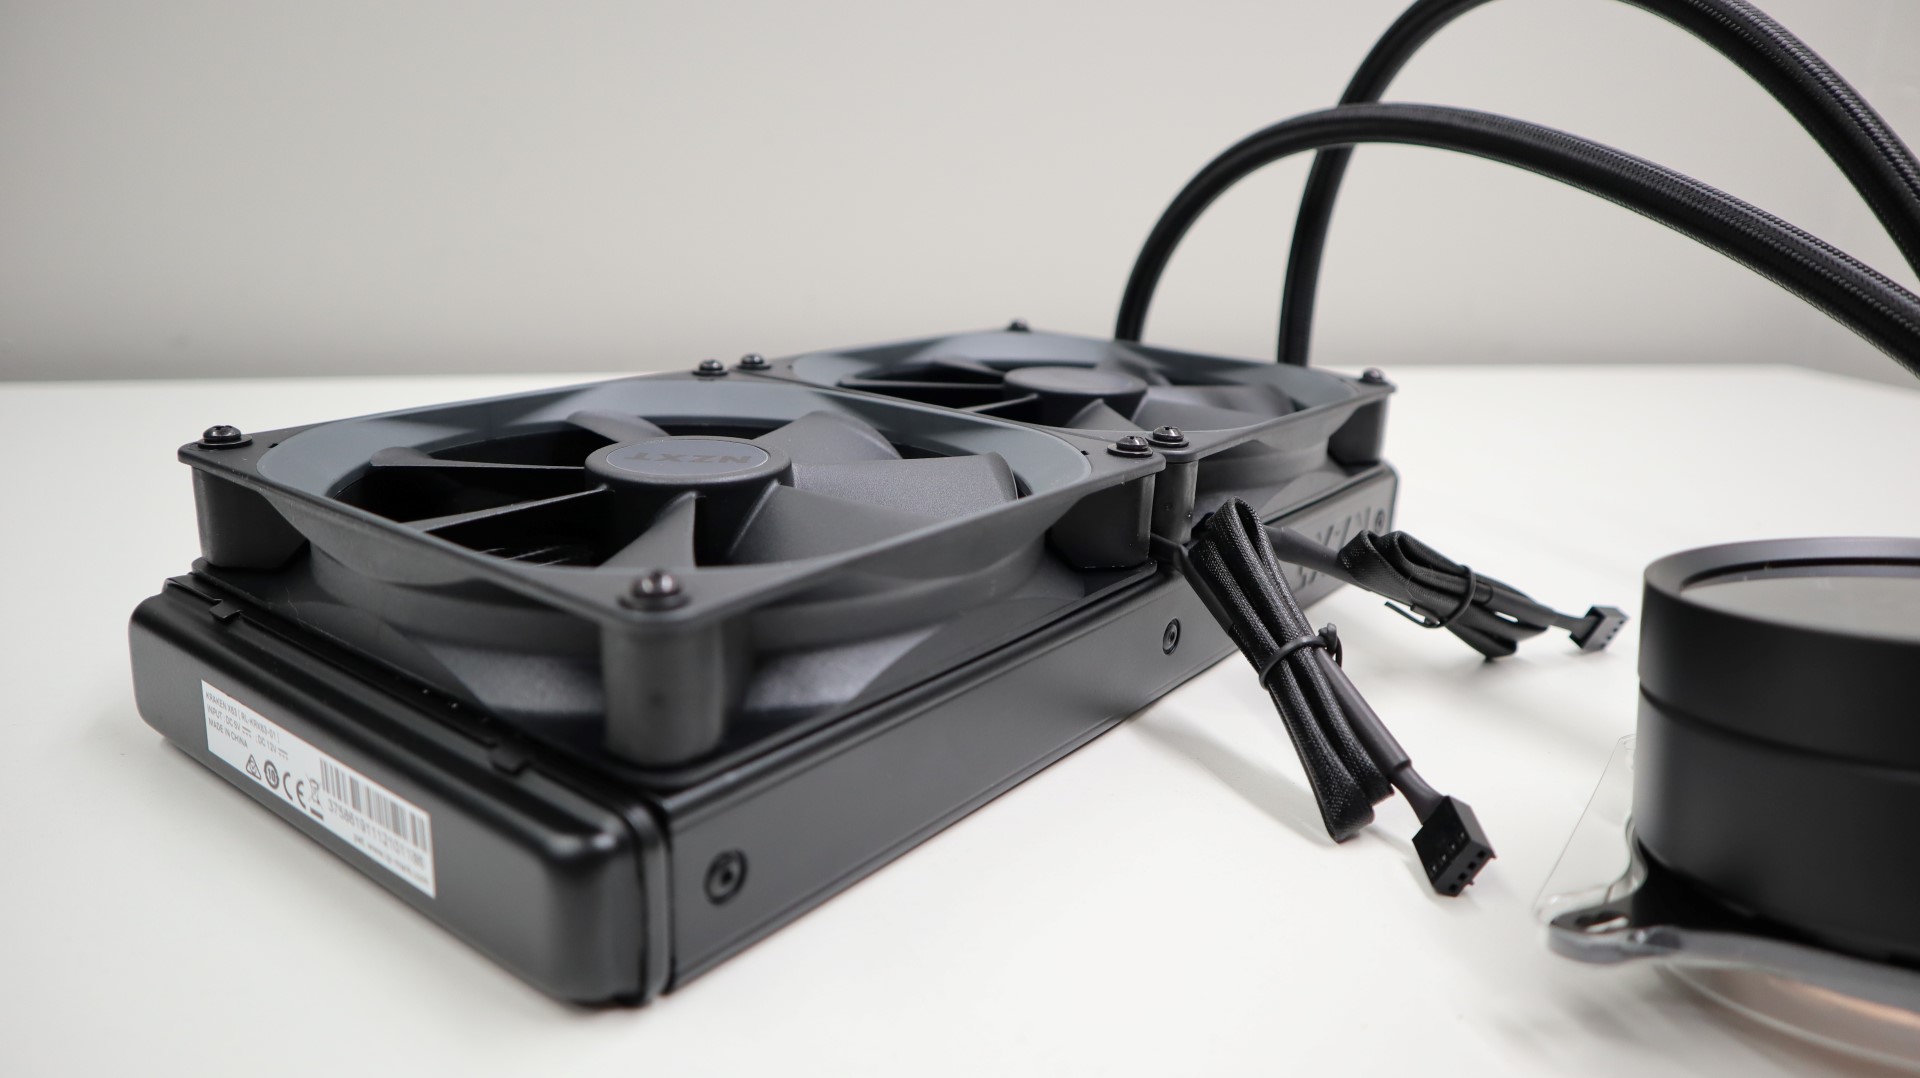
- Push-Pull CPU Cooler: Make sure you have a CPU cooler that supports a push-pull configuration. Check the specifications of the cooler to ensure compatibility.
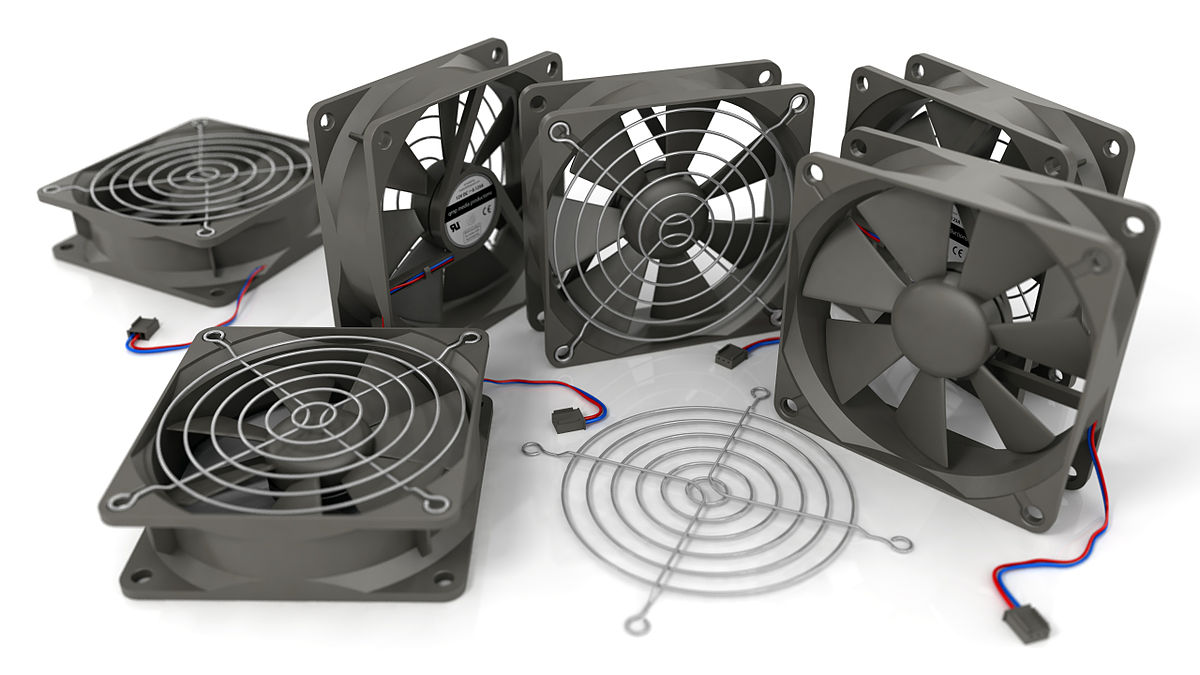
- Fans: You will need two fans that are compatible with your CPU cooler and provide adequate airflow. Ensure that the fan sizes match the specifications of your CPU cooler.
- Screwdriver: A screwdriver will be necessary for mounting the fans and securing the CPU cooler in place. Depending on the type of screws used, you may need both a Phillips and a flathead screwdriver.
- Thermal Paste: Thermal paste is essential for ensuring proper heat transfer between the CPU and the heatsink. Make sure you have some high-quality thermal paste on hand.
- Rubbing Alcohol and Cotton Swabs: Before applying the thermal paste, you’ll need to clean the CPU and heatsink surfaces. Rubbing alcohol and cotton swabs will help remove any existing thermal paste or debris.
- Anti-static Wrist Strap (optional): Although not mandatory, an anti-static wrist strap can help protect your computer components from static electricity discharge during the installation process.
It’s important to note that the specific tools and materials required may vary depending on the CPU cooler and your computer’s configuration. Always refer to the manufacturer’s instructions and recommendations when gathering the necessary items.
By ensuring that you have all the required tools and materials before you begin, you can avoid interruptions during the installation process and complete the job more efficiently.
Now that you have everything you need, let’s proceed to the next section: preparing the CPU cooler.
Step 1: Preparing the CPU Cooler
Before you install a push-pull CPU cooler, it’s important to properly prepare the cooler and ensure that it is ready for installation. Follow these steps to prepare the CPU cooler:
- Gather the needed tools and materials: Ensure that you have all the necessary tools and materials mentioned in the previous section, including the CPU cooler, fans, screwdriver, thermal paste, rubbing alcohol, and cotton swabs.
- Remove any existing thermal paste: If you previously had a CPU cooler installed, you will need to remove any old thermal paste from the CPU and heatsink surfaces. Use rubbing alcohol and cotton swabs to carefully clean the surfaces until they are free from residue. Allow them to dry completely before proceeding.
- Apply new thermal paste: Apply a small amount of thermal paste on the CPU’s heat spreader. Spread it evenly using either a plastic applicator provided with the thermal paste or a clean finger covered with a plastic glove. Be sure not to use excessive thermal paste as it can lead to poor heat transfer.
- Check fan orientation: Examine the fans that will be used for the push-pull configuration. Most fans have arrows on the frame indicating the airflow direction. Ensure that both fans are oriented to push air in the same direction, towards the heatsink.
- Secure the fans to the CPU cooler: Depending on the CPU cooler design, you may need to attach the fans to the heatsink using screws or clips. Refer to the manufacturer’s instructions for the specific method of securing the fans. Ensure that the fans are securely fastened and aligned properly.
- Double-check all connections: Before proceeding to the installation process, double-check that all connections, including power cables and fan headers, are securely connected. This will help ensure that the fans operate correctly during cooling.
By following these steps, you will properly prepare the CPU cooler for installation. This will ensure optimal heat transfer between the CPU and heatsink, and allow for a more efficient cooling process.
Now that the CPU cooler is ready, let’s move on to the next section: installing the fans.
Step 2: Installing the Fans
Now that you have prepared the CPU cooler, it’s time to install the fans for the push-pull configuration. Follow these steps to correctly install the fans:
- Identify the front and back sides of the CPU cooler: Take a look at the CPU cooler and locate the front and back sides. This is important to ensure that the fans are positioned correctly for optimal airflow.
- Position the front fan: Mount the front fan on the front side of the CPU cooler, aligning it with the heatsink. Use the provided screws or clips to secure the fan in place. Ensure that the fan is oriented to push air towards the heatsink.
- Position the back fan: Mount the back fan on the backside of the CPU cooler, aligning it with the heatsink. Use the provided screws or clips to secure the fan in place. Ensure that the fan is oriented to push air away from the heatsink.
- Ensure proper alignment: Make sure that both fans are aligned properly with the heatsink and that there is no interference or obstruction in their paths. This will ensure optimal airflow and cooling efficiency.
- Double-check fan connections: Ensure that the fans are properly connected to the motherboard or fan controller. Check that the power cables are securely plugged into the appropriate fan headers. This will ensure that the fans receive power and operate correctly.
- Secure any loose cables: Make sure to tidy up any loose cables to prevent them from obstructing the fans or interfering with other components in the system. Use cable ties or clips to secure the cables in place.
By following these steps, you will successfully install the fans for the push-pull configuration. The front fan will pull fresh air into the heatsink, while the back fan will push hot air away. This dual-fan setup will enhance the cooling performance of your CPU.
With the fans properly installed, let’s move on to the next section: attaching the CPU cooler.
Step 3: Attaching the CPU Cooler
Now that the fans are installed, it’s time to attach the CPU cooler to your computer. Follow these steps to ensure a secure and proper connection:
- Prepare the motherboard: Ensure that your computer is powered off and unplugged. Remove any existing CPU cooler from the motherboard, if applicable. Clean the CPU socket area and remove any thermal paste residue using rubbing alcohol and a cotton swab. Allow it to dry completely.
- Position the CPU cooler: Carefully place the CPU cooler on top of the CPU. Ensure that the heatsink is aligned with the CPU socket and that the mounting holes on the cooler match up with the holes or brackets on the motherboard.
- Secure the CPU cooler: Depending on the type of CPU cooler you have, use the provided mounting hardware (screws, brackets, etc.) to secure the cooler to the motherboard. Follow the manufacturer’s instructions for the specific installation method. Ensure that the cooler is firmly attached and evenly seated on the CPU.
- Tighten the screws: Begin fastening the screws or brackets in a diagonal pattern to ensure even pressure distribution. This will help prevent uneven mounting and potential damage to the CPU or motherboard. Avoid overtightening the screws as it can lead to damage or warping.
- Double-check the installation: Once the CPU cooler is securely attached, gently wiggle it to ensure that it is not loose. It should be firmly in place and not move or pivot. Check that there is sufficient clearance between the CPU cooler and other components, such as RAM modules or case fans.
- Reconnect necessary cables: Reconnect any power cables or fan headers that were disconnected during the installation process. Ensure that all connections are secure and correctly plugged in.
By following these steps, you will properly attach the CPU cooler to your computer, ensuring a secure and effective cooling setup for your CPU. It’s essential to ensure correct mounting to prevent any damage to the CPU or motherboard and to optimize cooling performance.
With the CPU cooler securely attached, let’s move on to the next section: connecting the fans to the motherboard.
Step 4: Connecting the Fans to the Motherboard
With the CPU cooler properly attached, the next step is to connect the fans to the motherboard. Follow these steps to ensure correct fan connections:
- Identify the fan headers: Take a look at your motherboard to locate the fan headers. These are small, labeled connectors specifically designed for connecting fans.
- Match the connectors: Match the connectors on the fans’ power cables with the corresponding fan headers on the motherboard. The connectors are usually labeled as SYS_FAN or CPU_FAN, depending on their location and purpose.
- Connect the front fan: Take the power cable of the front fan and plug it into the appropriate fan header connector on the motherboard. Ensure that it is securely connected, with no loose cables or pins.
- Connect the back fan: Similarly, connect the power cable of the back fan to the corresponding fan header on the motherboard. Ensure a secure connection without any obstructions.
- Configure fan settings (optional): Depending on your motherboard and BIOS, you may have options to control fan speeds and adjust fan curves. You can access these settings in the BIOS menu or through software provided by the motherboard manufacturer. Consider adjusting the fan settings to optimize cooling performance and noise level based on your preferences.
- Ensure proper fan operation: Once the fans are connected, power on your computer and check that both fans are spinning. Access the BIOS or use third-party software to monitor fan speeds and make sure they are operating within the expected range.
By following these steps, you will successfully connect the fans to the motherboard, allowing them to receive power and operate correctly. Proper fan connections are essential for optimal cooling performance and maintaining a stable temperature for your CPU.
With the fans connected, let’s move on to the final step: testing the installation.
Step 5: Testing the Installation
After completing the installation of the push-pull CPU cooler and connecting the fans, it’s important to test the setup to ensure that everything is functioning properly. Follow these steps to test the installation:
- Power on your computer: Ensure that your computer is properly plugged in and power it on.
- Monitor CPU temperatures: Use monitoring software or access the BIOS to monitor CPU temperatures. Ideally, the temperatures should be lower than before the installation, indicating that the push-pull CPU cooler is effectively dissipating heat from the CPU.
- Check fan speeds: Use monitoring software or access the BIOS to check the fan speeds. Ensure that both fans are spinning and operating at the expected speeds. If any abnormalities are observed, double-check the fan connections and make adjustments if necessary.
- Run stress tests: For a more thorough test, run CPU-intensive applications or stress tests to simulate heavy workloads. Monitor CPU temperatures during the tests to ensure that the cooling system can handle the load and maintain optimal temperatures.
- Listen for unusual noises: Pay attention to any unusual noises, such as buzzing, grinding, or rattling sounds. These may indicate a problem with the fans or improper installation. If any abnormalities are detected, investigate and resolve the issue accordingly.
- Repeat tests if necessary: If you encounter any issues during the initial testing, repeat the necessary steps, such as checking fan connections, adjusting fan speeds, or reseating the CPU cooler. Continue to test and make adjustments until the installation is functioning properly.
By carefully testing the installation, you can ensure that your push-pull CPU cooler is operating optimally, providing efficient cooling for your CPU. Regular monitoring of temperatures and fan speeds will help you maintain the stability and longevity of your system.
If you encounter any significant problems or concerns during the testing phase, refer to the manufacturer’s documentation or seek assistance from a knowledgeable professional to address the issue.
With the installation successfully tested, you can now enjoy the benefits of a properly installed push-pull CPU cooler and ensure optimal cooling performance for your CPU.
Conclusion
Installing a push-pull CPU cooler is a straightforward process that can greatly enhance the cooling performance of your computer’s CPU. By utilizing two fans in a coordinated configuration, you can effectively dissipate heat, maintain lower temperatures, and ensure stable performance for your system.
In this guide, we have discussed the benefits of a push-pull CPU cooler, the tools and materials needed for installation, and provided step-by-step instructions to help you successfully install and connect the CPU cooler.
By employing a push-pull configuration, you can enjoy enhanced heat dissipation, improved airflow, better cooling efficiency, reduced fan noise, and compatibility with high-profile memory modules.
Remember to gather all the necessary tools and materials, prepare the CPU cooler, install the fans, attach the CPU cooler securely to the motherboard, connect the fans to the appropriate headers, and finally, test the installation to ensure everything is functioning as expected.
Regular monitoring of CPU temperatures and fan speeds will help you maintain optimal performance and prevent any issues related to overheating.
With the installation of a push-pull CPU cooler, you can effectively cool your CPU, extend its lifespan, and optimize the overall performance of your computer system.
We hope that this guide has provided you with valuable insights and instructions for successfully installing a push-pull CPU cooler. Enjoy the benefits of improved cooling and a more efficient computing experience!