Introduction
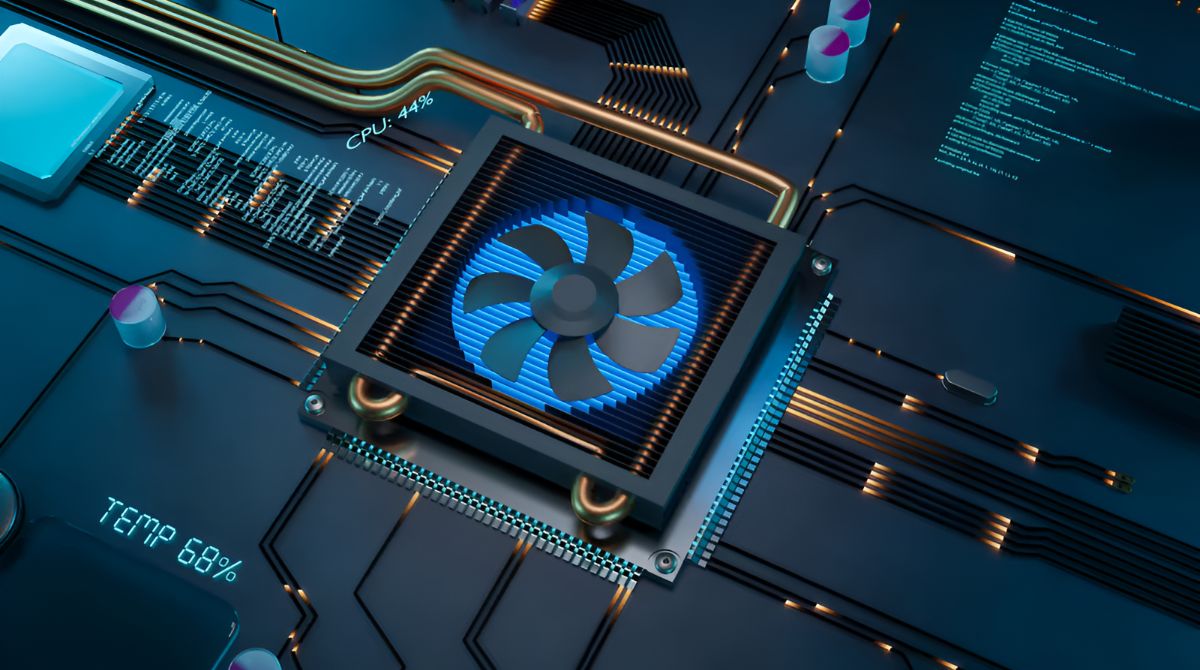
When it comes to maintaining the temperature of your CPU, having a reliable and effective CPU cooler is essential. The CPU cooler plays a crucial role in dissipating the heat generated by your processor and preventing it from overheating. One important component of a CPU cooler is the fan. The fan helps to circulate the air and improve the cooling performance of the CPU cooler.
In this article, we will guide you on how to set up your fans with a CPU cooler effectively. We will discuss the different types of fans commonly used with CPU coolers, how to determine the optimal fan configuration, and provide step-by-step instructions for installing the fans. Additionally, we will highlight common mistakes to avoid and offer some maintenance and troubleshooting tips to keep your CPU cooler functioning optimally.
Choosing the right fan configuration for your CPU cooler can significantly impact its cooling performance. It’s worth noting that different types of fans have varying airflow capacities and noise levels. By understanding the specifications and considering your specific needs, you can ensure the optimal cooling efficiency while maintaining a quiet operating environment.
Whether you are an overclocking enthusiast, a gamer, or a content creator, this article will help you make informed decisions when it comes to setting up fans with your CPU cooler. By following the guidelines and taking into account the recommendations provided, you can ensure that your CPU remains cool under heavy workloads, prolonging its lifespan and maximizing its performance.
Choosing the right CPU cooler
Selecting the right CPU cooler for your system is crucial to ensure proper cooling and prevent any potential damage to your processor. CPU coolers come in various types, including air coolers and liquid coolers. Before making a decision, it’s important to consider a few key factors.
The first consideration is the CPU socket compatibility. Different CPUs have different socket types, and CPU coolers are designed to be compatible with specific sockets. Before purchasing a CPU cooler, ensure that it is compatible with your processor’s socket to avoid any compatibility issues.
Next, you should determine the cooling performance you need. If you’re using your computer for basic tasks such as web browsing and office applications, a standard or low-profile air cooler should suffice. However, if you’re a heavy gamer, content creator, or engage in CPU-intensive tasks like video editing or 3D rendering, you’ll want to invest in a high-performance CPU cooler with better heat dissipation capabilities.
Consider the size and clearance of your computer case as well. Some CPU coolers may be too large to fit comfortably inside smaller cases, so be sure to check the dimensions and potential clearance issues before making your decision. Additionally, assess your computer’s airflow and ventilation to determine whether an air or liquid cooler is more suitable for your case.
Lastly, take noise levels into account. Different CPU coolers produce varying levels of noise due to fan speed and design. If you value a quieter computing experience, consider opting for CPU coolers with larger fans or those designed with noise reduction features.
By considering factors such as CPU socket compatibility, cooling requirements, case size, and noise levels, you can select a CPU cooler that not only meets your cooling needs but also fits within the constraints of your system. With the right CPU cooler in place, you can ensure optimal performance and longevity for your processor while keeping temperatures in check.
Types of fans commonly used with CPU coolers
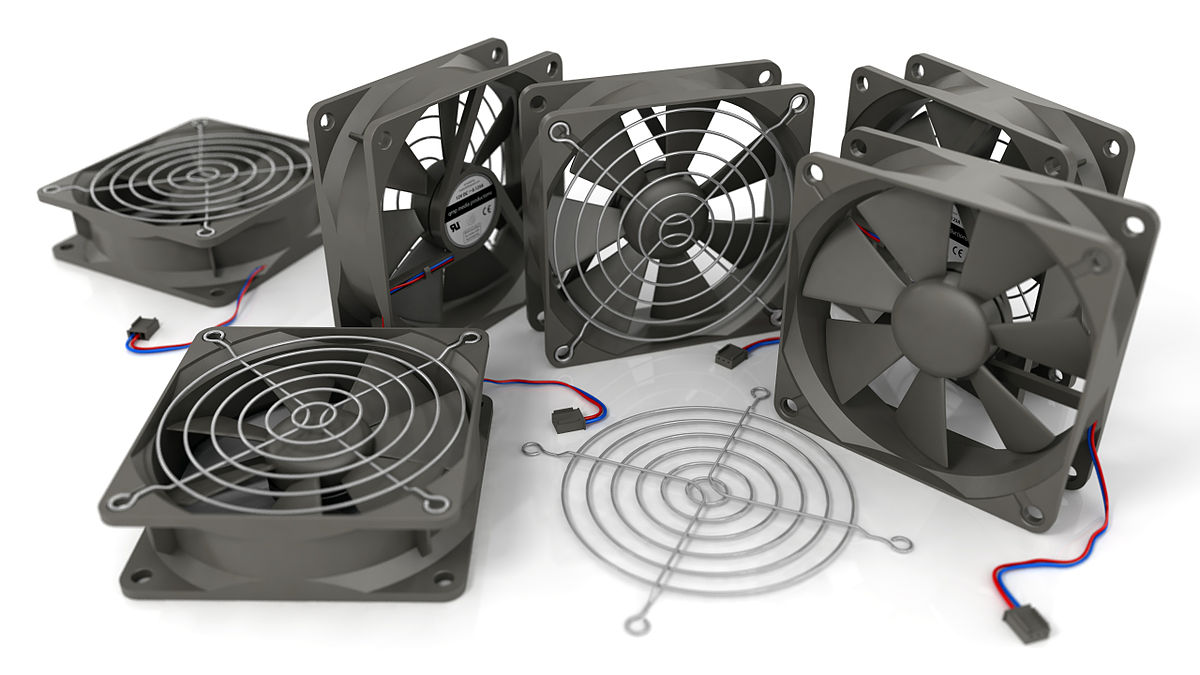
When it comes to choosing fans for your CPU cooler, there are two main types to consider: air fans and liquid fans. Each type has its own advantages and considerations, so let’s take a closer look at each one.
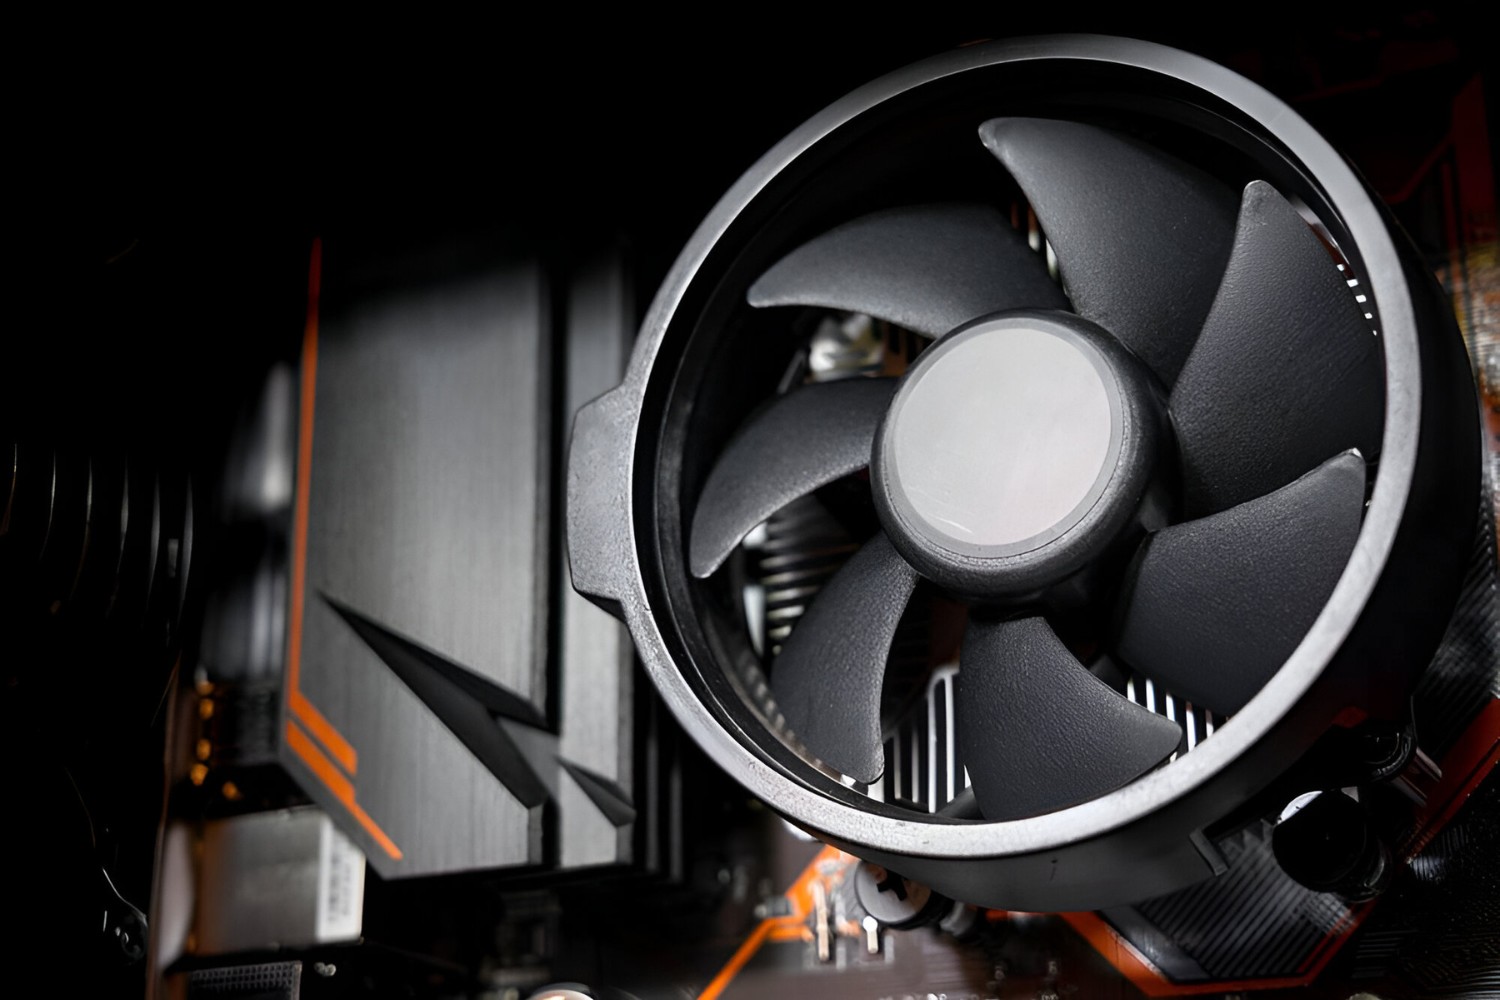
Air Fans: Air fans, also known as air coolers, are the most common type of fan used with CPU coolers. Air fans work by drawing in cool air from the surroundings and directing it over the CPU heat sink to dissipate heat. They come in various sizes and designs, with the two most common being tower and downdraft coolers.
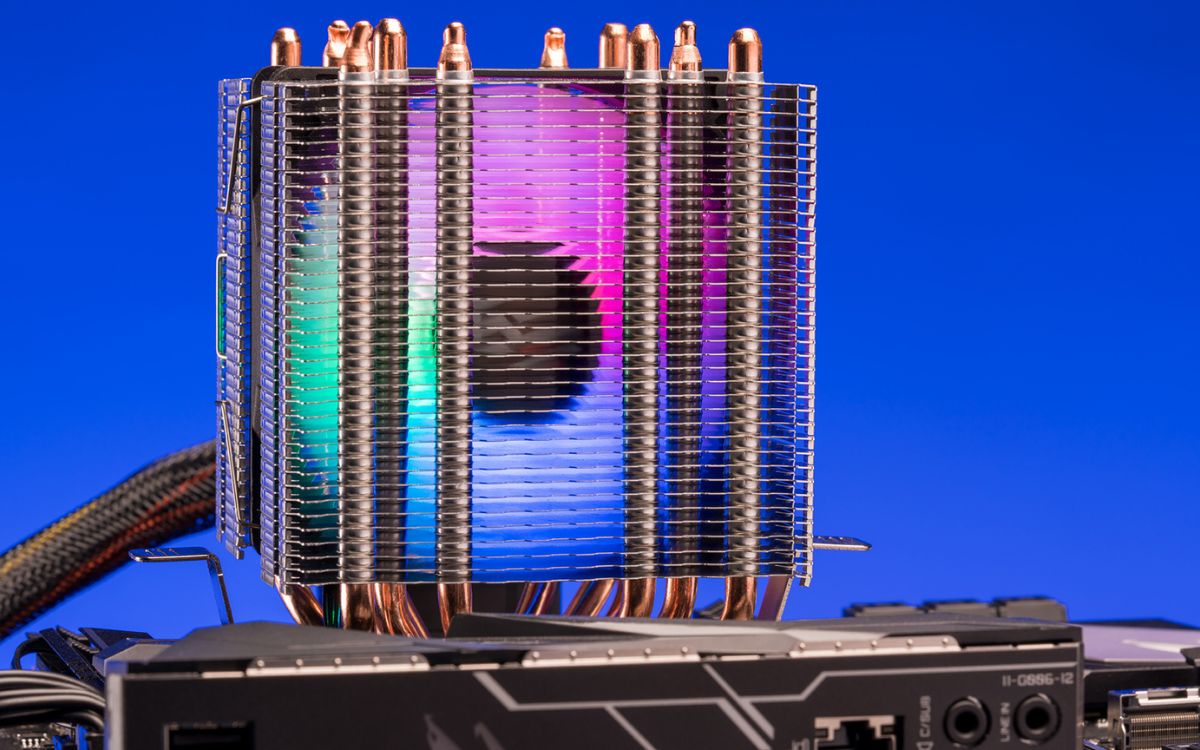
Tower coolers are popular due to their excellent cooling performance. They feature a vertical heat sink with multiple heat pipes that absorb heat from the CPU and transfer it to the aluminum fins. Tower coolers often come with large fans, which generate high airflow and provide efficient cooling. However, they can be quite bulky and may interfere with nearby components or memory modules.
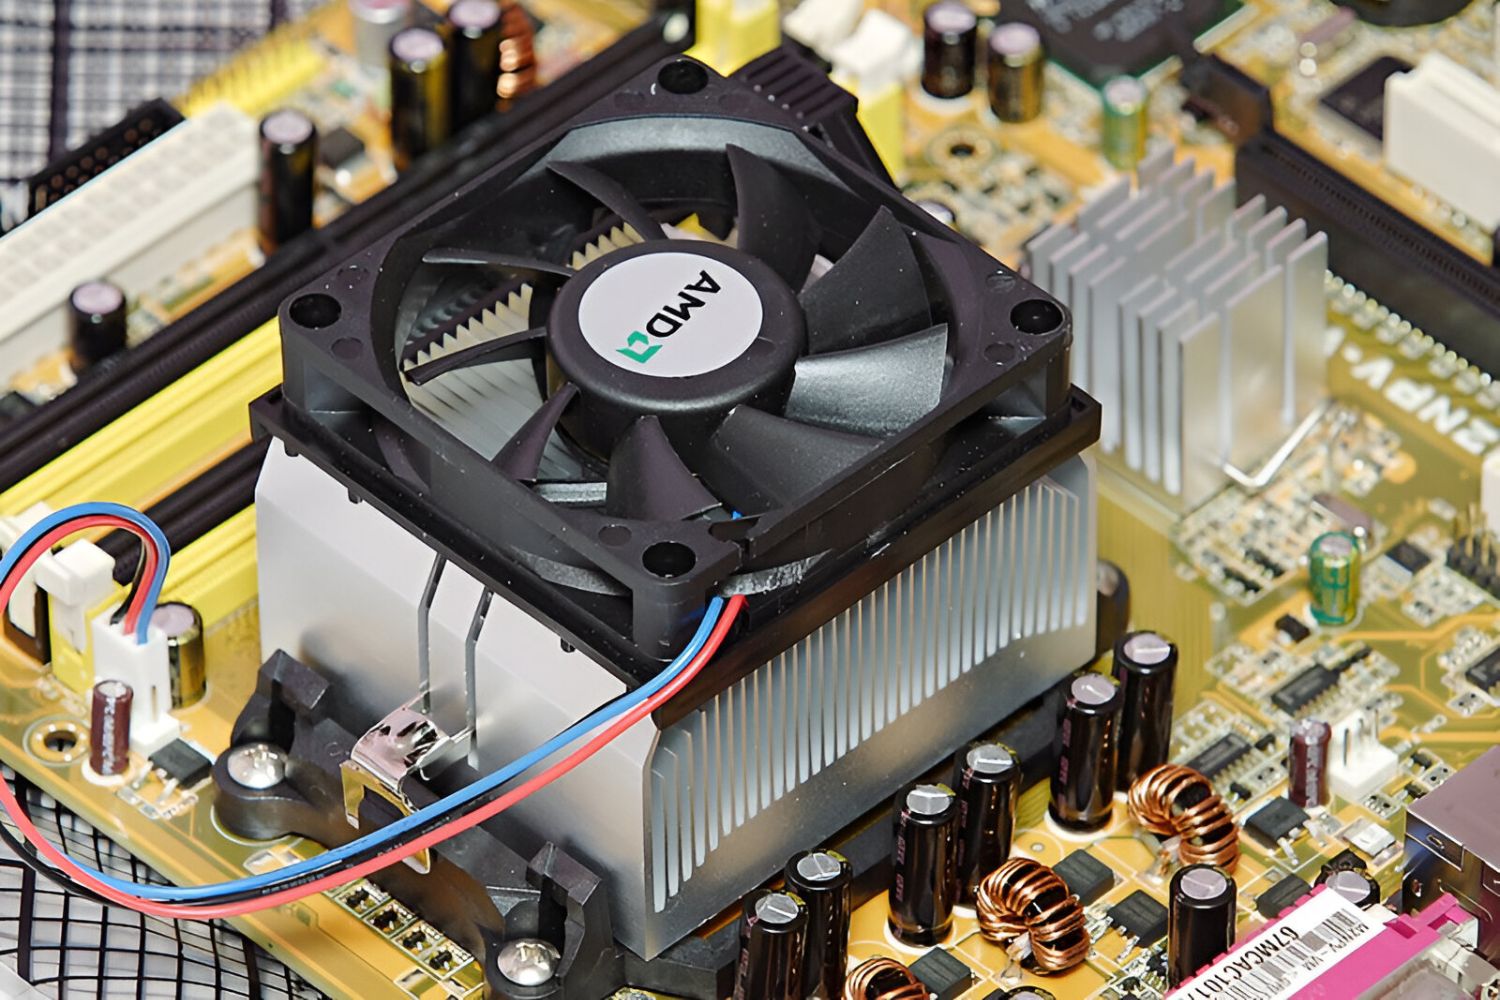
Downdraft coolers, on the other hand, feature a wider heat sink with a fan that blows air down onto the heat sink and motherboard. These coolers are more compact and provide good cooling performance. They are especially suitable for cases with limited vertical clearance or small form factor builds.
Liquid Fans: Liquid fans, also known as liquid coolers or all-in-one (AIO) coolers, are an alternative to air fans. These coolers use a closed-loop system consisting of a pump, radiator, and fan. The pump circulates a liquid coolant, typically a mixture of water and ethylene glycol, through tubes and transfers heat from the CPU to the radiator. The fan then blows air over the radiator to dissipate the heat.
Liquid coolers are favored for their superior cooling performance and ability to handle high CPU overclocks. They often come in single, dual, or triple fan configurations, allowing for more customization and options. However, liquid coolers can be more expensive than air coolers, and they require careful installation to avoid leaks or pump failure.
Ultimately, the choice between air and liquid fans depends on your specific needs and preferences. Air fans are generally more affordable, easy to install, and reliable. They are suitable for most users, especially those who don’t overclock their CPUs. On the other hand, liquid fans offer superior cooling performance and are ideal for enthusiasts, gamers, and content creators seeking maximum overclocking capabilities.
Consider your budget, cooling requirements, available space, and personal preferences when deciding between air fans and liquid fans for your CPU cooler. Whichever option you choose, ensure proper installation and maintenance for optimal cooling efficiency and longevity.
Determining the fan configuration
The fan configuration for your CPU cooler plays a significant role in achieving efficient cooling and airflow management. Proper fan placement and setup can help maintain low temperatures and prevent hotspots. Here are some factors to consider when determining the fan configuration for your CPU cooler.
Push and Pull: One common fan configuration is the “push and pull” setup. This configuration involves installing fans on both sides of the CPU cooler. The fan at the front (or intake side) pushes cool air towards the CPU cooler’s heat sink, while the fan at the rear (or exhaust side) pulls the heated air away from the heat sink and expels it from the case. This push-pull setup improves airflow and enhances cooling performance.
Airflow Direction: It is also crucial to consider the direction of air intake and exhaust when setting up your fans. The general rule of thumb is to ensure that the airflow is directed from the front to the back of the case or from the bottom to the top. This configuration takes advantage of natural convection and helps to expel the hot air efficiently.
Optimal Fan Placement: Proper fan placement is essential to achieve efficient cooling. For tower coolers, it is recommended to mount the fan at the front of the cooler facing the rear exhaust fan. This setup ensures that cool air is directly blown onto the heat sink and efficiently dissipates heat. Downdraft coolers, on the other hand, typically have a single fan that blows air down onto the motherboard and heat sink.
Consideration for Liquid Coolers: Liquid coolers often come with radiator units that require fan placement in specific configurations. The most common setup is mounting the radiator and fans at the top or front of the case as intake, with the hot air being pushed out of the case through rear or top exhaust fans. It’s important to follow the manufacturer’s instructions for proper fan placement when installing a liquid cooler.
Noise Considerations: While setting up your fan configuration, consider noise levels as well. Placing fans too close to each other or having multiple high-speed fans can result in increased noise. If noise is a concern, opt for larger fans with lower RPM or consider using fan control software to adjust the fan speed and noise levels according to your needs.
Remember that every system is unique, and the optimal fan configuration may vary depending on your hardware, case, and cooling requirements. Experimenting with different setups and monitoring temperatures can help you find the best configuration for your CPU cooler and achieve efficient cooling while maintaining a quiet operating environment.
Installing the fans
Once you have chosen the appropriate fan configuration for your CPU cooler, it’s time to install the fans correctly. Proper installation ensures optimal airflow and cooling efficiency. Follow these steps to install the fans for your CPU cooler.
Step 1: Gather the necessary tools: Before you begin, make sure you have all the tools you need, such as a screwdriver, fan screws, and any additional mounting brackets or clips that may be included with your CPU cooler.
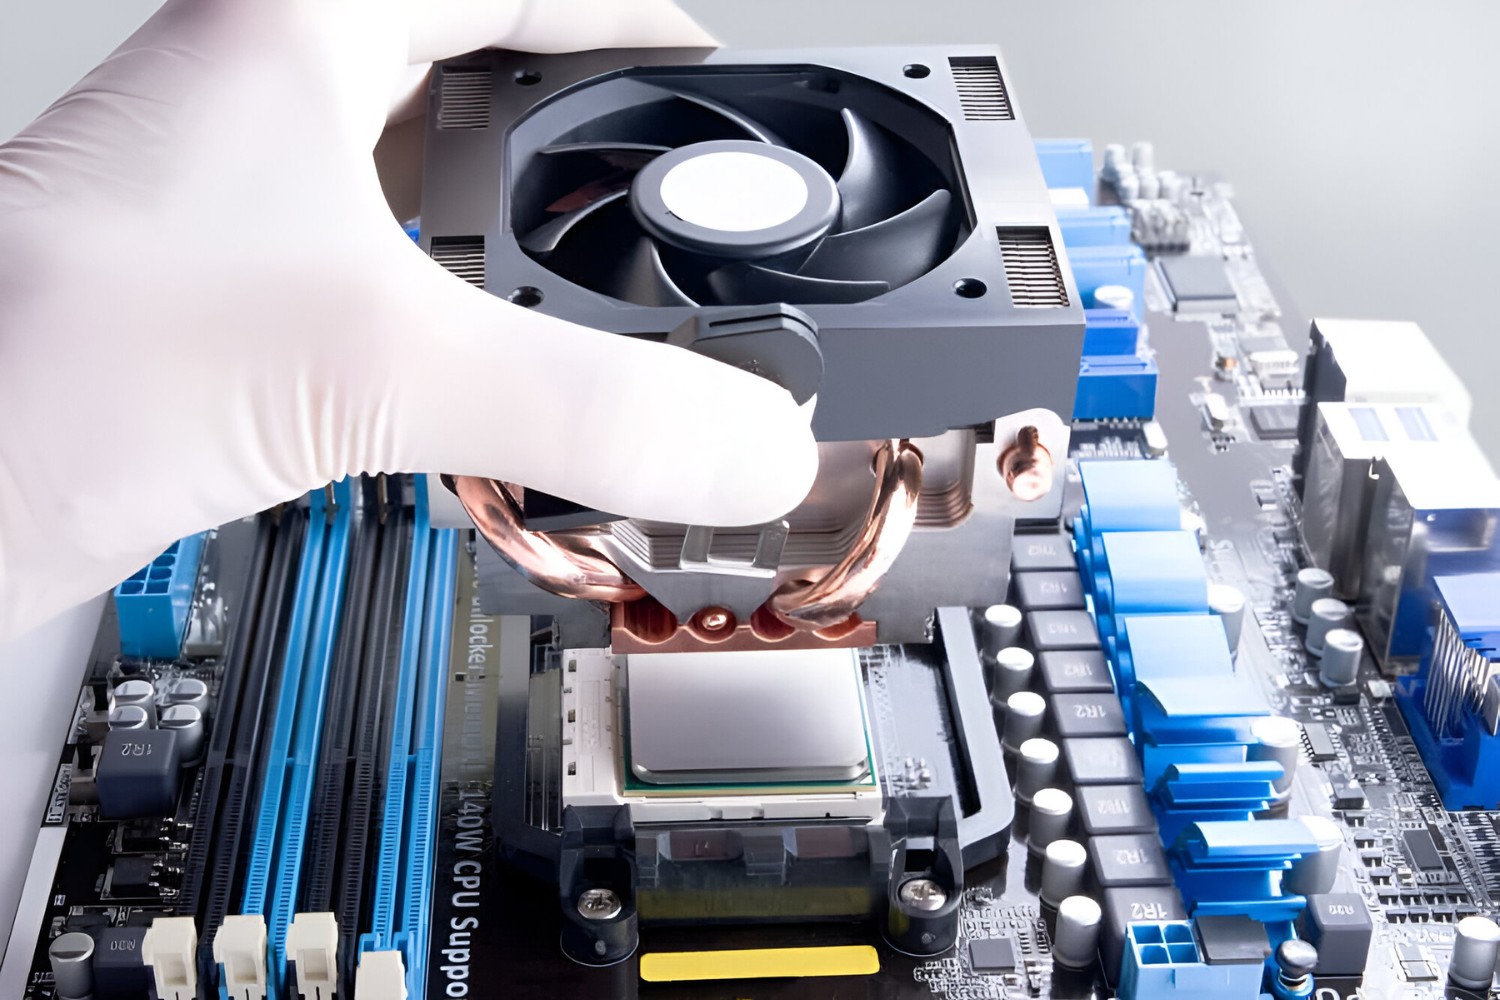
Step 2: Prepare the CPU cooler: If you haven’t already, install the CPU cooler onto your processor according to the manufacturer’s instructions. Make sure it is securely mounted and properly aligned with the CPU.
Step 3: Determine the fan placement: Decide which side of the CPU cooler the fan(s) will be mounted on based on your chosen fan configuration. Check for any mounting brackets or clips that may need to be attached to the CPU cooler for fan installation.
Step 4: Attach the fans: Carefully align the screw holes on the fan(s) with the corresponding holes or mounting points on the CPU cooler. Use the provided screws or clips to secure the fan(s) in place. Be sure to tighten the screws evenly to ensure a secure and stable attachment.
Step 5: Connect the fan(s) to the motherboard: Locate the fan header(s) on your motherboard. Connect the fan(s) to the appropriate header(s) using the supplied fan cables, making sure to match the correct pins. If necessary, refer to your motherboard manual for specific instructions on connecting fans.
Step 6: Adjust fan speed (optional): If your motherboard supports fan speed control, you can adjust the fan speed settings in the BIOS or through utility software provided by the motherboard manufacturer. This allows you to customize the fan speed based on your cooling needs and noise preferences.
Step 7: Test and monitor: Once the fans are installed, power on your system and monitor the temperatures to ensure proper cooling. Use software utilities or BIOS settings to monitor CPU and GPU temperatures and adjust fan speeds if necessary.
By following these steps, you can successfully install the fans for your CPU cooler and ensure efficient cooling for your processor. Remember to consult the documentation provided by the CPU cooler manufacturer for any specific instructions or additional steps required for your particular model.
Avoiding common mistakes
When setting up your fans with a CPU cooler, it’s important to be aware of common mistakes that can hinder cooling performance and potentially damage your components. By avoiding these mistakes, you can ensure optimal airflow and efficient temperature management. Here are some common mistakes to avoid:
Insufficient fan placement: One common mistake is not having enough fans or improperly positioning them. Insufficient fan placement can result in inadequate cooling and higher temperatures. Make sure to follow the recommended fan configuration for your CPU cooler and consider adding additional fans if needed.
Improper installation: Incorrectly installing the fans can lead to poor airflow and inefficient cooling. Ensure that the fan screws are tightened securely but not overly tightened, as this can cause vibrations and excessive noise. Double-check the alignment of the fans with the CPU cooler, ensuring they are properly attached and facing the correct direction.
Using incorrect fan settings: Many motherboards offer fan control options in the BIOS or through utility software. Using incorrect fan settings, such as running fans at extremely low speeds or always at maximum speed, can impact cooling performance. Adjust the fan settings based on your specific cooling requirements, considering temperature thresholds and noise preferences.
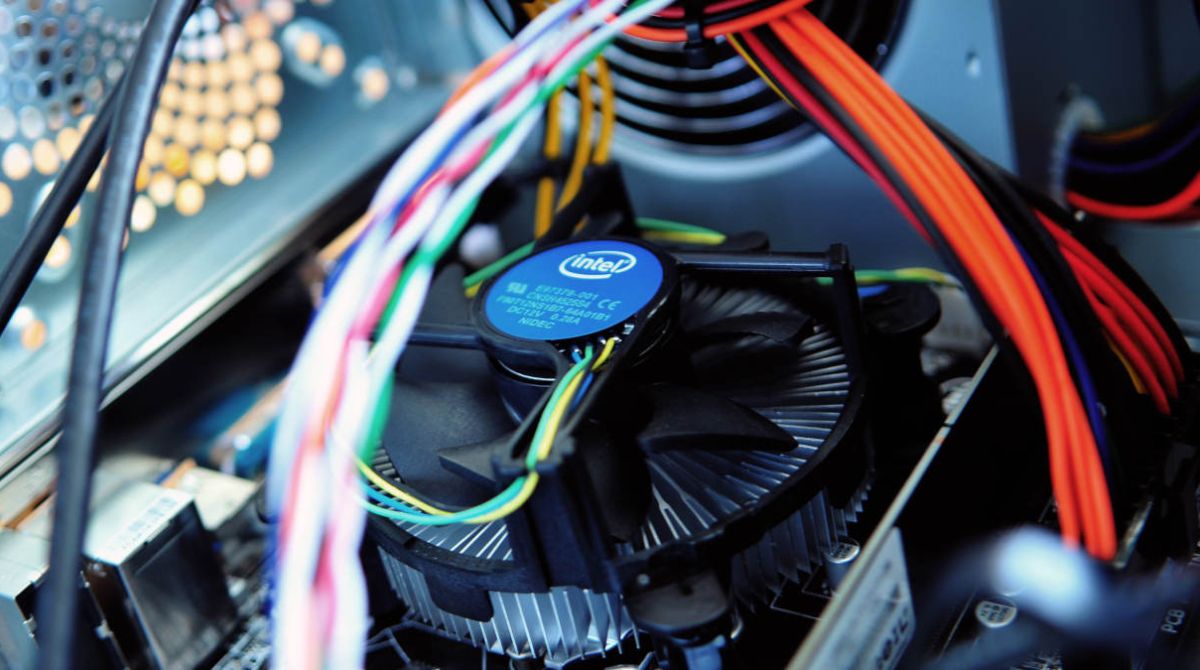
Ignoring cable management: Poor cable management can obstruct airflow inside the case and impact cooling efficiency. Ensure that cables are neatly routed and secured away from fans and airflow paths. Consider using cable ties or routing channels to keep cables organized and away from fans and components.
Neglecting fan maintenance: Over time, fans can accumulate dust and debris, leading to decreased airflow and compromised cooling performance. Regularly clean and maintain your fans to keep them running efficiently. Use compressed air or a soft brush to remove dust and debris from fan blades and heat sink fins.
Overlooking case ventilation: Your CPU cooler’s performance can be affected by the overall ventilation of your computer case. Ensure that your case has proper airflow by having intake fans at the front or bottom of the case and exhaust fans at the rear or top. Clear any obstructions from ventilation areas, such as blocked fan grills or dust filters.
By avoiding these common mistakes, you can optimize the cooling performance of your CPU cooler. Remember to properly install and maintain your fans, follow recommended fan configurations, and ensure sufficient ventilation in your case. Taking these measures will contribute to proper temperature management and the longevity of your system’s components.
Maintenance and troubleshooting tips
Regular maintenance and troubleshooting are essential to ensure the longevity and optimal performance of your CPU cooler and fans. By following these tips, you can prevent potential issues and address common problems effectively.
1. Keep fans and heat sinks clean: Dust and debris can accumulate on fan blades and heat sink fins over time, impeding airflow and reducing cooling efficiency. Regularly clean your fans and heat sinks using compressed air or a soft brush to remove dust and maintain optimal airflow.
2. Monitor temperatures: Install software utilities or use BIOS settings to monitor temperatures regularly. High temperatures can indicate inadequate cooling or system issues. If temperatures are consistently high, ensure that fans are running at appropriate speeds, and consider reevaluating your fan configuration or upgrading to a more powerful cooler if necessary.
3. Check fan connections: Occasionally, fans may become disconnected or experience loose connections. Ensure that all fan connections are secure and properly seated in the motherboard headers.
4. Inspect for fan obstructions: Periodically check your fans for any obstructions. Loose wires, cables, or debris can interfere with fan blades and impede airflow. Remove any obstructions to ensure smooth operation and optimal cooling.
5. Replace worn-out fans: Over time, fans may become worn-out and less efficient. If you notice increased noise, reduced airflow, or fan failure, consider replacing the affected fan promptly to avoid overheating and potential damage to your components.
6. Update firmware and drivers: Keep your motherboard firmware and fan control software up to date. Manufacturers often release updates that can improve fan control functionalities, enhance compatibility, and address performance issues.
7. Address fan noise issues: Excessive fan noise can be bothersome. If you are experiencing loud fan noise, check the fan speed settings in the BIOS or fan control software. Adjusting fan speed profiles can help reduce noise without compromising cooling performance.
8. Seek professional assistance: If you encounter persistent cooling issues or are unsure how to troubleshoot a problem, it’s best to consult a professional or contact the manufacturer’s support for guidance. They can provide expert assistance and troubleshooting specific to your CPU cooler and system.
By implementing regular maintenance routines and promptly addressing any issues or troubleshooting requirements, you can ensure the longevity and optimal performance of your CPU cooler and fans. Regular cleaning, monitoring temperatures, and addressing potential problems will contribute to a more efficient and reliable cooling system for your computer.
Conclusion
Setting up your fans with a CPU cooler is a vital component of maintaining optimal temperatures and performance for your CPU. By choosing the right CPU cooler, understanding the different types of fans available, determining the correct fan configuration, and following proper installation techniques, you can ensure efficient cooling and prevent overheating.
Avoiding common mistakes, such as inadequate fan placement, improper installation, and disregarding cable management, is crucial for maximizing cooling efficiency. Regular maintenance, including cleaning fans and heat sinks, monitoring temperatures, and addressing potential issues promptly, is essential for the long-term performance and health of your system.
Remember to consider your specific cooling requirements, case limitations, noise preferences, and budget when selecting your CPU cooler and fans. Follow the manufacturer’s instructions and guidelines for your specific hardware to ensure proper installation and compatibility.
By taking these steps and implementing the tips provided in this article, you can set up your fans with a CPU cooler effectively, maintain optimal temperatures, and enhance the overall performance and lifespan of your computer. So, get started and enjoy a cooler and more efficient computing experience.