Introduction
When it comes to effective cooling for your CPU, having the right fans in place is crucial. One popular configuration that can significantly improve cooling performance is using push-pull fans on your CPU cooler. If you’re not familiar with push-pull fan setups, don’t worry – this article will guide you through everything you need to know!
So, what exactly are push-pull fans? Essentially, a push-pull fan configuration involves mounting two fans on your CPU cooler, with one fan pushing air onto the heatsink and the other pulling air away from it. This combination creates a more efficient airflow by increasing the air pressure and volume, resulting in better heat dissipation.
The benefits of using push-pull fans go beyond just improved cooling performance. With the increased airflow, you can expect lower CPU temperatures, which can lead to better overall system stability and longevity. Additionally, push-pull fan setups are often quieter compared to using a single fan at higher speeds, as each fan can spin at a lower RPM while still delivering excellent cooling results.
In this article, we’ll walk you through the process of installing and setting up push-pull fans on your CPU cooler, ensuring correct airflow direction and cable management. We’ll also provide tips for controlling fan speeds and maintaining your push-pull fan configuration. So, without further ado, let’s get started!
What are push-pull fans?
Push-pull fans are a popular cooling setup used in computer systems to improve the efficiency of airflow and heat dissipation. As the name suggests, this configuration involves positioning two fans on a CPU cooler, with one fan pushing air onto the heatsink and the other pulling air away from it.
The key idea behind push-pull fans is to create a more effective airflow through the CPU cooler. The fan in the “push” position forces air onto the heatsink, increasing the air pressure and helping to push the heated air away. At the same time, the fan in the “pull” position pulls the heated air away from the heatsink, contributing to efficient heat dissipation.
By utilizing two fans instead of just one, push-pull fan setups provide several benefits. First and foremost, they increase the overall airflow within the CPU cooler, resulting in better heat transfer and lower CPU temperatures. Lower CPU temperatures are essential for maintaining system stability, especially during demanding tasks such as gaming or video editing.
Another advantage of push-pull fans is their ability to achieve effective cooling with lower noise levels. Since each fan can operate at a lower RPM while still delivering sufficient airflow, the overall noise generated by the fans is reduced compared to using a single fan at higher speeds. This can greatly contribute to a quieter computing experience, particularly for users who prefer a more silent system.
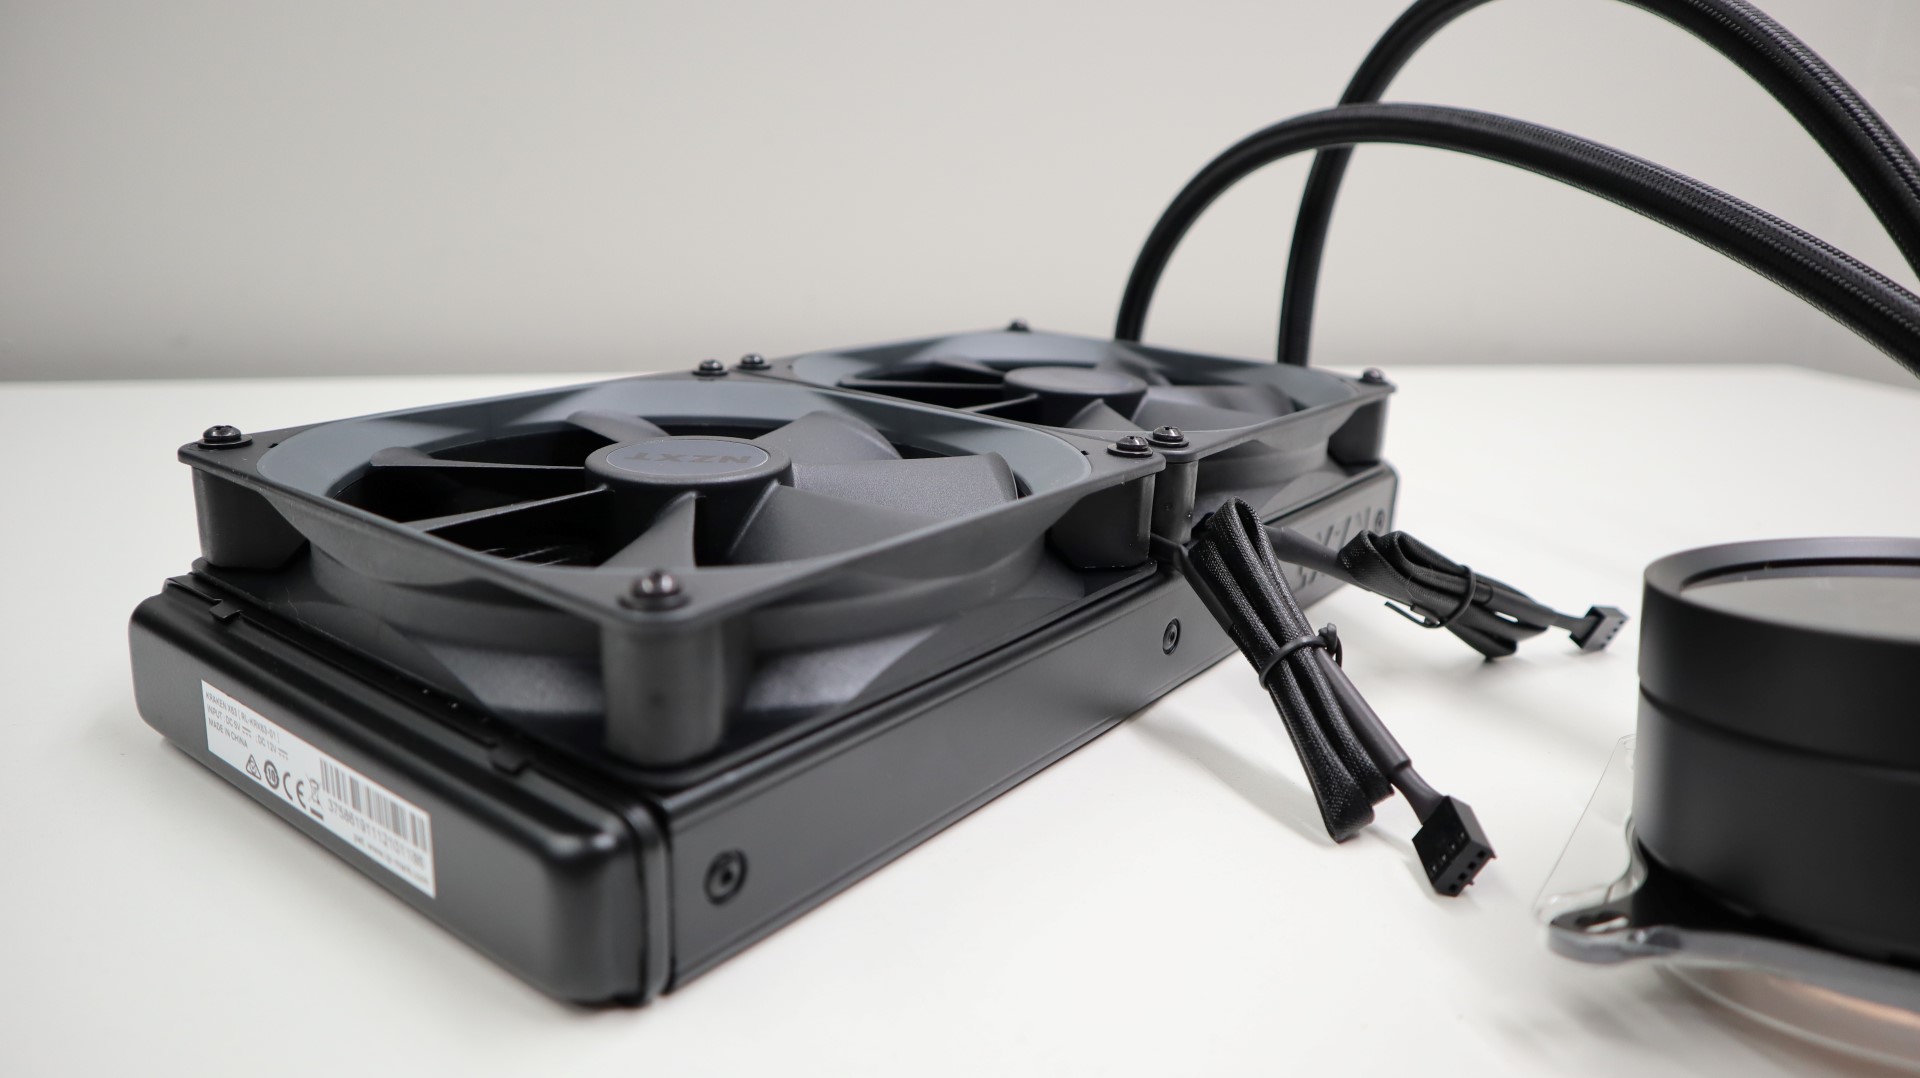
It’s important to note that push-pull fan setups are not exclusive to CPU coolers. They can also be utilized in other cooling scenarios, such as on radiators for liquid cooling systems or on case fans for better overall ventilation within the computer case.
Overall, push-pull fans offer an efficient and effective solution for cooling your CPU or other components. In the next sections, we’ll guide you through the installation and setup process, ensuring you get the most out of your push-pull fan configuration.
The benefits of using push-pull fans
There are several advantages to using push-pull fans on your CPU cooler or other cooling setups. Let’s dive into the benefits of this configuration:
Improved Cooling Performance: The primary benefit of using push-pull fans is the enhanced cooling performance they provide. By having two fans working together, the airflow through the CPU cooler is increased, resulting in better heat dissipation. This allows for lower CPU temperatures, which can lead to improved system stability and performance.
Lower Noise Levels: Push-pull fans can help reduce noise levels compared to using a single fan running at higher speeds. With two fans operating at lower RPMs, the overall noise generated is minimized while still maintaining effective cooling. This makes push-pull fan setups ideal for users seeking a quieter computing experience.
Increased Airflow and Heat Dissipation: The combination of a pushing and pulling fan helps create a more efficient airflow within the CPU cooler. The “push” fan forces cool air onto the heatsink, while the “pull” fan removes the heated air away. This increased airflow and heat dissipation capability contribute to better overall cooling performance and temperature management.
Optimized Fan Speeds: With push-pull fan configurations, each fan can operate at lower speeds while still delivering adequate airflow. This allows for better control over fan speeds, ensuring optimal cooling performance without unnecessary noise levels. Many modern cooling systems offer fan speed control options, allowing users to customize and fine-tune the cooling performance to their specific needs.
Longevity and Durability: By maintaining lower CPU temperatures through improved cooling, push-pull fan setups can help increase the longevity and durability of your system components. Excessive heat can negatively impact the performance and lifespan of your CPU and other sensitive computer hardware. Effective cooling with push-pull fans helps mitigate this risk and ensures the longevity of your system.
Compatibility and Versatility: Push-pull fan setups are compatible with most CPU coolers, making them a versatile cooling solution for a wide range of computer systems. They can also be utilized in other cooling scenarios, such as liquid cooling systems or case fans, providing efficient airflow and heat dissipation in various configurations.
As you can see, the benefits of using push-pull fans extend beyond just improved cooling performance. They offer a quieter computing experience, better temperature management, and increased longevity for your system components. In the next sections, we’ll guide you through the installation and setup process to help you harness these benefits effectively.
Installing push-pull fans on your CPU cooler
Installing push-pull fans on your CPU cooler may seem intimidating, but with the right steps, it can be a straightforward process. Here’s a step-by-step guide to help you get started:
- Gather the necessary tools: Before you begin, make sure you have the necessary tools, including a screwdriver and thermal paste (if needed).
- Remove the existing fan: If your CPU cooler already has a fan installed, carefully remove it by unscrewing the mounting screws or clips. Keep the screws in a safe place, as you will need them later.
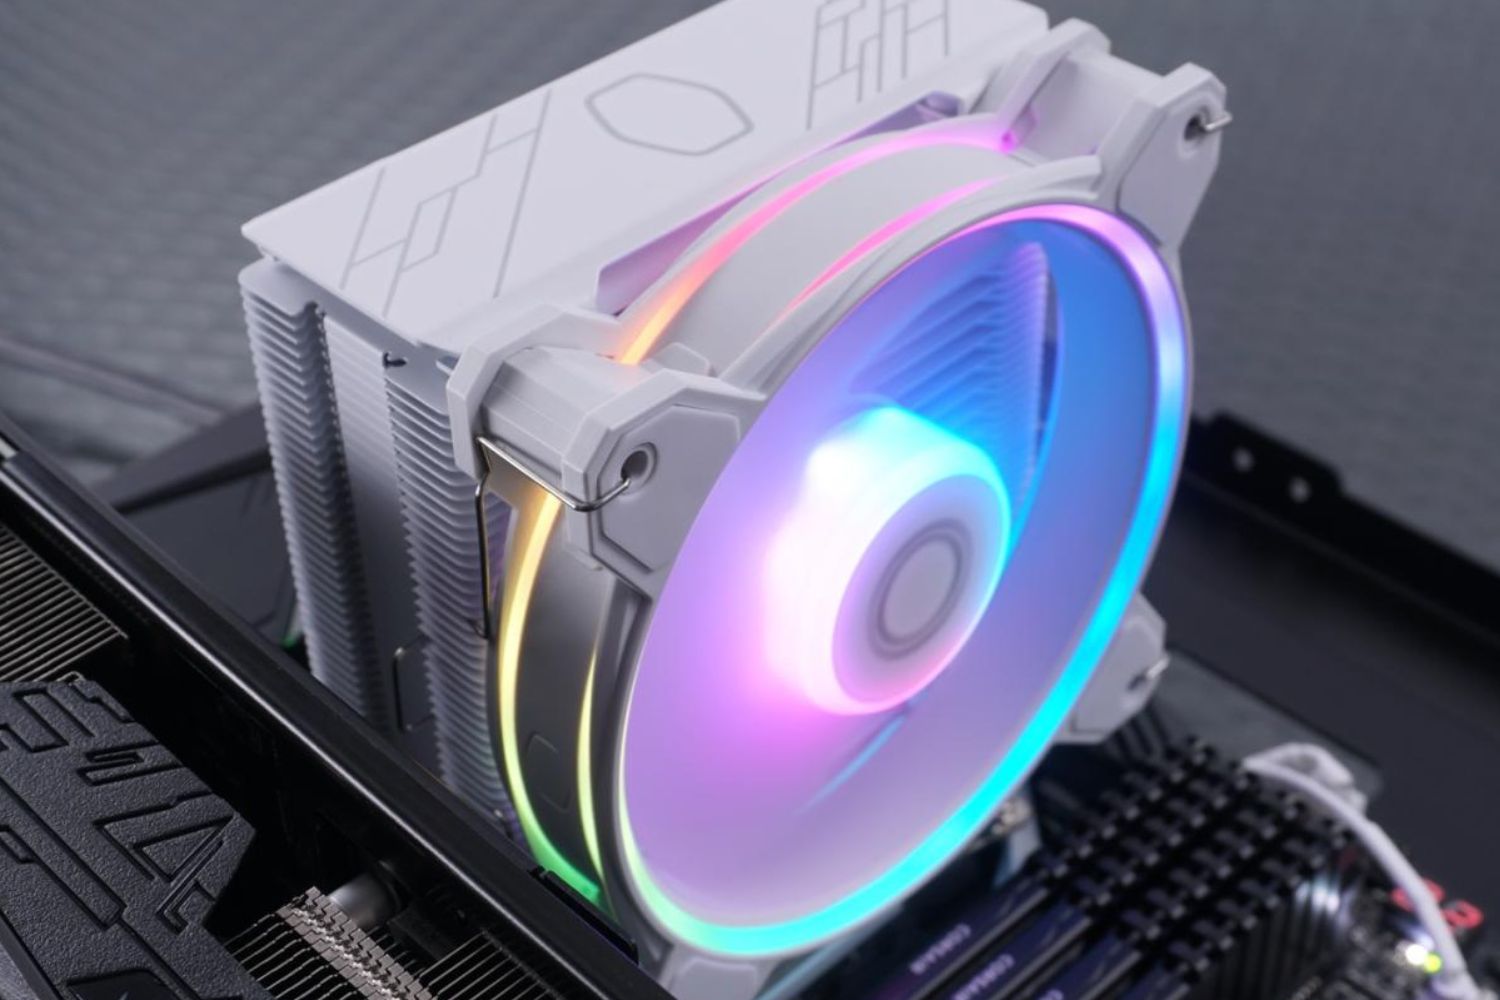
- Prepare the second fan: If you haven’t already done so, attach the second fan to the second set of fan brackets that typically come with the CPU cooler. Make sure the fan is securely attached and aligned with the correct airflow direction.
- Secure the fans: With both fans prepared, position them on the CPU cooler with one in the “push” position and the other in the “pull” position. Align the screw holes on the fans with the mounting holes on the CPU cooler.
- Screw the fans in place: Begin by attaching the screws loosely to hold the fans in place. Once all screws are loosely attached, go back and tighten each screw firmly, ensuring that the fans are securely mounted.
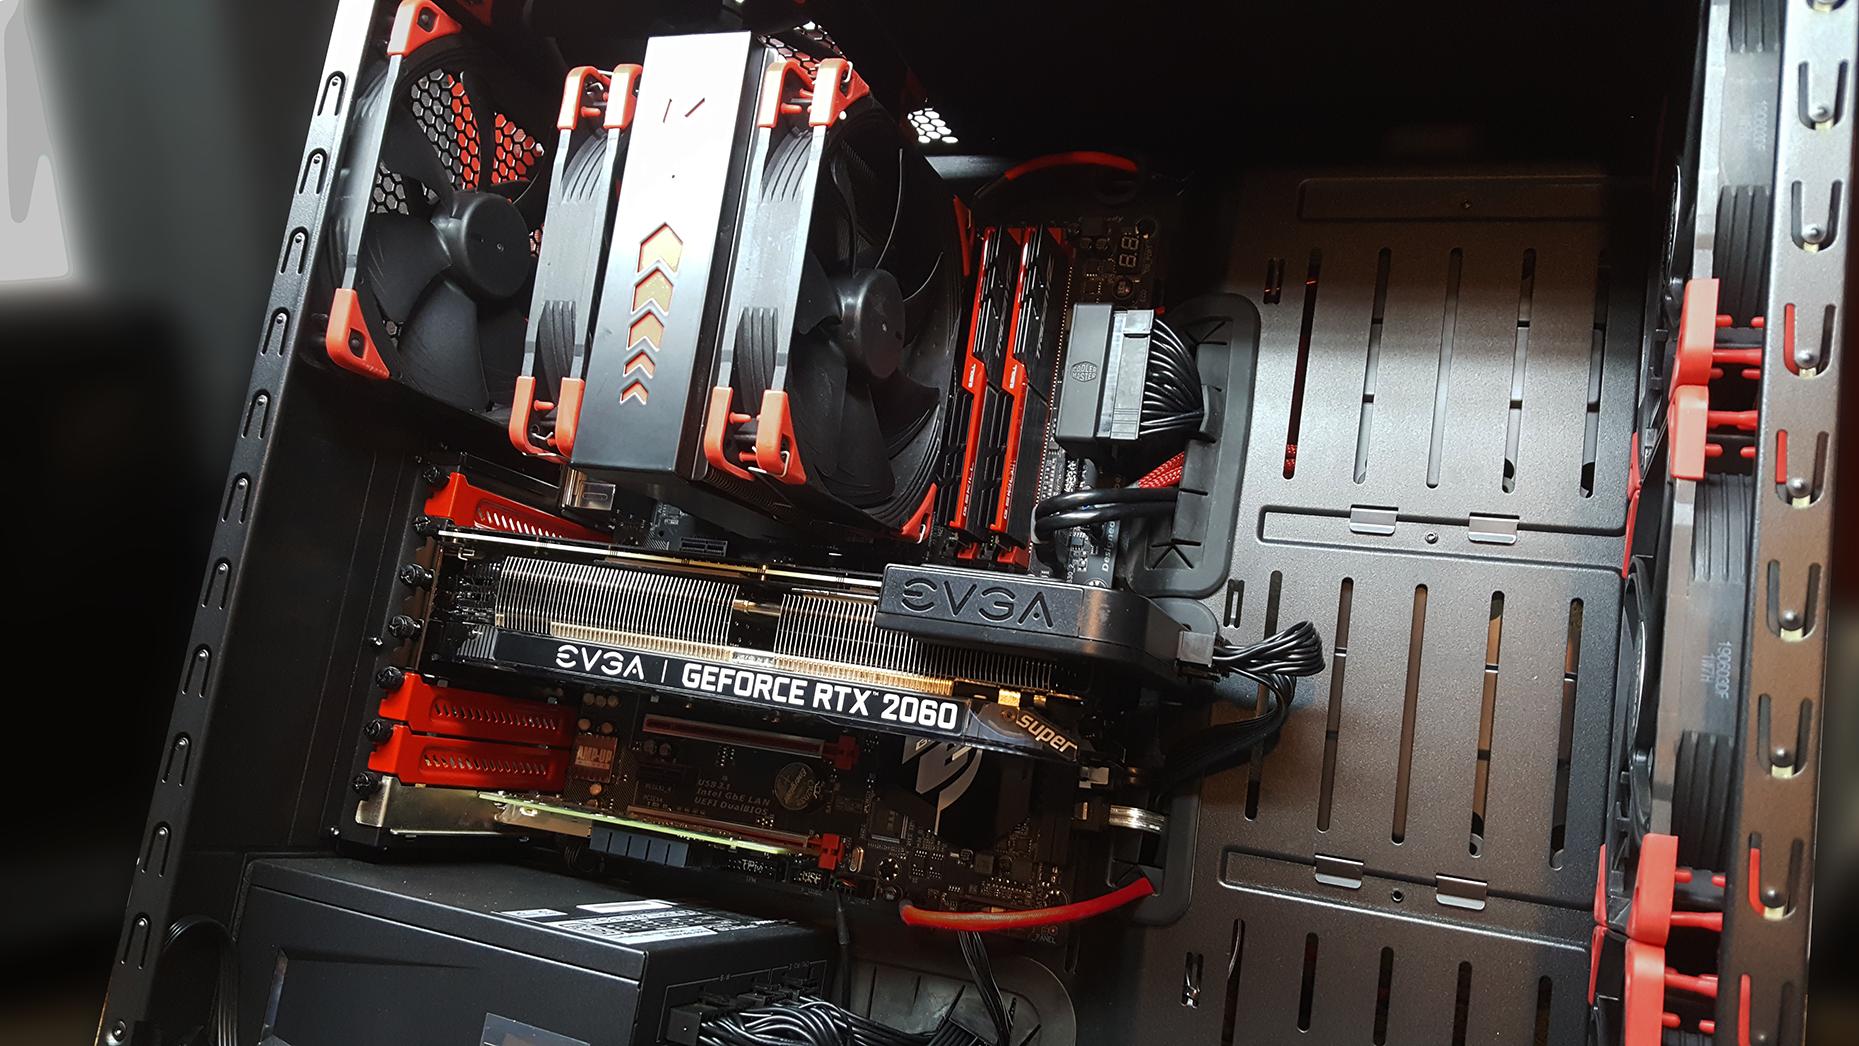
- Check the clearance: Depending on the size of your CPU cooler and other components in the system, it’s essential to check for clearance issues. Ensure that the installed push-pull fan configuration does not interfere with other components like RAM modules or the side panel of the PC case.
- Apply thermal paste (if needed): If your CPU cooler requires thermal paste, apply a small amount onto the CPU surface before mounting the cooler. Follow the manufacturer’s instructions for proper application techniques.
- Connect the fans: Connect the fans’ power cables to the appropriate motherboard headers or fan controllers. Ensure that the cables are neatly managed and don’t obstruct other components or airflow.
- Test the setup: Once everything is connected and secured, power on your computer and monitor the temperatures to ensure proper cooling and airflow.
Remember, it’s essential to consult your CPU cooler’s specific installation guide or the manufacturer’s instructions for any additional steps required. Following the proper installation procedure will help ensure a secure and effective push-pull fan configuration on your CPU cooler.
Setting up the correct airflow direction
Setting up the correct airflow direction is crucial for optimal cooling performance when using push-pull fans on your CPU cooler. Here are some steps to help you ensure the airflow is correctly configured:
- Identify the fan orientations: Take note of the orientation of each fan in your push-pull configuration. One fan should be positioned at the front or the “push” side, while the other fan should be at the back or the “pull” side of the CPU cooler.
- Align the airflow direction: Check the arrows or markings on each fan to determine the airflow direction. The fans should be aligned so that the airflow is moving in the same direction through the CPU cooler.
- Intake or exhaust: Decide if you want the push fan to act as an intake or an exhaust. In most configurations, it’s recommended to set the push fan as an intake, pushing cool air onto the heatsink. The pull fan will then act as an exhaust, pulling the heated air away from the CPU cooler.
- Consider case airflow: Take into account the overall airflow within your computer case. Ensure that the push fan is aligned with the intake fans at the front of the case, and the pull fan is aligned with the exhaust fans at the rear or top of the case. This helps create a smooth and efficient airflow throughout the system.
- Monitor the temperatures: Once the push-pull fan configuration is set up, monitor the CPU and system temperatures during regular usage or under heavy loads. Check if the airflow direction is effectively cooling the CPU and if there are any hotspots or temperature imbalances within the system.
It’s important to note that the optimal setup for airflow direction may vary depending on your specific CPU cooler and case design. Consulting the user manual or guidelines provided by the CPU cooler manufacturer can provide more specific instructions for your particular setup.
By ensuring the correct airflow direction, you maximize the efficiency of your push-pull fan configuration, effectively channeling cool air onto the CPU and expelling heated air from the CPU cooler. This helps maintain lower CPU temperatures and better overall system cooling.
Managing the cables and connections
Once you have installed the push-pull fans on your CPU cooler, it’s essential to manage the cables and connections properly to ensure optimal airflow and aesthetics. Here are some tips to help you effectively manage the cables:
- Organize the cables: Begin by tidying up the cables around the CPU cooler area. Use cable ties, velcro straps, or cable management accessories to secure and organize the cables neatly. This helps prevent cable clutter and improves the overall airflow within the system.
- Route cables away from fan blades: Ensure that the cables are neatly routed away from the fan blades to avoid any obstruction of airflow. Cables getting tangled in the fans can disrupt the airflow and potentially cause noise or performance issues.
- Consider cable length: If the cables are longer than necessary, consider coiling or bundling them together to minimize the amount of cable that is exposed near the CPU cooler. Excess cable length can impede airflow and create an untidy appearance.
- Connect to the appropriate headers: Connect the fan power cables to the corresponding motherboard headers or fan controllers. Double-check that each fan is properly connected to ensure they receive power and operate at the desired speed.
- Utilize cable management features: Some computer cases come with built-in cable management features, such as dedicated cable routing channels or tie-down points. Take advantage of these features to keep the cables organized and hidden from view.
- Avoid blocking other components: Ensure that the cables, especially those near the CPU cooler, do not obstruct other components like RAM modules, graphics cards, or the CPU itself. It’s crucial to maintain proper clearance and avoid any potential interference or damage.
- Regularly check for cable wear: Over time, cables can become frayed or damaged. Regularly inspect the cables around the CPU cooler for any signs of wear and tear. Replace any damaged cables promptly to ensure reliable and safe operation.
By effectively managing the cables and connections in your system, you not only improve the overall airflow and cooling performance but also create a cleaner and more organized appearance. A well-managed cable setup enhances both the functionality and visual appeal of your computer build.
Controlling fan speeds
Controlling the fan speeds of your push-pull fan setup is important for achieving the perfect balance between cooling performance and noise levels. Here are some methods to effectively control the fan speeds:
- BIOS/UEFI settings: Access your computer’s BIOS or UEFI settings to adjust the fan speed control options. Most modern motherboards provide these settings, allowing you to customize the fan curves or set specific fan speeds based on temperature thresholds.
- Fan control software: Install and utilize fan control software that is compatible with your motherboard. These programs provide additional options for fine-tuning the fan speeds, allowing you to create custom profiles based on your preferences and cooling requirements.
- Fan controllers: Consider using dedicated fan controllers to have more precise control over your fan speeds. These devices typically allow you to manually adjust the fan speeds using physical knobs or buttons, providing immediate control over the cooling performance.
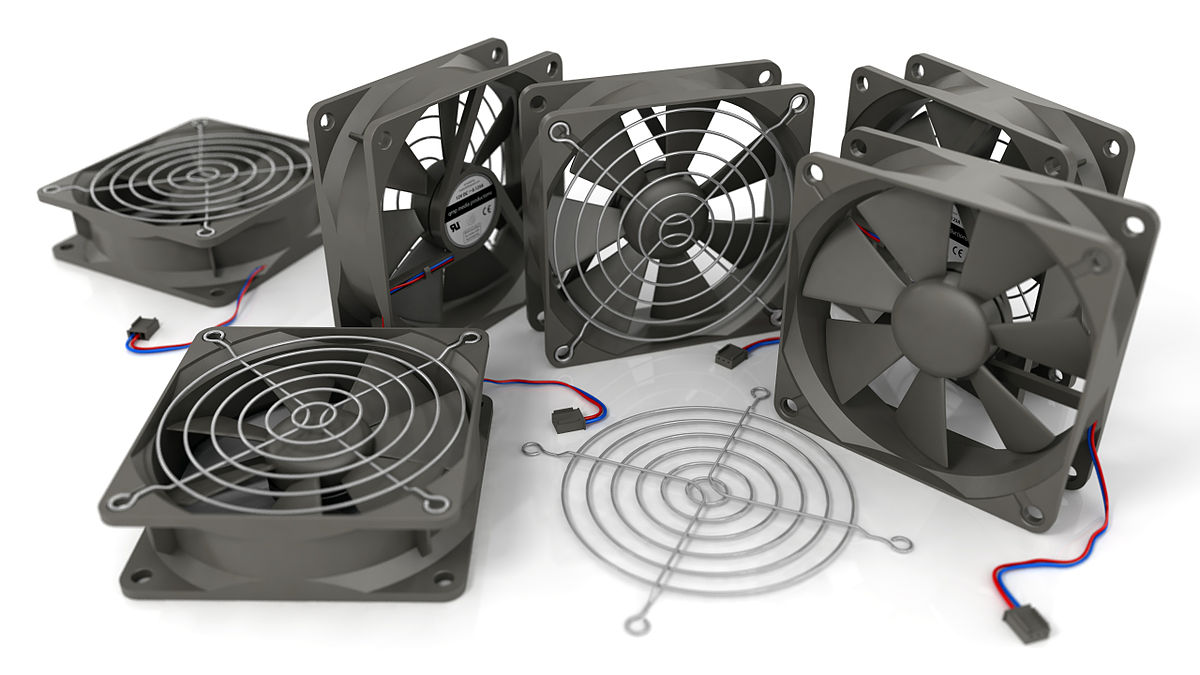
- PWM and DC control: Check the type of fans in your push-pull configuration. Some fans use Pulse Width Modulation (PWM) control, while others use Direct Current (DC) control. PWM fans provide more precise speed control and are usually recommended for better performance.
- Monitoring software: Utilize system monitoring software that offers fan speed control functionality. These programs often allow you to monitor temperatures and adjust the fan speeds accordingly, either manually or through automated modes.
- Experimentation and testing: Finding the optimal fan speeds for your push-pull fan configuration may require some experimentation. Monitor the CPU temperatures under different fan speed scenarios and adjust accordingly until you achieve the desired balance between cooling performance and noise levels.
Remember that fan speeds should be adjusted based on the specific needs of your system, such as ambient temperatures, CPU workload, and personal preferences. It’s important to maintain a balance between effective cooling and low noise levels to ensure a stable and comfortable computing experience.
By taking advantage of the various methods available for controlling fan speeds, you can optimize the cooling performance of your push-pull fan configuration and maintain a quieter and more efficient system operation.
Maintenance tips for push-pull fans
To ensure optimal performance and longevity of your push-pull fan setup, regular maintenance is essential. Here are some maintenance tips to keep your fans running smoothly:
- Clean the fans regularly: Dust and debris can accumulate on the fan blades and hinder airflow. Use compressed air or a soft brush to gently clean the fans at regular intervals. Removing the dust buildup helps maintain maximum airflow and cooling efficiency.
- Check for any loose screws: Over time, vibrations from fan operation can cause screws to become loose. Periodically check the mounting screws of your push-pull fan configuration and tighten them if necessary to ensure a secure and stable setup.
- Inspect cables and connections: Regularly inspect the fan cables and connections for any signs of damage or looseness. Ensure that all cables are securely connected and not obstructing the airflow. Replace any damaged cables or connectors to prevent any potential issues.
- Monitor fan speeds and temperatures: Keep an eye on the fan speeds and CPU temperatures using monitoring software. Any significant changes in fan speeds or unusually high temperatures may indicate a problem with the fans or cooling system. Address any issues promptly to avoid system instability or overheating.
- Consider using dust filters: If your computer case supports it, install dust filters on the intake fans to prevent dust accumulation. These filters help reduce the amount of dust that enters the system, resulting in less frequent cleaning and improved overall airflow.
- Replace fans when necessary: Over time, fans may wear out or become less efficient. If you notice a significant decline in cooling performance or increased noise levels even after cleaning and maintenance, consider replacing the fans with new ones to restore optimum airflow and cooling efficiency.
By following these maintenance tips, you can ensure that your push-pull fan setup operates at its best, providing efficient cooling and extending the lifespan of your computer components.
Troubleshooting common issues
While push-pull fan setups are generally reliable and efficient, there are some common issues that you may encounter. Here are a few troubleshooting tips to help address these issues:
- Uneven cooling: If you notice uneven cooling or hotspots on your CPU, check the mounting of your push-pull fans. Ensure that they are securely attached and making proper contact with the CPU cooler. Consider reapplying thermal paste between the CPU and the cooler to ensure optimal heat transfer.
- Excessive noise: If your push-pull fan configuration is generating too much noise, check the fan speeds. Lowering the fan speeds or adjusting the fan curves in the BIOS/UEFI settings or through fan control software can help reduce noise while still maintaining adequate cooling performance.
- Poor airflow: If you notice reduced airflow or cooling performance, check for any obstructions, such as cables blocking the fans or dust accumulation. Clean the fans and ensure that there are no obstacles that hinder the airflow. Pay attention to dust filters (if present) and clean or replace them if necessary.
- High temperatures: If your CPU temperatures are consistently high, check if the fans are spinning at the expected speeds. Ensure that fan control settings are correctly configured, and the cables are securely connected. Consider reapplying thermal paste or upgrading the fans to more efficient models if necessary.
- Fans not spinning: If any of the fans in the push-pull setup are not spinning, check the connections. Make sure the fan cables are securely plugged into the appropriate headers or fan controllers. If the issue persists, the fan itself may be faulty, and it may need to be replaced.
- System instability: If your system experiences instability or frequent crashes, overheating may be the culprit. Monitor the temperatures during heavy usage and ensure that the push-pull fans are effectively cooling the CPU. Additionally, make sure that the CPU cooler is securely installed, with proper contact and thermal paste application.
If you encounter any persistent issues that you cannot resolve, consulting the manufacturer’s documentation or contacting customer support can provide further assistance and guidance specific to your push-pull fan setup.
By troubleshooting and addressing these common issues, you can ensure that your push-pull fan configuration performs optimally, providing efficient cooling and maintaining system stability.
Conclusion
Implementing a push-pull fan setup on your CPU cooler can greatly enhance the cooling performance of your computer system. By utilizing two fans working together, you can achieve improved airflow, lower CPU temperatures, and quieter operation. The benefits of push-pull fan configurations extend beyond just better cooling. They also contribute to the longevity of your system and provide a more stable computing experience.
In this article, we have covered the essentials of push-pull fans, including their definition, benefits, installation process, proper airflow direction, cable management, fan speed control, maintenance tips, and troubleshooting. By following these guidelines, you can maximize the efficiency of your push-pull fan setup.
Remember to regularly check and clean the fans, manage the cables, monitor temperatures, and troubleshoot common issues to ensure the continued effectiveness of your push-pull fan configuration. Whether you are a gaming enthusiast, content creator, or simply a computer user looking for better cooling performance, implementing push-pull fans can make a significant difference in your system’s overall performance and stability.
Now that you have a thorough understanding of push-pull fans and how to optimize their usage, you can confidently take on the task of installing and maintaining this cooling setup. Enjoy the benefits of improved cooling, lower temperatures, and a quieter computing experience with your push-pull fan configuration!