Introduction
Removing the Intel CPU cooler may seem like a daunting task, but with the right tools and a little patience, it can be easily accomplished. Whether you’re looking to clean your CPU or replace your cooler, this guide will walk you through the step-by-step process of removing the Intel CPU cooler from your computer.
Before we dive into the details, it’s important to note that removing the CPU cooler requires caution and careful handling. The CPU is a delicate component, and any mishandling can result in damage to both the cooler and the processor. Therefore, it’s essential to follow the instructions carefully and proceed with caution.
In this guide, we will cover the necessary tools and materials you’ll need, as well as the steps to remove the Intel CPU cooler. We will also provide tips on how to clean the CPU and apply thermal paste properly when reassembling the cooler.
Please note: This guide is specifically for removing the Intel CPU cooler. If you have a different CPU cooler, the steps may vary. It’s always best to consult the manufacturer’s instructions or seek professional advice if you’re unsure.
Now that we’ve covered the basics, let’s gather the necessary tools and materials to begin the process of removing the Intel CPU cooler.
Tools and Materials Needed
Before you start removing the Intel CPU cooler, make sure you have the following tools and materials on hand:
- Screwdriver: You’ll need a screwdriver that matches the size of the screws holding the CPU cooler in place. The most common screwdriver types are Phillips-head and flat-head.
- Thermal Paste Cleaner: It’s a good idea to have thermal paste cleaner or isopropyl alcohol on hand to clean the CPU and heat sink before reapplying thermal paste.
- Cotton Swabs or Microfiber Cloth: These are useful for applying thermal paste cleaner and removing any excess thermal paste on the CPU and heat sink.
- Thermal Paste: If you’re planning to reuse the same CPU cooler, you’ll need to have thermal paste for reapplication. Thermal paste helps ensure proper heat transfer between the CPU and the cooler.
- Anti-static Wrist Strap: An anti-static wrist strap can help prevent electrostatic discharge (ESD) while working on your computer, protecting sensitive electronic components.
- Clean Workspace: Ensure you have a clean and clutter-free workspace with enough room to safely maneuver and place the removed components.
- Grounded Work Surface: Use a grounded work surface, such as an anti-static mat or table, to further protect against electrostatic discharge.
Having these tools and materials readily available will make the process of removing the Intel CPU cooler much smoother and safer. Make sure to gather everything before proceeding with the next steps.
Step 1: Prepare Your Workspace
Before you begin removing the Intel CPU cooler, it’s essential to prepare your workspace for the task at hand. Follow these steps to ensure a safe and organized work area:
- Power Down Your Computer: Make sure your computer is turned off and unplugged from the power source. This is crucial to prevent any electrical accidents while working on the CPU cooler.
- Find a Clean and Well-Lit Area: Choose a well-lit workspace with enough room to comfortably work on your computer. Make sure the area is free from dust, debris, and other potential hazards that could interfere with the removal process.
- Clear the Workspace: Remove any unnecessary items from your work area, such as papers, tools, or other electronics. Having a clutter-free workspace will make it easier to handle the components and prevent accidental damage.
- Ground Yourself: Before touching any computer components, discharge any static electricity buildup by touching a grounded object or wearing an anti-static wrist strap. This will help prevent electrostatic discharge (ESD) that could potentially damage your computer’s sensitive parts.
- Prepare the Necessary Tools and Materials: Gather all the tools and materials mentioned in the previous section, “Tools and Materials Needed.” Having everything organized and nearby will save time and minimize the risk of misplacing or losing any critical components.
By taking the time to prepare your workspace properly, you’ll create a safe and conducive environment for removing the Intel CPU cooler. This will help ensure a smooth and successful process without any complications.
Step 2: Power Down Your Computer and Disconnect Cables
Before you proceed with removing the Intel CPU cooler, it’s crucial to power down your computer and disconnect all cables connected to it. This will prevent any potential electrical accidents and ensure the safety of both you and your computer. Follow these steps:
- Save and Close All Applications: Save any unsaved work and close all running applications to prevent data loss.
- Shut Down Your Computer: Click on the “Start” menu, then select “Shut Down” to properly turn off your computer. Wait until the shutdown process is complete before proceeding.
- Unplug the Power Cord: Locate the power cord connected to the back of your computer’s tower or the power adapter if you’re using a laptop. Gently unplug it from the power outlet or the power strip.
- Disconnect Peripherals: Remove any peripherals connected to your computer, such as USB devices, external hard drives, monitors, and speakers. Carefully disconnect all cables attached to these peripherals.
- Ground Yourself: Touch a grounded metal object or wear an anti-static wrist strap to discharge any static electricity buildup before touching any computer components. This will help prevent electrostatic discharge (ESD) that could potentially damage your computer.
By properly shutting down your computer and disconnecting all cables, you eliminate the risk of accidental electrical shocks and protect both your computer and yourself. Take the time to follow these steps diligently as you prepare to remove the Intel CPU cooler.
Step 3: Remove the Case Side Panel
With your computer powered down and cables disconnected, you’re now ready to remove the case side panel. This will provide access to the internal components, including the Intel CPU cooler. Follow these steps to remove the case side panel:
- Locate the Case Screws: Identify the screws holding the side panel in place. Most cases have thumb screws or Phillips-head screws securing the panel. In some cases, you may need a screwdriver to remove them.
- Unscrew and Remove the Case Side Panel: Using your fingers or a screwdriver, carefully unscrew and remove the screws from the side panel. Set the screws aside in a safe place to avoid misplacing them.
- Gently Slide or Lift the Case Side Panel: Depending on the design of your computer case, you can gently slide or lift the side panel to remove it. Be cautious not to force it or apply excessive pressure, as this can potentially damage the case or components inside.
Once you have successfully removed the case side panel, you’ll have a clear view of the internal components, including the Intel CPU cooler. Take a moment to familiarize yourself with the layout and positioning of the cooler before proceeding to the next steps.
Note: Some computer cases may have different mechanisms for removing the side panel, such as screws on the back or a latch system. Consult your computer’s manual or manufacturer’s instructions if you’re unsure about the specific method for your case.
By carefully following these steps, you will be able to remove the case side panel and gain access to the inner components of your computer, including the Intel CPU cooler, for further removal and maintenance.
Step 4: Locate and Identify the CPU Cooler
Now that you have removed the case side panel, it’s time to locate and identify the Intel CPU cooler. The CPU cooler is responsible for dissipating heat generated by the processor to prevent overheating. Follow these steps to identify the CPU cooler:
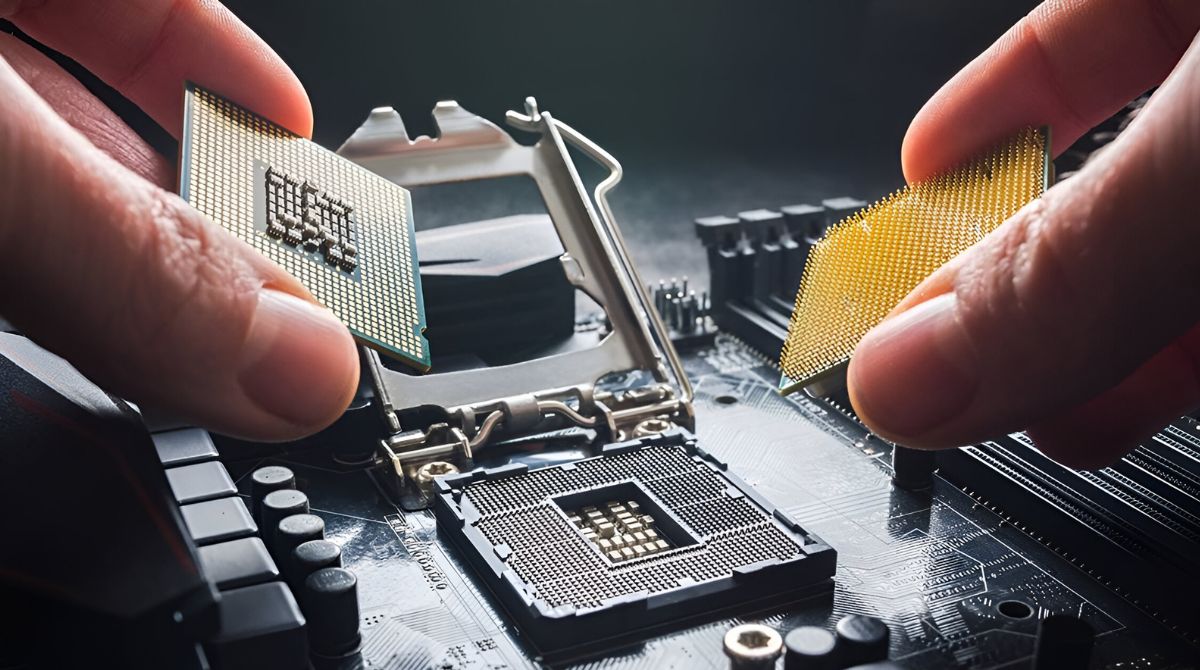
- Locate the CPU Socket: Look for the rectangular CPU socket on the motherboard. This is where the Intel processor is installed.
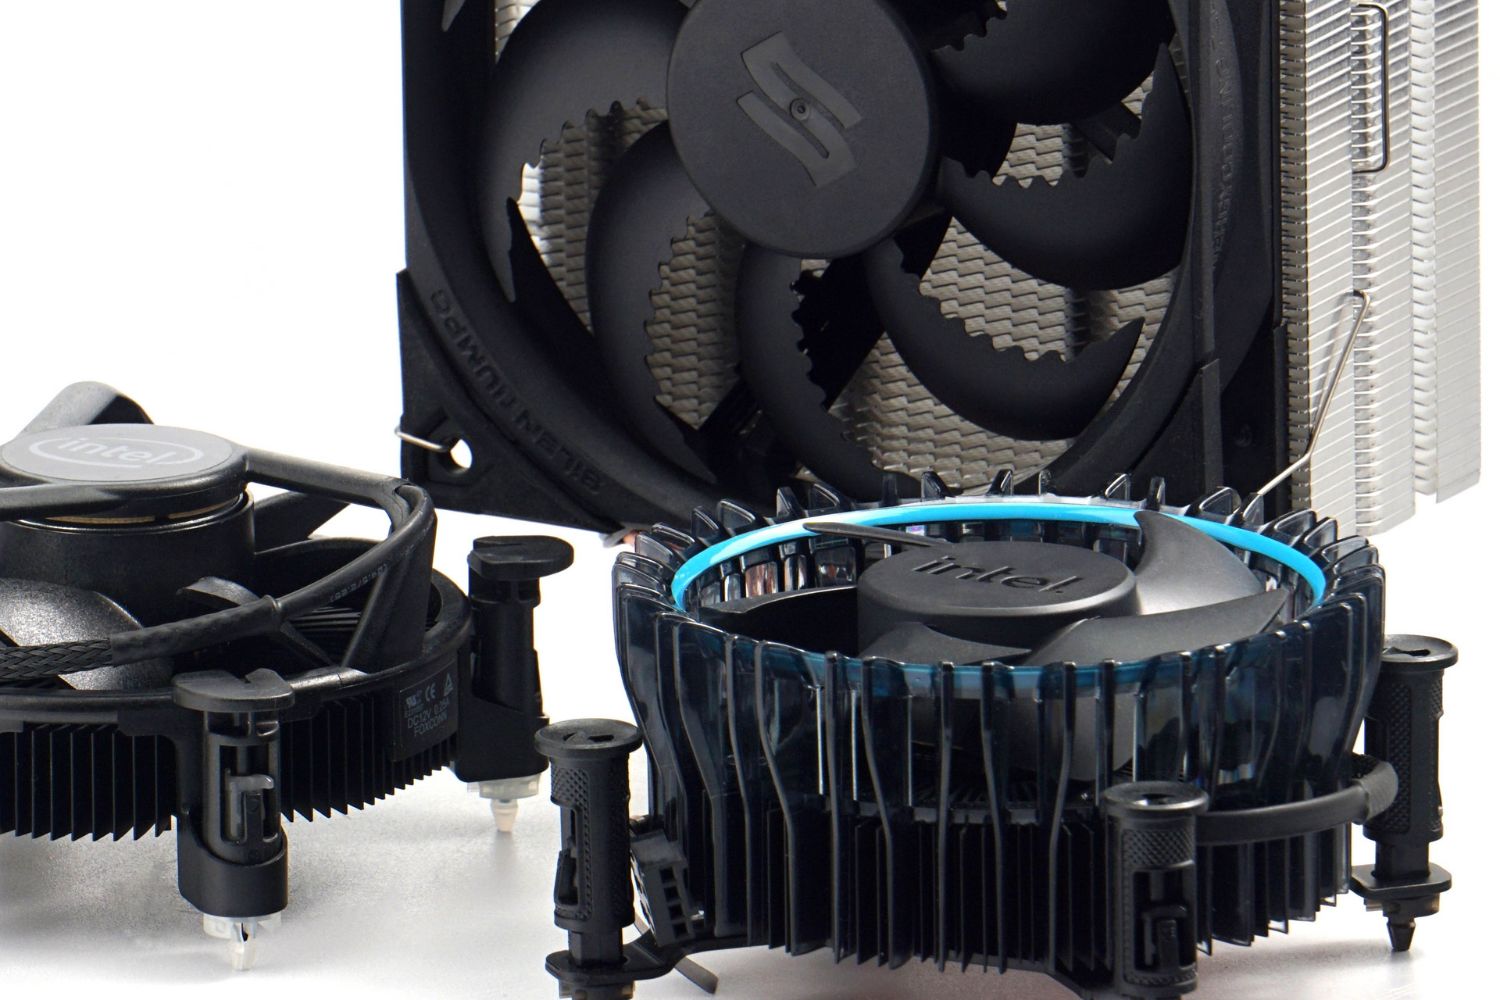
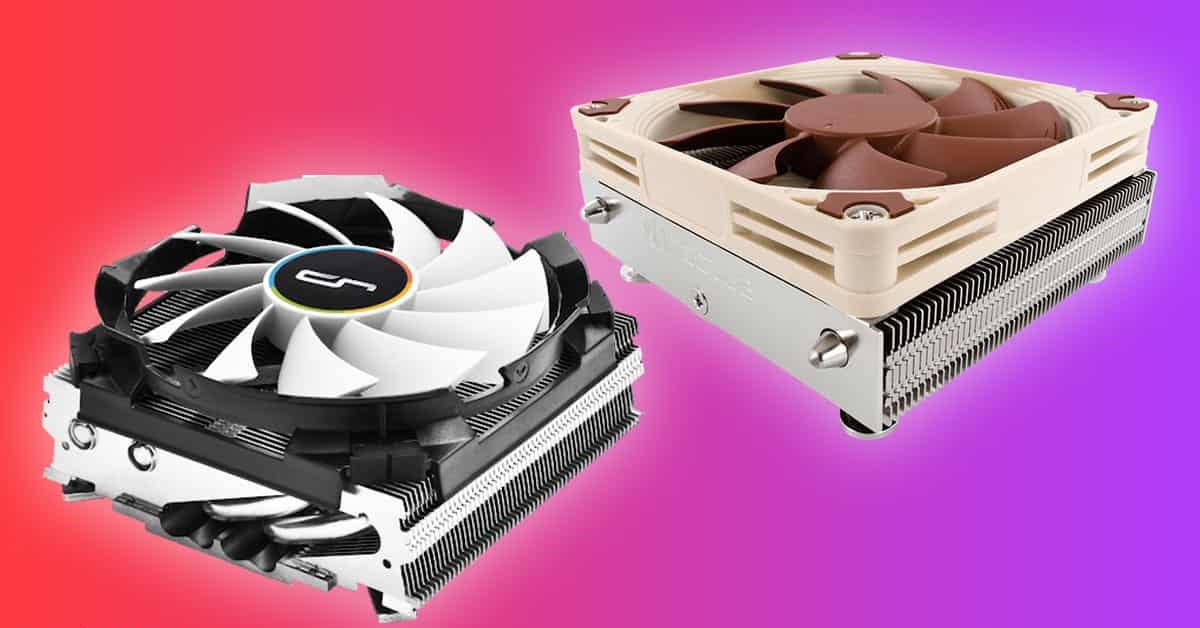
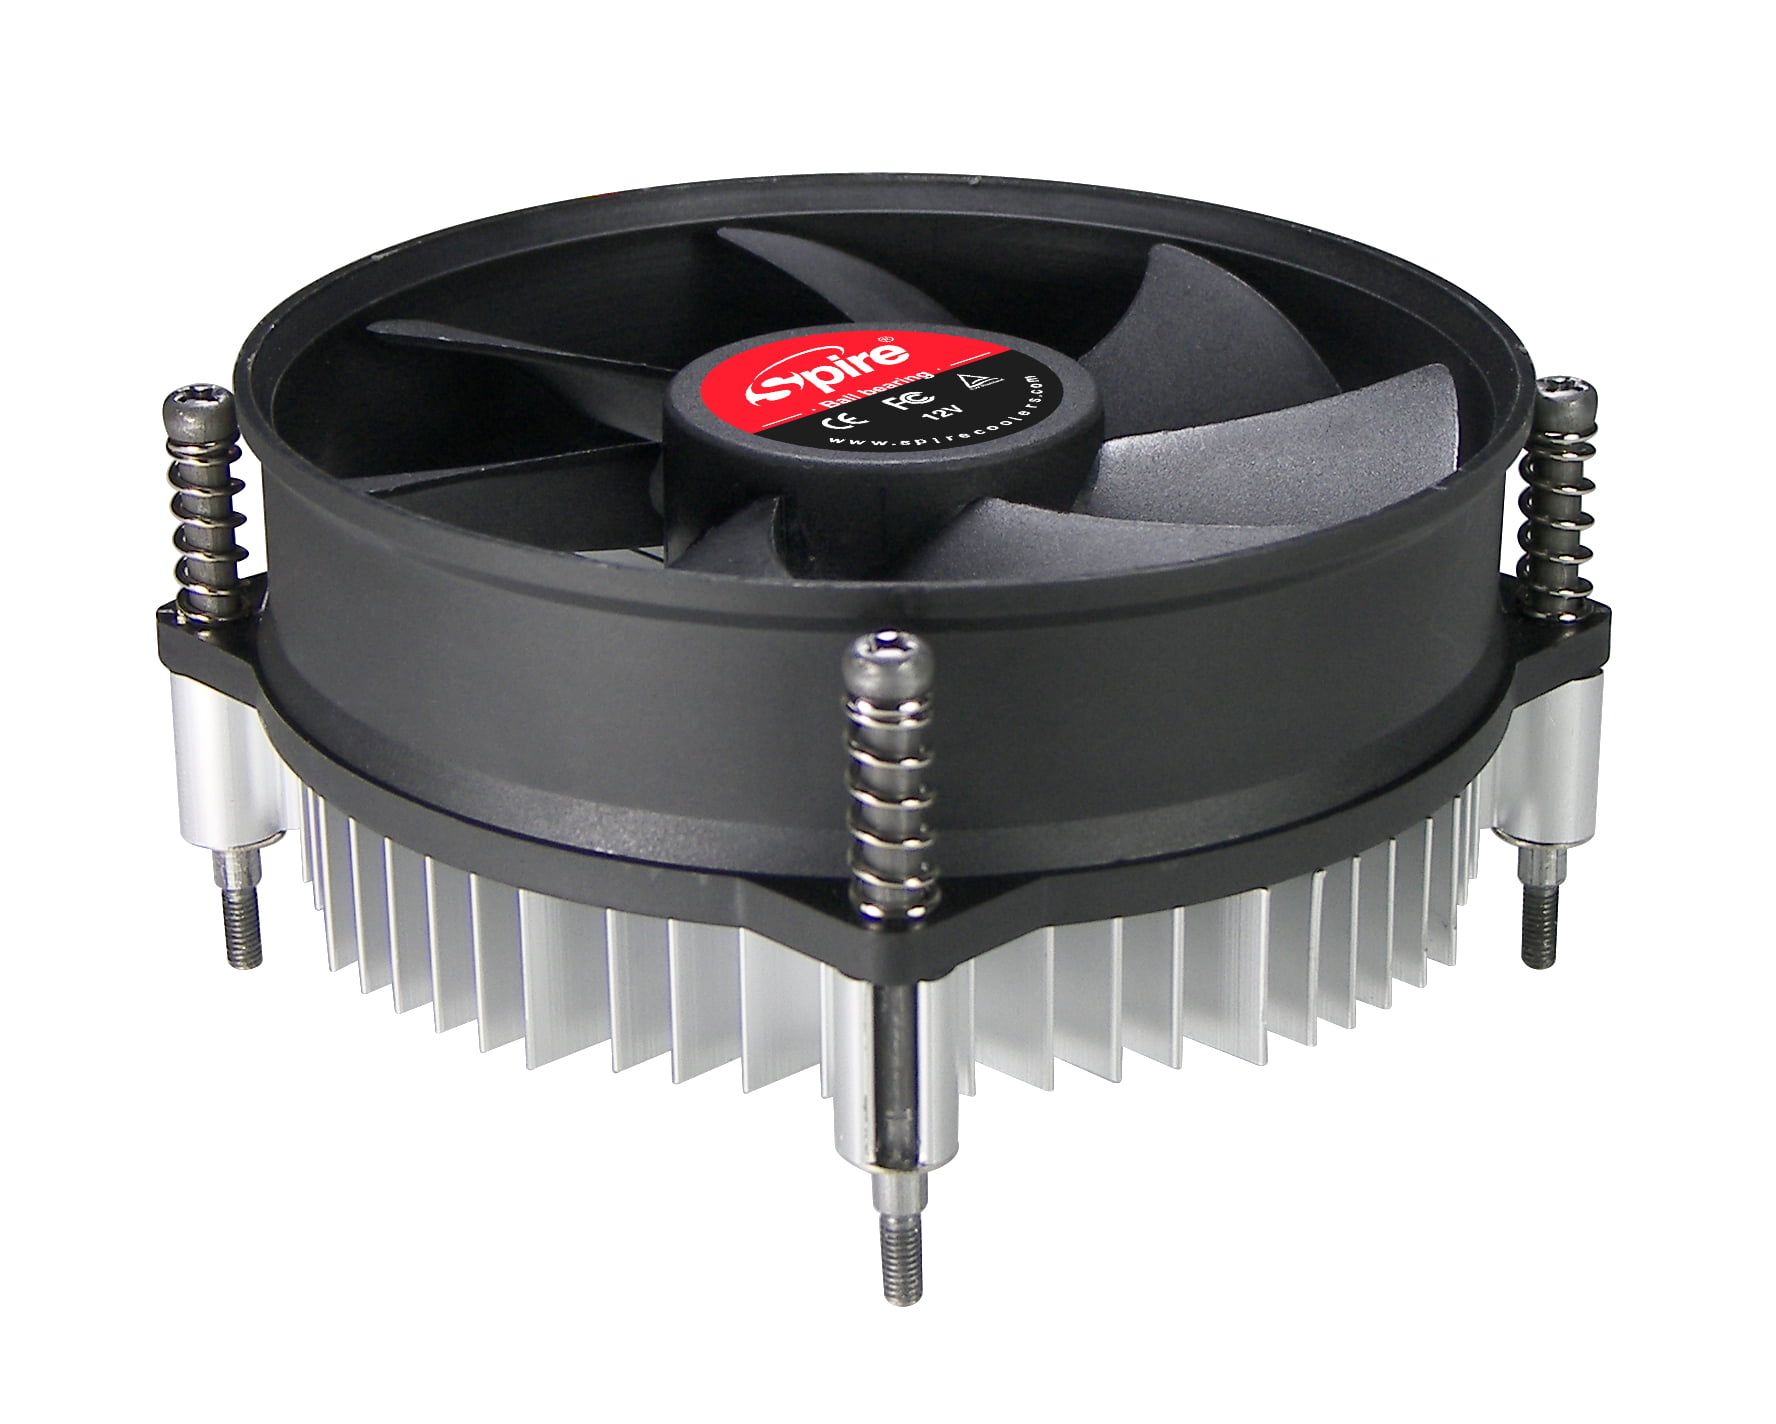
- Identify the Cooling Solution: The Intel CPU cooler consists of two main components: the heat sink and the fan. The heat sink is a metal plate that sits atop the CPU socket, while the fan is attached to the heat sink to help with heat dispersion.
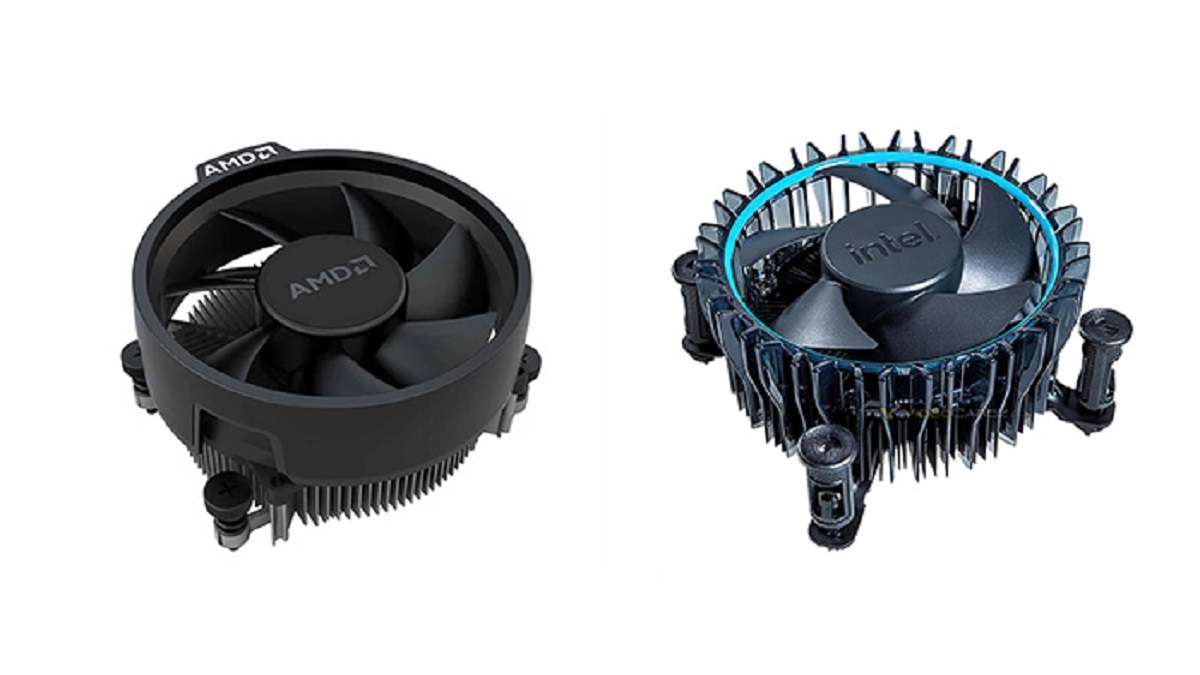
- Observe the Cooler Mounting: Take note of how the CPU cooler is mounted. It may be secured using pushpins, screws, or a retention bracket, depending on the specific cooler model.
Understanding the location and components of the CPU cooler is crucial for the removal process. It will also help when it comes time to reattach the cooler later on. Take a moment to inspect the cooler, ensuring you have a clear understanding of its position and how it is attached to the motherboard.
Tip: If you’re unsure about the specific model or type of Intel CPU cooler you have, consult the manufacturer’s documentation or their website for more information. You can also check the cooler’s label or markings for identifying details.
With the CPU cooler located and identified, you’re now ready to proceed with the next steps of removing the cooler from the motherboard and cleaning the CPU surface.
Step 5: Remove the CPU Cooler Fan
Now that you have located and identified the Intel CPU cooler, it’s time to remove the fan from the heat sink. The fan is responsible for actively cooling the heat sink, which in turn cools the CPU. Follow these steps to remove the CPU cooler fan:
- Identify the Fan Mounting: Take note of how the fan is attached to the heat sink. It may be held in place by clips, screws, or other fasteners.
- Release the Fan Mounting: If there are any clips holding the fan in place, gently press or release them to free the fan from the heat sink. If there are screws, carefully loosen and remove them using the appropriate screwdriver.
- Disconnect the Fan Power Cable: Locate the fan power cable connected to the motherboard or a fan header. Gently unplug the cable by pulling it straight out from the connector.
As you remove the CPU cooler fan, be mindful of any cables or wires that may be attached to it. Ensuring a smooth and cautious removal process will help prevent damage to both the fan and the motherboard.
Note: Some CPU cooler fans may have additional features, such as RGB lighting or fan control cables. Take note of these additional components and disconnect them accordingly, following the manufacturer’s instructions if available.
By successfully removing the CPU cooler fan, you have now taken the first step towards accessing the heat sink and removing the Intel CPU cooler from your computer. Next, we will move on to detaching the heat sink from the motherboard.
Step 6: Detach the Heat Sink from the Motherboard
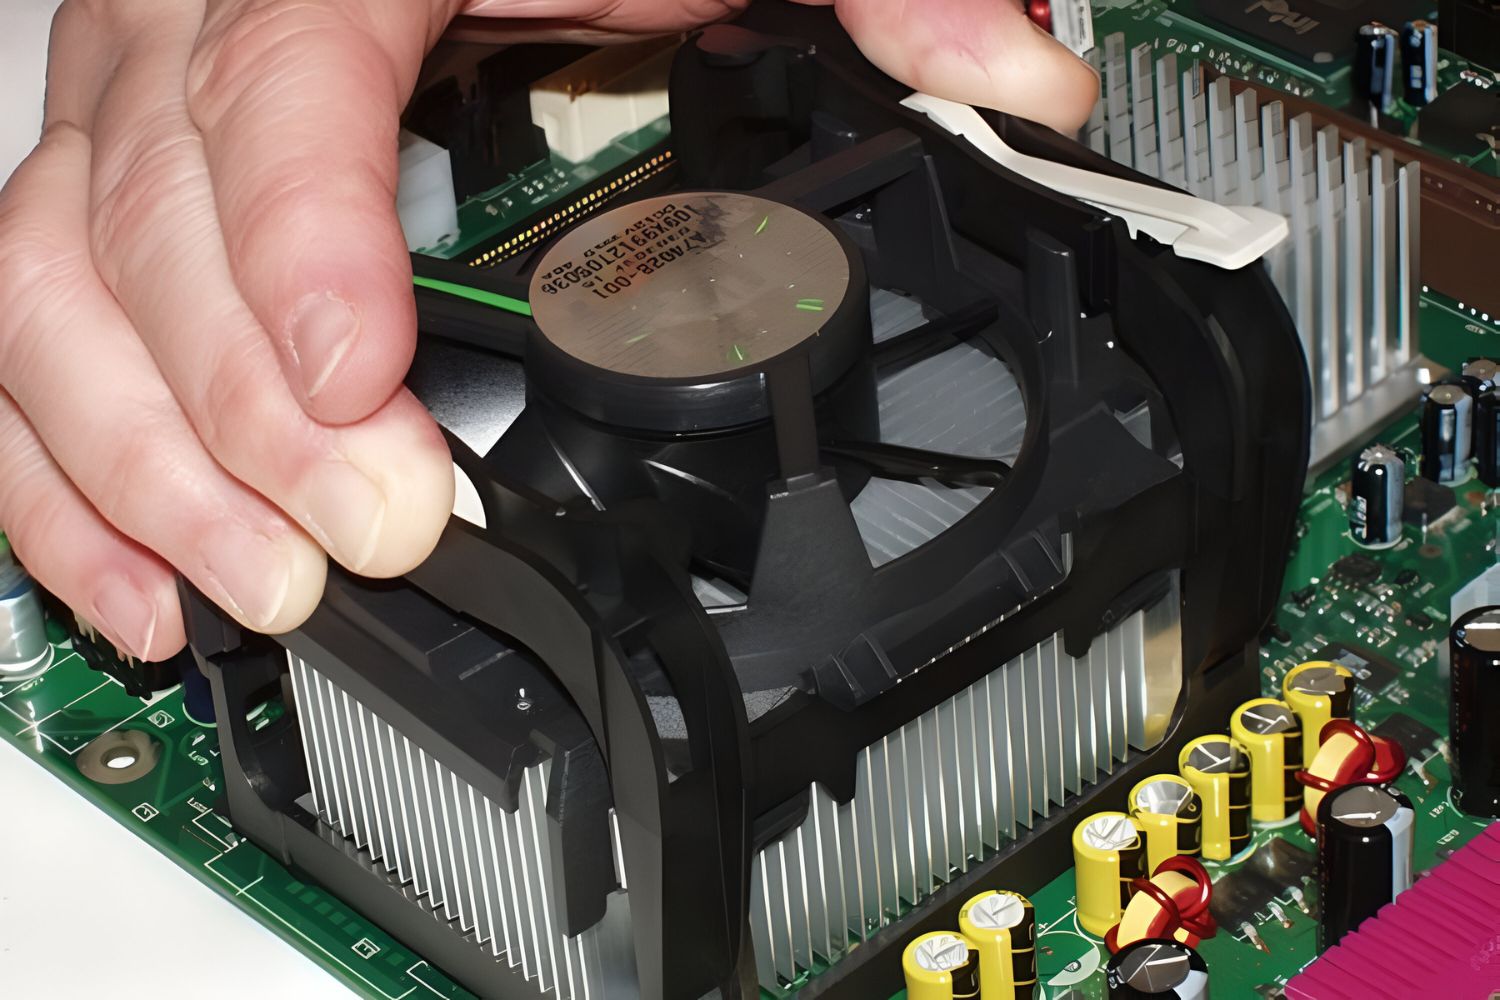
Now that you have removed the CPU cooler fan, it’s time to detach the heat sink from the motherboard. The heat sink is the component that sits directly on top of the CPU, and its main purpose is to dissipate heat. Follow these steps to detach the heat sink from the motherboard:
- Identify the Heat Sink Mounting Mechanism: Take note of how the heat sink is attached to the motherboard. It may be secured with screws, pushpins, or a retention bracket.
- Loosen and Remove Screws or Pushpins: If the heat sink is secured with screws, use the appropriate screwdriver to loosen and remove them. If it’s secured with pushpins, gently press down on the pins while twisting them counterclockwise to release them from the motherboard.
- Detach the Retention Bracket (if applicable): If there is a retention bracket holding the heat sink in place, carefully release the locking mechanism to free the heat sink from the bracket. Follow the manufacturer’s instructions for specific guidance on detaching the retention bracket.
When detaching the heat sink, it’s important to handle it with care and avoid putting excessive pressure on the CPU. This will prevent any accidental damage to the processor or the motherboard’s socket.
Tip: Sometimes, the heat sink may be stuck to the CPU due to thermal paste residue. Gently twisting the heat sink from side to side can help break the bond. Be cautious when doing this to avoid damaging any components.
With the heat sink detached from the motherboard, you have successfully completed this step in removing the Intel CPU cooler. Next, we will move on to cleaning the CPU surface and properly applying thermal paste.
Step 7: Clean the CPU and Apply Thermal Paste
Now that you have detached the heat sink from the motherboard, it’s crucial to clean the CPU surface and apply a fresh layer of thermal paste. Follow these steps to ensure proper cleaning and application:
- Clean the CPU Surface: Use a cotton swab or a microfiber cloth lightly dampened with thermal paste cleaner or isopropyl alcohol to gently clean the surface of the CPU. This will remove any old thermal paste residue or dirt that may affect heat transfer.
- Apply Thermal Paste: Apply a small pea-sized amount of thermal paste to the center of the CPU. Be careful not to apply too much, as excessive thermal paste can lead to poor heat transfer. The pressure created by reattaching the heat sink will help spread the thermal paste evenly.
- Spread the Thermal Paste (optional): If you prefer spreading the thermal paste manually, use a plastic card or a thermal paste spreader to create an even and thin layer. Be gentle to avoid scratching the surface of the CPU.
Properly applying thermal paste is crucial for efficient heat transfer between the CPU and the heat sink. The thermal paste fills in microscopic gaps between the two surfaces, ensuring optimum thermal conductivity and heat dissipation.
Note: Different thermal paste brands and types may have different instructions for application. It’s always best to consult the manufacturer’s instructions or recommendations for the specific thermal paste you are using.
By thoroughly cleaning the CPU surface and applying thermal paste correctly, you have prepared the CPU for reattachment with the heat sink. The next steps will guide you on how to securely reattach the heat sink and CPU cooler fan.
Step 8: Reattach the Heat Sink and CPU Cooler Fan
Now that you have cleaned the CPU and applied thermal paste, it’s time to reattach the heat sink and CPU cooler fan. Follow these steps to securely reattach the components:
- Align the Heat Sink: Carefully position the heat sink over the CPU, aligning the mounting holes or clips with the corresponding holes on the motherboard. Ensure that the heat sink is evenly seated on the CPU surface.
- Secure the Heat Sink: Depending on your CPU cooler model, secure the heat sink using the appropriate method. This could involve tightening screws, pushing down on clips, or locking a retention bracket in place. Refer to the manufacturer’s instructions or guidelines for your specific cooler model.
- Reattach the CPU Cooler Fan: Position the CPU cooler fan over the heat sink, aligning the mounting holes or clips with the corresponding hooks or slots on the heat sink or fan brackets. Depending on your cooler model, secure the fan in place using screws, clips, or other fastening mechanisms provided.
- Connect the Fan Power Cable: Locate the fan power cable and connect it to the fan header on the motherboard. Ensure a secure connection by firmly pushing the connector into the header until it clicks into place.
When reattaching the heat sink and CPU cooler fan, it’s important to apply even pressure and make sure everything is properly aligned. This will ensure efficient heat transfer and prevent any noise or vibration issues.
Note: Some CPU cooler fans have additional cables, such as RGB lighting or fan control cables. Connect them according to the manufacturer’s instructions, if applicable.
With the heat sink and CPU cooler fan securely reattached, you have successfully completed the reinstallation of the Intel CPU cooler components. The next steps will guide you on how to secure the case side panel and reconnect the cables.
Step 9: Secure the Case Side Panel
Now that you have reattached the heat sink and CPU cooler fan, it’s time to secure the case side panel back in place. Follow these steps to ensure the panel is securely fastened:
- Align the Case Side Panel: Gently align the side panel with the corresponding notches or rails on the computer case. Make sure it is properly positioned before proceeding.
- Secure the Case Panel Screws: Insert the screws you removed earlier or use any provided thumb screws to fasten the side panel back onto the computer case. Tighten the screws until they are snug, but avoid overtightening to prevent damaging the case or stripping the screws.
Ensure that all screws are securely tightened, as a loose side panel may cause vibrations or allow dust to enter the case. Additionally, make sure the panel is flush with the case to maintain the aesthetic appeal of your computer.
Note: Some computer cases have different mechanisms for securing the side panel, such as latches or sliding mechanisms. Follow the manufacturer’s instructions or consult the case manual if you encounter any difficulties.
With the case side panel securely fastened, your computer is one step closer to being fully reassembled. Now let’s move on to the final step: reconnecting the cables and powering on your computer.
Step 10: Reconnect Cables and Power On Your Computer
Now that you have secured the case side panel, it’s time to reconnect the cables and power on your computer. Follow these steps to ensure a proper and safe reconnection:
- Reconnect Power Cable: Locate the power cable you disconnected earlier and plug it back into the appropriate power outlet or power strip. Ensure a secure connection.
- Reconnect Peripherals: Reconnect any peripherals you disconnected earlier, such as monitors, keyboards, mice, speakers, and USB devices. Ensure that all cables are connected securely.
- Check Internal Connections: Take a moment to check and ensure that all internal cables, such as those connected to the hard drive, graphics card, and RAM, are properly seated and securely connected.
- Double-Check CPU Cooler Fan Connection: Verify that the power cable from the CPU cooler fan is correctly connected to the fan header on the motherboard. This will ensure proper cooling functionality.
Once you have reconnected all the necessary cables and peripherals, you’re ready to power on your computer:
- Power On Your Computer: Press the power button on your computer to boot it up. Monitor the startup process, ensuring that the CPU cooler fan spins and that there are no abnormal noises or warning messages.
- Check for Proper Functionality: Once your computer has started up, monitor the CPU temperatures and overall system performance to ensure that everything is functioning as expected.
If you notice any issues, such as excessive heat, unusual noises, or system instability, it’s important to troubleshoot the problem immediately. Double-check that the CPU cooler is properly seated and the fan is functioning correctly. If problems persist, consult professional assistance if necessary.
Congratulations! You have successfully removed and reinstalled the Intel CPU cooler in your computer. By following these steps and taking the necessary precautions, you have ensured optimal cooling for your CPU. Enjoy your newly maintained and efficient computer!
Conclusion
Removing the Intel CPU cooler may seem like a challenging task, but with the right tools, knowledge, and attention to detail, it can be accomplished smoothly. By following the step-by-step guide outlined in this article, you have learned how to safely remove the Intel CPU cooler, clean the CPU surface, apply thermal paste, and securely reattach the cooler components. Through these procedures, you have ensured proper heat dissipation and maintained the optimal performance of your computer’s processor.
Remember, when working with computer components, it’s crucial to exercise caution and follow the manufacturer’s instructions. Take the necessary precautions to protect yourself and your equipment, such as powering down your computer, disconnecting cables, and grounding yourself to prevent electrostatic discharge.
We discussed the importance of preparing your workspace, locating and identifying the CPU cooler, removing the case side panel, and subsequently, detaching the heat sink from the motherboard. Furthermore, we covered the steps to clean the CPU, apply thermal paste, reattach the heat sink, secure the case side panel, and reconnect cables before powering on your computer once again.
By performing these procedures correctly, you have improved the cooling efficiency of your computer, leading to enhanced performance, stability, and potentially extending the lifespan of your CPU.
If you encounter any difficulties or if you are unsure about any step in the process, it is always advisable to consult the manufacturer’s documentation or seek professional assistance. Additionally, following proper maintenance practices like periodically cleaning the CPU cooler and replacing thermal paste will help ensure the longevity and optimal performance of your computer’s CPU.
With a little time and effort, you have successfully completed the task of removing and reattaching the Intel CPU cooler. Your computer is now ready for uninterrupted use, allowing you to enjoy a cool and efficient computing experience.