Introduction
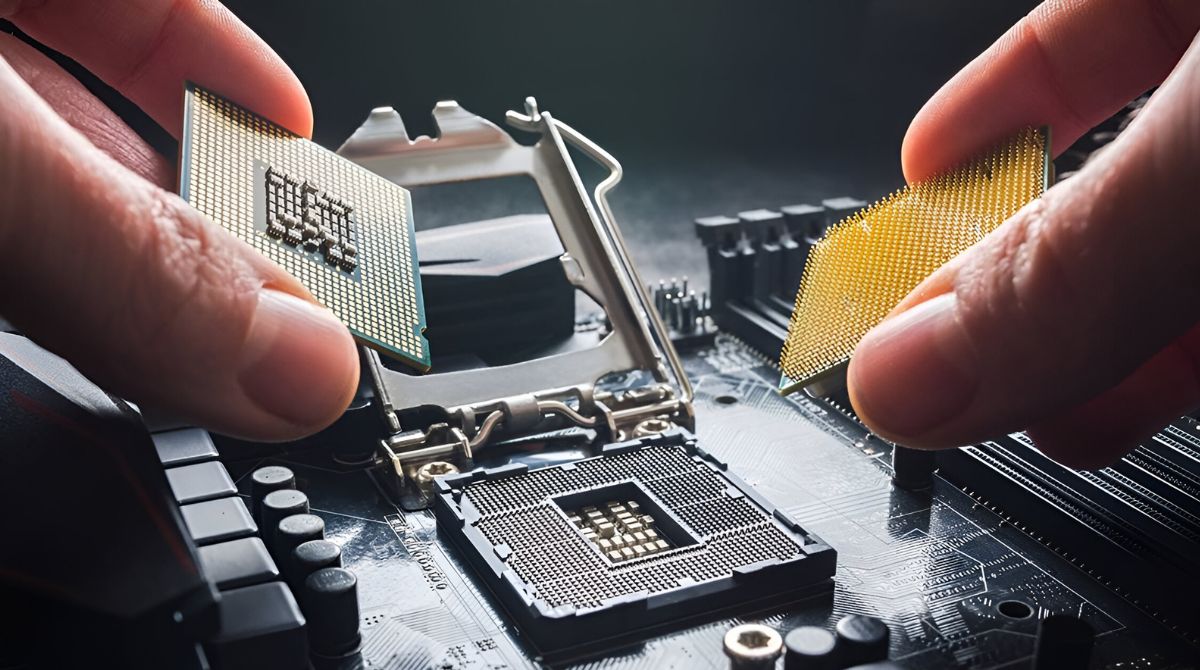
Welcome to our guide on how to install a CPU cooler on an Intel processor. Whether you’re building a new computer or upgrading your existing system, installing a CPU cooler is a crucial step to ensure optimal performance and temperature regulation for your CPU.
As the central processing unit (CPU) generates heat while processing data, it’s important to have an efficient cooling solution in place to prevent overheating and potential damage to your hardware. A CPU cooler helps dissipate the heat generated by the CPU, keeping it within safe operating temperatures.
In this step-by-step tutorial, we’ll guide you through the process of installing a CPU cooler on an Intel processor. We’ll cover everything from preparing your workstation to testing the cooler once it’s installed. By following these instructions carefully, you’ll be able to install your CPU cooler with confidence.
Before we begin, it’s important to note that while the specific steps provided in this guide are geared towards Intel processors, the general process remains largely the same for other CPU cooler installations. Make sure to consult your processor and cooler’s instruction manuals for any specific guidelines or differences.
Now, let’s gather all the necessary tools and equipment you’ll need to complete this installation.
What You’ll Need
Before you start installing a CPU cooler on your Intel processor, there are a few tools and materials you’ll need to ensure a smooth and successful installation. Here’s a list of items you should have on hand:
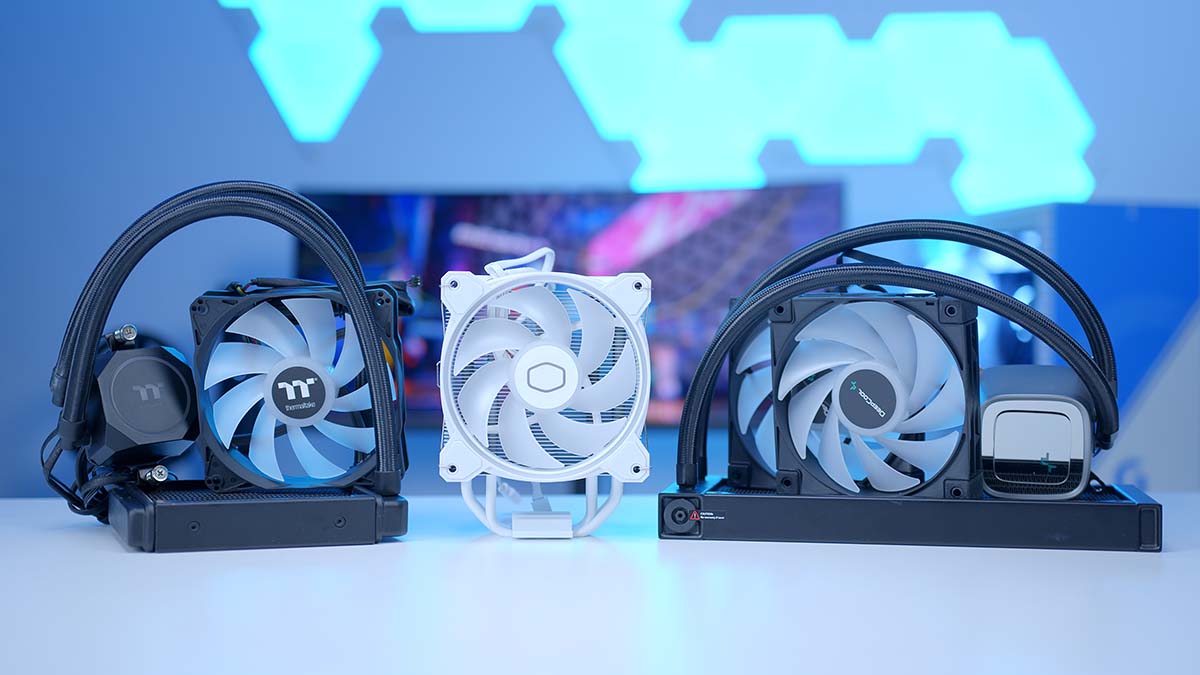
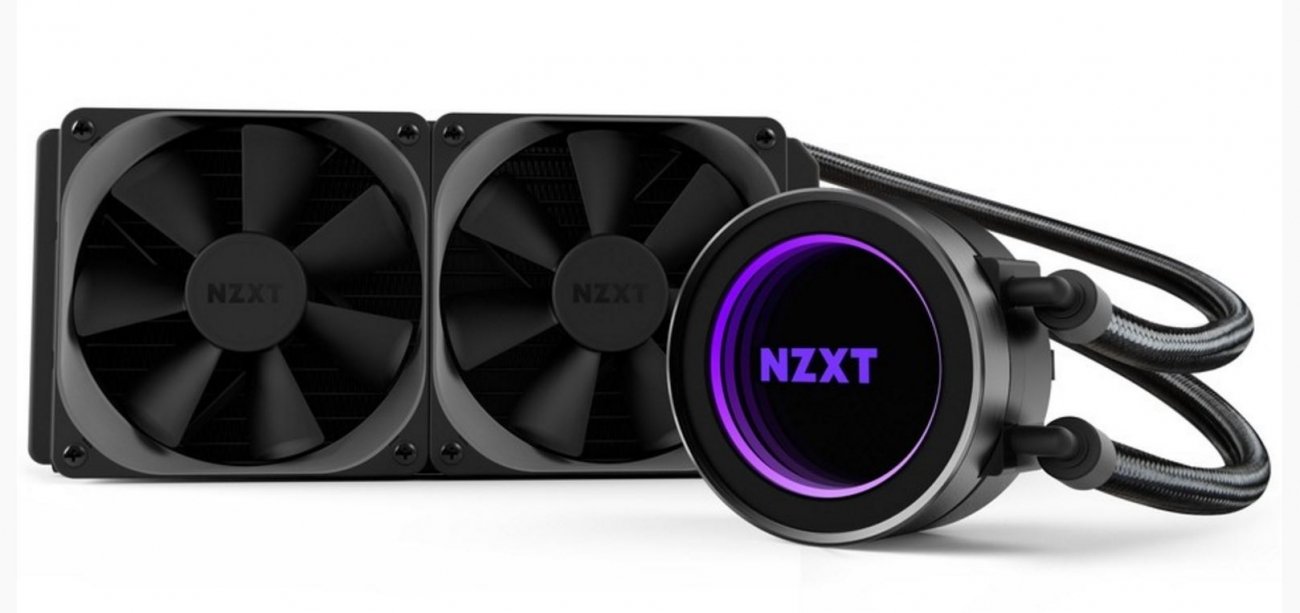
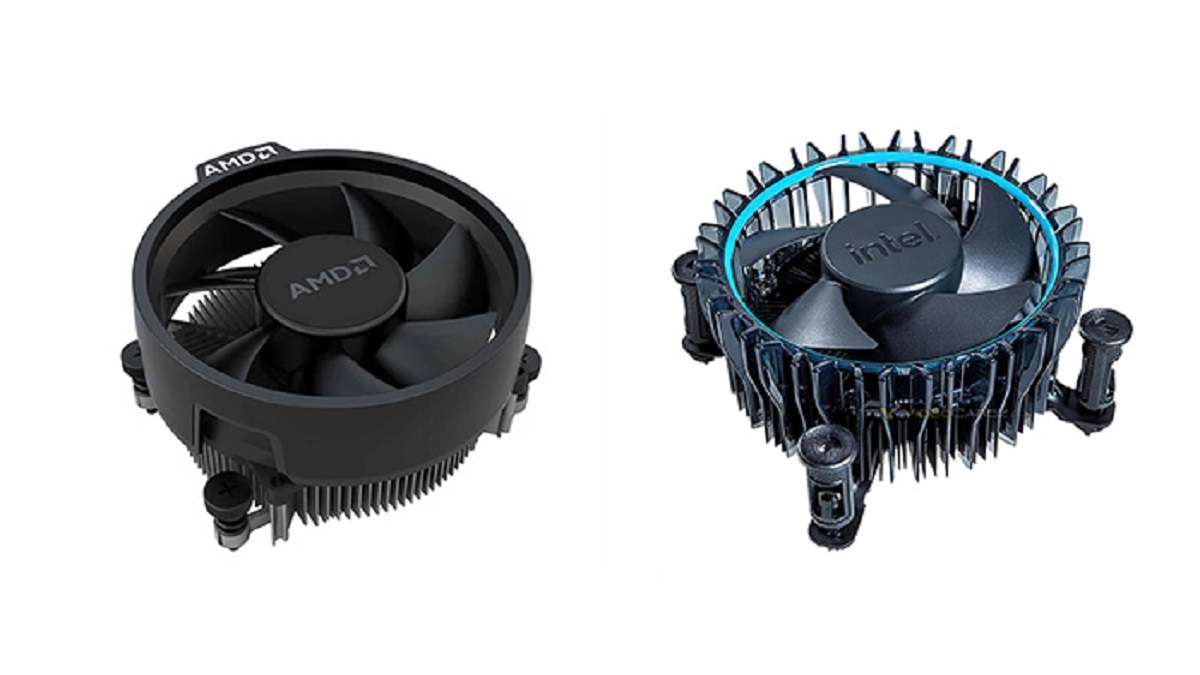
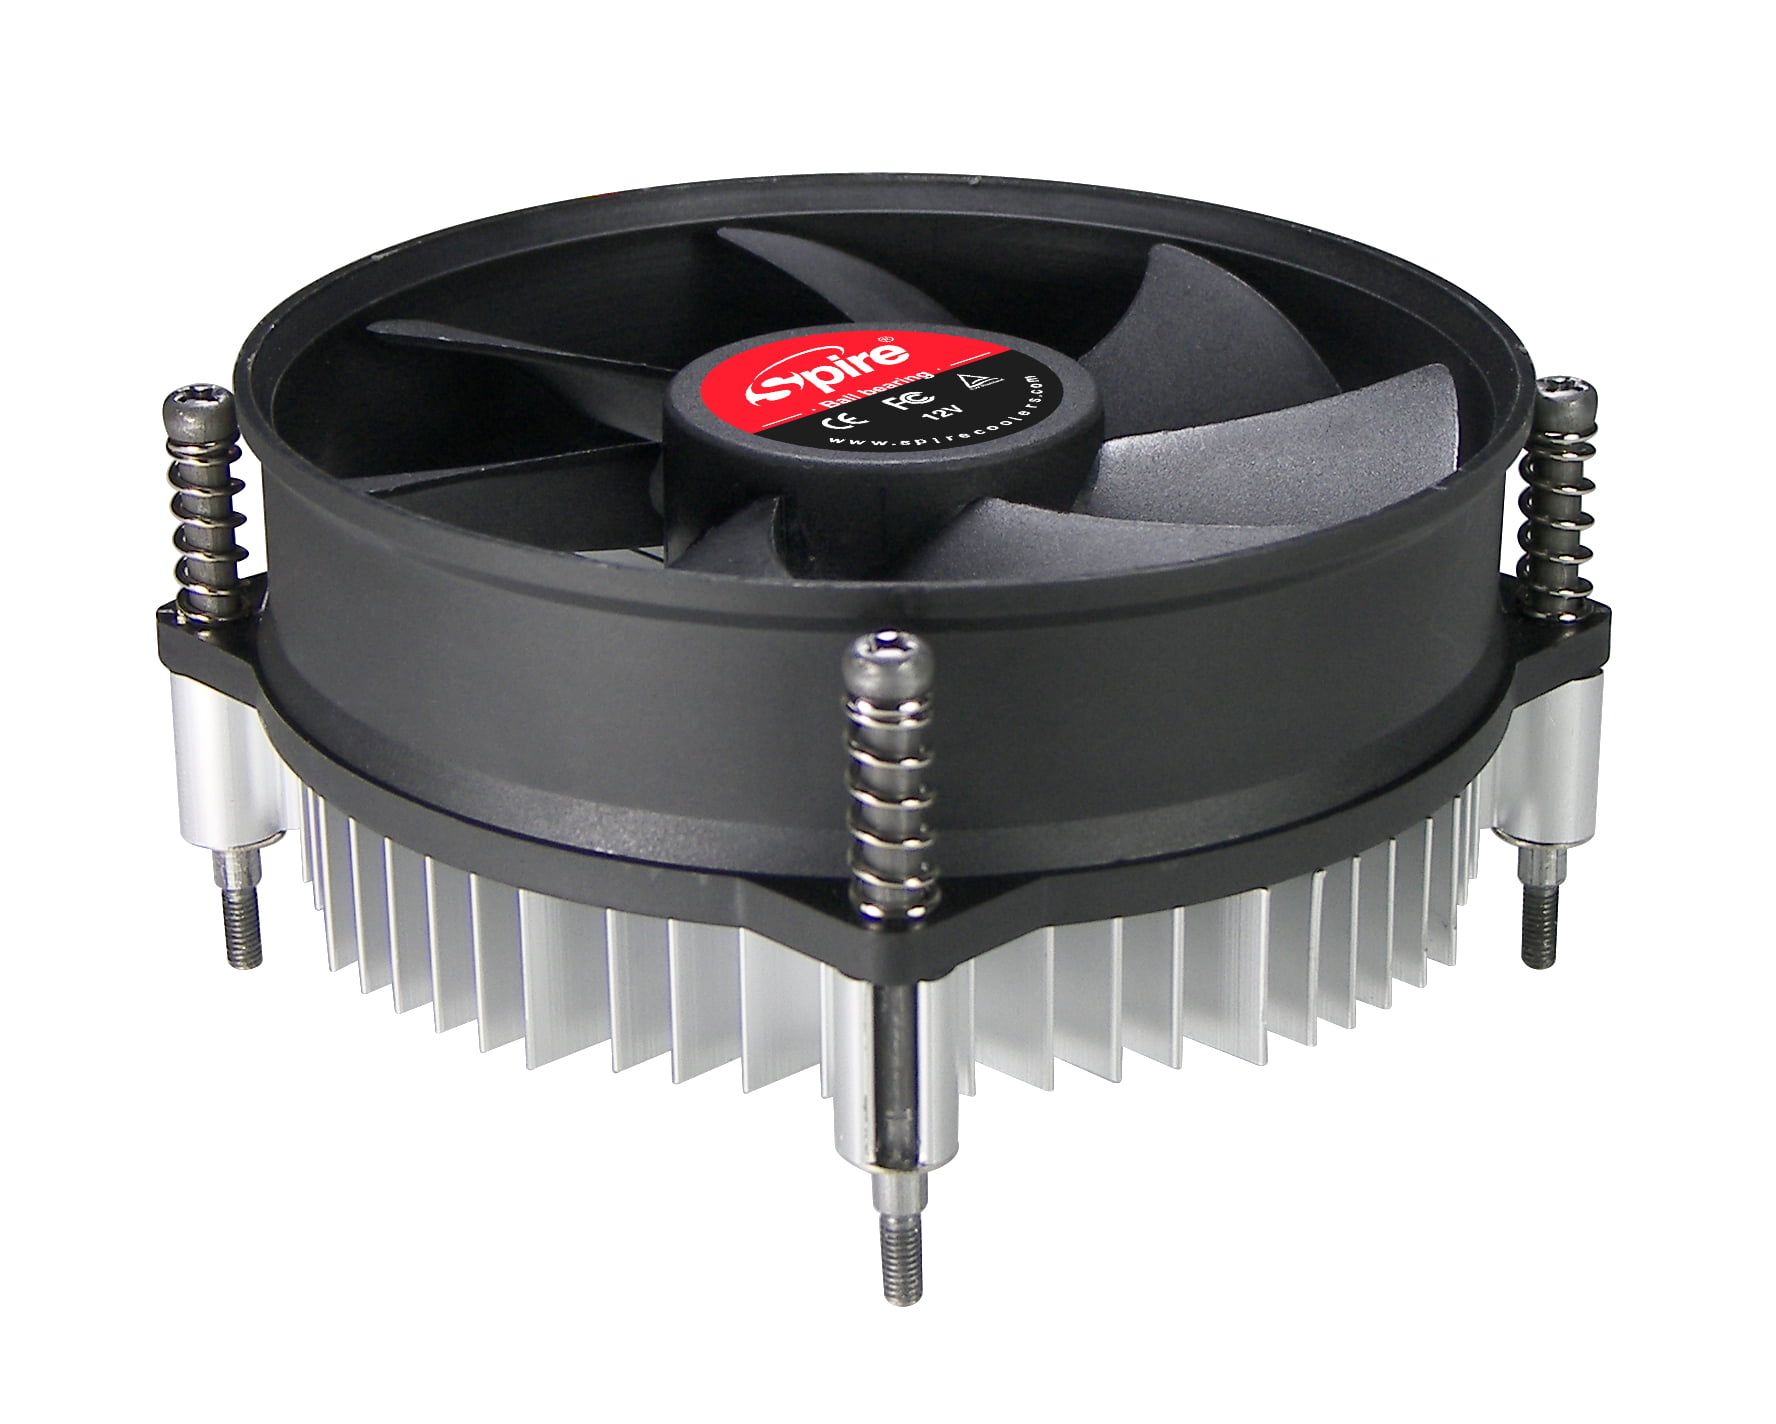
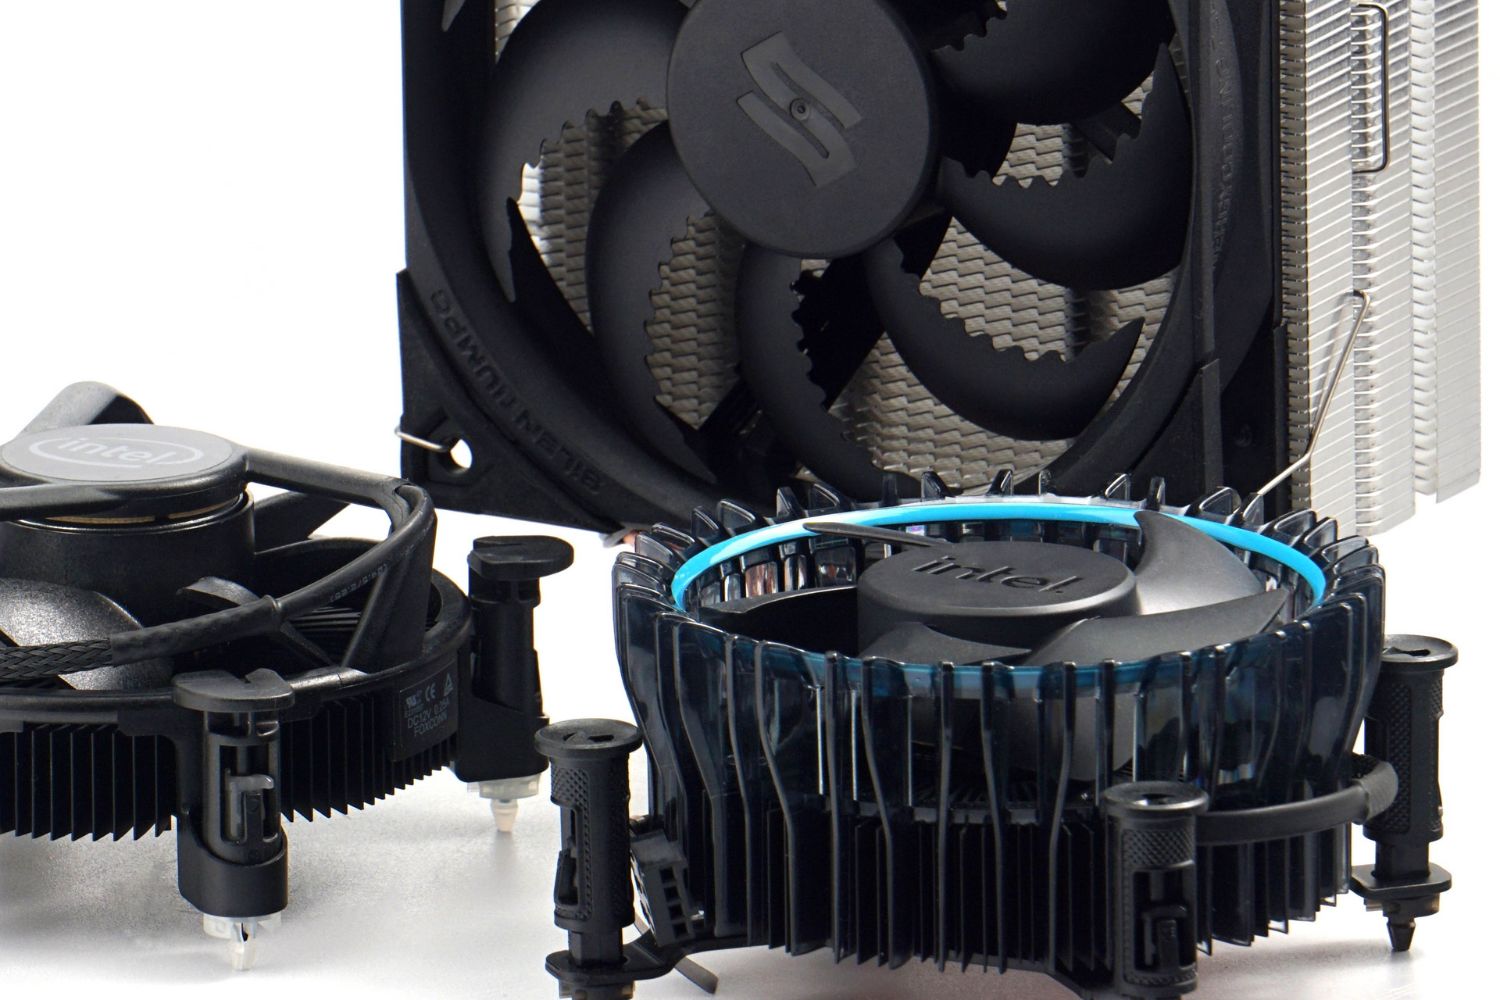
- CPU Cooler: Make sure you have a compatible CPU cooler for your Intel processor. Check the socket type and ensure that the cooler is specifically designed for that socket.
- Thermal Paste: Thermal paste is a crucial component that helps in transferring heat between the CPU and the cooler. Make sure you have a high-quality thermal paste available.
- Isopropyl Alcohol and Lint-Free Cloth: You’ll need these to clean the old thermal paste from the CPU and heatsink before applying the new one.
- Screwdriver: Depending on your CPU cooler, you may need a standard Phillips screwdriver or a specific type recommended by the manufacturer.
- Anti-static Wrist Strap (Optional): It’s a good practice to wear an anti-static wrist strap to prevent any damage to sensitive electronic components.
- Workstation Preparation: Ensure you have a clean and well-lit workspace with enough room to comfortably maneuver the motherboard and CPU cooler.
Having all these items ready before you start will save you time and frustration. It’s important to have a clean and organized workspace to avoid any accidental damage to your components. With all the necessary tools and materials gathered, you’re now ready to proceed with the CPU cooler installation.
Step 1: Preparing Your Workstation
Before diving into the actual installation process, it’s essential to properly prepare your workstation to ensure a smooth and hassle-free experience. Here are the steps to follow:
- Gather Your Tools: Make sure you have all the necessary tools and materials mentioned in the previous section. Having them within reach will save time and prevent any interruptions during the installation.
- Turn Off and Unplug Your Computer: Start by shutting down your computer and disconnecting it from the power source. This will ensure your safety and prevent any accidental damage to the components.
- Open the Computer Case: Carefully remove the side panel of your computer case to expose the internal components. Refer to your computer’s manual if you’re unsure how to do this.
- Identify the CPU Socket: Locate the CPU socket on the motherboard. It’s a square or rectangular socket usually situated near the top-left corner. Take note of the socket type to ensure compatibility with your CPU cooler.
- Clean the Workstation: Use a can of compressed air or a soft brush to remove any dust or debris from the motherboard, surrounding components, and inside the case. A clean workspace will help prevent any interference during the installation process.
- Ground Yourself: To avoid damaging the delicate electronic components, use an anti-static wrist strap or regularly touch a grounded metal part of the case to discharge any static electricity on your body.
With your workstation prepared, you’re now ready to move on to the next step: removing the old CPU cooler.
Step 2: Removing the Old CPU Cooler
Once your workstation is prepared, it’s time to remove the old CPU cooler from your Intel processor. Follow these steps carefully:
- Disconnect the Cooler Fan: Locate the fan connector on the motherboard. Gently disconnect the fan’s power cable from the header, ensuring not to apply excessive force.
- Remove the Cooler Mounting Mechanism: Depending on your CPU cooler model, there may be different mounting mechanisms. Common types include screws, clips, or a retention bracket. Use the appropriate tools to loosen or remove the mounting mechanism.
- Carefully Lift the Cooler: Once the mounting mechanism is loosened or removed, carefully lift the CPU cooler straight up. Avoid any twisting or tilting motions as it may damage the CPU or motherboard.
- Detach the Cooler from the CPU: Gently separate the cooler from the CPU by giving it a slight twist or rocking motion. Be cautious not to apply excessive force as it may cause the CPU to become dislodged from the socket.
- Clean the CPU and Heatsink: Use isopropyl alcohol and a lint-free cloth to clean the thermal paste residue from the top of the CPU and the base of the heatsink. Ensure that both surfaces are completely clean before proceeding.
Once you have successfully removed the old CPU cooler and cleaned the CPU and heatsink, you’re now ready to move on to the next step: applying thermal paste.
Step 3: Cleaning the CPU and Heatsink
After removing the old CPU cooler, it’s crucial to clean the CPU and heatsink surfaces thoroughly. This step ensures proper contact between the two components and allows for efficient heat transfer. Follow these steps to clean the CPU and heatsink:
- Prepare the Isopropyl Alcohol: Take a small amount of isopropyl alcohol and pour it onto a lint-free cloth. Ensure the cloth is damp but not dripping wet.
- Clean the CPU: Gently wipe the top of the CPU with the damp cloth, applying minimal pressure. Make sure to remove all traces of old thermal paste, ensuring a clean and smooth surface.
- Clean the Heatsink: Similarly, wipe the base of the heatsink with the damp cloth to remove any residual thermal paste or debris. Ensure that the entire base is clean and free from any contaminants.
- Dry the Surfaces: Allow the CPU and heatsink to air dry for a few moments or use a clean, dry lint-free cloth to gently pat them dry. Make sure there is no moisture left before proceeding.
By thoroughly cleaning both the CPU and heatsink, you’ll ensure a clean and optimal surface for applying thermal paste. Once the surfaces are clean and dry, you’re ready to move on to the next step: applying thermal paste.
Step 4: Applying Thermal Paste
With the CPU and heatsink surfaces cleaned and ready, it’s time to apply a thin layer of thermal paste. Thermal paste helps maximize heat transfer between the CPU and the cooler, ensuring efficient cooling. Follow these steps to apply thermal paste:
- Choose the Right Amount: Start by ensuring you have the right amount of thermal paste. Too much or too little can affect heat dissipation. A pea-sized amount in the center of the CPU is usually sufficient.
- Apply the Thermal Paste: Gently squeeze the thermal paste onto the center of the cleaned CPU surface. Avoid spreading the paste manually, as the pressure may cause air bubbles or uneven distribution.
- Secure the Cooler: Once the thermal paste is applied, carefully lower the CPU cooler onto the CPU, aligning the screw holes or mounting brackets with the corresponding holes on the motherboard. Apply gentle pressure to evenly spread the thermal paste.
- Tighten the Mounting Mechanism: Follow the instructions specific to your cooler model to properly secure the cooling device in place. Depending on the cooler design, you may need to tighten screws or secure clips or retention brackets.
It’s important to note that while applying thermal paste, using too much can lead to excessive heat buildup, while using too little may hinder thermal conductivity. Therefore, aim to apply a thin and even layer for optimal results.
Once you have applied the thermal paste and securely attached the cooler, you can proceed to the next step: mounting the new CPU cooler.
Step 5: Mounting the New CPU Cooler
Now that the thermal paste is applied, it’s time to mount the new CPU cooler onto your Intel processor. Follow these steps carefully:
- Align the Cooler: Carefully position the CPU cooler onto the CPU socket, aligning the screw holes or mounting brackets with the corresponding holes on the motherboard.
- Check for Compatibility: Ensure that the cooler’s mounting mechanism is compatible with your motherboard and CPU socket. Consult the cooler’s manual for specific instructions and any additional brackets or adapters that may be required.
- Secure the Cooler: Once the CPU cooler is properly aligned, begin tightening the mounting screws or fasteners evenly, following a diagonal pattern. This ensures equal and balanced pressure across the CPU.
- Follow the Manufacturer’s Instructions: It’s essential to follow the specific instructions provided by the CPU cooler manufacturer. These instructions may vary depending on the model and design of the cooler.
- Do Not Overtighten: Be cautious not to overtighten the screws or fasteners, as this can damage the CPU or the motherboard. Tighten them until they are snug, but do not apply excessive force.
It’s important to note that different CPU coolers may have specific installation procedures, so always consult the instruction manual provided by the manufacturer. Following these instructions will ensure a secure and proper installation of your new CPU cooler.
Once the CPU cooler is securely mounted, you’re now ready to move on to the next step: attaching the cooler fan.
Step 6: Attaching the Cooler Fan
With the CPU cooler properly mounted, it’s time to attach the cooler fan. The fan helps in enhancing airflow and maximizing the cooling performance. Follow these steps to attach the cooler fan:
- Locate the Fan Mounting Points: Identify the specific mounting points on the CPU cooler where the fan will be attached. These are usually located on the outer edges of the cooler.
- Connect the Fan Cable: Take the fan cable and connect it to the appropriate fan header on the motherboard. Refer to the motherboard’s manual for the recommended header.
- Align the Fan: Carefully position the fan over the mounting points on the CPU cooler, ensuring that the fan’s airflow direction is oriented towards the heatsink or exhaust direction.
- Secure the Fan: Fasten the fan to the CPU cooler by using the provided screws or clips. Make sure to fasten them securely but avoid overtightening to prevent any damage to the fan or cooler.
- Double-Check Connections: Once the fan is securely attached, double-check the fan cable connection to ensure it is properly seated and tightly connected to the motherboard.
By attaching the cooler fan, you ensure a steady airflow over the heatsink, aiding in efficient heat dissipation. Proper orientation and secure attachment will help maintain optimal cooling performance for your CPU.
With the fan successfully attached to the CPU cooler, you’re now ready for the final step: testing the cooler and applying final touches.
Step 7: Testing and Final Touches
Now that you have completed the installation of the CPU cooler and attached the fan, it’s time to test the cooler and add some final touches. Follow these steps to ensure everything is in working order:
- Reassemble Your Computer: Carefully reattach the side panel of your computer case. Ensure all screws are tightened properly to secure the case.
- Connect Your Computer: Reconnect all the necessary cables and peripherals to your computer. Double-check that everything is securely connected.
- Power On Your Computer: Turn on your computer and monitor to assess if the CPU cooler and fan are functioning correctly. Listen for any abnormal noises and check the fan speed through your computer’s BIOS or system monitoring software.
- Monitor CPU Temperature: Use software monitoring tools to check the CPU temperature during idle and under load. Ensure that the temperature stays within safe operating limits for your specific processor model.
- Maintain Regular Cleaning: Over time, dust and debris may accumulate on the CPU cooler and fan. Regularly clean them using compressed air to maintain optimal cooling performance.
- Make Adjustments if Needed: If you notice unusually high temperatures or any issues with cooling, double-check the installation and make any necessary adjustments. Consult your CPU cooler and motherboard manuals or seek technical assistance if required.
By testing the CPU cooler and monitoring the CPU temperature, you can ensure that the installation was successful and that your processor is operating within safe temperature ranges. Additionally, regular cleaning and maintenance will help prolong the life and efficiency of your CPU cooler.
Congratulations! You have successfully installed a CPU cooler on your Intel processor. With proper cooling in place, your computer will be able to handle demanding tasks and maintain stable performance for extended periods of time.
Remember to consult the manuals and guidelines provided with your specific CPU cooler and motherboard for any further maintenance or troubleshooting steps. Enjoy the improved cooling performance and optimal functioning of your Intel processor!
Conclusion
Installing a CPU cooler on your Intel processor is a crucial step in ensuring optimal performance and temperature regulation for your computer. By following the steps outlined in this guide, you can safely and effectively install a CPU cooler and enhance the cooling capabilities of your system.
Throughout this guide, we covered everything from preparing your workstation to removing the old CPU cooler, cleaning the CPU and heatsink, applying thermal paste, mounting the new CPU cooler, attaching the cooler fan, testing the cooler, and adding final touches. Each step is important to ensure a successful installation and reliable cooling performance.
Remember, when working with computer hardware, it’s essential to handle components with care and follow the instructions provided by the CPU cooler and motherboard manufacturers. Proper grounding, avoiding excessive force, and maintaining cleanliness are all key factors in a successful installation.
By effectively cooling your Intel processor, you can prevent overheating, which can lead to performance issues and potential hardware damage. With a well-installed CPU cooler, you can enjoy more stable system operation, improved longevity of your hardware, and better overall performance during CPU-intensive tasks.
If you encounter any difficulties during the installation or have concerns about specific hardware compatibility, consult the documentation or seek assistance from relevant manufacturers or technical experts to ensure a smooth installation process.
With the CPU cooler successfully installed, take a moment to appreciate the improved cooling capabilities and efficient operation of your Intel processor. Enjoy your enhanced computing experience, whether it’s gaming, video editing, or other demanding tasks, with the confidence that your CPU is operating within safe temperature ranges.
Thank you for following this guide, and we hope it has been helpful in guiding you through the process of installing a CPU cooler on your Intel processor.